Data Sources
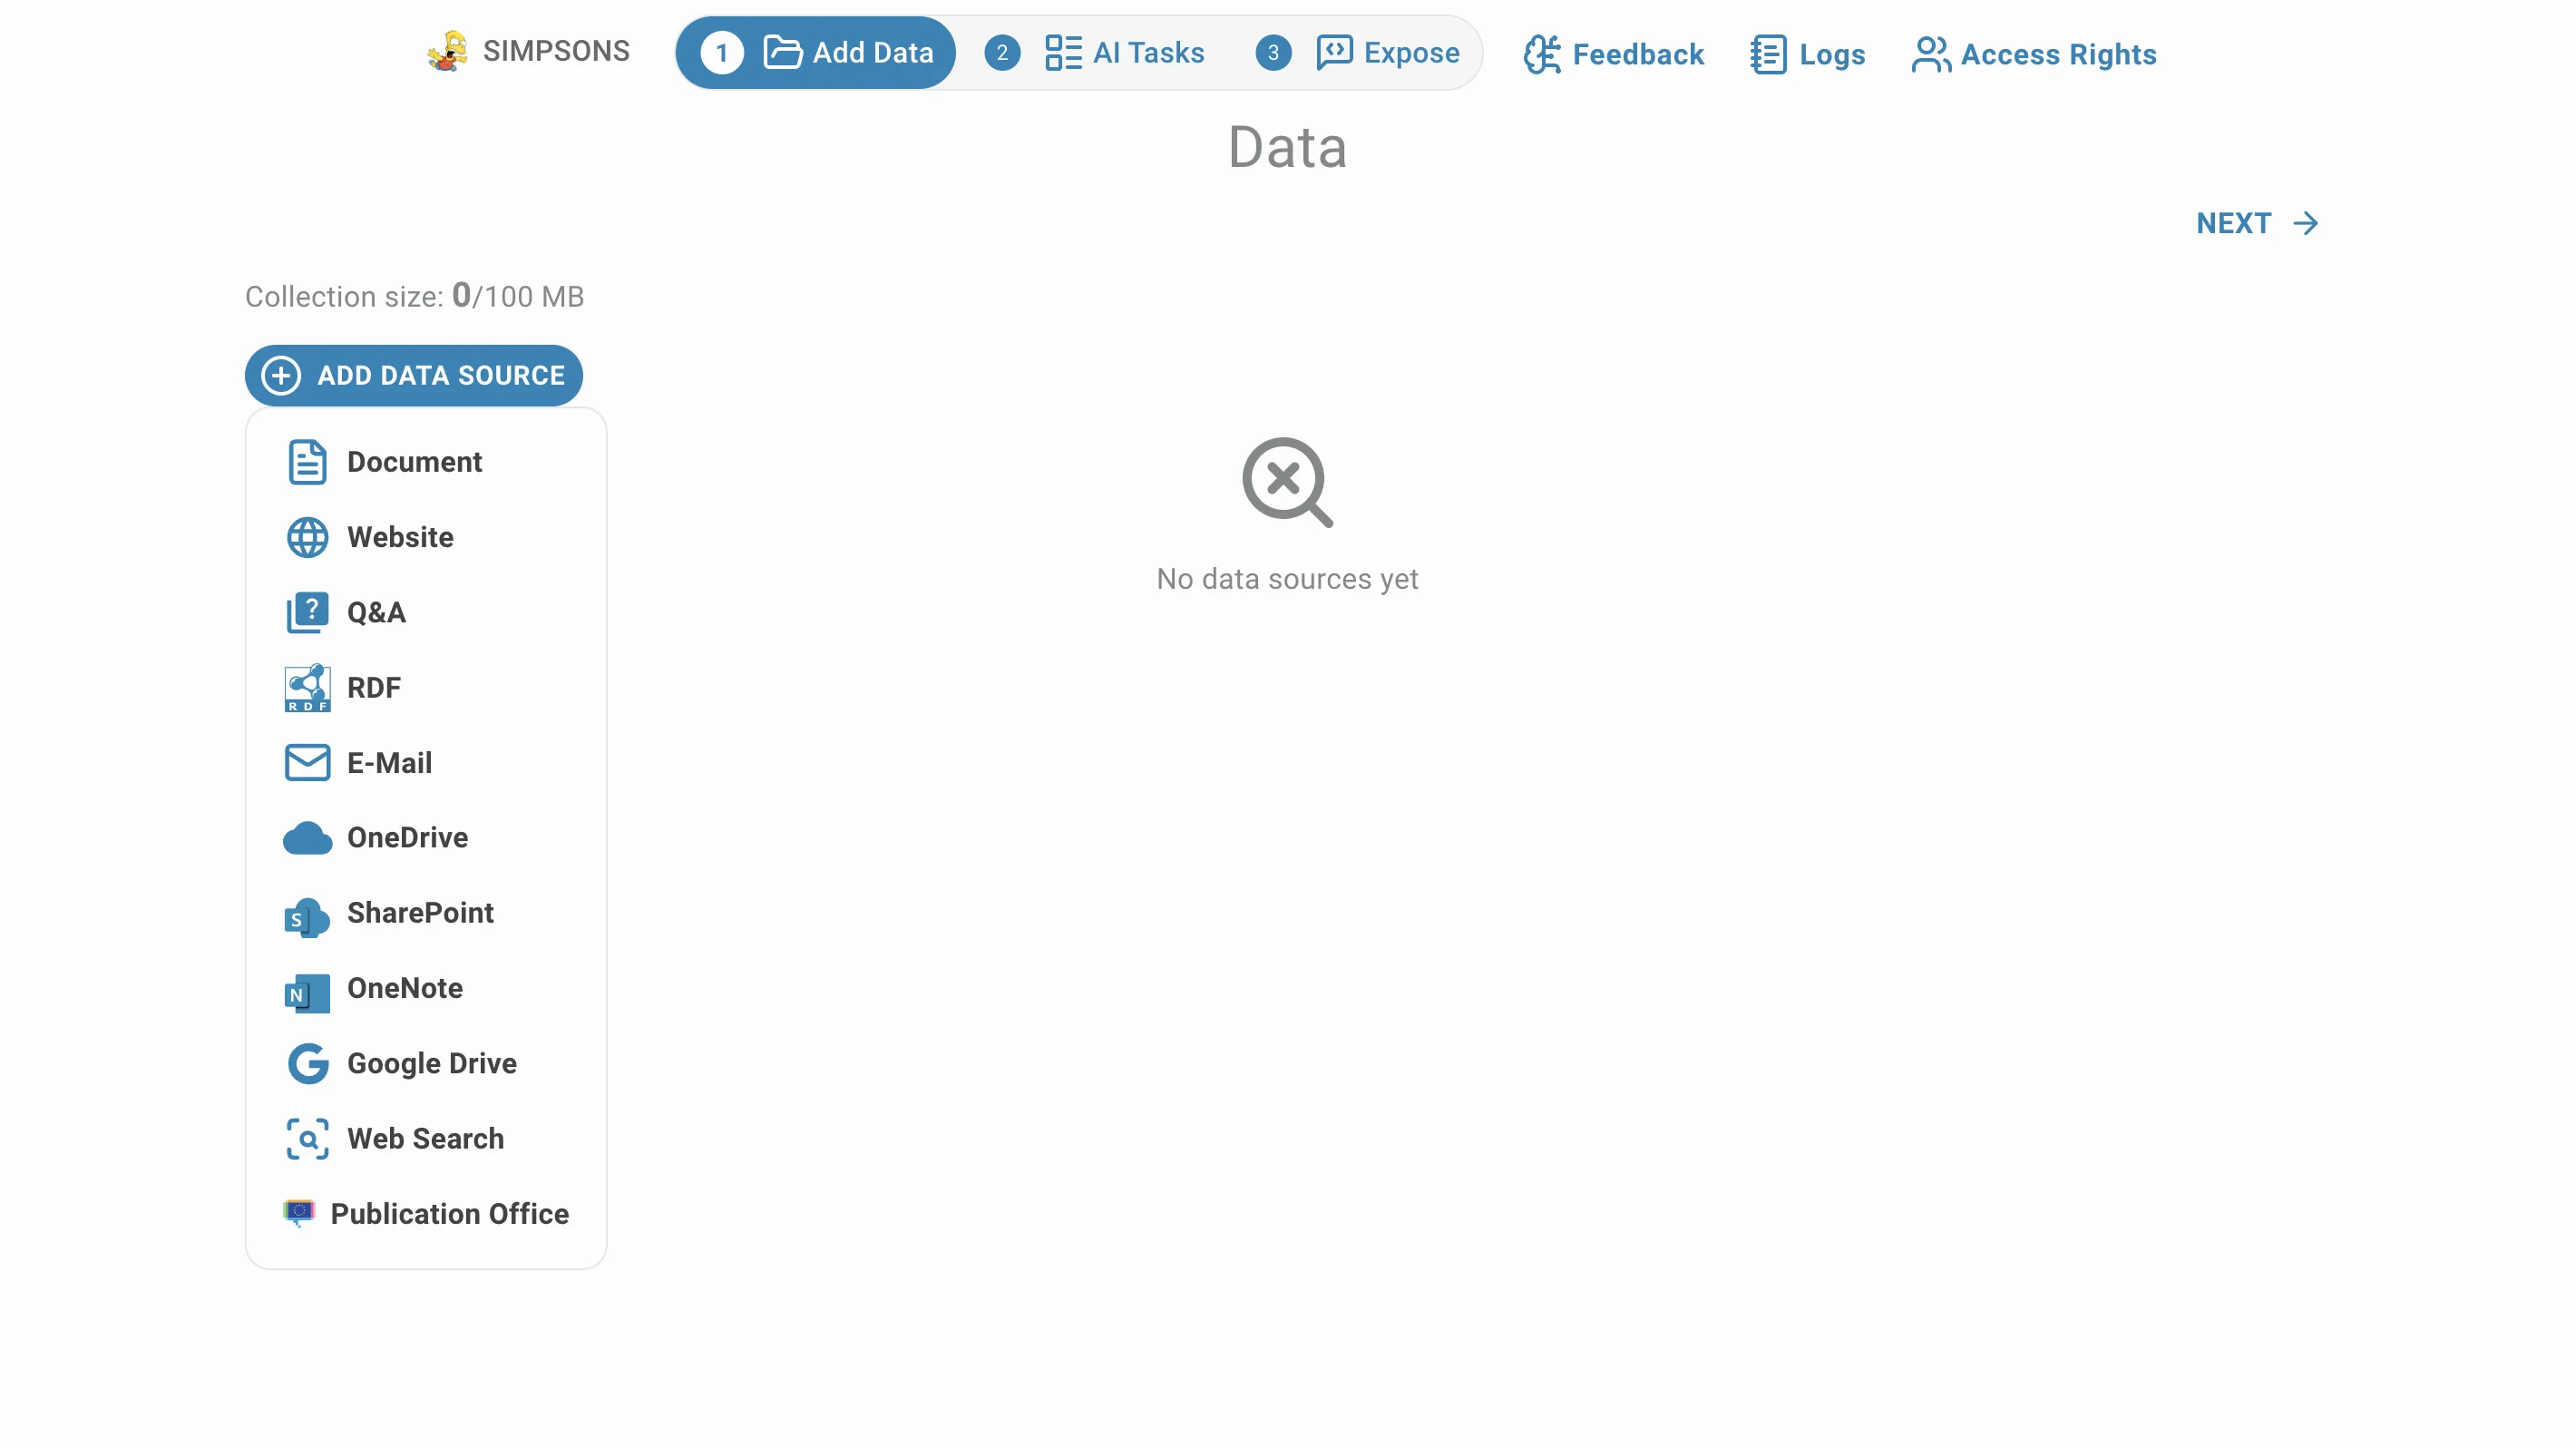
Connect data sources to the AI Assistant: documents, websites, Q&A pairs, RDF graphs, or files from OneDrive, SharePoint, OneNote, or Google Drive. Select a data source to get started:
Data Sources management
After setting up a data source, manage connectors and uploaded documents in the Add data tab of the AI Assistant menu.
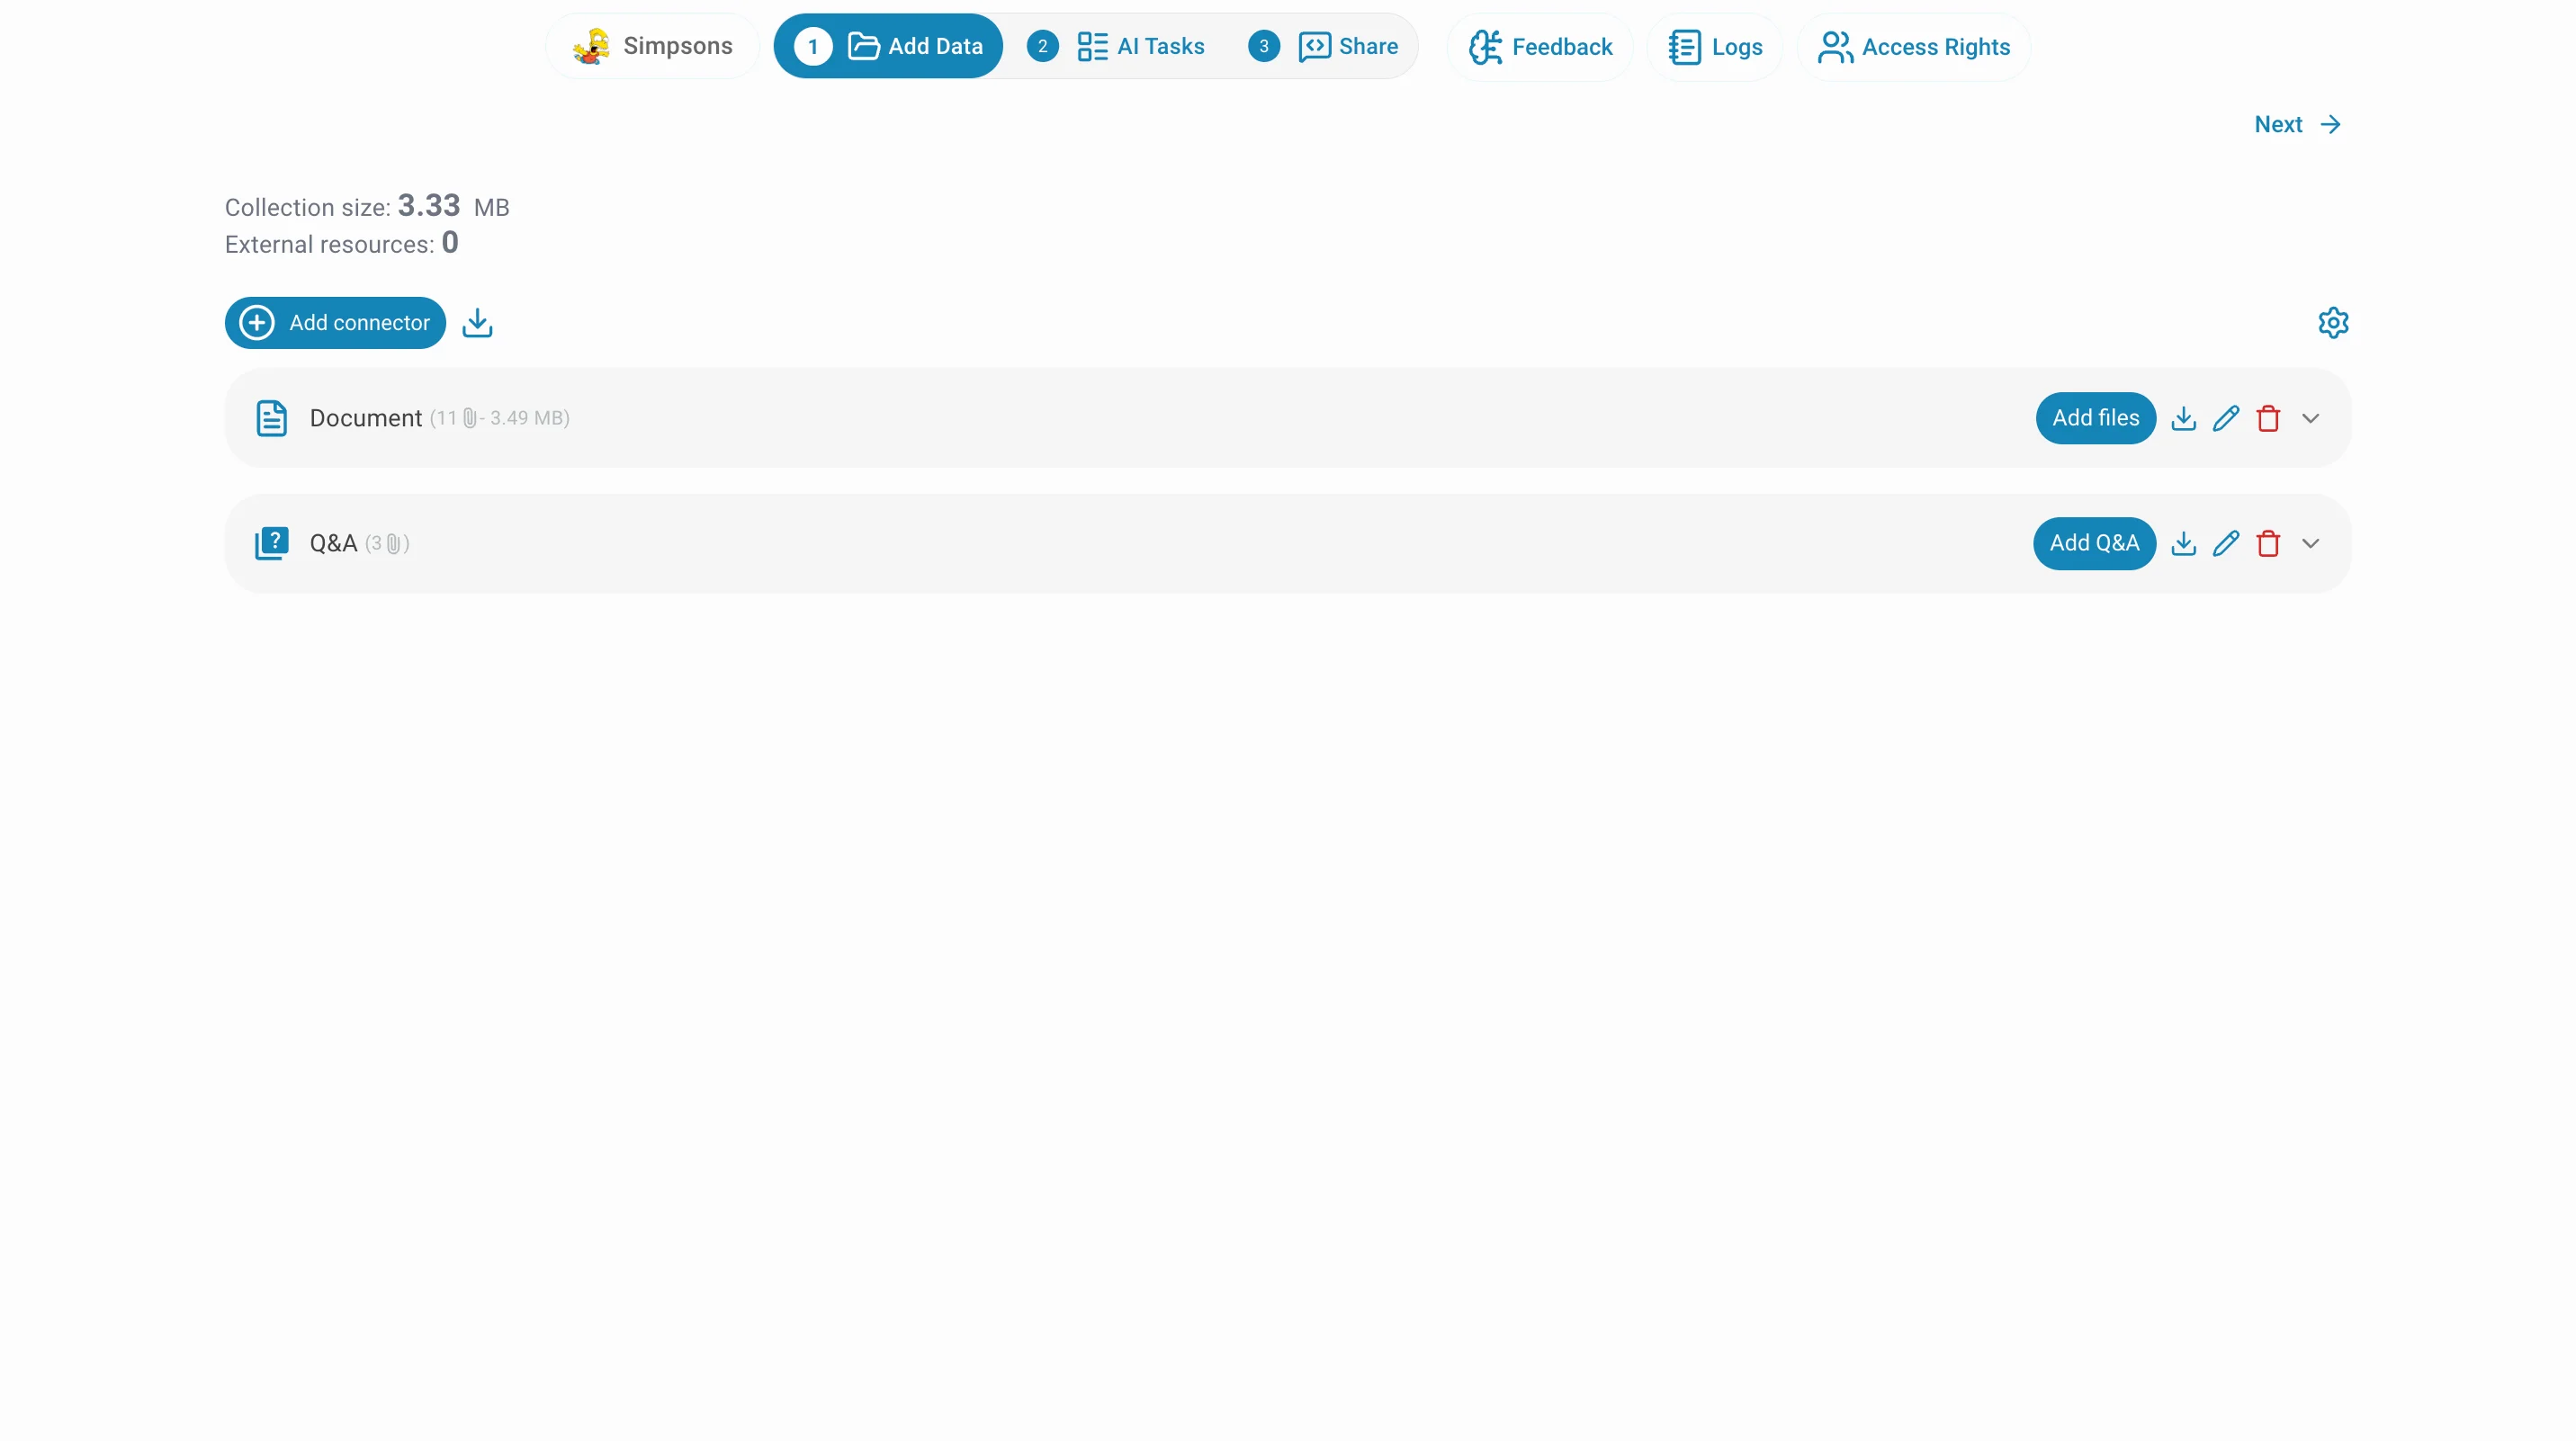

- To add more connectors click on ADD DATA SOURCE and select the desired one.
- To add files to your existing connector click on ADD FILES and the corresponding providing method will open.
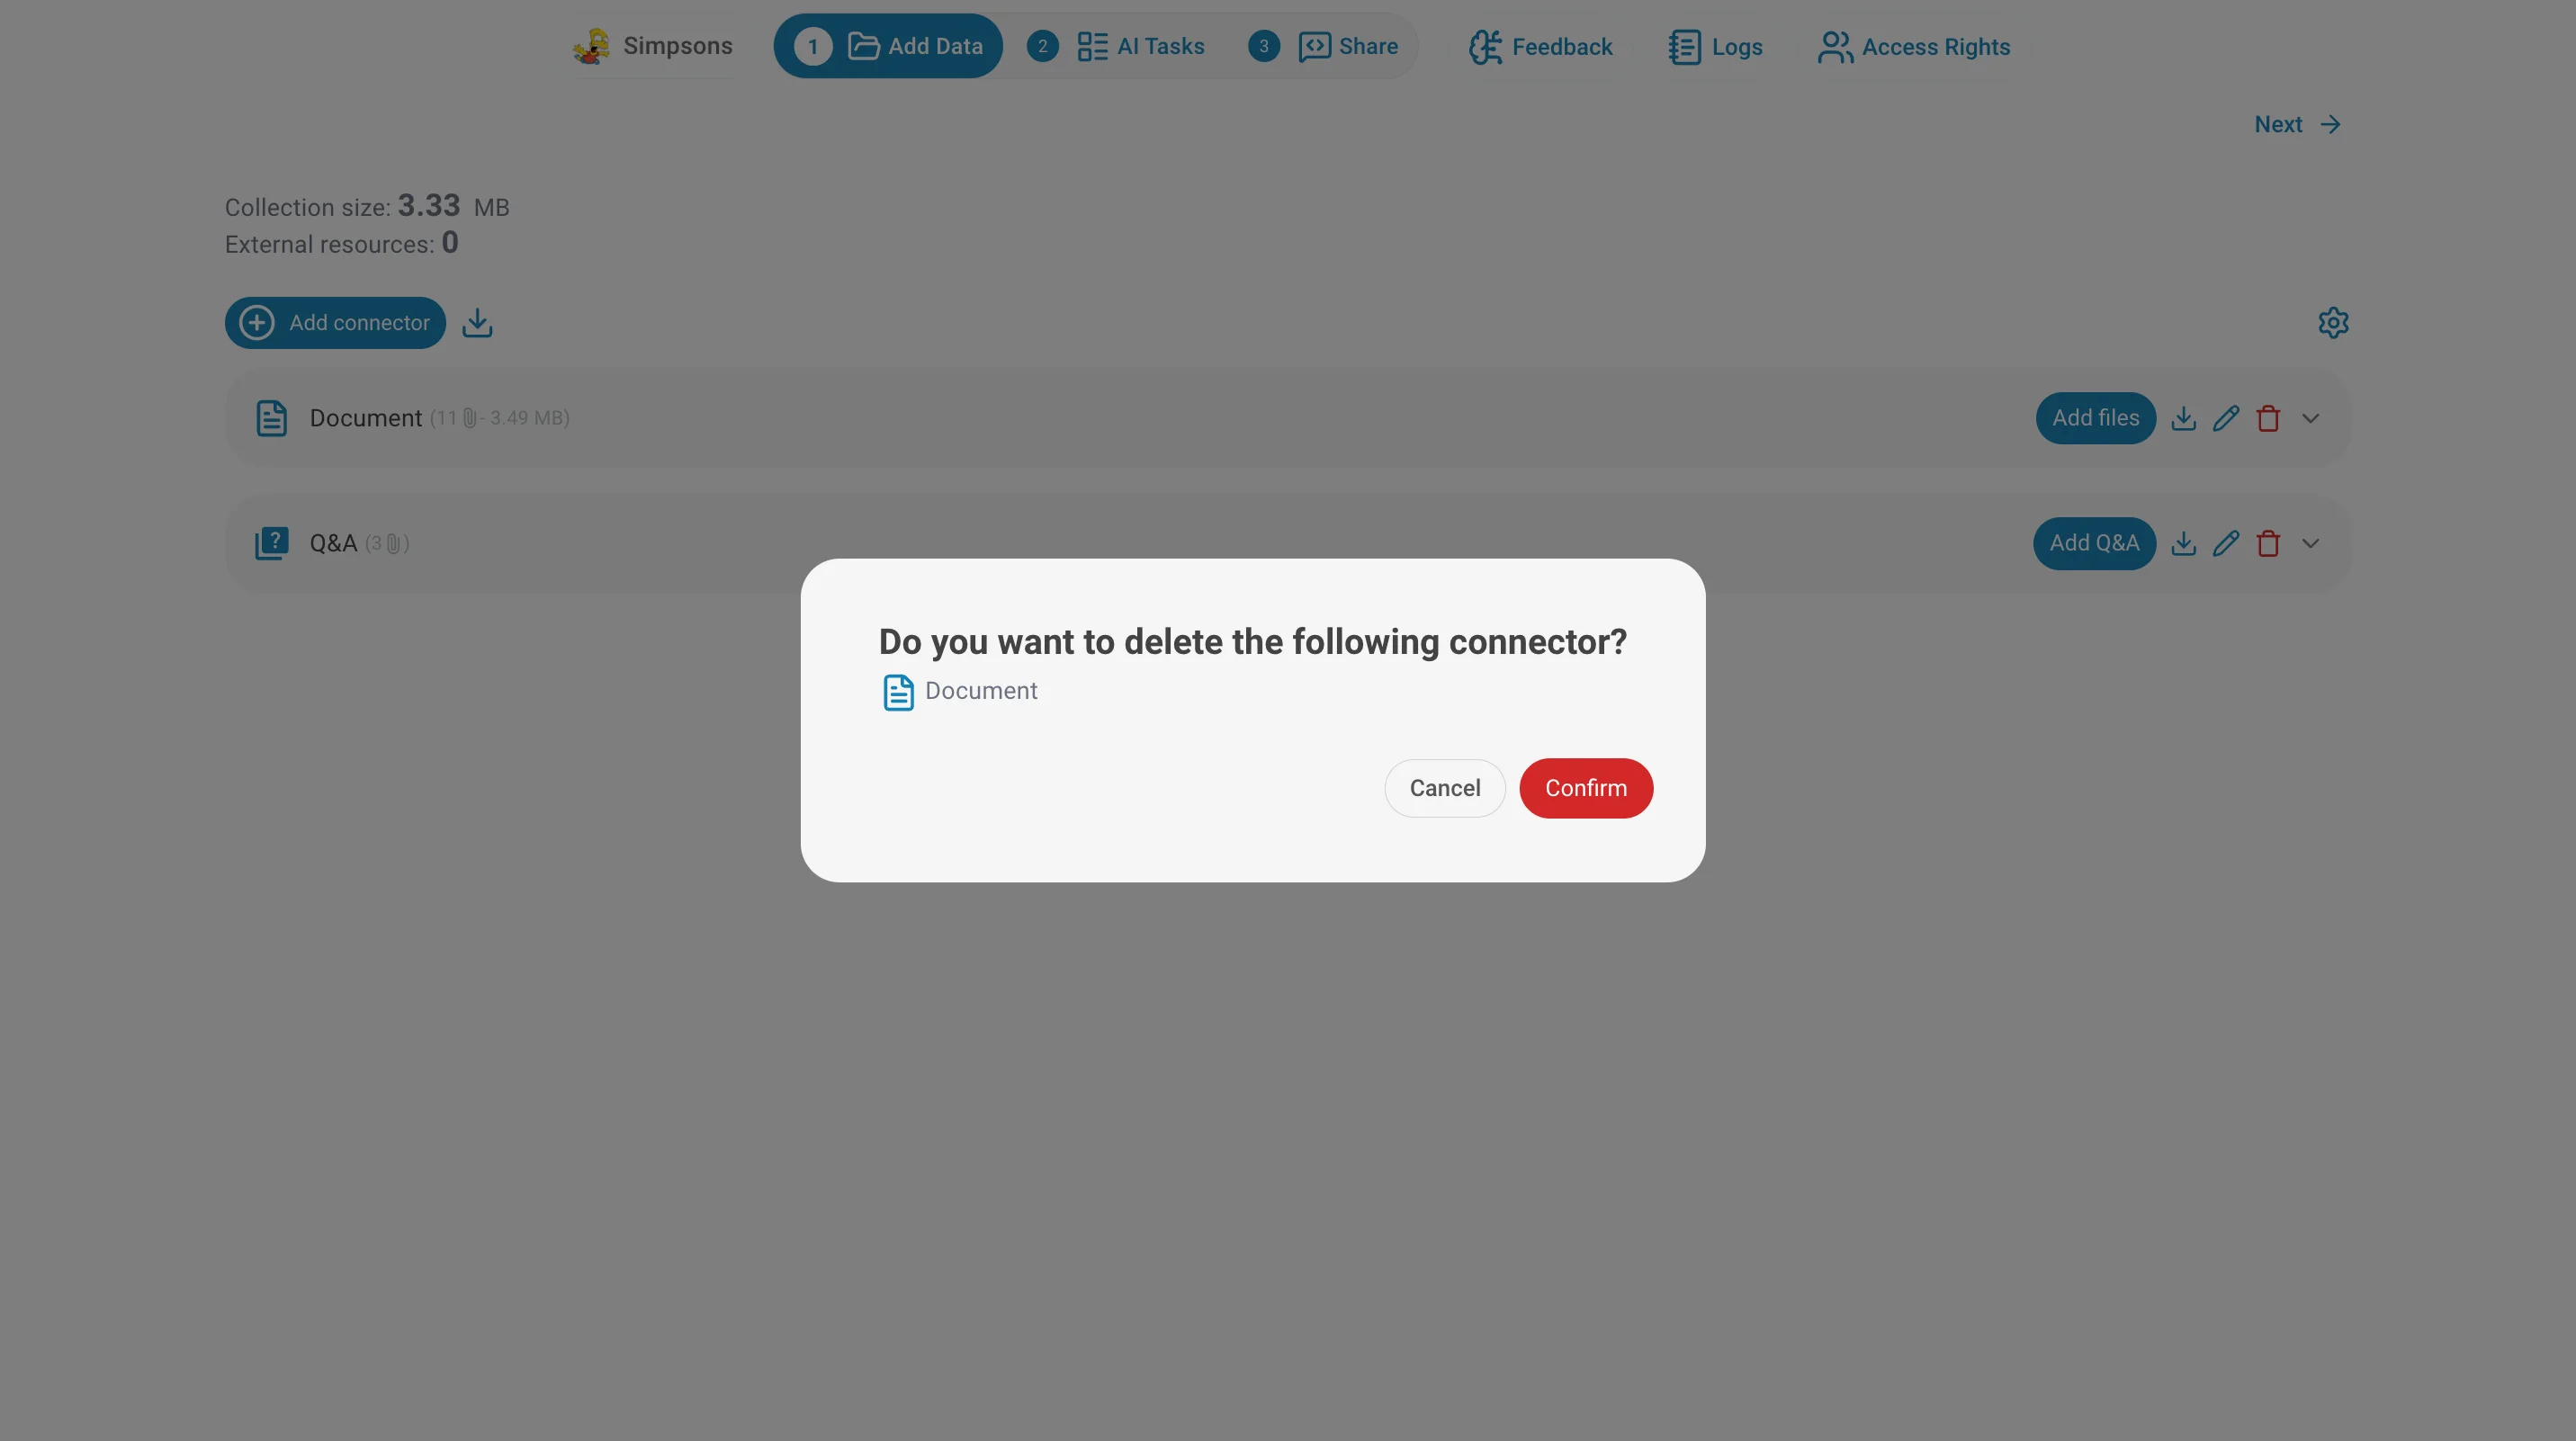
- You can also delete or rename a connector using the icons next to each connector.
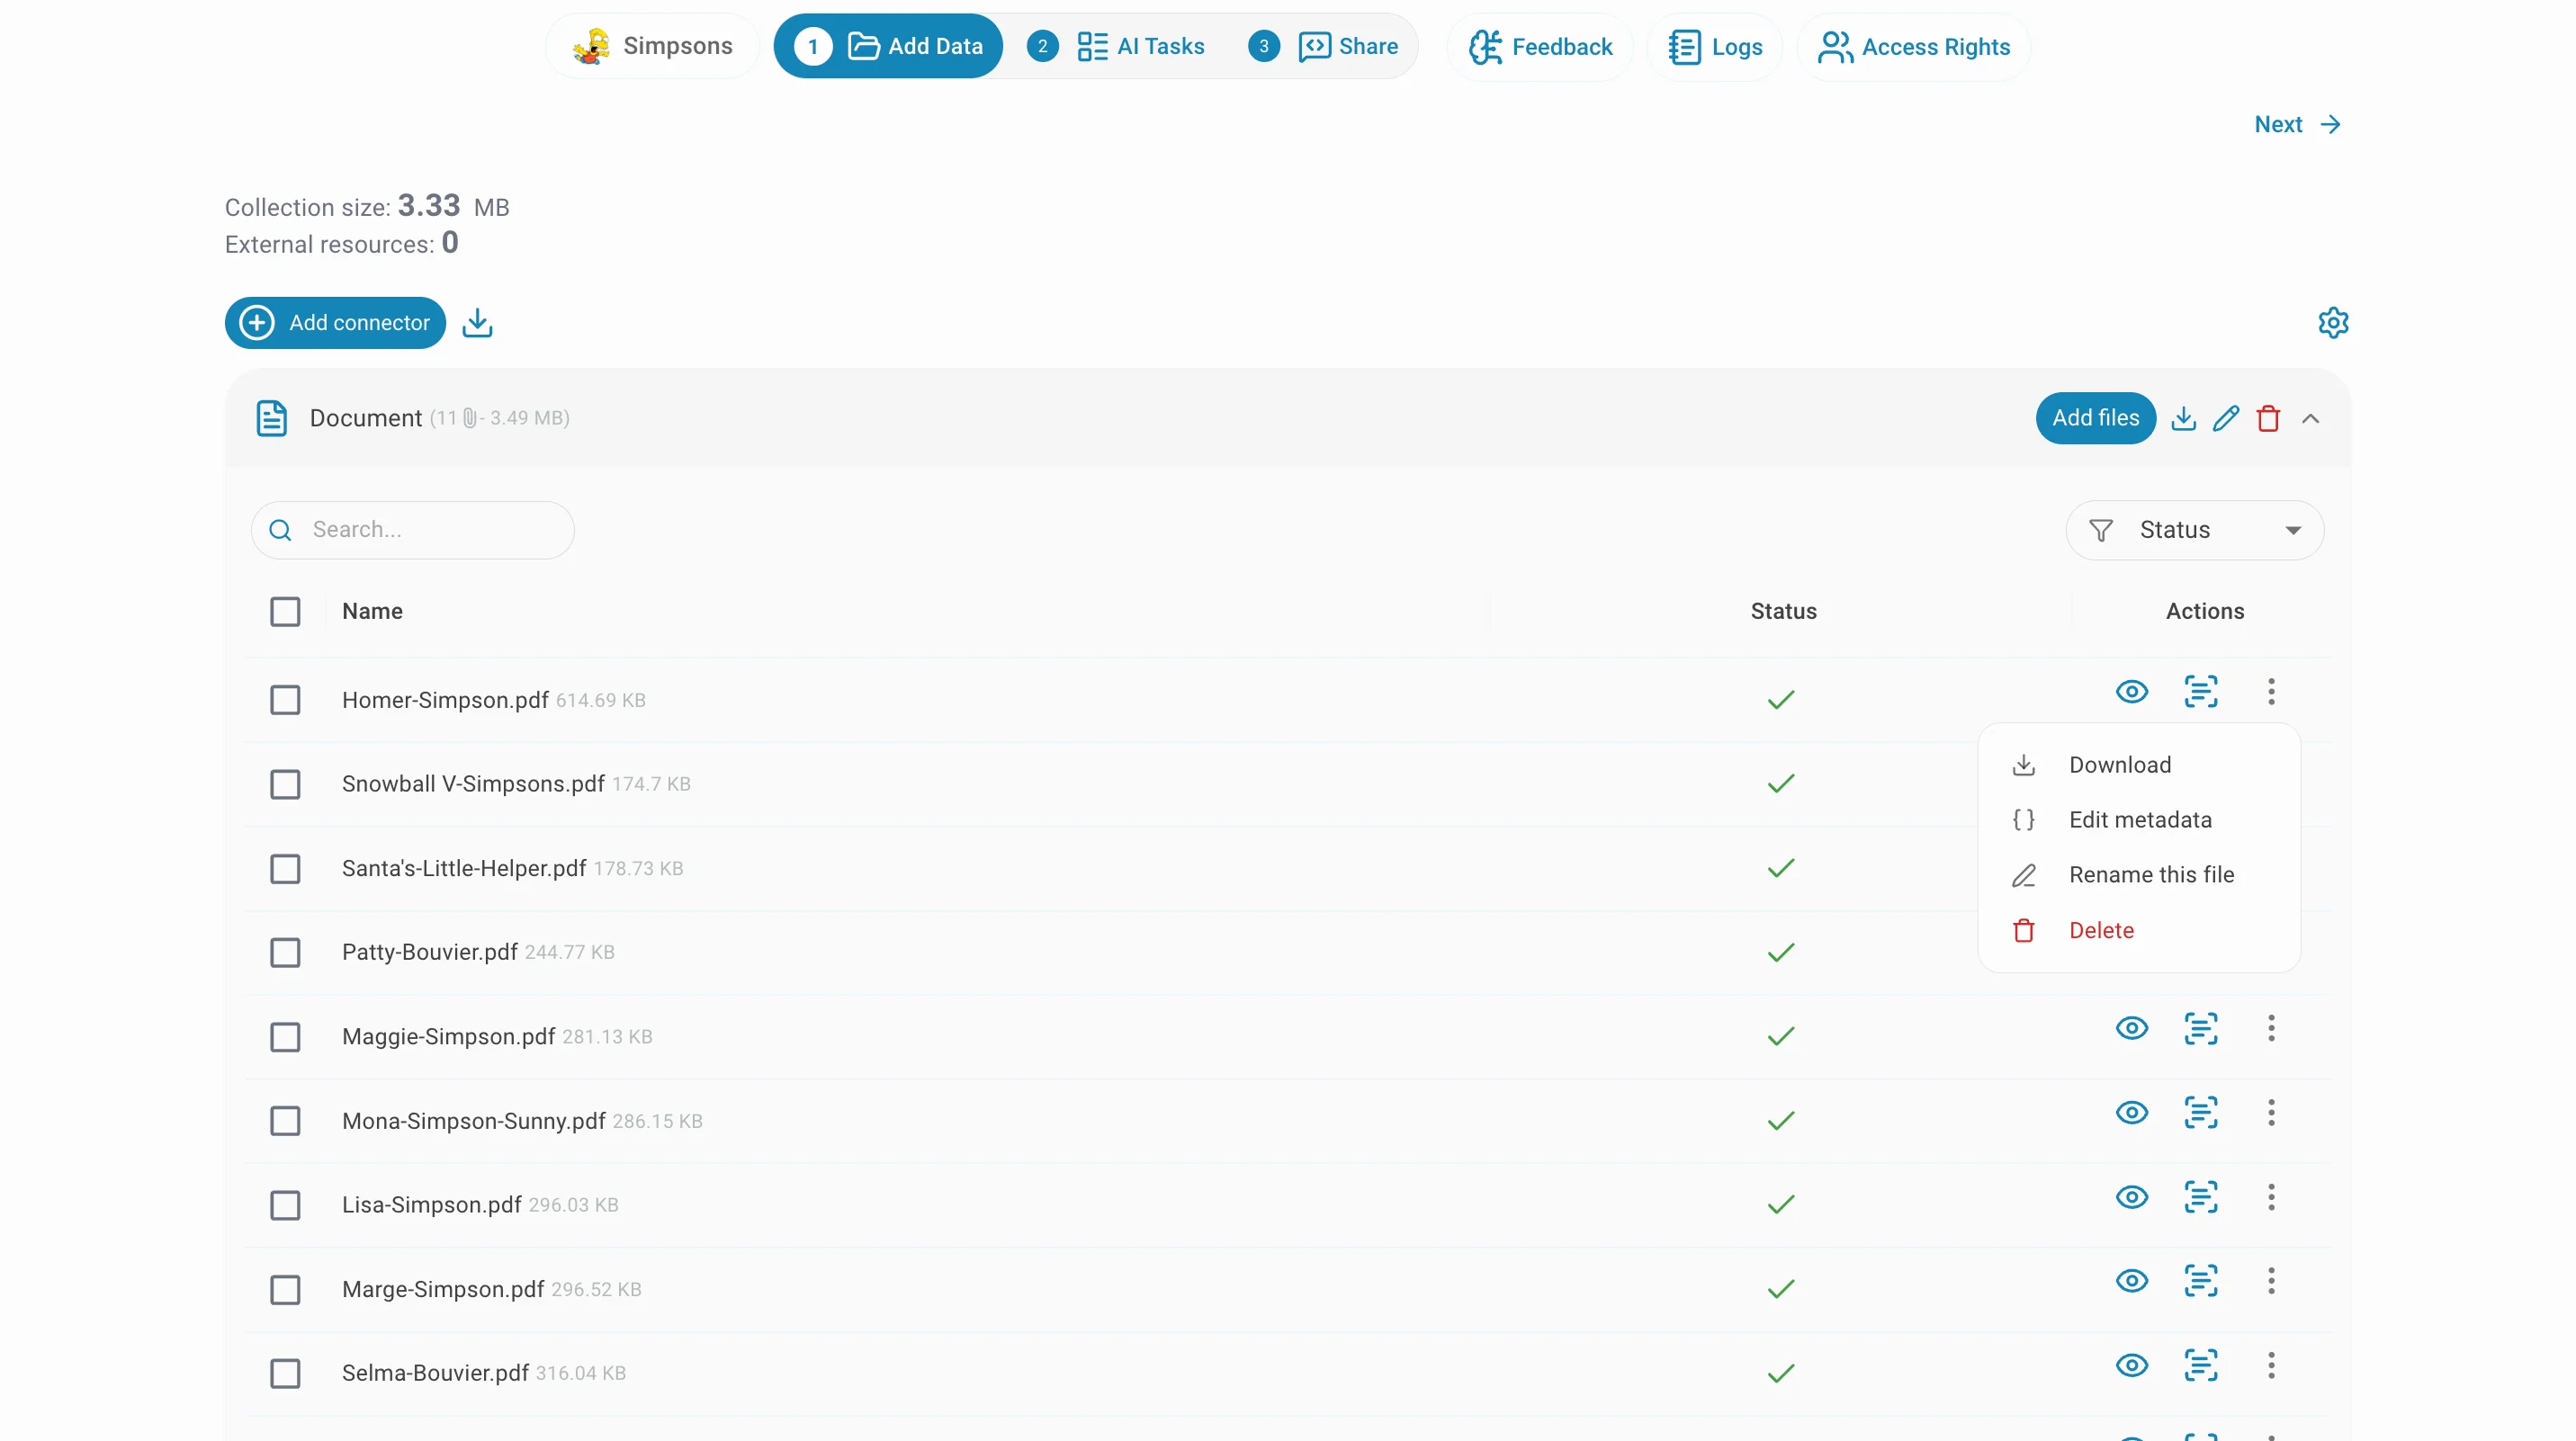
Connectors management
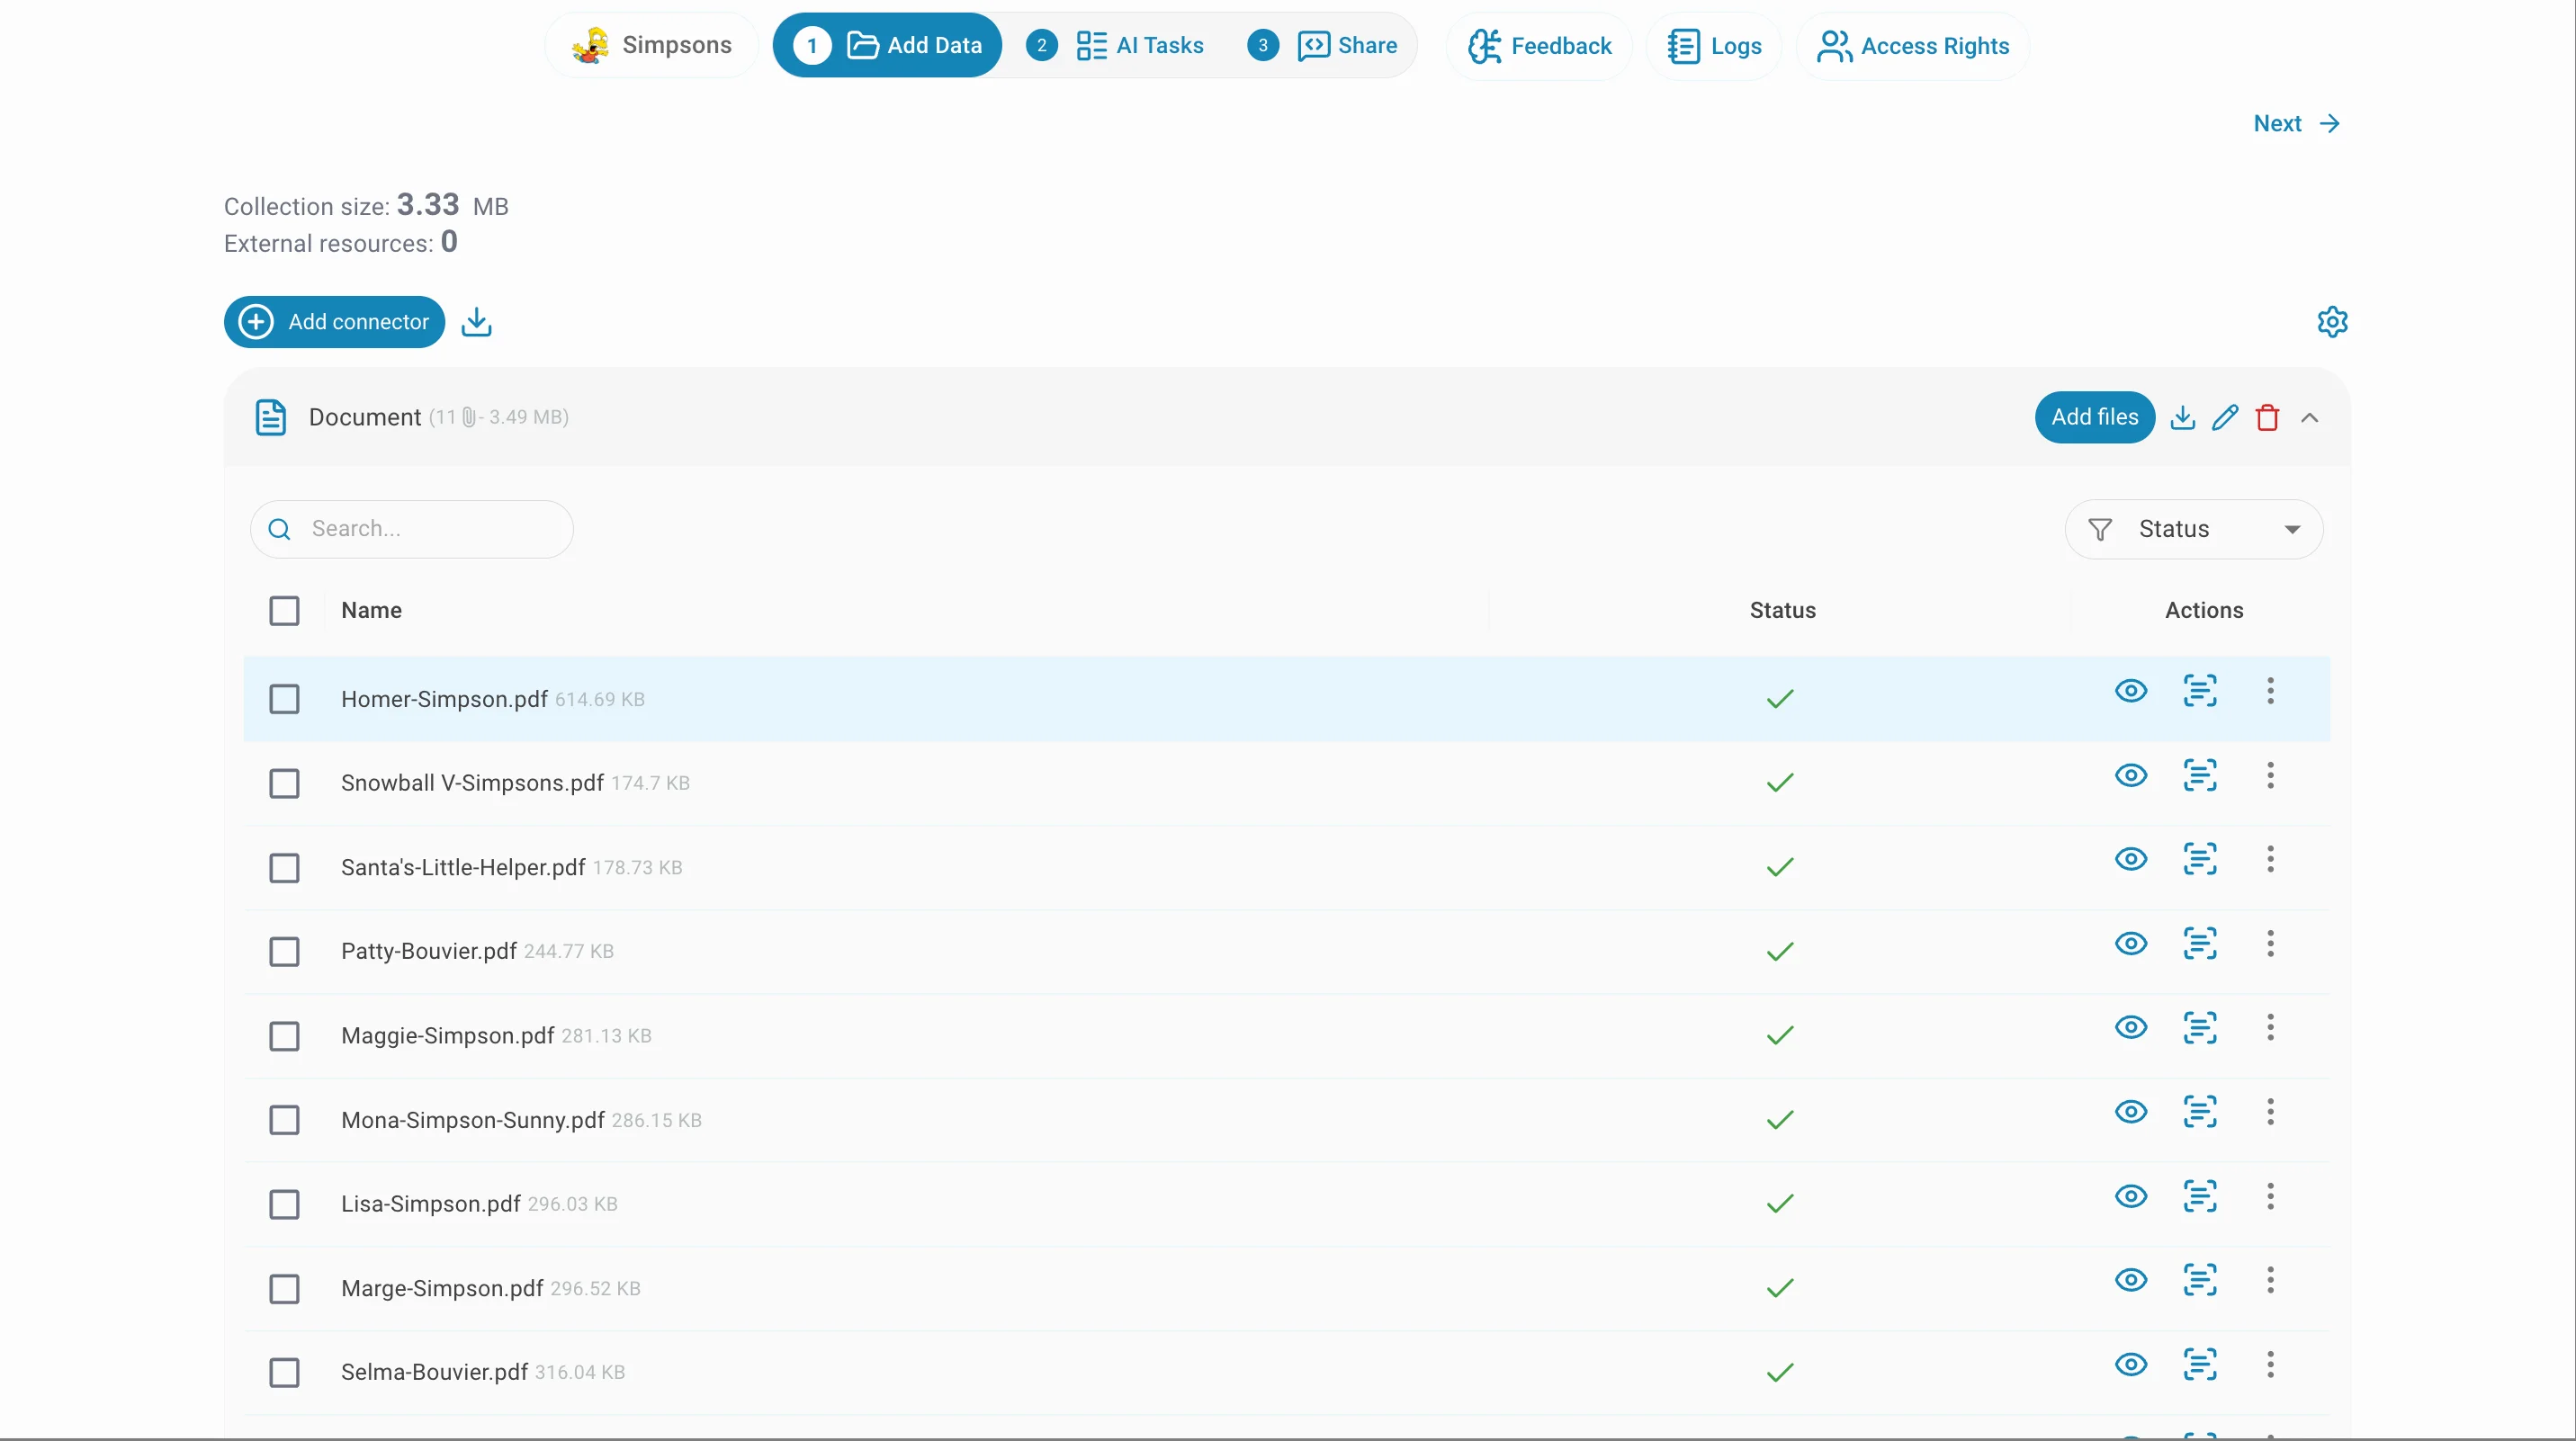
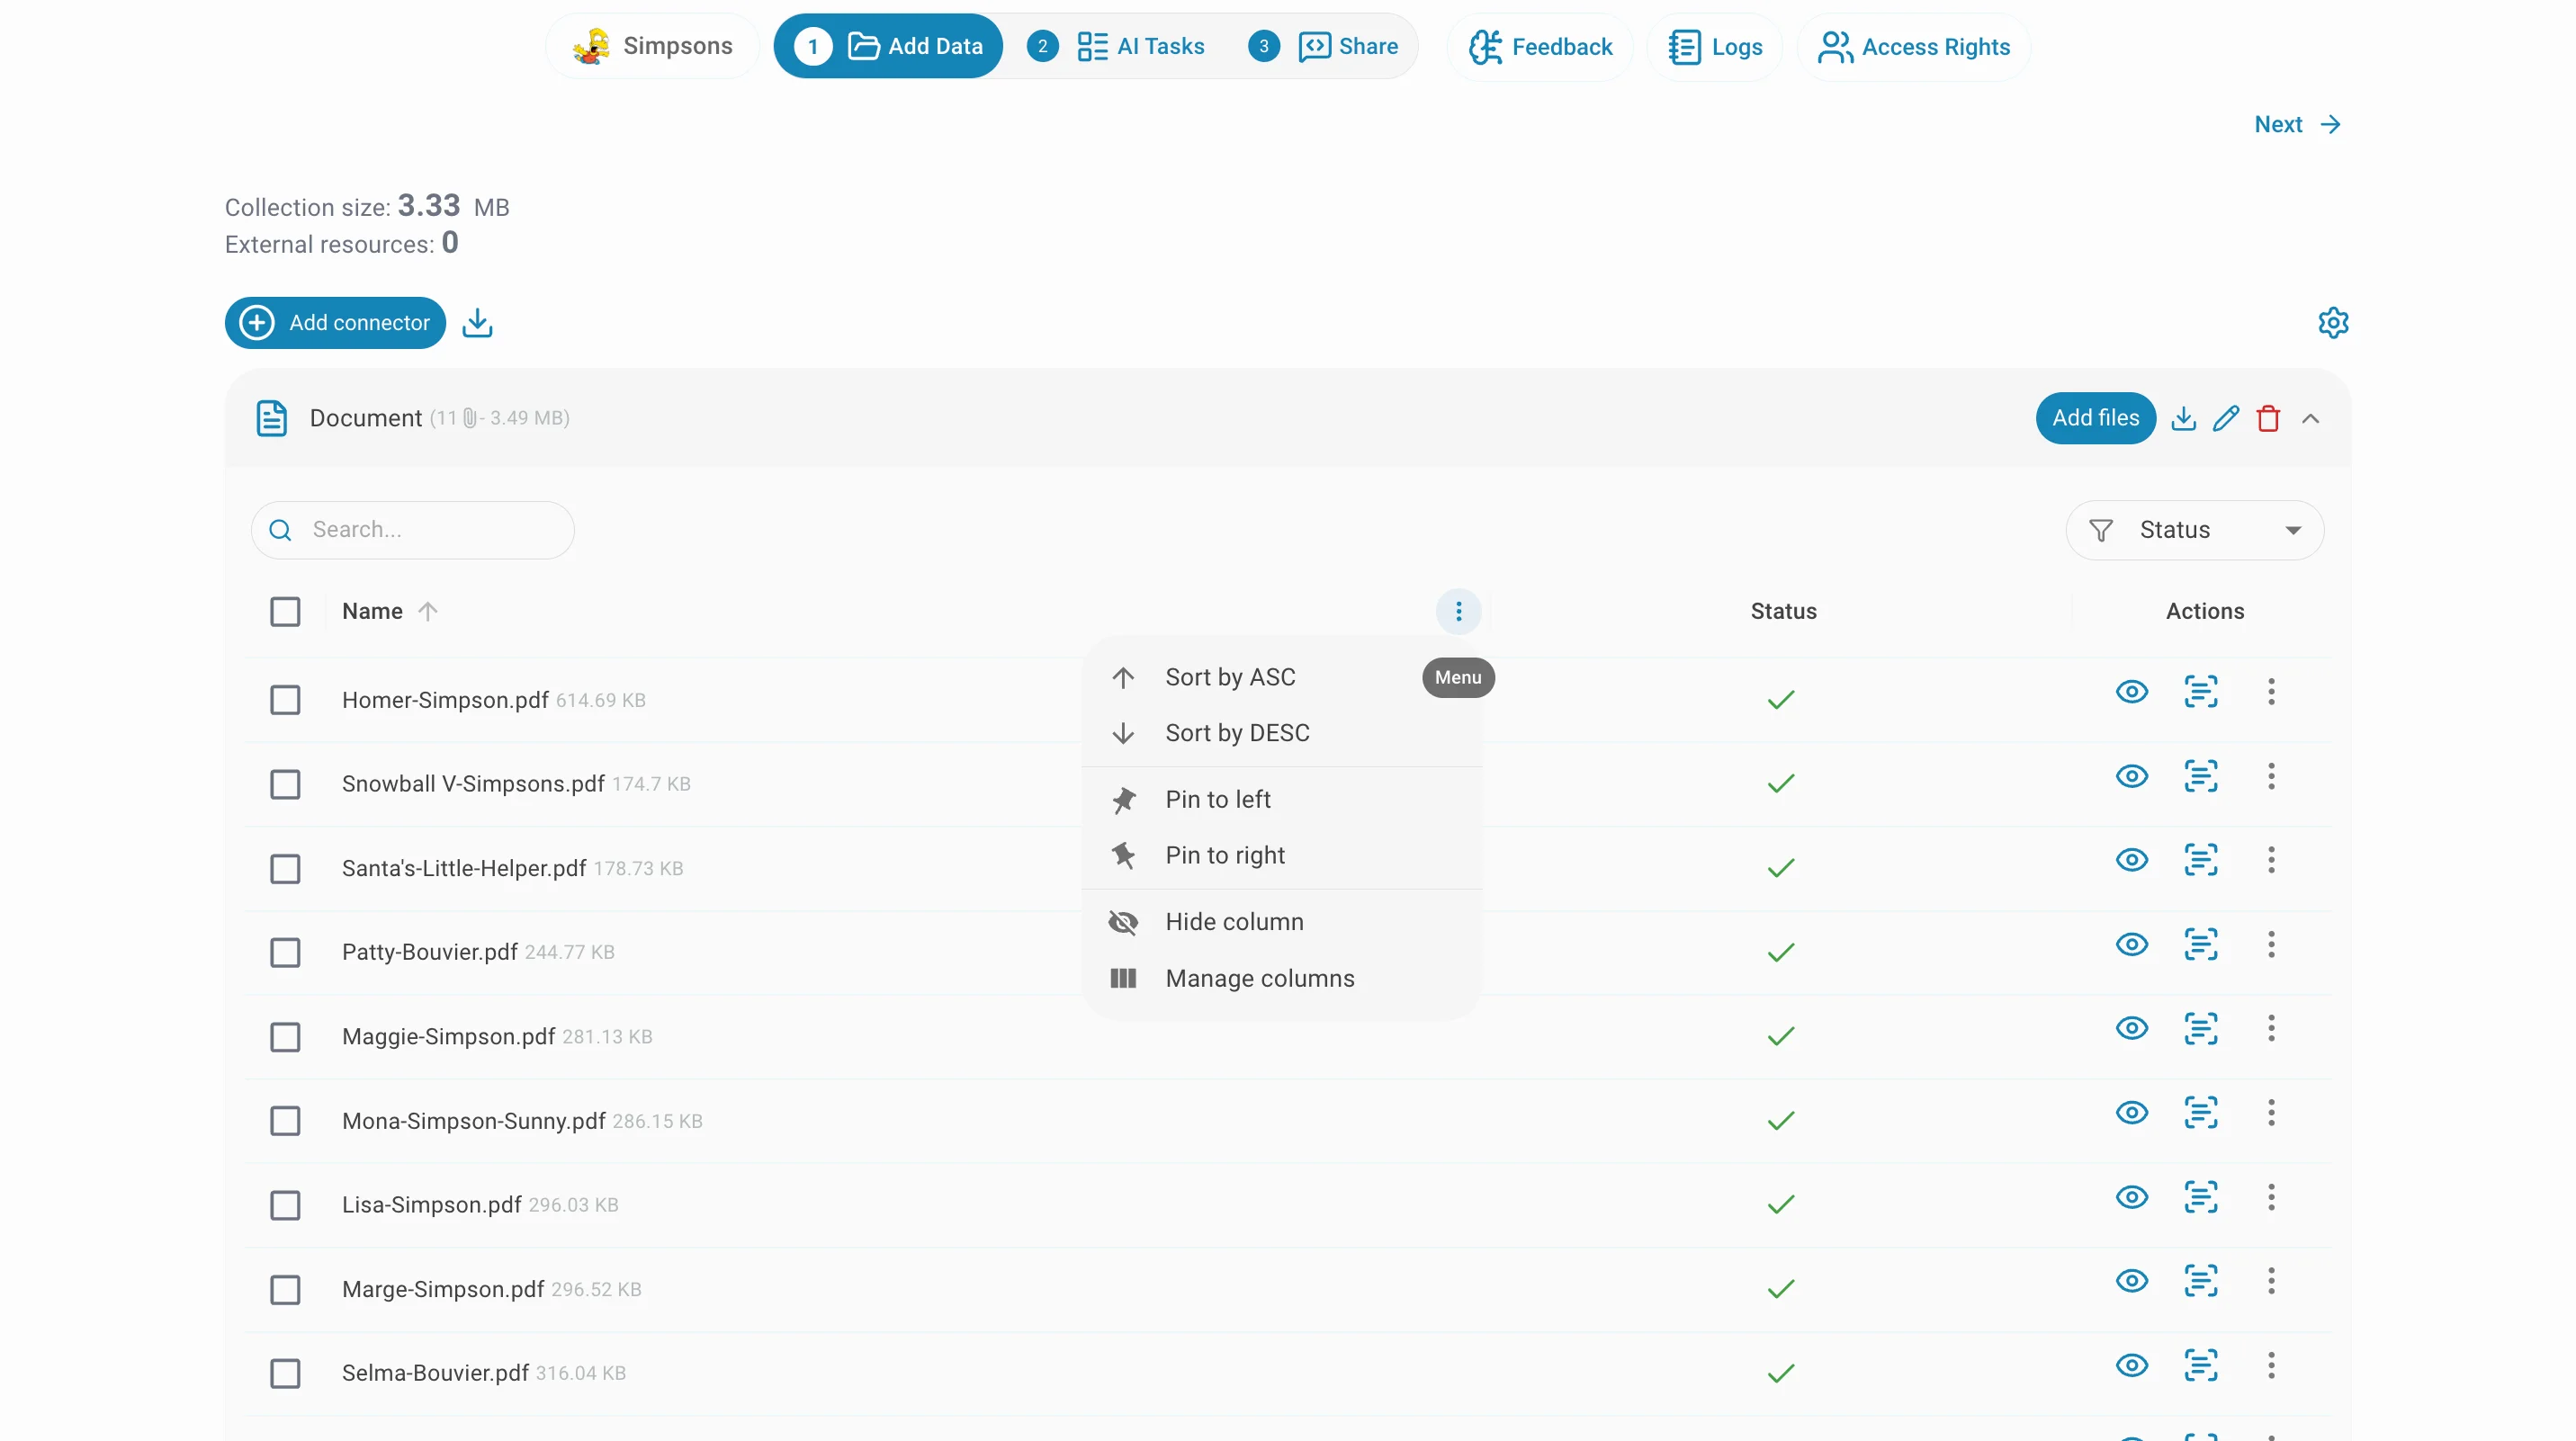
You can search and filter your connectors to easily find the one you want to manage by using the search bar and the filter selector.
Click on
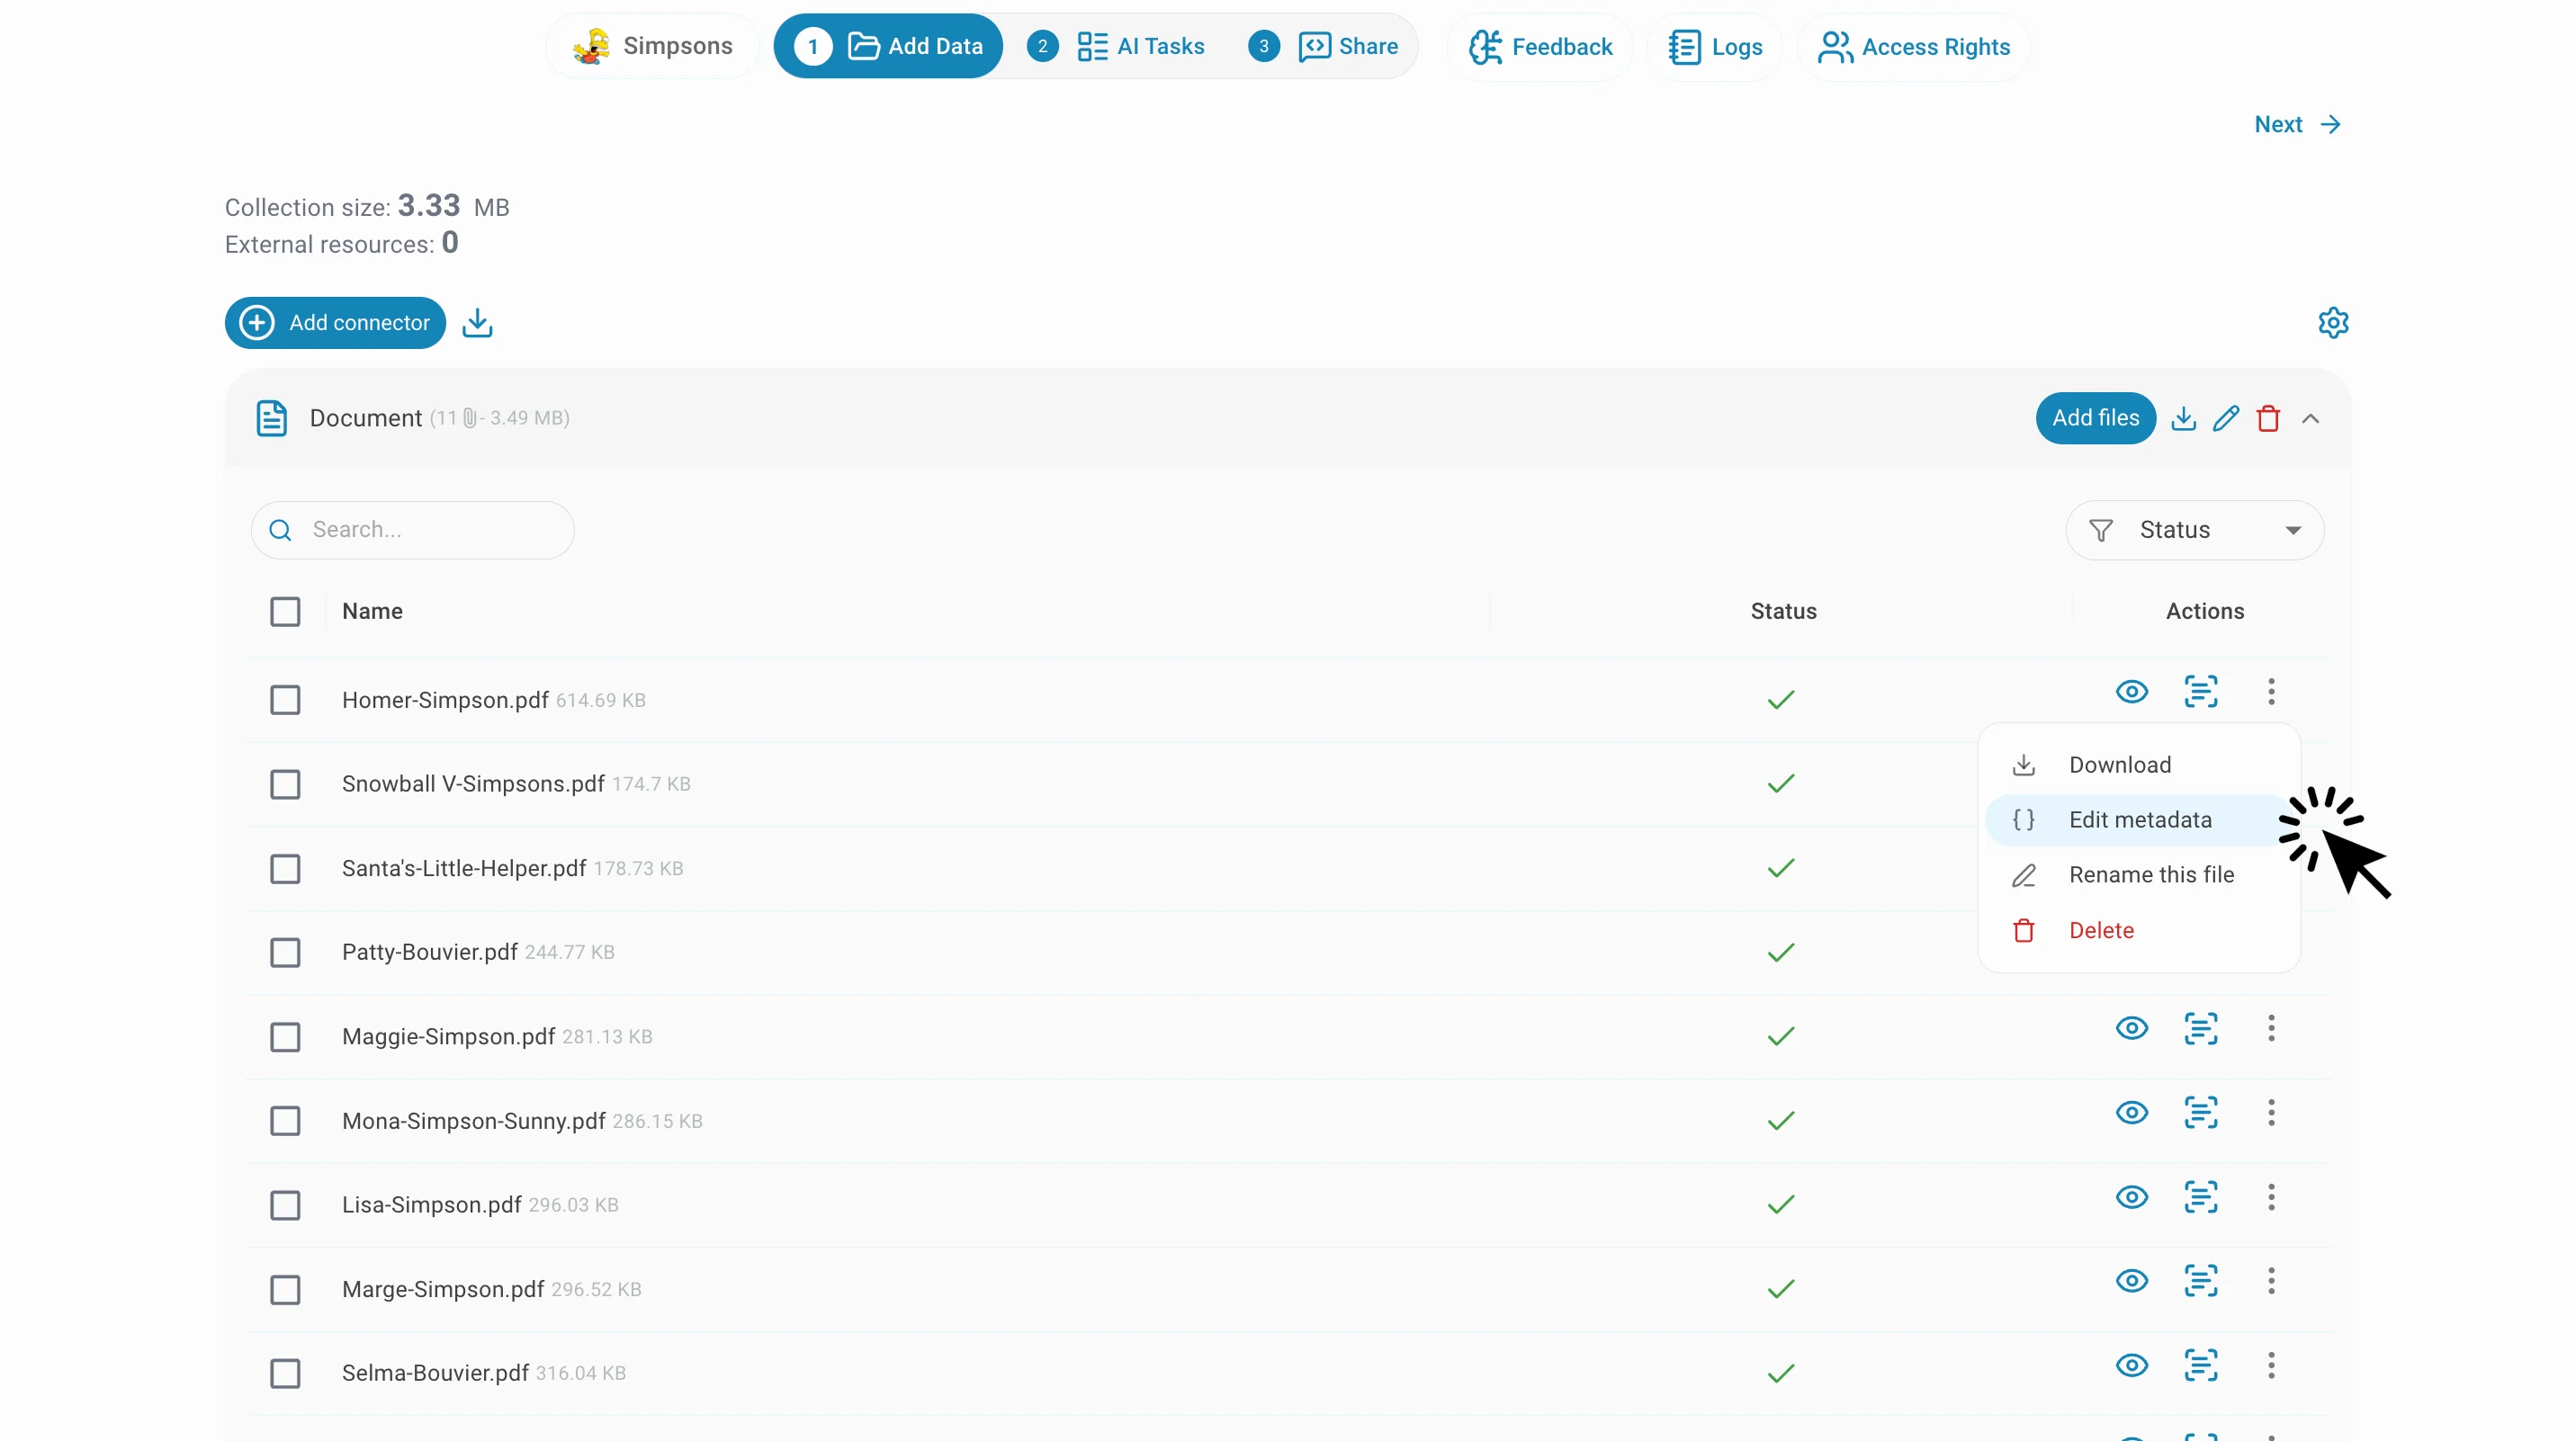
in the connector's table header to preview its content.You also have access to different action such as :
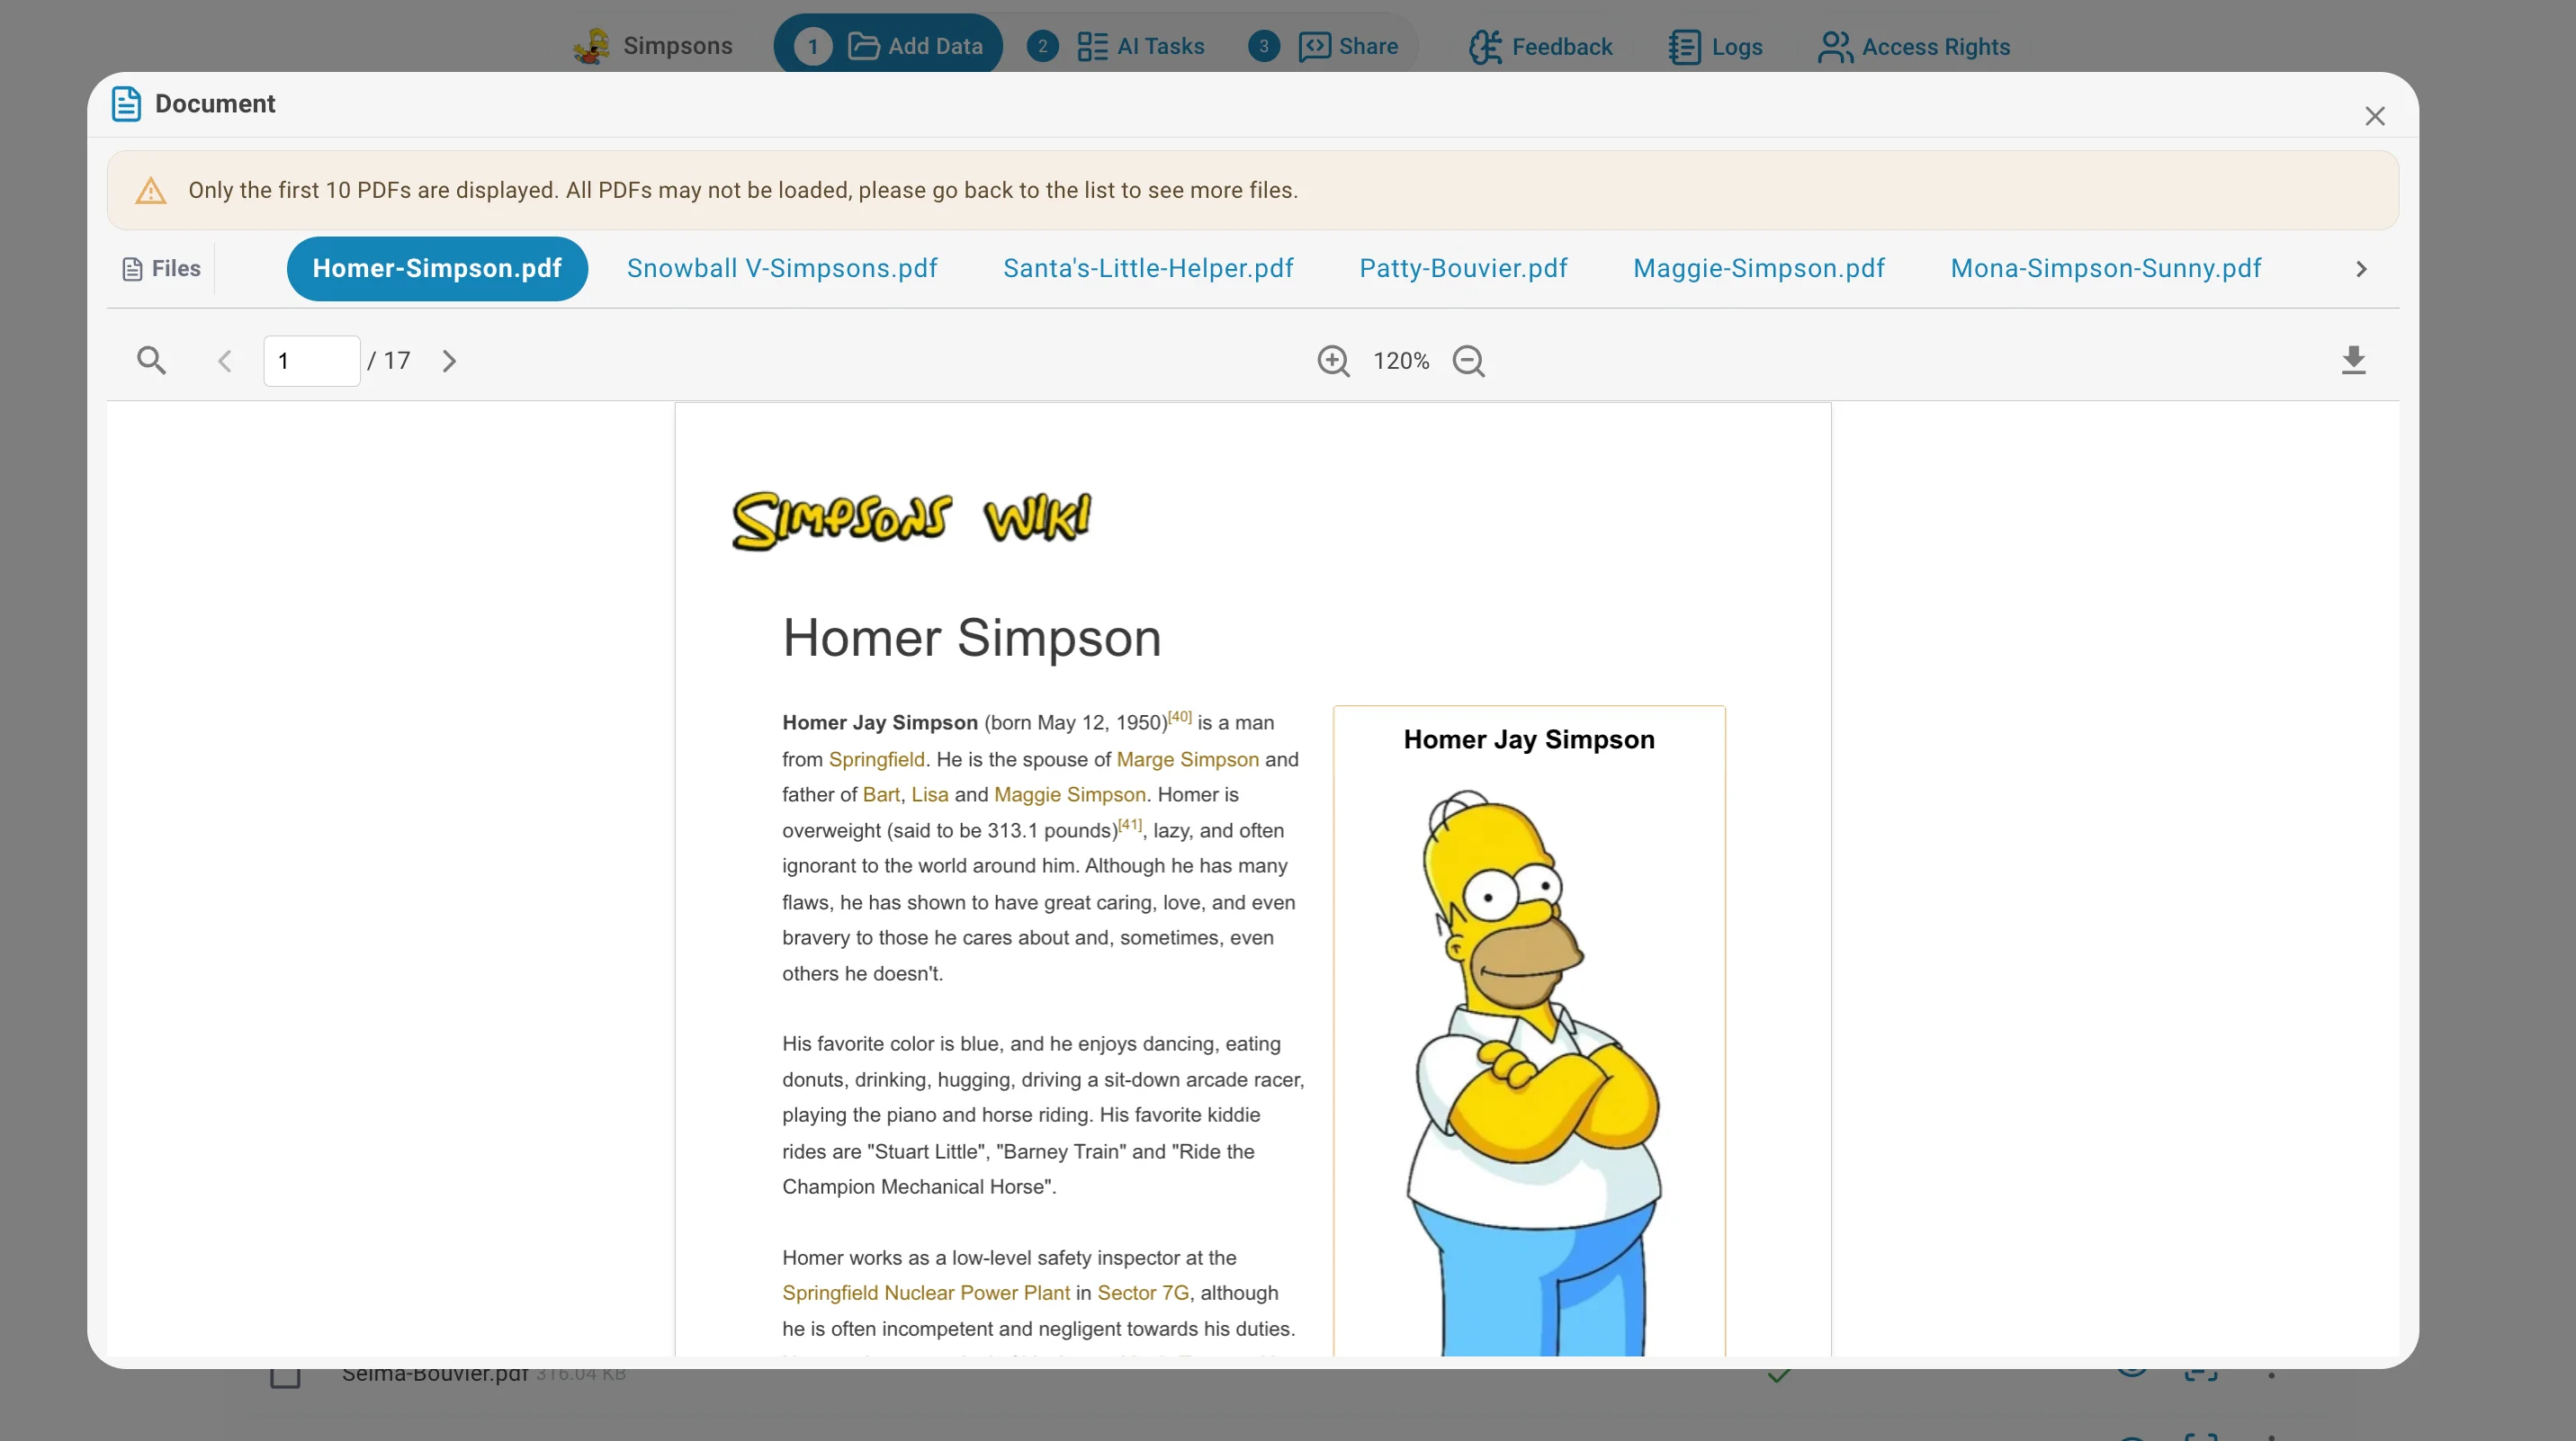
- View the source files
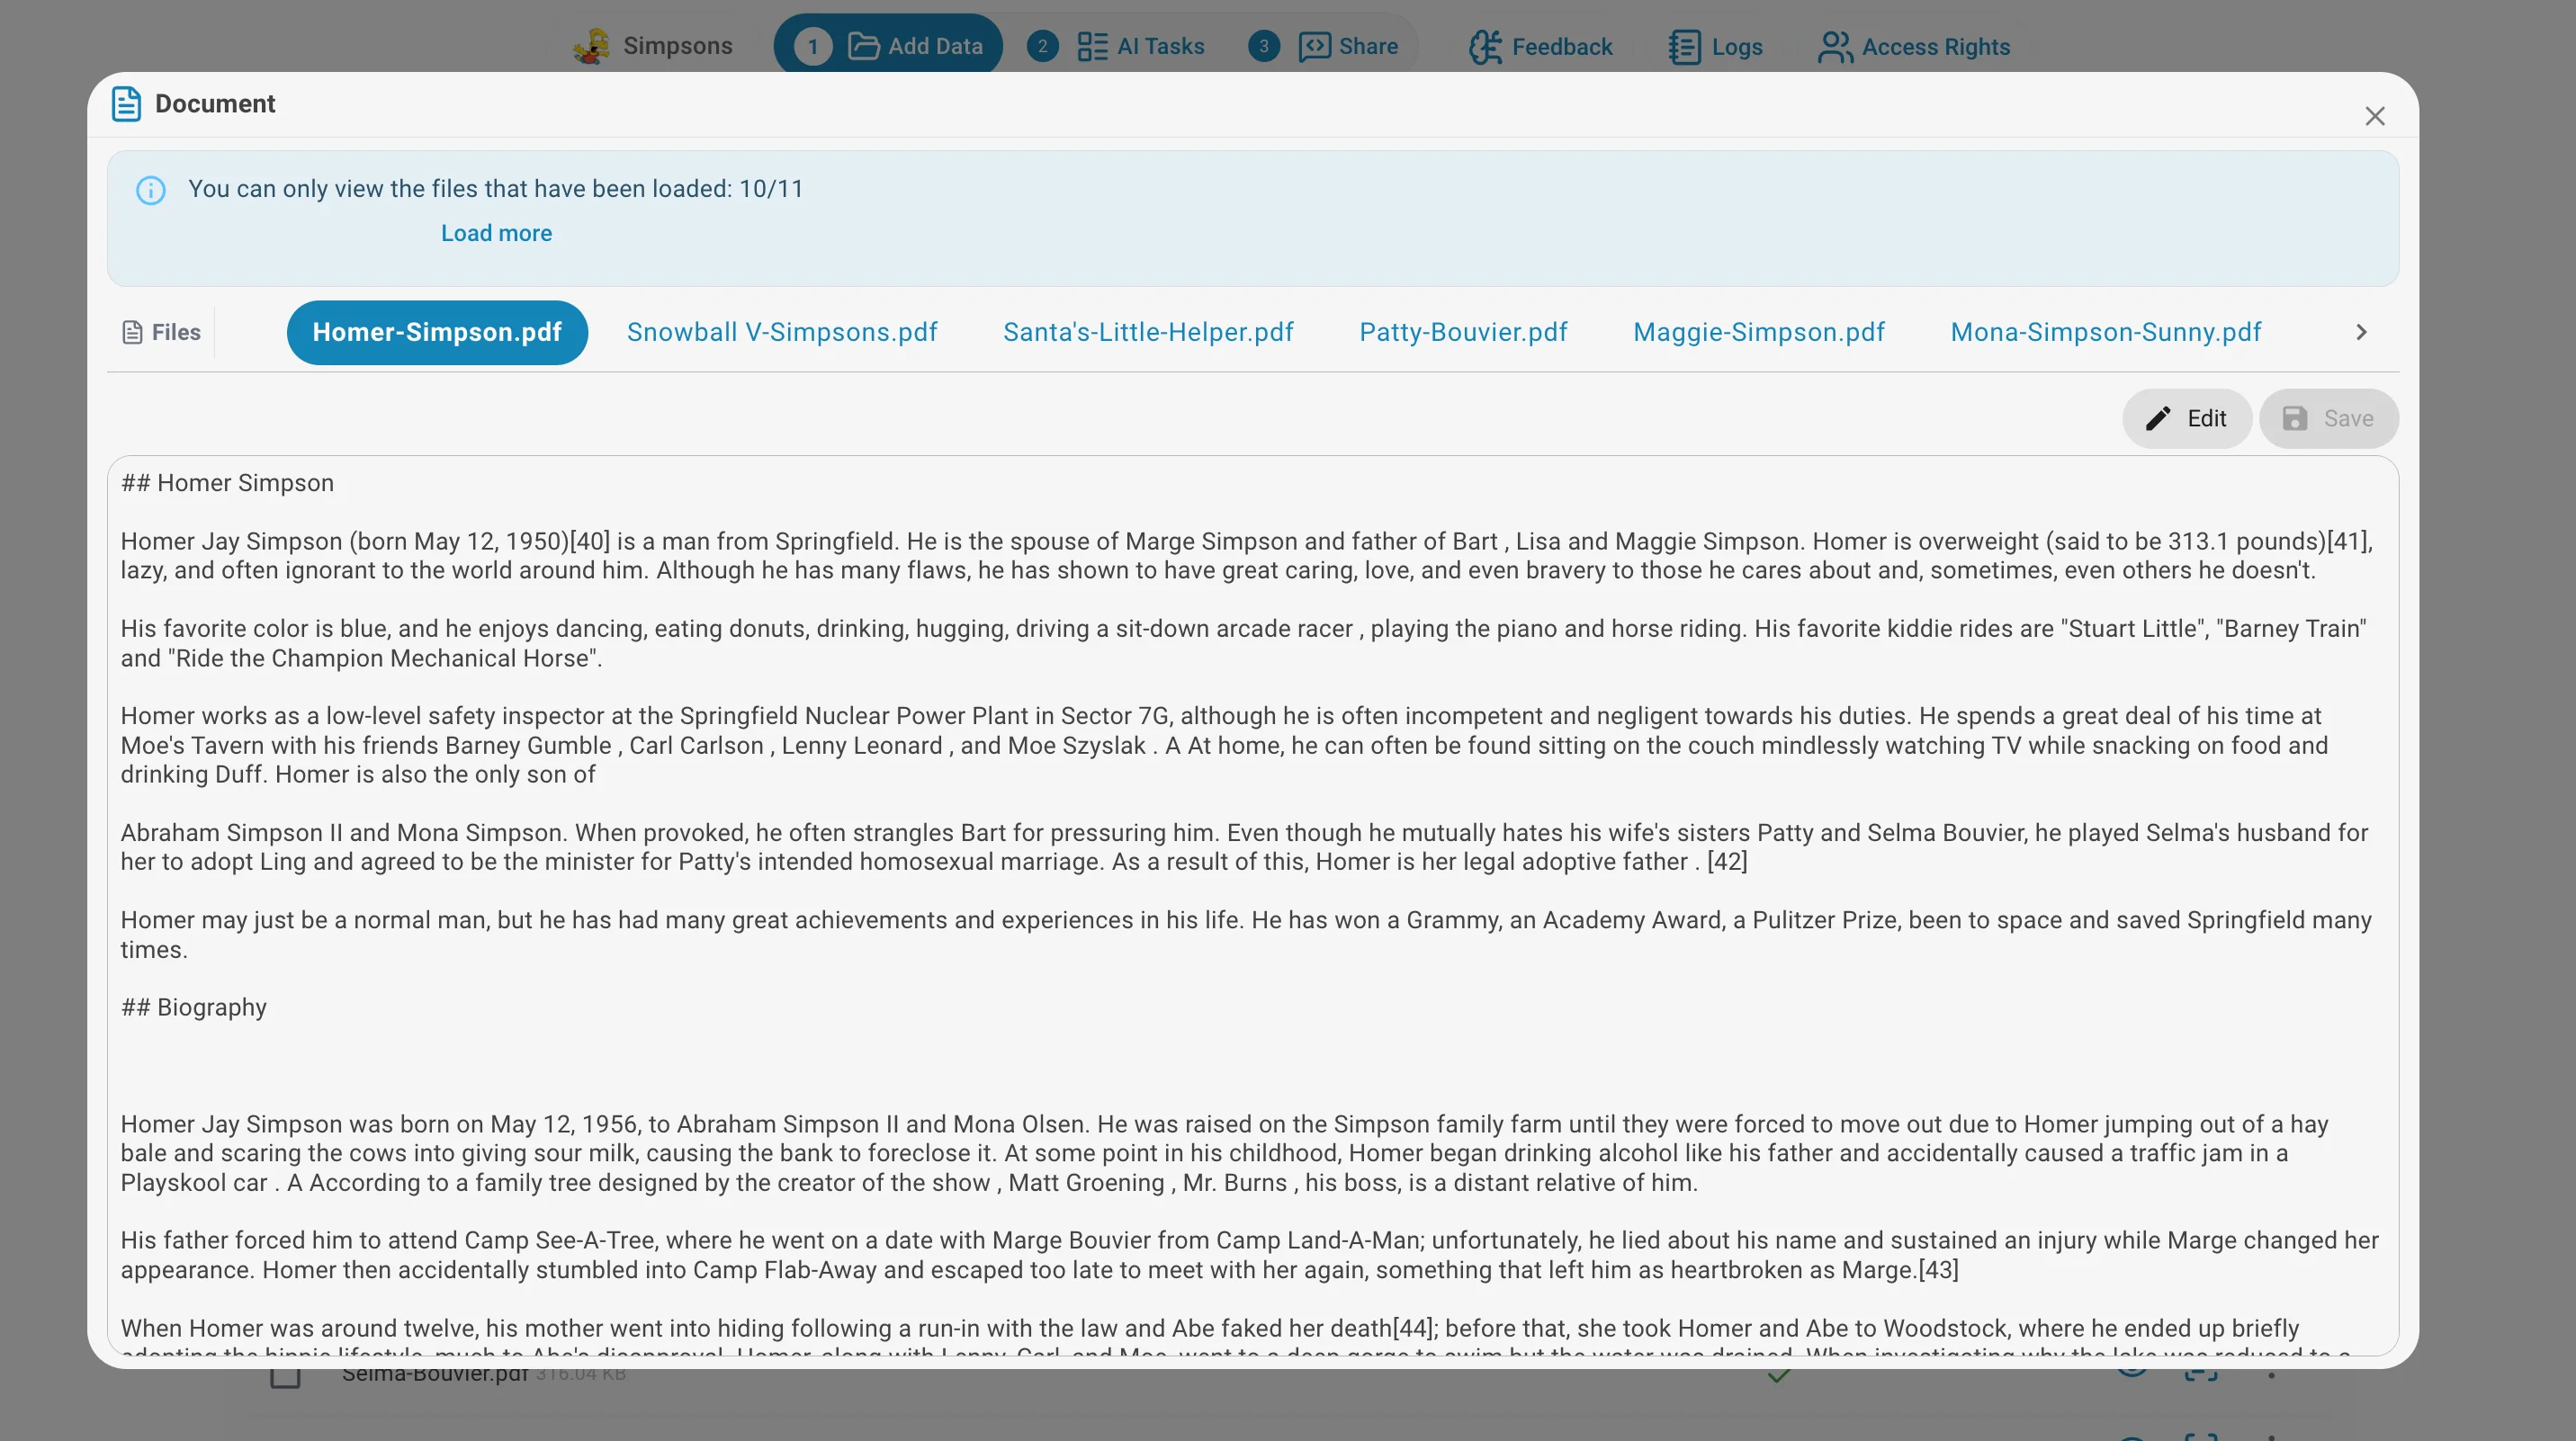
- Read and edit the raw text
- Add and Edit MetaDatas
- See the upload status of the file
- Download the file
- Edit the display name of the file
- Delete the file
- Manage Columns
Access
1. To access the AI Assistant creation page, check the Create an AI Assistant section!
2. Choose your data source:
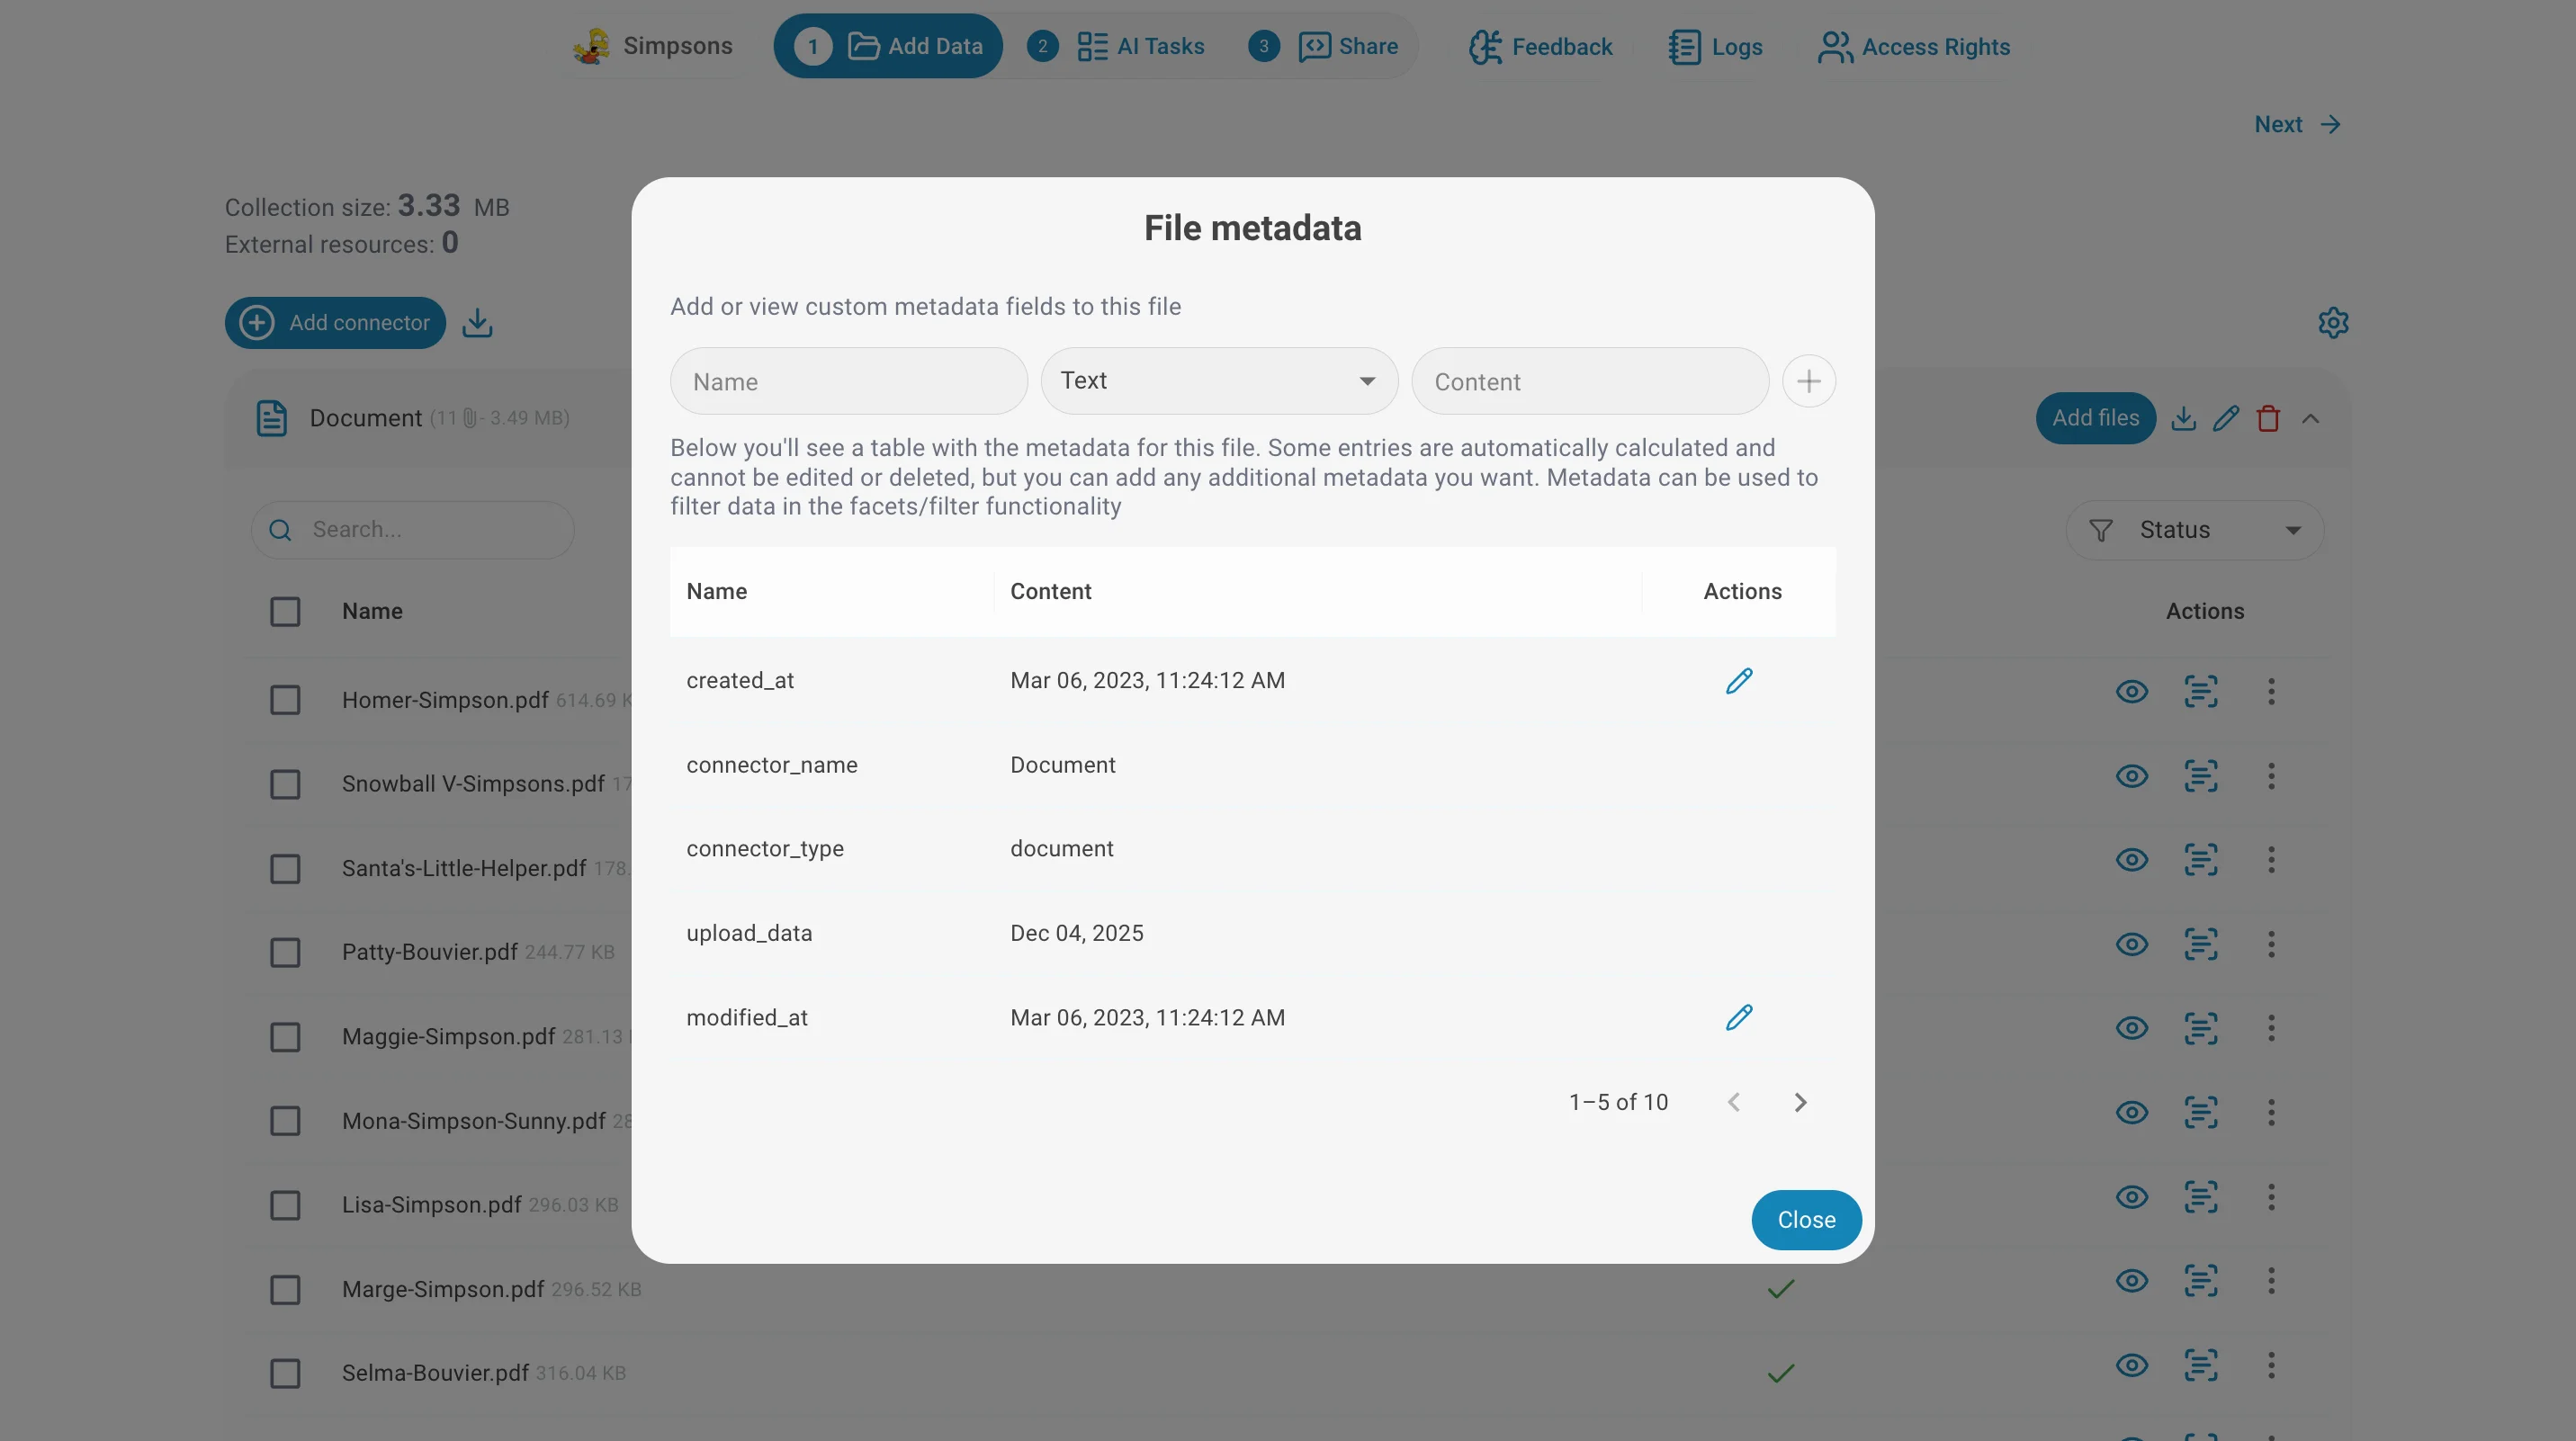
MetaDatas
The Metadata section enriches data sources with custom fields.
UI Presentation
Open the Data Source list and click the braces icon next to the target file.
The metadata panel shows system-calculated data in the table.
To add metadata, fill in the fields at the top of the panel:
- Enter a Name (e.g., Character).
- Enter a Content (e.g., Homer Simpson).
- Click + to save.
After adding, click > at the bottom right of the panel to view the added metadata.

Metadata List
Each file supports multiple metadata fields, listed with their Name and Content. Update or delete them at any time using the edit and delete icons.
Example
For a document such as Simpsons_Family_Tree.pdf, you could add:
- Character → Homer Simpson
- Role → Father
- Year Introduced → 1989
- Occupation → Nuclear Safety Inspector
- Catchphrase → D'oh!

Check the Facet Search or Facet Chat section.