
SharePoint
The SharePoint connector indexes sites and document libraries, which makes it the usual choice for company-wide knowledge that already lives in SharePoint.
Prerequisites
SharePoint needs a work or school account — a personal Microsoft account cannot reach a SharePoint tenant. If you plan to connect with an app registration instead of signing in, ask your administrator for its details before you start.
Connect SharePoint
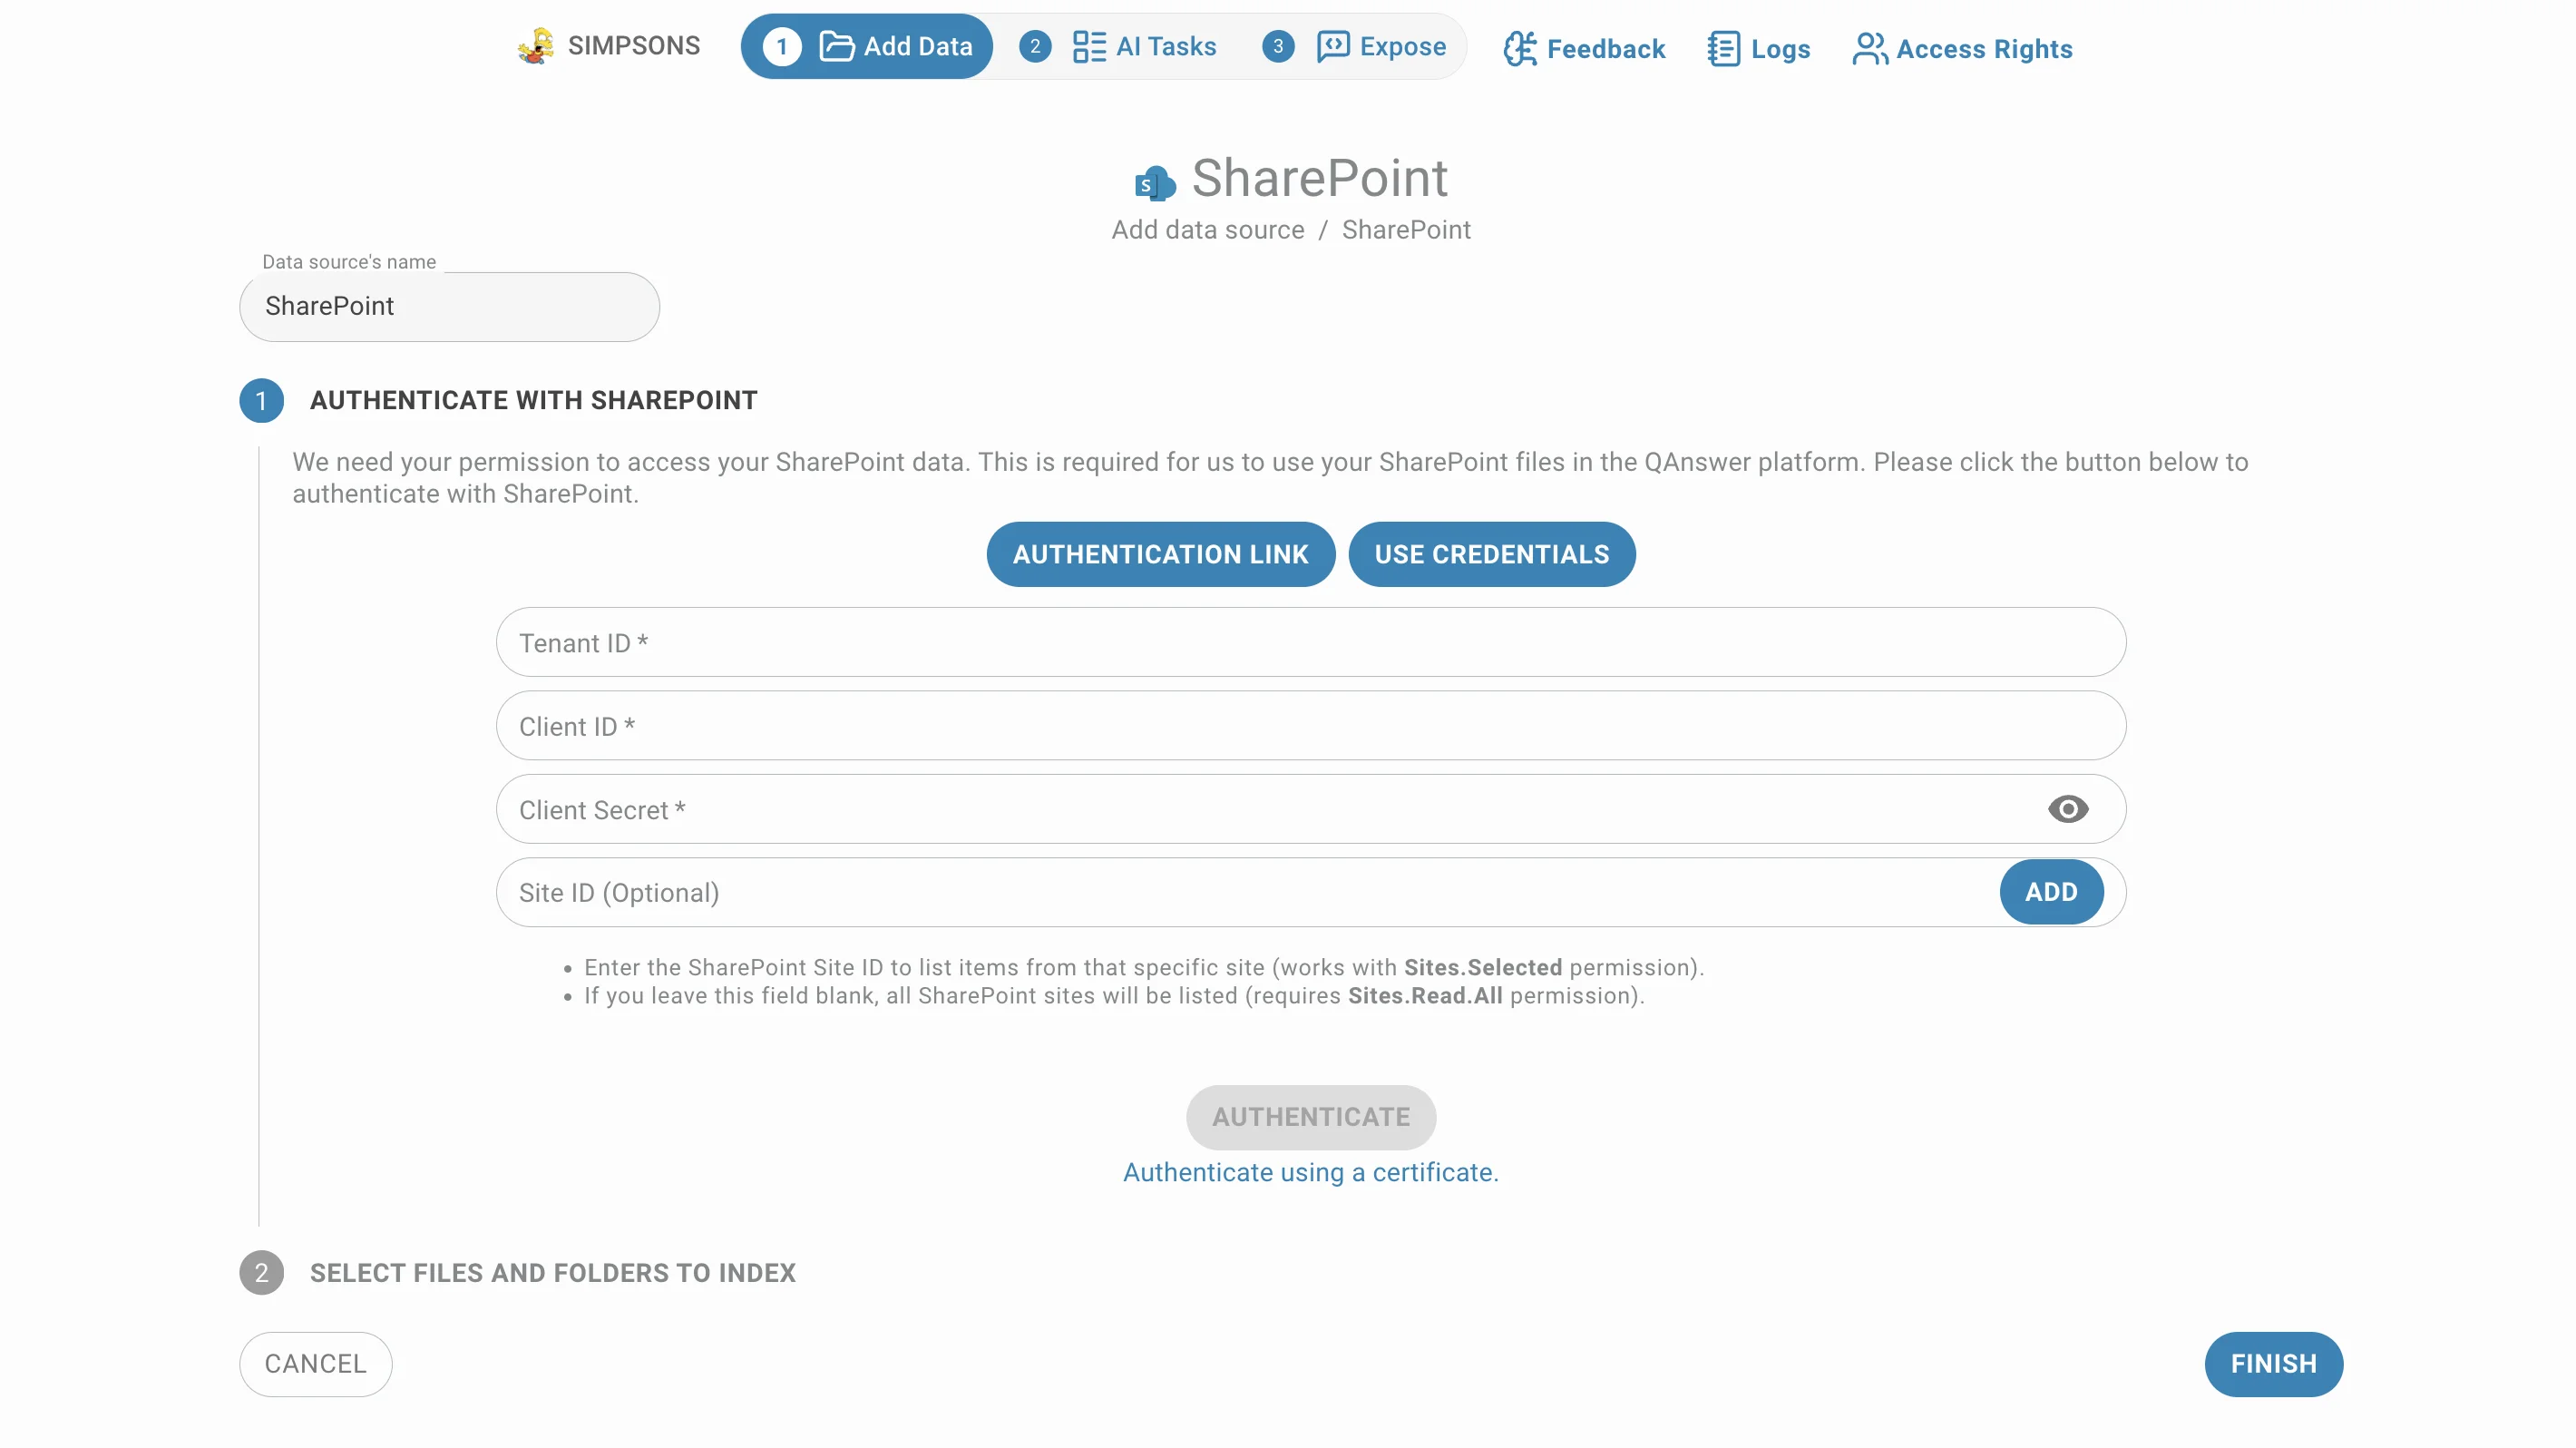
Choose SharePoint in the Add connector menu. The page is a two-step stepper: authenticate first, then pick what to index. Step 1 offers two ways in, and you only need one of them:
- Authentication link — opens Microsoft's sign-in page and connects as you. The quickest route, and the right one when you personally have access to the sites.
- Use Credentials — expands a form for an Azure app registration, so the connector works on its own instead of on behalf of a person. Use it for anything long-lived or shared.
A tick appears on whichever button succeeded, and the second step opens with the content the account can reach.
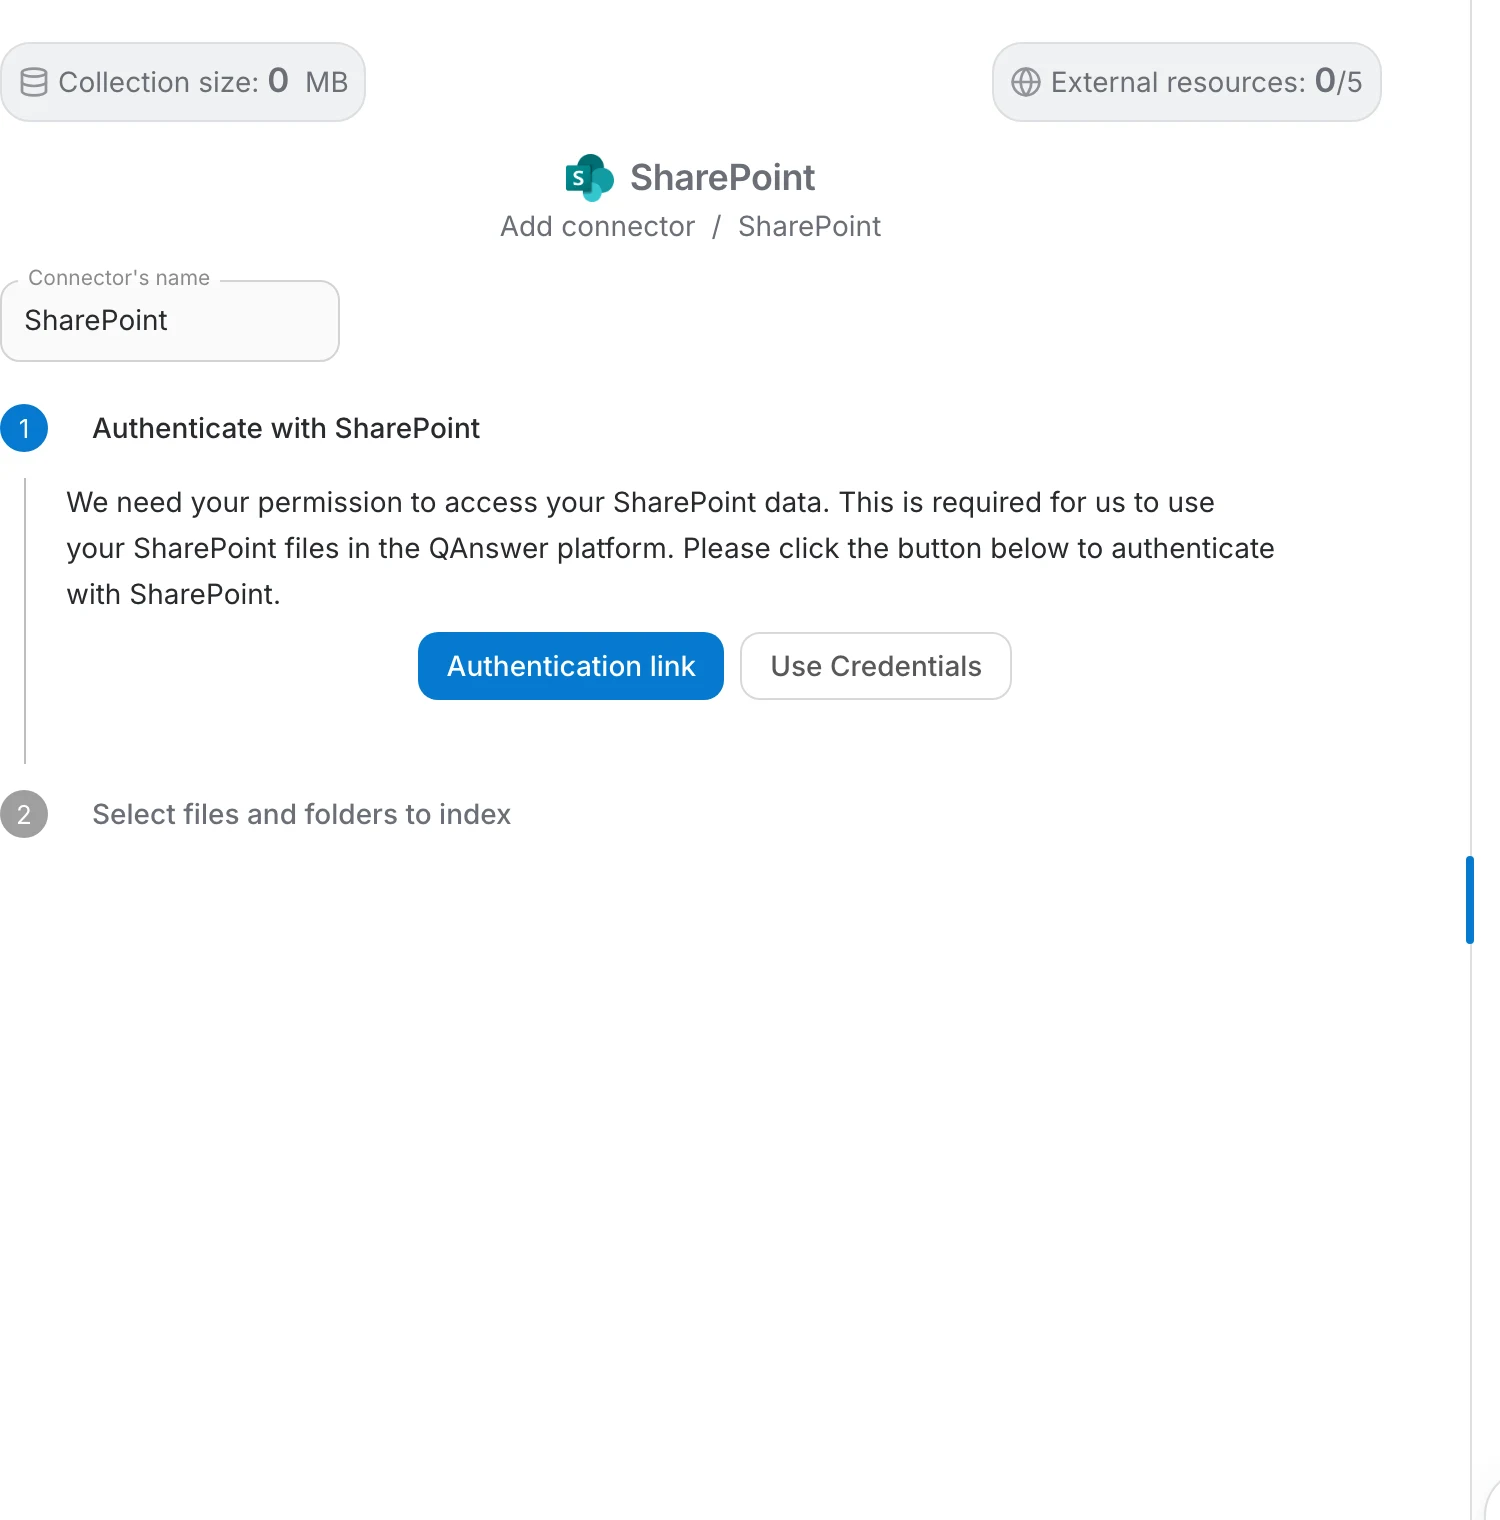
Connect with an authentication link
Microsoft opens its own sign-in page. Enter the email address of the work account and click Next , then unlock the session with whichever method your organisation uses — biometrics, a PIN or security key, an Authenticator push, or the password. Click "Other ways to sign in" if the offered method is not the one you want.
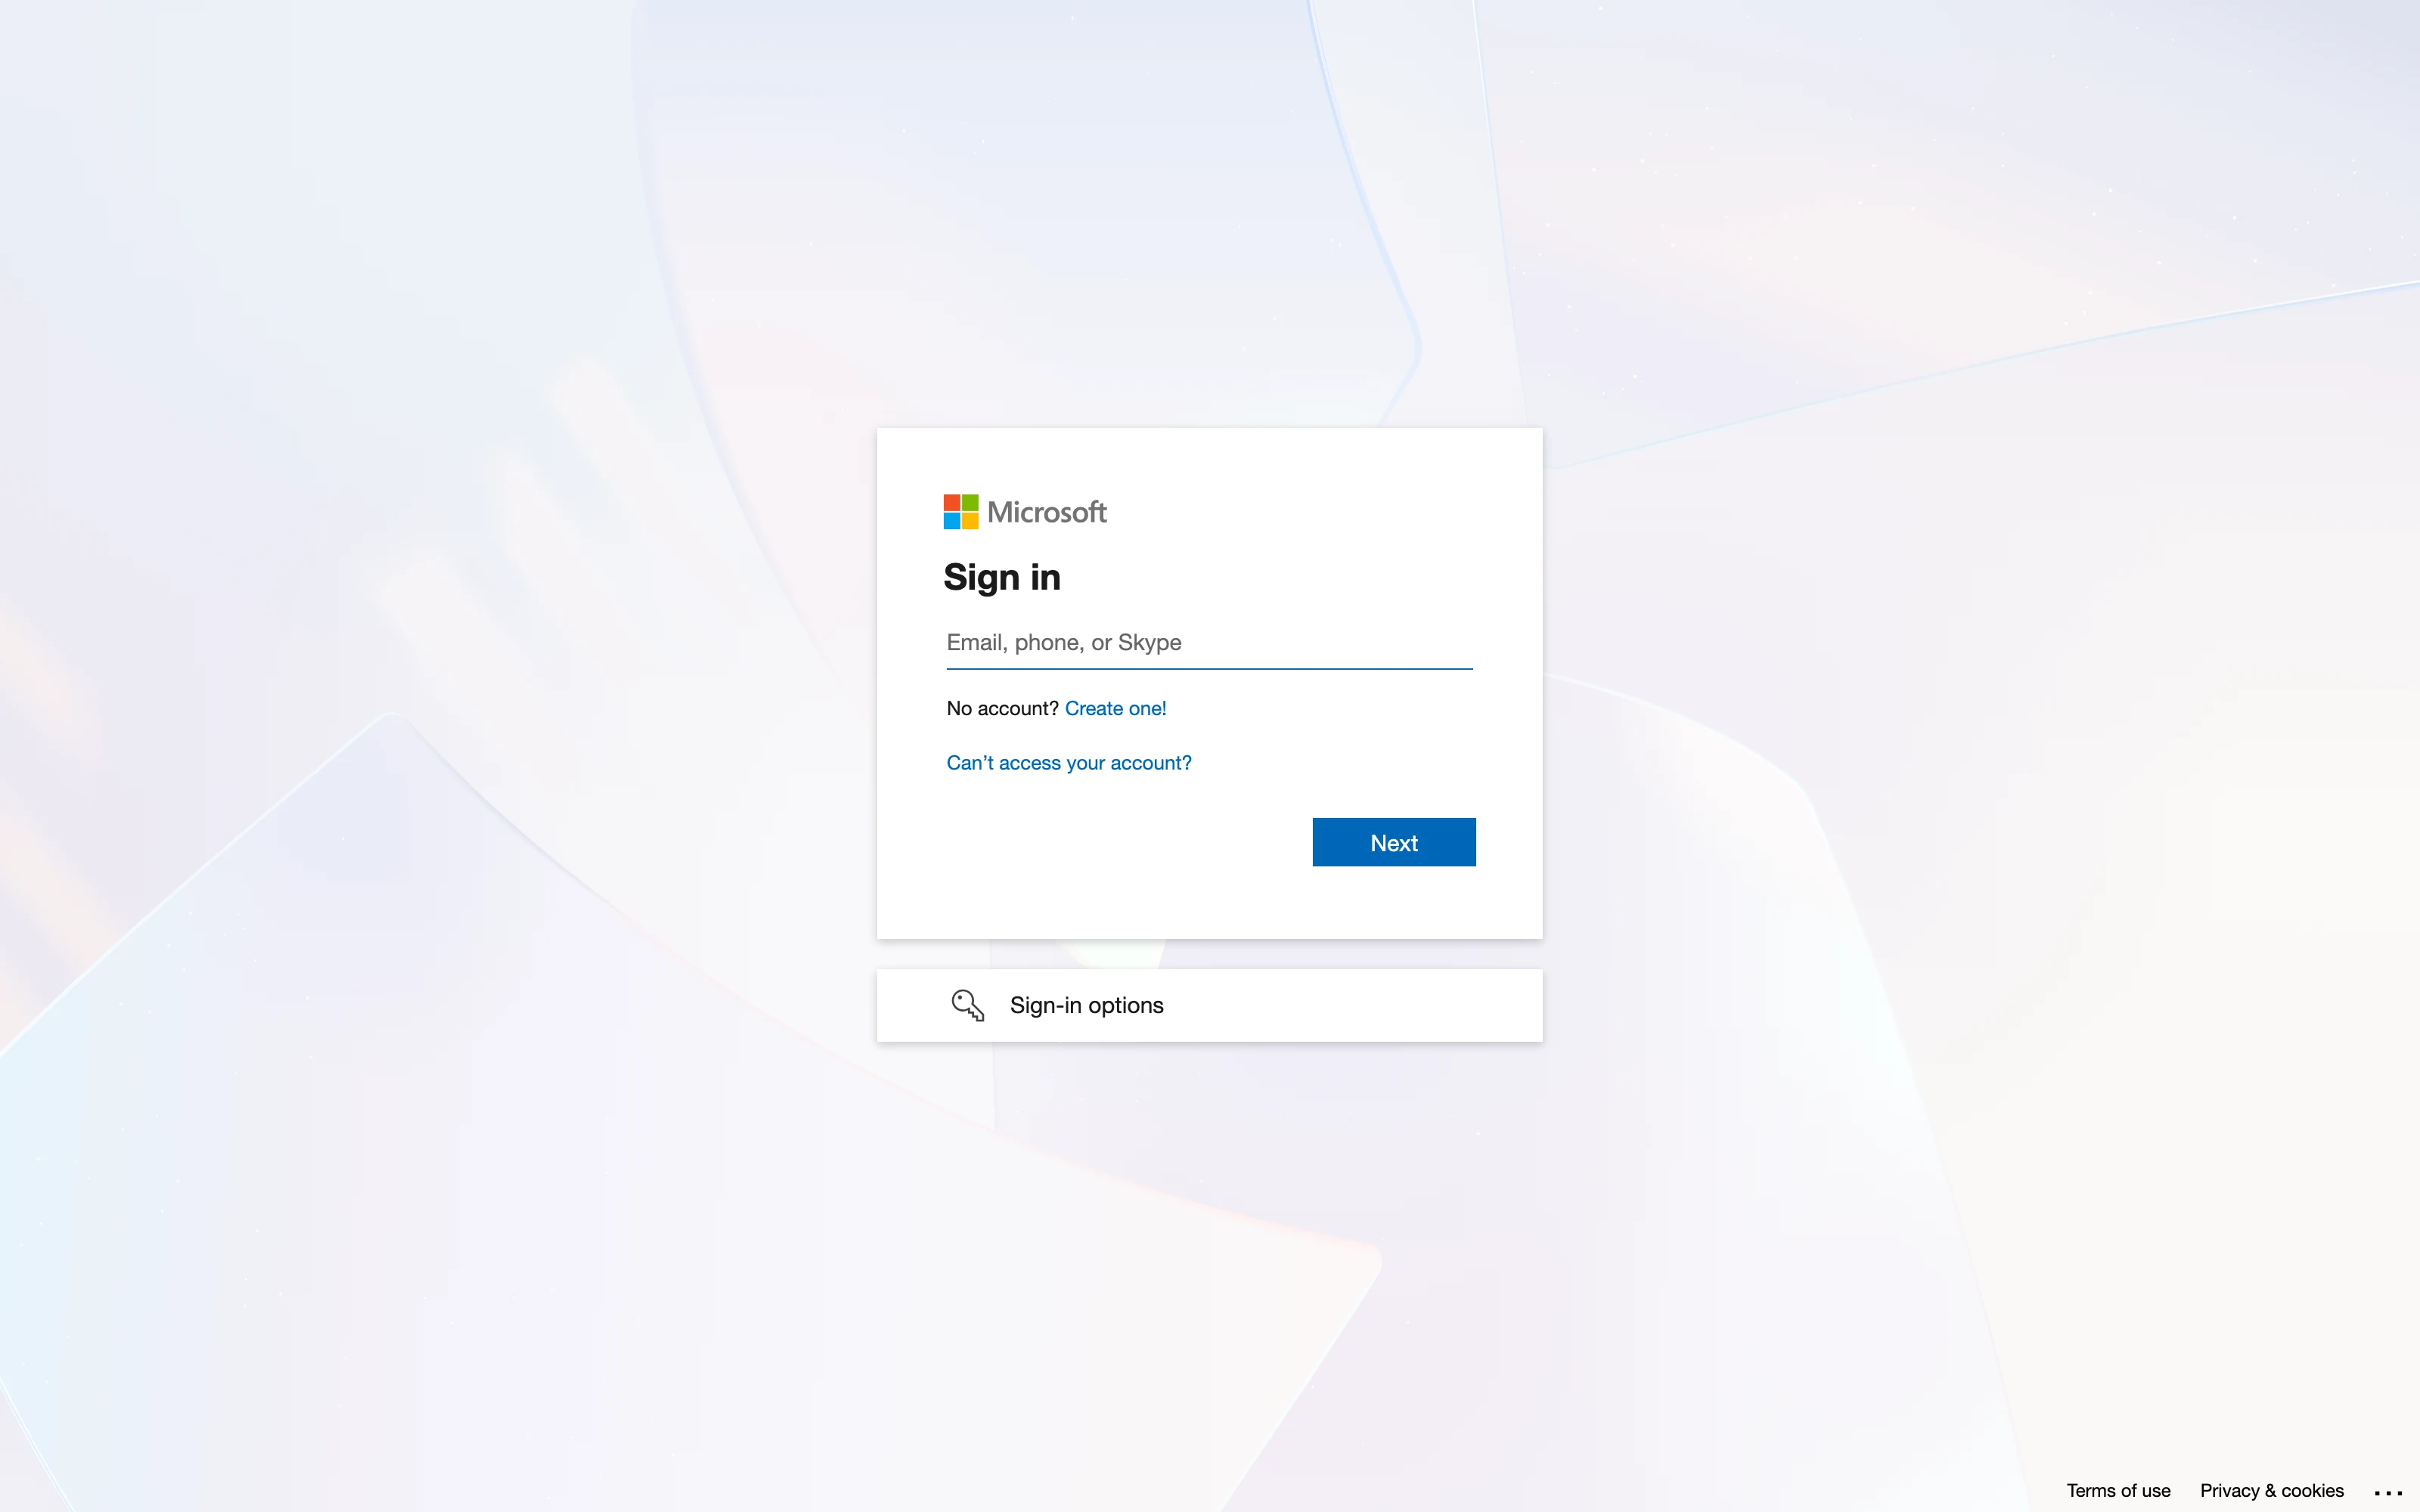
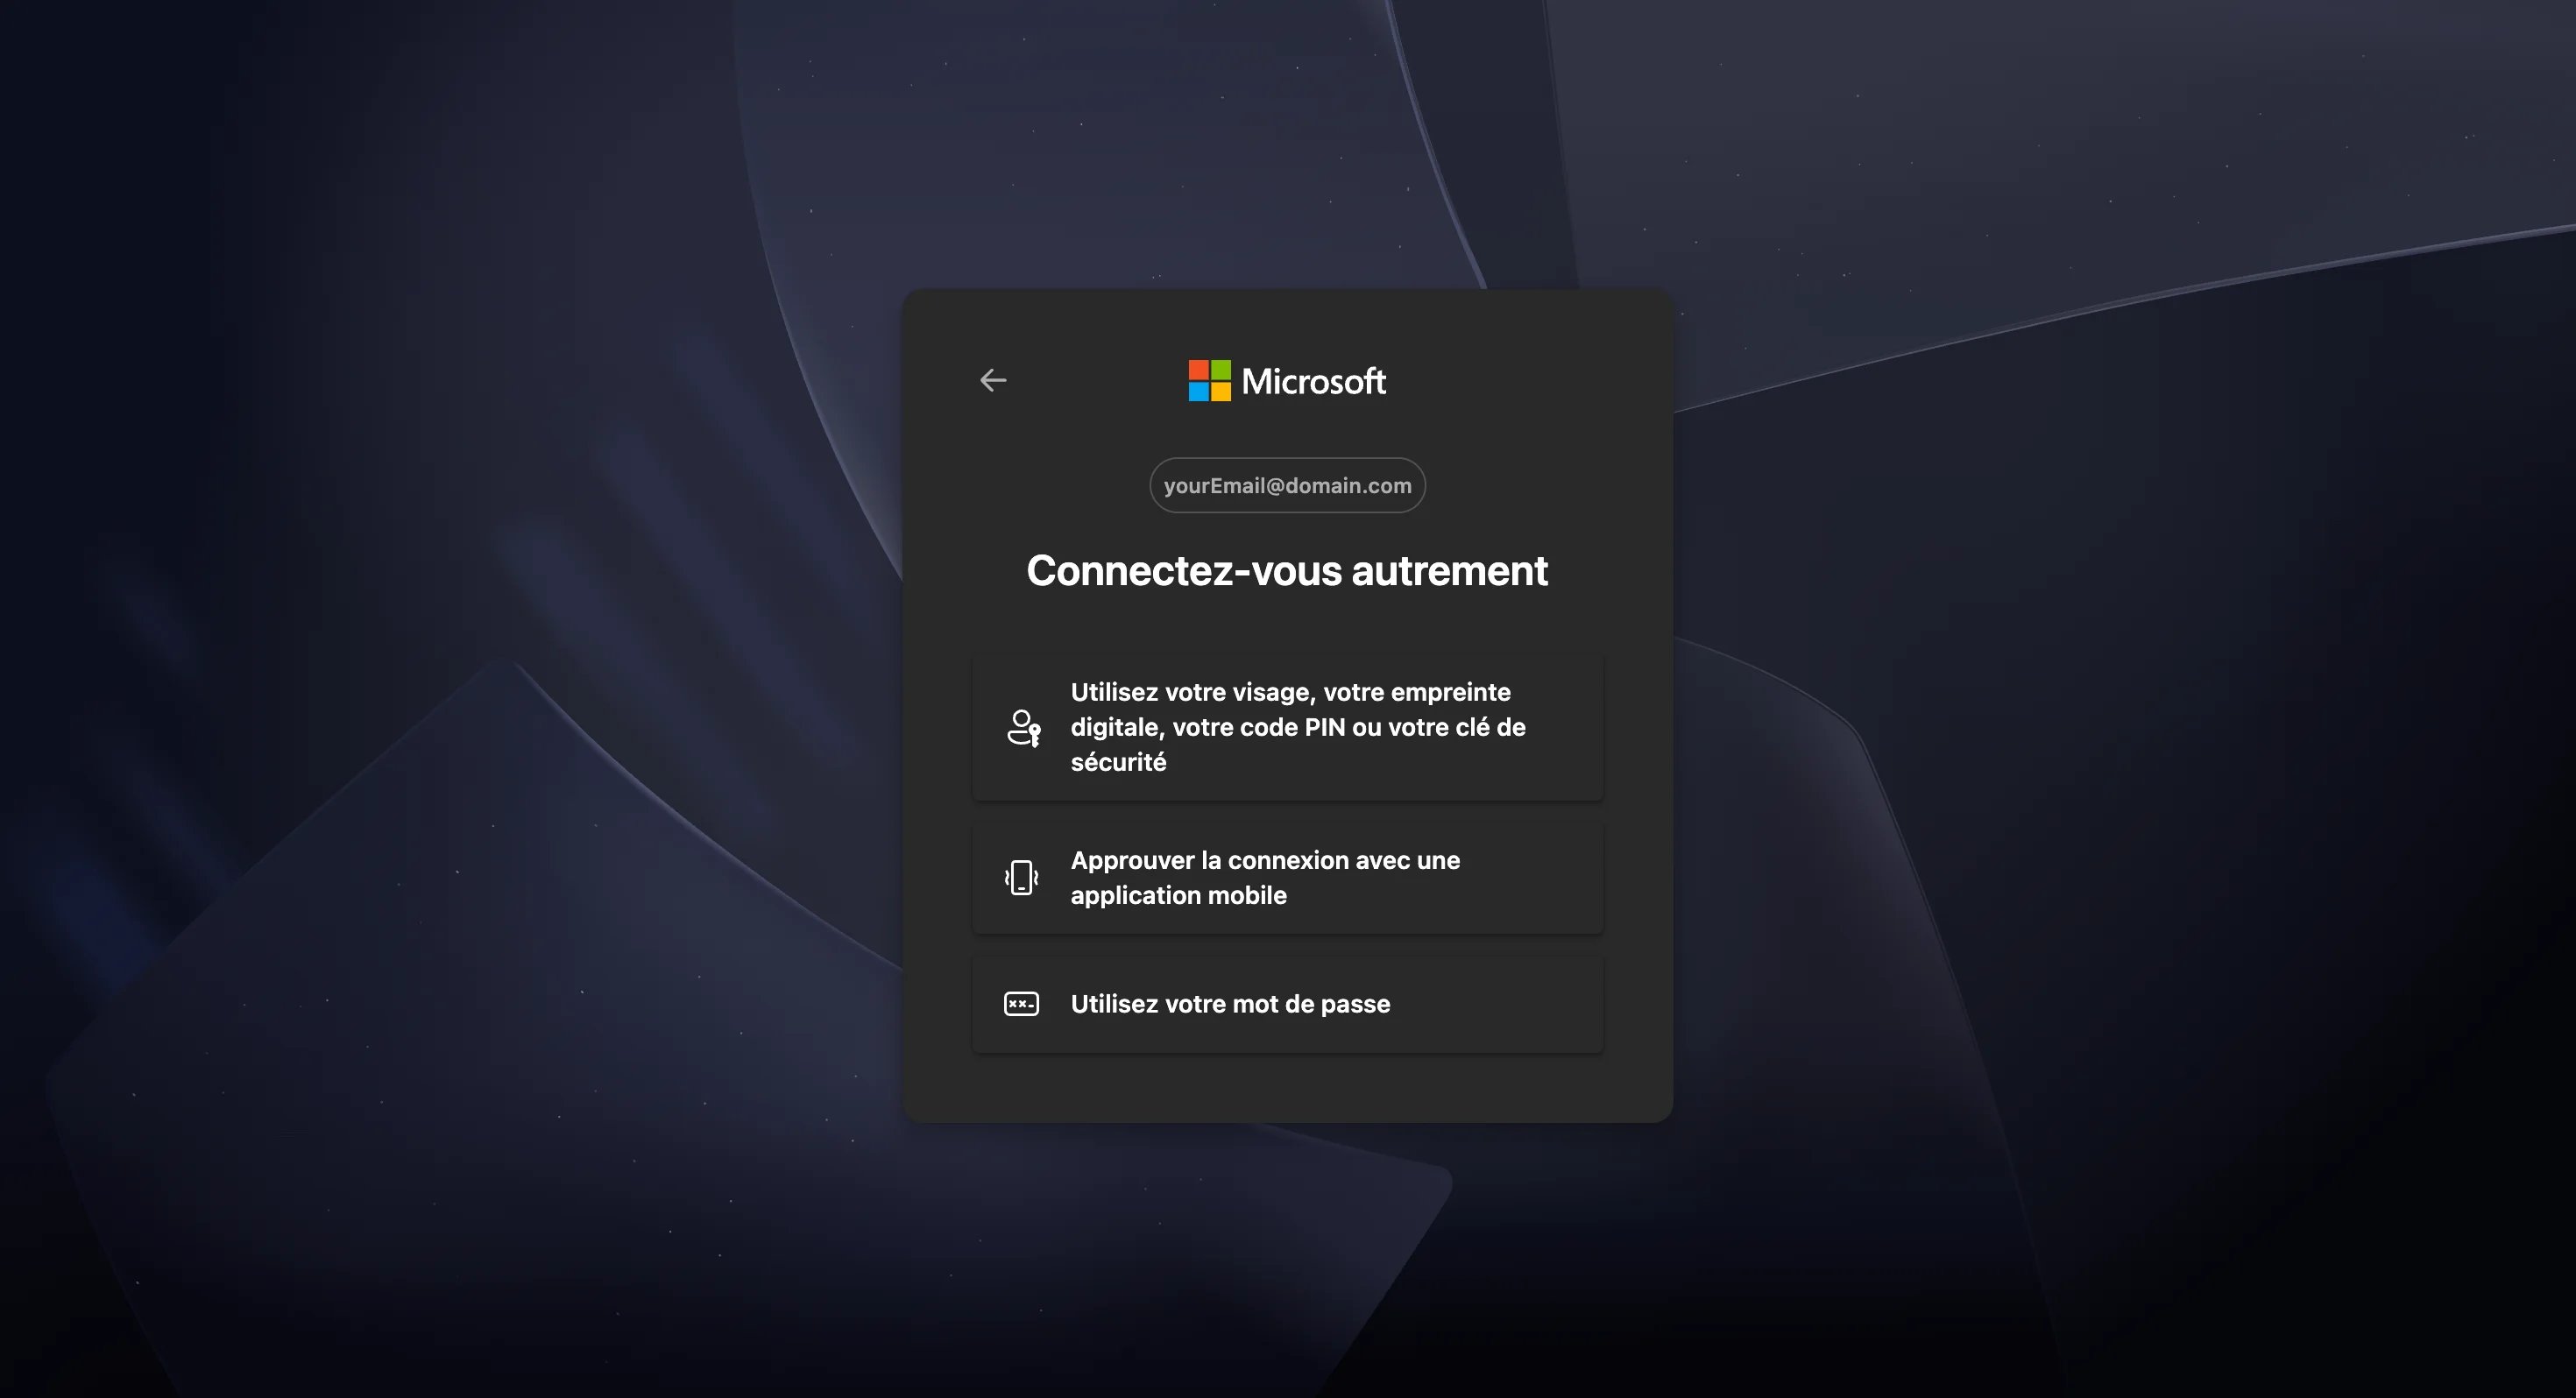
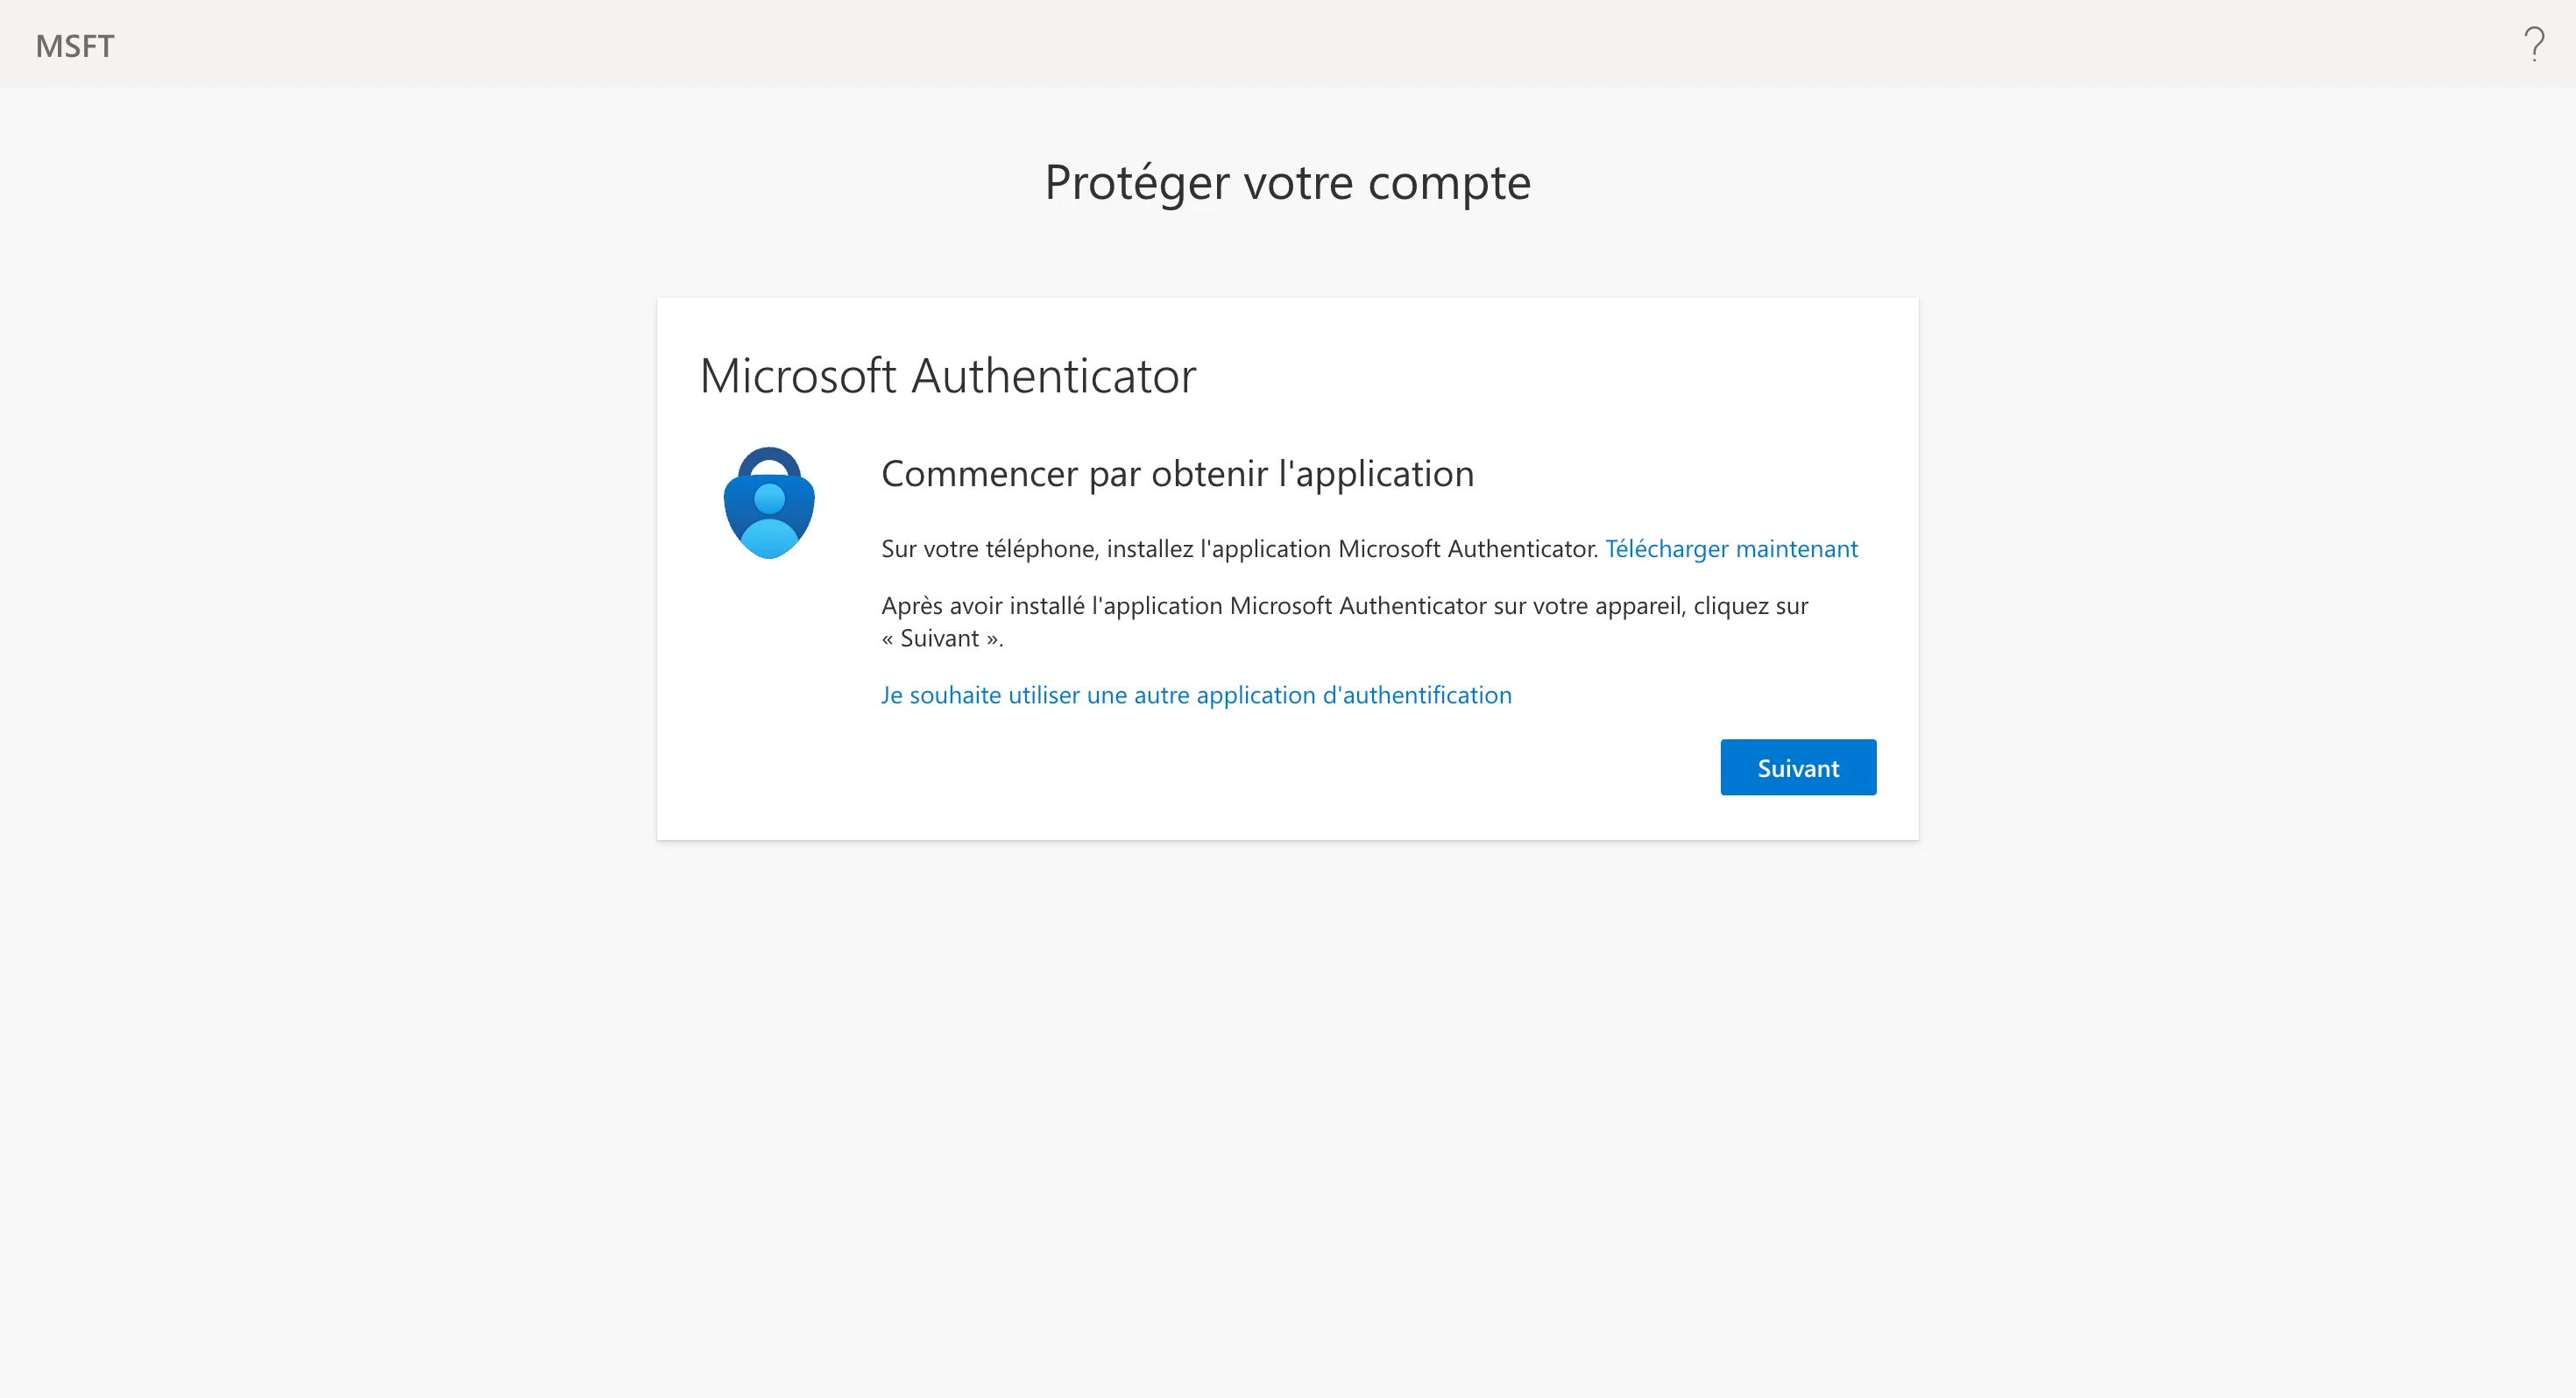
Microsoft Authenticator
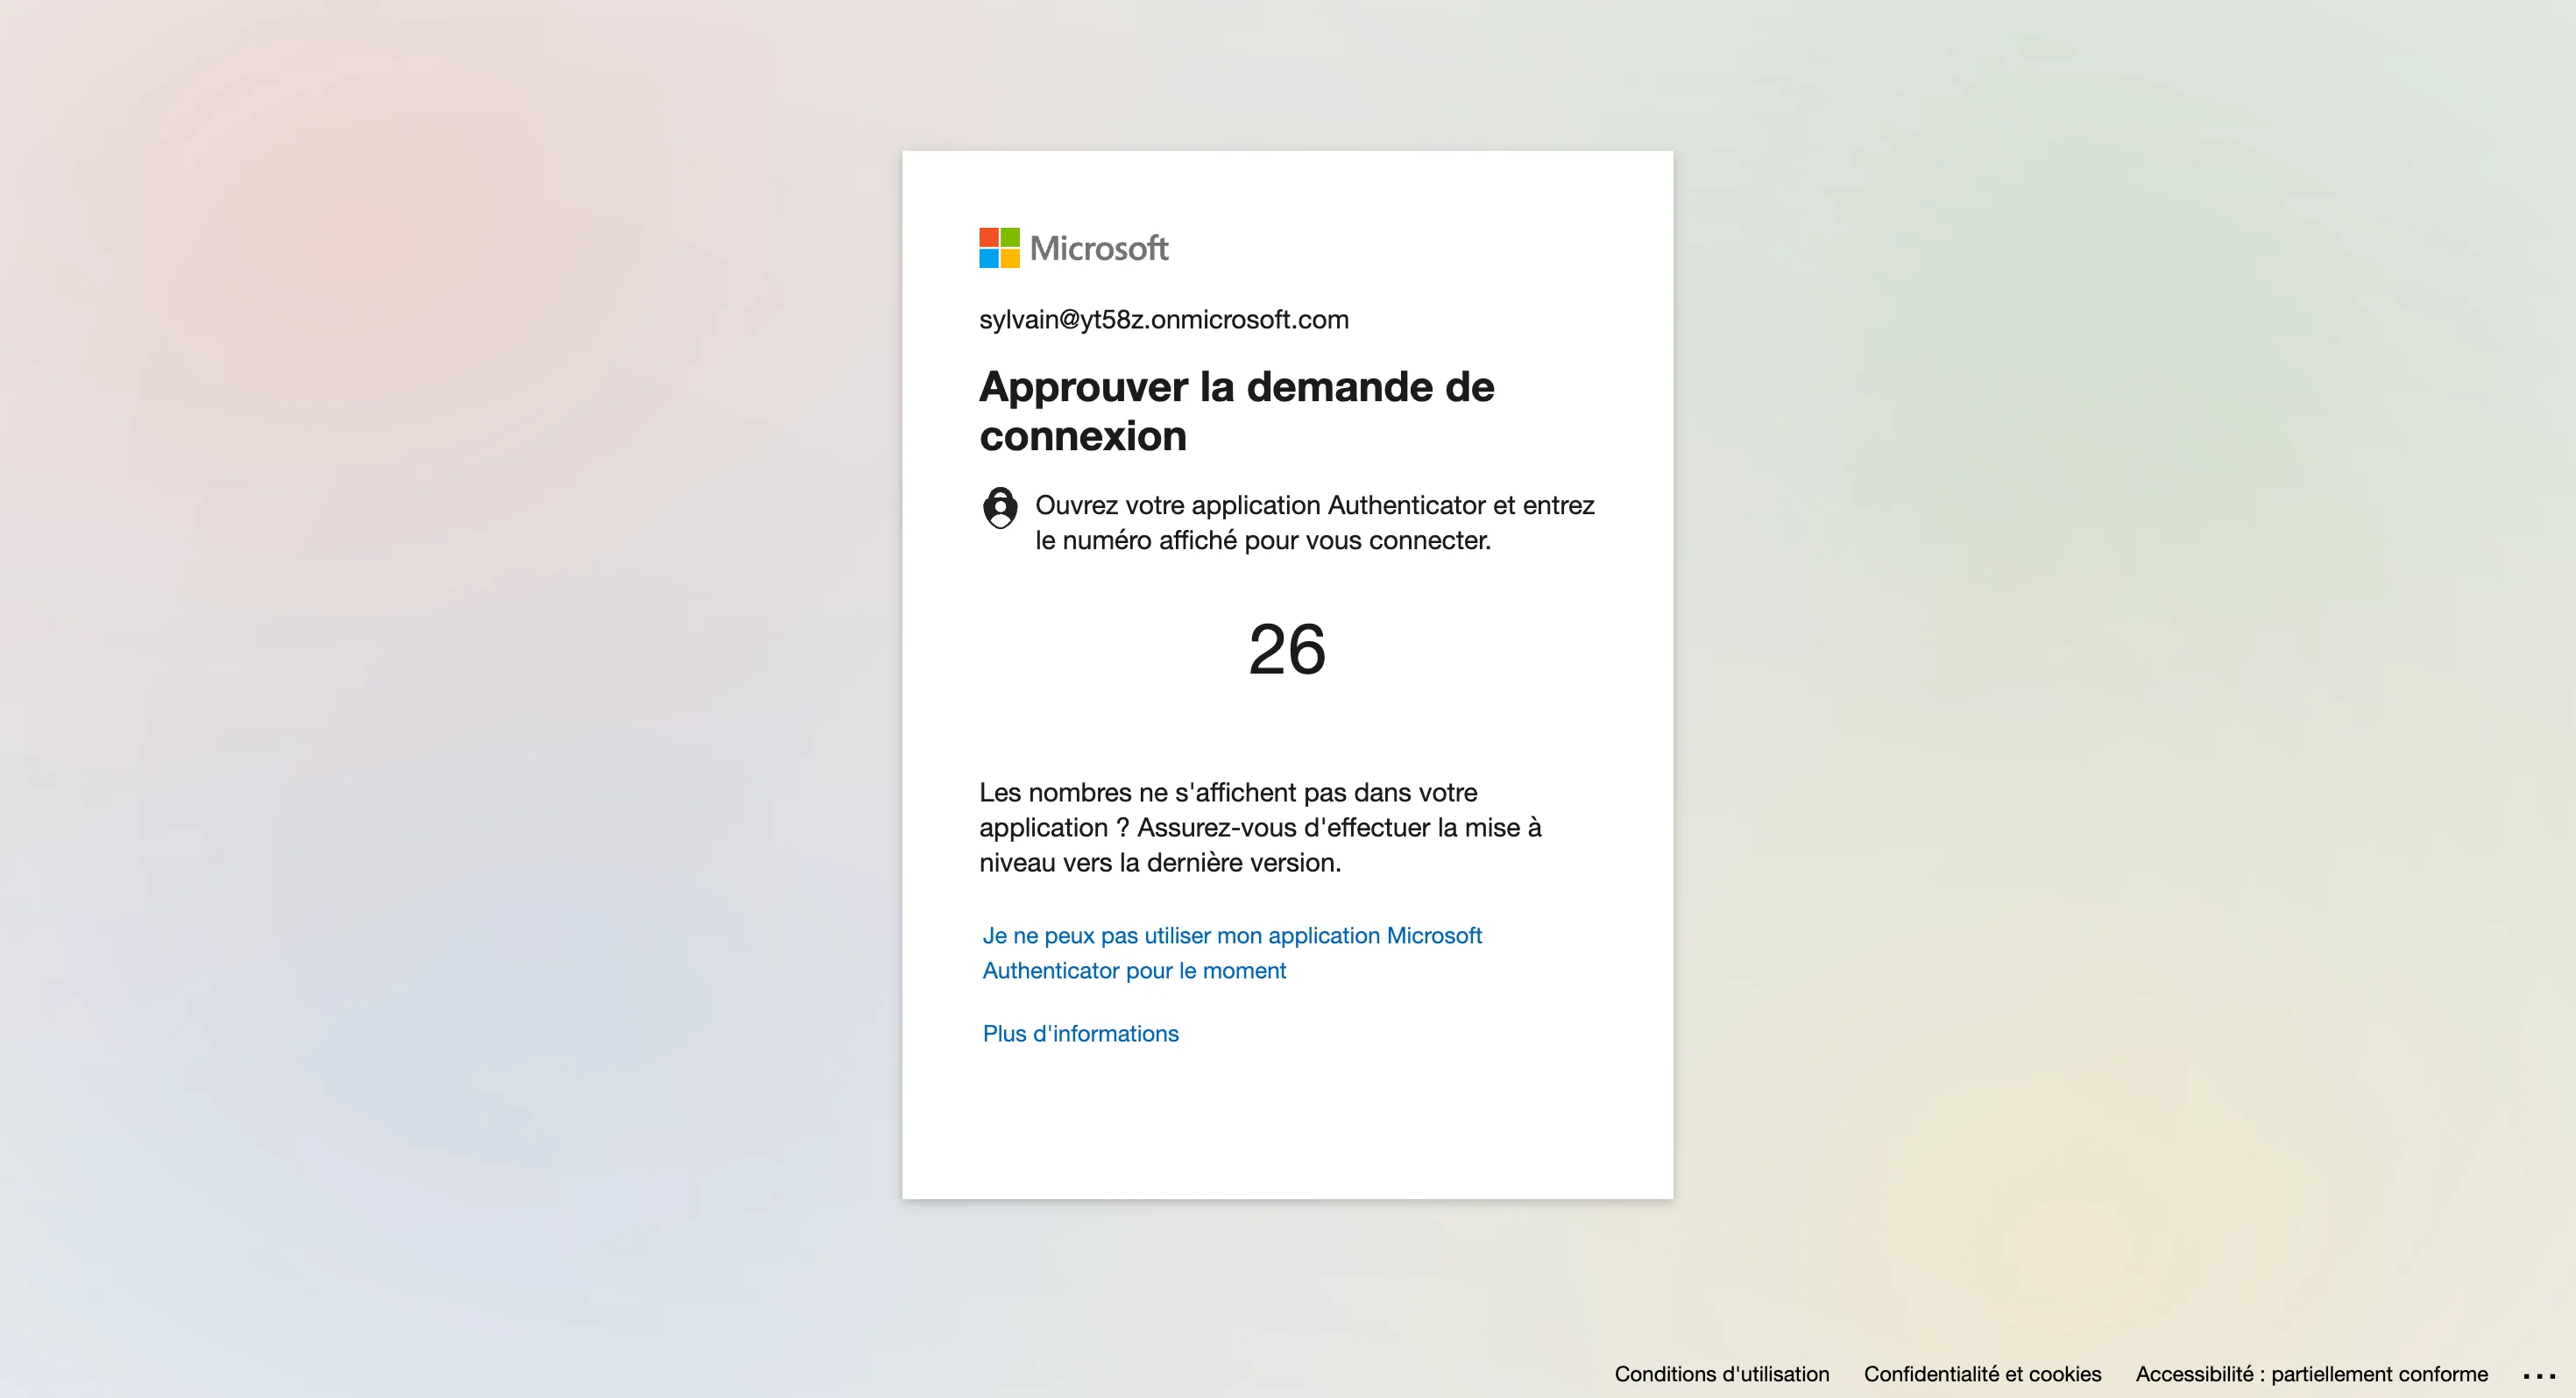
Because SharePoint means a work or school account, Microsoft usually requires the Authenticator app. If the account is not enrolled yet, Microsoft walks you through it during this sign-in: install the app, add the account, scan the QR code, then confirm the number it shows.
This is Microsoft's own process — QAnswer is not involved and never sees your password or second factor. Once enrolled, later connectors only need the push confirmation.
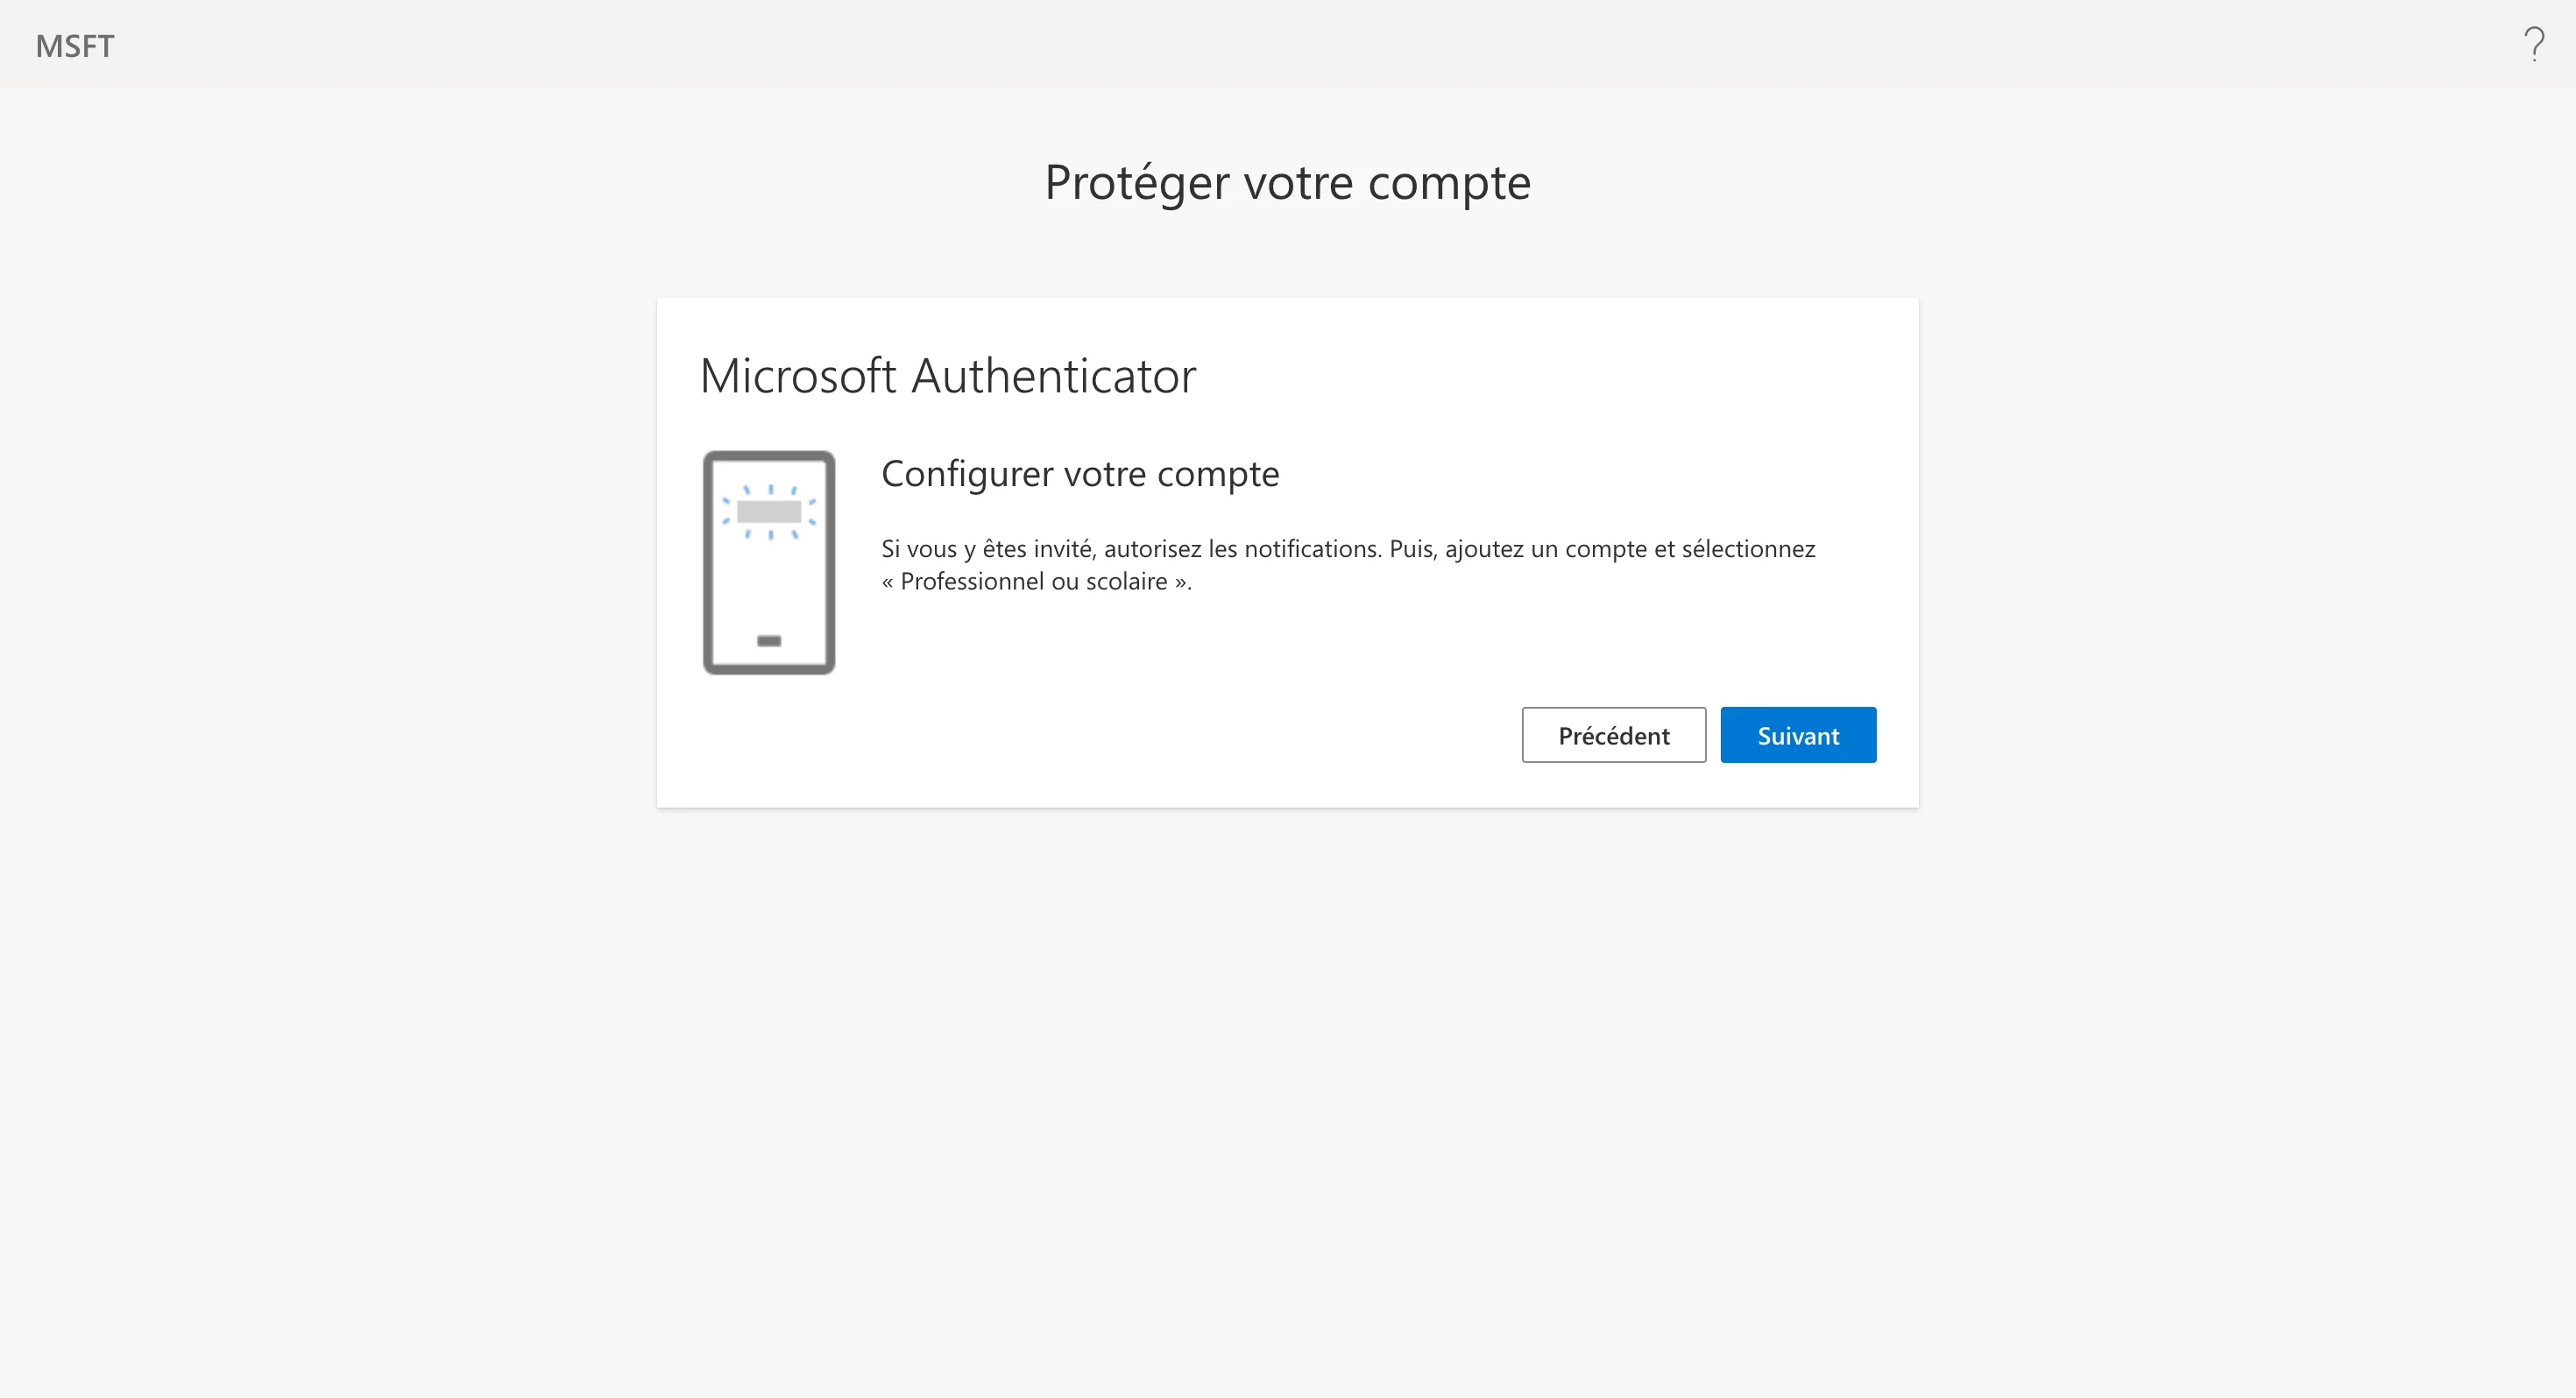
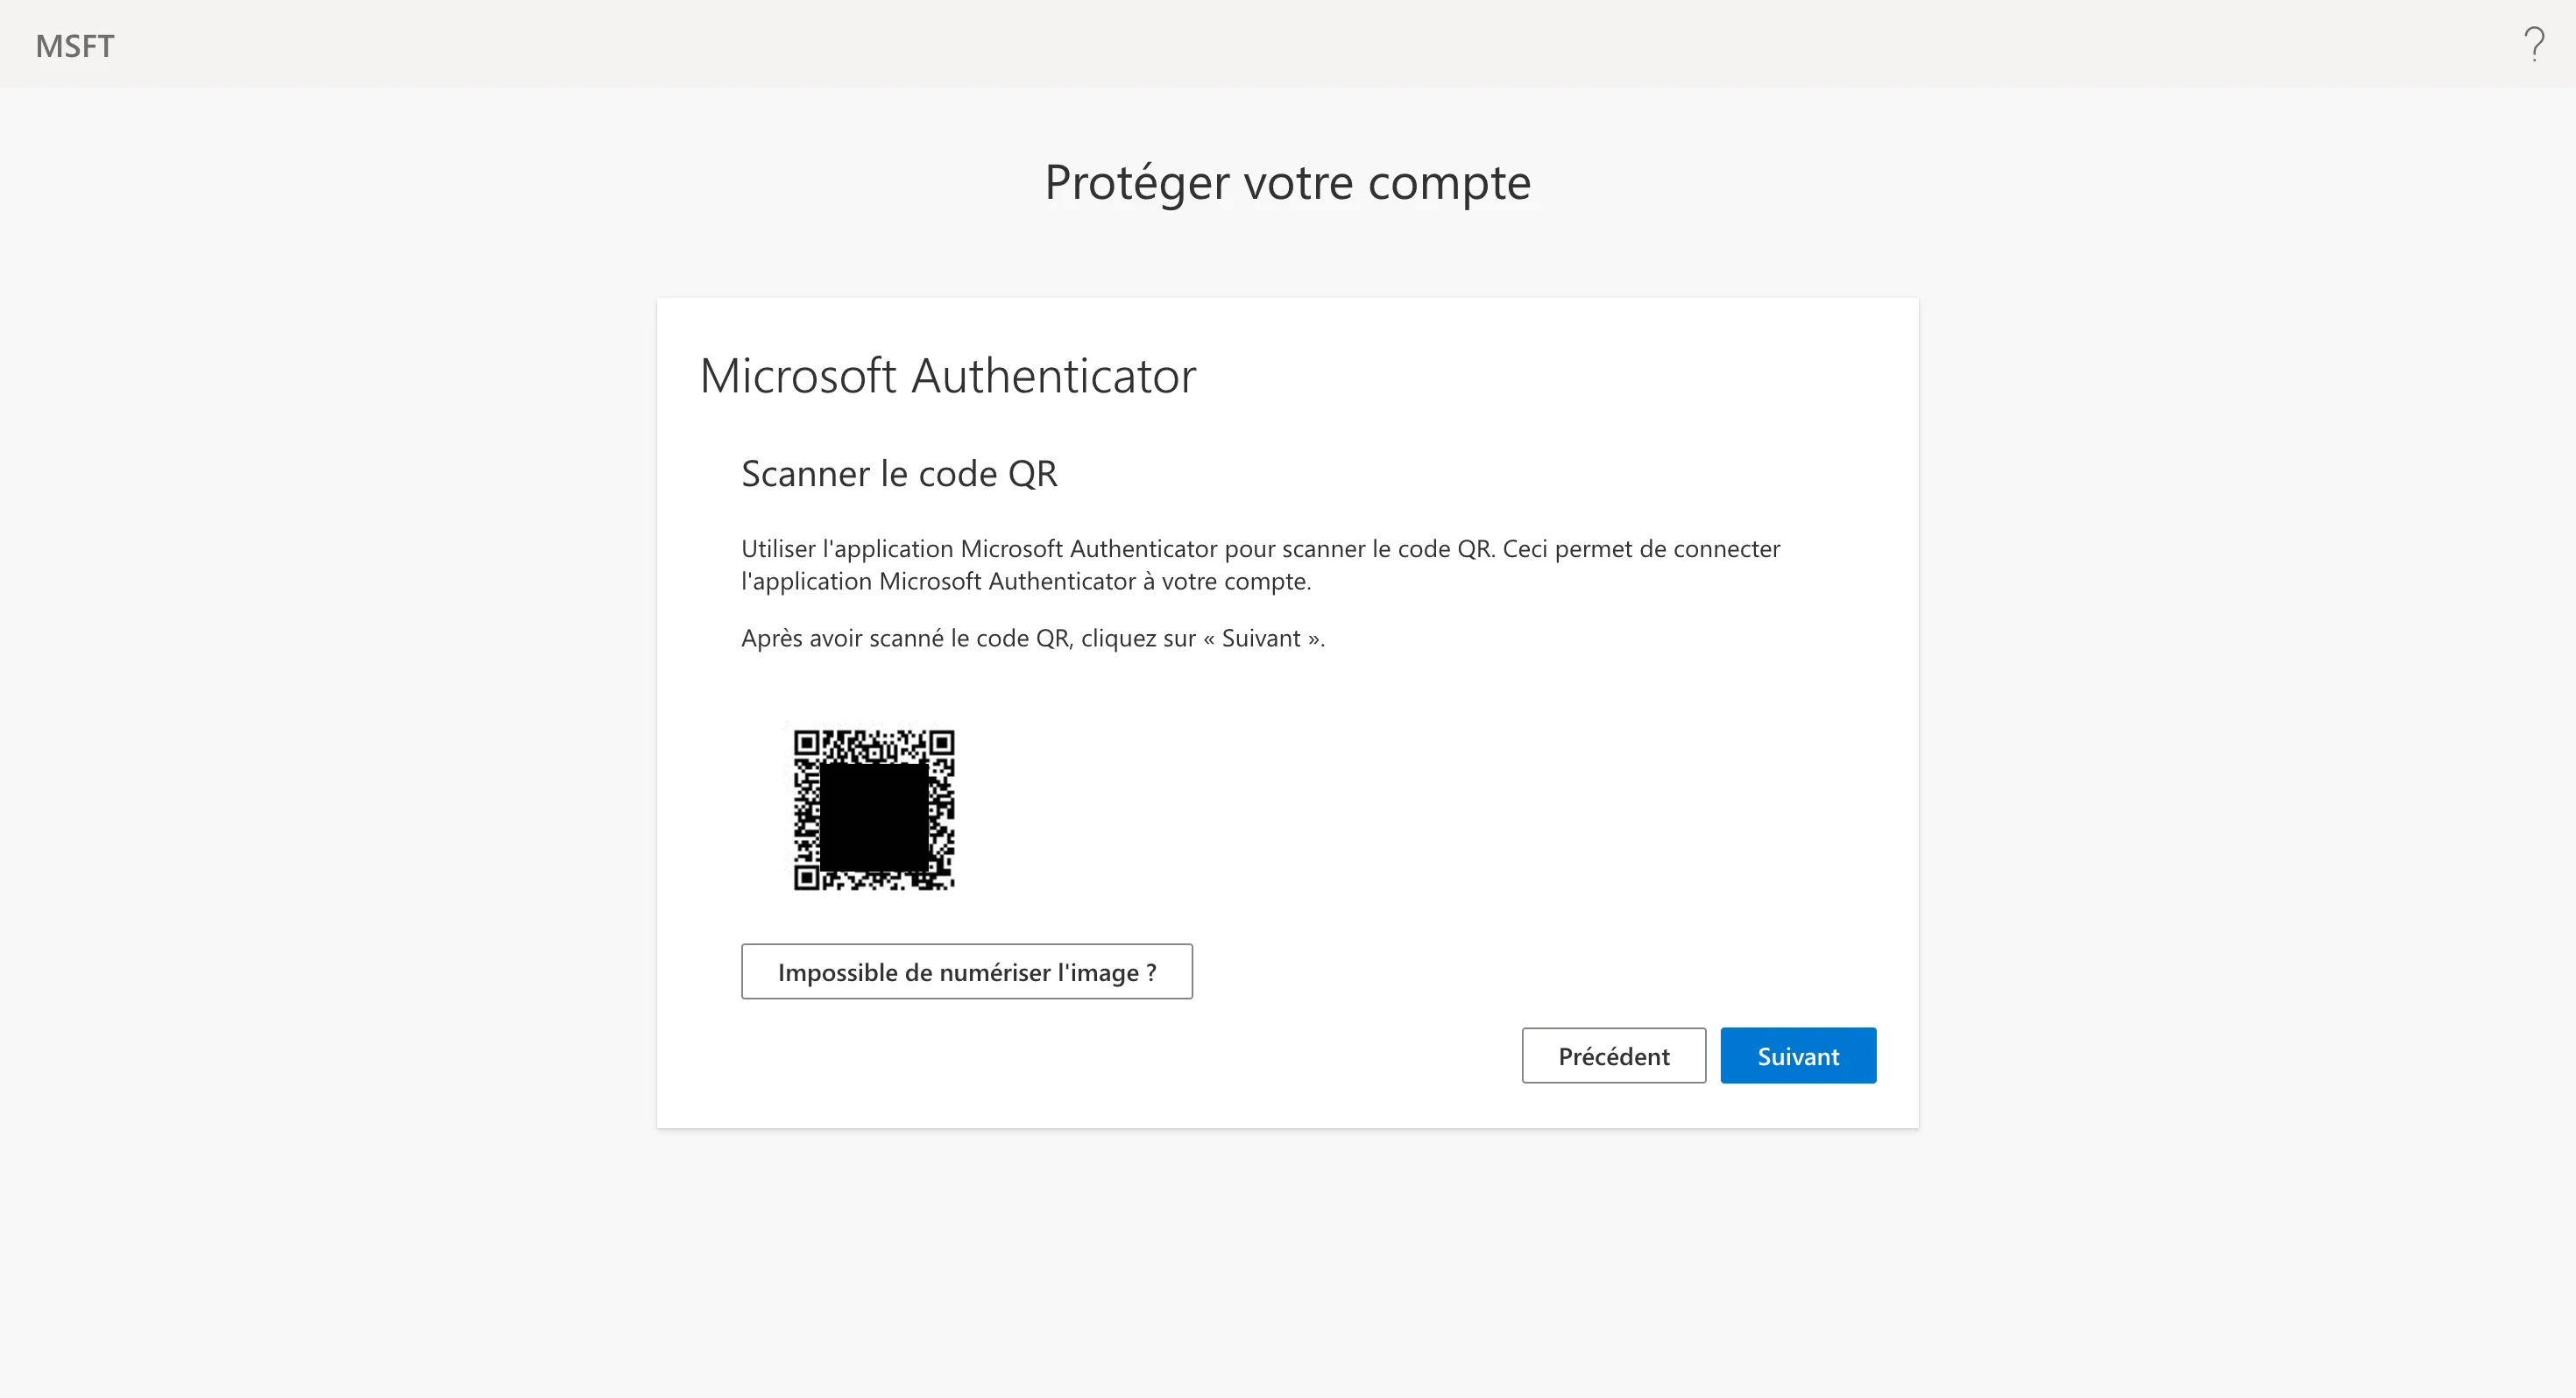
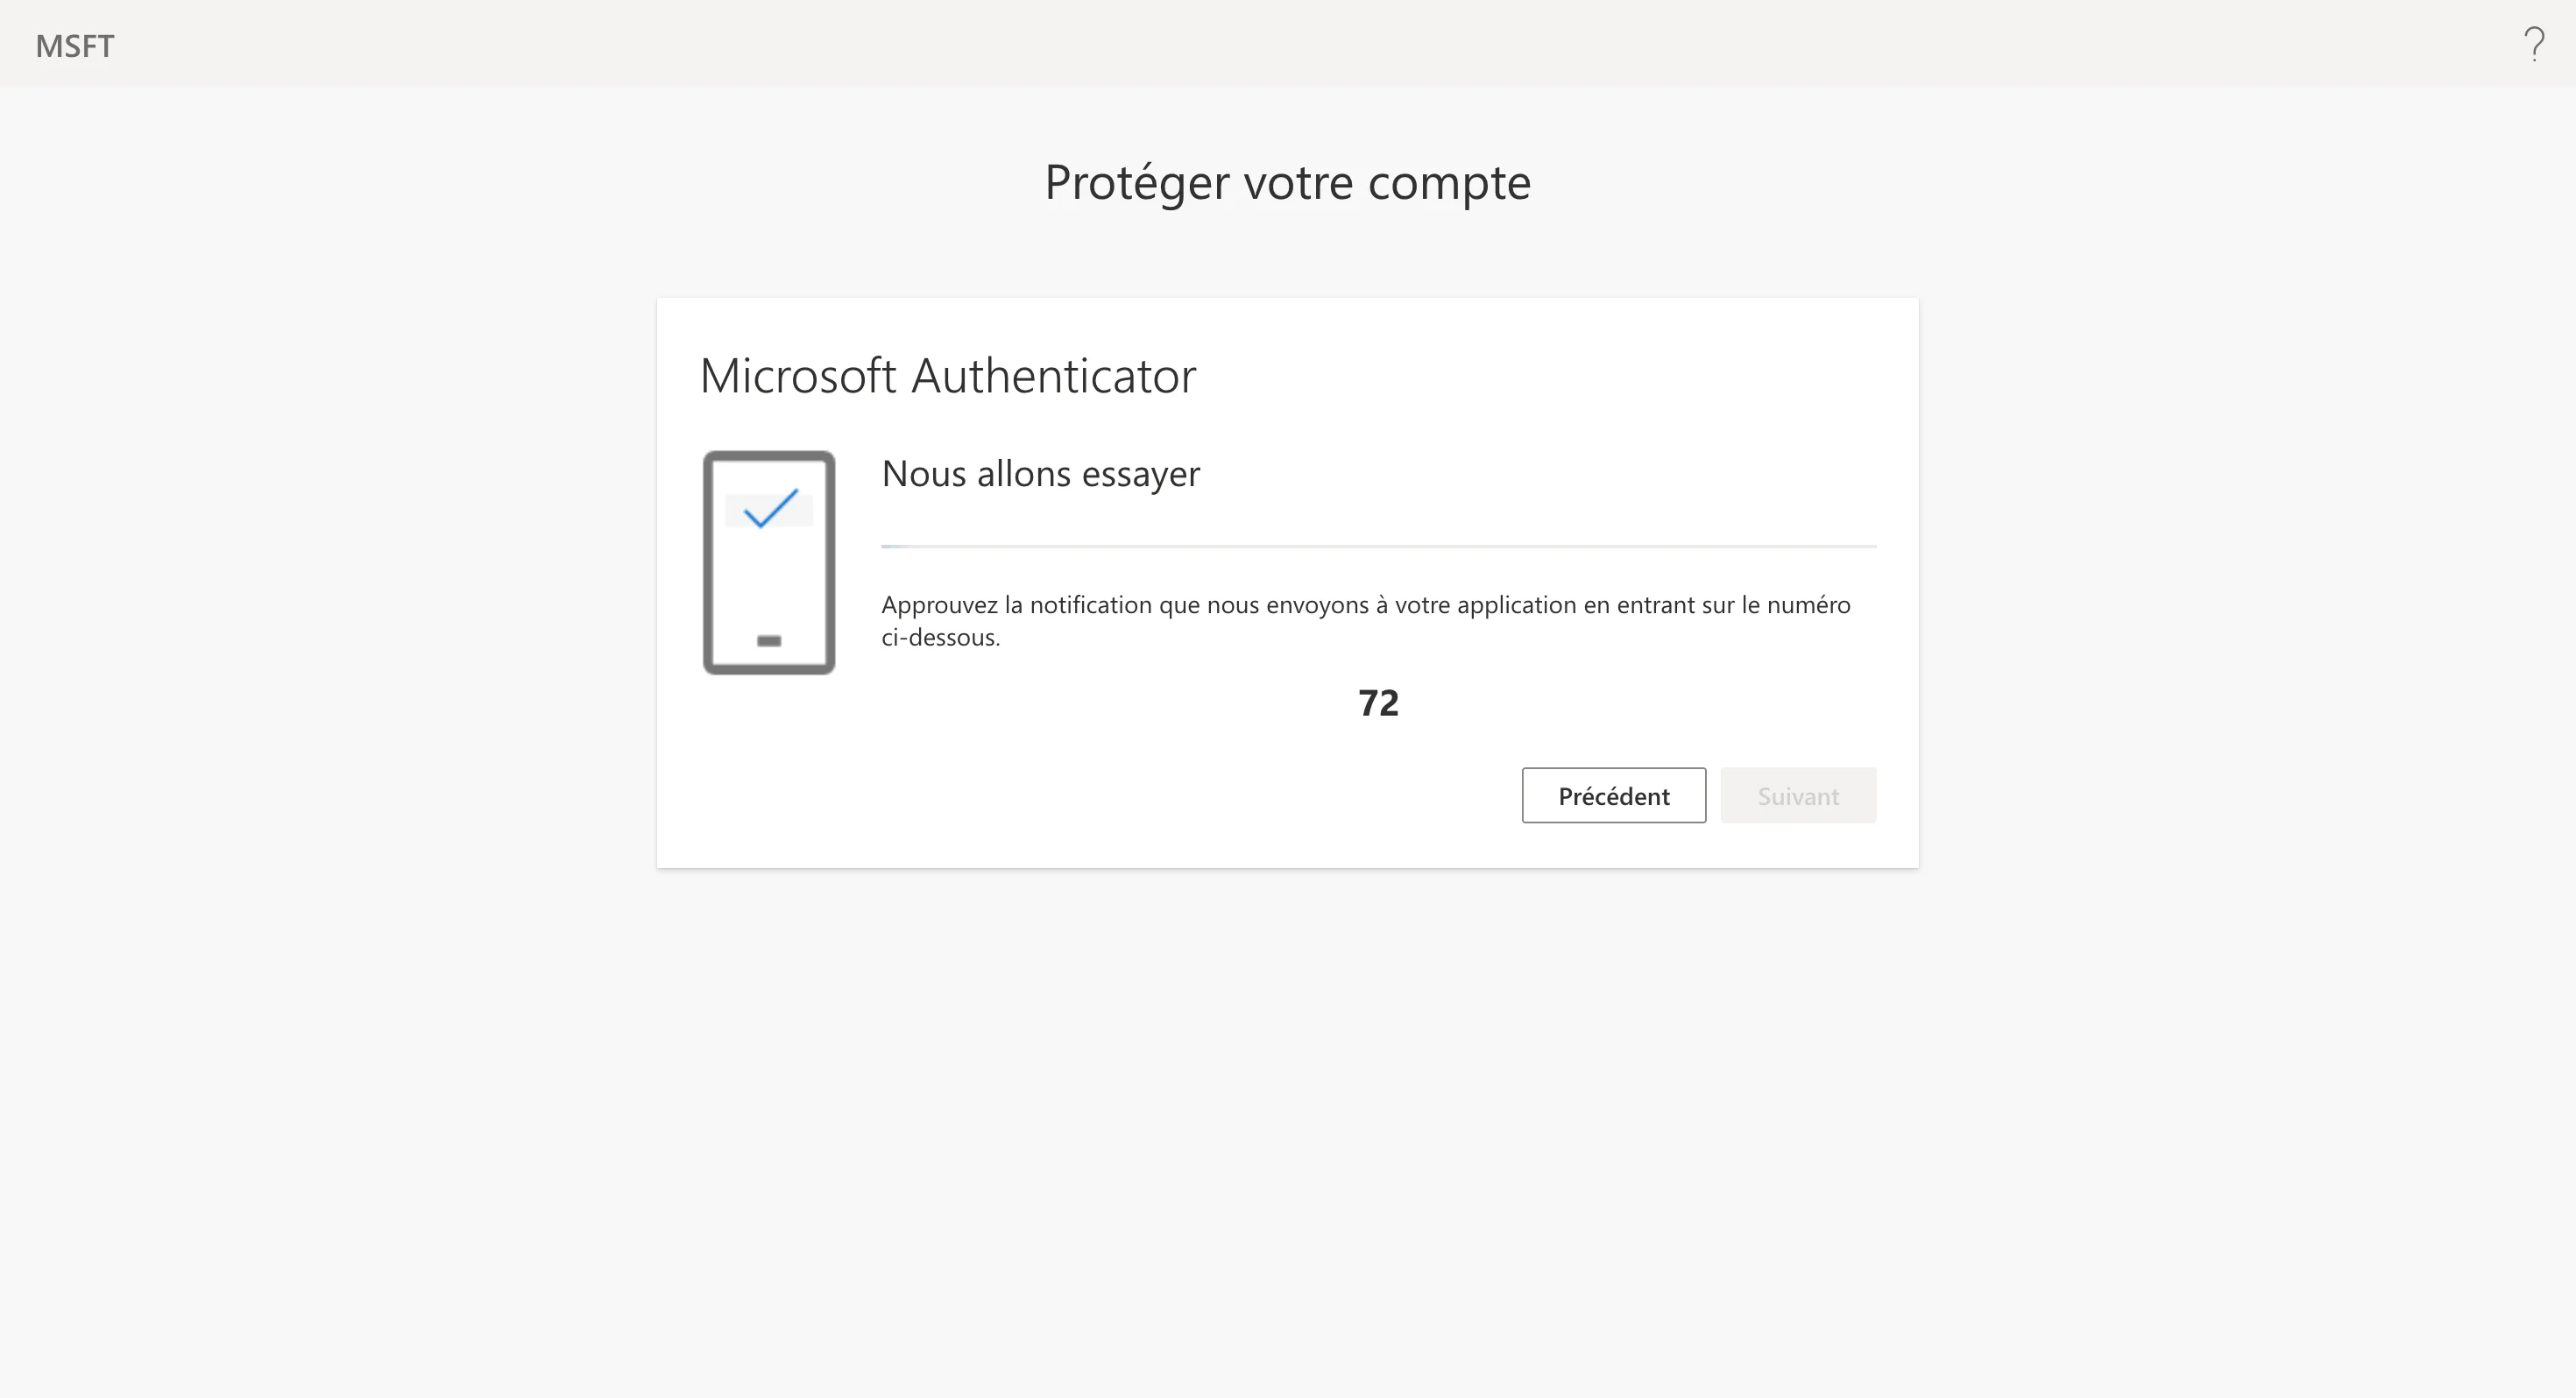
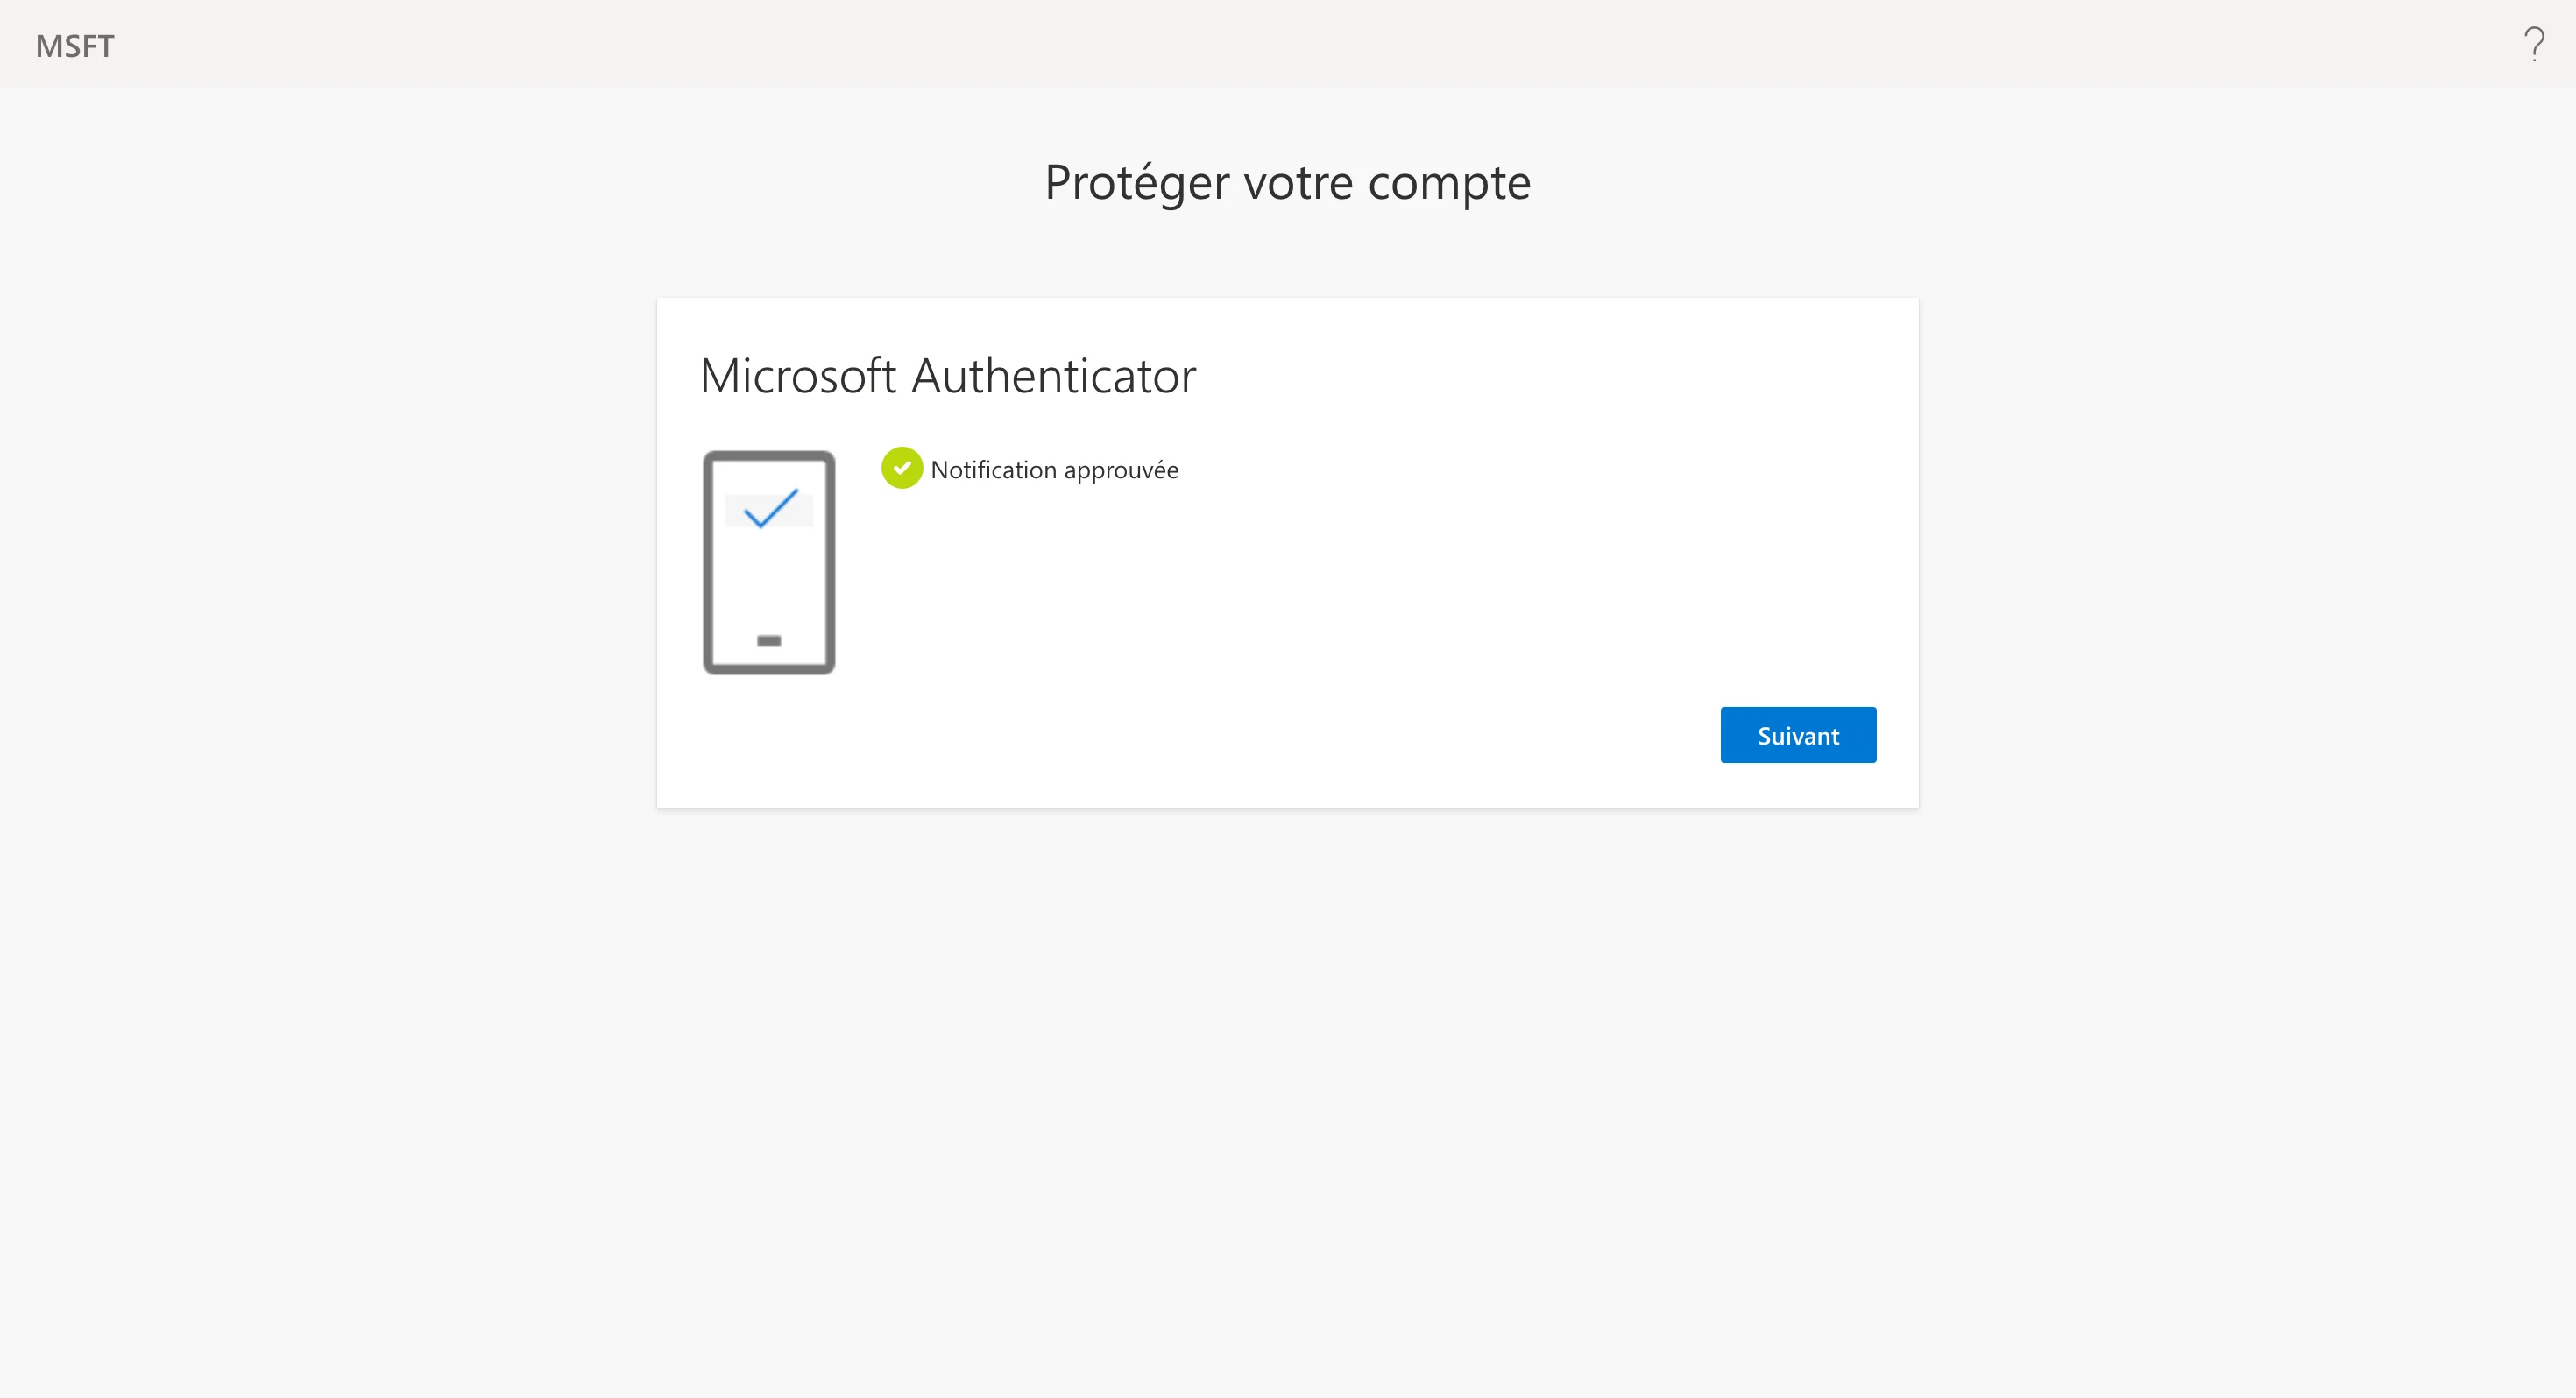
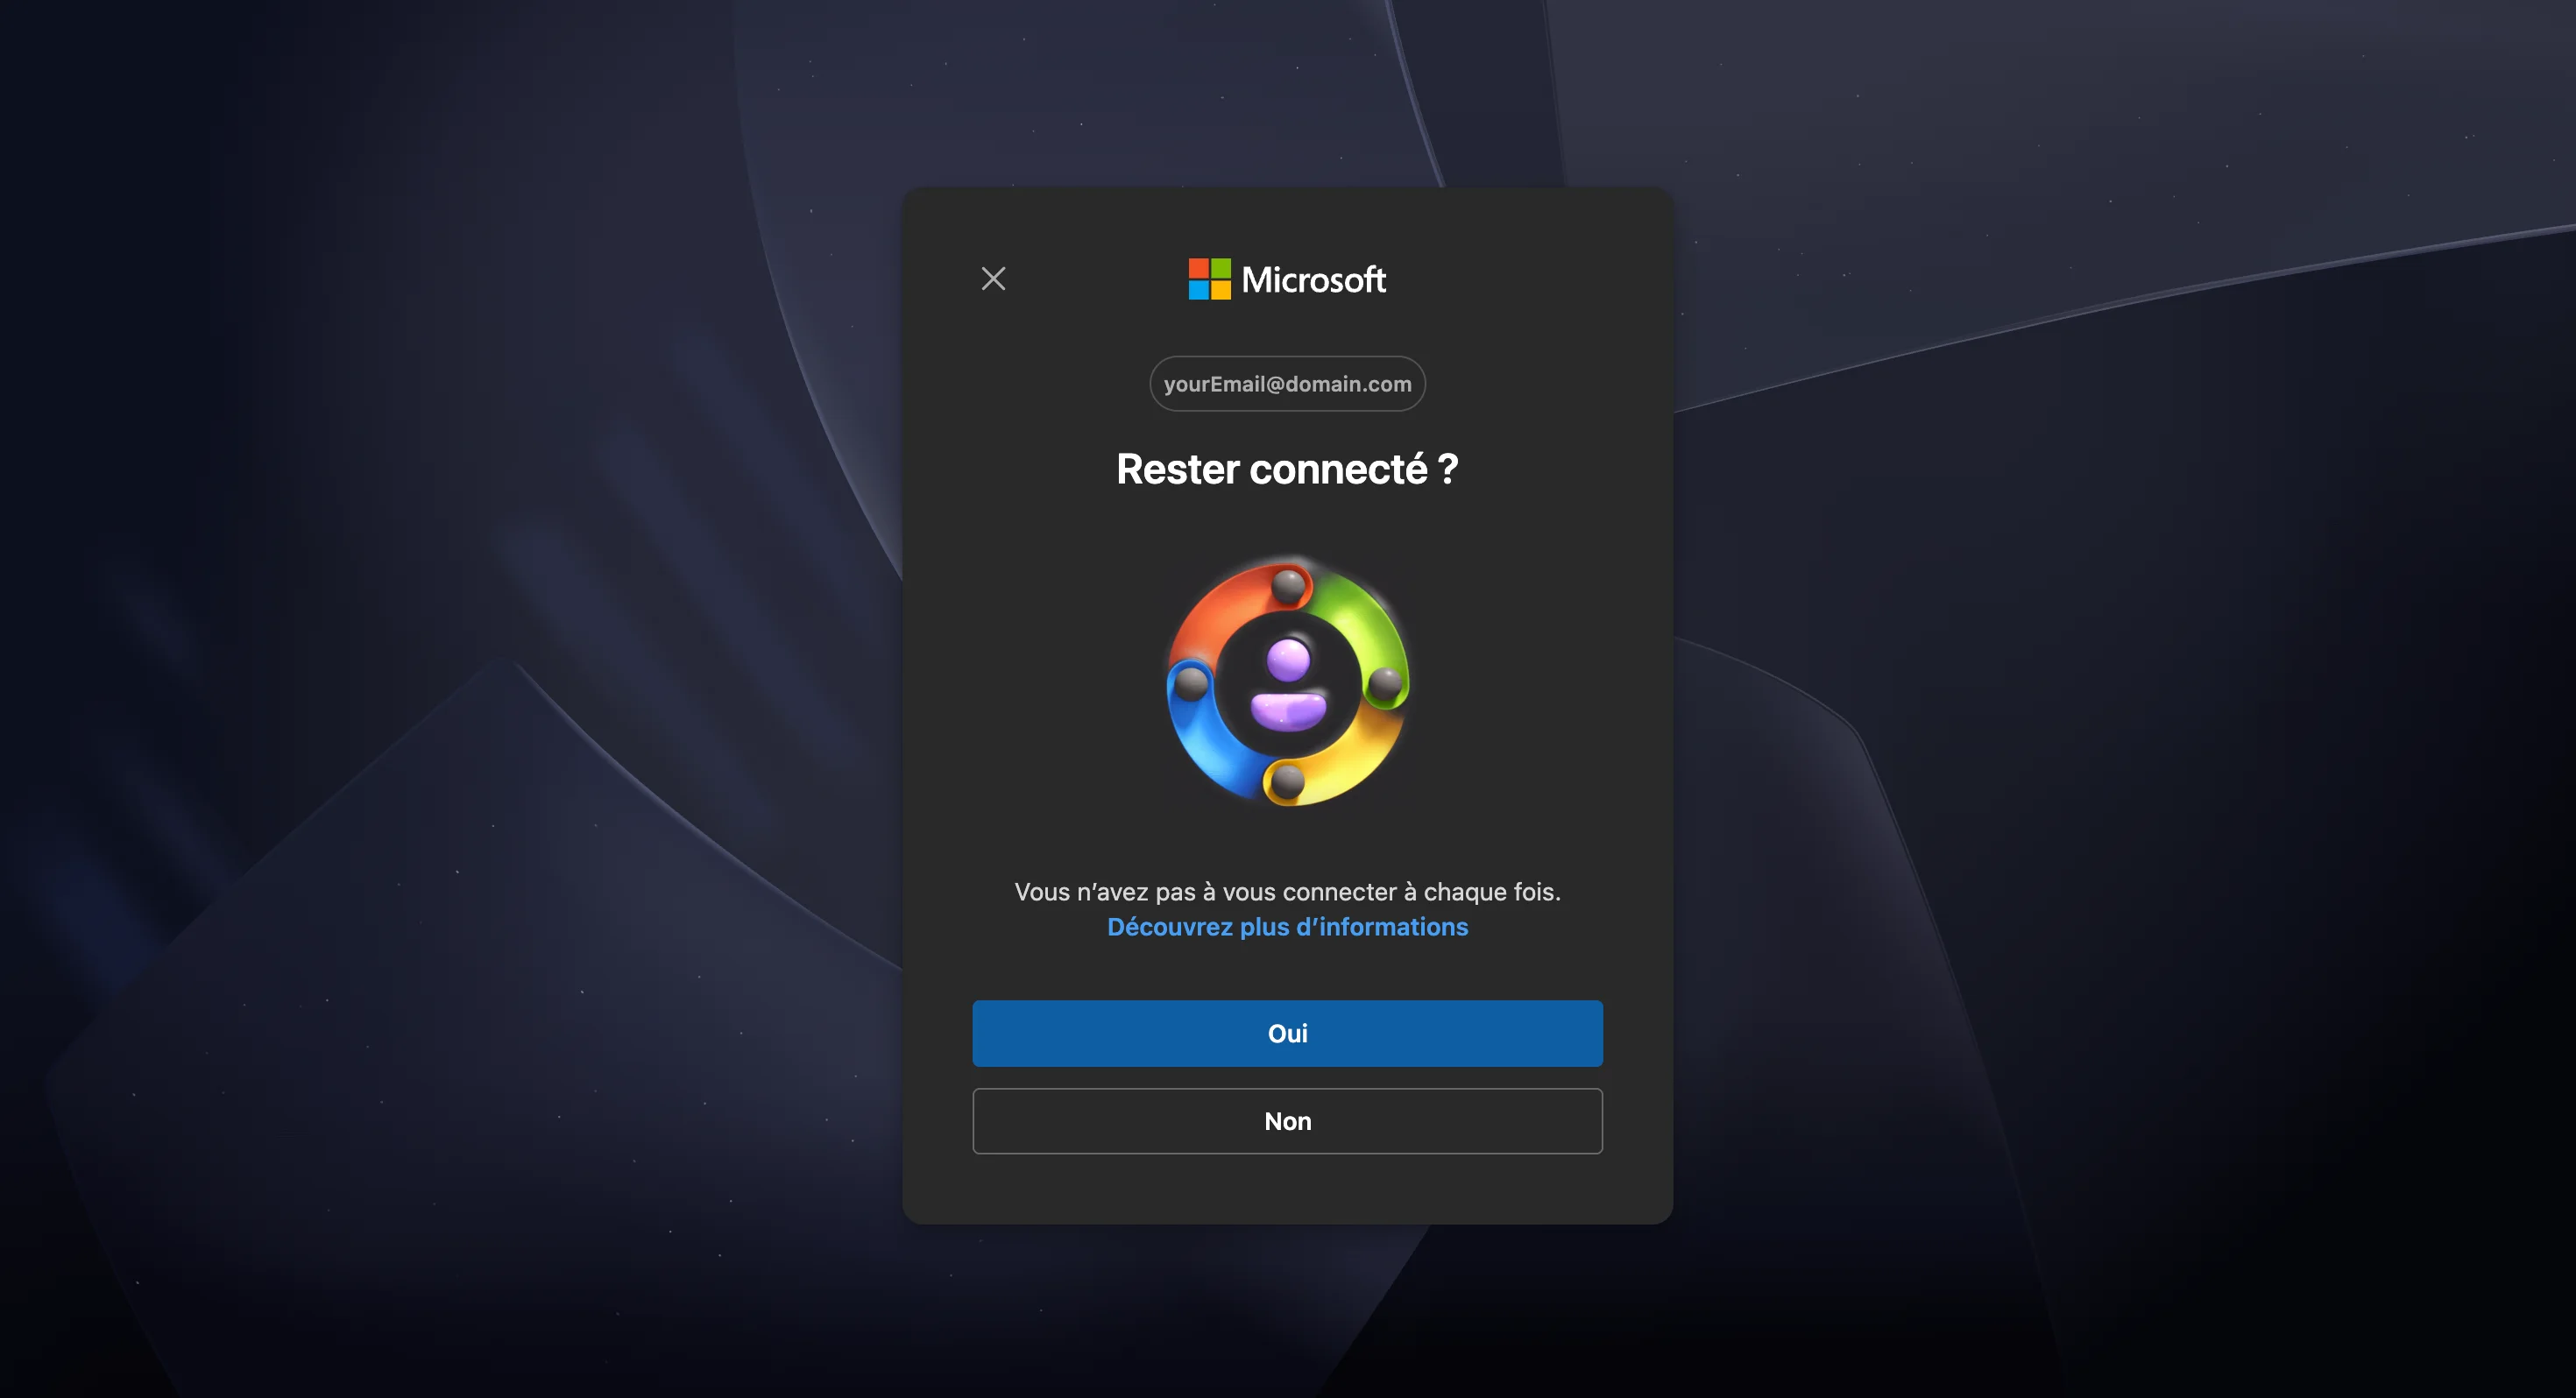
Microsoft then asks whether to stay signed in. Answering Yes keeps the Microsoft session in this browser and saves you the sign-in next time. It has no effect on the connector, which keeps its own authorisation either way.
Connect with credentials
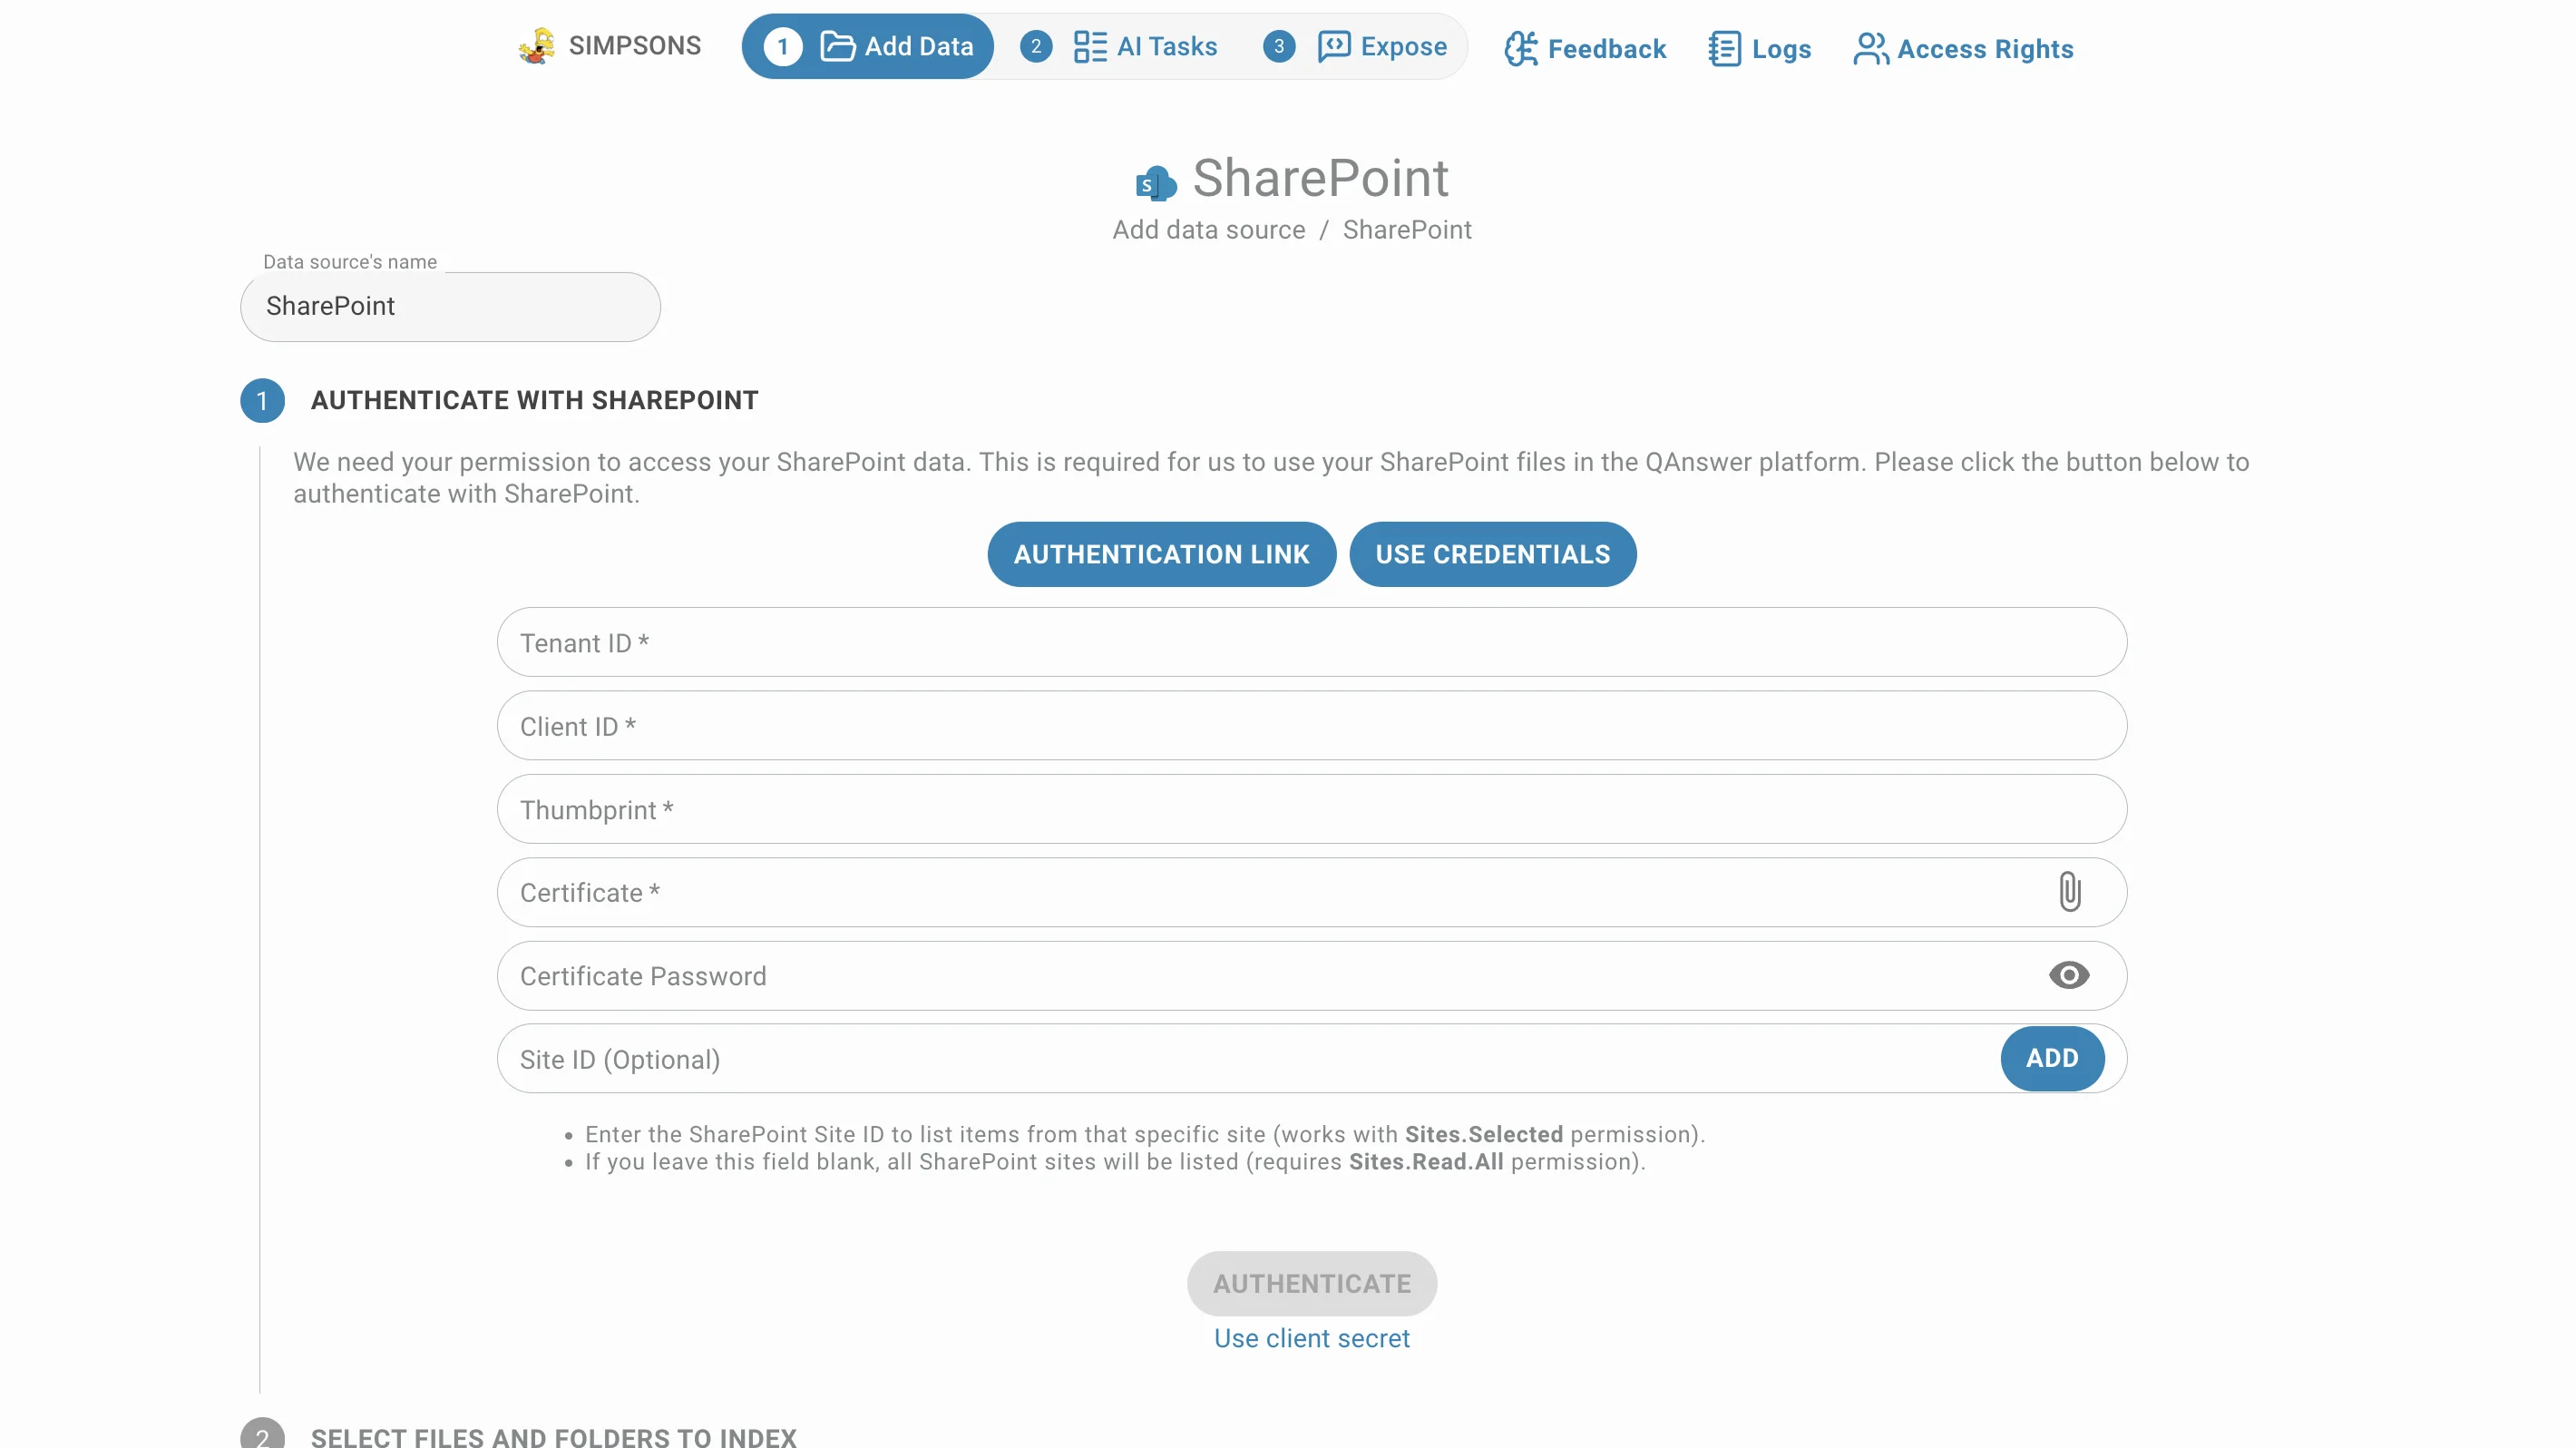
Use Credentials authenticates with an Azure app registration. Two variants are supported, switched with the link under the fields, and both end with an Authenticate button.
Client secret
- Tenant ID
- Client ID
- Client Secret
- Site ID (optional) — add one or more sites with the plus button; each added site can be ticked or unticked before authenticating.
Certificate
The certificate variant replaces the secret with:
- Thumbprint of the certificate
- Certificate — the private certificate itself
- Certificate Password, if you set one
- Tenant ID, Client ID and the same optional Site ID list
Which Graph permission the app registration needs depends on the Site ID field:
- With a Site ID filled in, the app only lists that site and Sites.Selected is enough.
- Left blank, every SharePoint site is listed, which requires Sites.Read.All.
- To include notebooks, add Notes.Read.All to the app registration as well.
Choose what to index
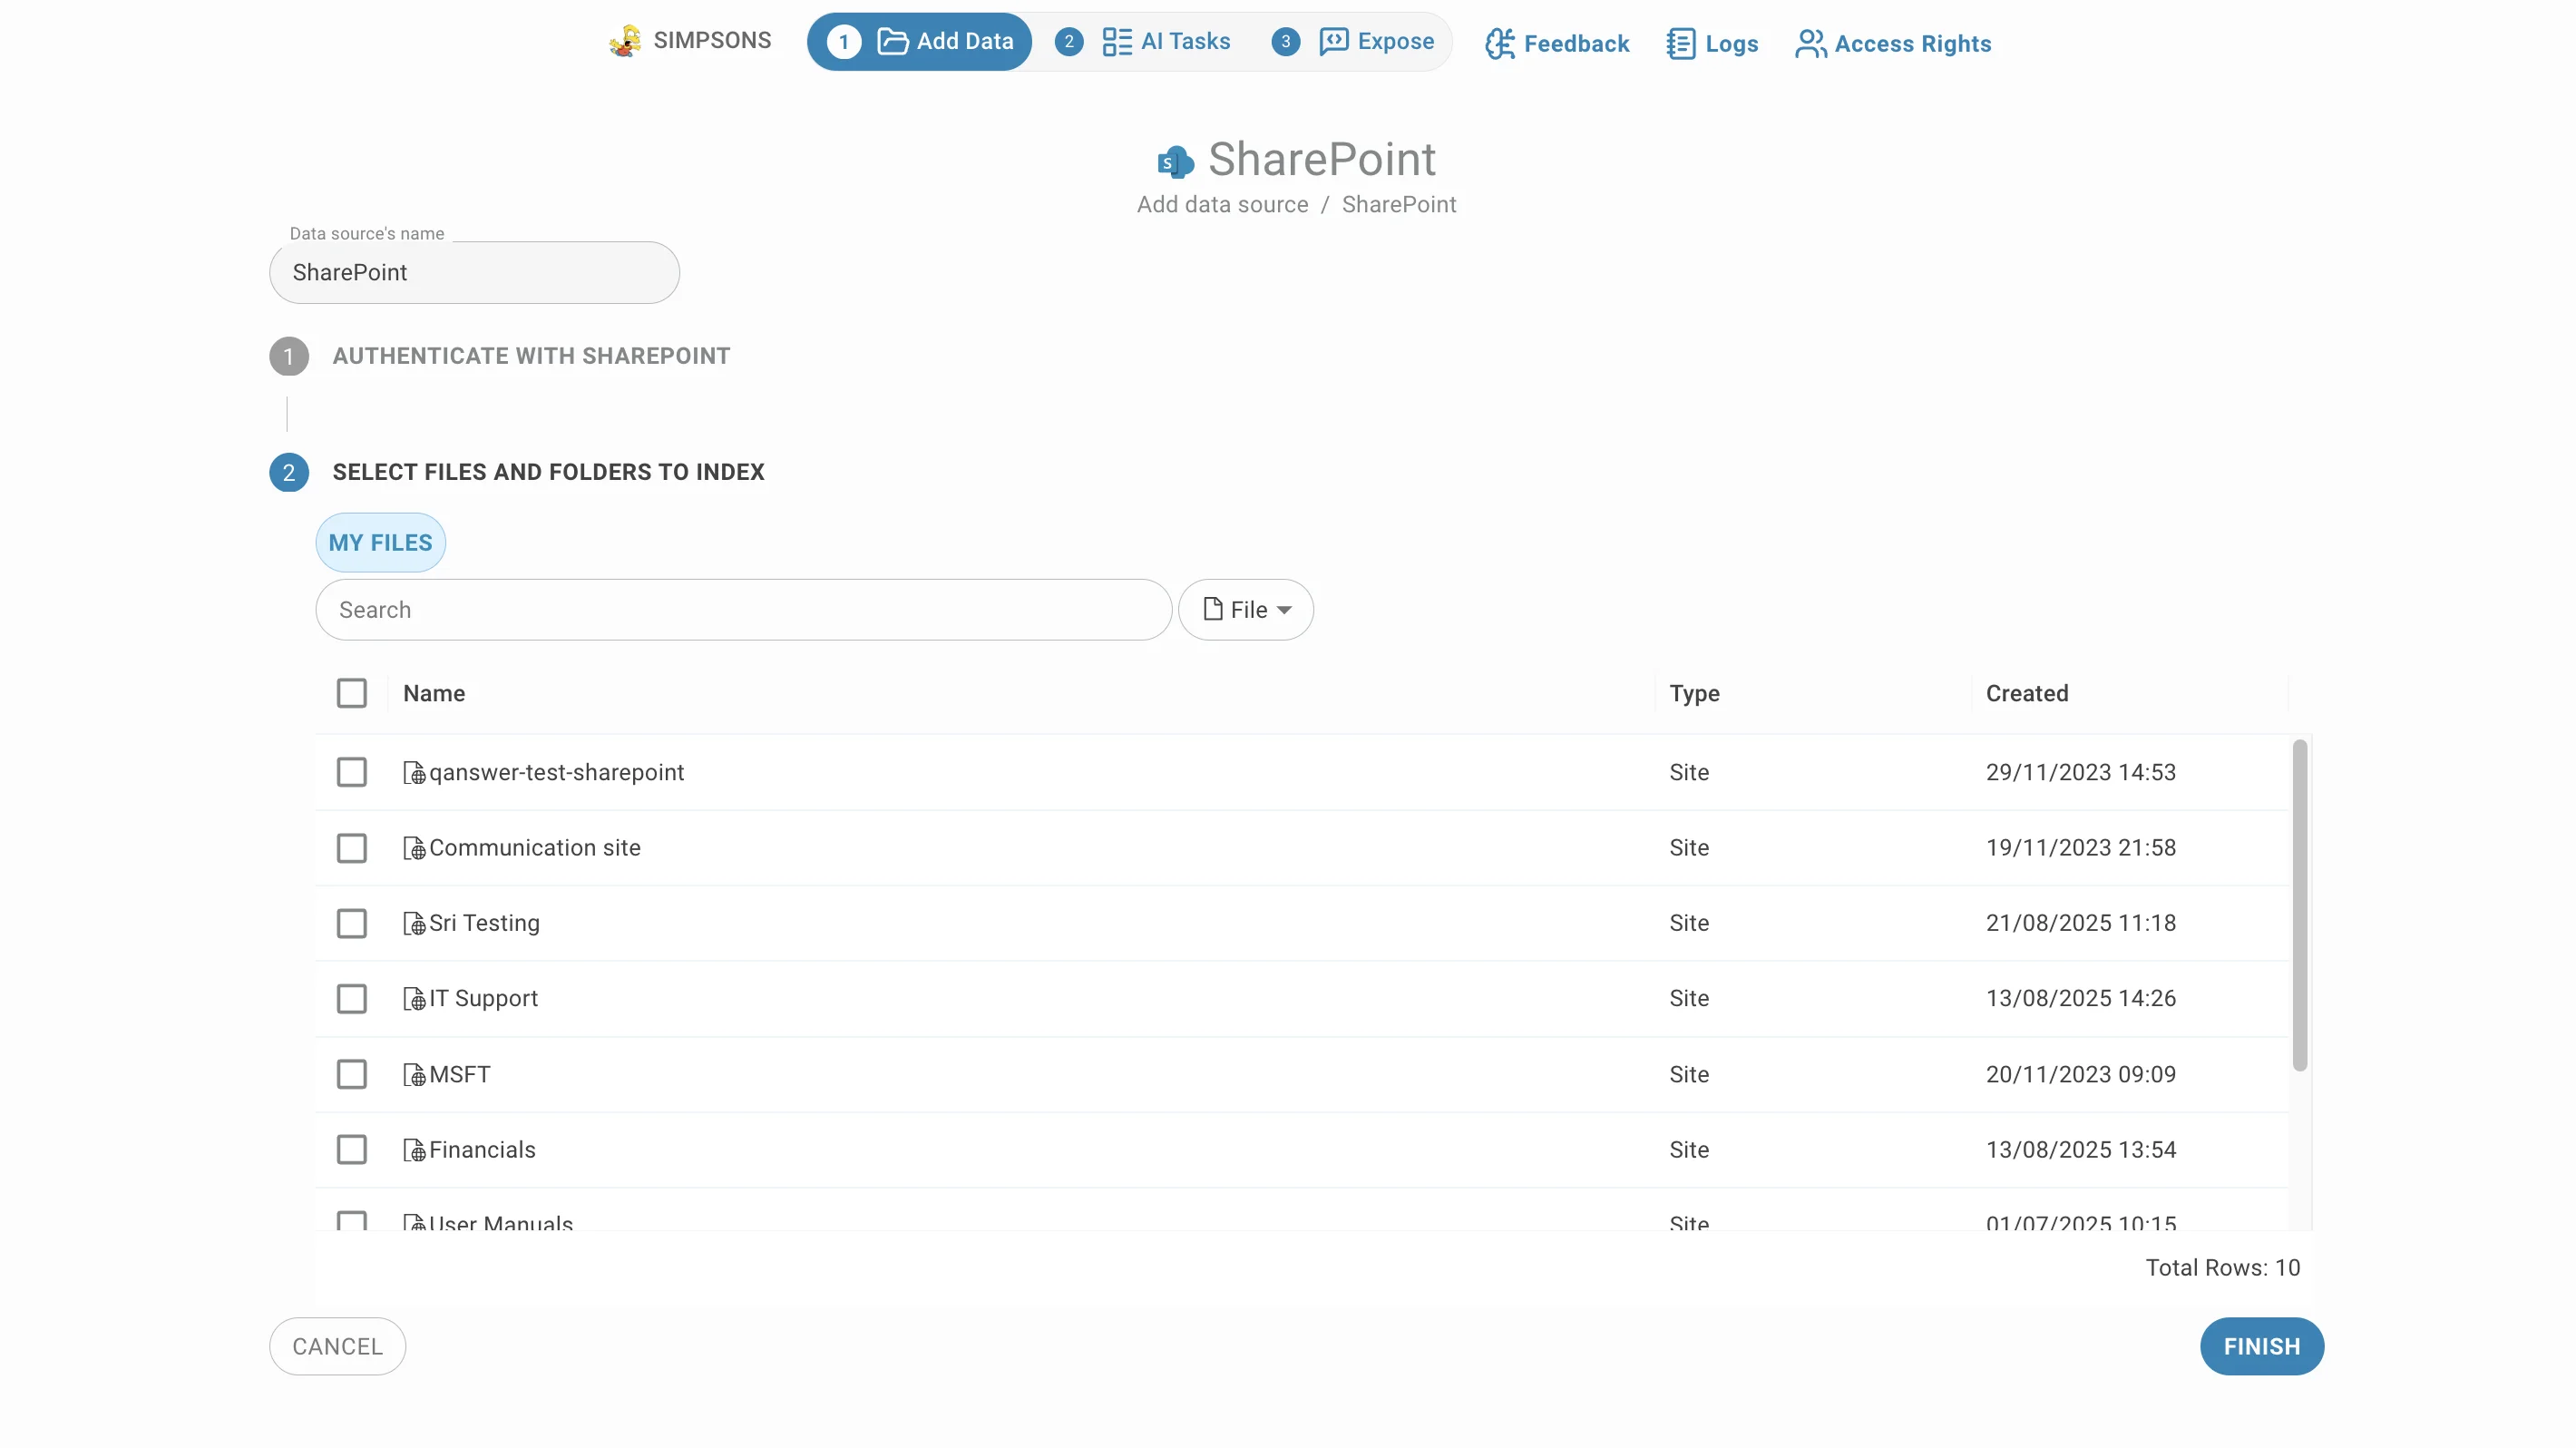
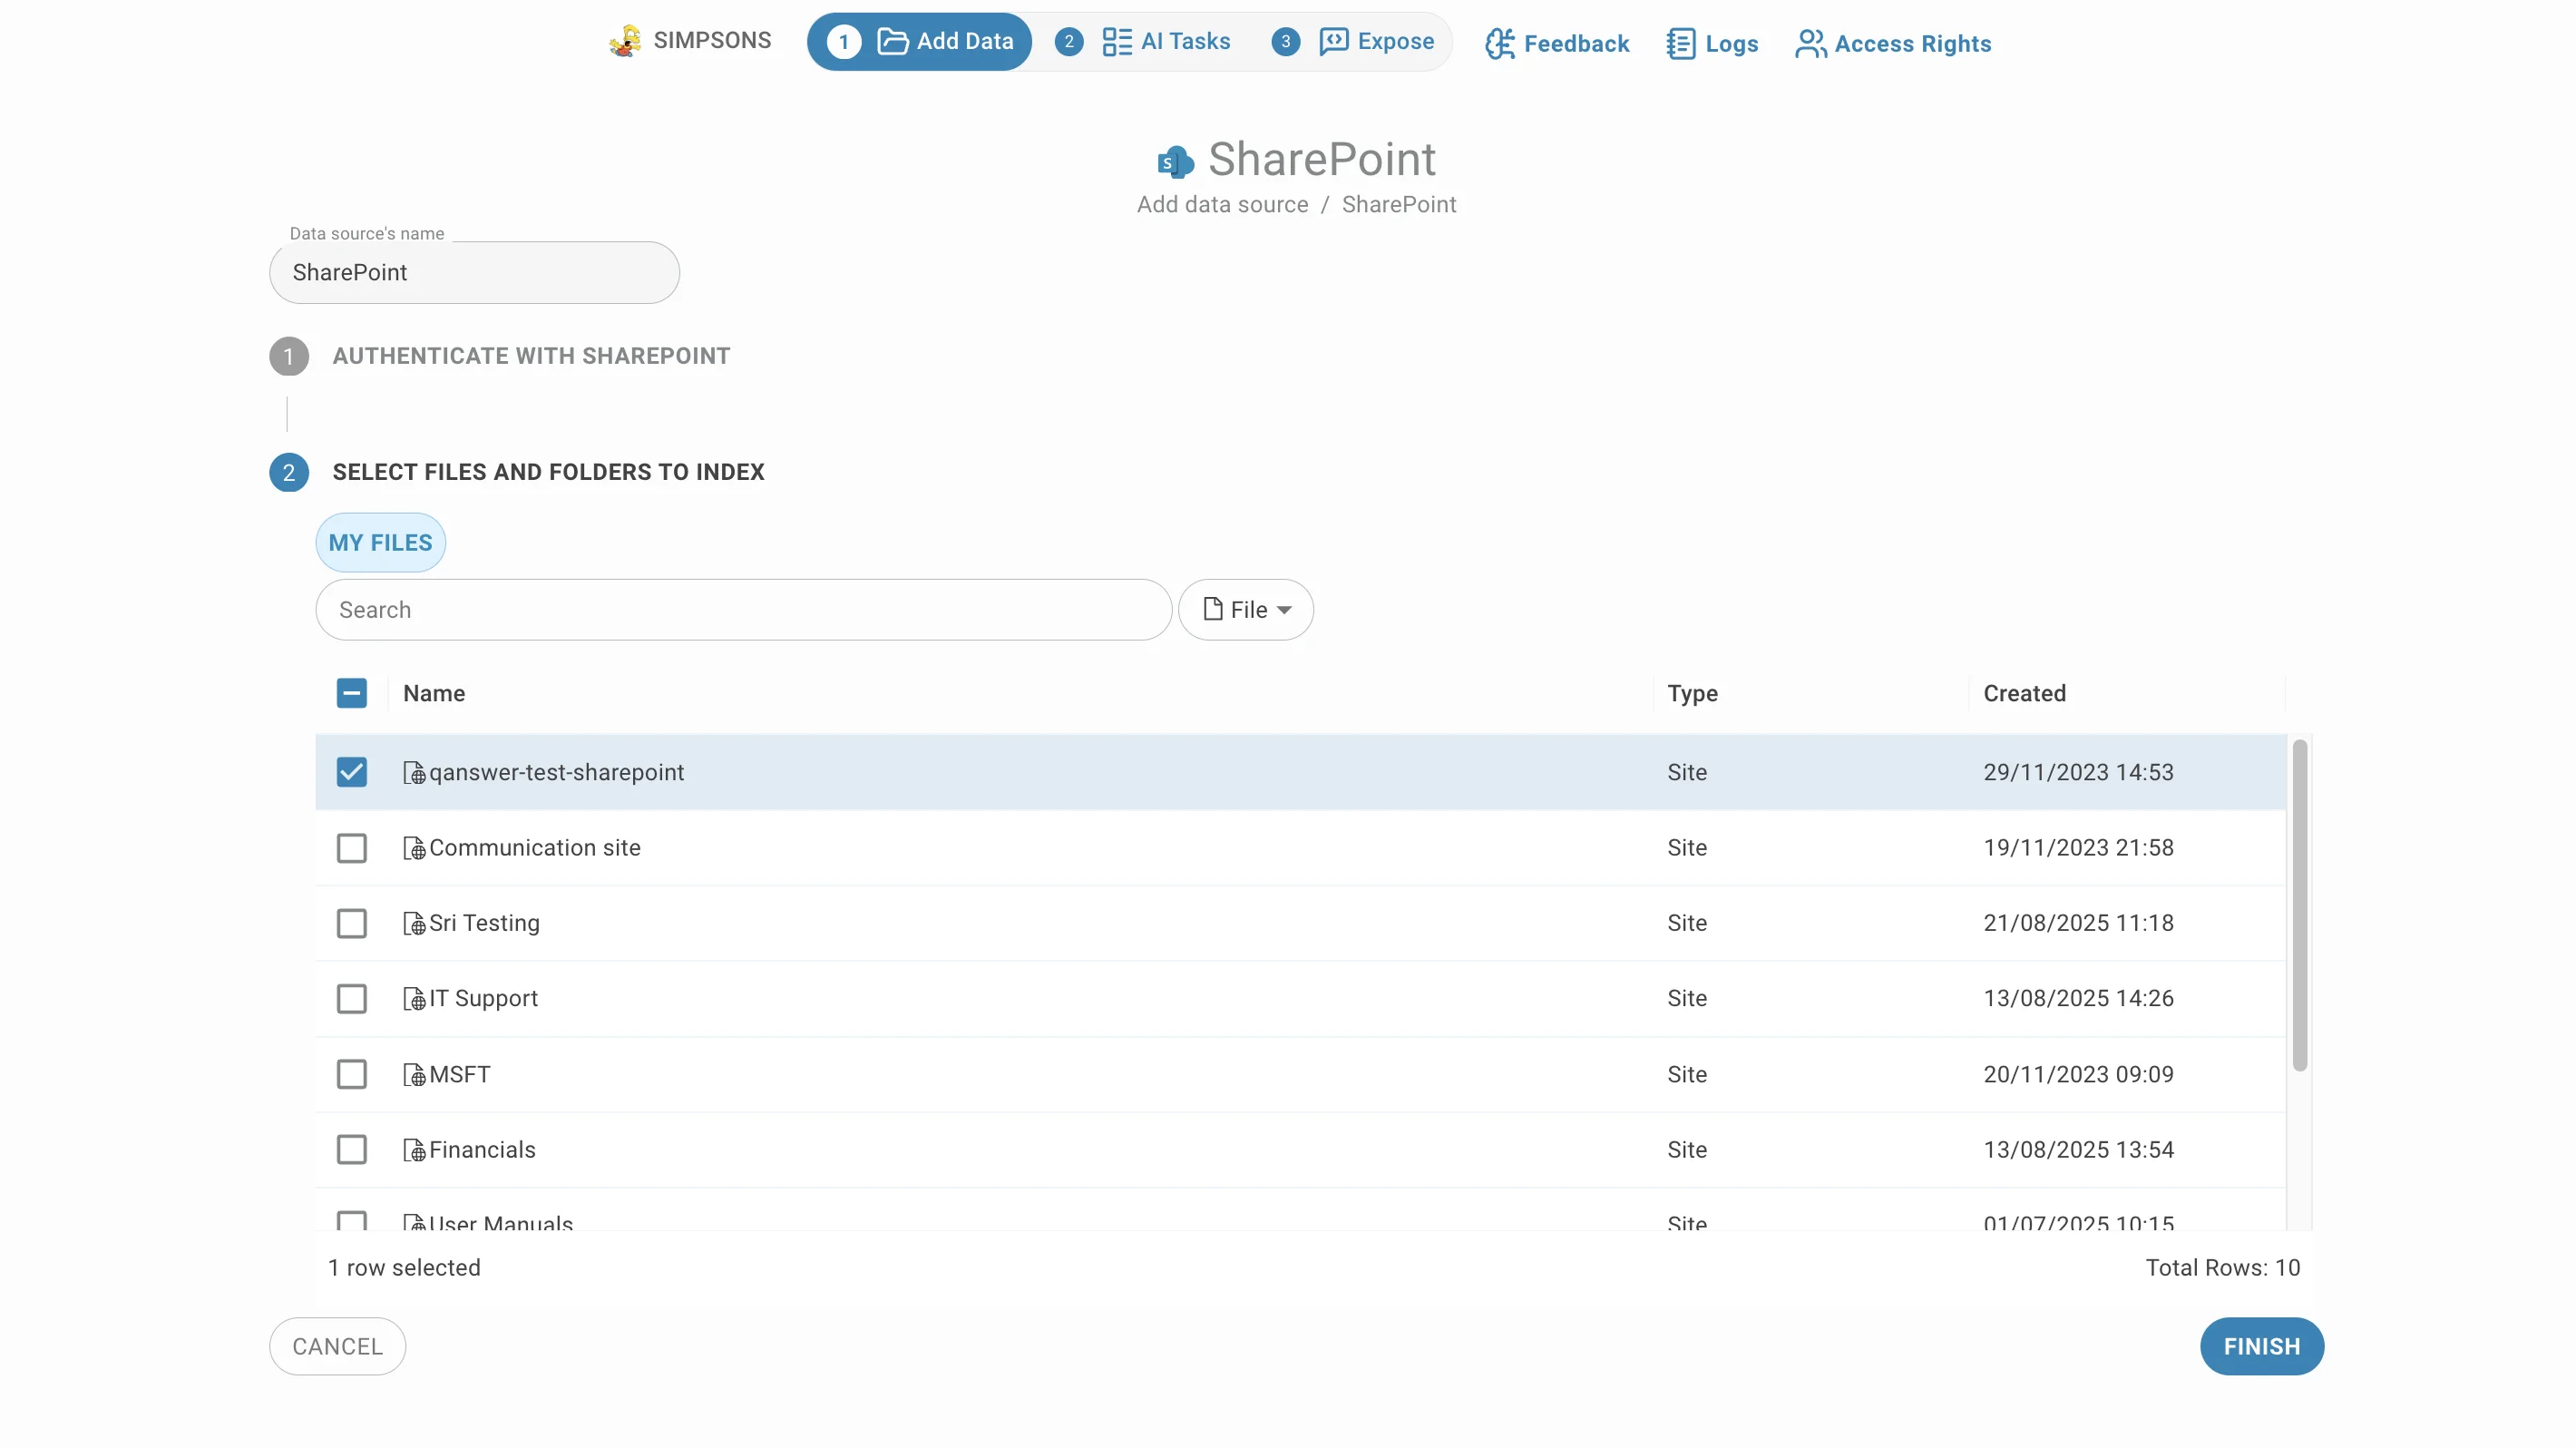
The second step lists what the account can reach — sites, document libraries and their folders:
- Click a name to open it. The breadcrumb above the table shows where you are and the ".." row goes back up.
- Rows carry the item type and the created and modified dates, so you can judge what is still current.
- The search box finds items by name. The selector next to it decides what you are searching for — File, Site or Drive — which is how you jump straight to a site instead of clicking down to it.
- The LLM column marks a file for vision-model extraction: slower but better on scanned or heavily laid-out documents. PDF, DOCX and PPT only.
- Tick the libraries, folders and files to index. Selections survive navigation, so you can gather items from several sites before finishing.
- Click Finish to start indexing.
Connector settings
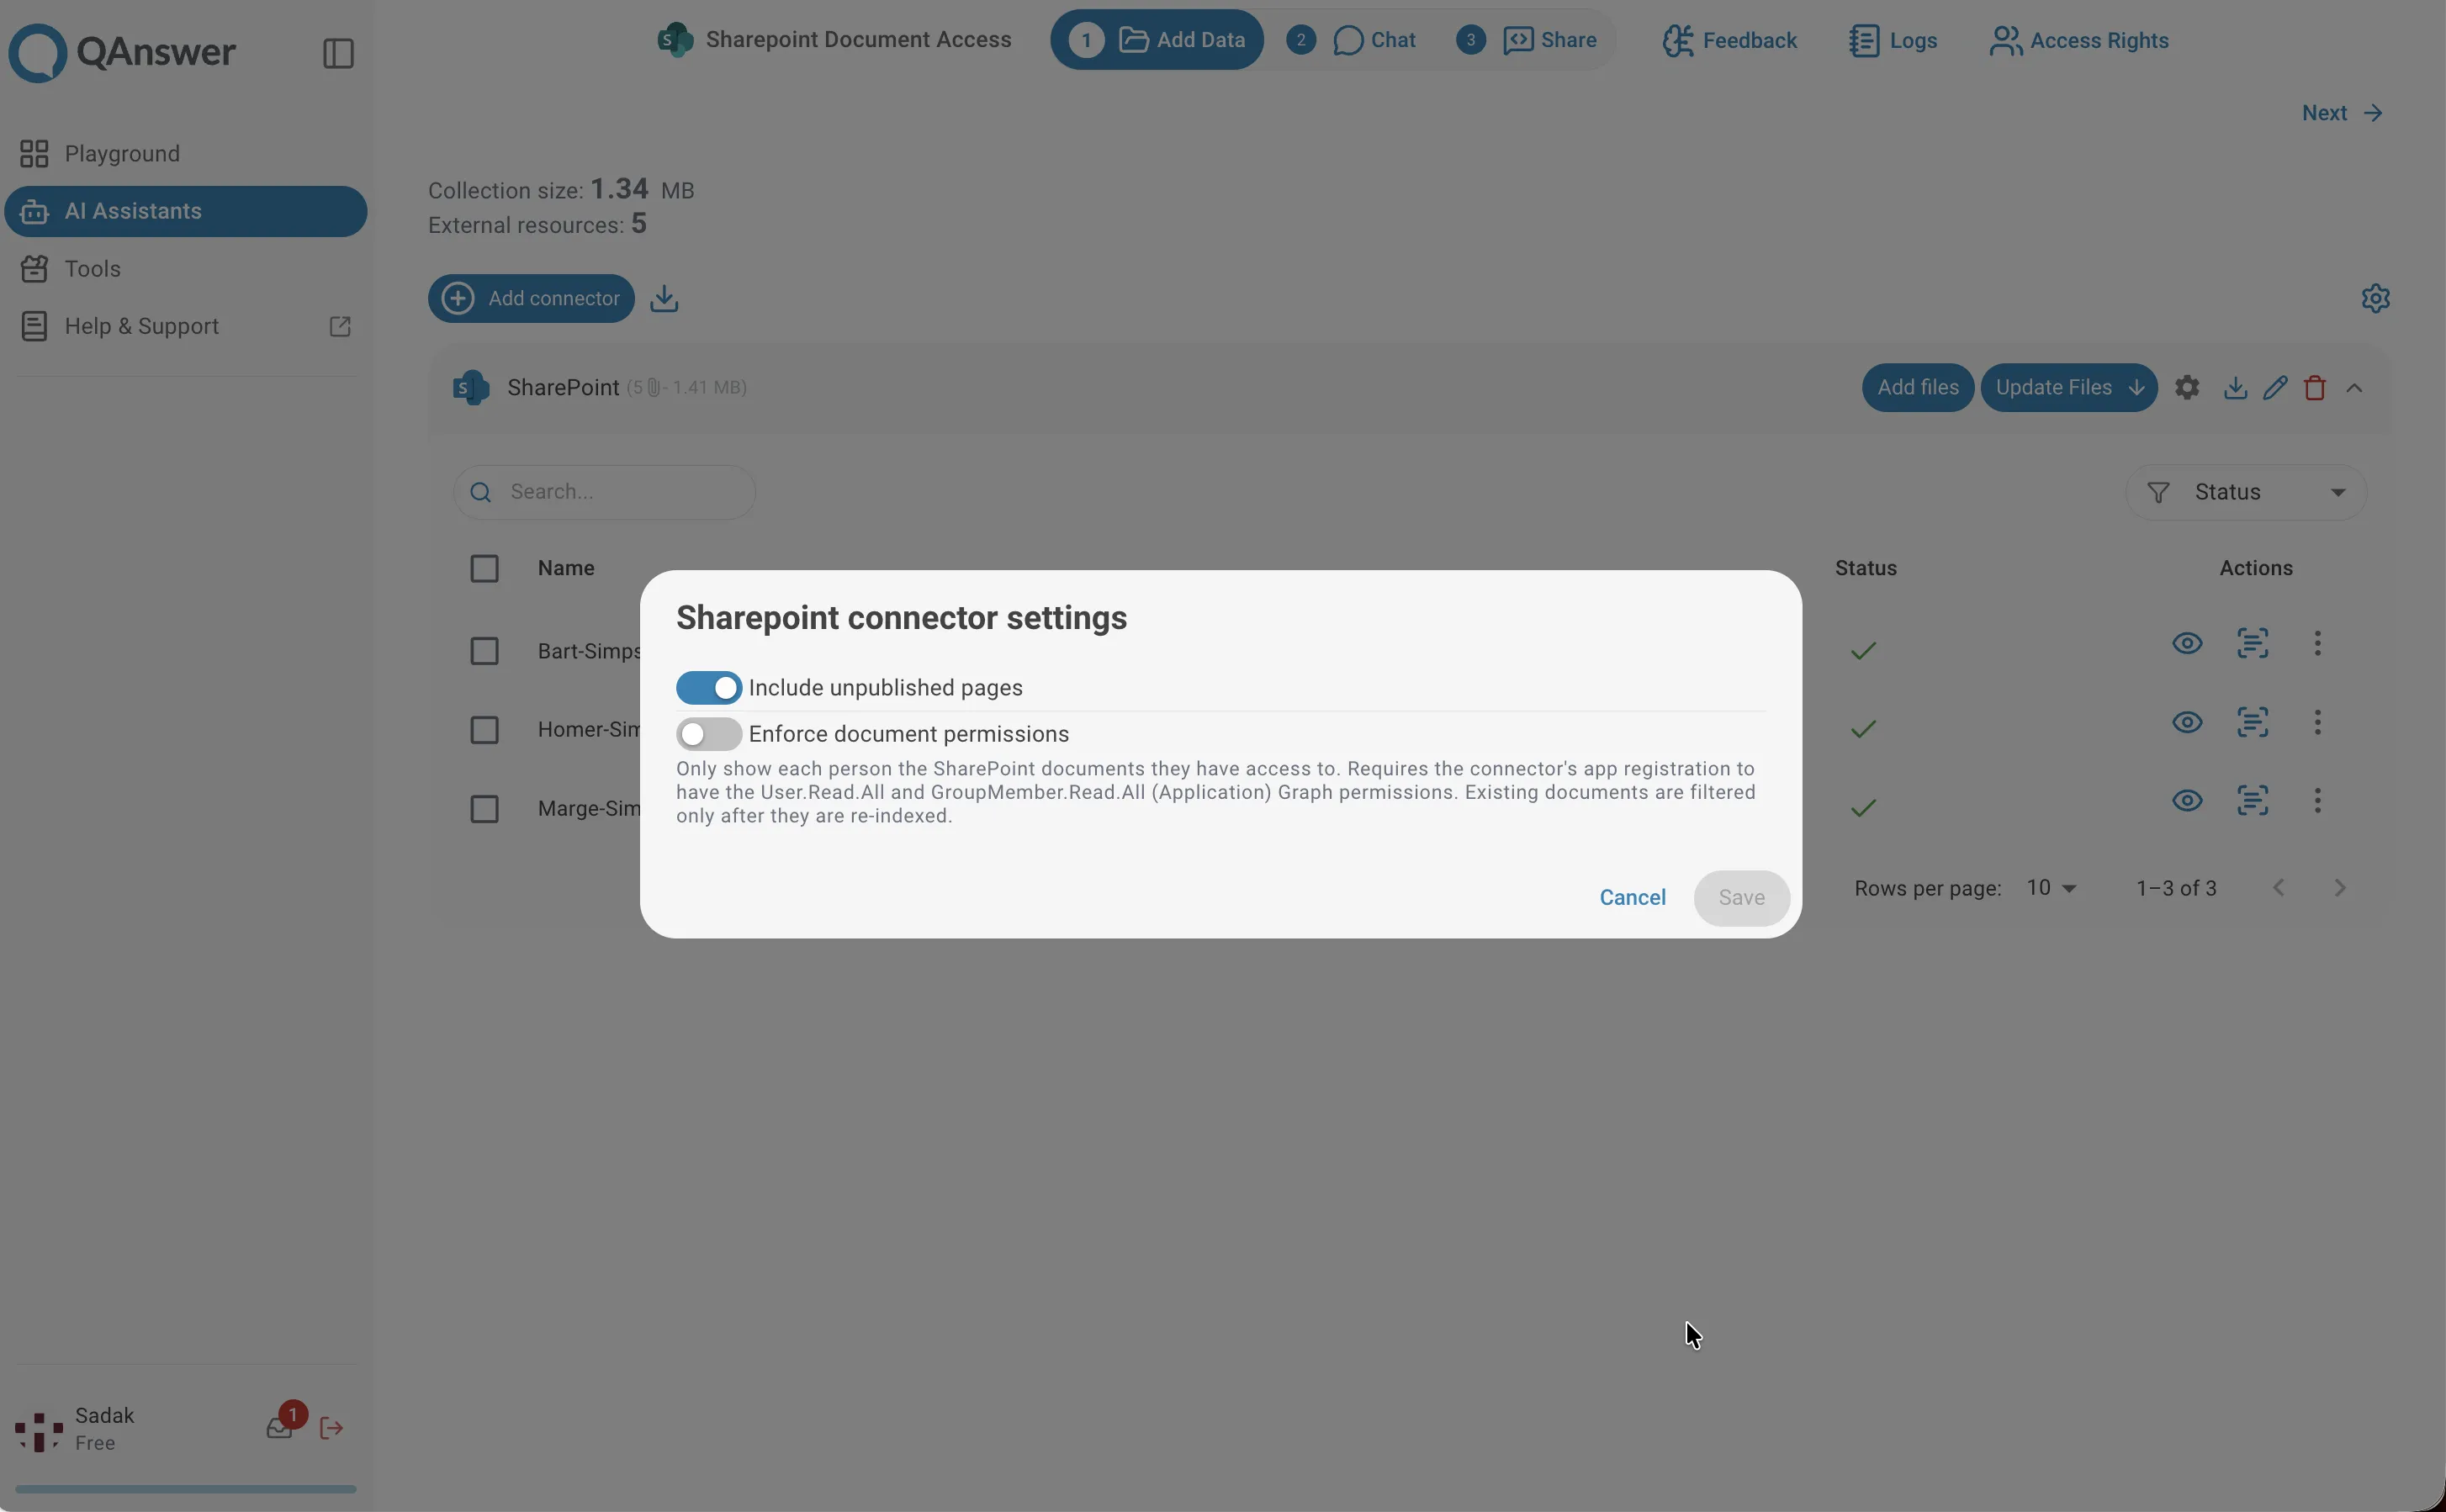
The gear icon — beside the search box during creation, and on the connector row afterwards — opens the SharePoint settings. Changes only apply when you click Save.
- Include unpublished pages — also indexes pages that exist as drafts. Off by default, since drafts often contradict the published version.
- Enforce document permissions — shows each person only the SharePoint documents they may see. This requires the app registration to hold the User.Read.All and GroupMember.Read.All application permissions, and documents already indexed are filtered only after they are re-indexed.
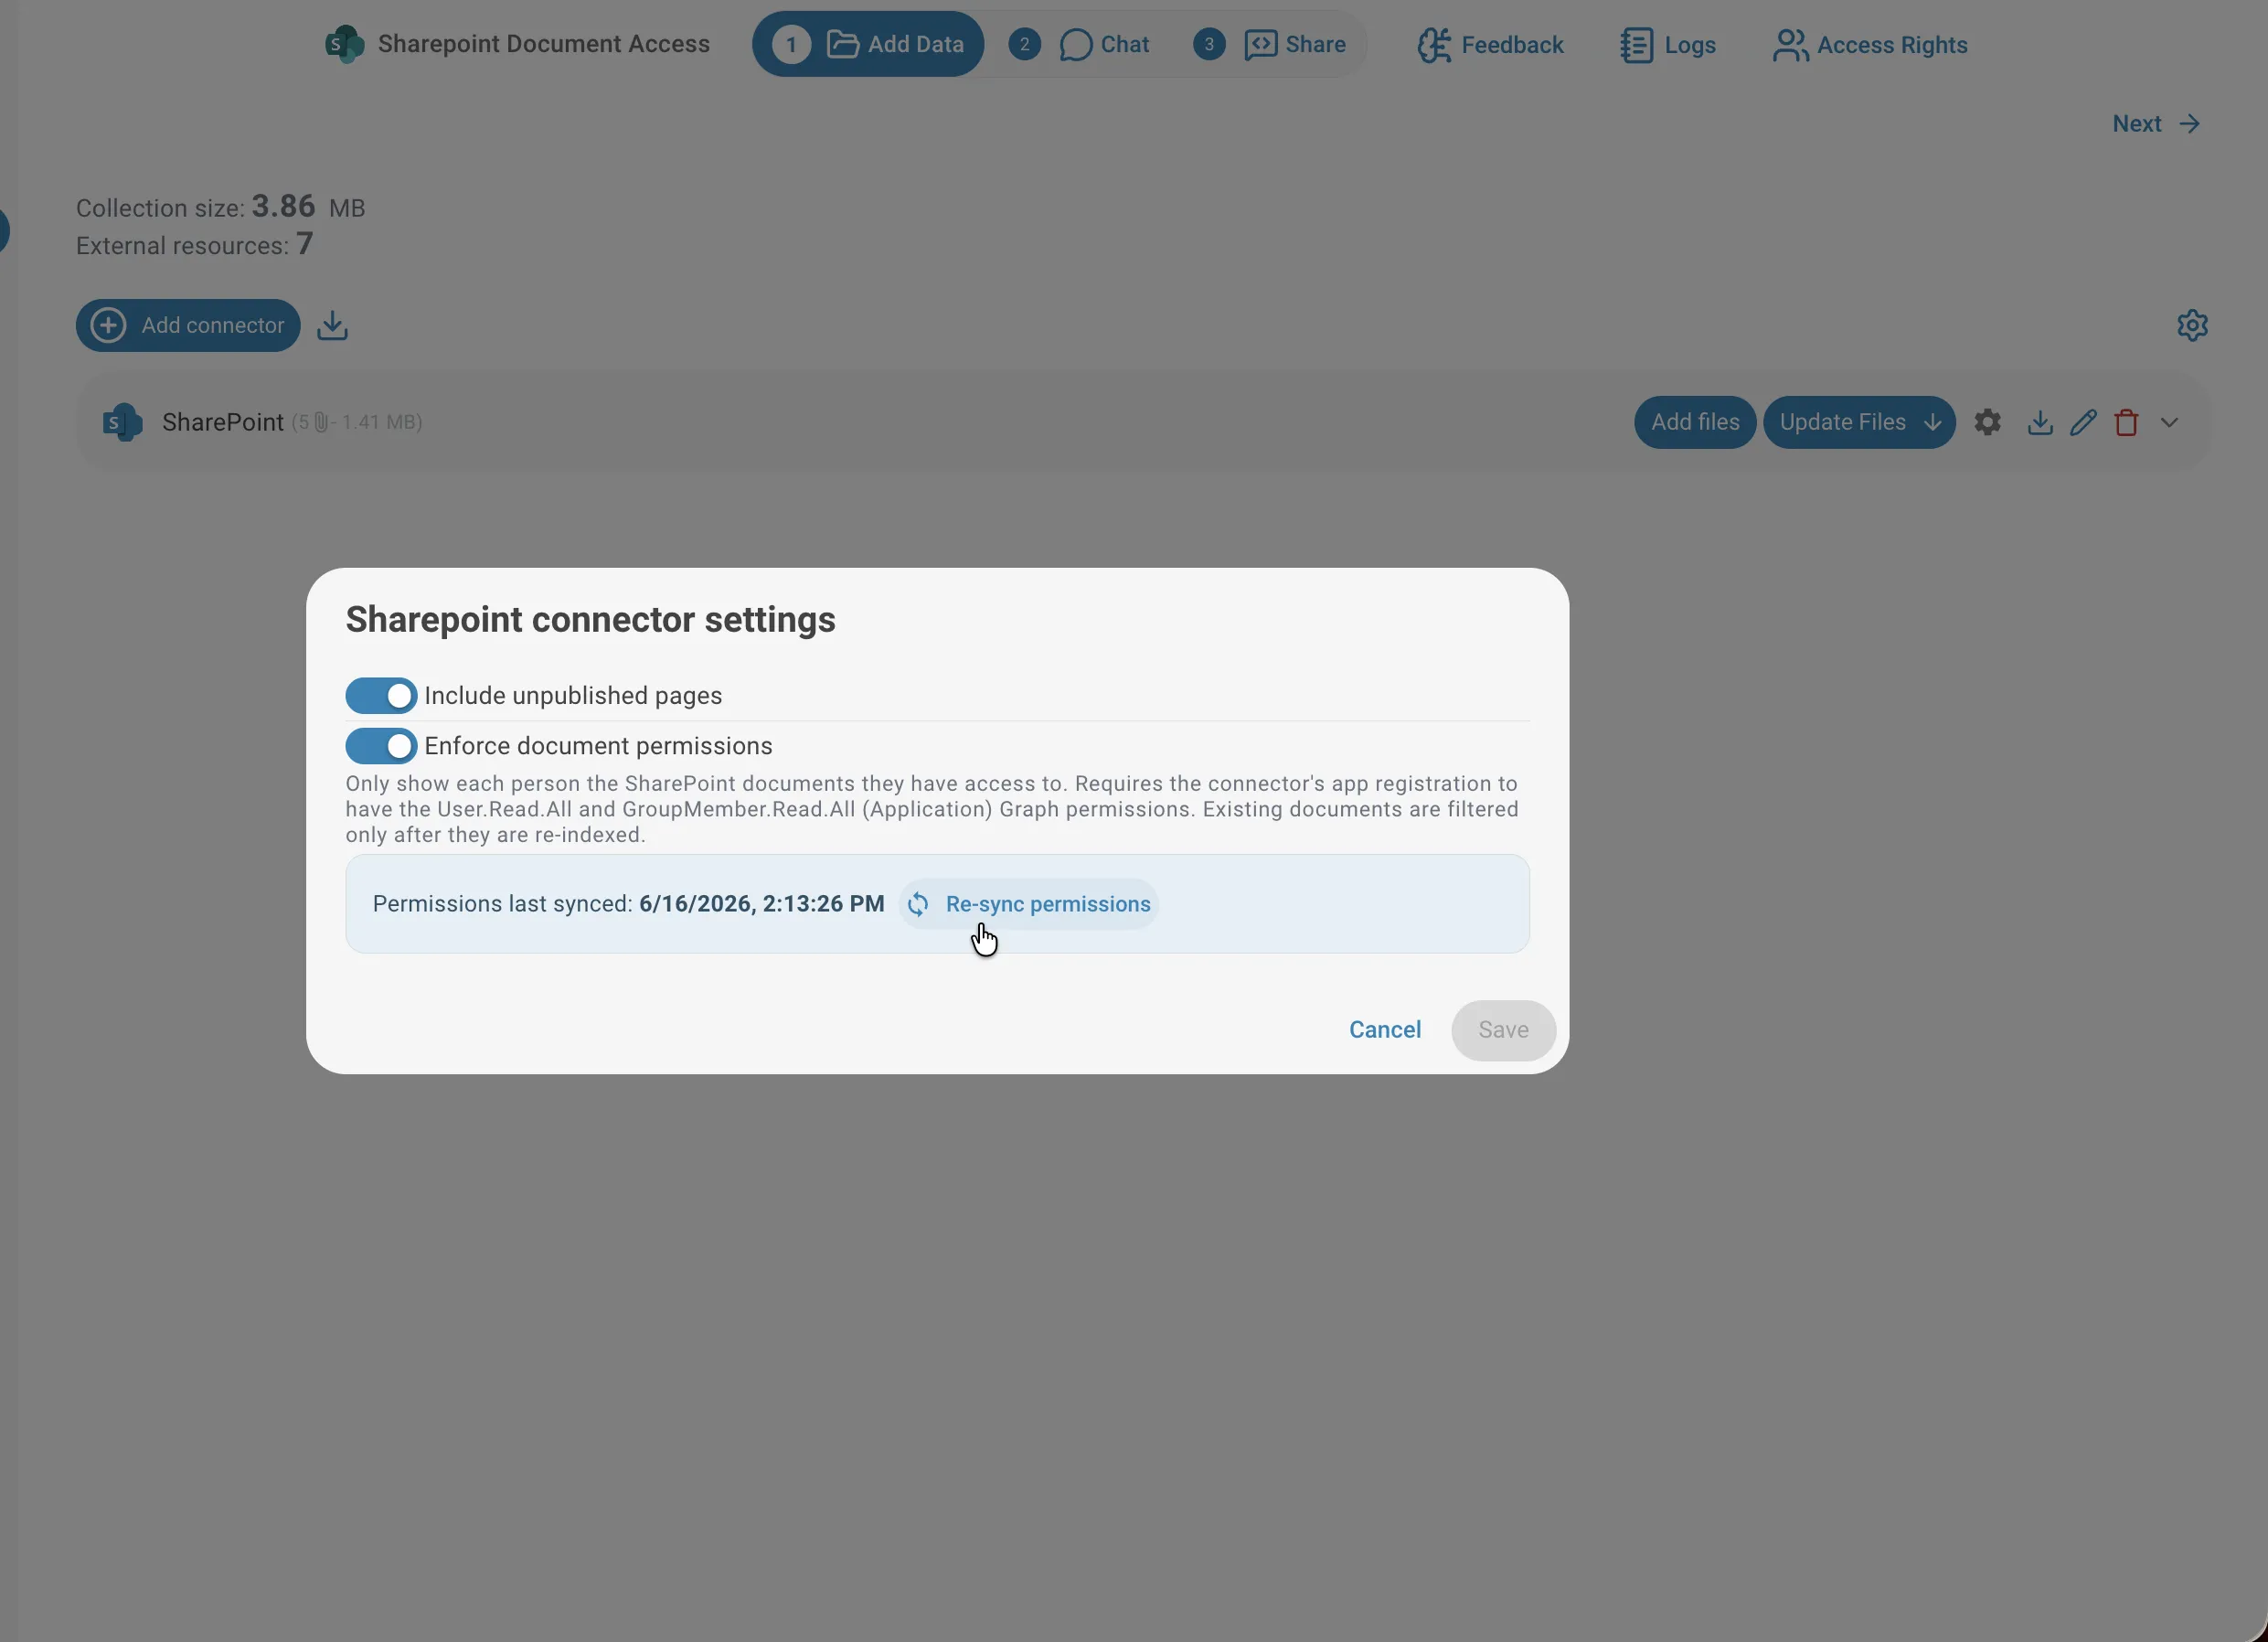
When permission enforcement is on, the dialog also shows when permissions were last synced and offers a Re-sync permissions action for when someone's access changed in SharePoint.
Indexing and updates
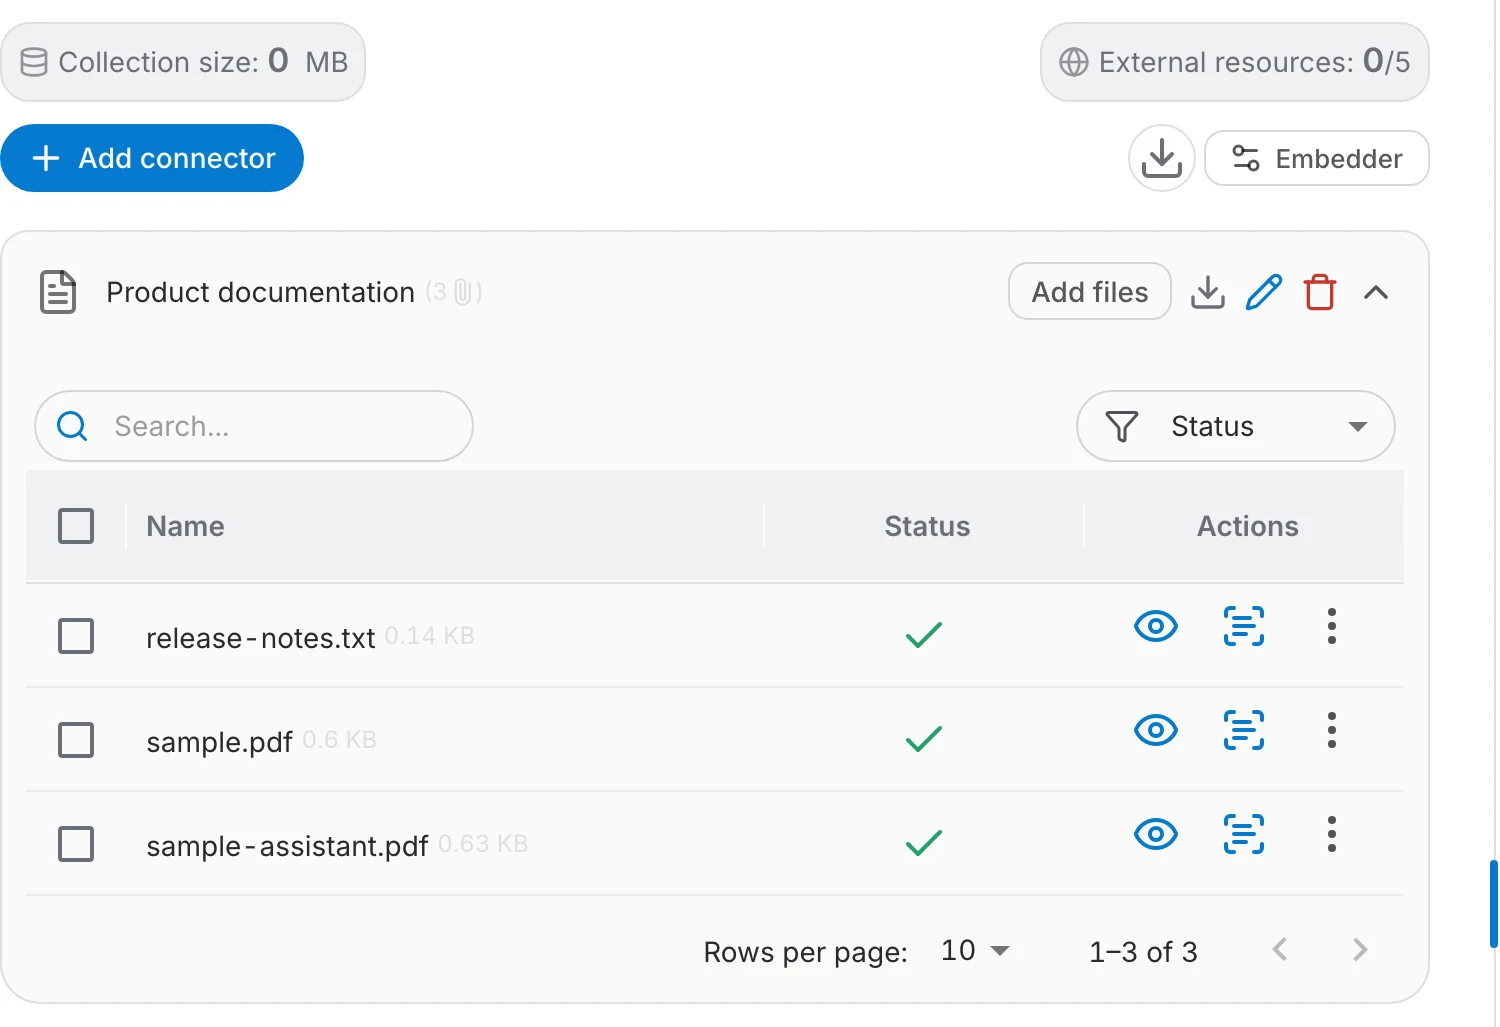
The connector's file table shows every document it pulled in and where the indexing got to:
- A green check means the document is indexed; failures are marked so you can see what did not make it.
- Add files reopens the site listing, so you can index more documents into the same connector.
- Update Files re-reads the documents already in the connector. Its menu runs the update Now after a confirmation, or sets an automatic Daily, Weekly or Monthly refresh — Never turns the schedule off.
- Documents the account loses access to stop being refreshed.
Access
By default, indexed content is available to everyone who can use the assistant, whatever the permissions were in SharePoint — the assistant answers from the indexed text, not from each reader's rights. Turn on Enforce document permissions if that is not acceptable, and otherwise index only libraries whose content your whole audience may read.
Document-Level Permissions
When a SharePoint site is indexed with document permissions enabled, QAnswer enforces the same access rules as SharePoint itself. Users who access the AI assistant must be authenticated with their Microsoft account — QAnswer will then show each person only the documents they already have access to in SharePoint. Users who are not authenticated, or whose account cannot be recognized, will see no SharePoint content at all.
Enabling Permission Enforcement
Open the connector settings and toggle on Enforce document permissions, then click Save.
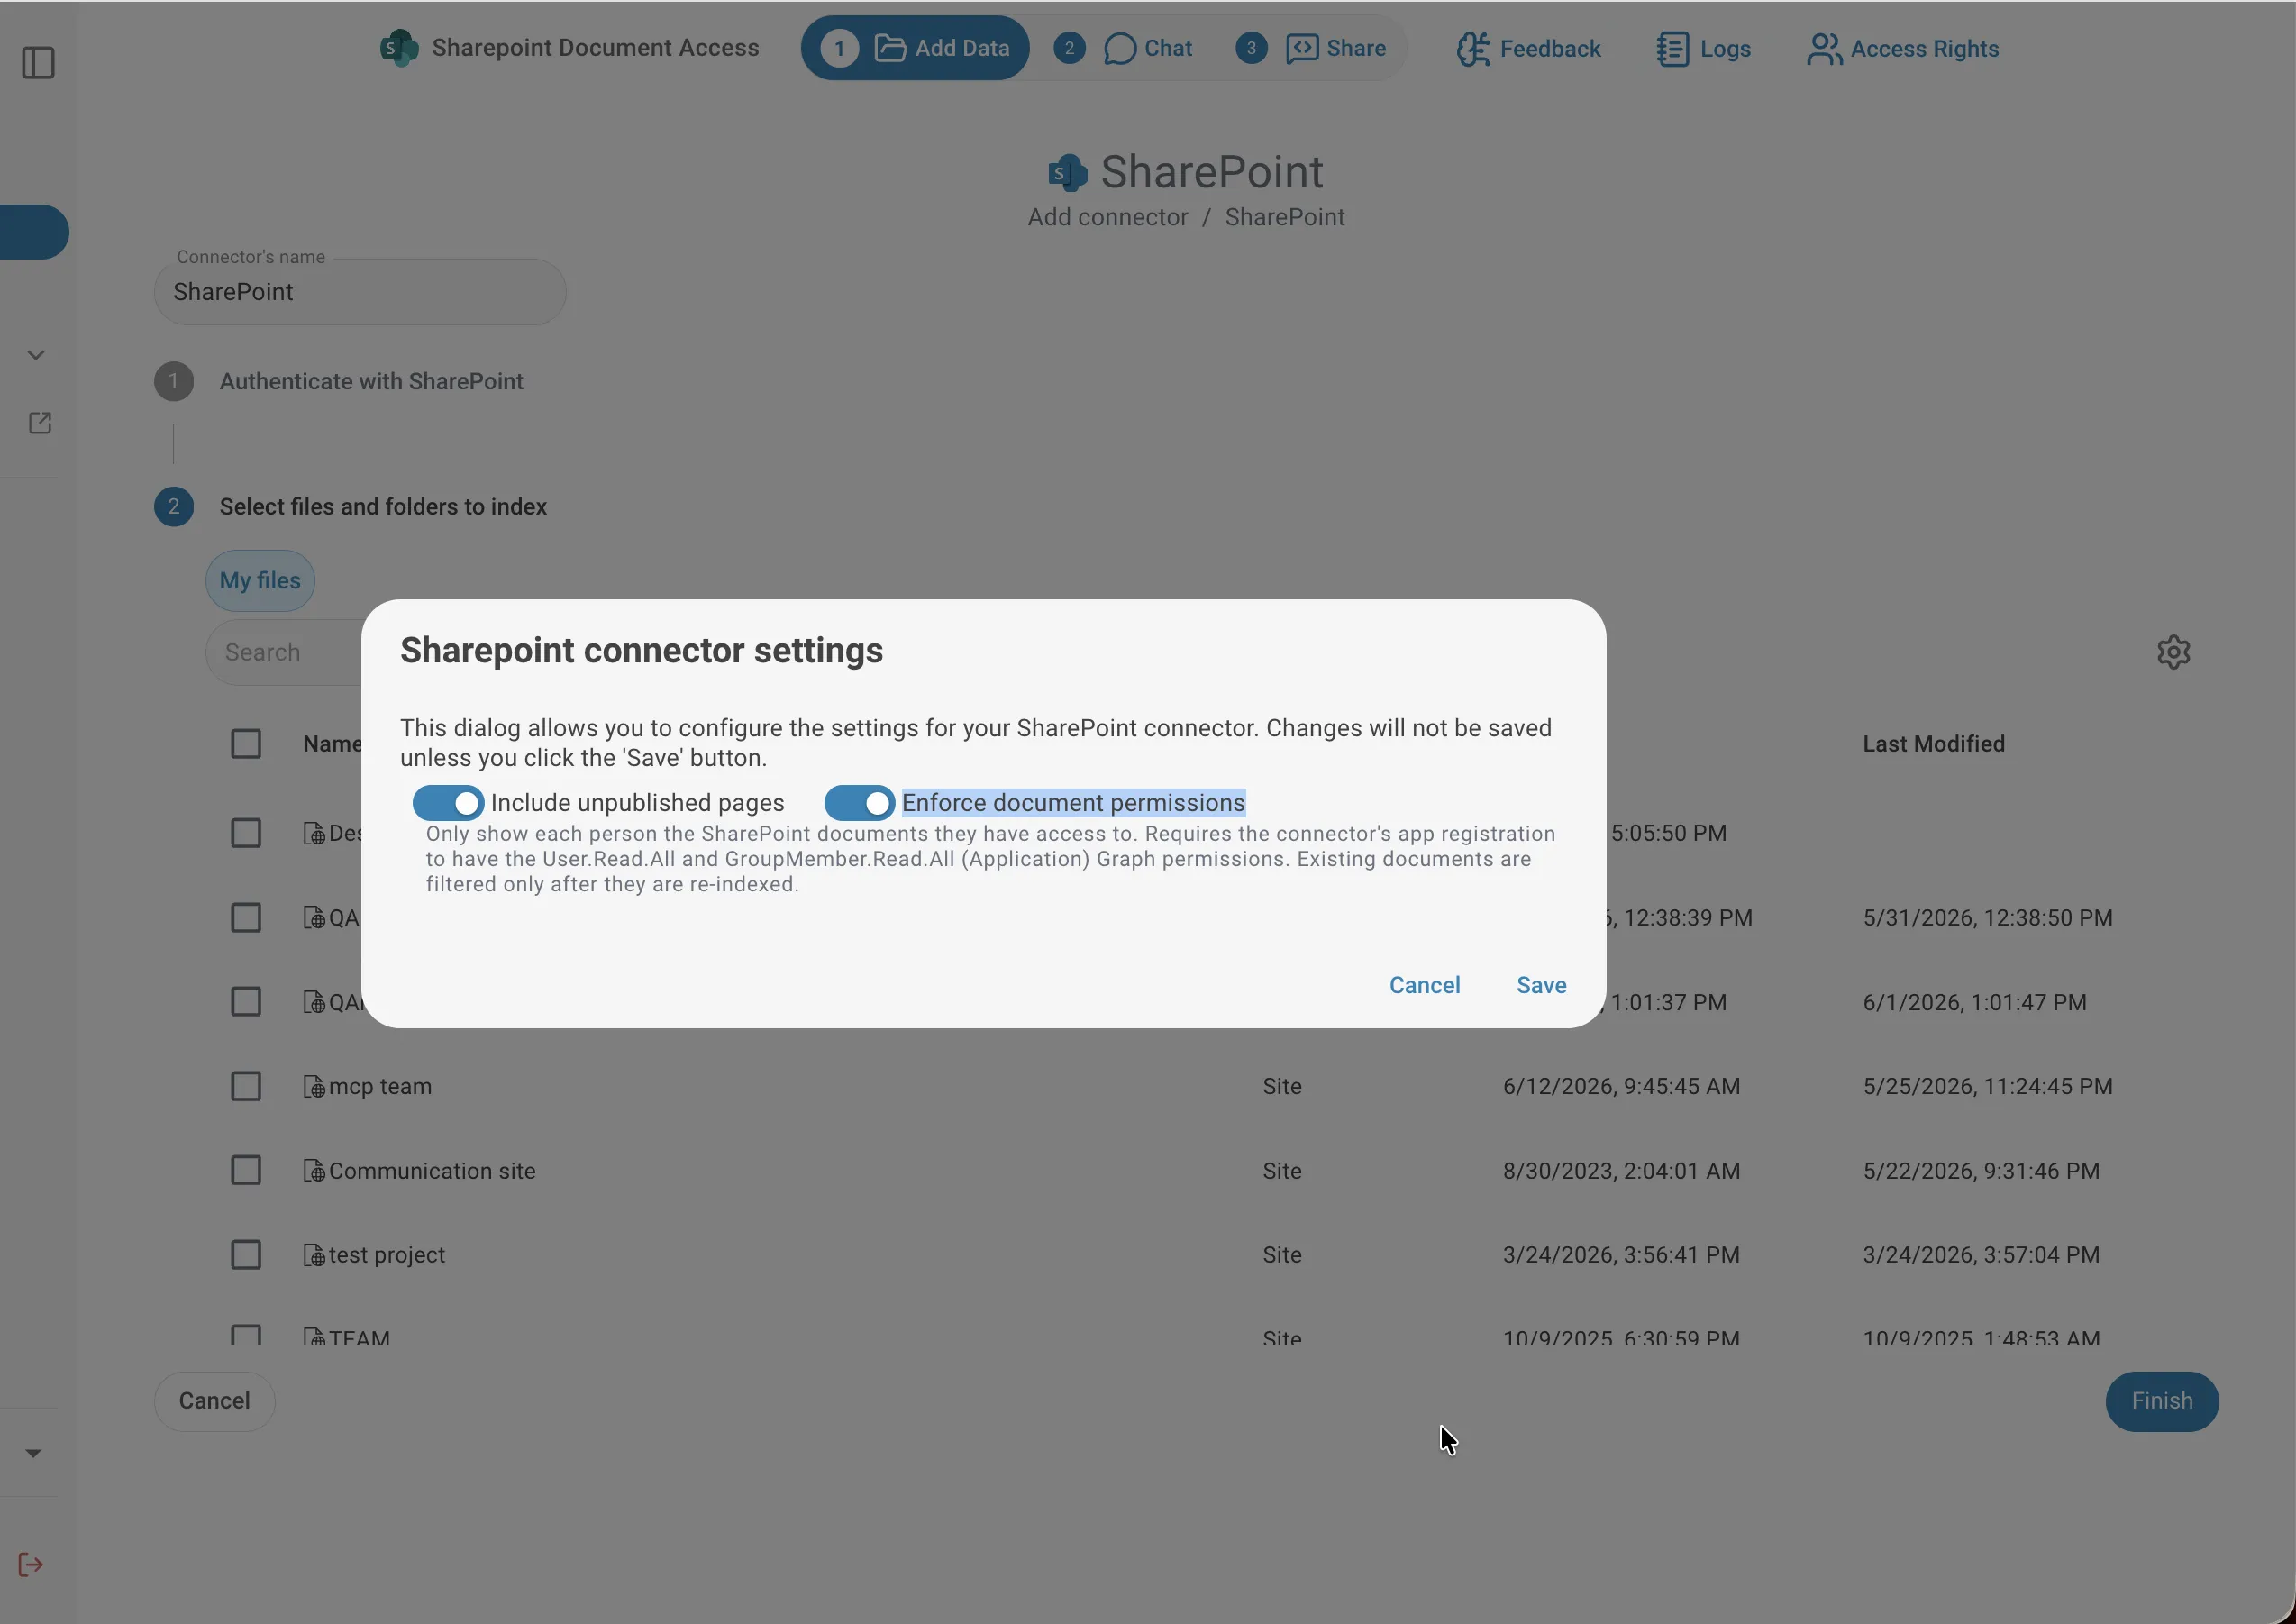
Disabling the toggle at any time removes all restrictions — all indexed SharePoint documents become visible to everyone who has access to the assistant, regardless of their SharePoint permissions.
Keeping Permissions Up to Date
When access rights change in SharePoint, you can update QAnswer without re-indexing all content. Open the connector settings and click Re-sync permissions. This updates who can see each document in the background.
Viewing Who Has Access to a File
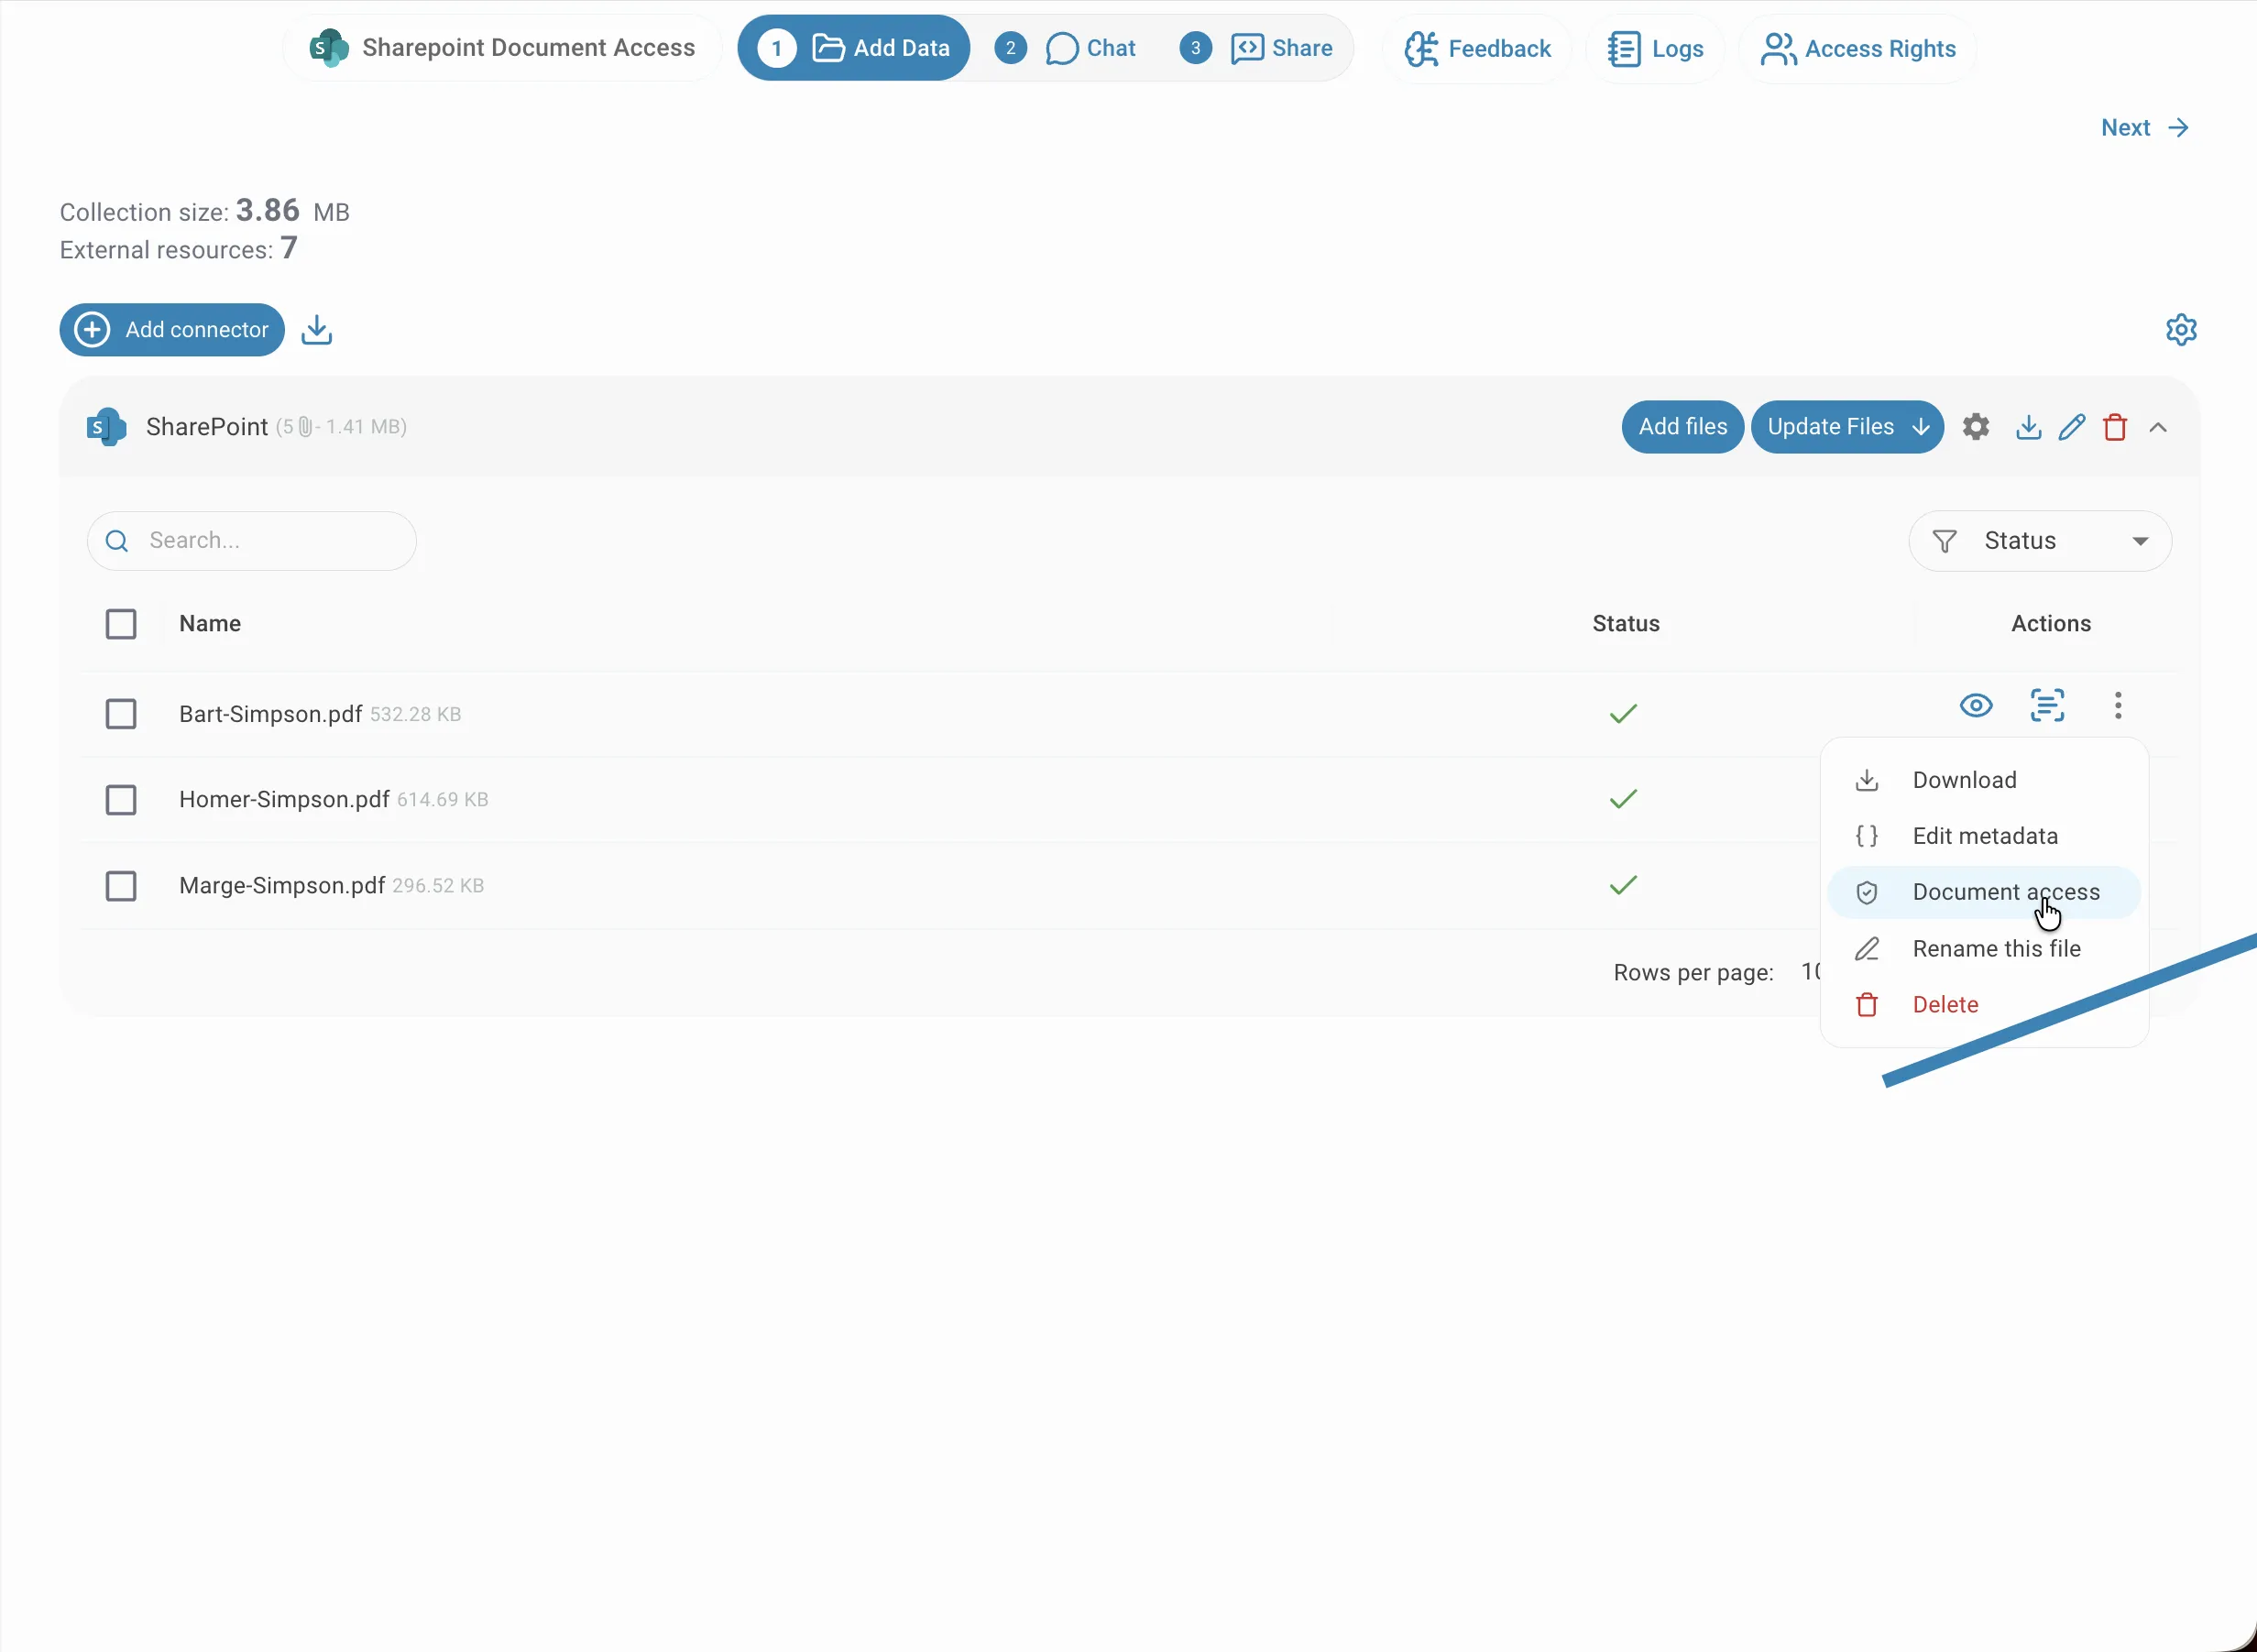
To see who has access to a specific document, click the actions menu (⋮) next to the file and select Document access.
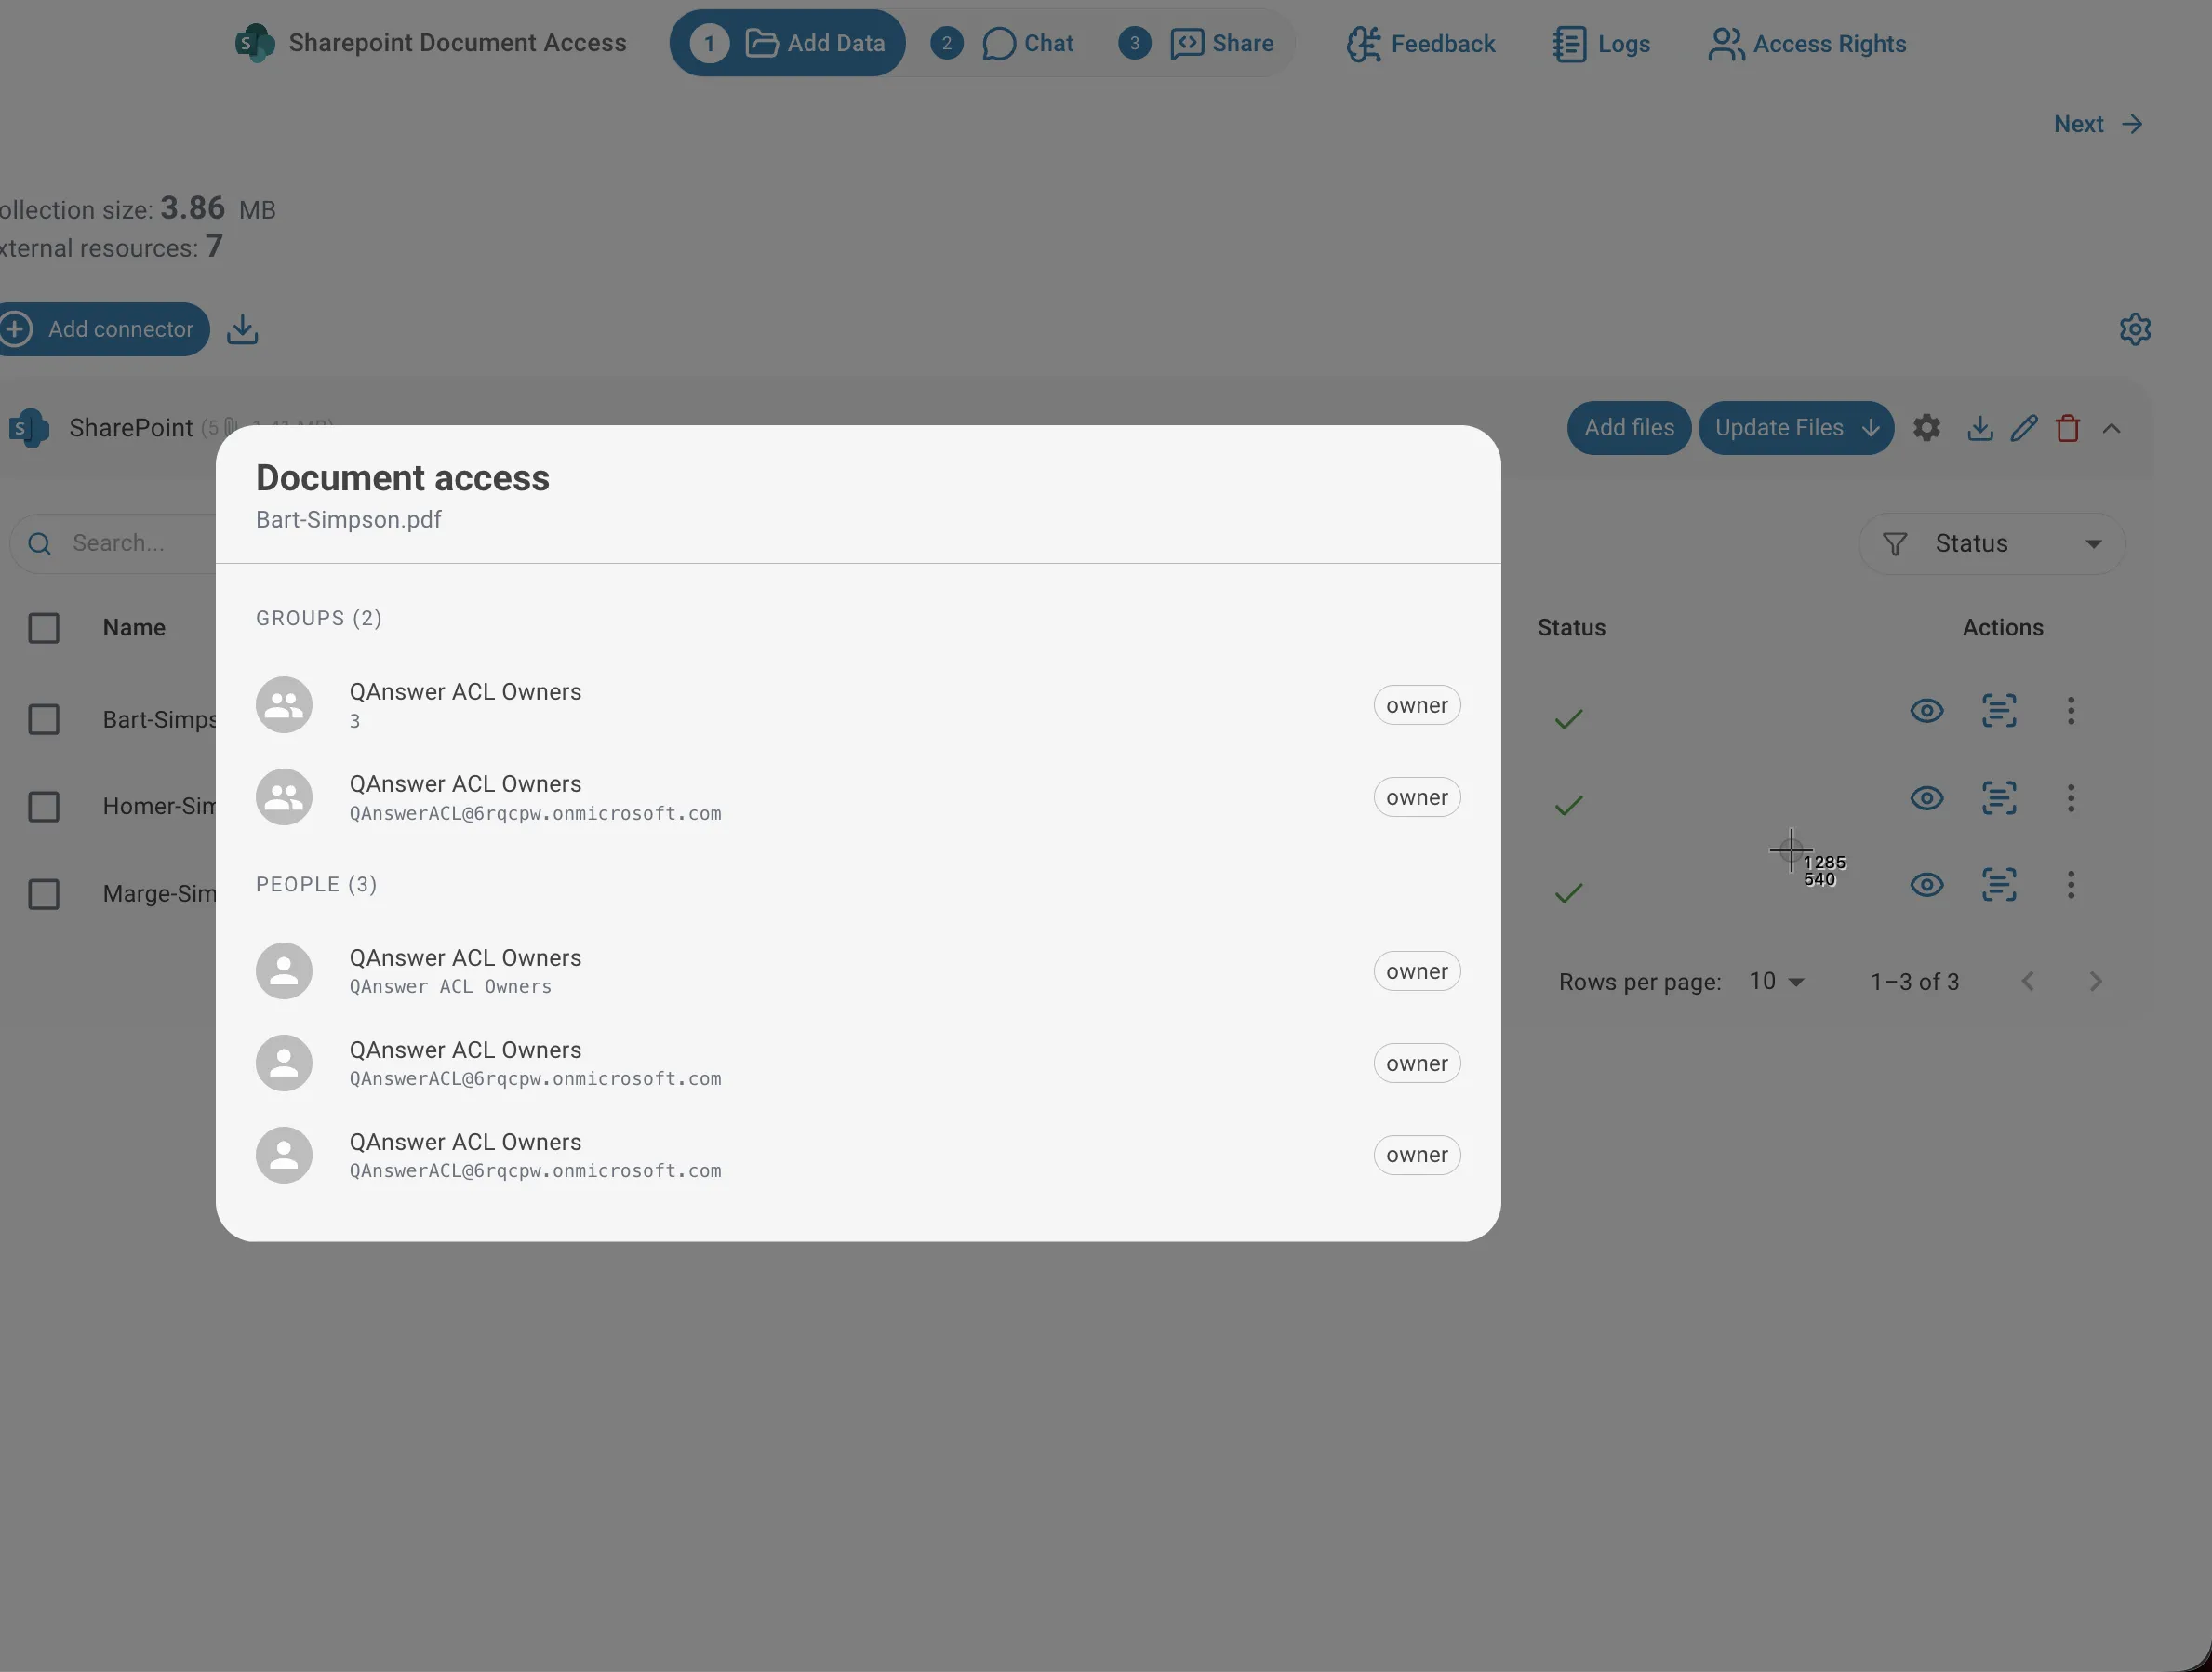
The dialog shows every group and person that has access to that document, along with their permission level (owner, write, or read).
What Users See
The effect is visible directly in the file list. The user on the left has full access and sees all three indexed documents. The user on the right can only access one — so that is the only document that appears.
Permissions in Search and Chat
The same restriction applies in chat. When both users ask the assistant the same question about which files they can access, each gets an answer based exclusively on their own permissions — the assistant on the left lists all three documents, the one on the right lists only the document that user is allowed to see.
This means two users on the same AI assistant can receive different answers to the same question, depending on which SharePoint documents each of them has access to.