
Report Generator
The Report Generator task turns your assistant into a document editor. You write the report yourself and hand the parts that should be drafted from your data to AI writer blocks: each block carries an instruction, and the assistant writes that section — with citations back to the documents it used.
Open the Report Generator
- In the assistant editor, on the General tab, select the Report Generator tile under Task Type.
- Add the documents the report should draw on, on the Add data tab.
- Click Use to open the assistant's page; its first tab is the report editor.
The editor
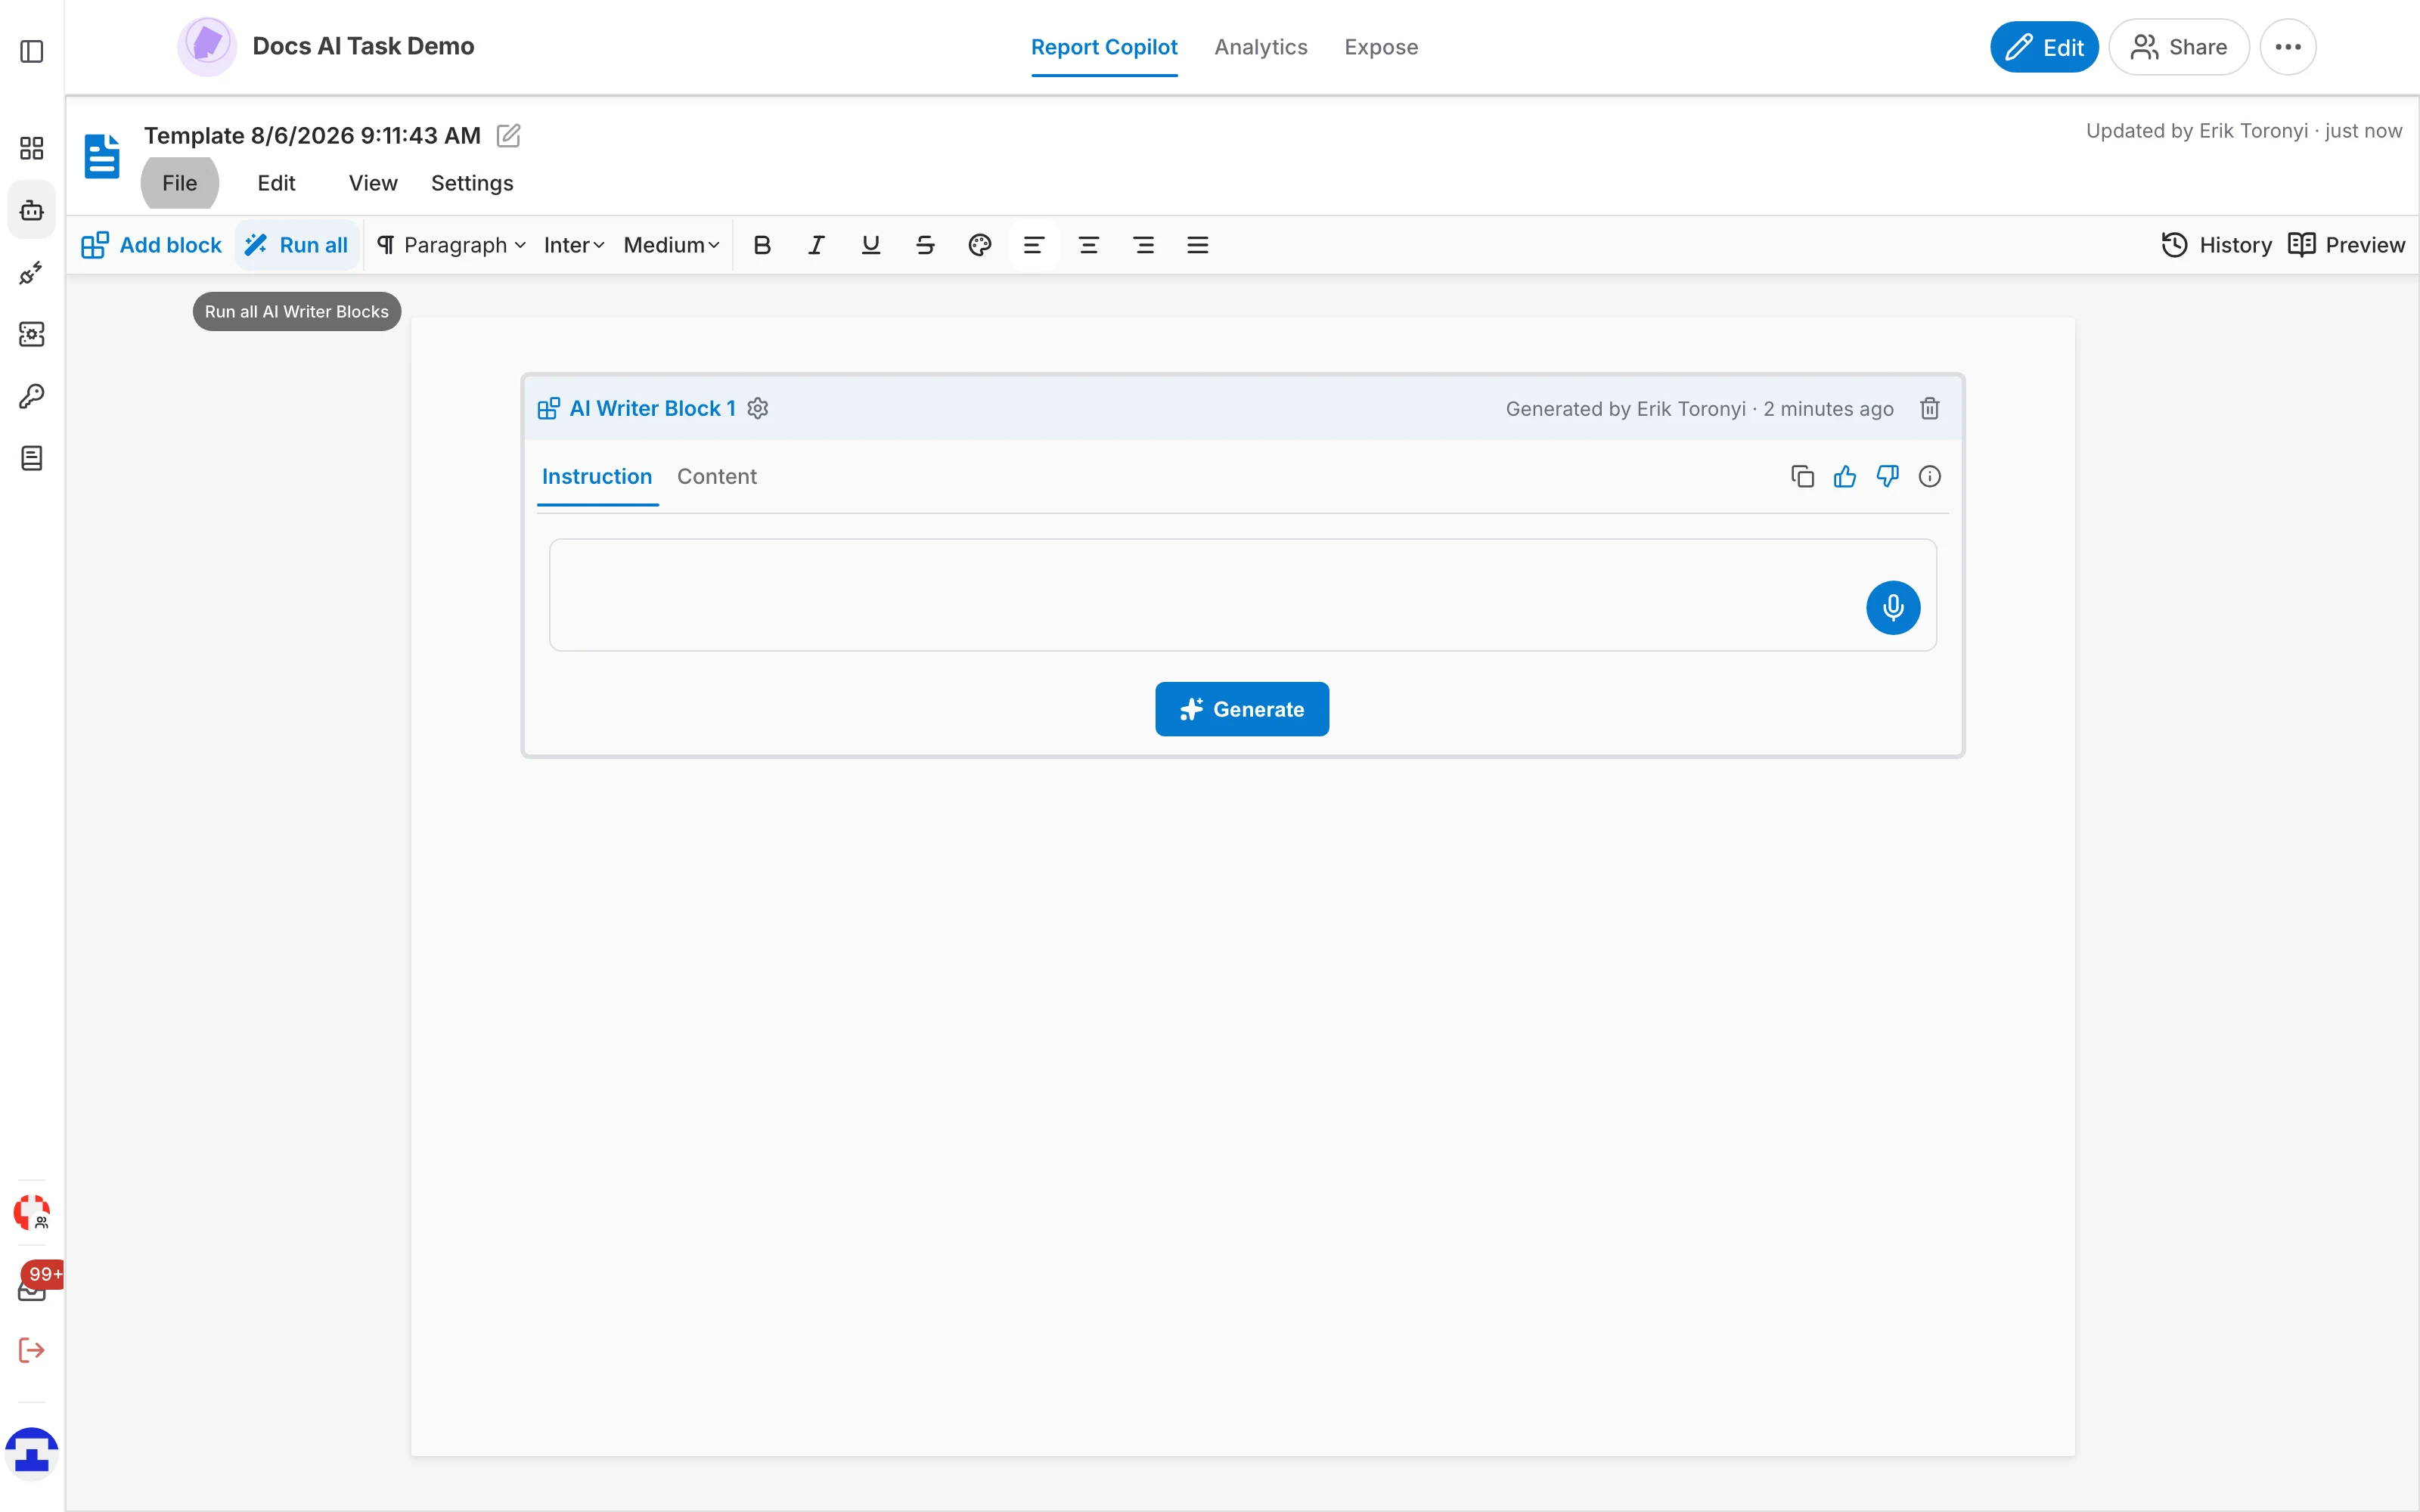
The editor looks like a word processor, with four things worth knowing:
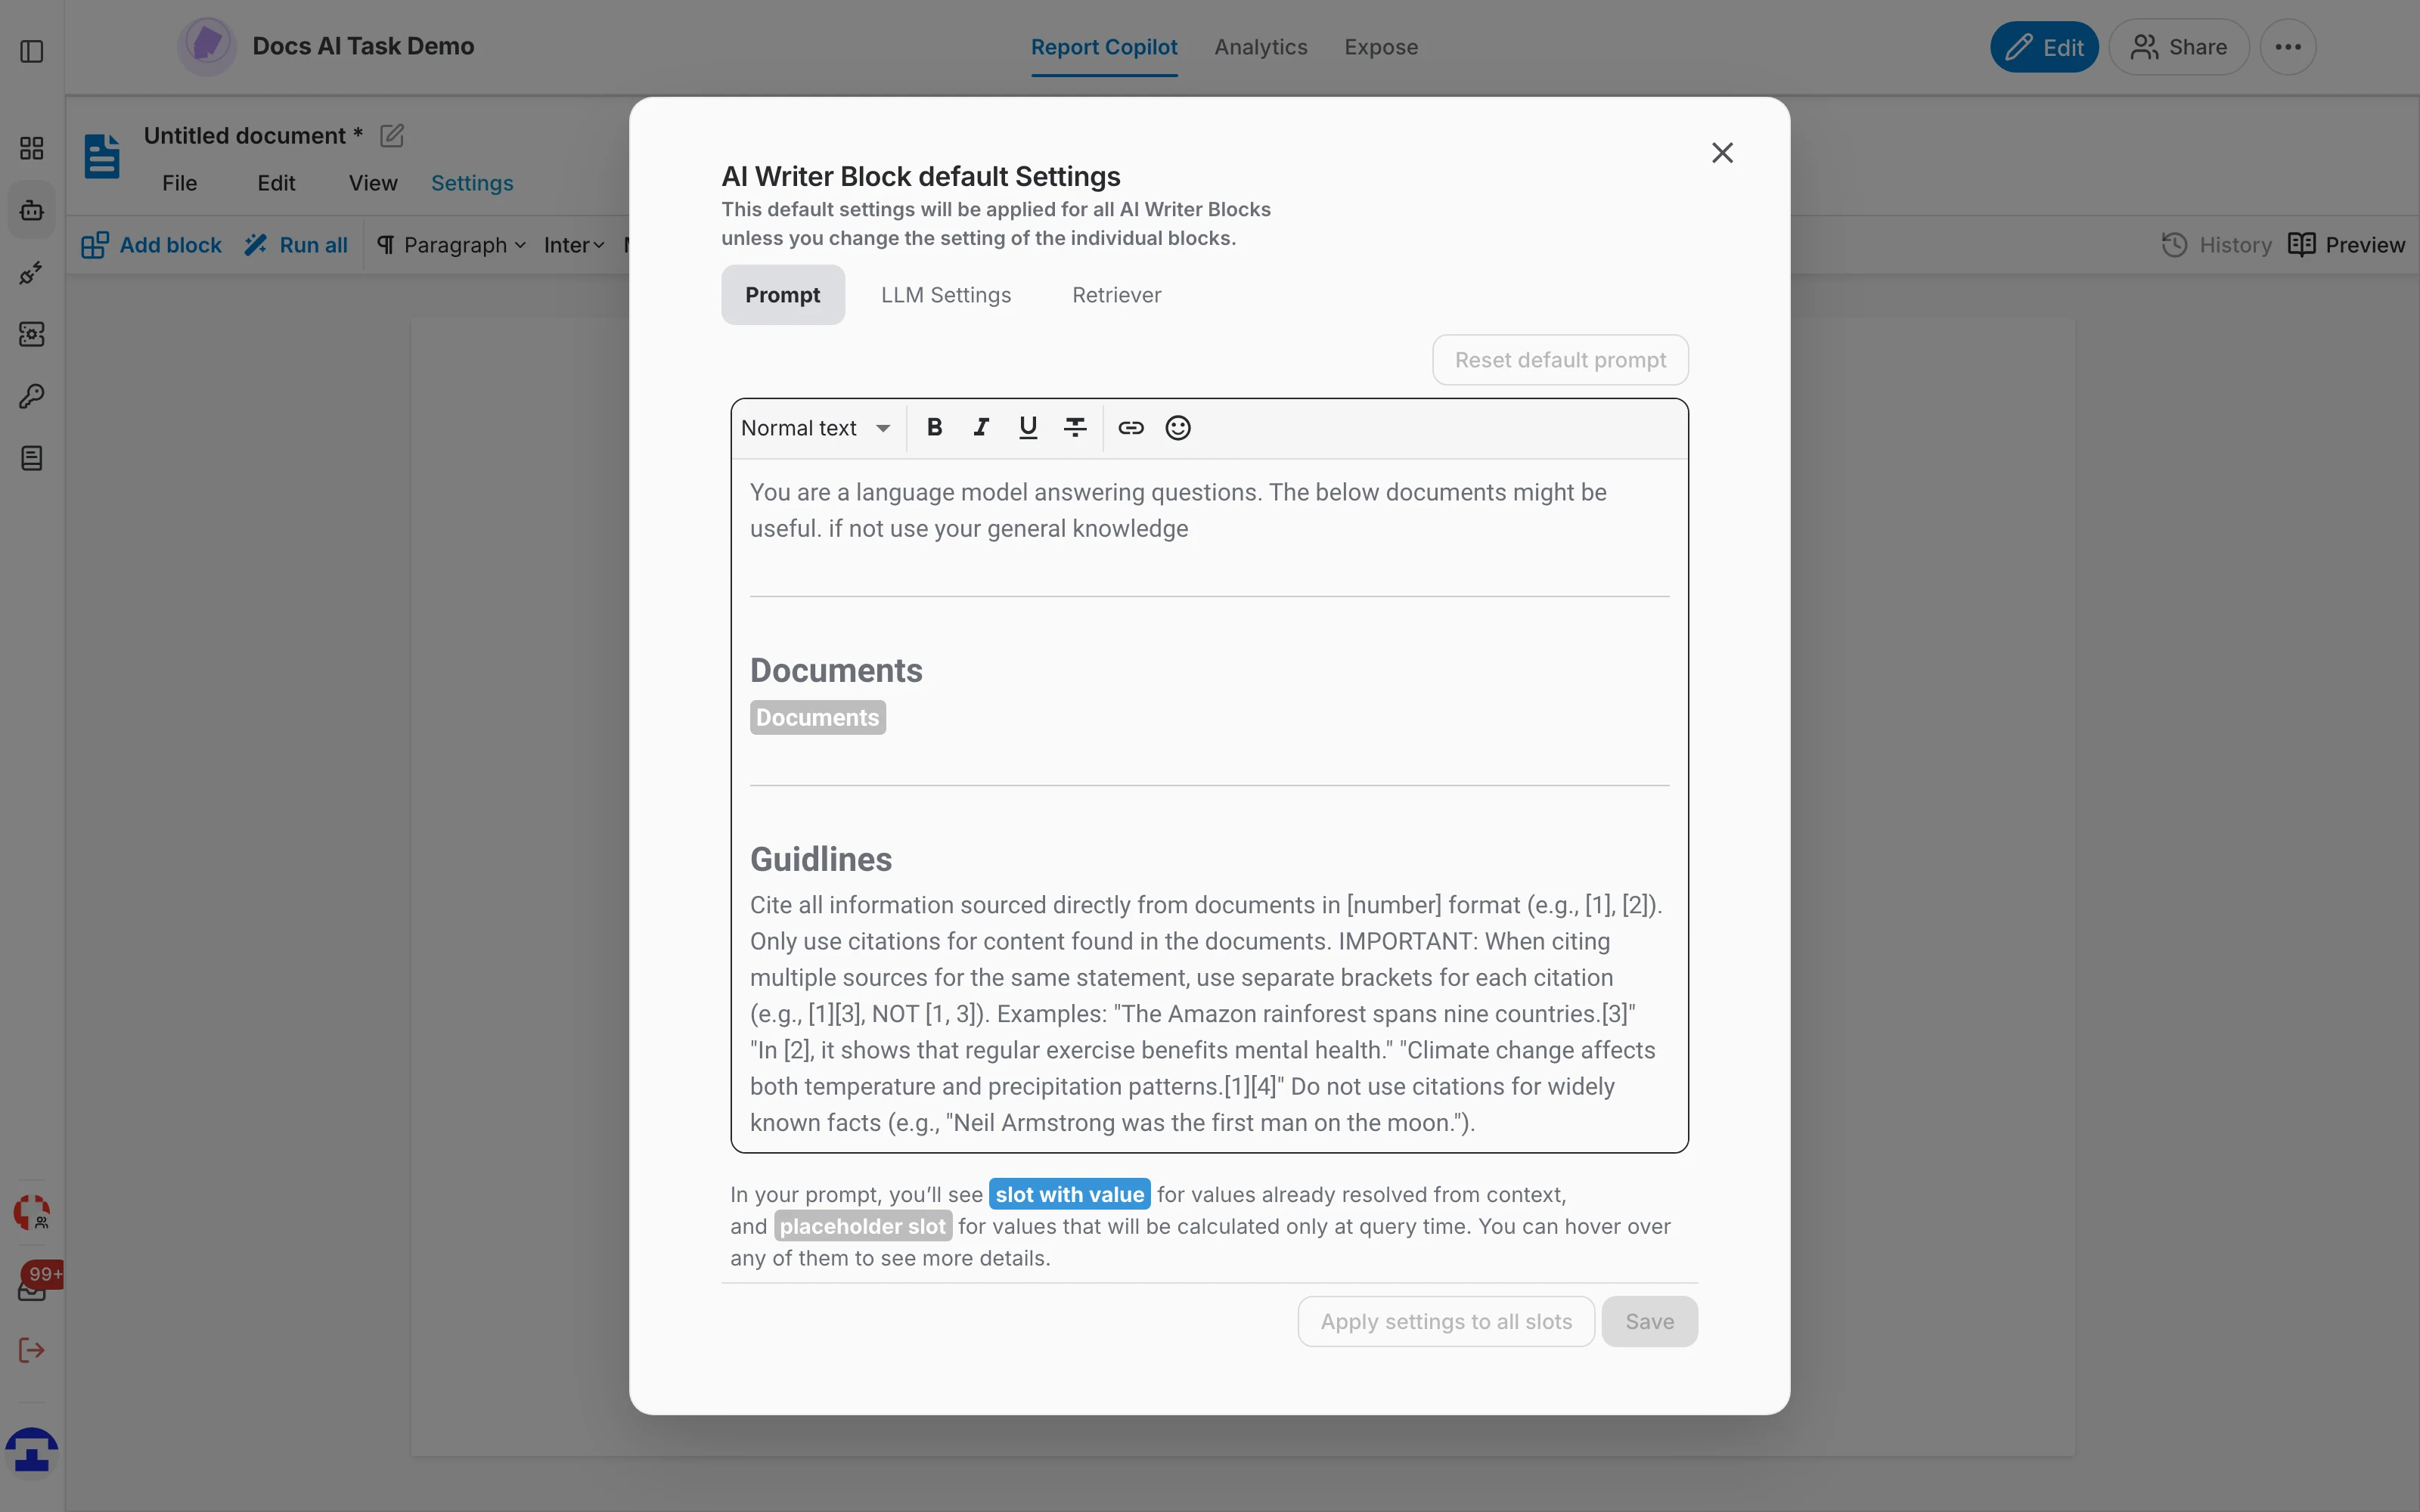
- File, Edit, View and Settings — document level actions: create, load, save and export a template, undo and redo, page layout, and the default settings shared by every AI writer block.
- Document title — the name of the template, with an asterisk while there are unsaved changes. Click it to rename the document.
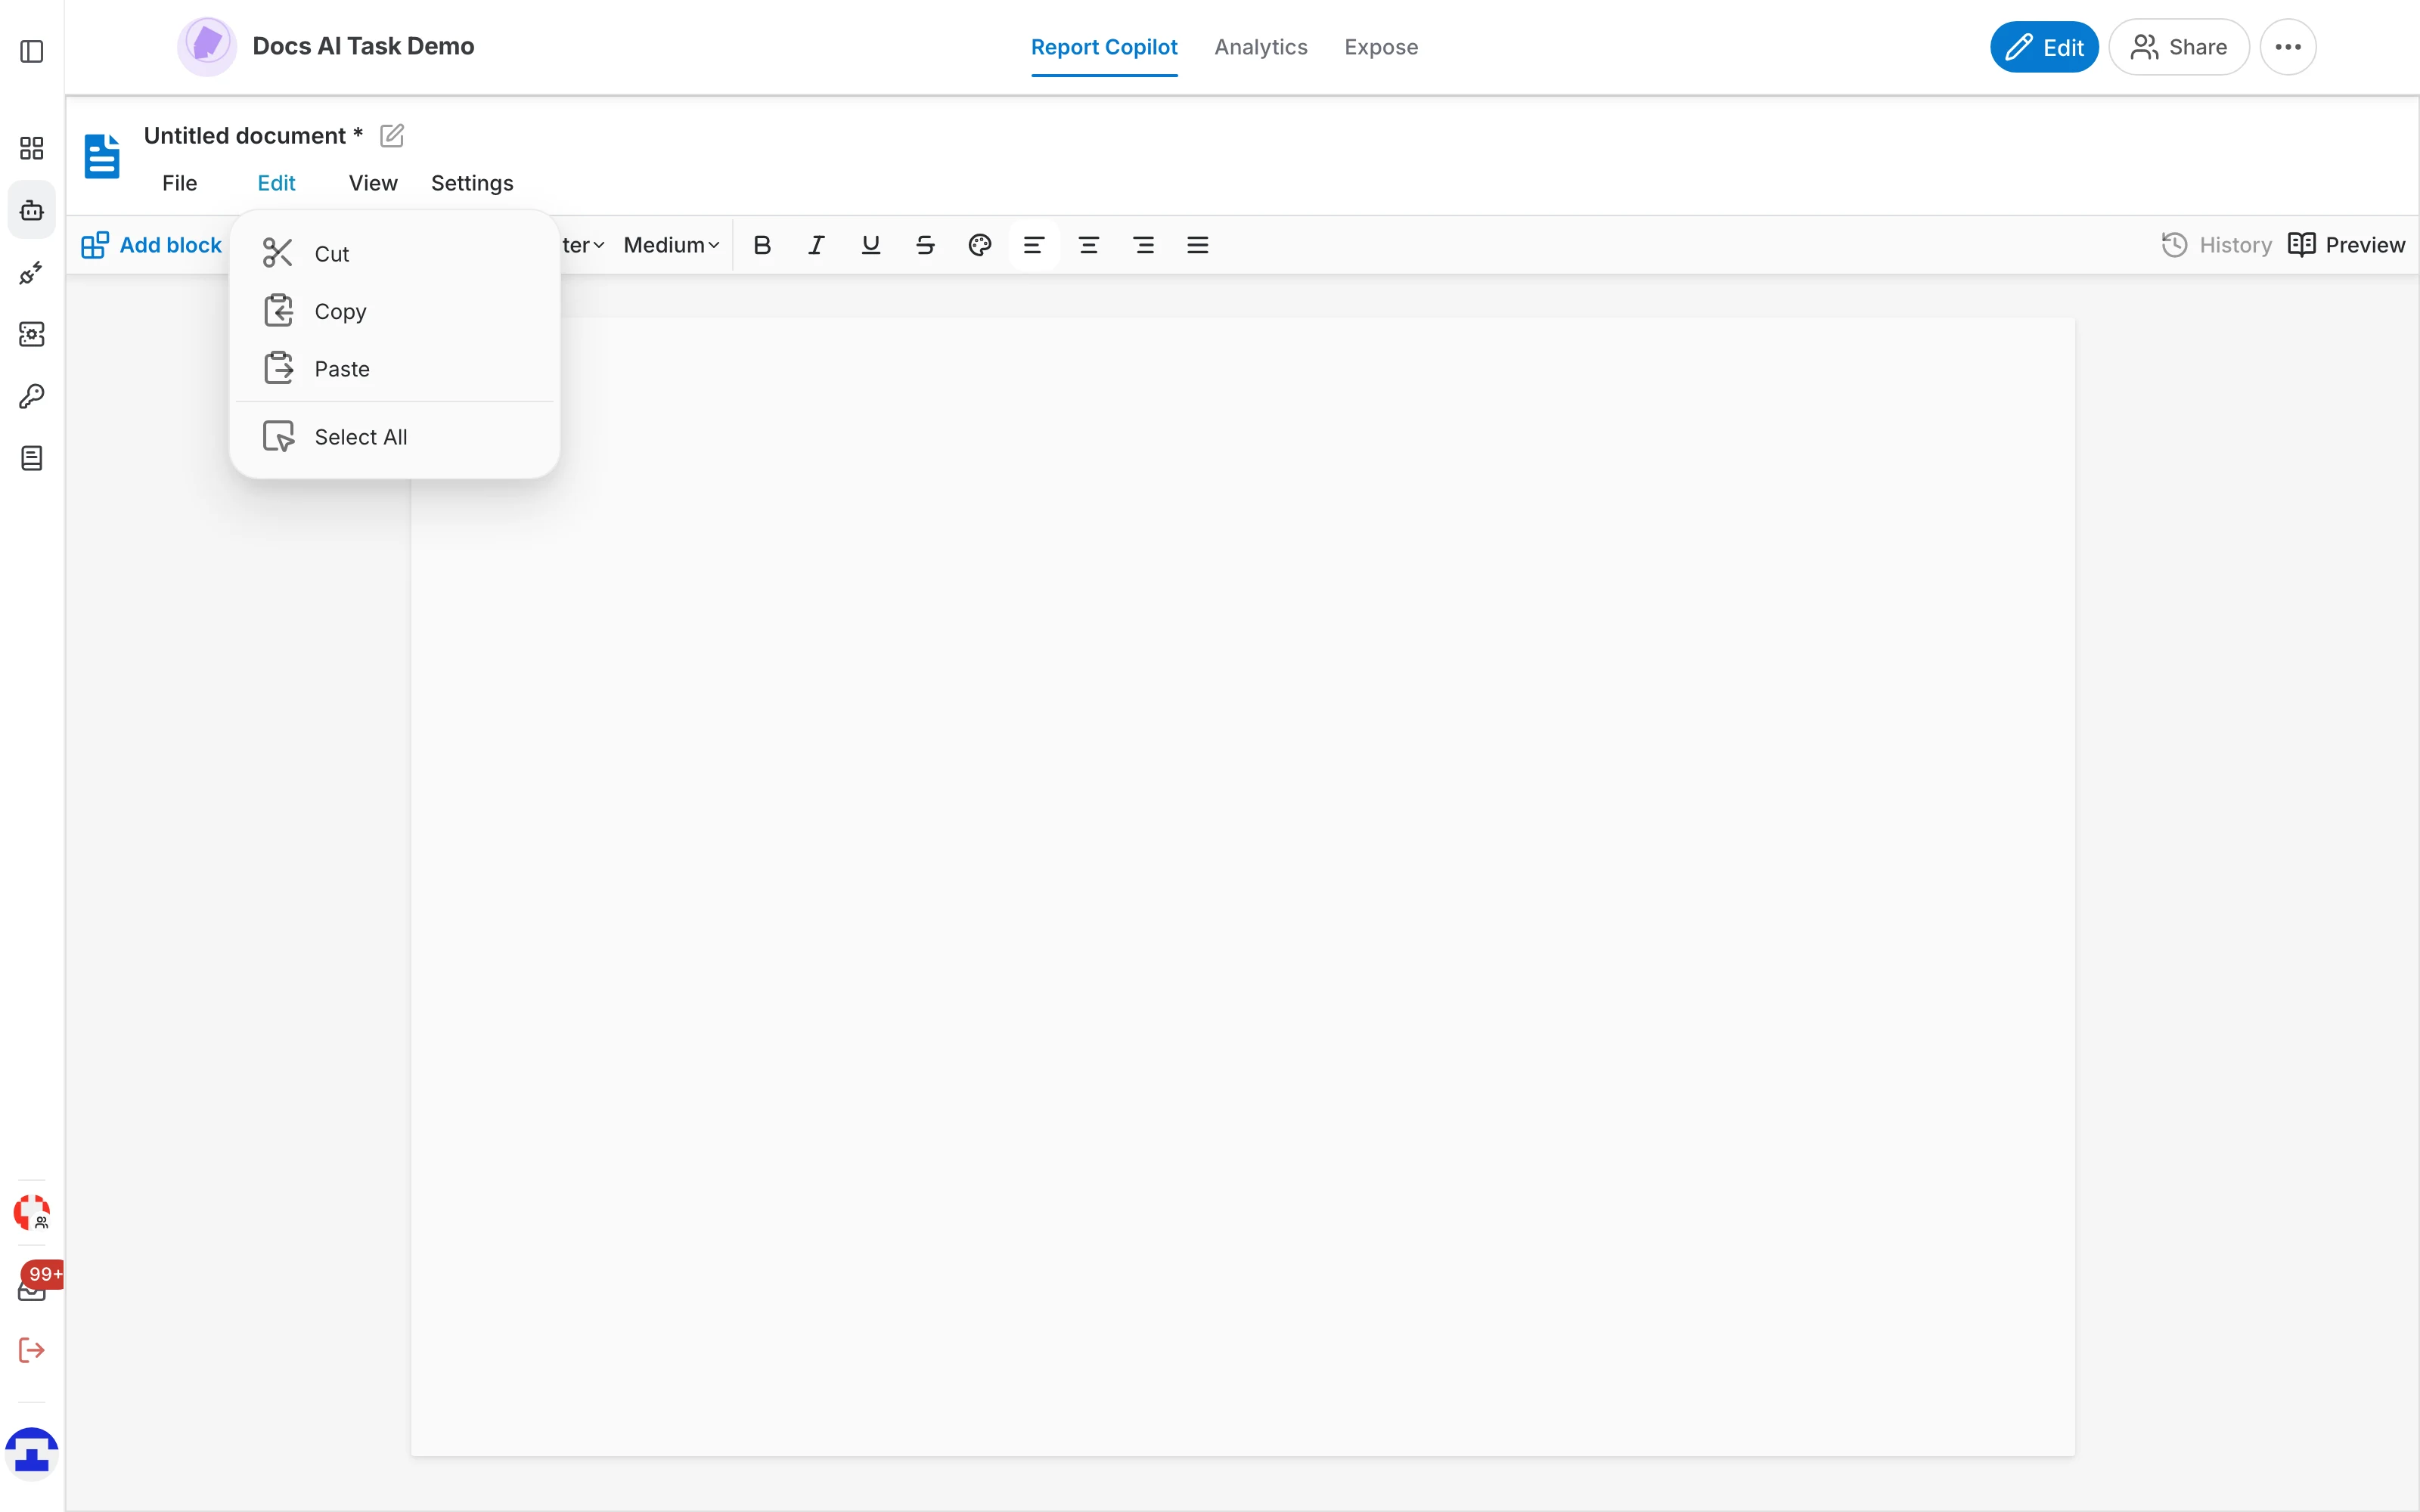
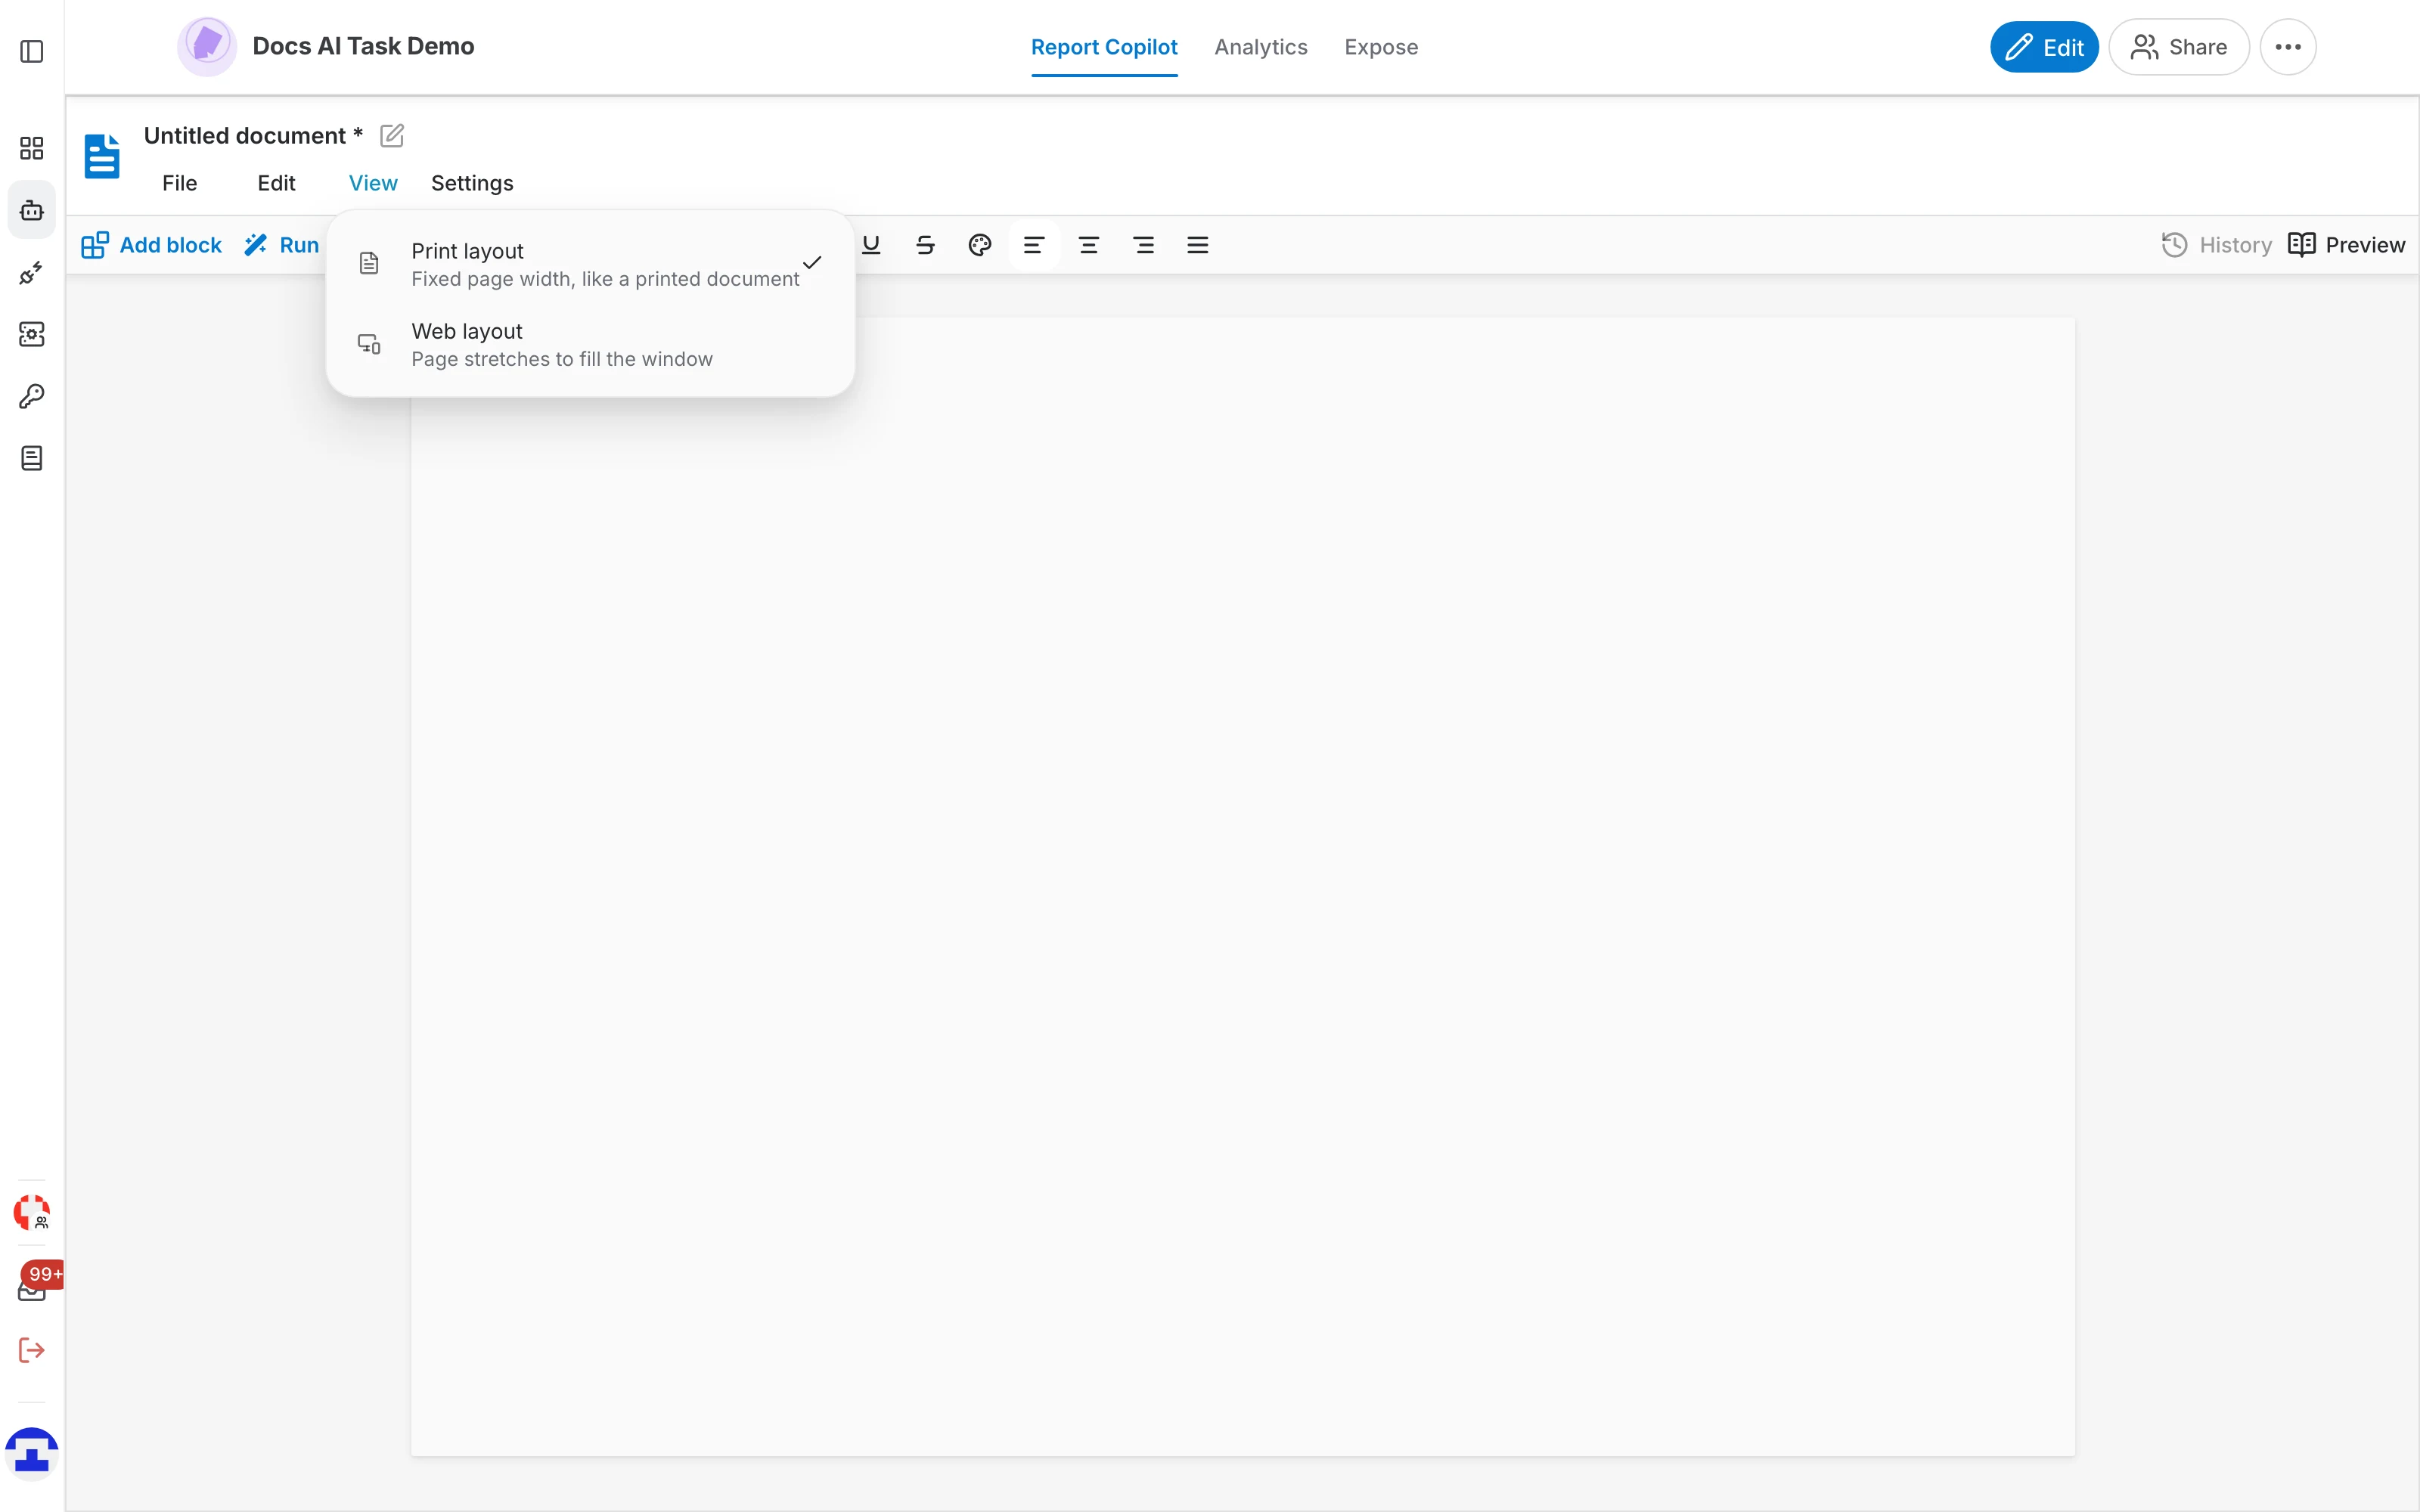
- File, Edit, View and Settings — File handles templates and export; Edit holds cut, copy, paste and select all; View switches between print layout (a fixed page width, like a printed document) and web layout (the page fills the window); Settings opens the default settings shared by all AI writer blocks.
- Toolbar — Add block and Run all on the left, then the usual paragraph style, font, size and character formatting.
- History and Preview — on the right of the toolbar: the activity log of the template, and a read-only view of the finished document.
AI writer blocks
An AI writer block is a section of the document that the assistant writes for you:
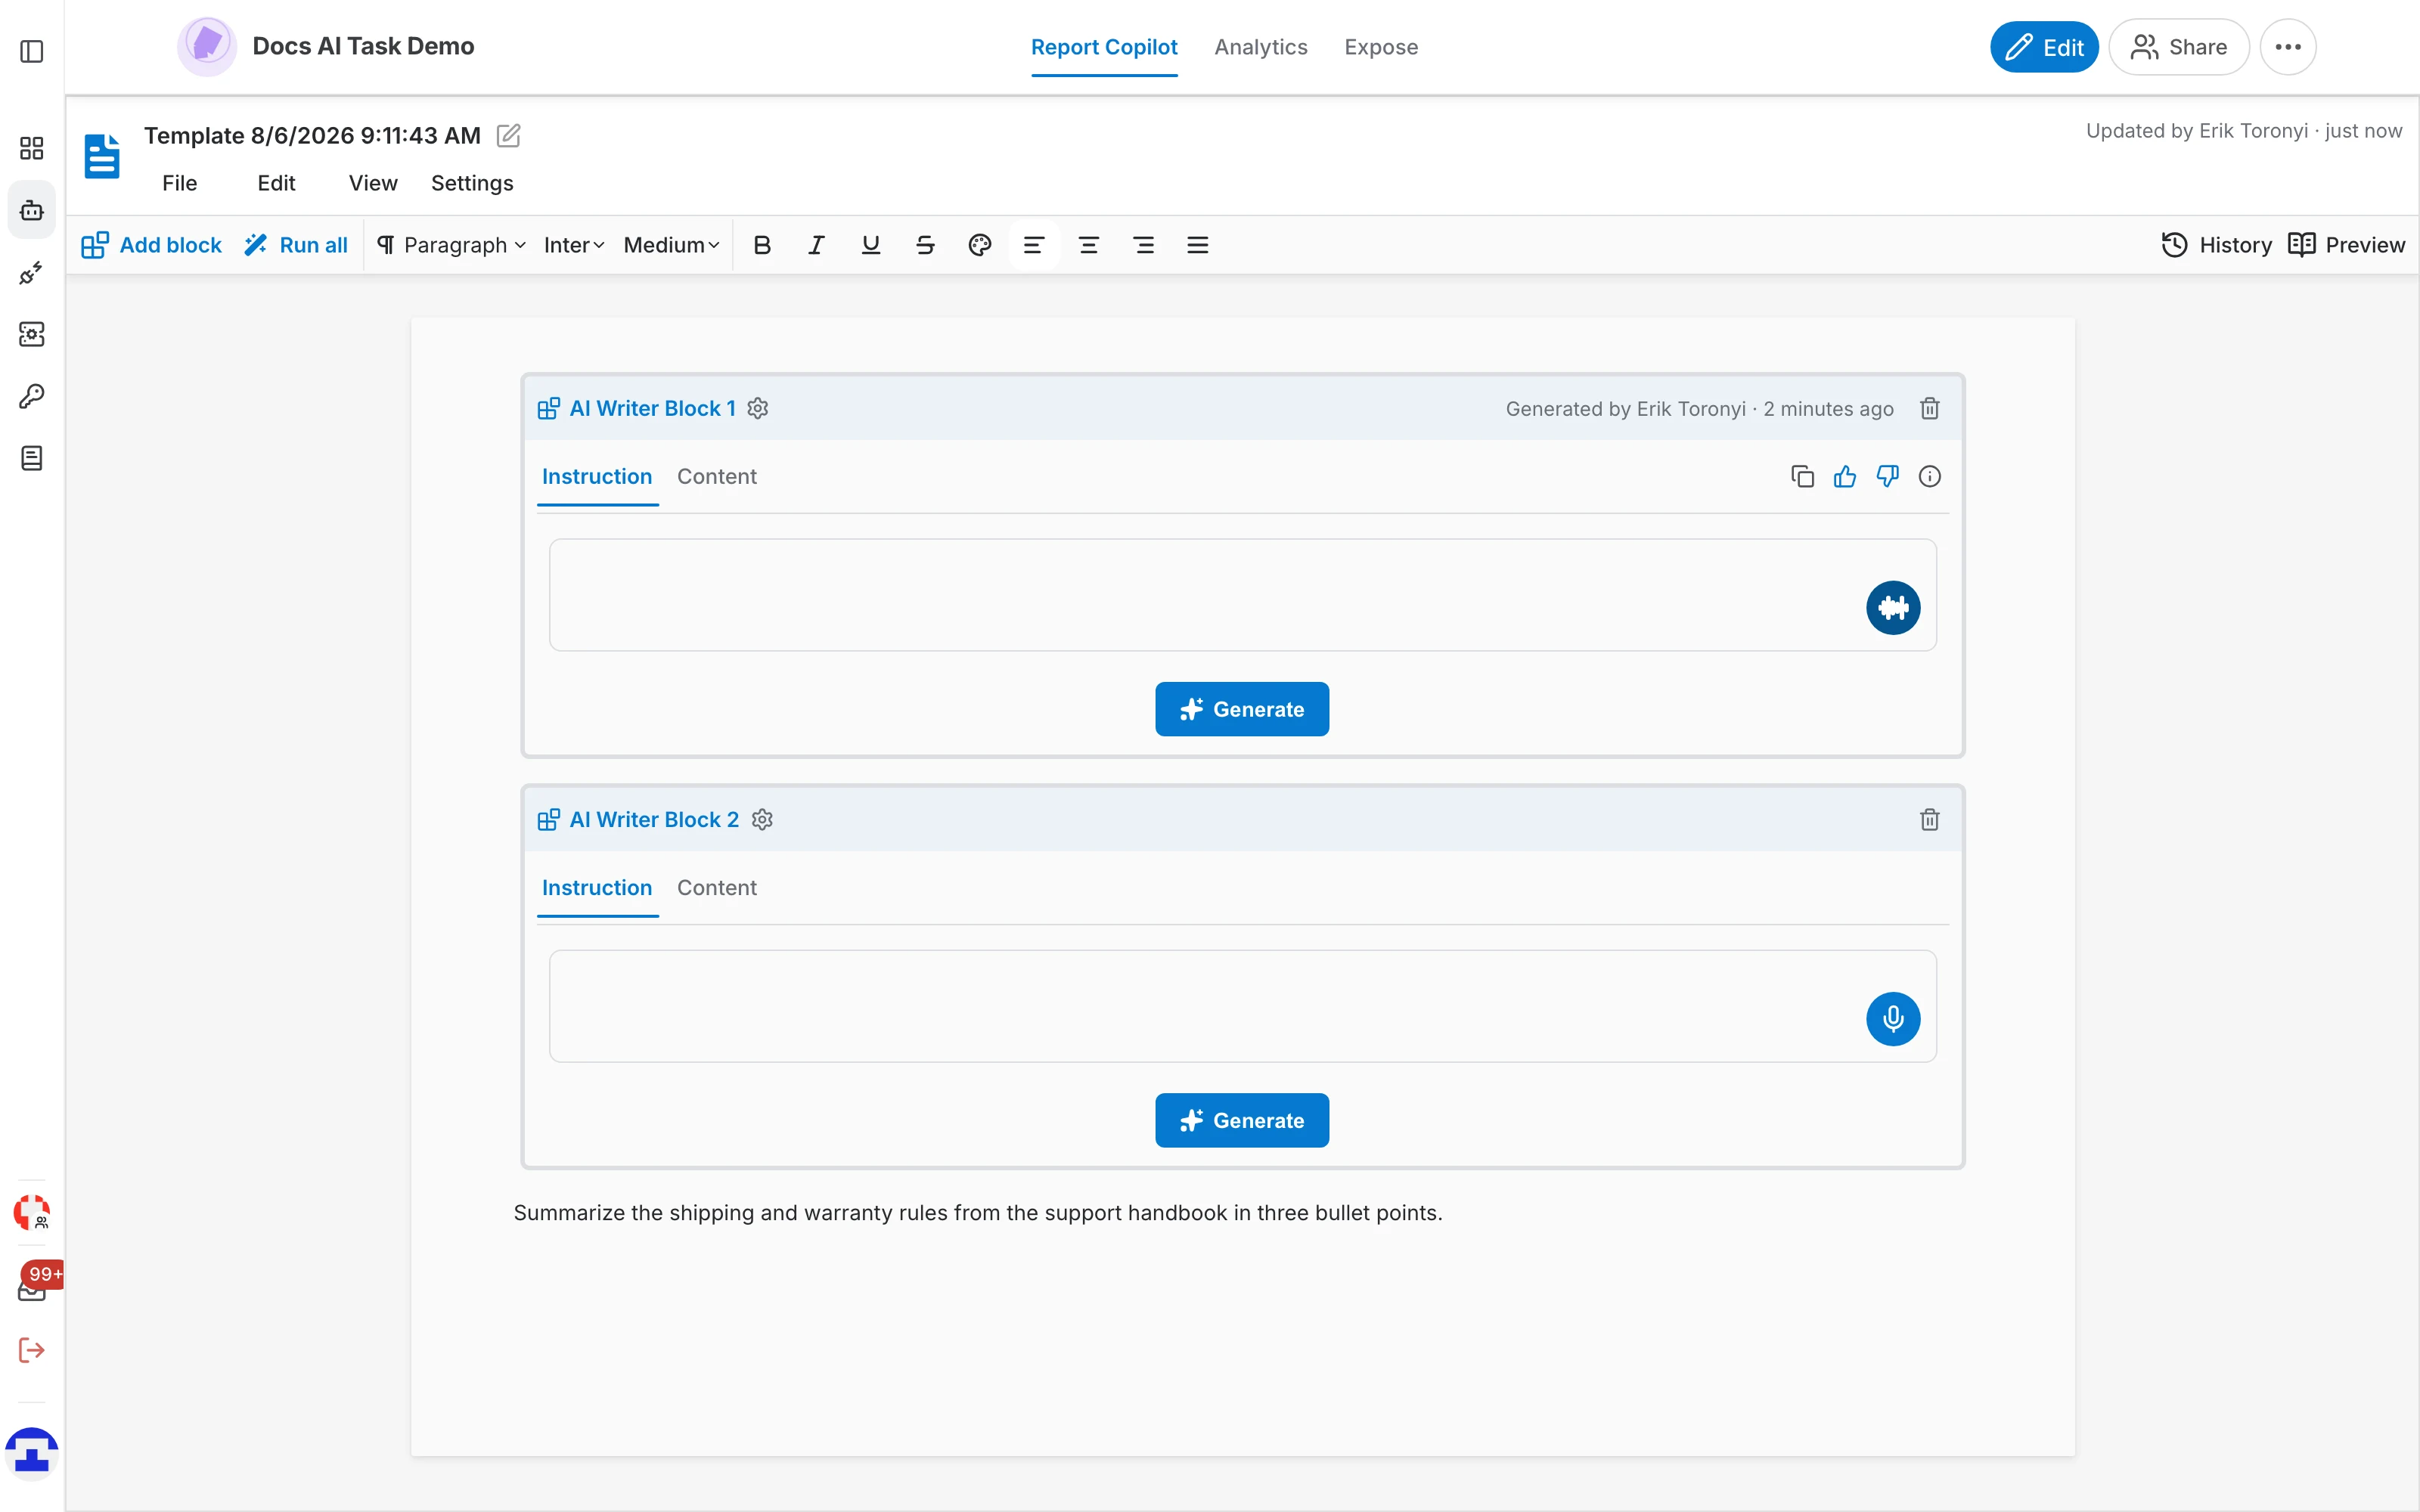
- Place the cursor where the section belongs and click Add block .
- Write what the section should contain in the block's Instruction tab — an instruction, not a question: "Summarize the shipping and warranty rules in three bullet points".
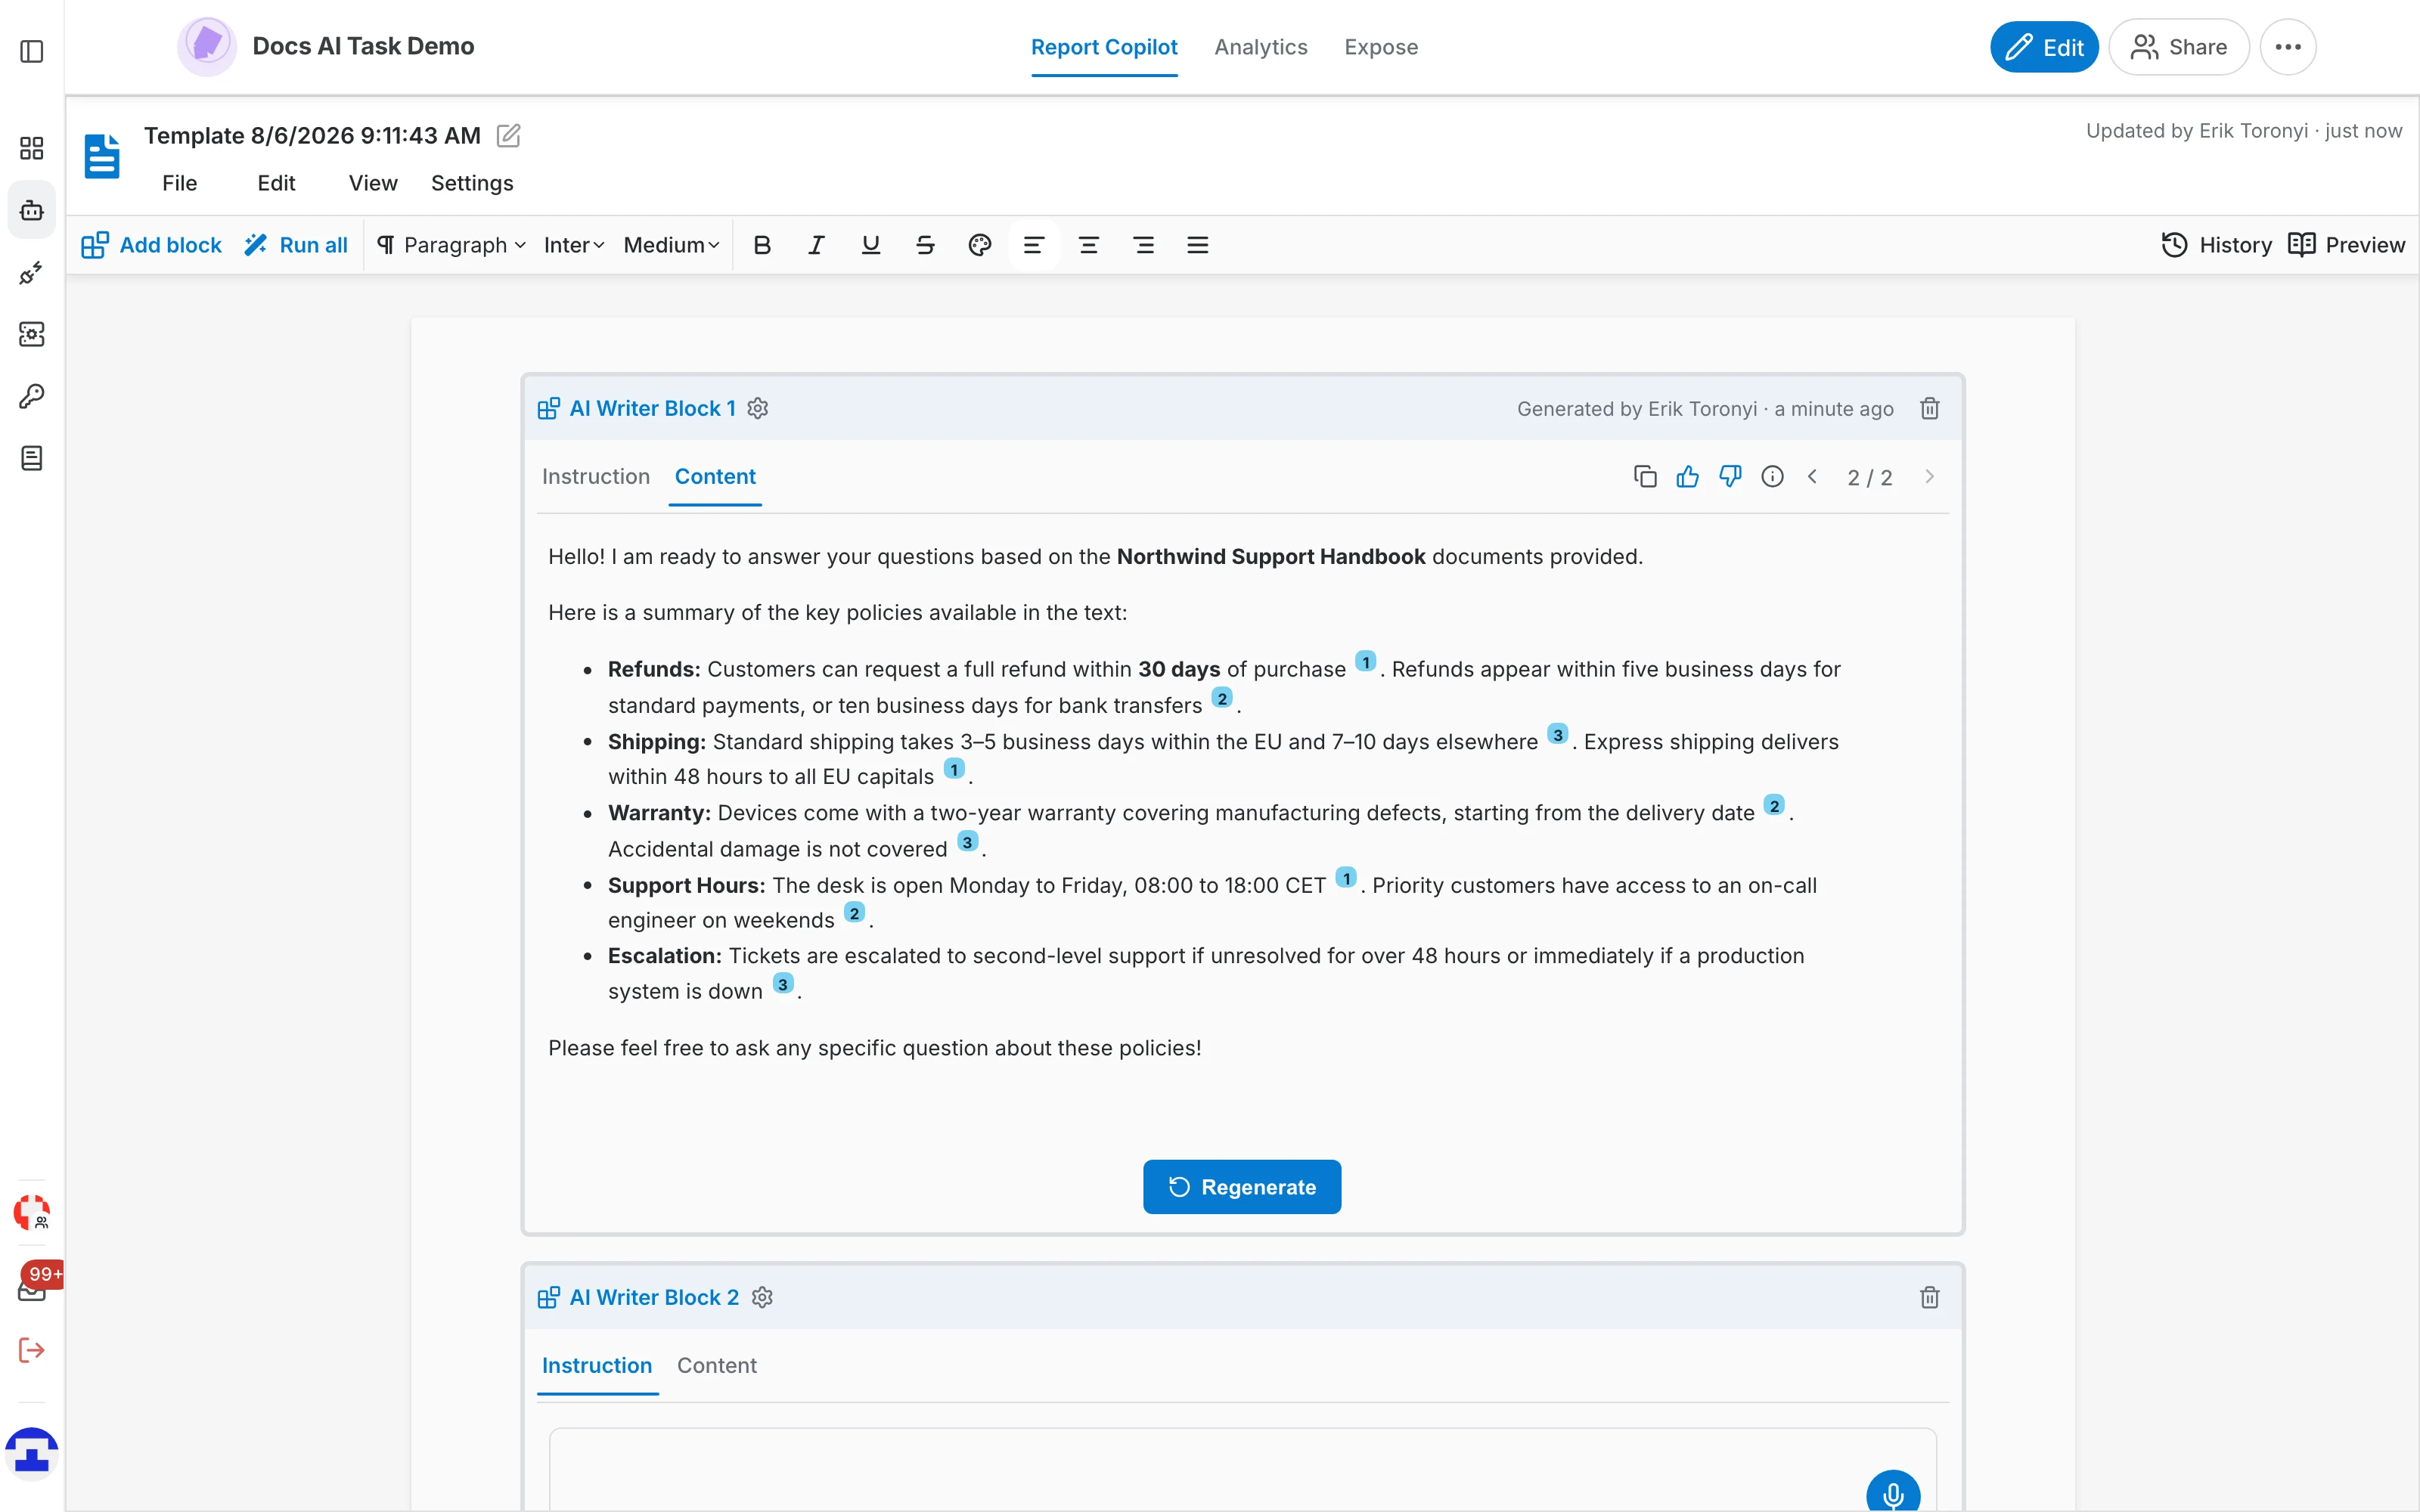
- Click Generate . The text streams into the Content tab as it is written, with numbered citations to the documents behind it.
- To change the result, go back to the Instruction tab, adjust the instruction and regenerate. Run all in the toolbar generates every block of the document in one go.
The block header
A generated block names who generated it and when. Its icons offer:
- Copy — put the generated text on the clipboard.
- Type the instruction on the Instruction tab — what this section has to say, not how the whole report should sound.
- Thumbs up / thumbs down — rate this generation, optionally with a comment explaining the rating.
- Information — see the prompt that was sent, the model used and the documents that were included.
- Delete — remove the block from the document; a confirmation is asked because it cannot be undone.
Versions and feedback
Every regeneration keeps the previous output: a block stores all of its versions and offers a version switcher, which turns "try another wording" into a safe operation rather than a destructive one.
- Move between versions to compare what different instructions produced.
- Rate a version with thumbs up or thumbs down.
- Add a comment explaining the rating, which is what makes the rating useful weeks later.
- Copy any version straight to the clipboard.
Block settings
The gear on a block header opens that block's own settings, in five tabs:
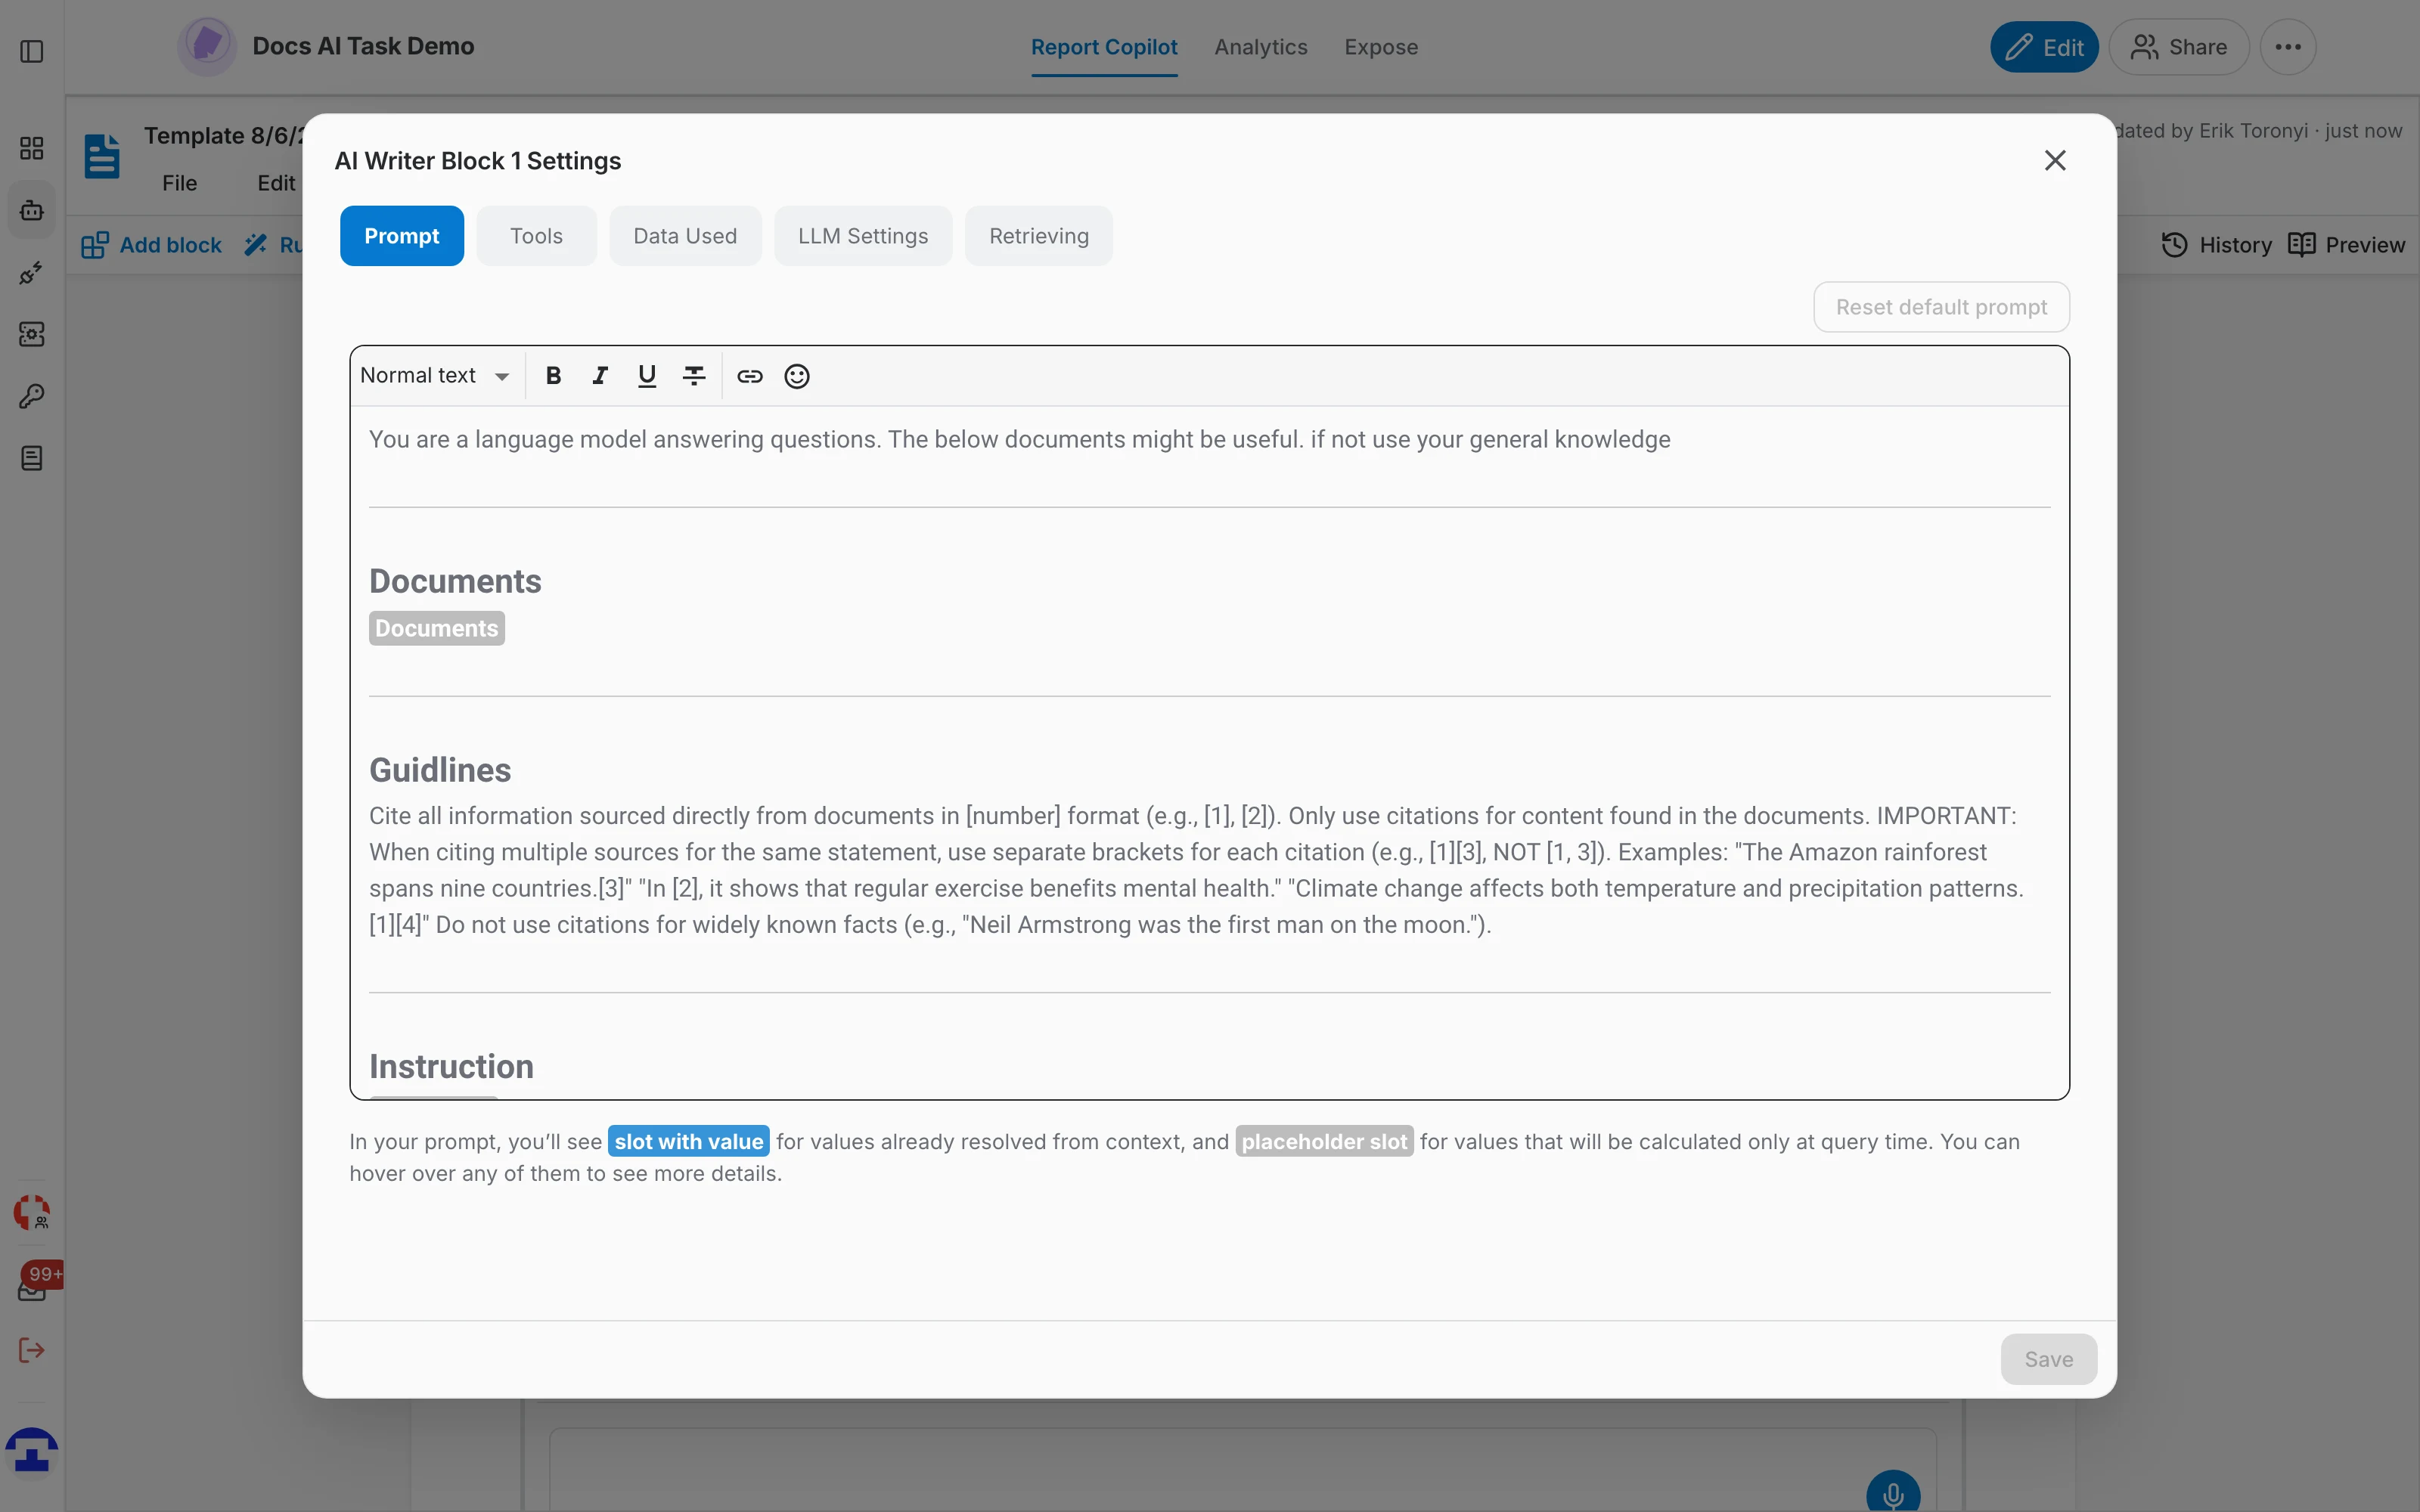
- Prompt — the full prompt behind the block: the system instruction, the Documents slot, the citation guidelines and the block's own instruction. Reset default prompt puts the shipped version back.
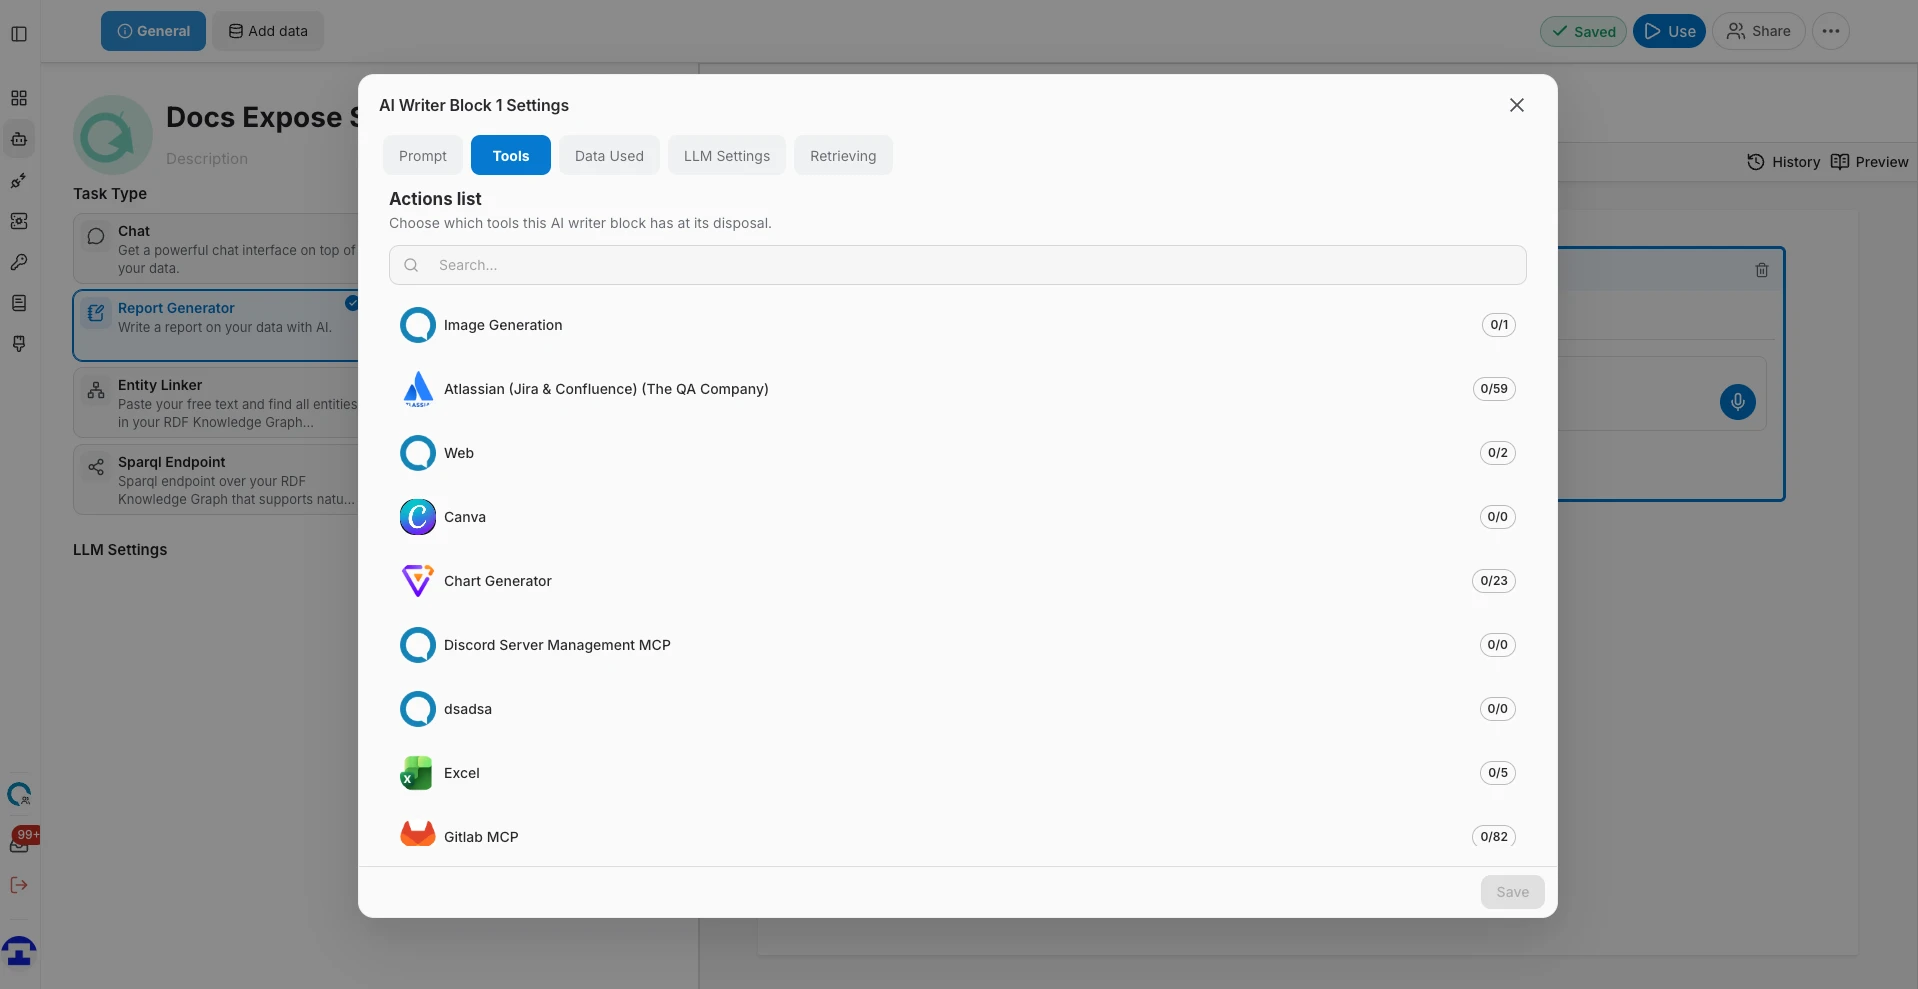
- Tools — which tools this block may call while writing.
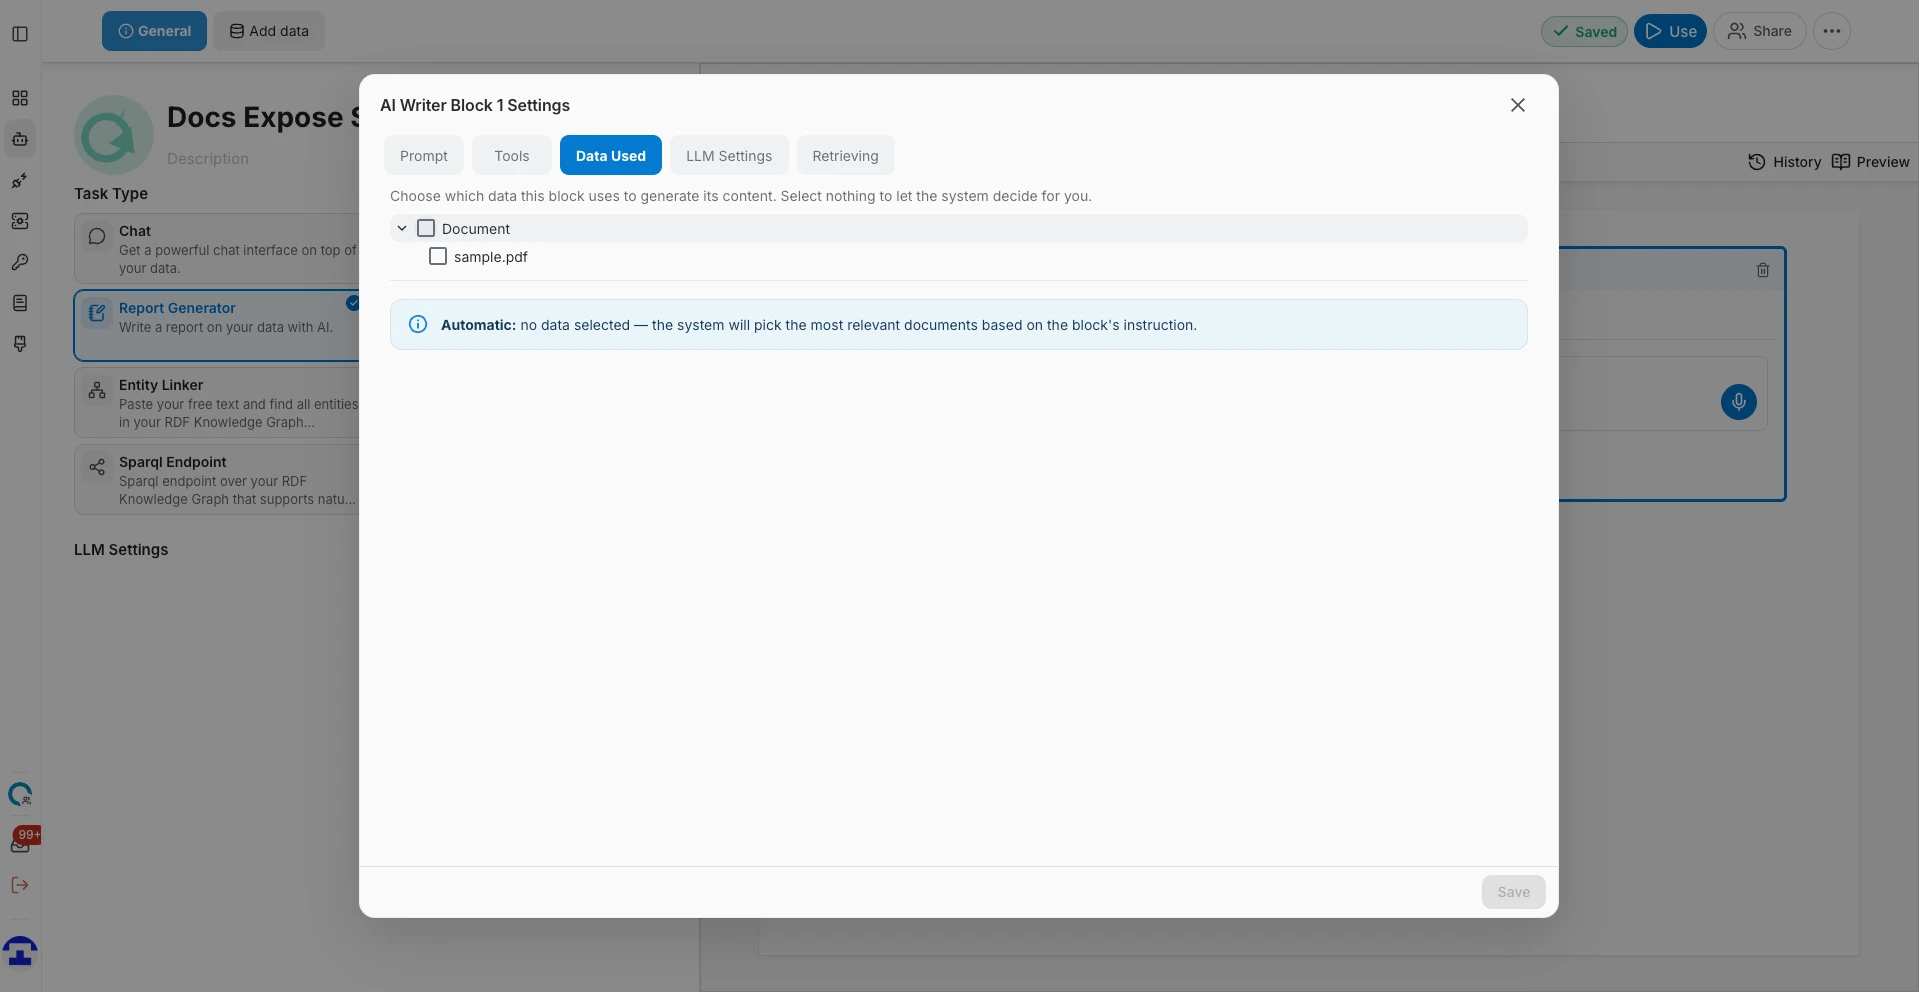
- Data Used — which data this block draws on. Select nothing and the system picks the most relevant documents itself; select specific sources and the block is restricted to them.
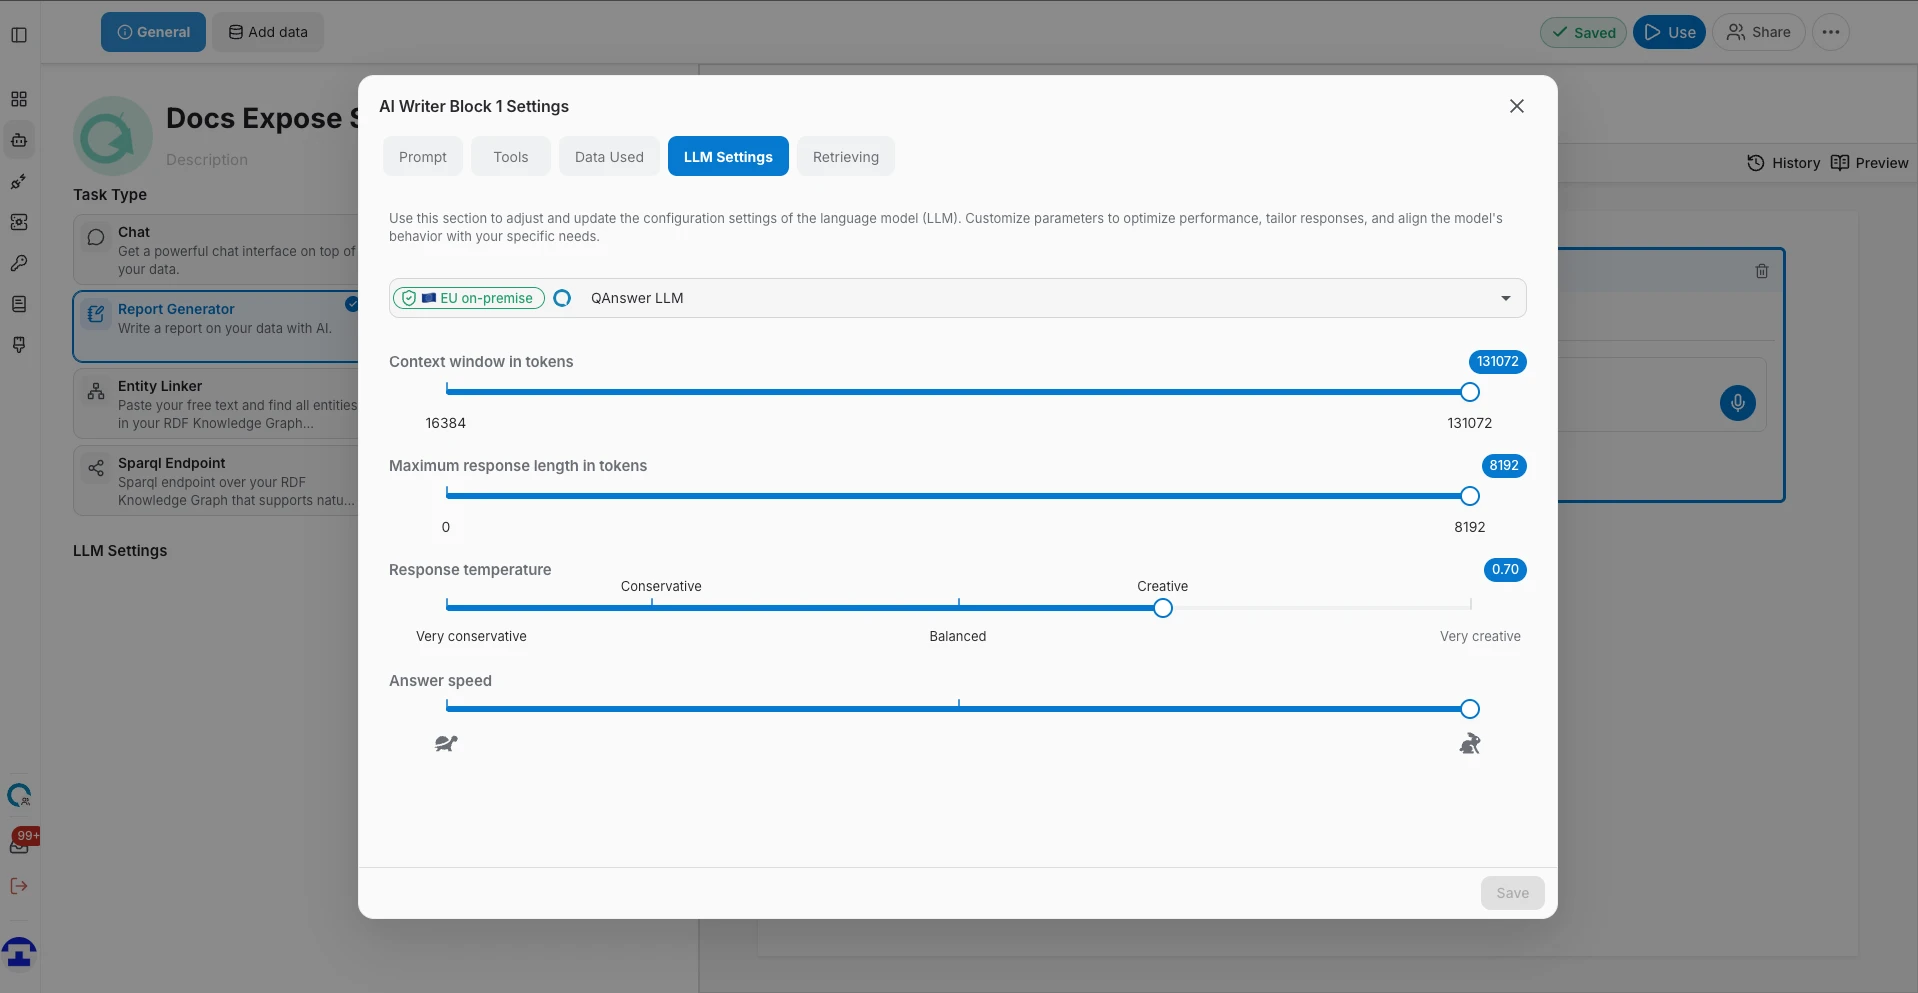
- LLM Settings — the model, context window, maximum length, temperature and speed for this block.
- Retrieving — how many document sections are retrieved as context for this block.
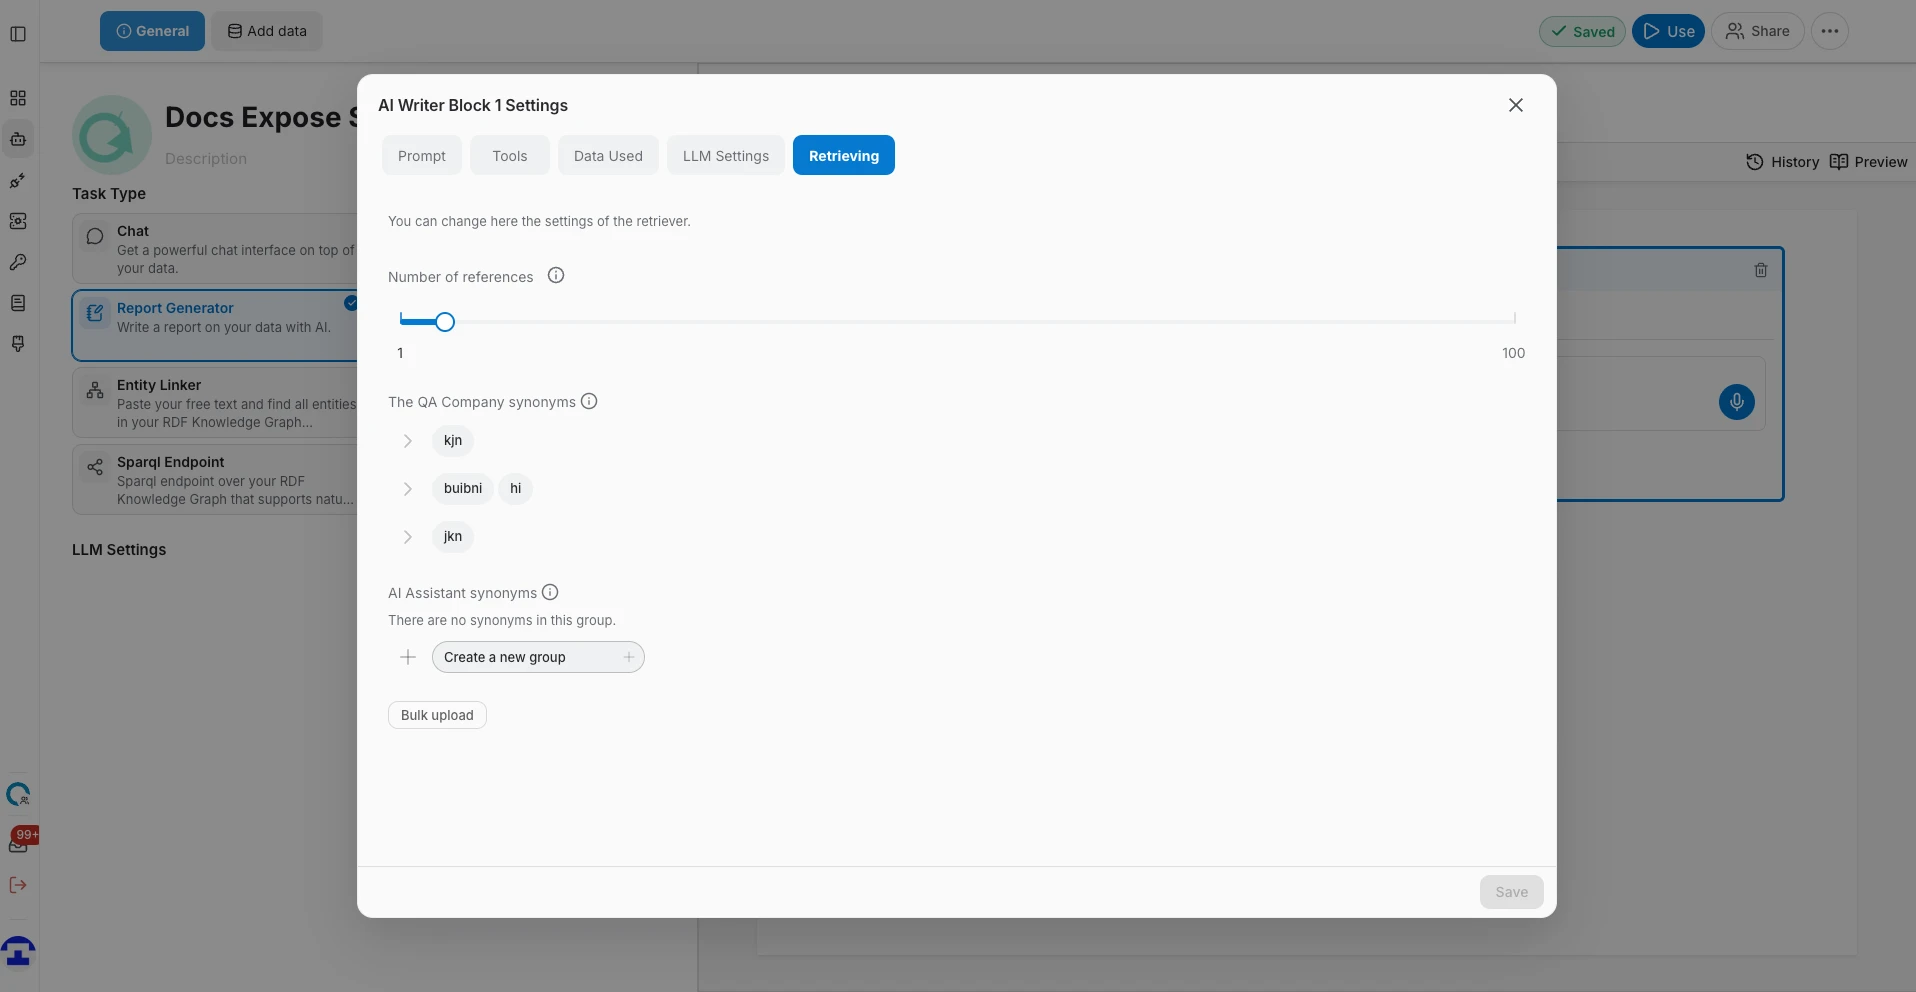
Default settings for every block
The Settings menu in the toolbar opens the same five tabs, but as the defaults applied to every AI writer block that does not override them. Set the tone and the model once there rather than per block.
Templates
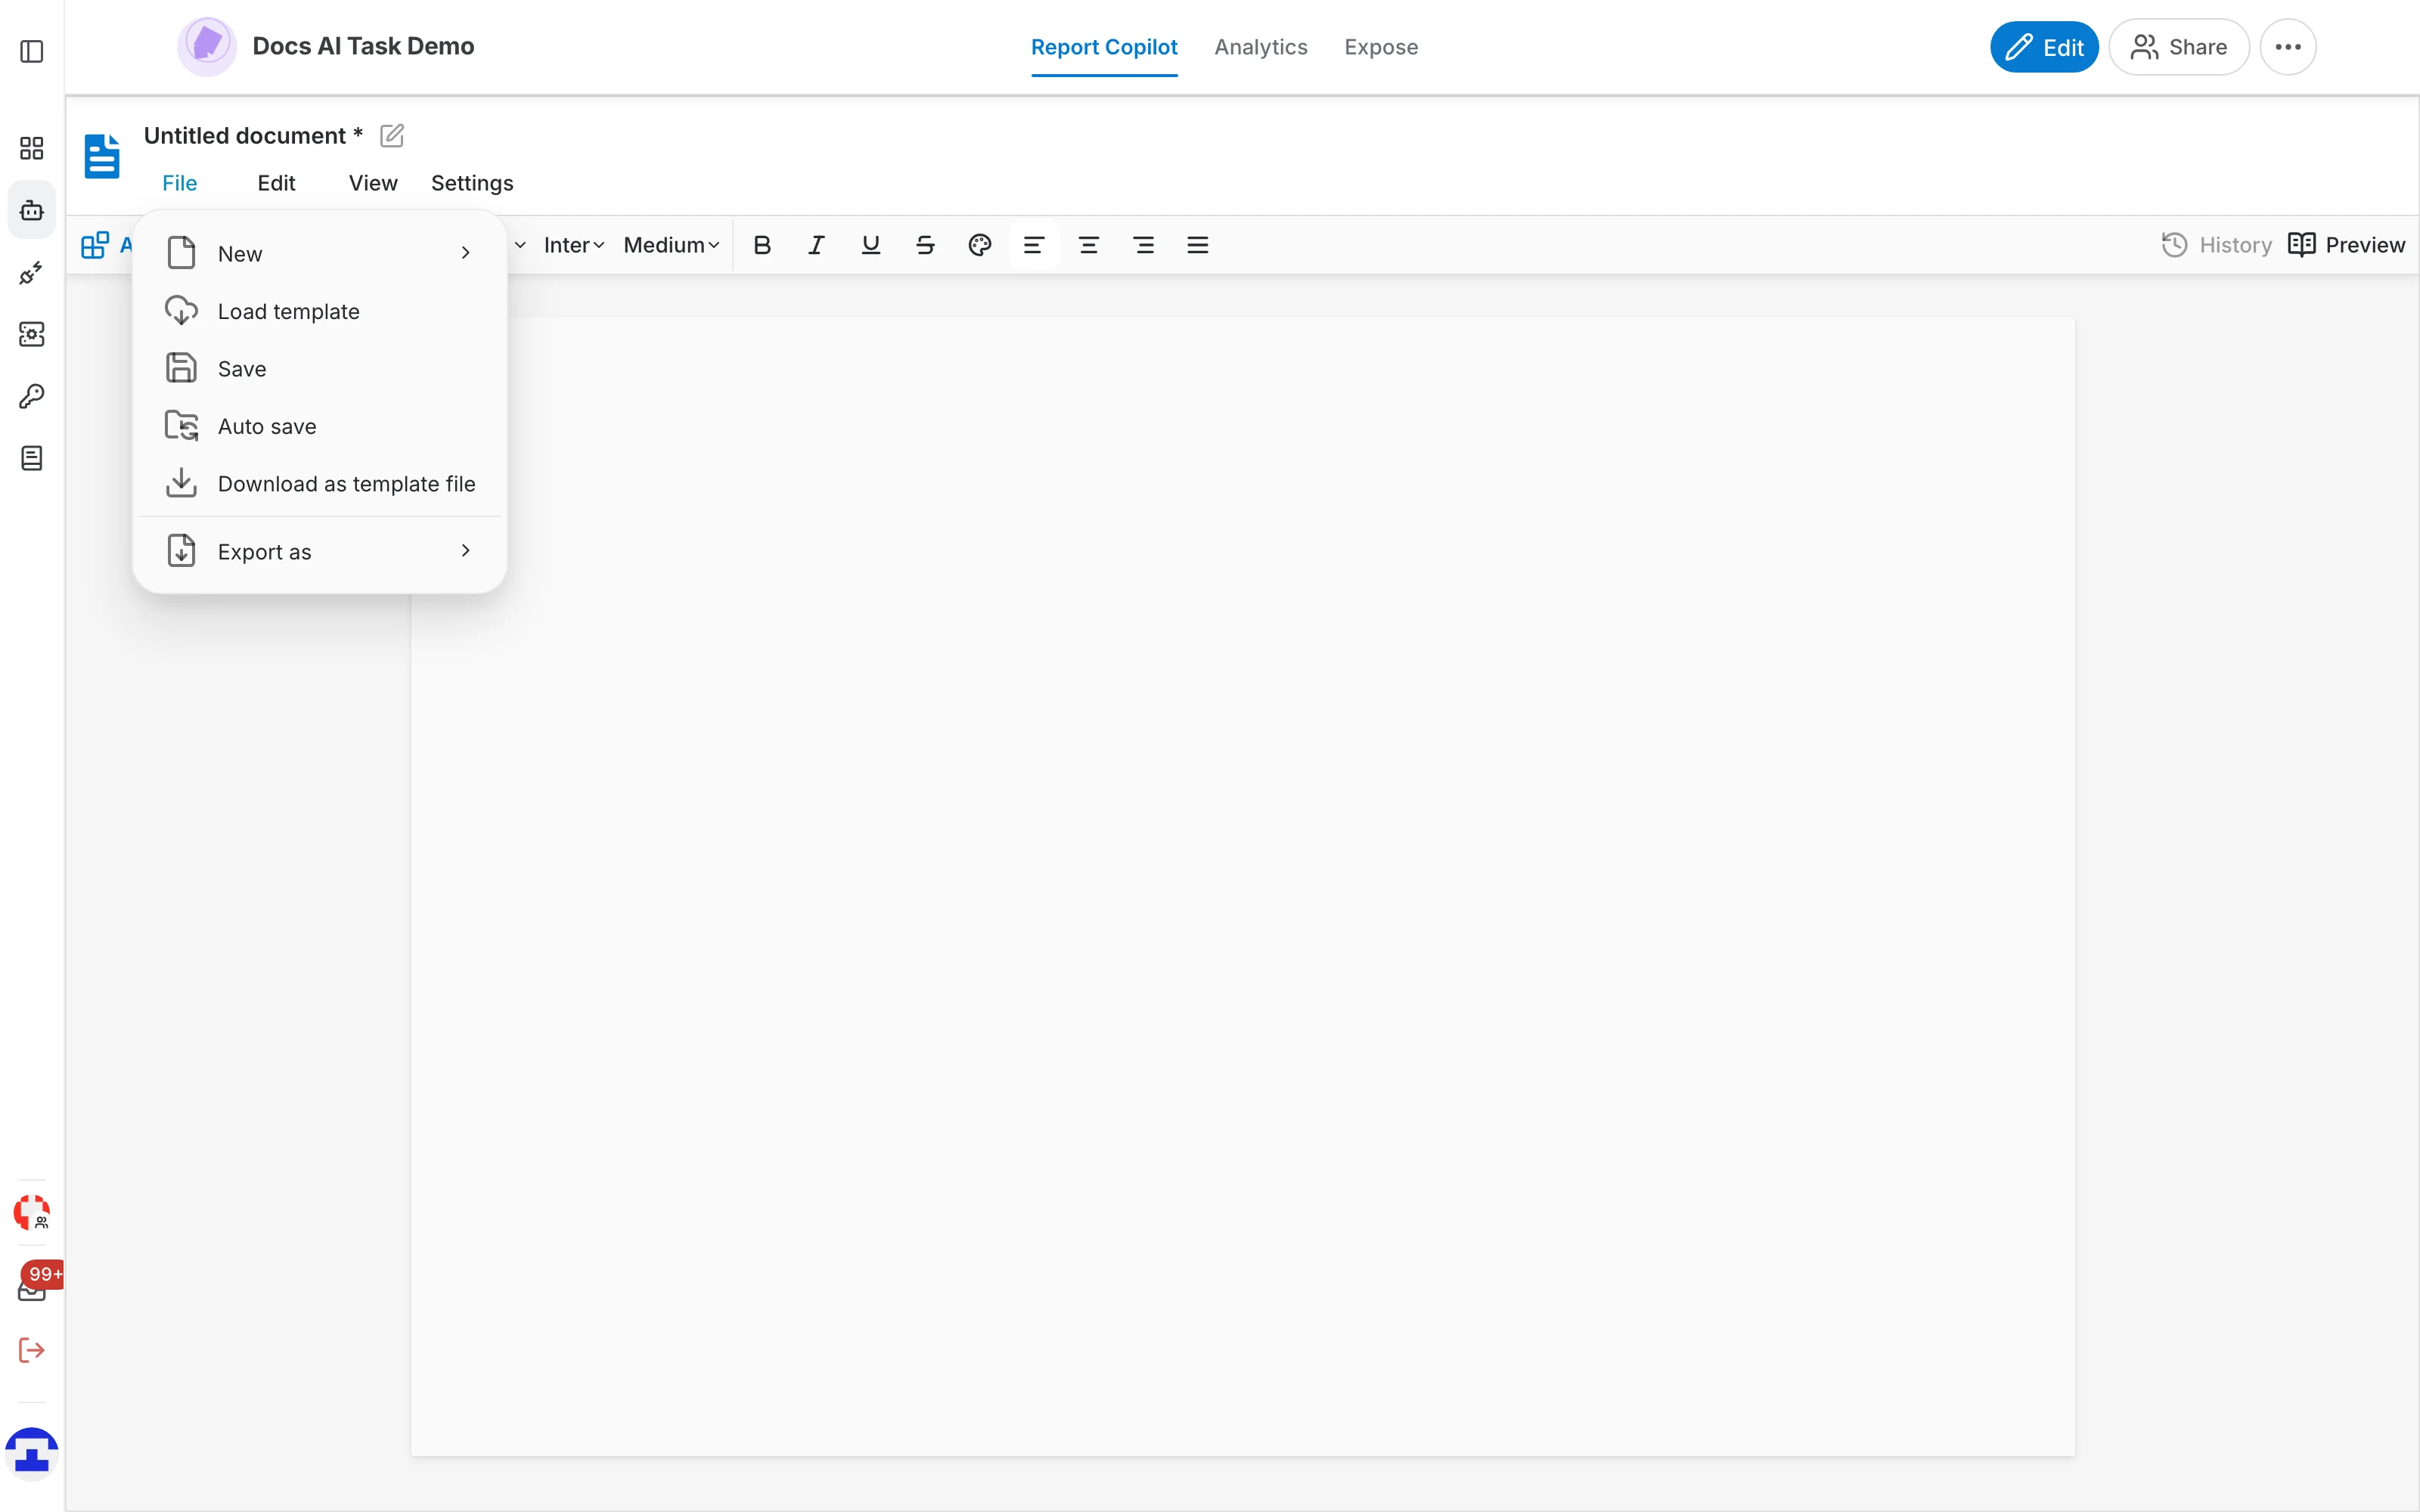
A report is saved as a template, so the same structure can be regenerated on fresh data later. The File menu holds:
- New — start an empty document.
- Load template — open a saved template from the searchable list, filtered by name or tag.
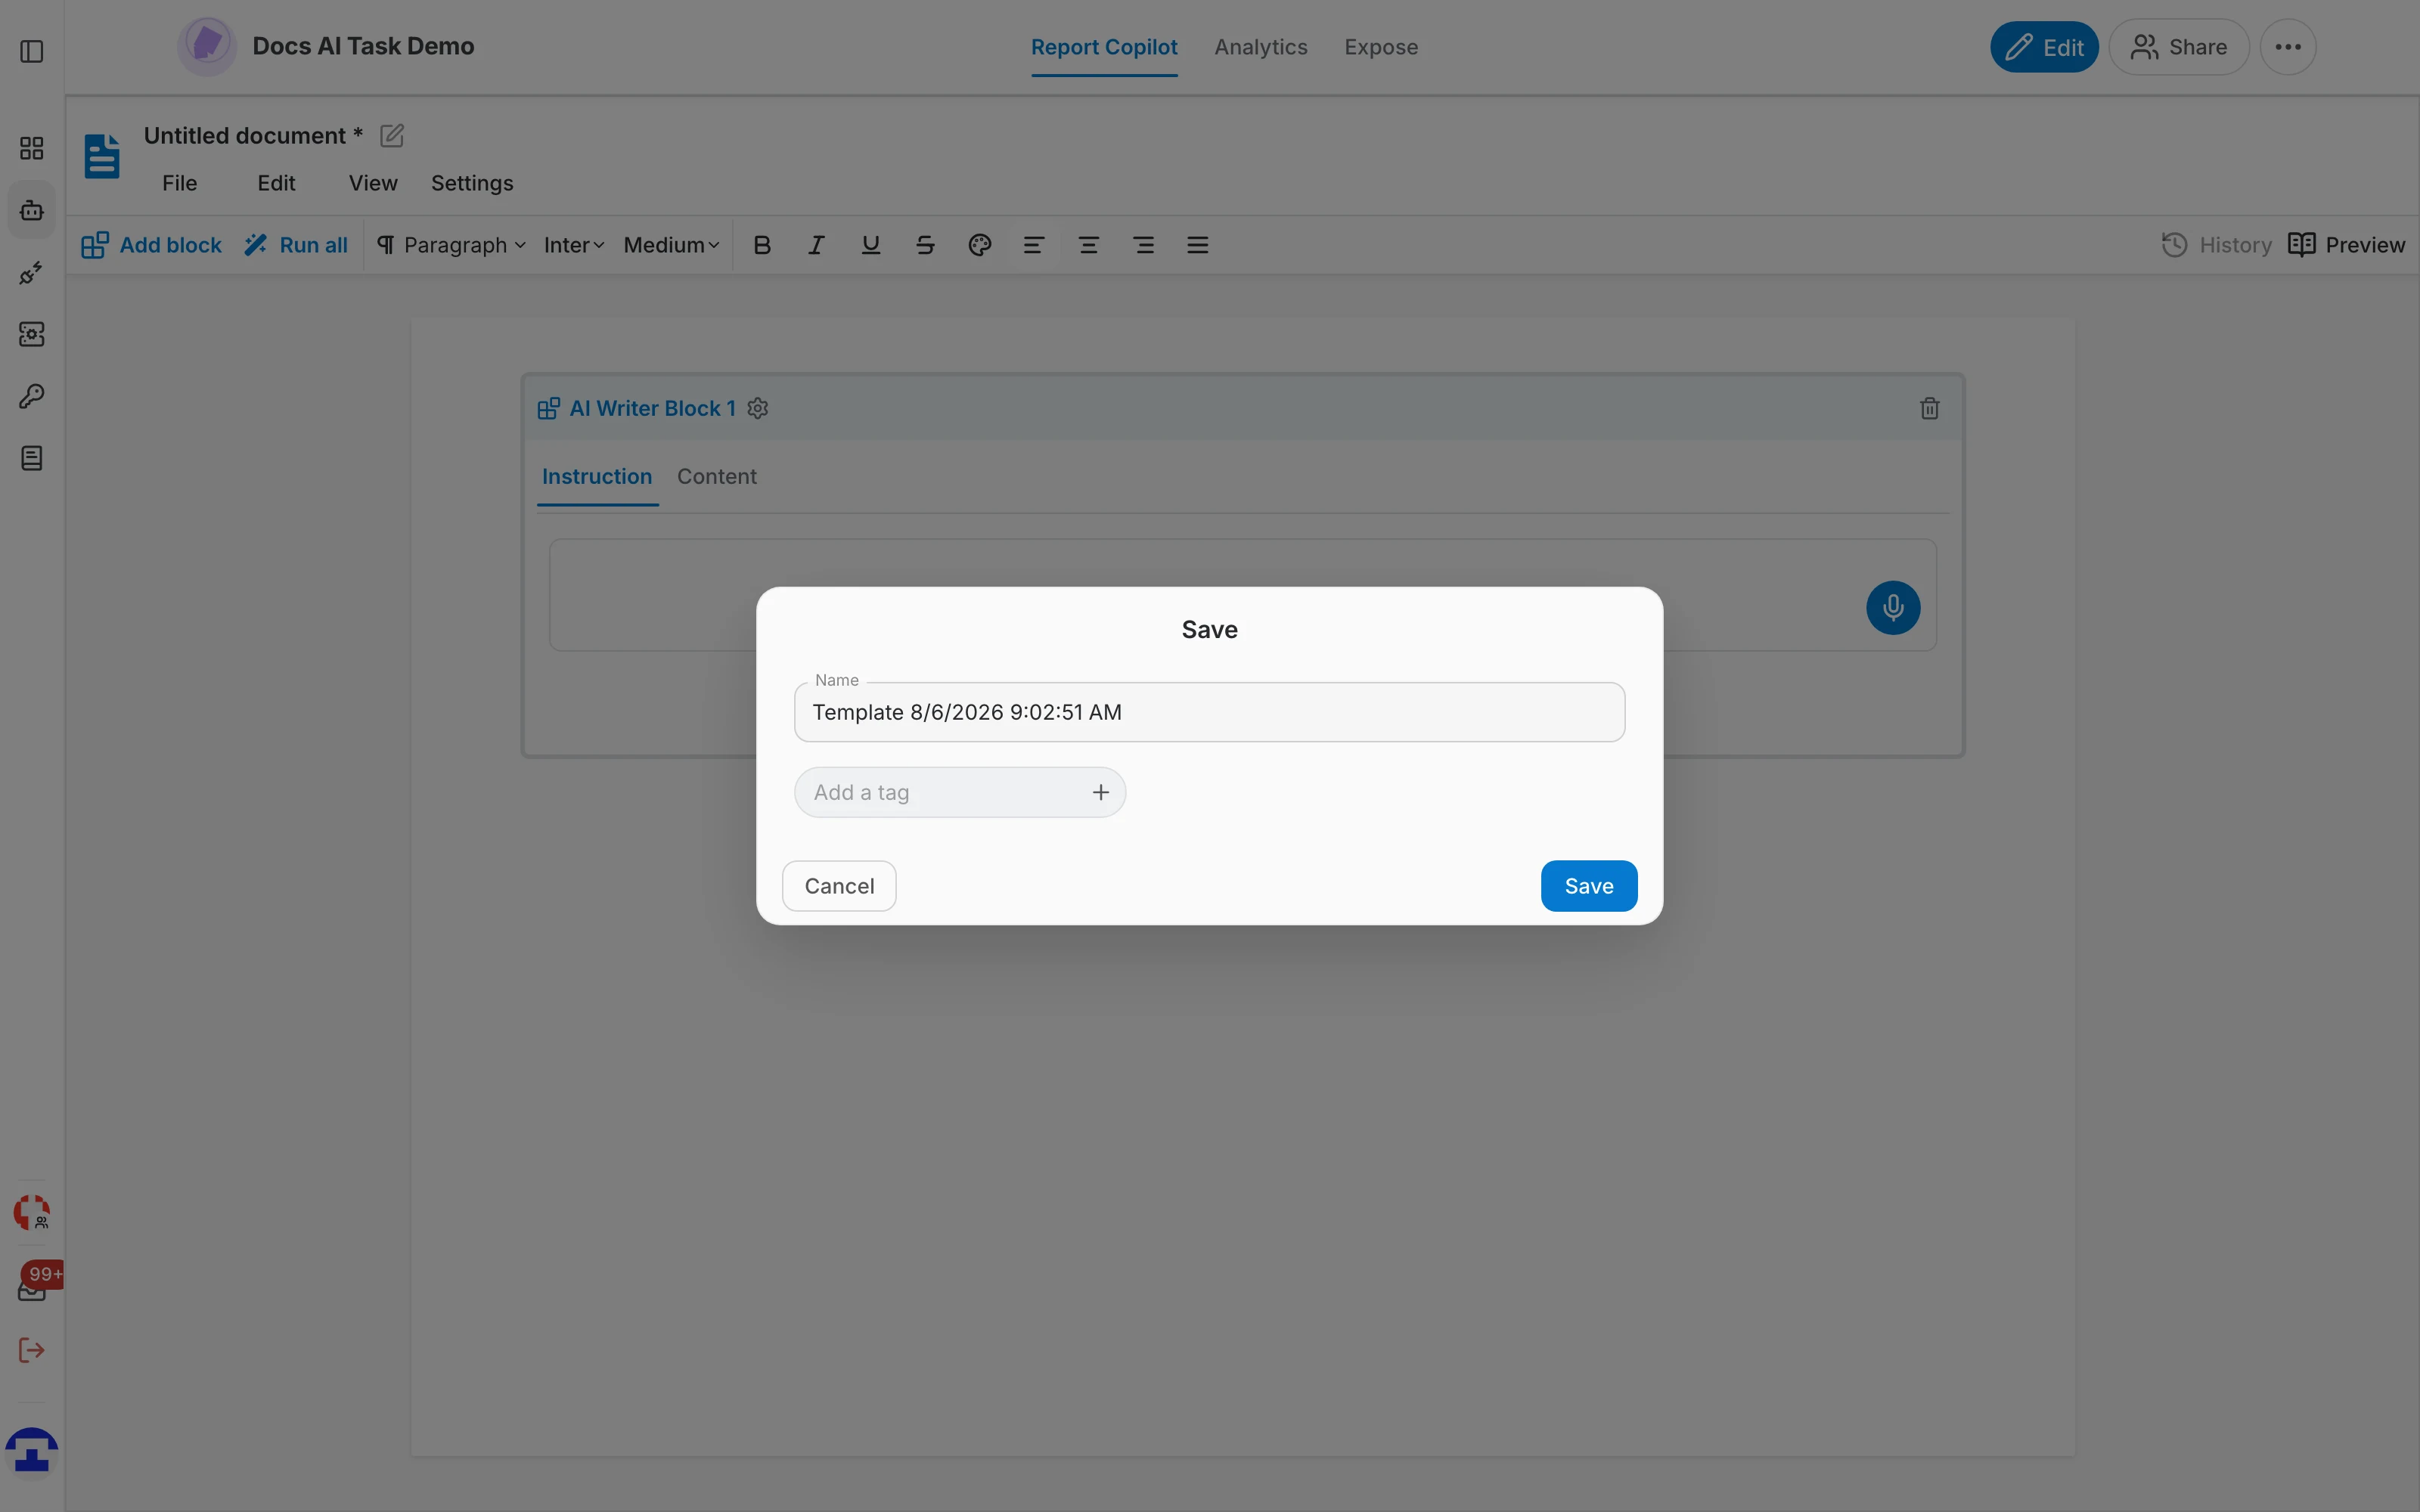
- Save — store the template on the server. The dialog asks for a name and optional tags.
- Auto save — keep saving as you type. While a document is still unnamed this asks you to name it first.
- Download as template file — export the template itself, so it can be shared or moved to another environment.
- Export as — download the finished report as a Microsoft Word (.docx) file, with the AI blocks replaced by their generated text.
Reading and auditing the report
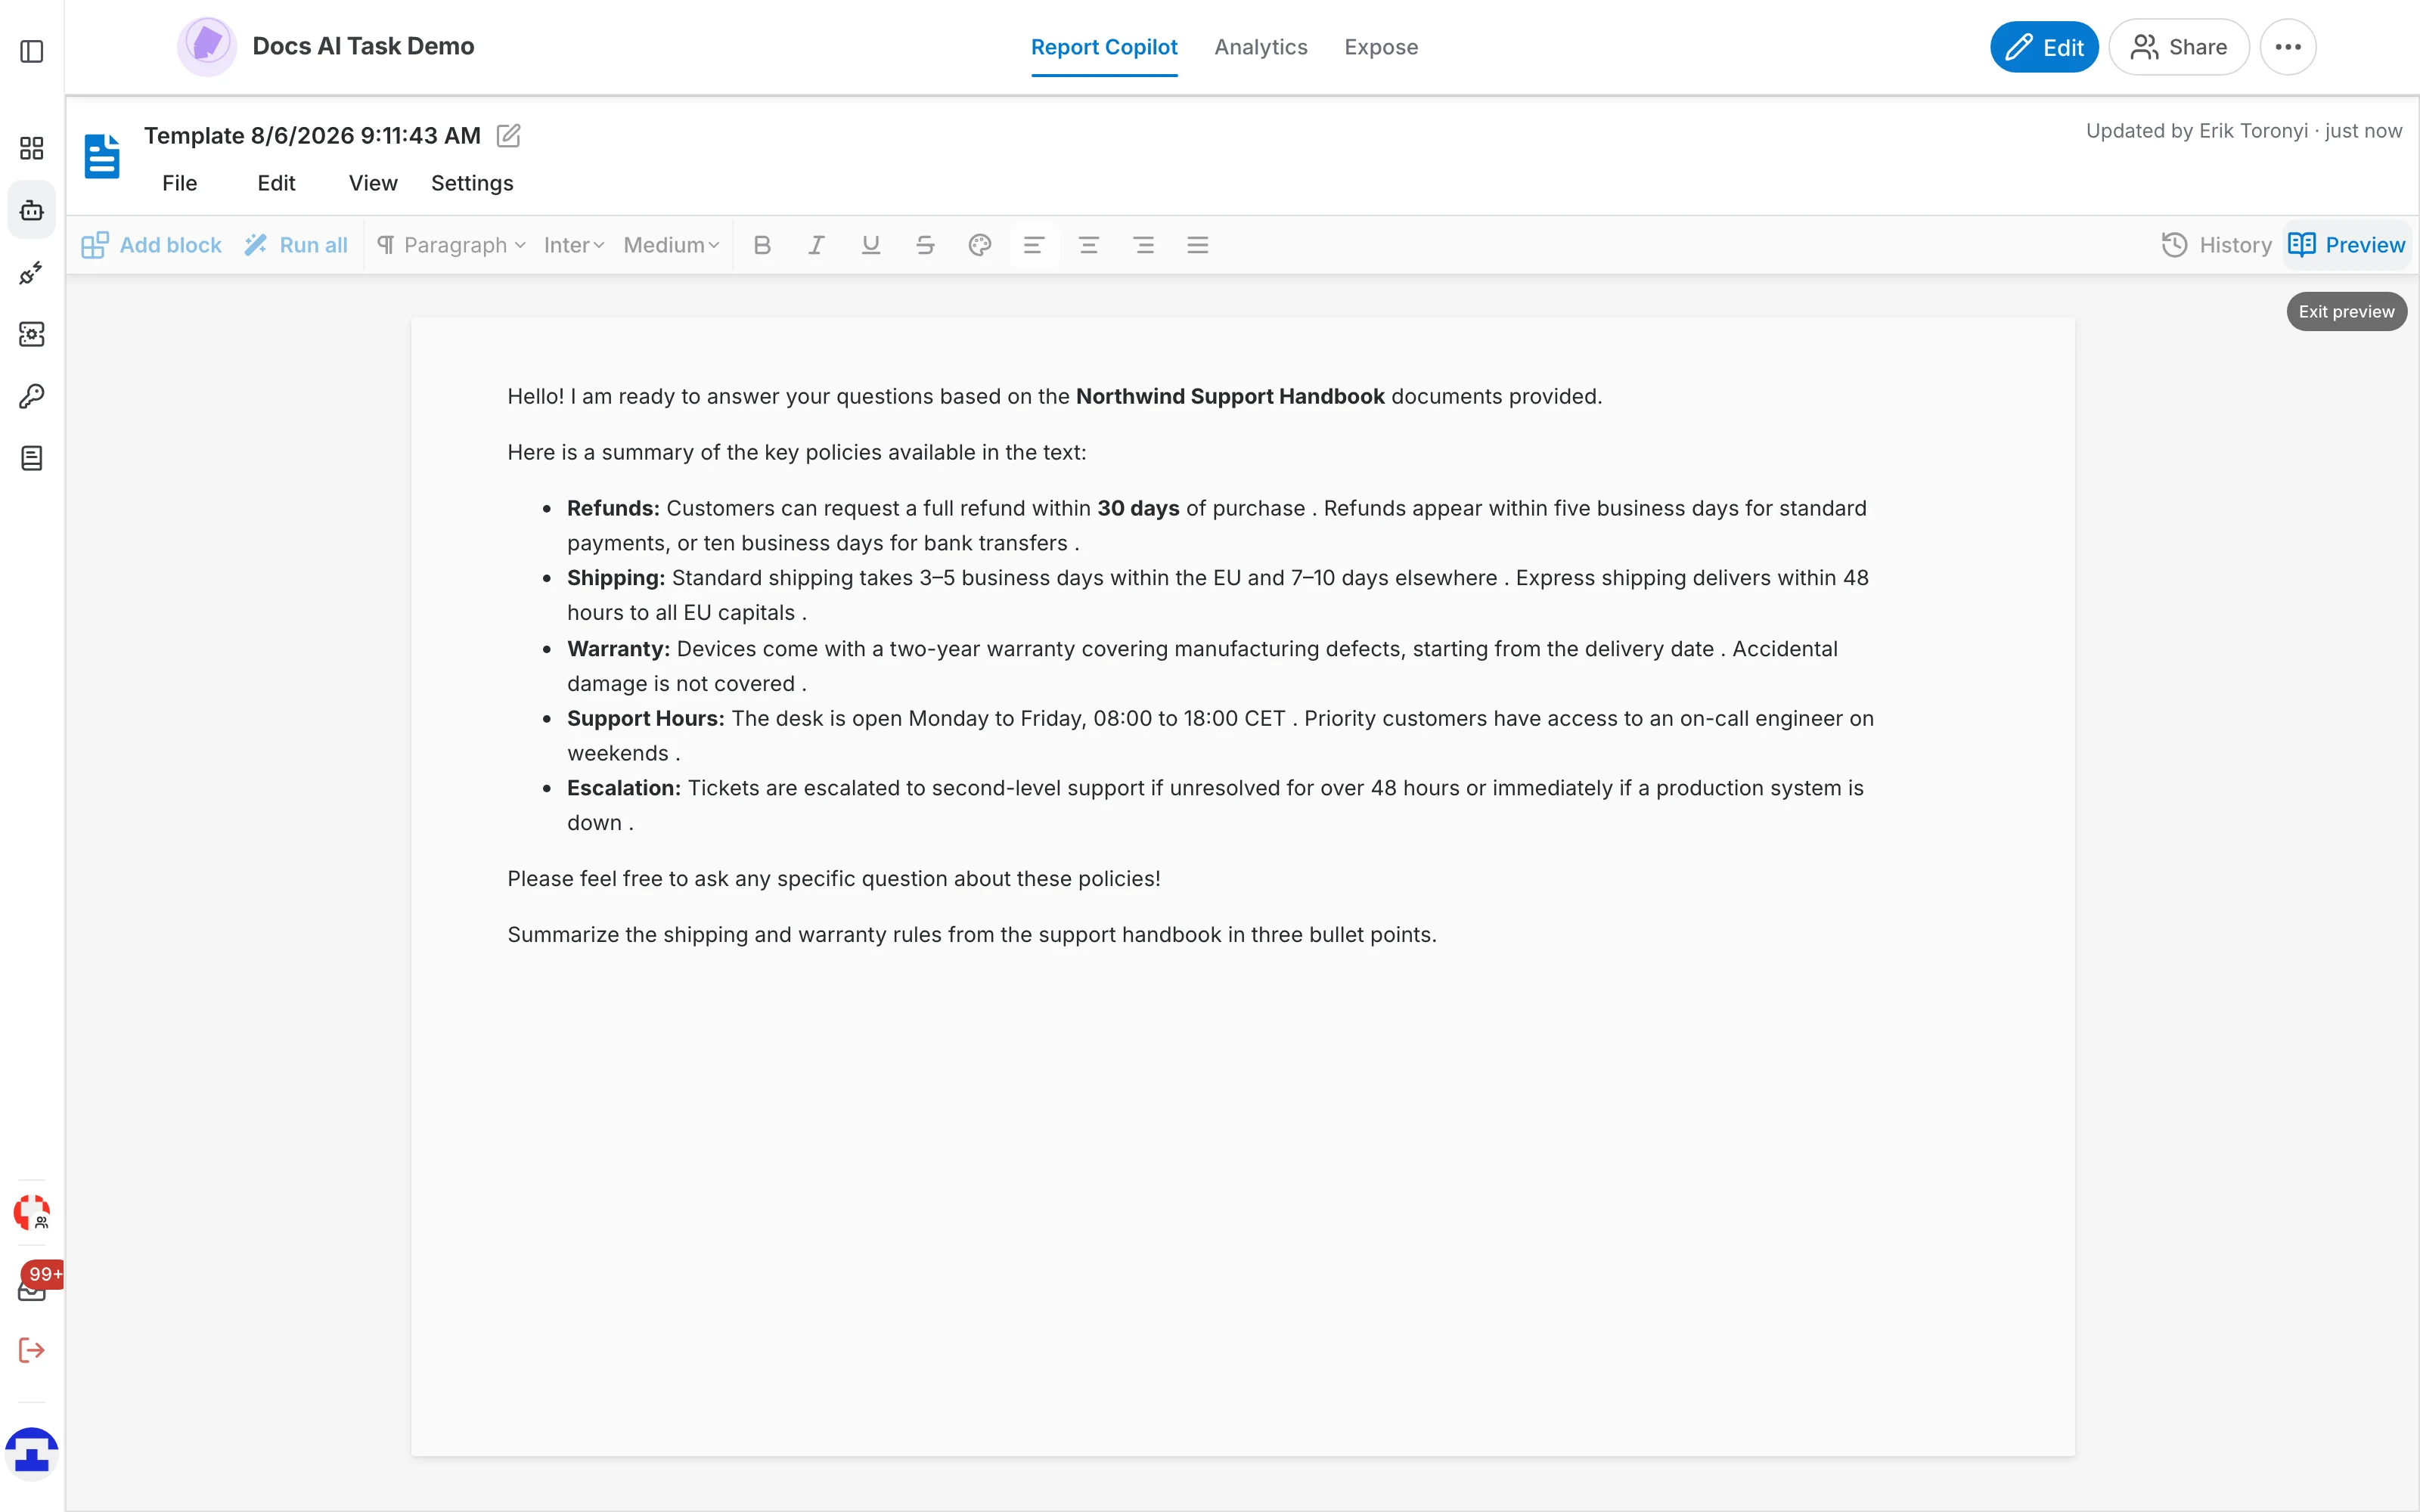
Preview
Preview shows the document read-only, with every AI writer block replaced by its generated content — the report as its reader will see it, without the block frames and buttons. Click Preview again to return to editing.
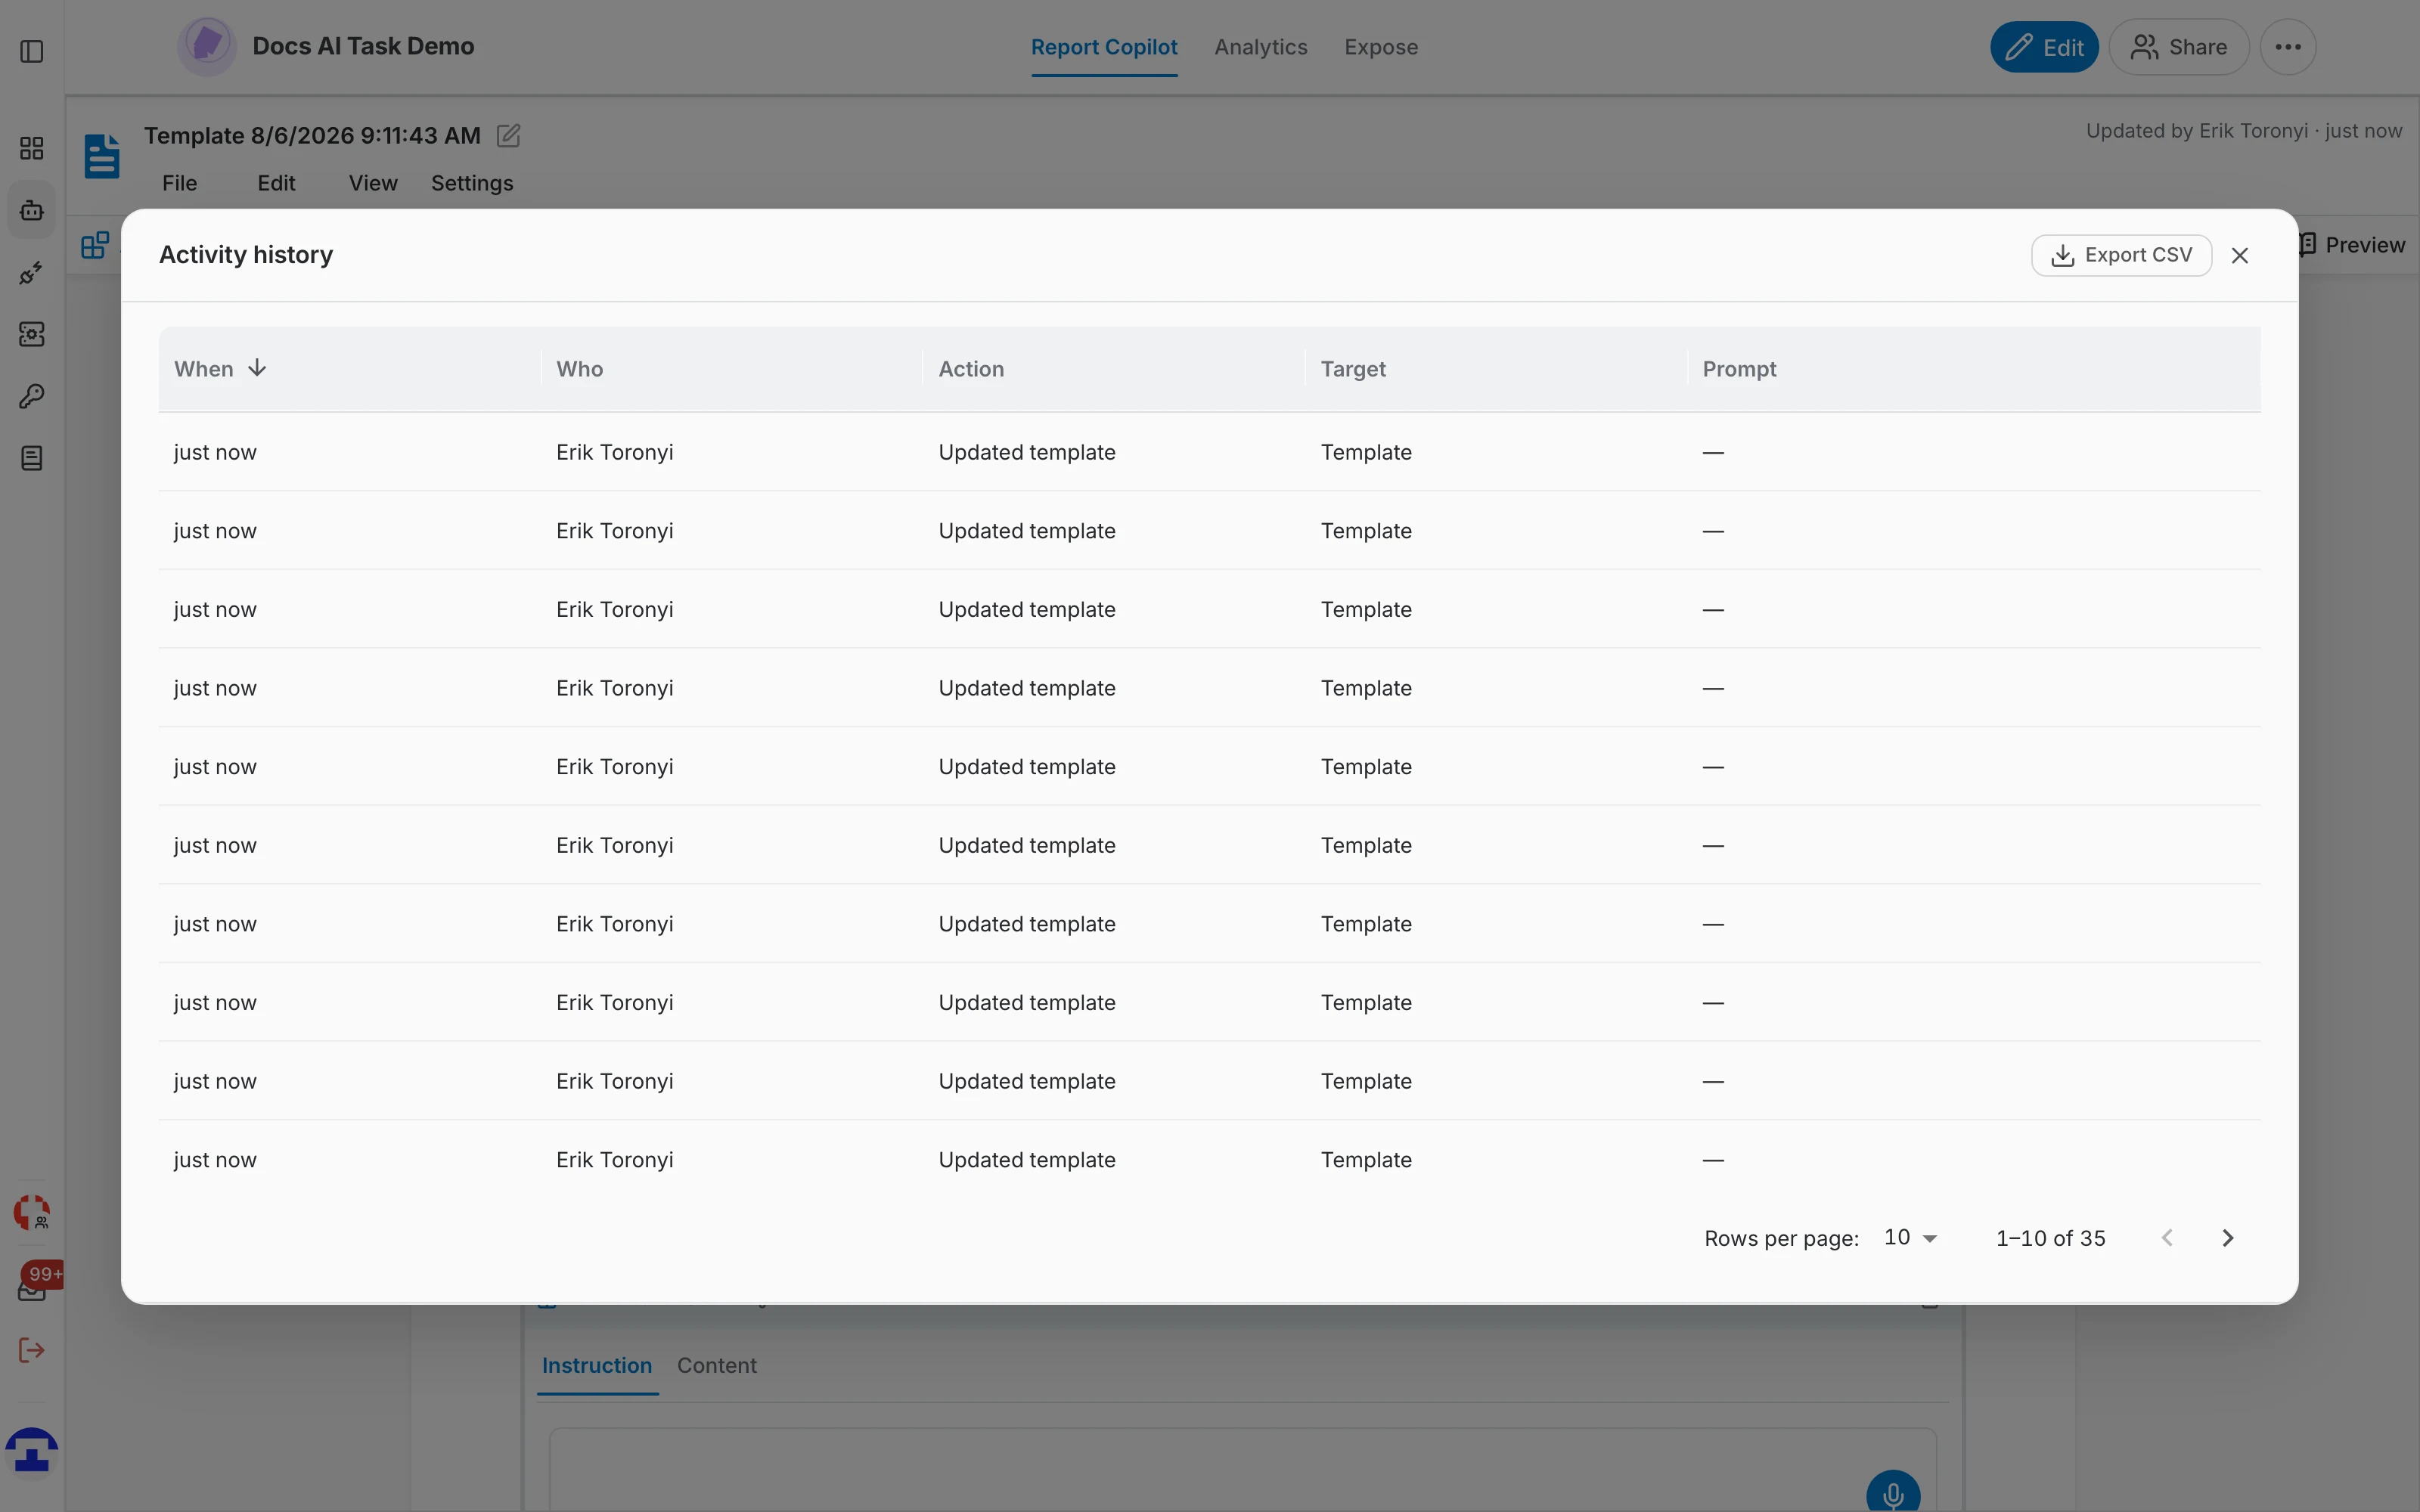
Activity history
History lists what happened to this template: when, who, which action (template updated, slot generated, slot deleted), on which target, and the prompt involved. It can be exported as CSV, which is what you want when a report has to be defensible after the fact.
Tuning the assistant behind the report
The blocks answer through the assistant, so the data, the tools and the model come from its configuration. Go back to it with Edit — see where the settings live. Per-block settings always win over the assistant's defaults.