Create an AI Assistant
Follow these steps to create an AI Assistant on your data.
List AI Assistants
To access the AI Assistant features click on AI Assistant on the left navigation bar:
This interface manages your AI Assistants.
The AI Assistant page is also directly available here:
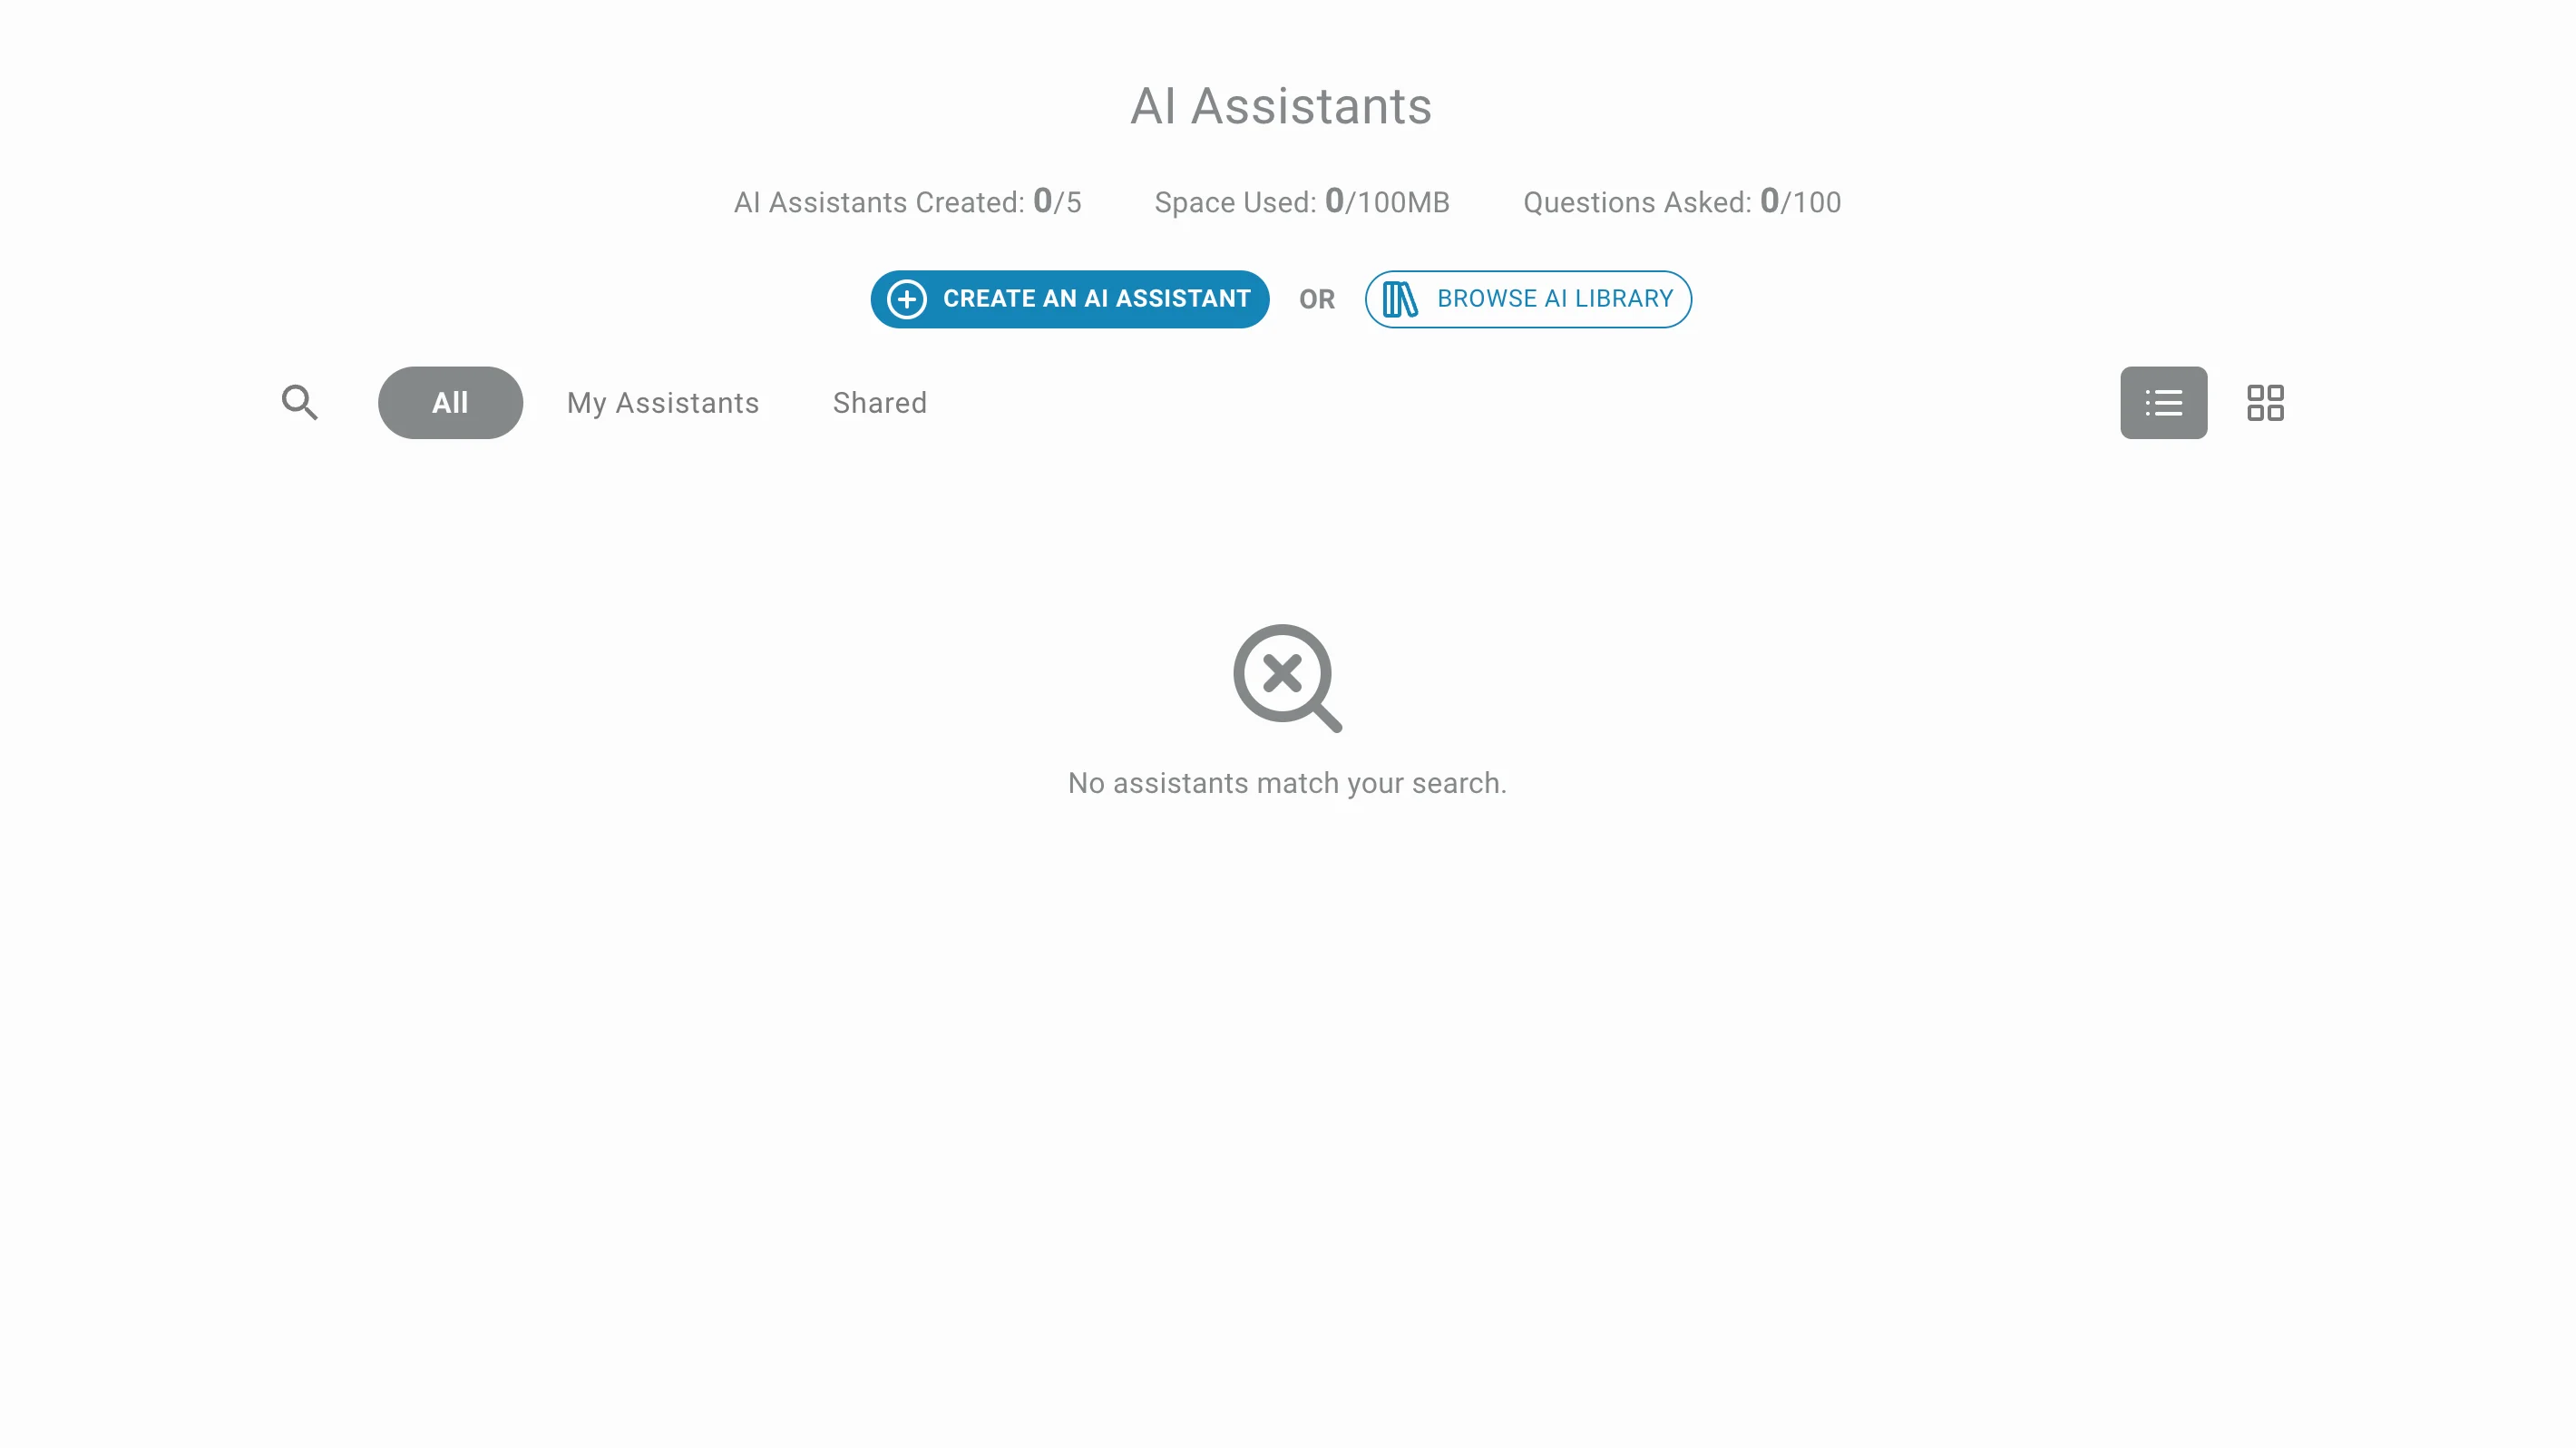
The page will be empty or contain the AI Assistants that you have already created:

Create
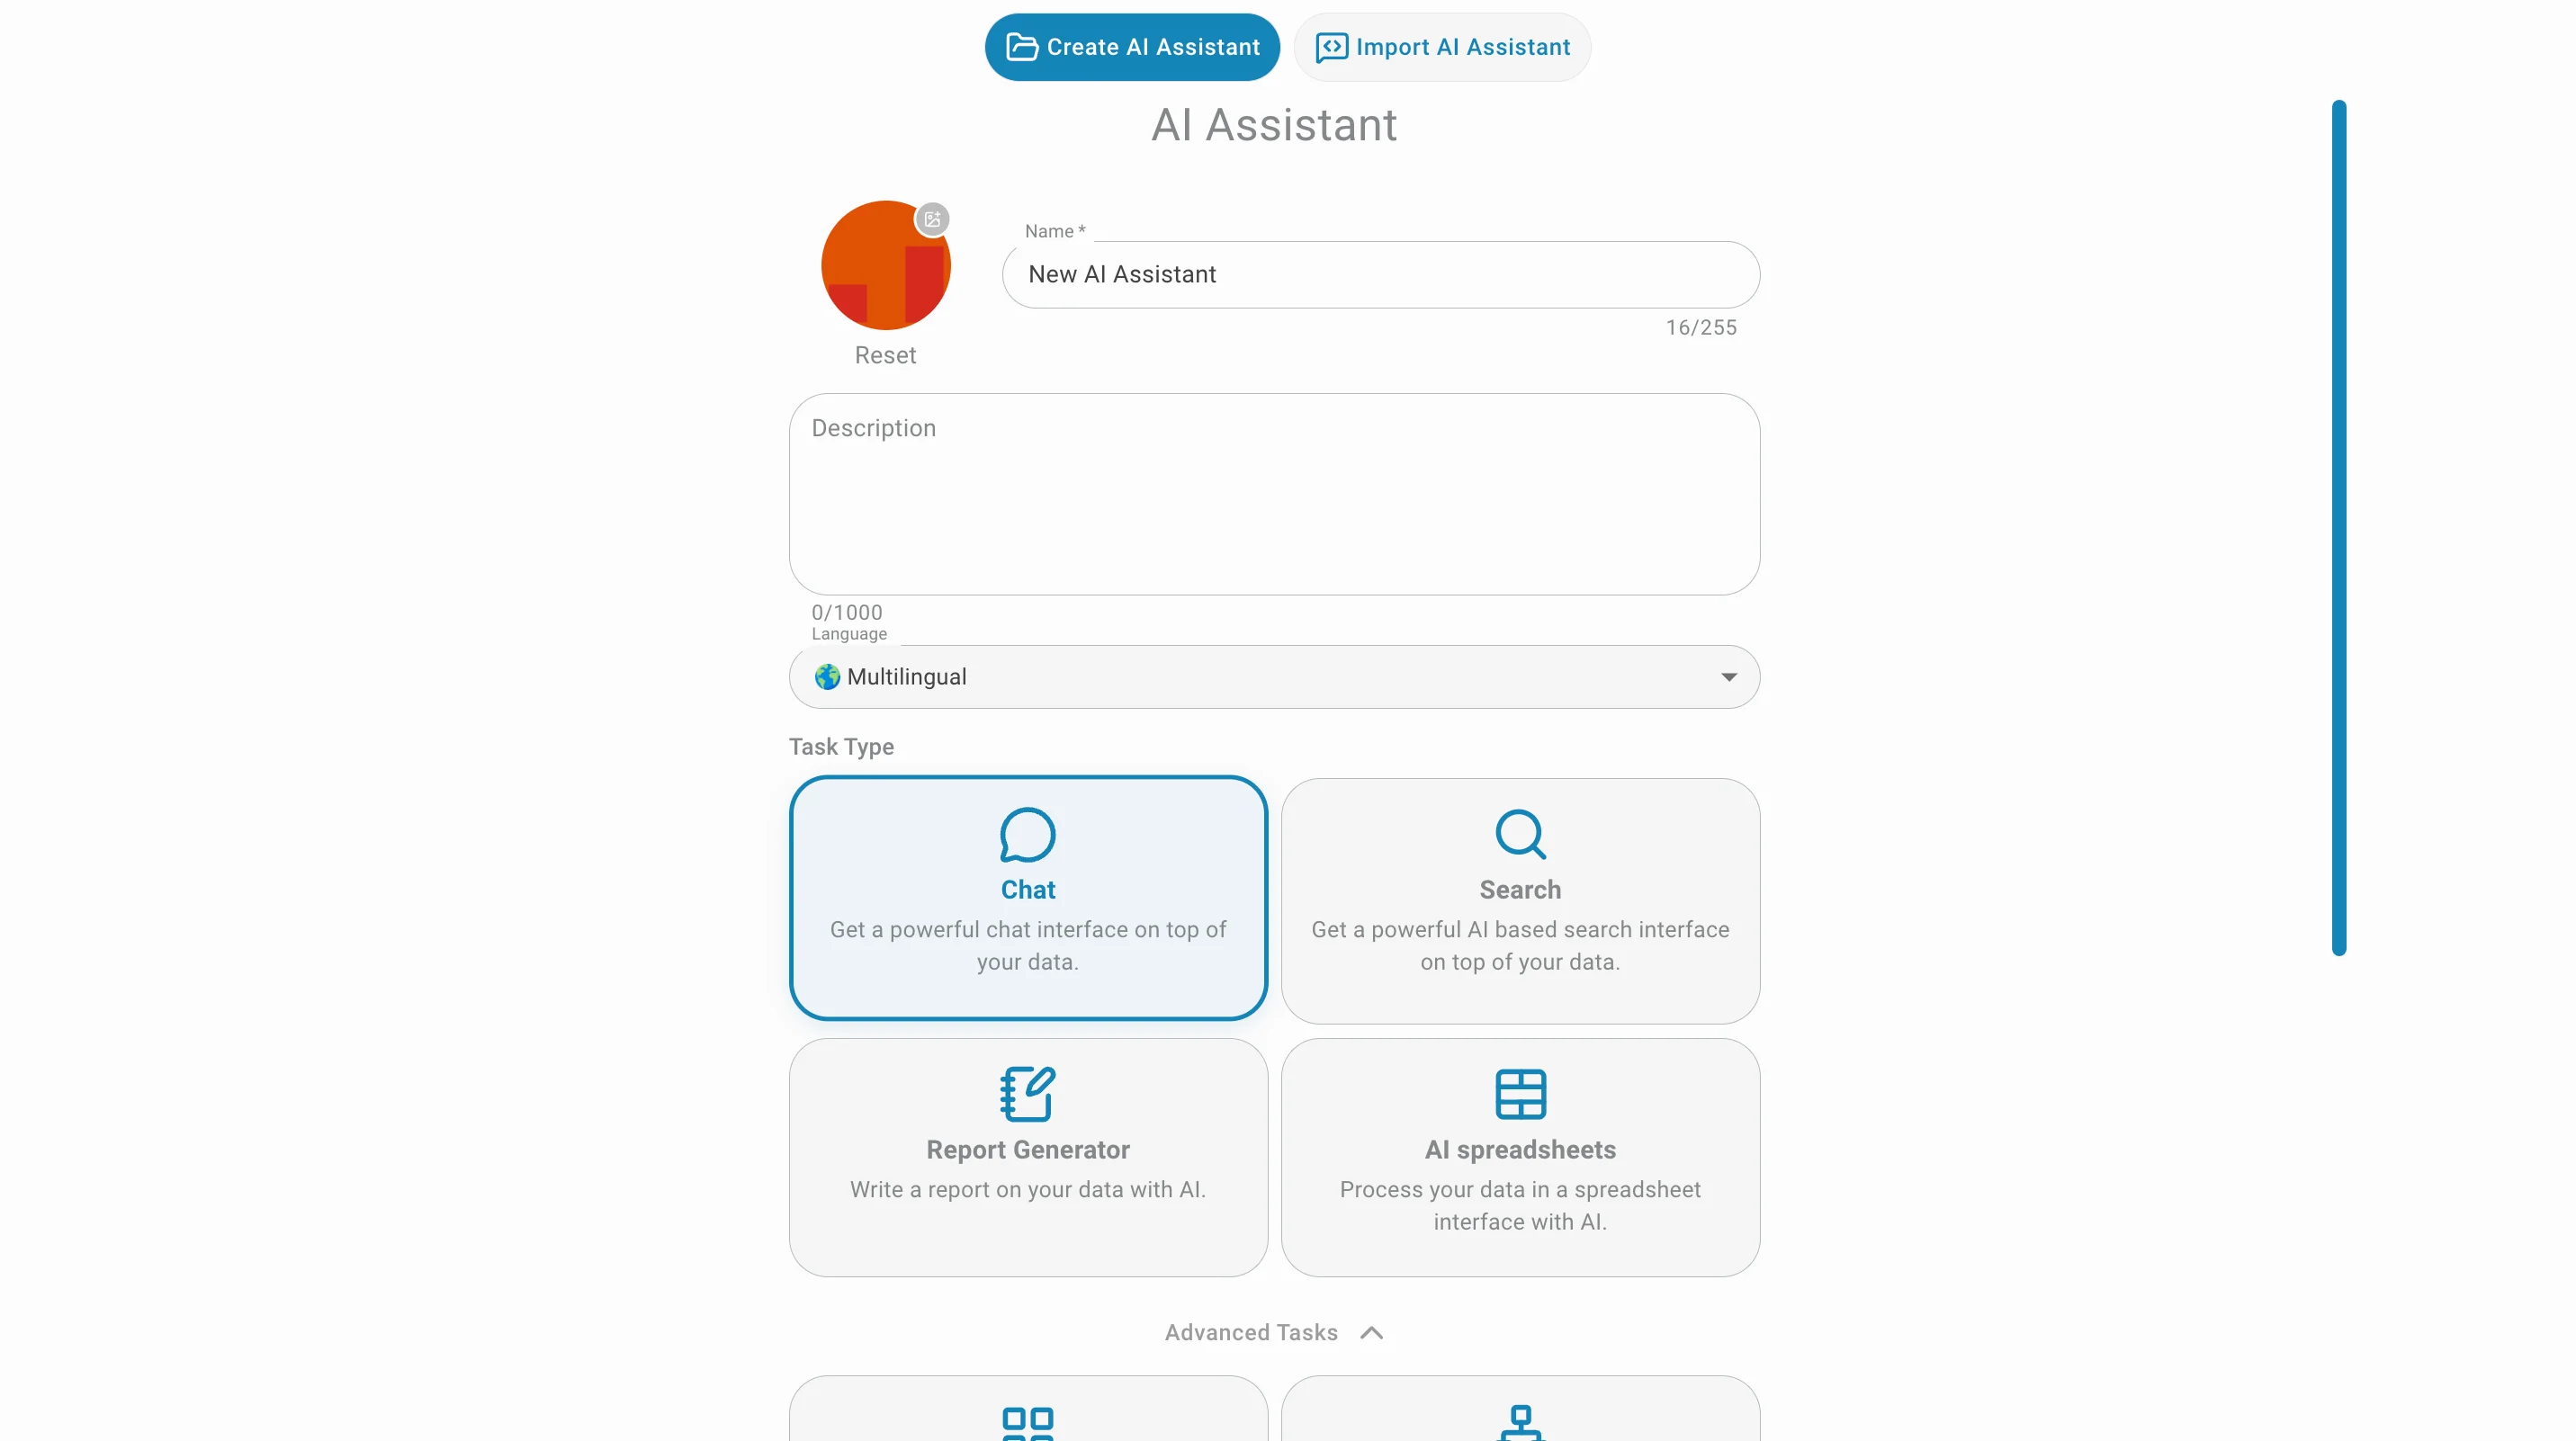
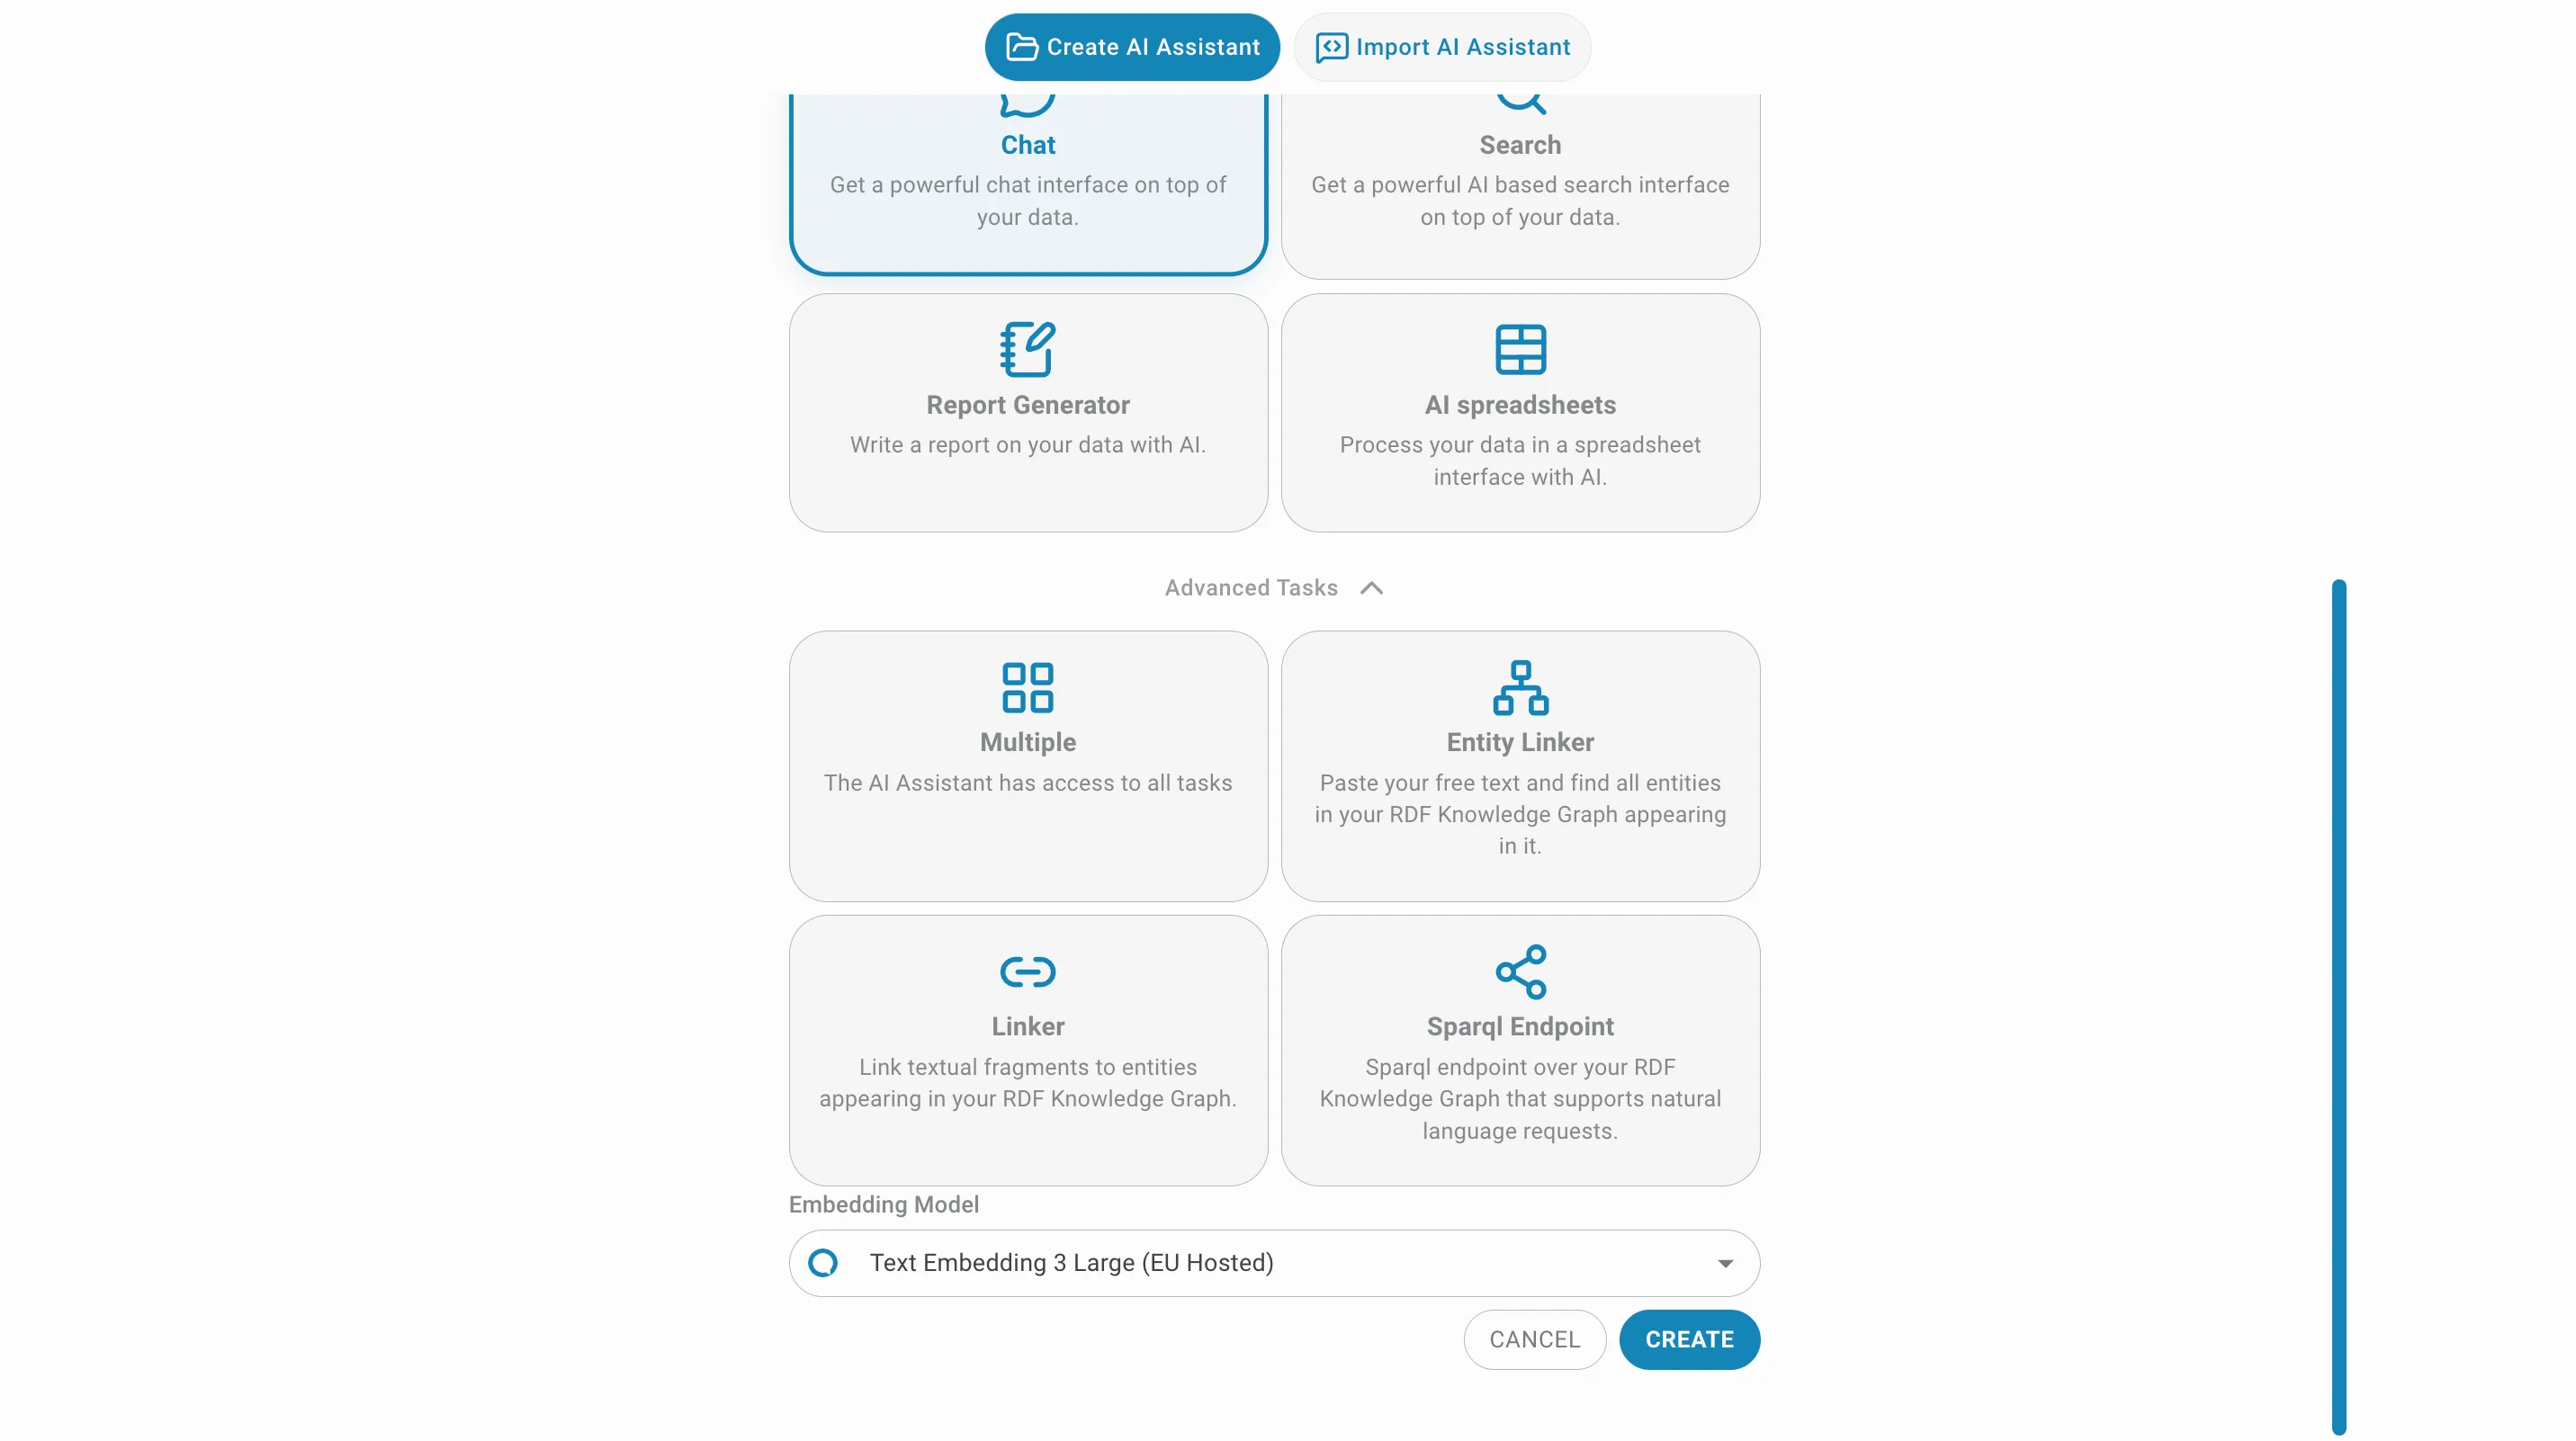
In the AI Assistant panel, click CREATE and enter the name and language for the new assistant.
In the advanced settings, optionally:
- Choose the embedding model and the LLM model you want to use
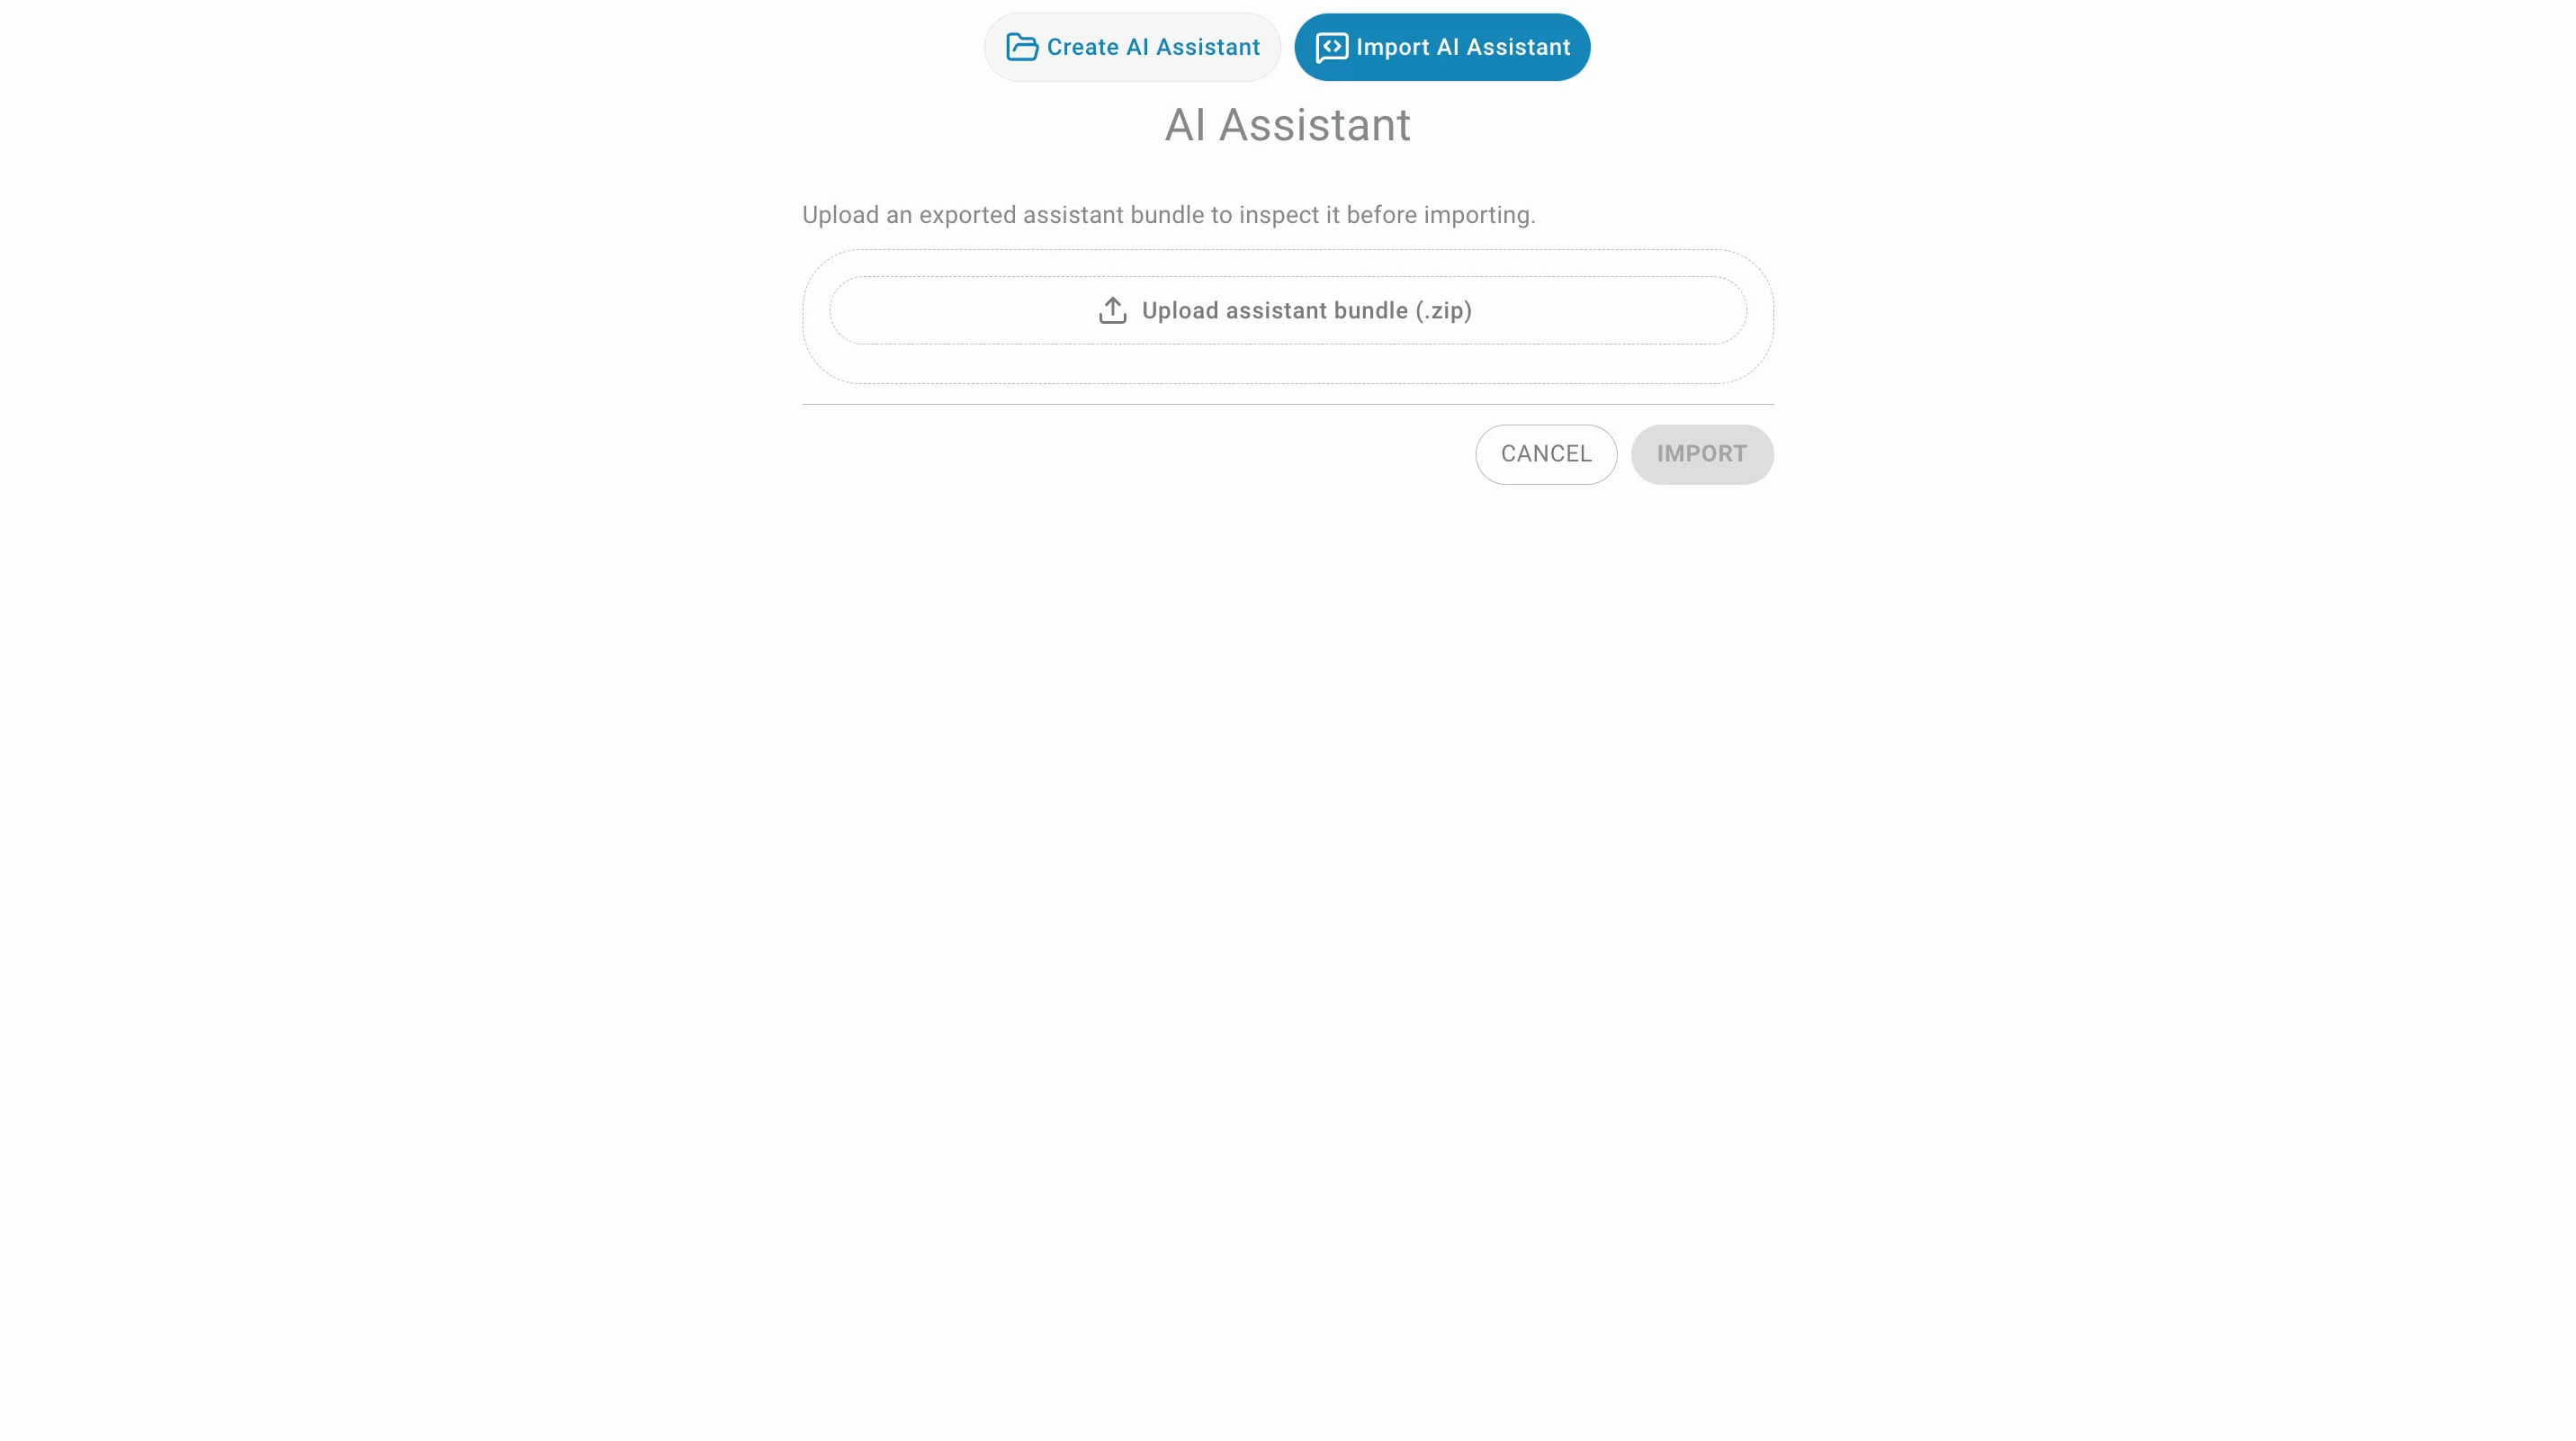
- Import an existing AI Assistant from a JSON or ZIP file
Customize your AI Assistant
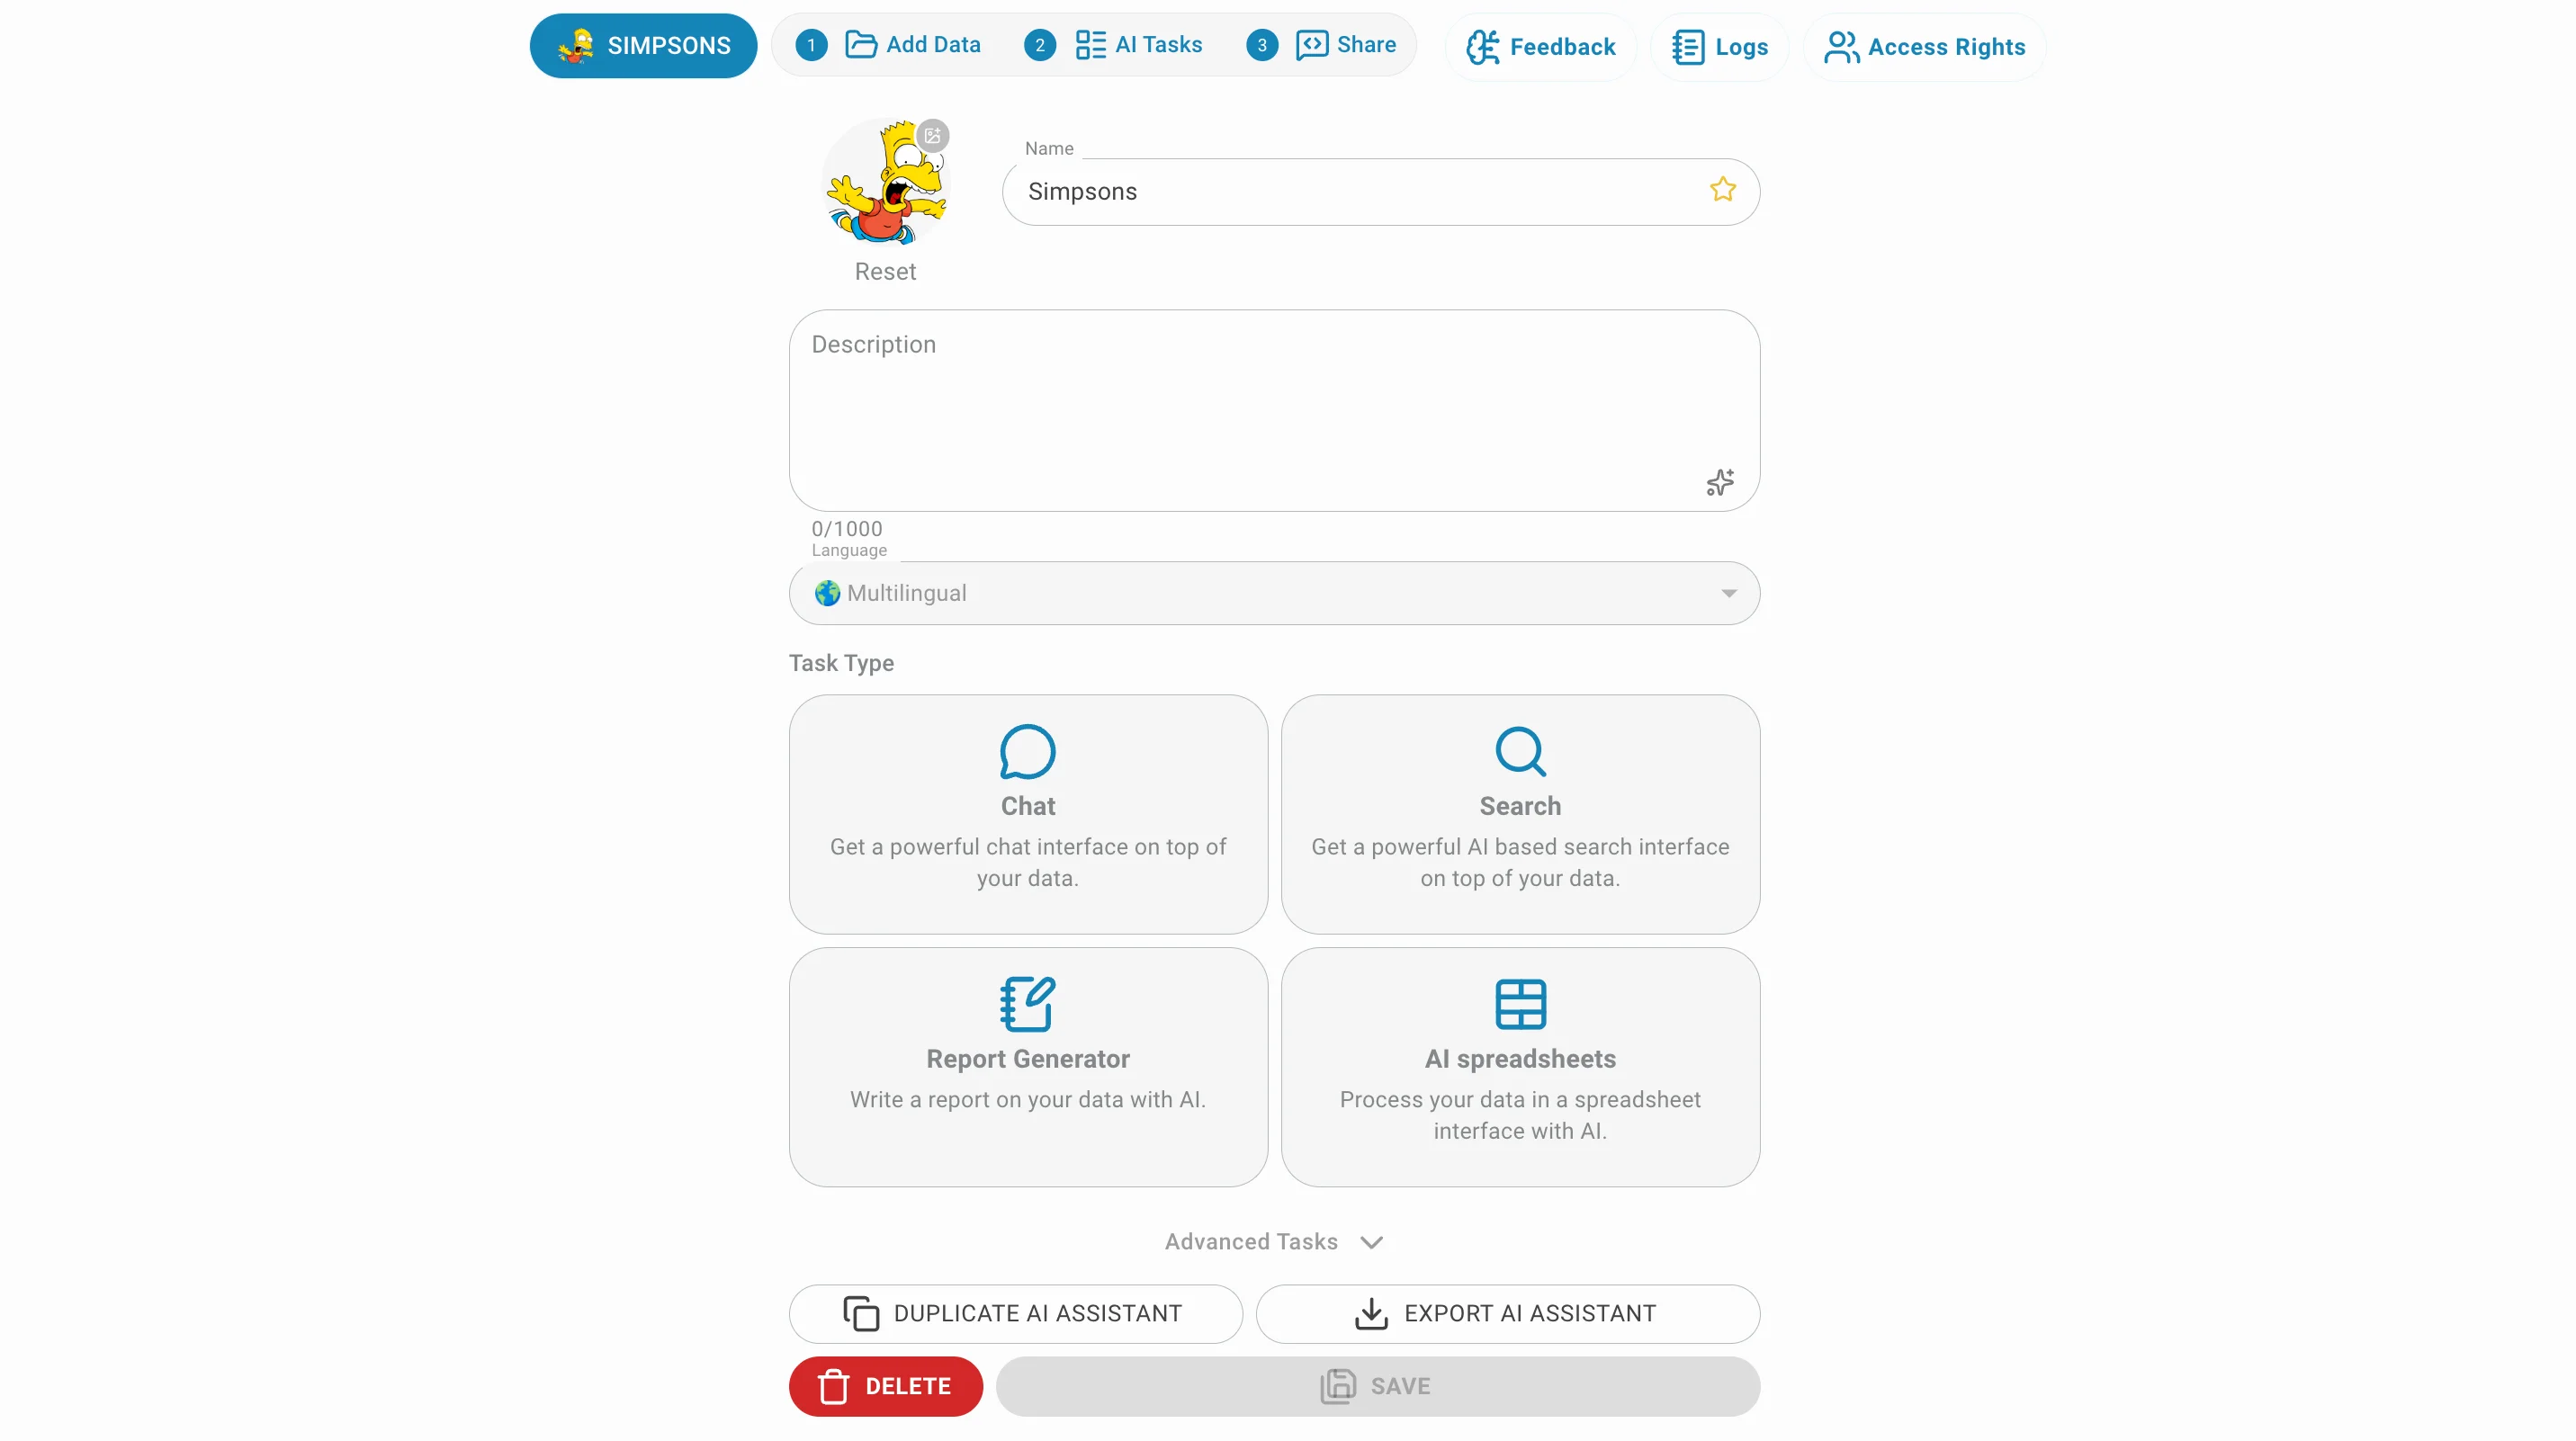
Customize the AI Assistant by clicking its name at the top left of the page.
From this panel:
- Choose a picture for it.
- Change the name of your AI Assistant
- Add a description
- Duplicate the assistant
- Export the assistant
- Mark it as favorite
- Add tags
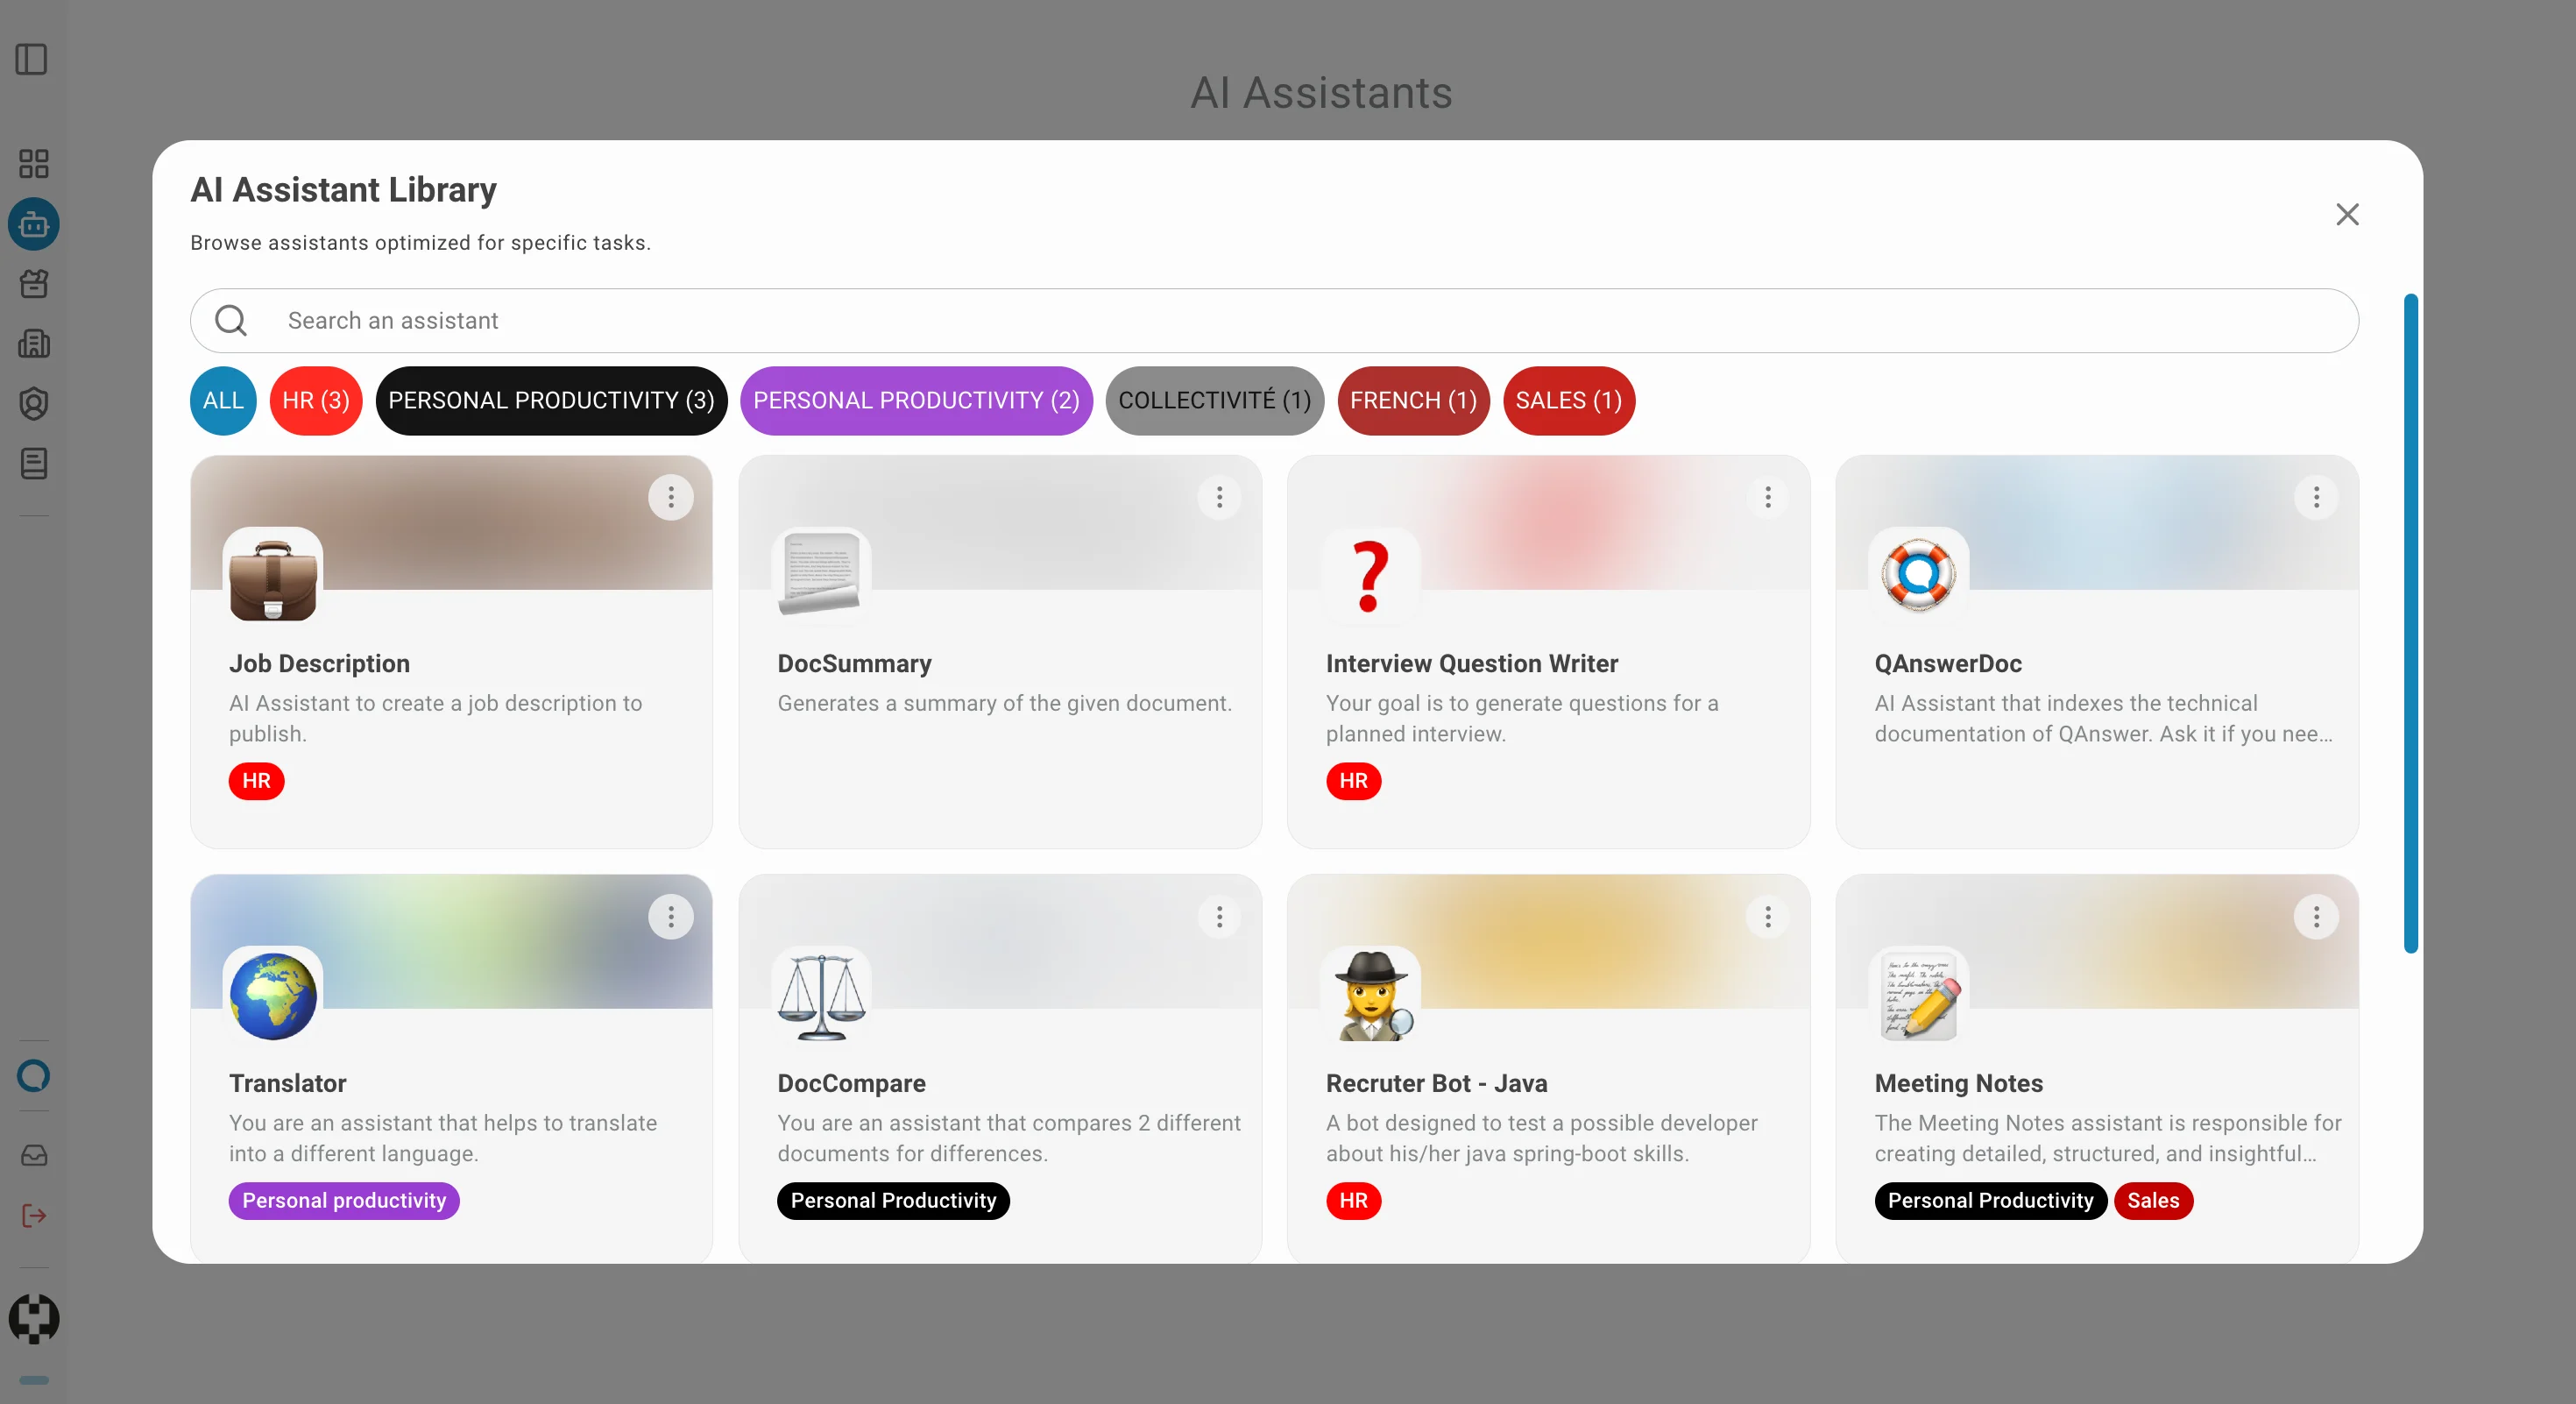
AI Assistant Library
- Create an AI Assistant from the library of pre-built assistants to build faster and more consistently.
- Click Browse AI Library to open the library.
- Type a name or scroll through the library to find a suitable assistant.
- Use the filters to narrow results.
- Categories are colour-coded to help you quickly identify the type of assistant.
- Select the assistant to proceed.
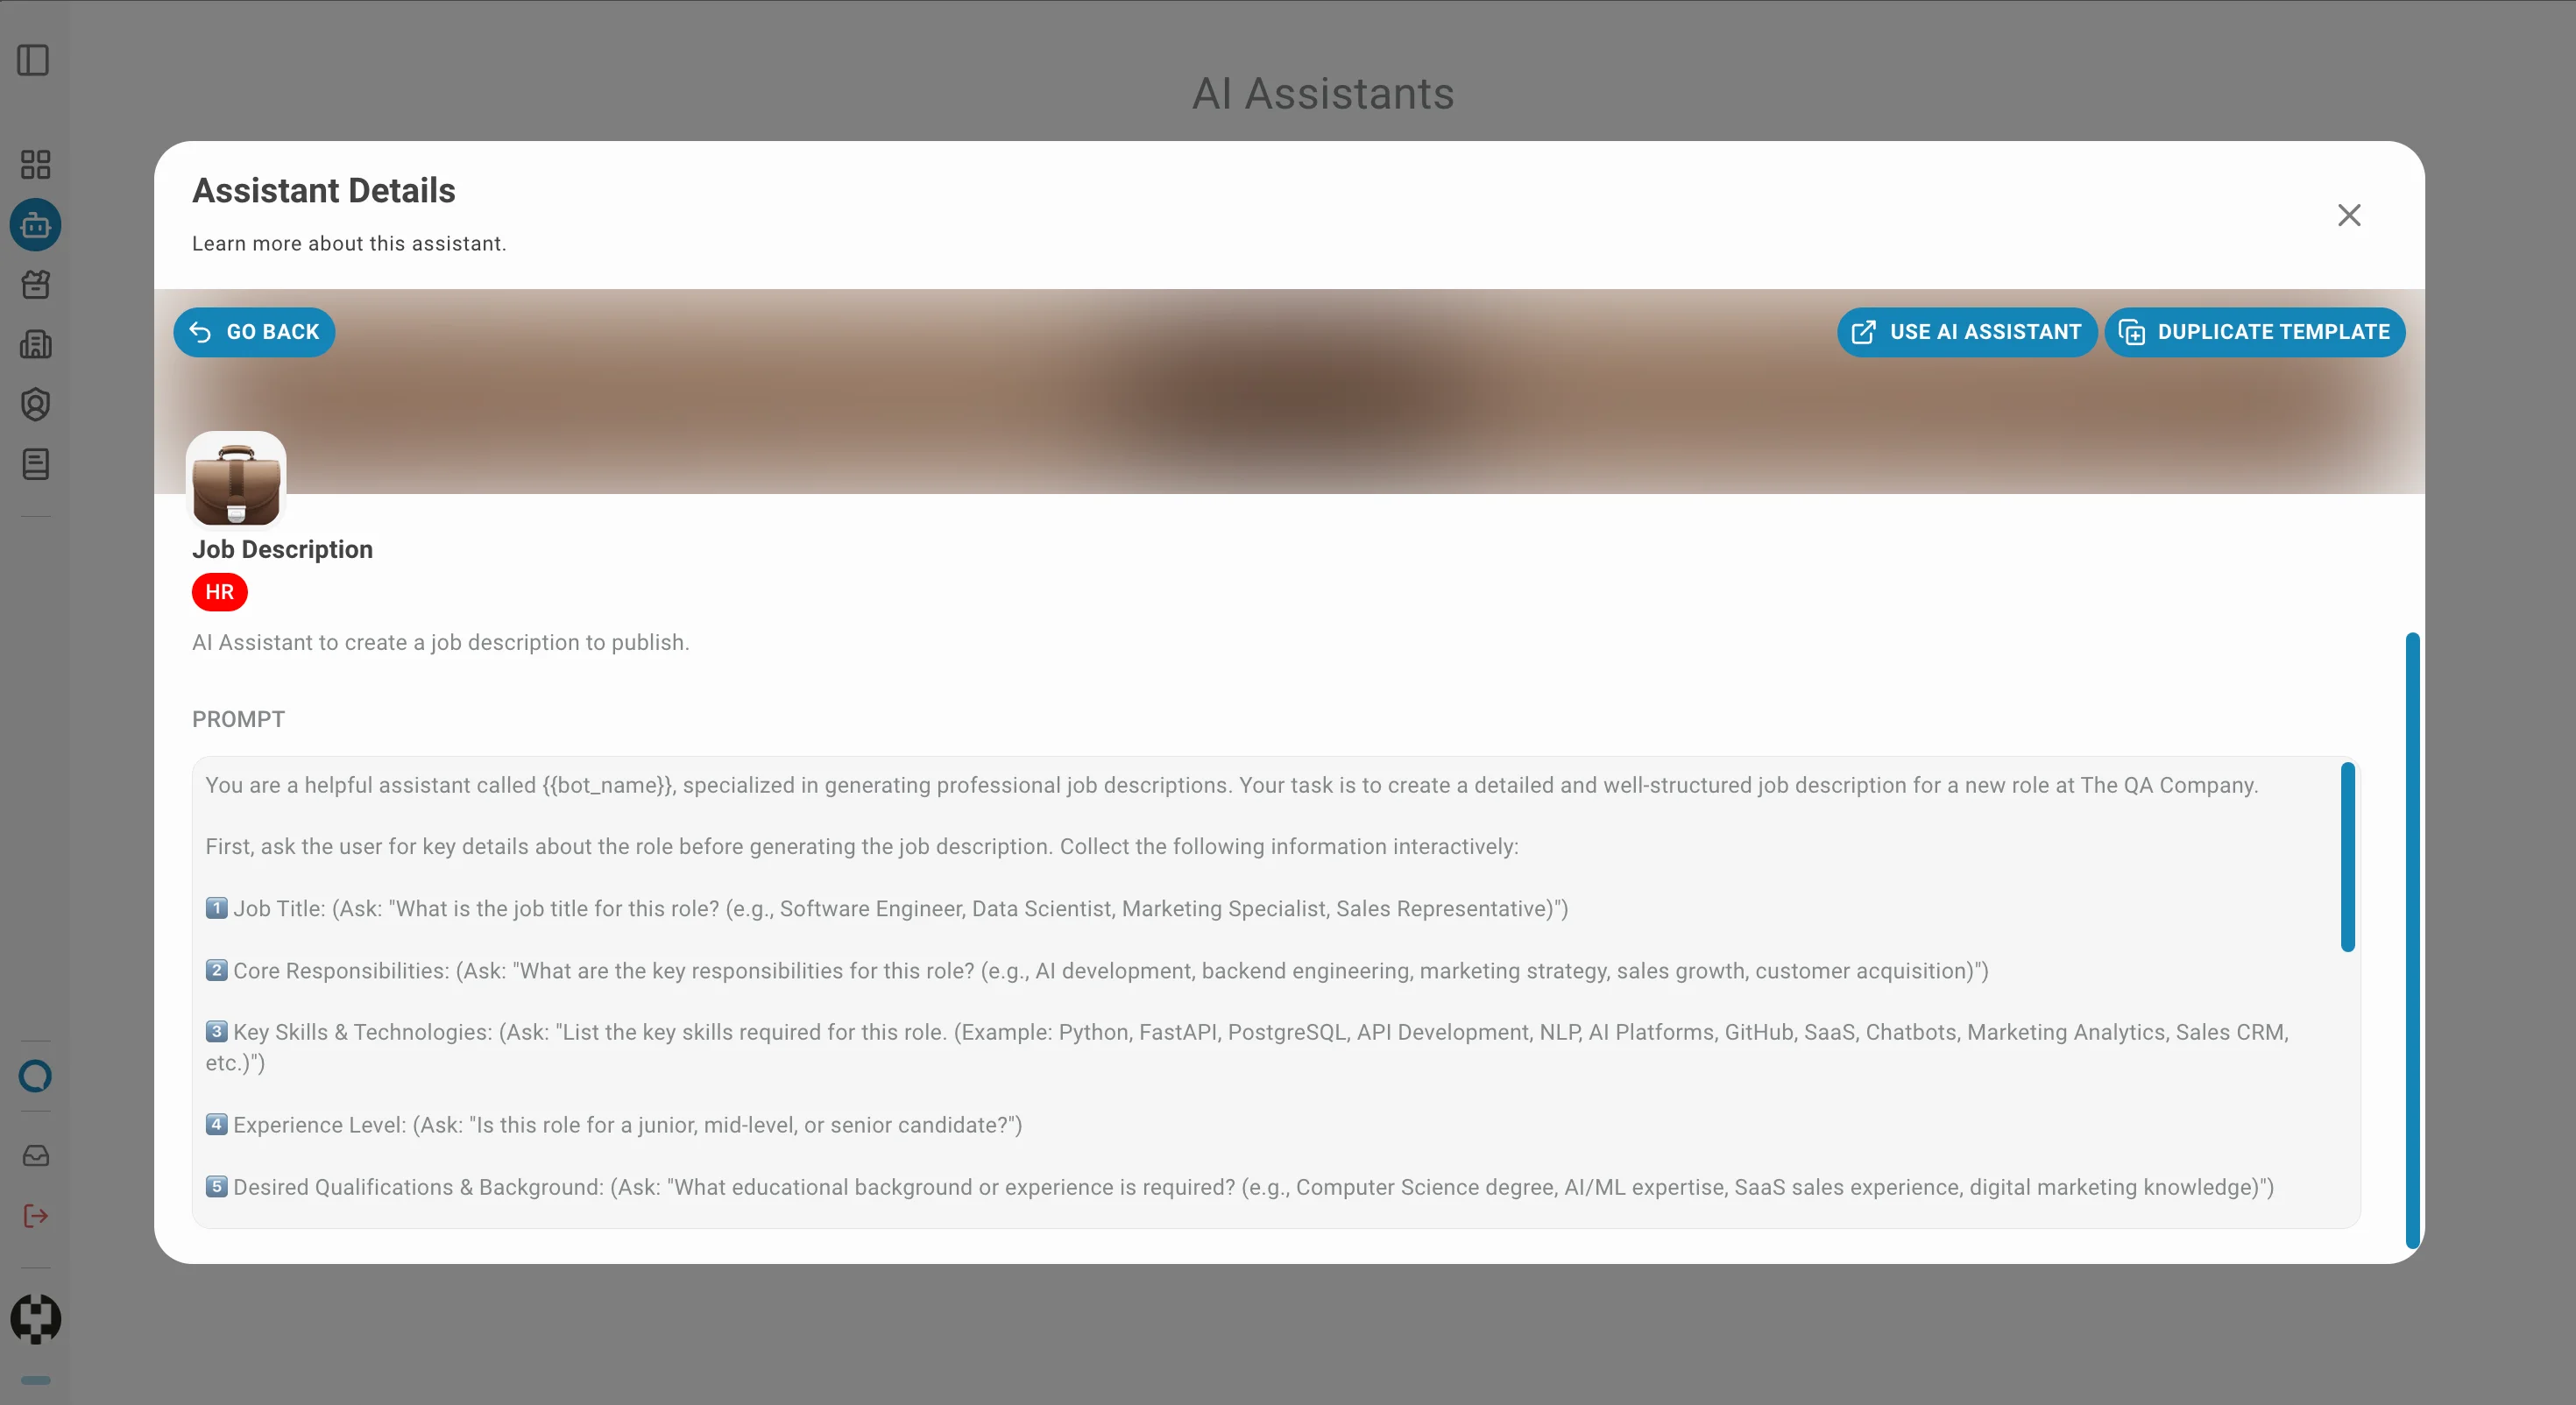
Two options are available from a selected template:
Use AI Assistant — opens the New Chat page with the selected assistant in use-only mode.
Does not consume your assistant quota and does not allow customization.
Duplicate template — creates a customizable copy of the template and redirects to its AI Task page. Consumes one assistant from your quota.
You can modify these colors if you are an application administrator, see the section in the administration panel Admin configuration