
Users
The admin Users page lists every account on the instance, whatever organization it belongs to, and is where a platform admin manages access, roles and organization membership. Its header reads "Admin panel Users".
Opening the page
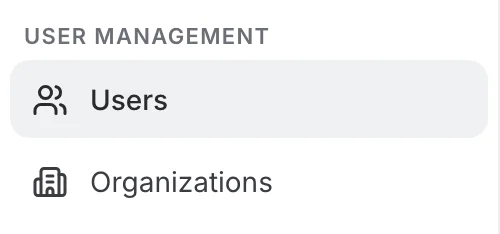
Open the administration menu: the page is the Users entry of the User Management group, at the very top of the menu.
Only a platform admin can reach this page. The default admin login is username admin, password 123456 — see Installation to change it.
The toolbar
The page comes in two views — Overview and Detailed view — and the same toolbar sits above both of them.

- The search box — filters the list by name, username or email, and results update as you type. The filter runs on the server, so it searches every account, not only the page on screen.
- The view icon — switches between "Overview", a table of every user, and "Detailed view", a list beside the card of the user you picked. Its tooltip names the view you are switching to.
- "Add user" — creates an account directly, without going through an invitation.
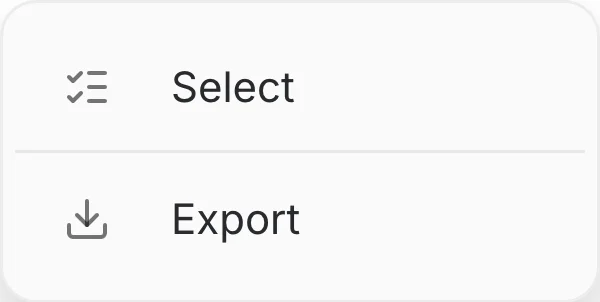
- The ⋮ menu — holds "Select", to tick several users and delete them in one go, and "Export", to download the current list as a CSV file.
Overview
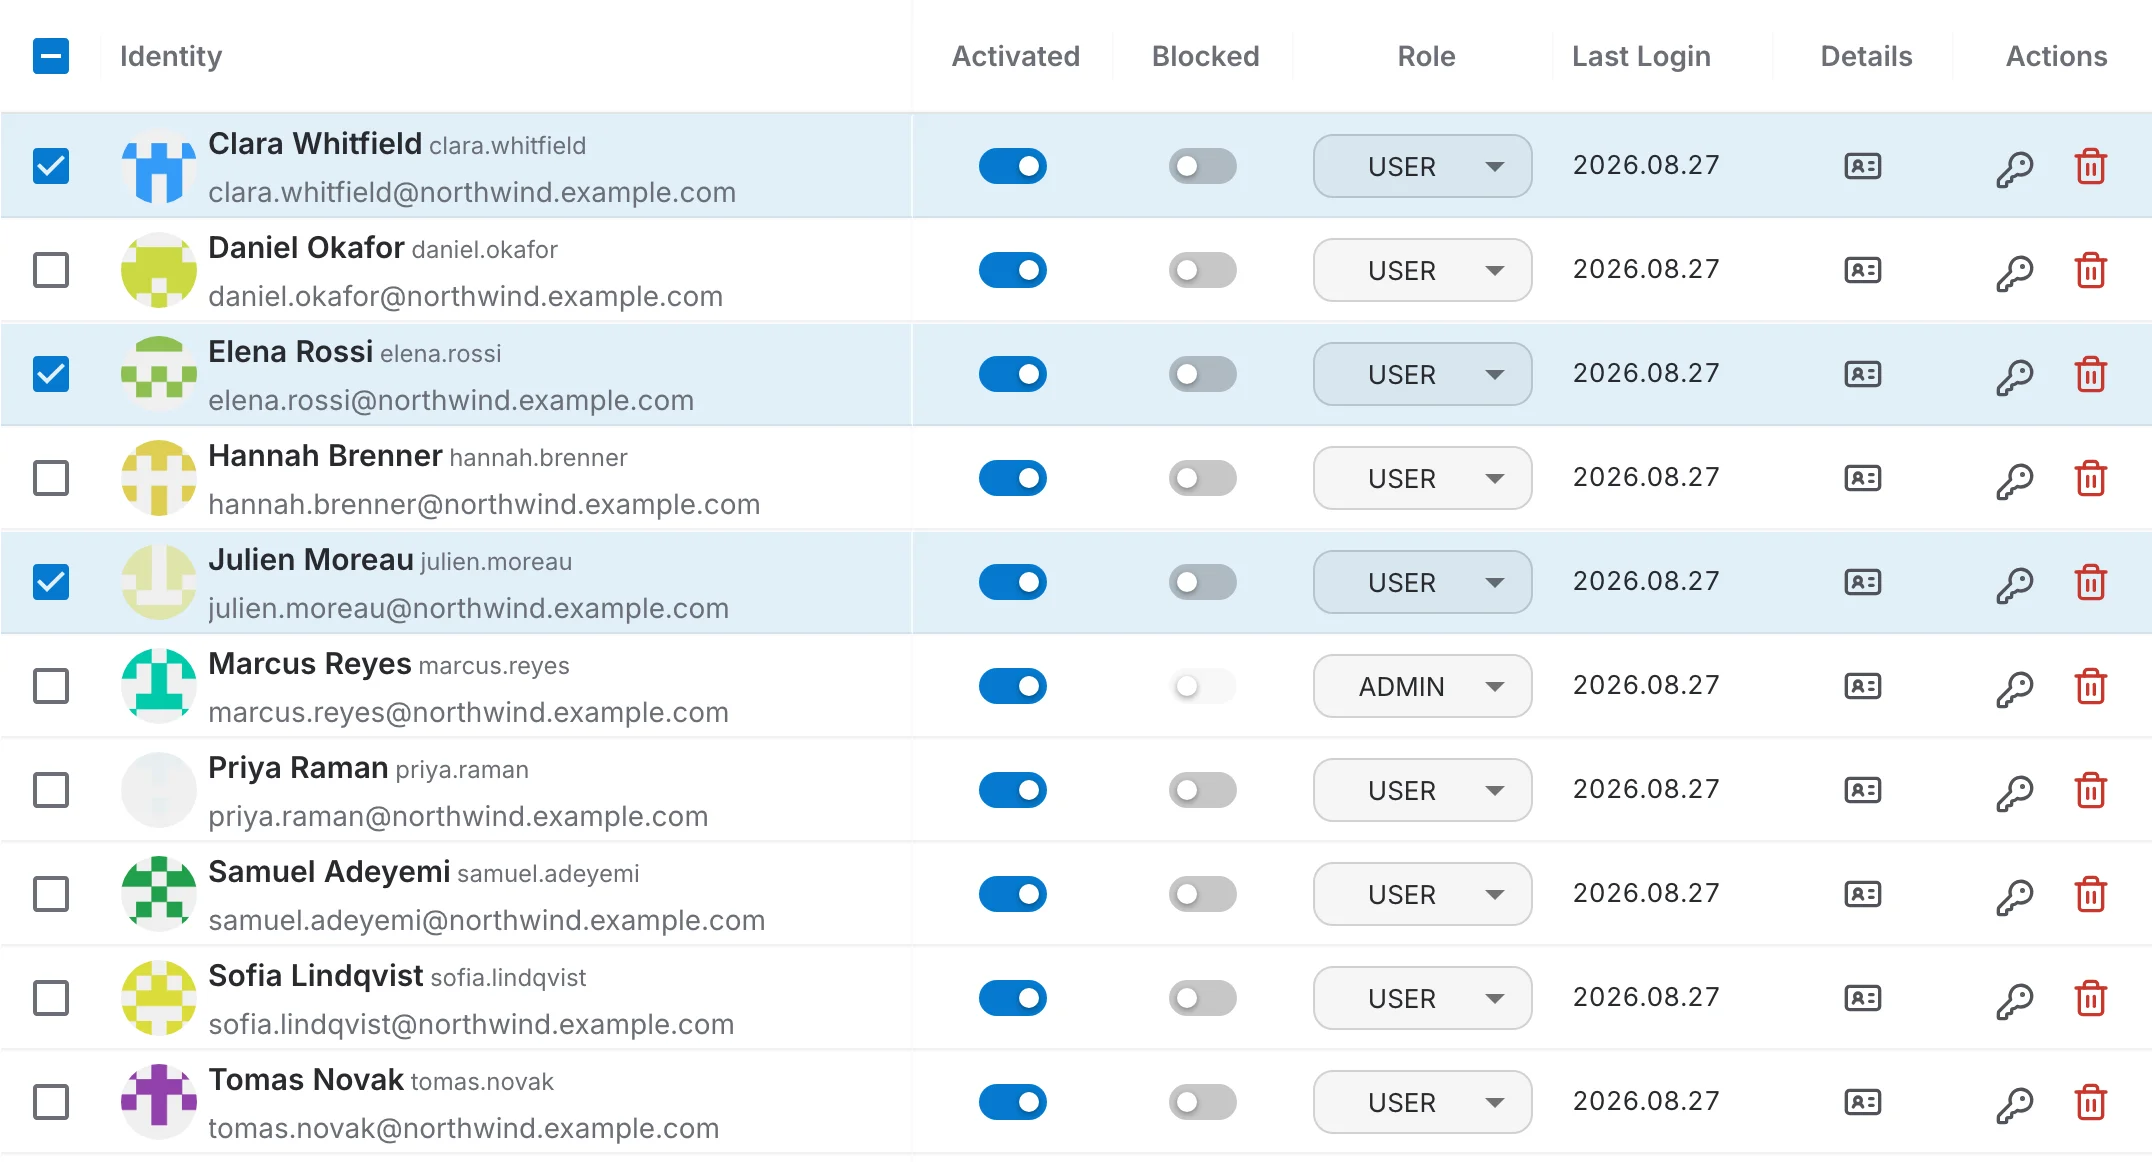
The Overview is a table with one row per user, where the settings an admin changes most often are editable in place:
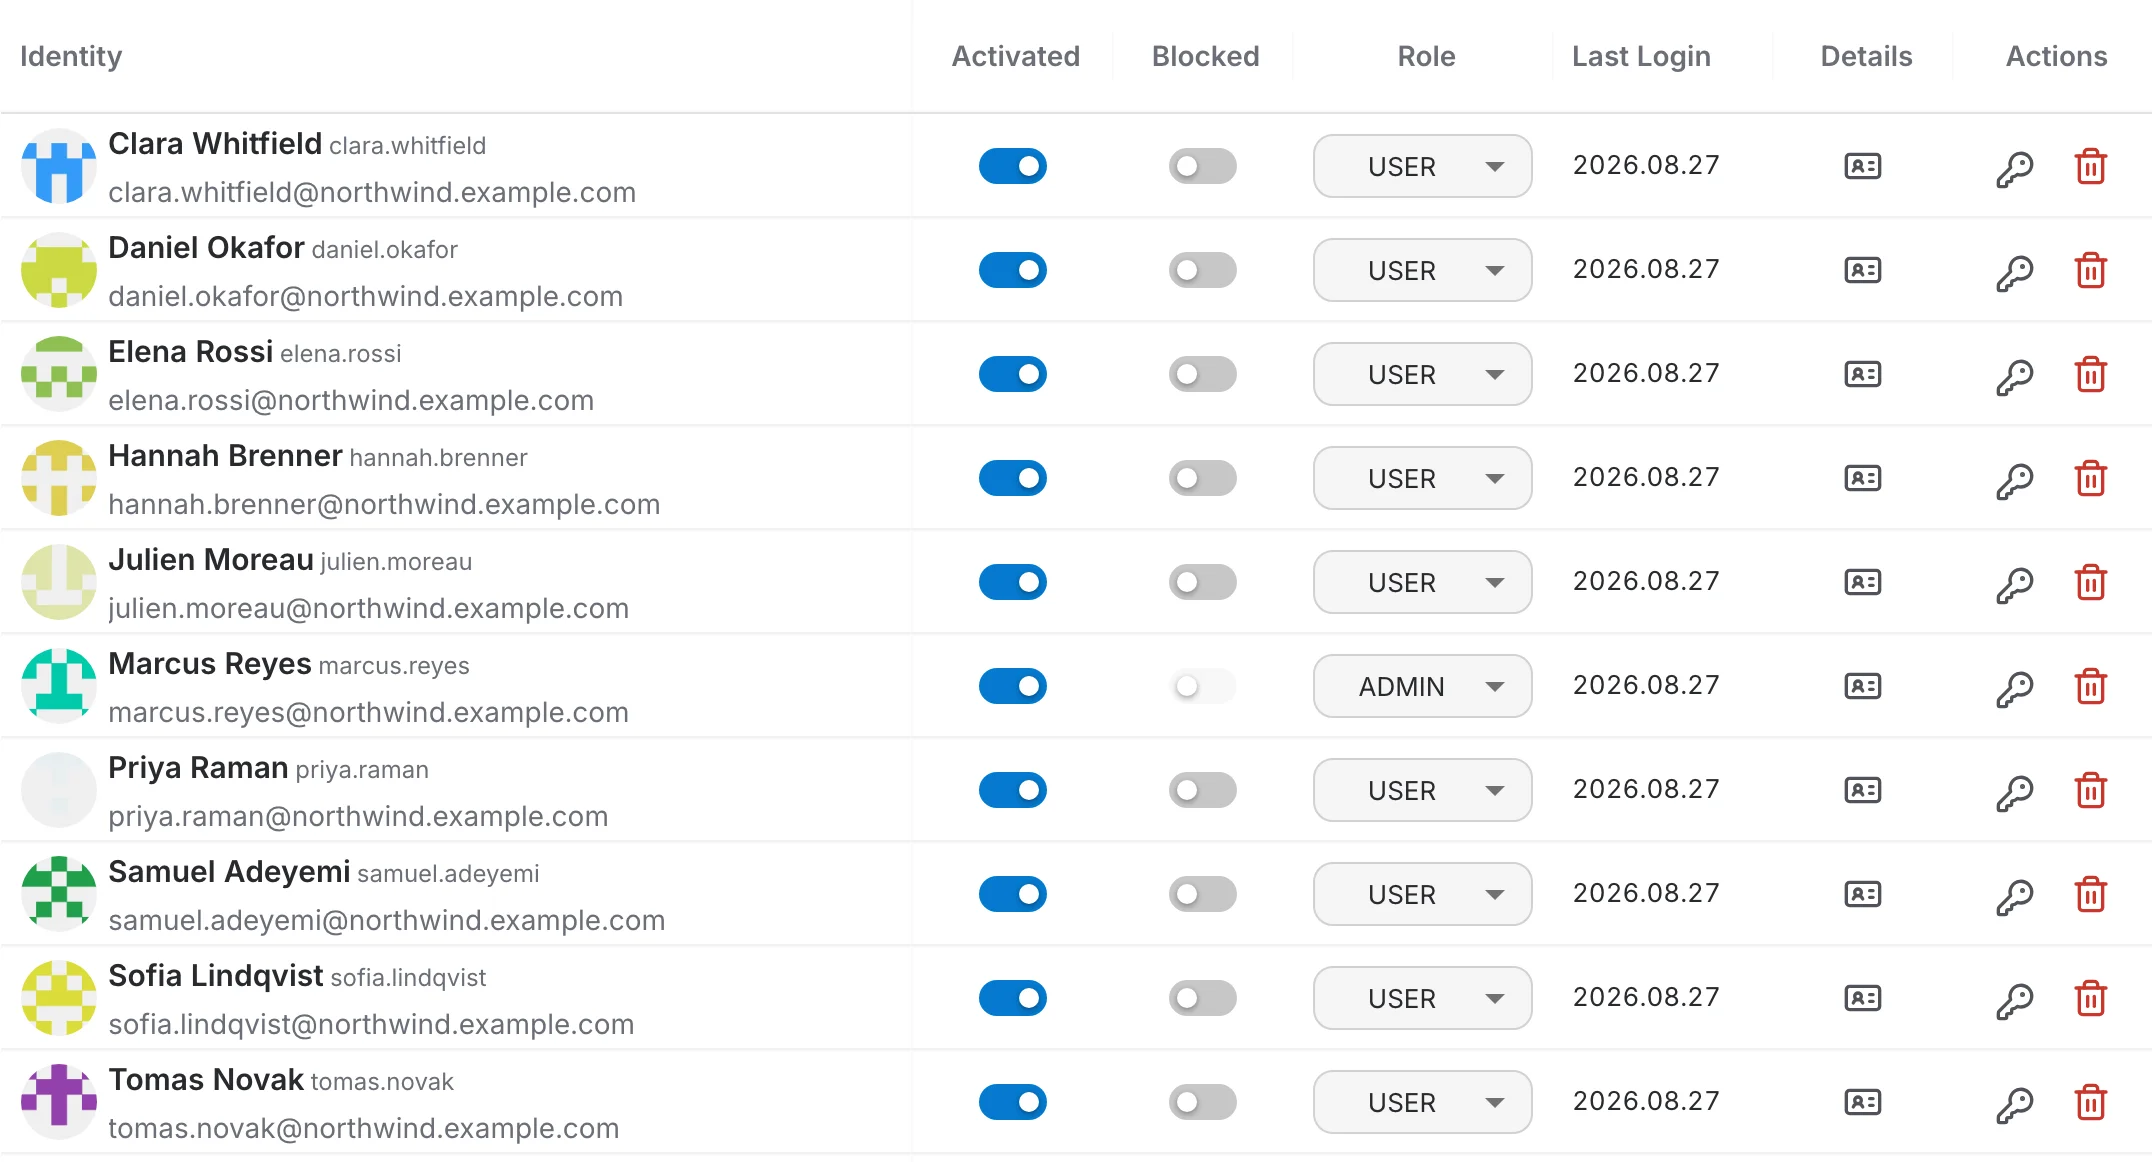
- Identity — avatar, name, username and email.
- Activated — whether the account is confirmed. Switching it off keeps the account but stops it from being used.
- Blocked — prevents the user from logging in.
- Role — USER or ADMIN.
- Last Login — when the user last signed in.
- Details — opens that user's card in a dialog over the table.
- Actions — the key icon resets the password, the red bin deletes the account.
Click the Identity, Activated, Blocked or Last Login header to sort by that column. Sorting is done by the server, so it orders every account of the instance and not only the page on screen. Role, Details and Actions cannot be sorted.
Under the table, "Rows per page" offers 10, 15, 20, 50 and 100 — 15 by default — next to the total number of accounts and the arrows that move between pages.
Blocked cannot be switched on for your own account or for another admin: the toggle stays disabled and its tooltip says why. Your own role cannot be changed either — the page refuses the change and warns you.
Detailed view
The Detailed view replaces the table with a compact list on the left and, beside it, the full card of the user you select. It is the quickest way to go through several accounts one after another.
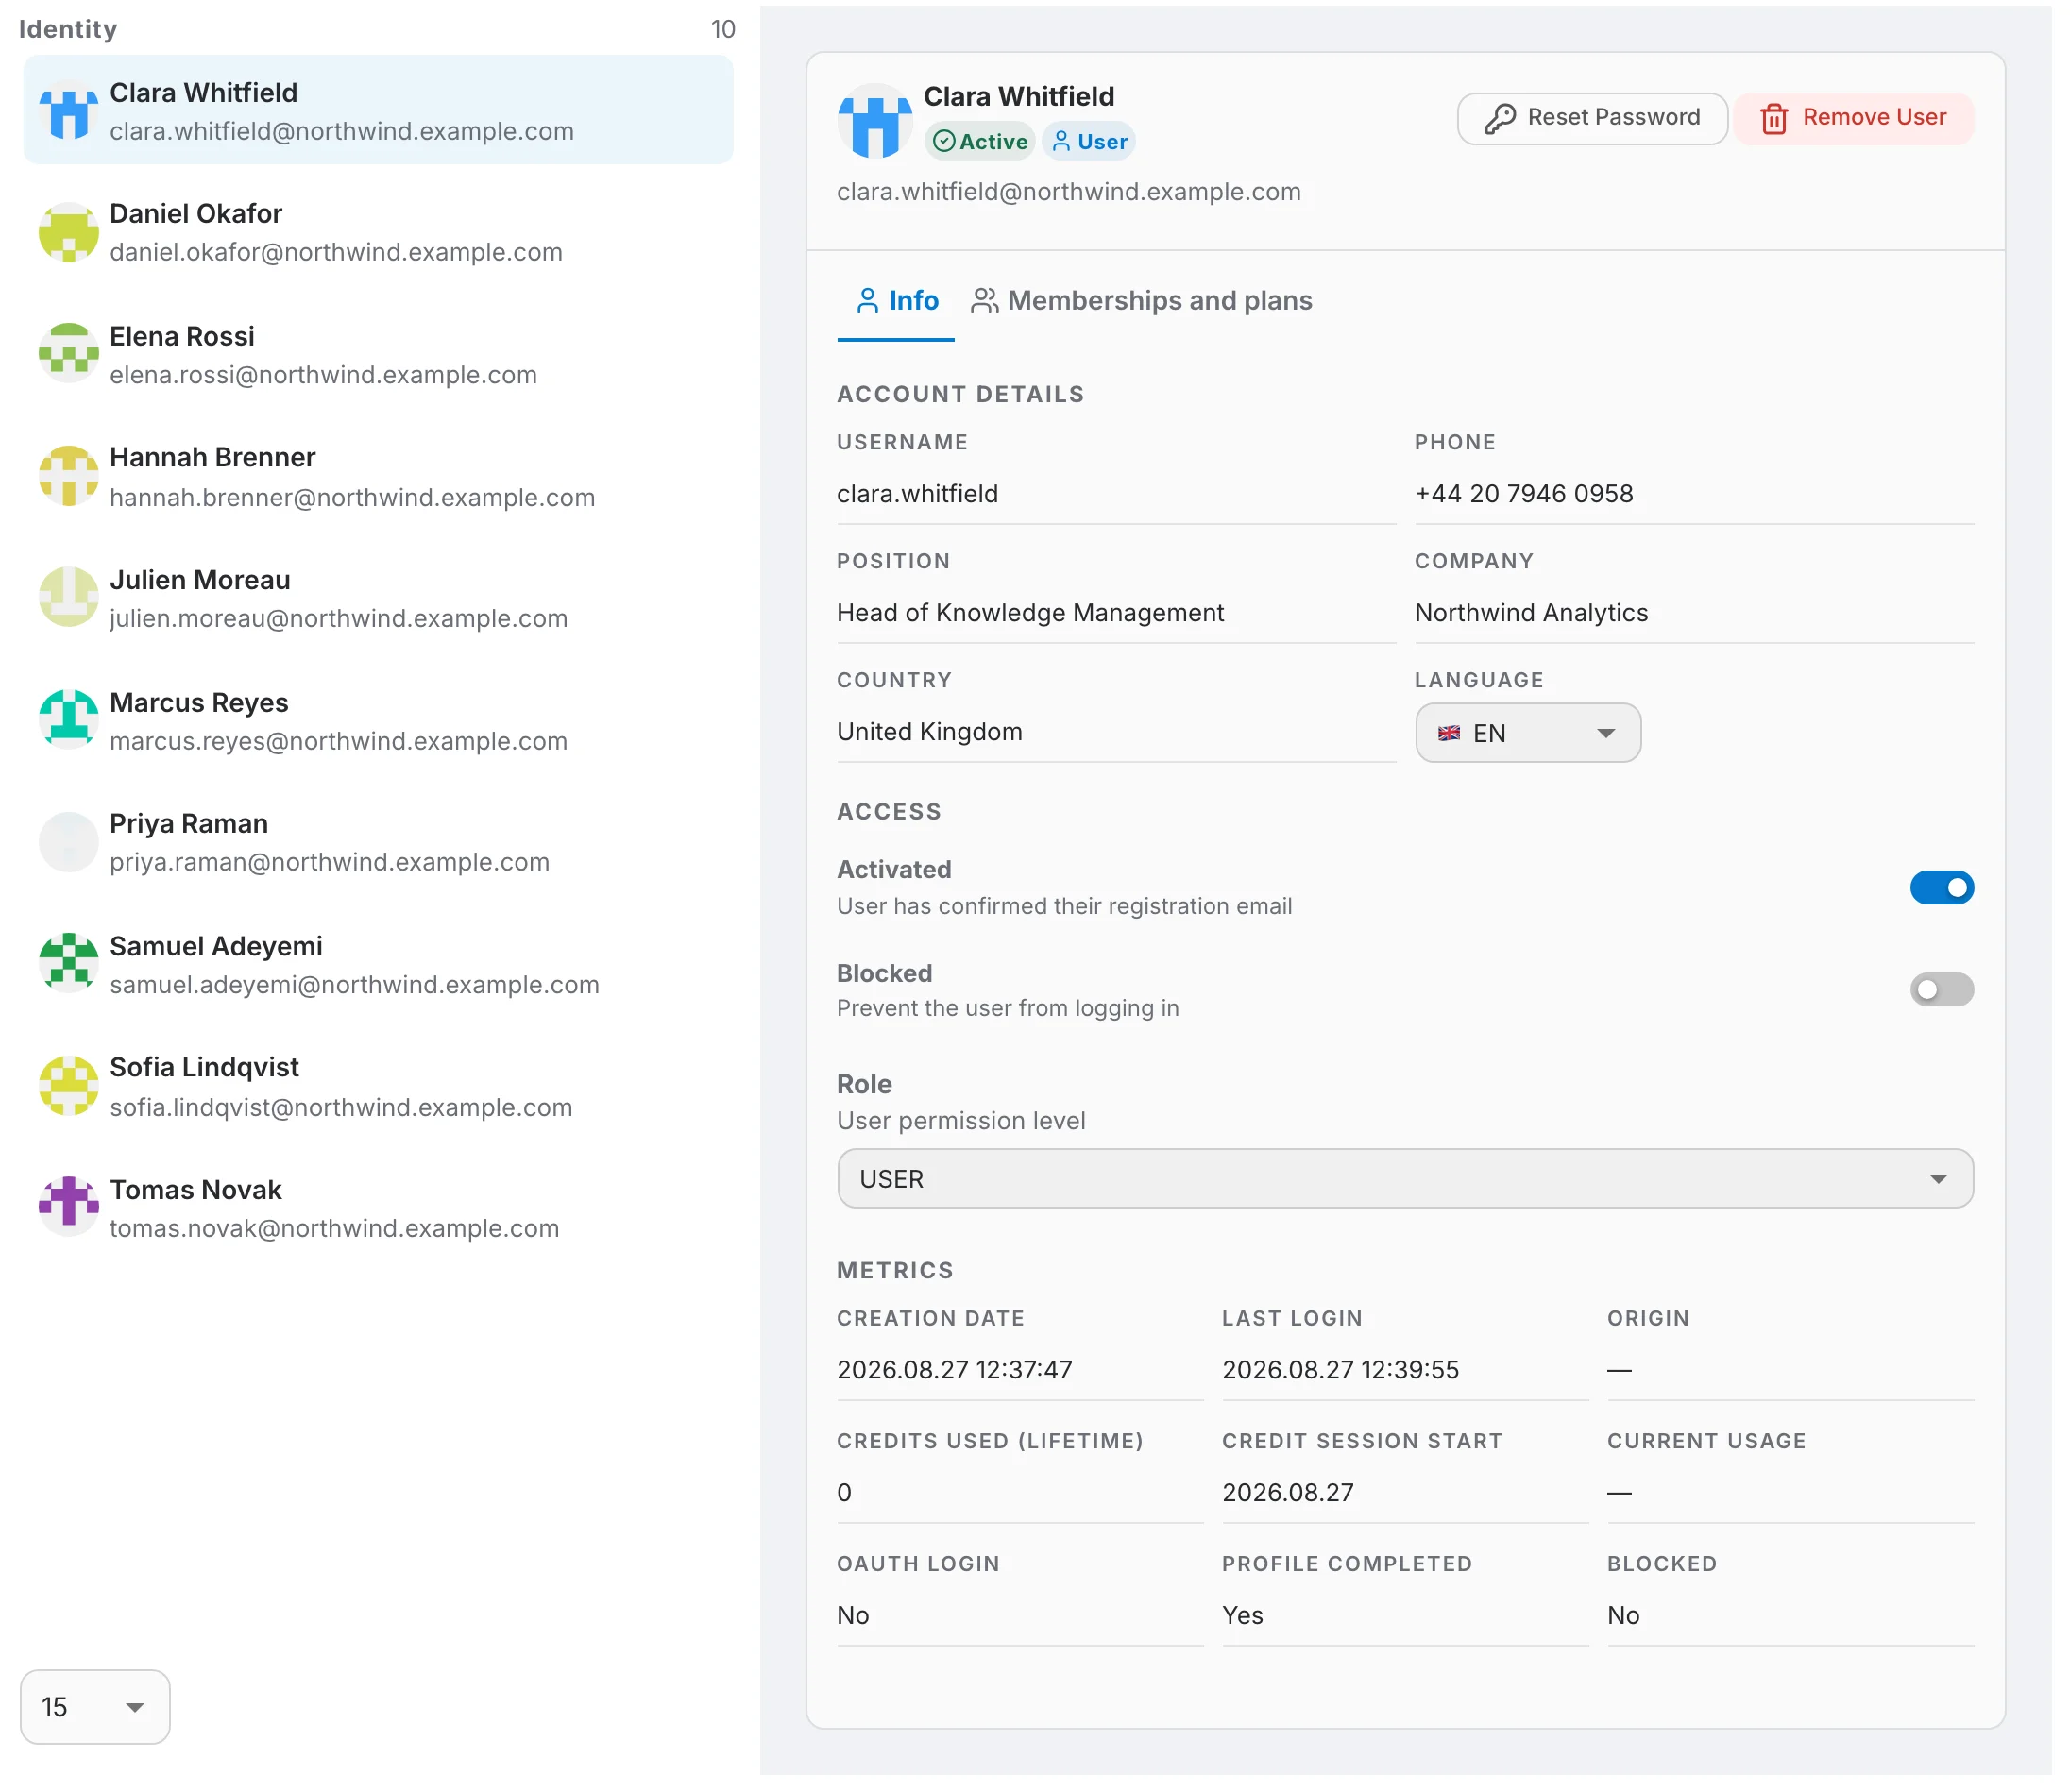
The user you open and the tab you are on are both kept in the page address, so a copied link reopens the same card on the same tab.
The user card
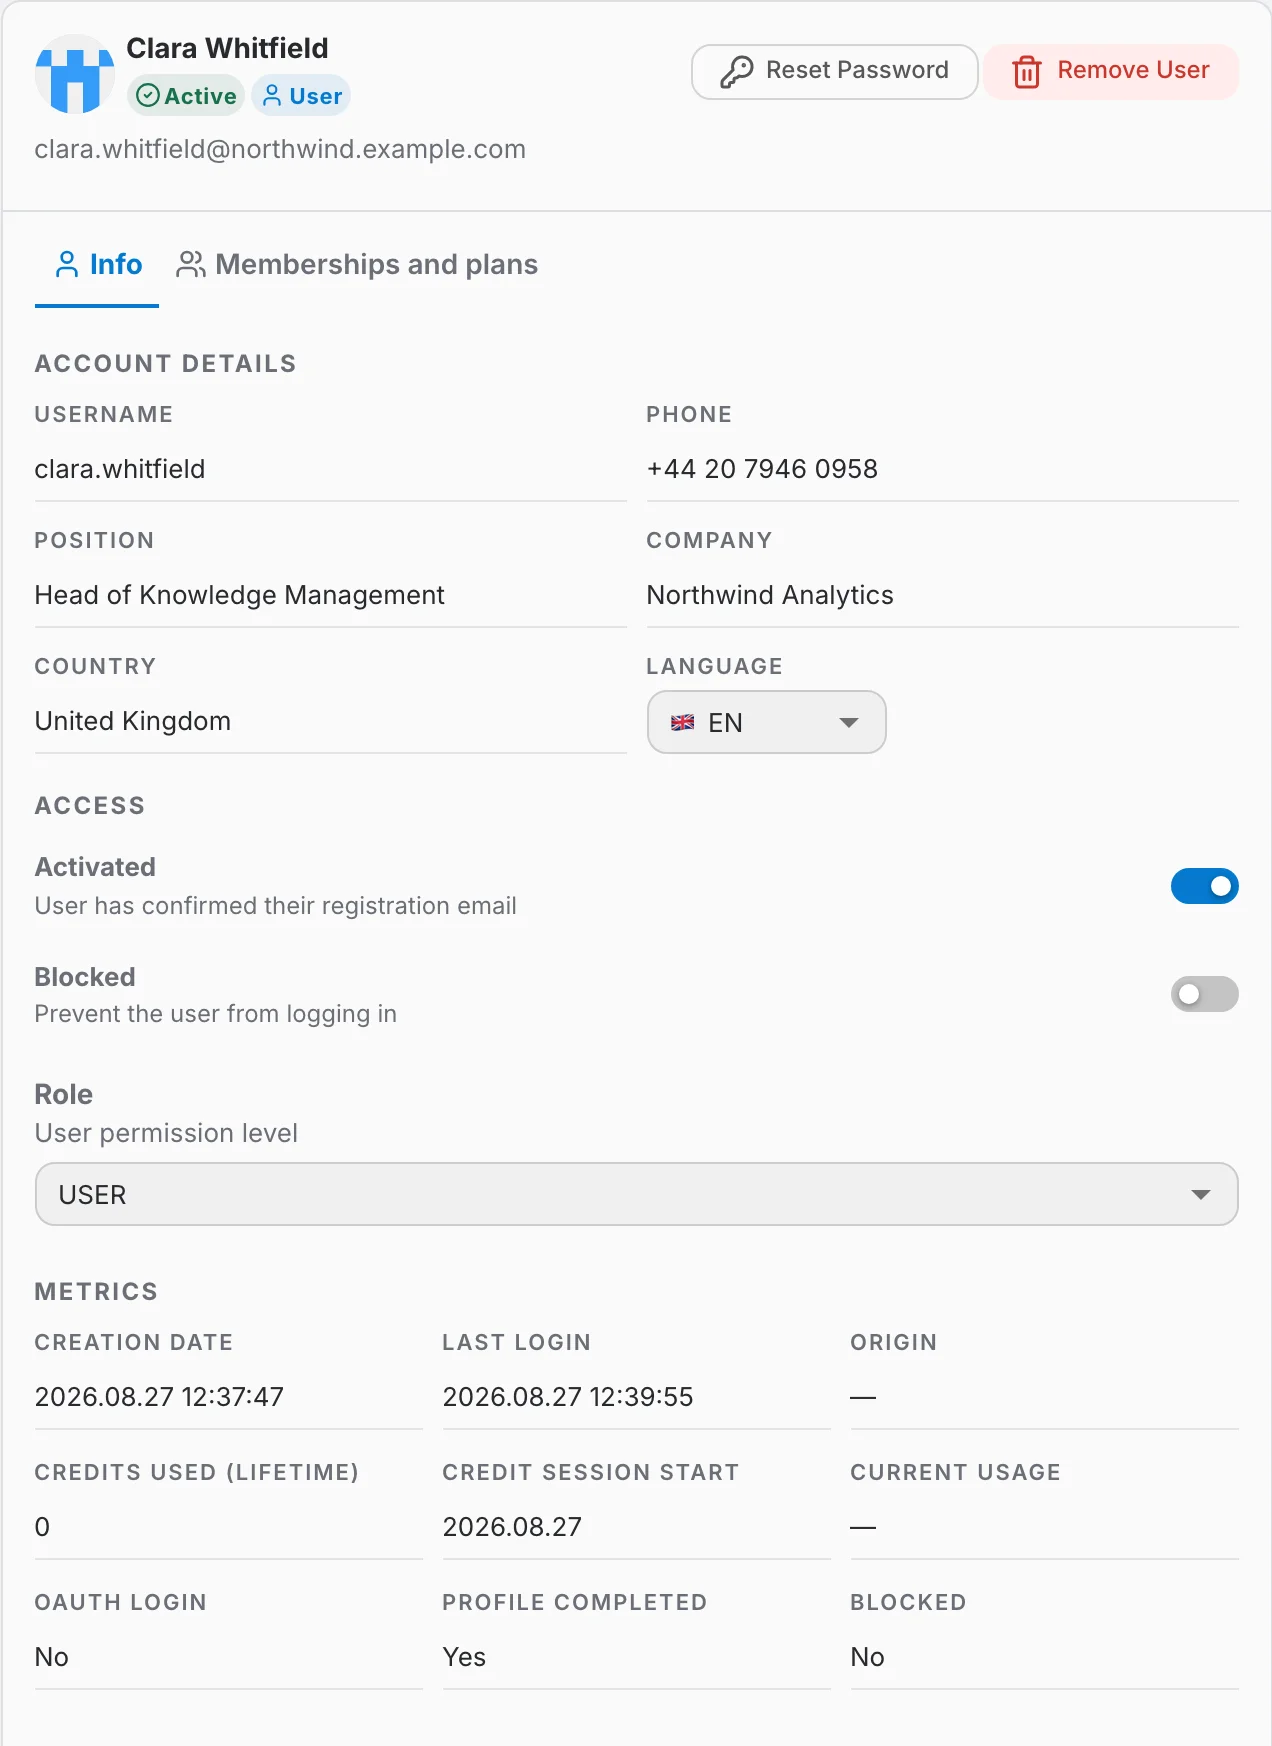
The card is the same in both views. Its header shows the avatar, name and email, an Active or Inactive badge, a User badge, an extra Admin badge for platform administrators, and the "Reset Password" and "Remove User" buttons. Below the header are two tabs.
Info
Info gathers everything about the account itself, in three sections:
- Account details — username, phone, position, company and country as the user filled them in, which an admin can read but not edit, and the interface language, which an admin can change.
- Access — the Activated and Blocked toggles and the Role selector, the same controls as in the table, each with a description of what it does.
- Metrics — creation date, last login, origin (the OAuth provider the account came from, when applicable), credits used over the lifetime of the account, the start of the current credit session, current usage, and whether the user signed in through OAuth, completed their profile or is blocked.
Memberships and plans
This tab lists one card per organization the user belongs to. "Add to organization", above the first card, attaches them to one more.
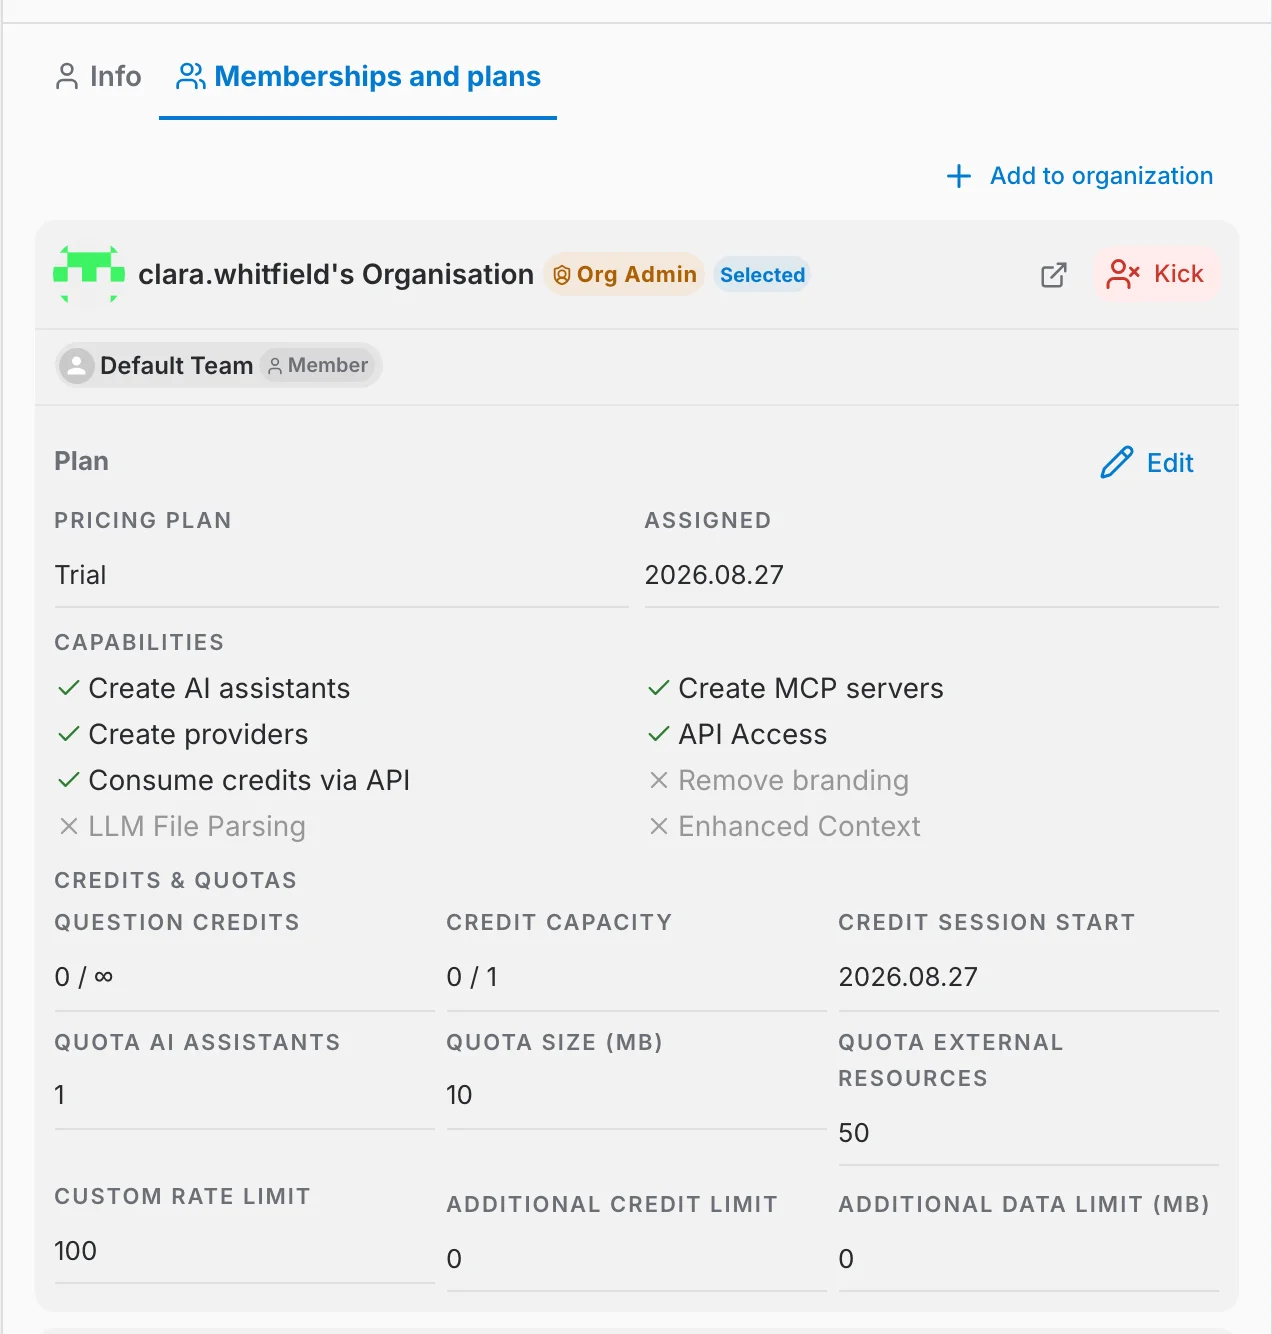
The top of each card says which organization it is and what the user is in it:
- The badges next to the name — "Org Admin" when the user administers that organization, and "Selected" for the organization they currently have in focus.
- The team chips — the teams the user belongs to inside that organization, each with the role they hold there. Clicking a chip opens the team.
- The ↗ icon — opens that organization's own Users page, from where the back button returns here.
- "Kick" — removes the user from that organization, after a confirmation. It is not offered on the system organization every account belongs to permanently.
The organization named after the user — "clara.whitfield's Organisation" in the screenshot above — is the personal one created together with their account, not one an admin attached later.
The plan in an organization
Attached under every organization card is the plan the user has been given there:
- Pricing Plan and Assigned — the plan's name and the day it was attributed. A CUSTOM badge marks a plan tailored for this user rather than one taken from the catalogue.
- Capabilities — what the plan lets the user do — create AI assistants, providers or MCP servers, reach the API, and so on — ticked when granted, crossed out and greyed when not.
- Credits & quotas — question credits and credit capacity, each as used / limit, the day the current credit session started, and the quotas for AI assistants, data size, external resources and rate limit.
- Additional credit limit and Additional data limit (MB) — how far this member may go past their own plan by drawing on what the organization bought.
"Edit" — which only a platform admin sees — turns the block into a form: the pricing plan becomes a dropdown, the capabilities become switches and the quotas become number fields. "Save" writes them all at once, "Cancel" drops them.
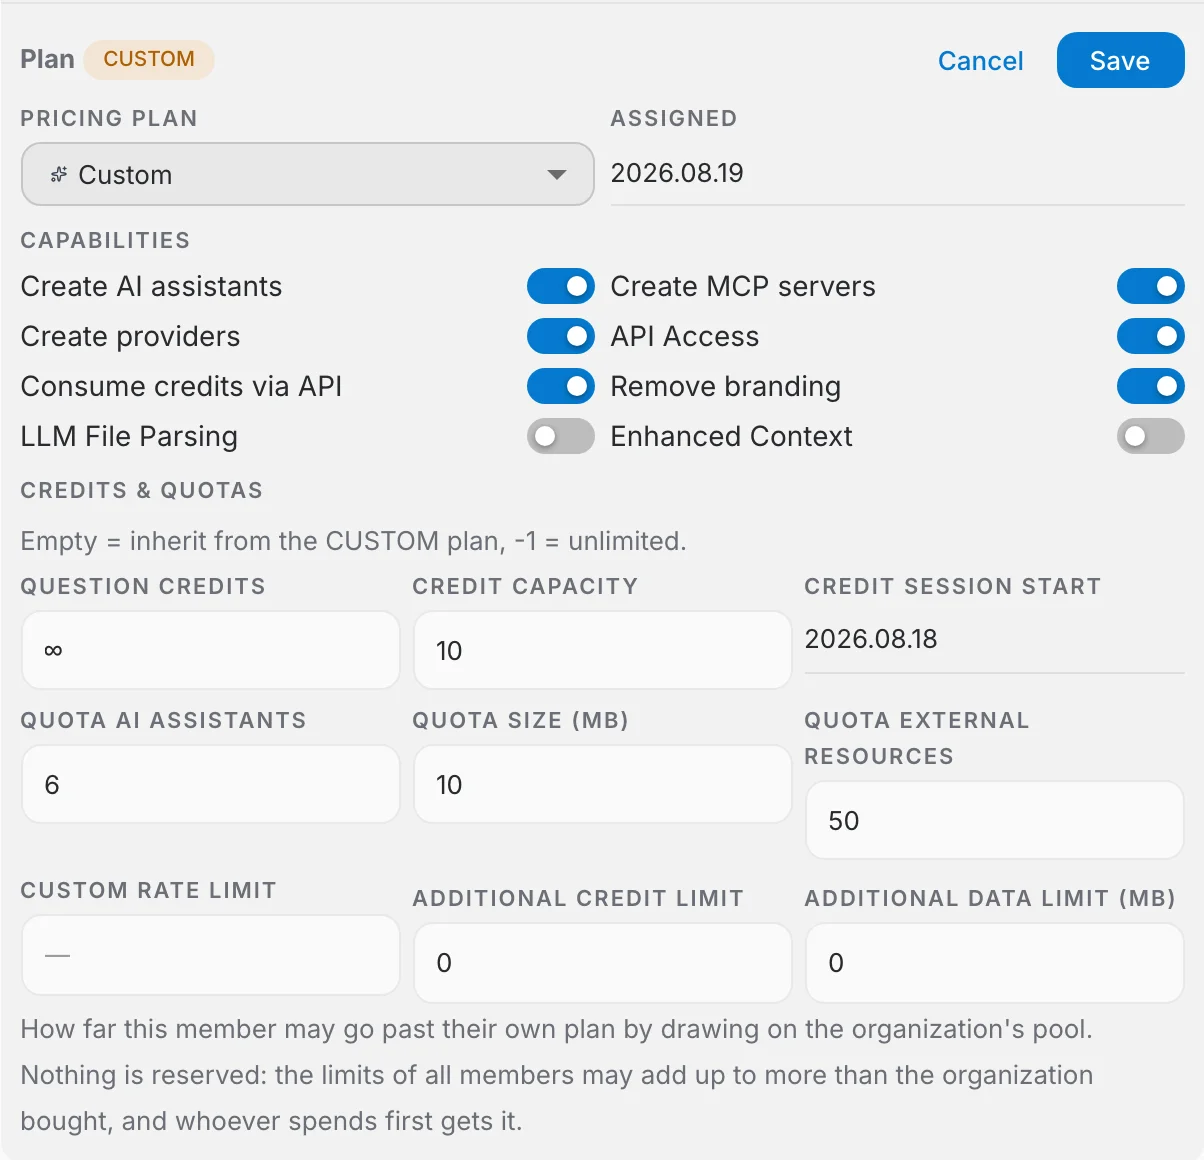
Capabilities and quotas can only be changed once the pricing plan is Custom. On any other plan they are bound to the plan, the fields stay disabled and a tooltip says why. A field left empty inherits the Custom plan's own value, and -1 means unlimited.
The additional credit and data limits say how far a member may draw on the pool the organization bought. Nothing is set aside for them: the limits of all members may add up to more than the organization purchased, and whoever spends first gets it. The two fields are only available when the pricing catalogue actually holds a matching add-on.
Adding a user
Click "Add user". At this level you are adding someone to the instance itself, not to an organization. Both ways are platform-admin only:
- Option 1 — Create the account yourself. You set the name, username, email and password. The account exists at once and you hand over the credentials.
- Option 2 — Invite by e-mail. The recipient gets a link, chooses their own username and password (or signs up through an identity provider), and the account is created when they accept.
Option 1: Creating the account yourself
The Create account tab provisions the account immediately. No e-mail is sent and no invitation is recorded: the account is active as soon as you confirm, and communicating its credentials to the account holder is your responsibility.
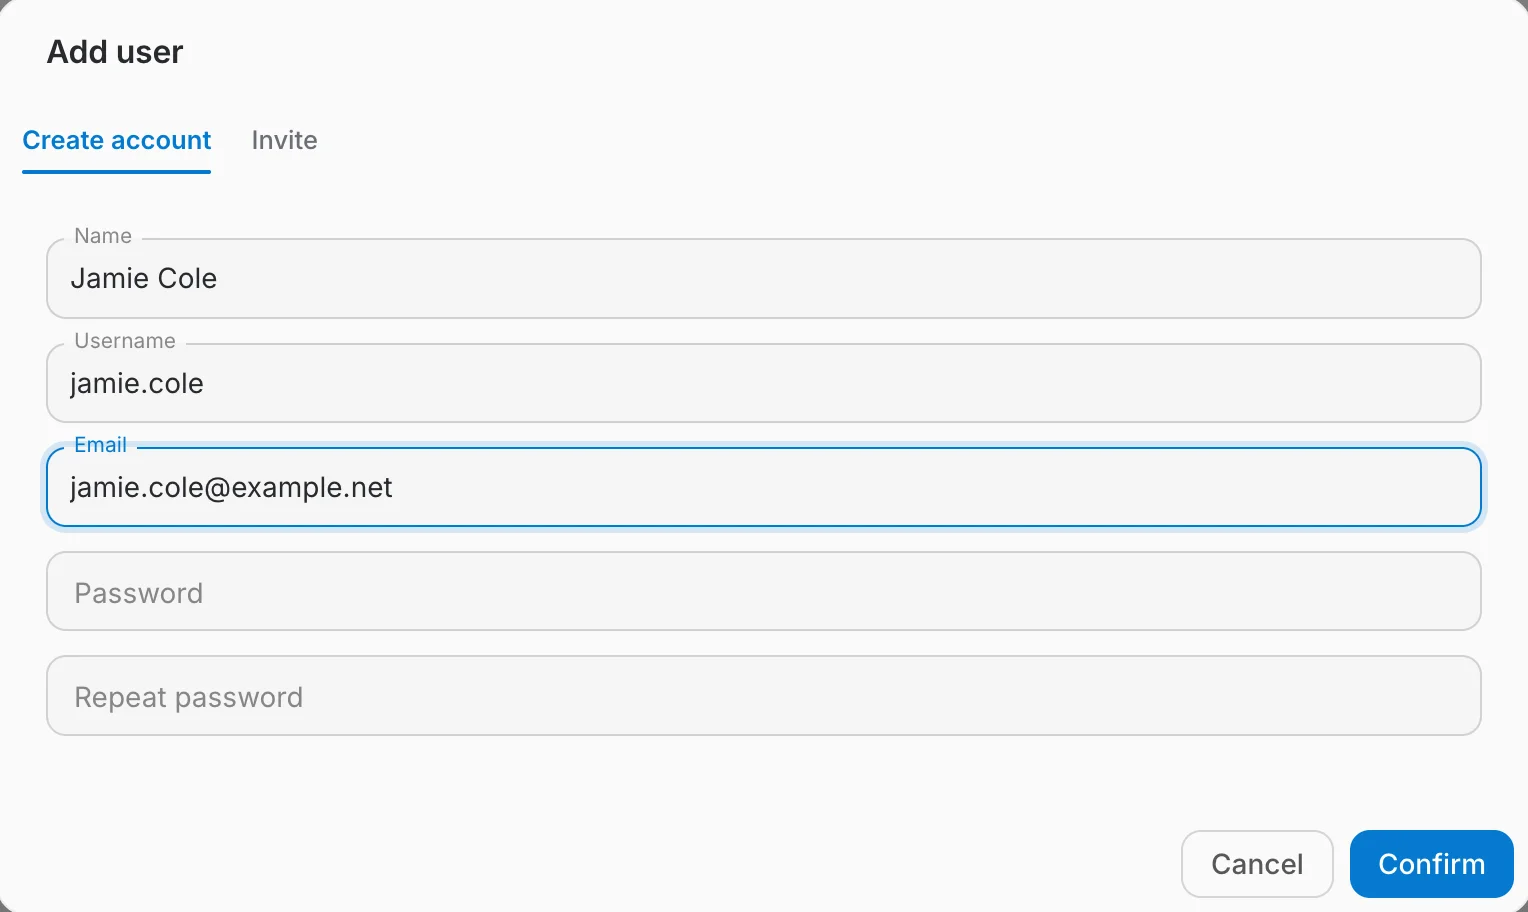
- All four fields are required, and the password must satisfy the instance's password policy.
- You set the initial password, so you must pass it on yourself. The account holder can change it from their profile.
- Best for bulk provisioning, or for someone who cannot receive the invitation e-mail. Otherwise, inviting is less work.
Option 2: Inviting people by e-mail
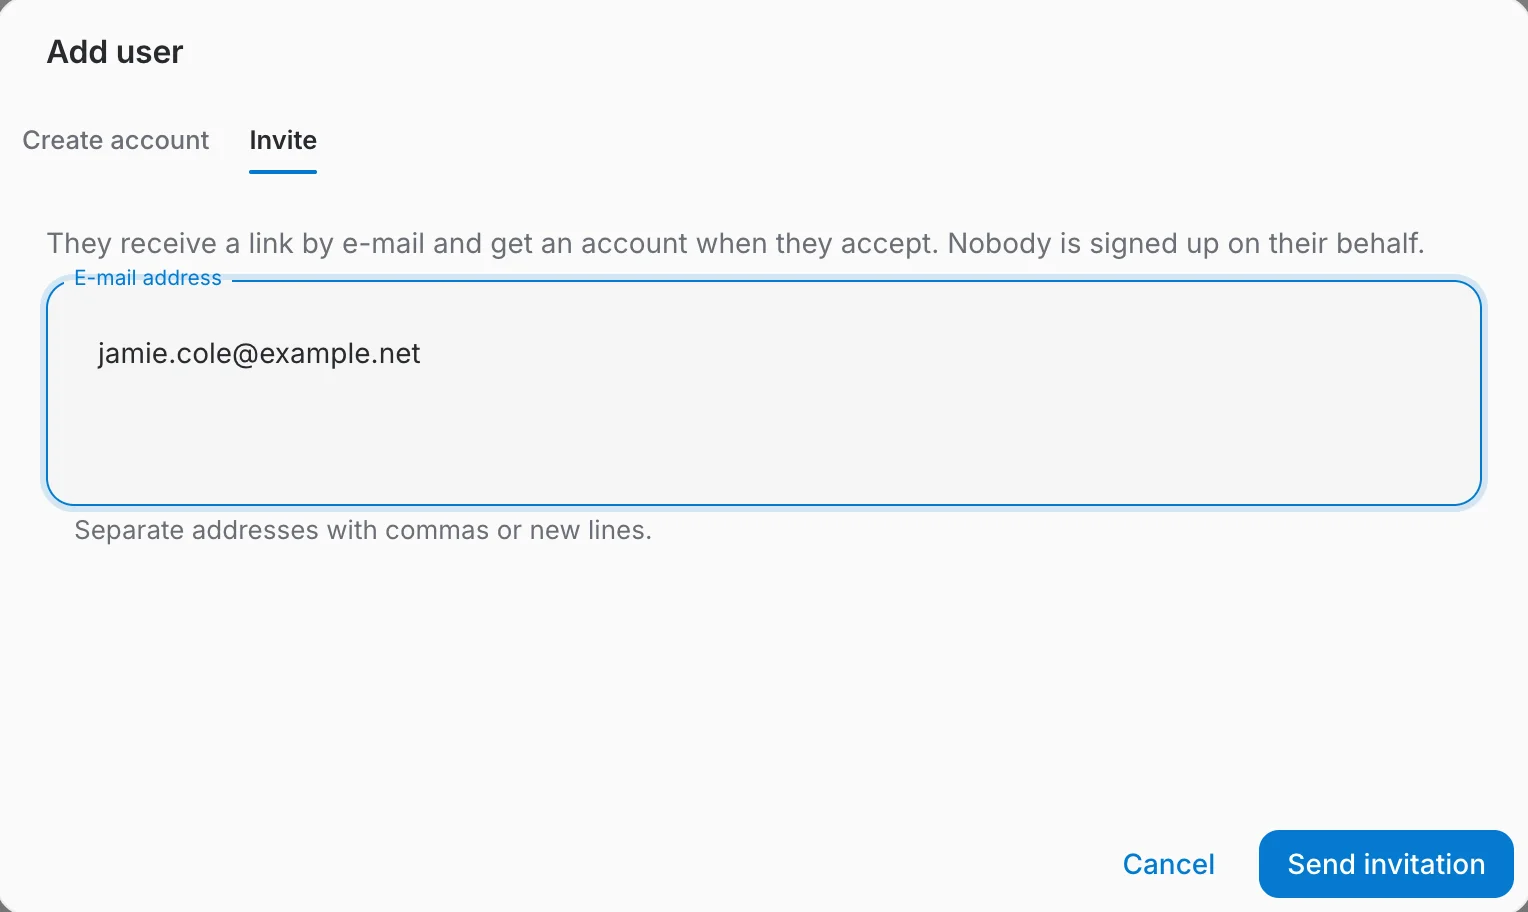
The Invite tab asks instead of creating. The address gets a link, and the account comes into existence only when they follow it and choose their own username and password — or sign in through an identity provider. Nothing exists in the meantime except the pending invitation.
The Invited tab
Outstanding invitations live on their own tab beside Members, with the number still waiting for an answer in the tab label. Accepted invitations leave the list — the person has joined by then, and shows up under Members.
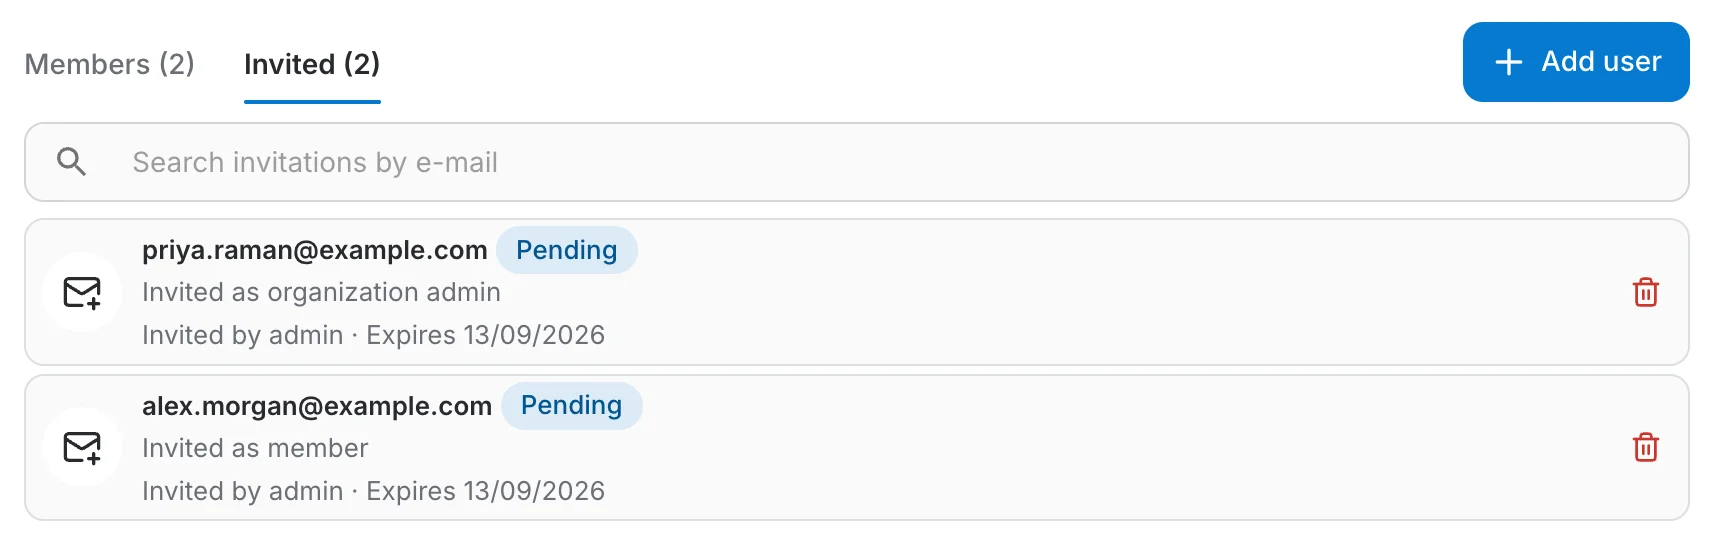
- Pending — sent, not yet answered. The row shows who invited them and when the invitation expires.
- Expired — an invitation lapses after 14 days. Withdraw it and send a new one.
- The bin icon withdraws an invitation. The link stops working immediately, and the address is free to be invited again.
What the invitee sees
The invitation arrives as an e-mail naming who invited them and what they are being invited to, with one button to accept and a quieter link to decline.
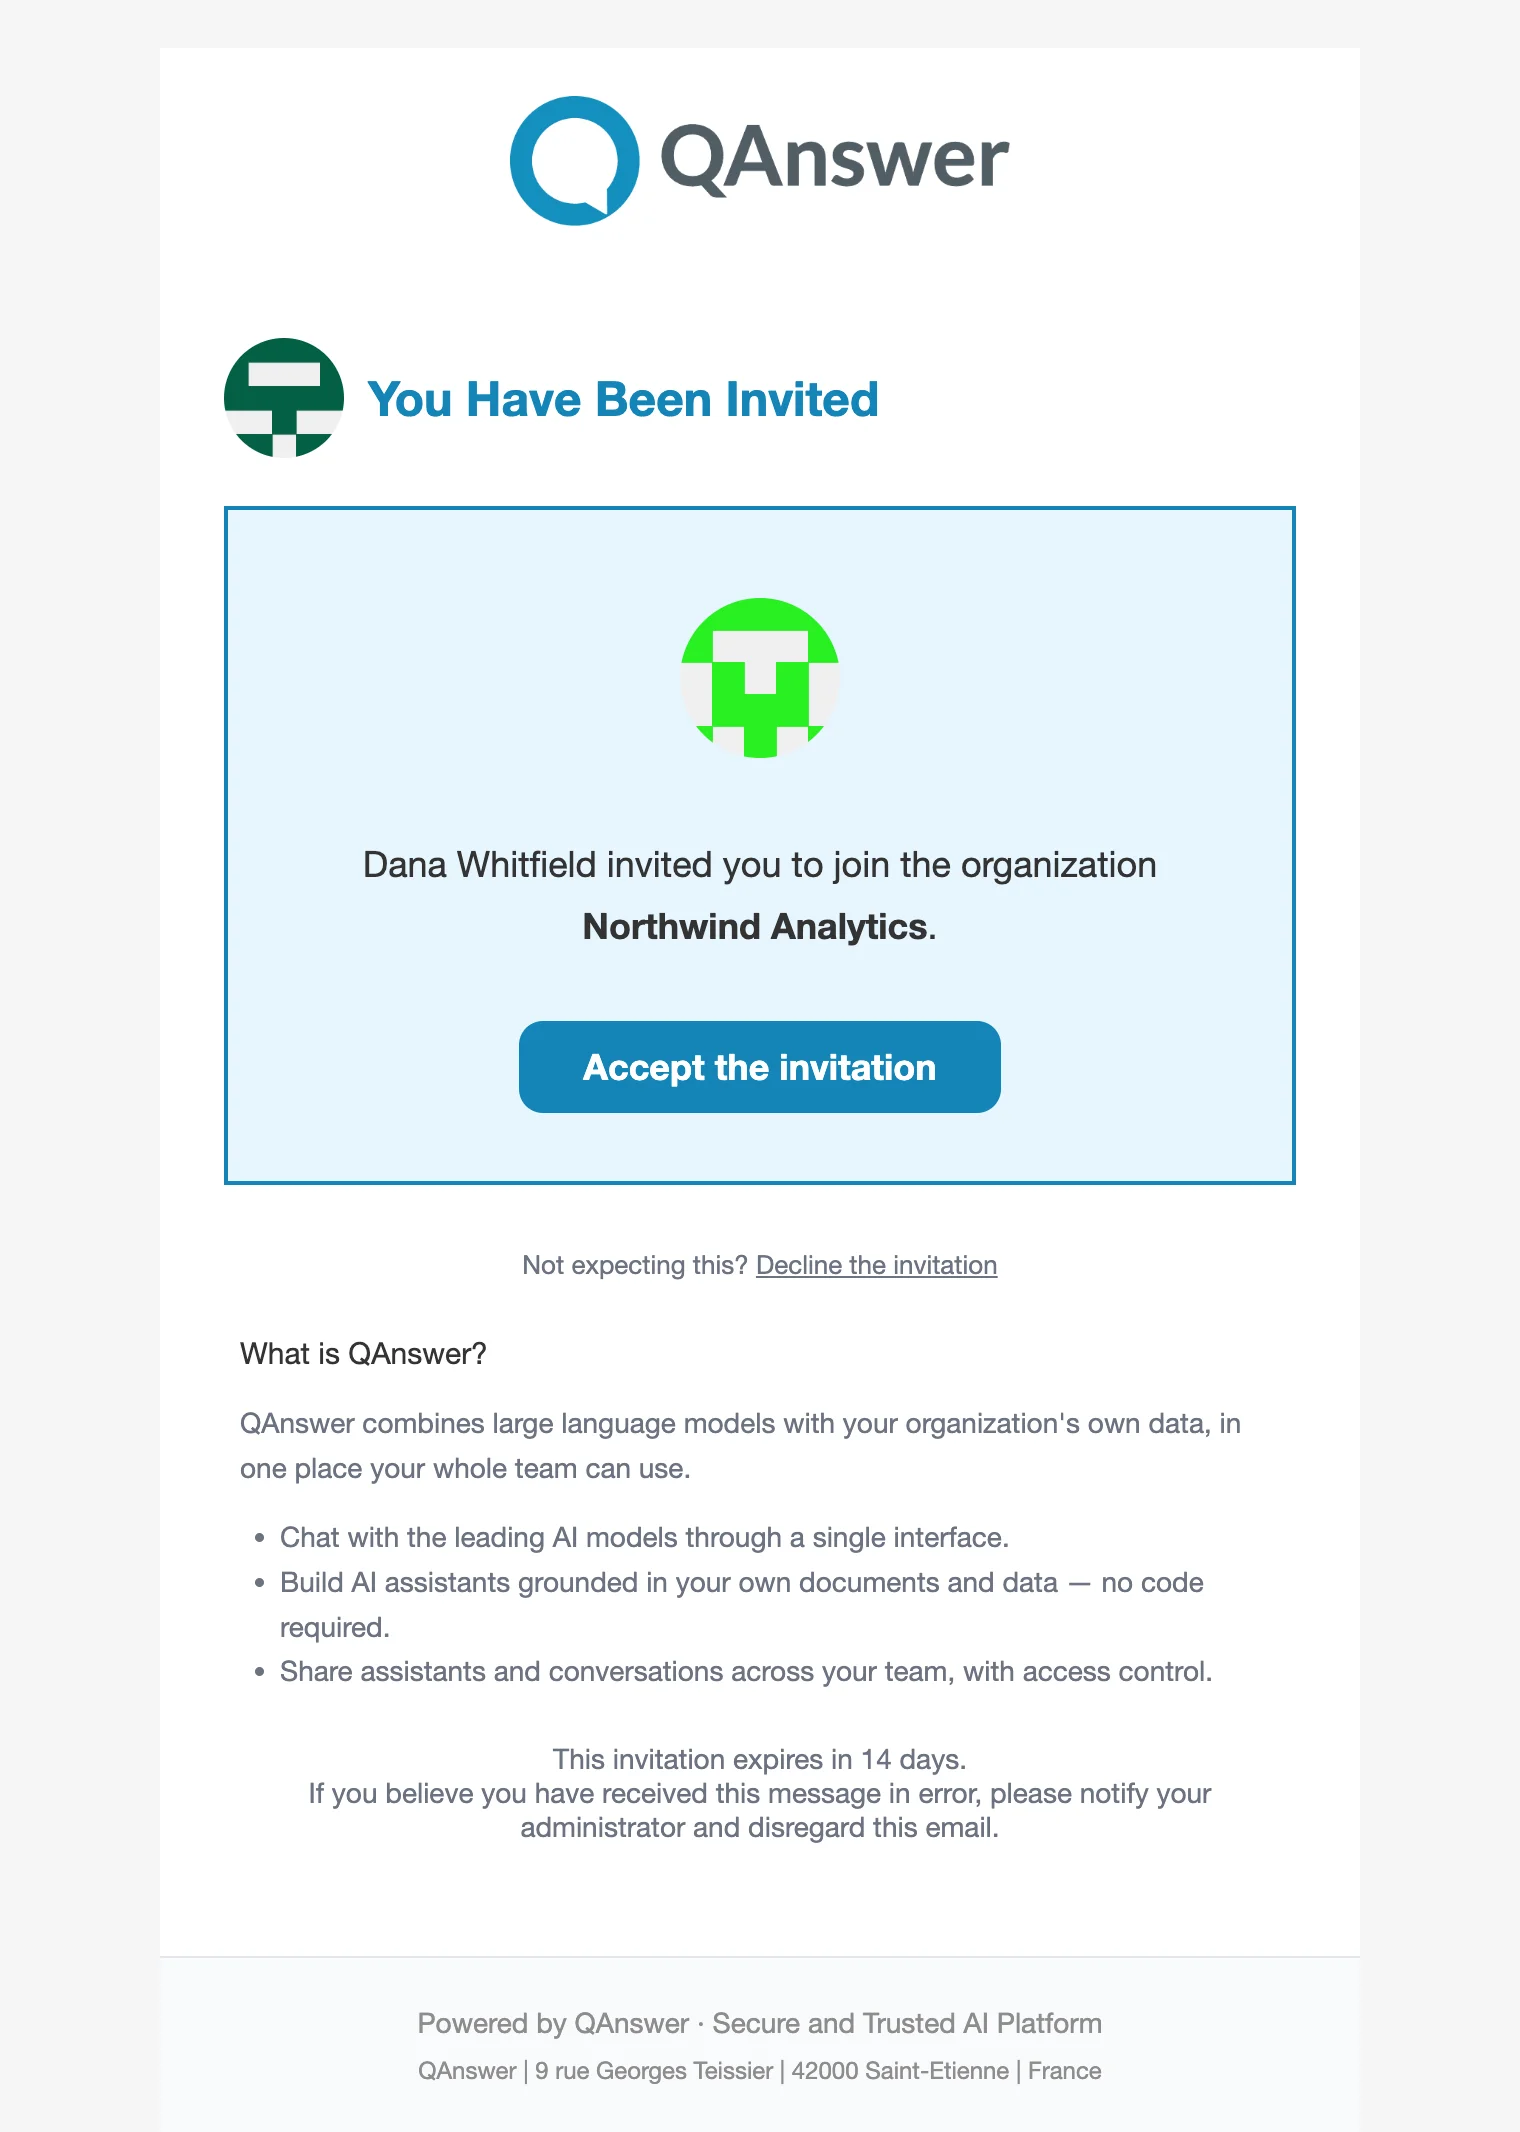
The e-mail carries one link. Following it is itself the act of accepting, so there is no second confirmation step:
- If the address already has an account, they sign in (if they are not already) and join immediately.
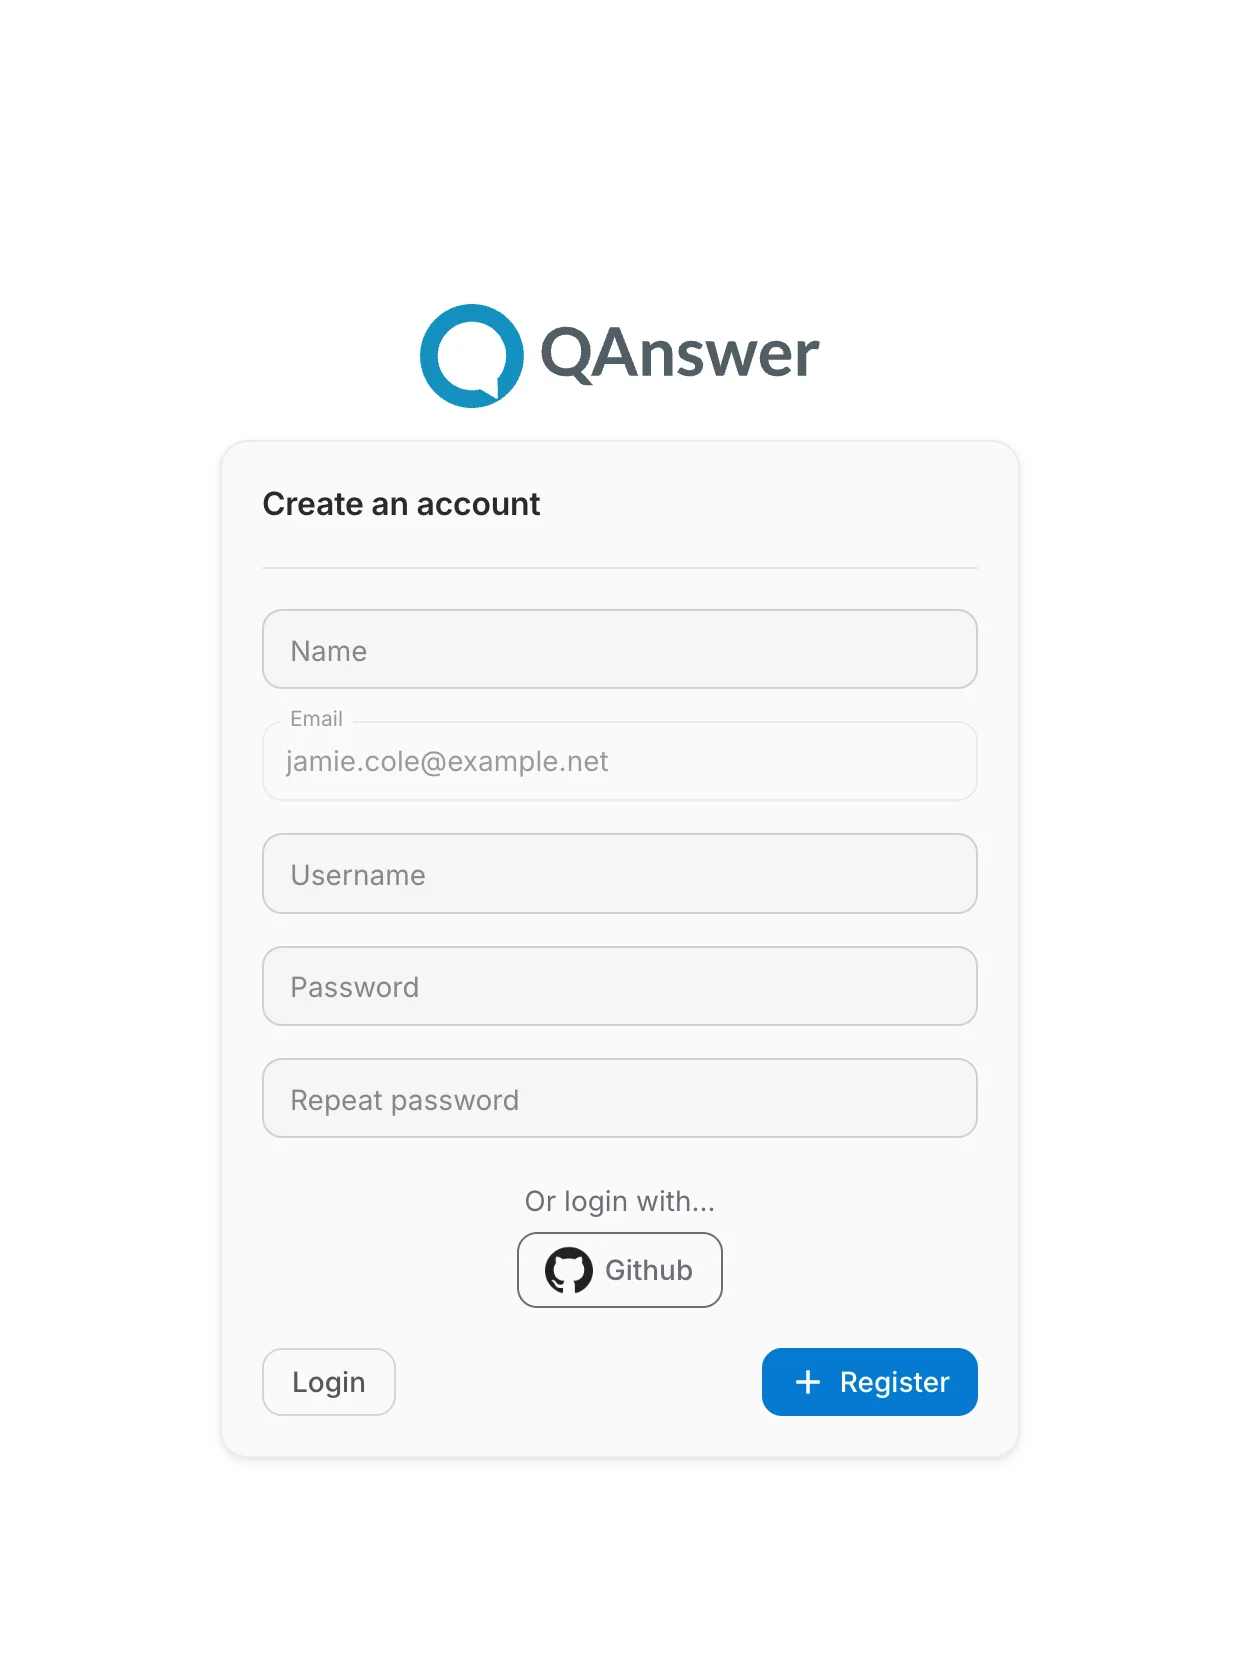
- If it does not, the link opens signup with the address filled in and locked — the invitation is only valid for the address it was sent to. The account is created ready to use, with no separate confirmation e-mail, and joins at once. They can also sign up through an identity provider (Google, GitHub, Microsoft…) and still join.
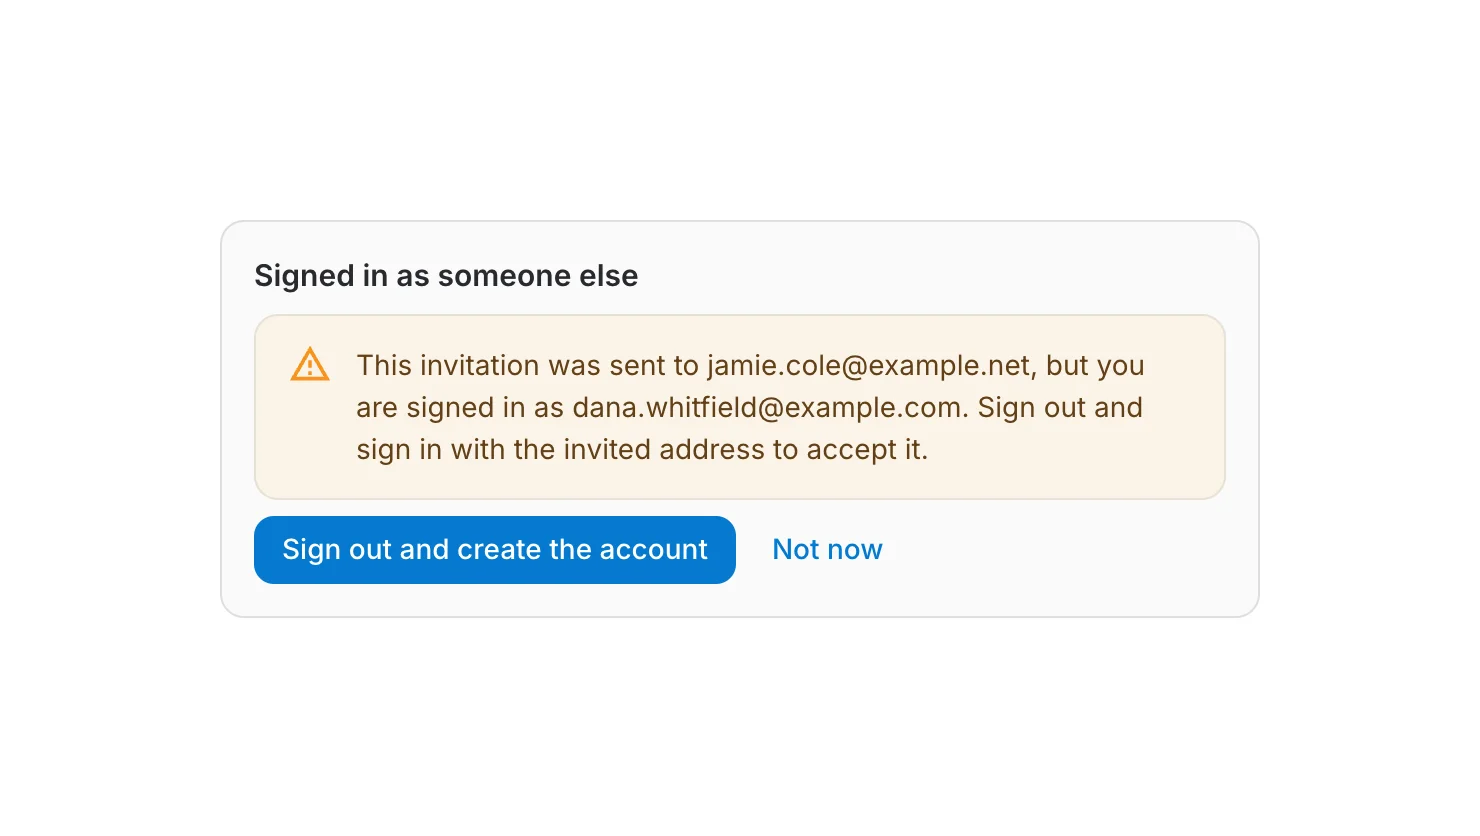
- If they are signed in as a different account, the page says so and offers to switch — holding the link is not enough, the invitation names an address.
The link opens signup with the invited address already filled in. The field cannot be edited: the invitation is only valid for the address it was sent to. Signing up here — with a password or through a provider — creates the account and joins the organization in one step.
Resetting a password
The key icon in the table, or "Reset Password" on the user's card, opens a dialog where you either set a new password yourself — it has to satisfy the instance's password policy, and the dialog says so as you type — or send the user an email with a reset link.
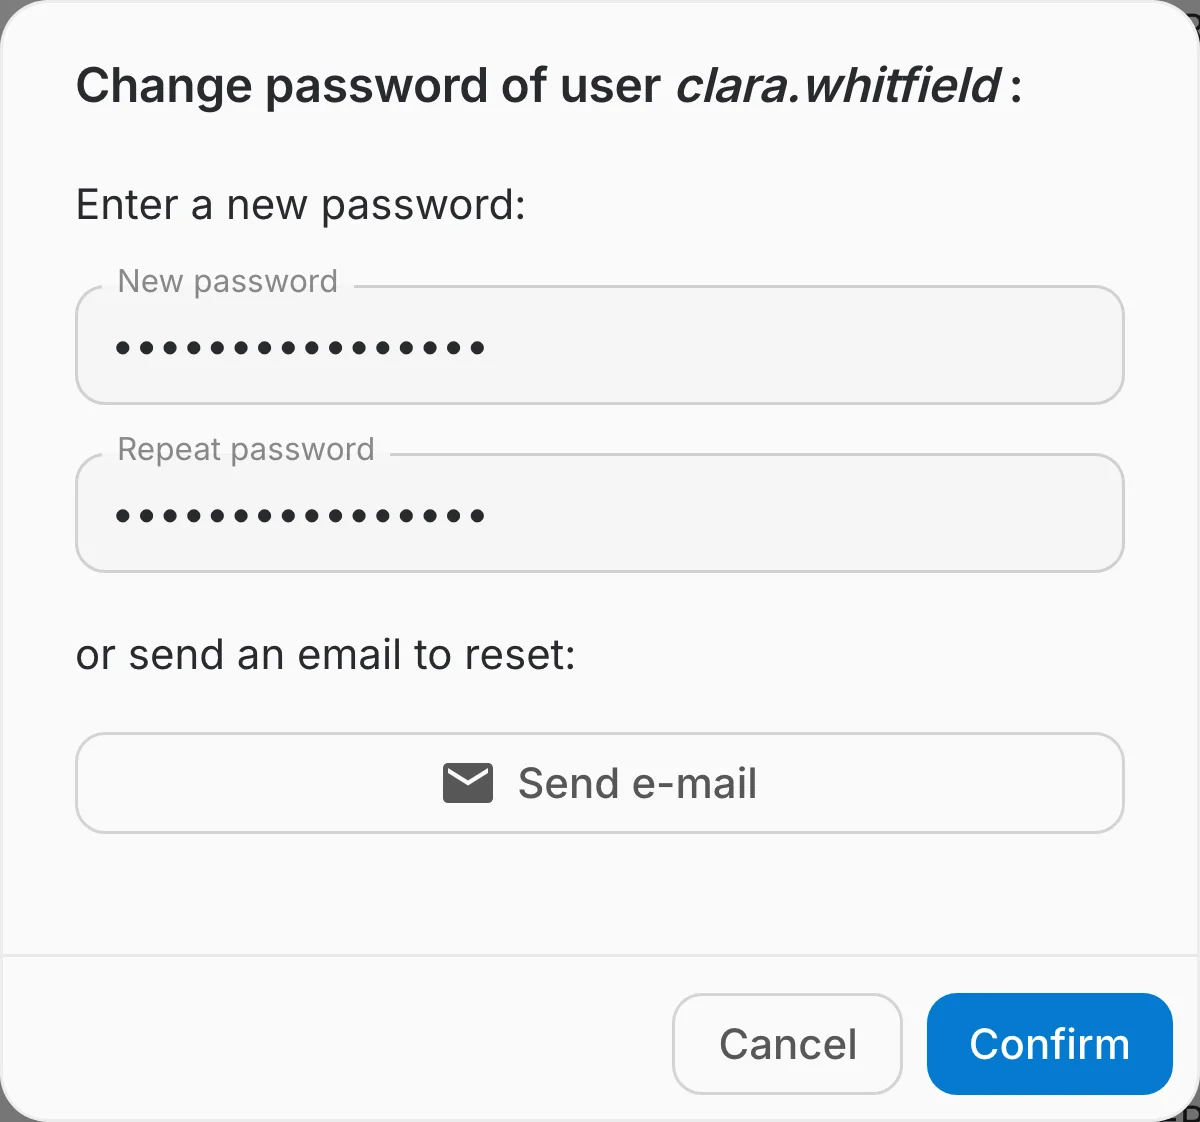
Where login is only possible through OAuth, the key icon and the "Reset Password" button stay disabled: the password belongs to the identity provider and has to be reset there.
Deleting a user
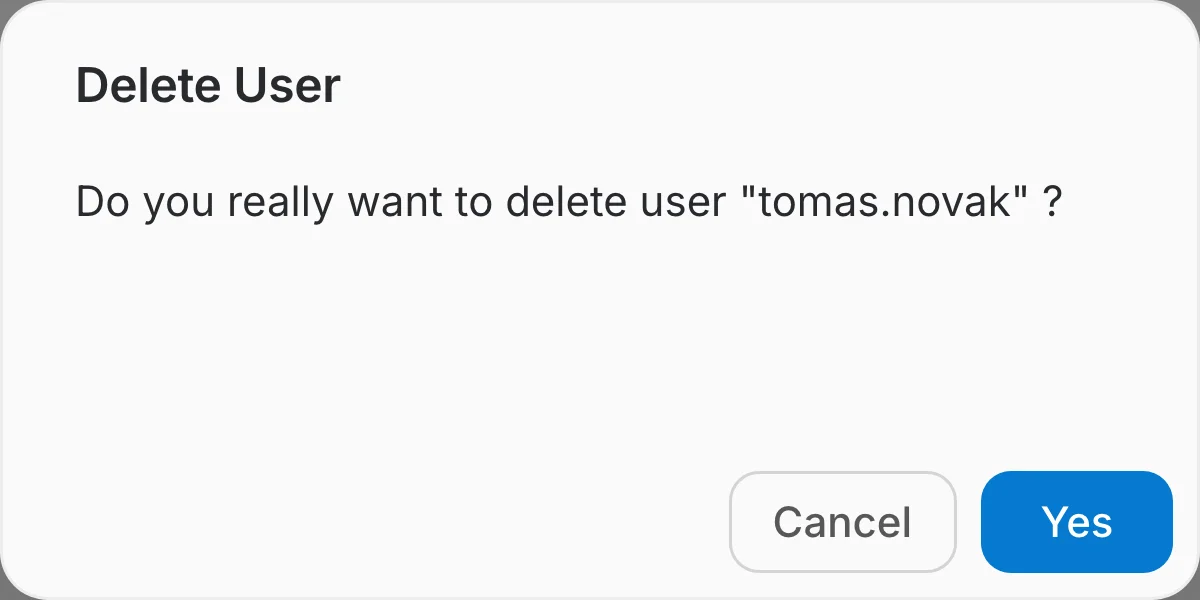
The red bin in the table, or "Remove User" on the card, asks for confirmation and then permanently deletes the account.
Deleting several users at once
Pick "Select" in the ⋮ menu to put a checkbox on every row, then tick the users you want. The checkbox in the header selects every user on the current page, and shift-clicking a row ticks everything between it and the row you ticked before.
A bar floats at the bottom of the page while selection mode is on: its checkbox selects or clears the whole page, the label counts what is selected, "Delete" starts the deletion, and the ✕ leaves selection mode — as does the Escape key.

Confirming deletes the selected accounts one after another and the bar shows how far it has got. If any of them fail, a summary lists which ones.
Exporting the list
"Export" in the ⋮ menu downloads a CSV file of the users that match the current search. Clear the search box first to export every user of the instance.