
OneDrive
The OneDrive connector indexes files from a OneDrive account, so an assistant can answer from documents that stay where their owners already keep them.
Connect your account
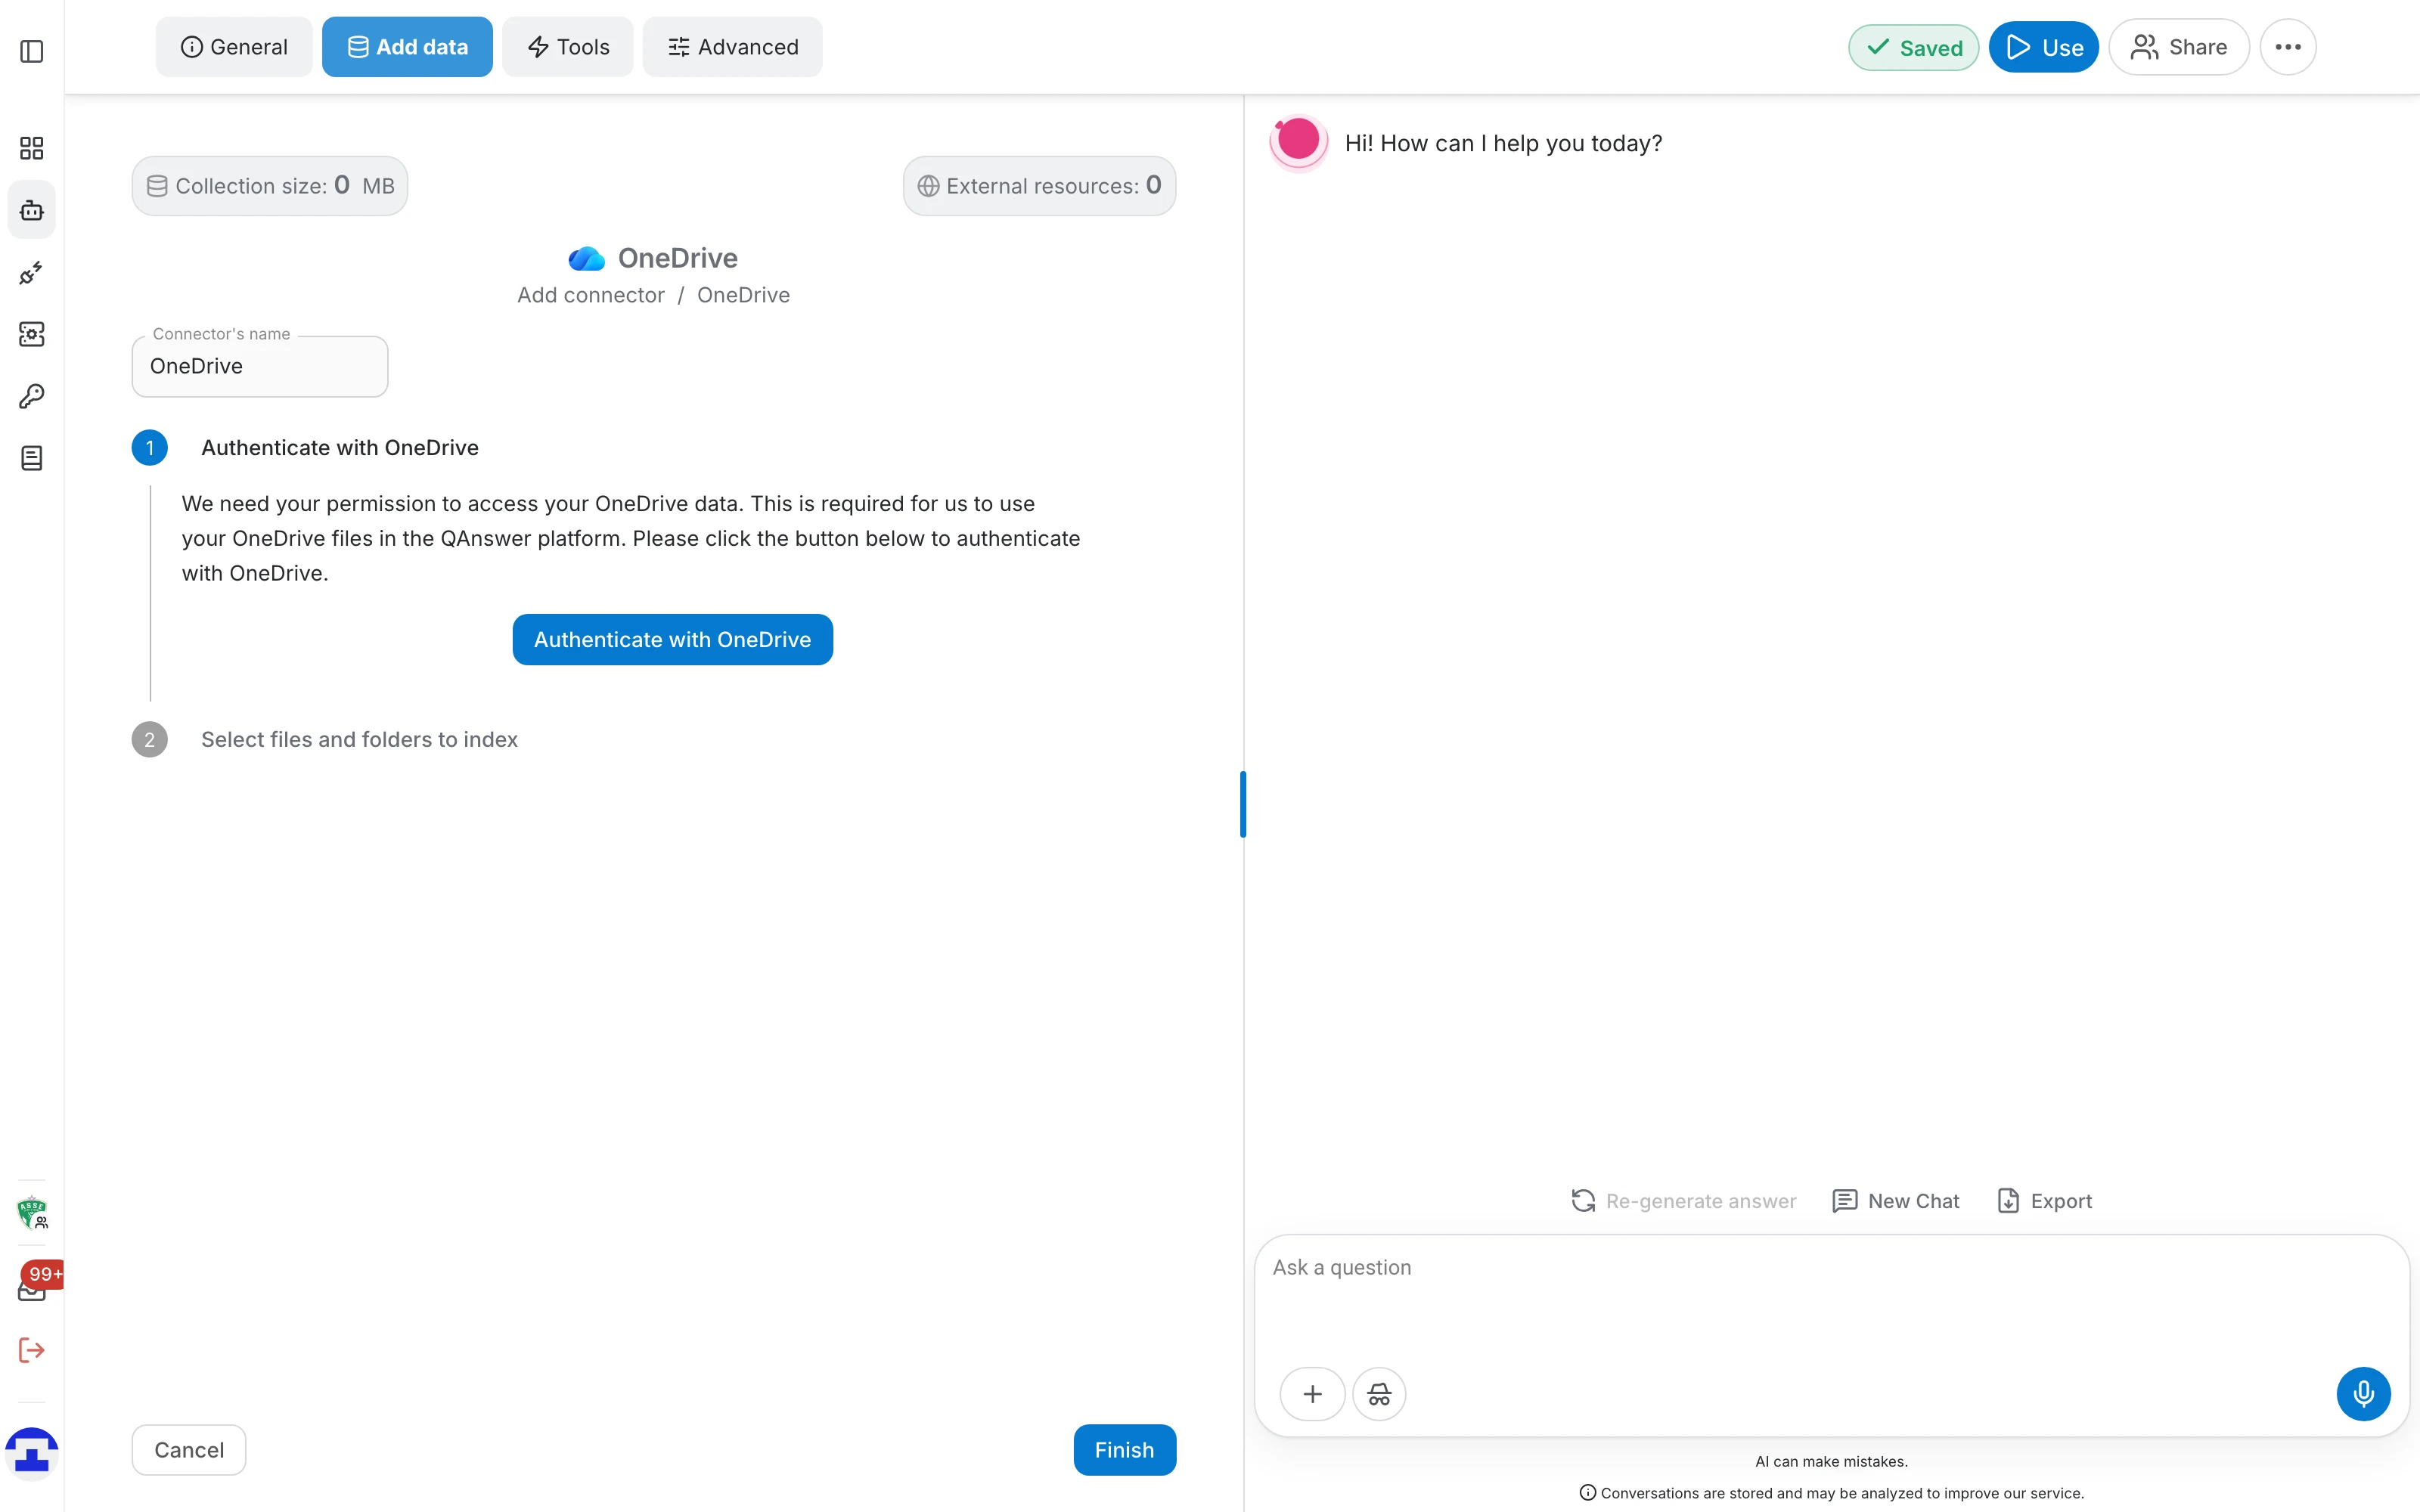
Choose OneDrive in the Add connector menu. The form walks you through the connection:
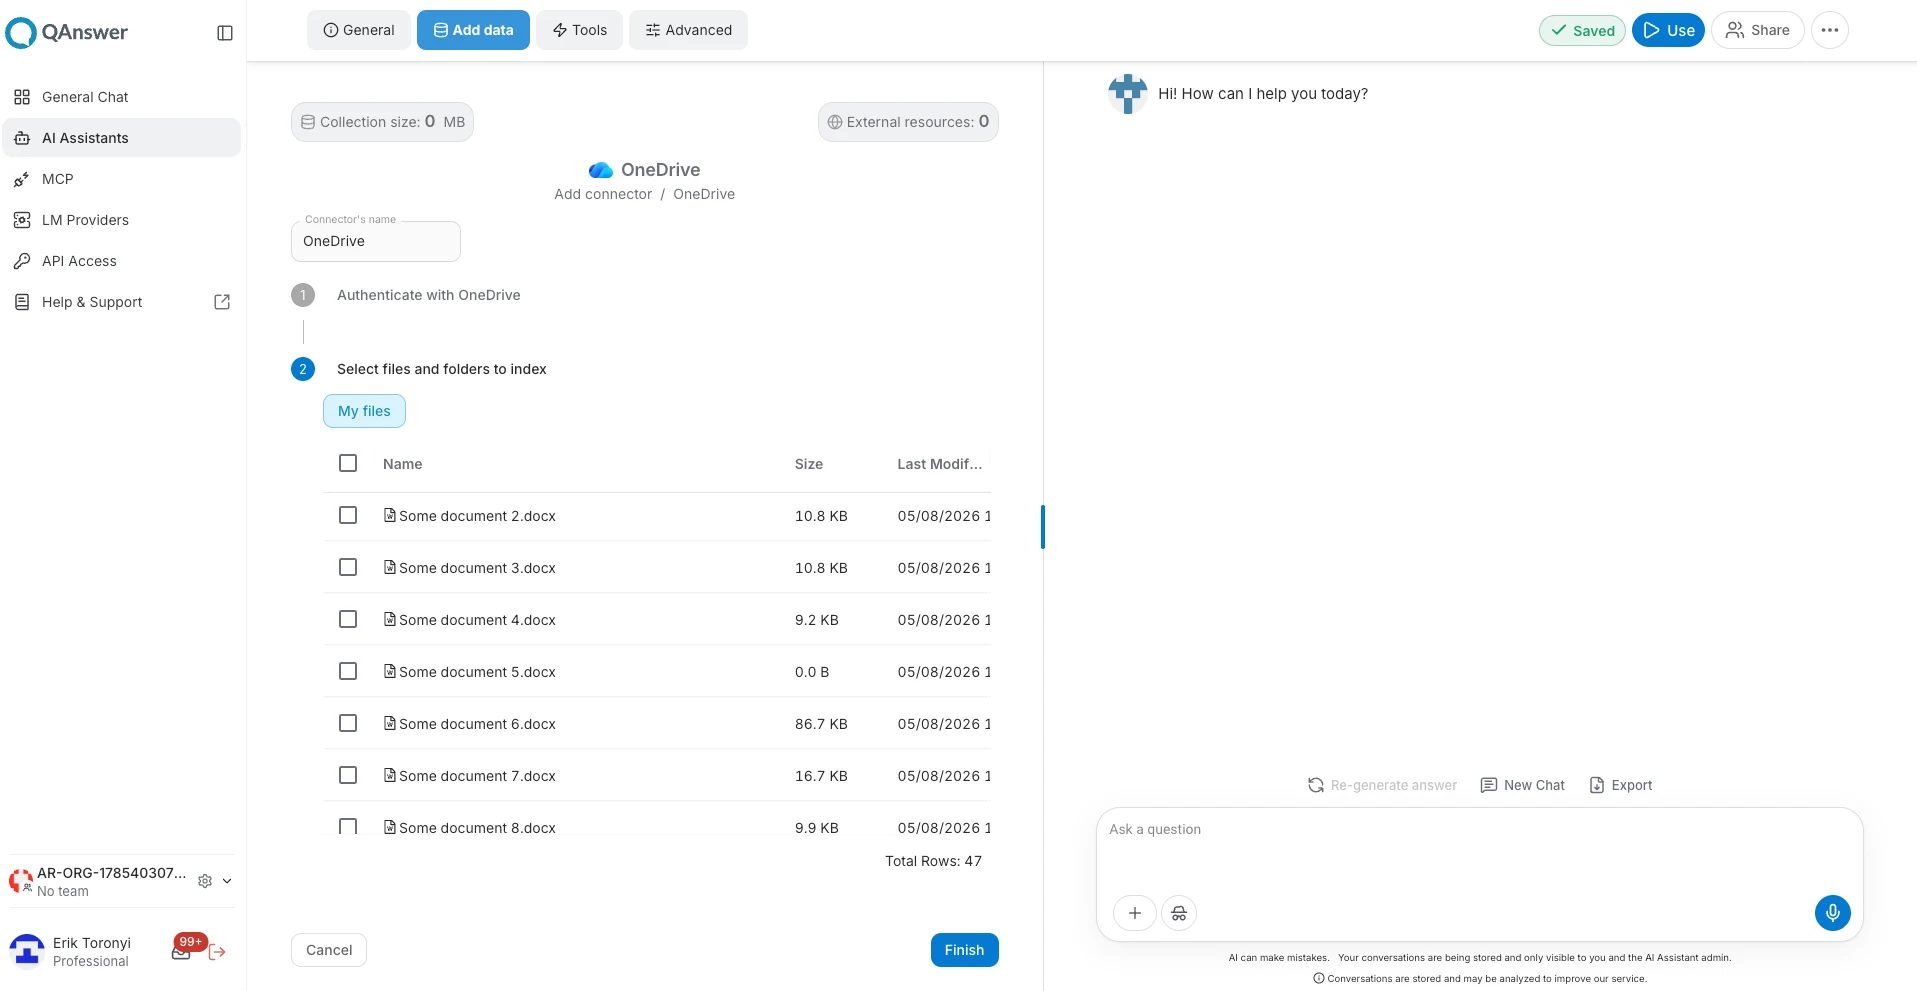
The page is a two-step stepper. Nothing is read from your drive until you have finished the second step.
- Authenticate with OneDrive — explains that QAnswer needs permission to reach your OneDrive data, and holds the button that starts the Microsoft sign-in. A tick appears on the button once the account is connected.
- Select files and folders to index — stays closed until authentication succeeds, then opens automatically with your drive listed.
Clicking a step header folds it away, which is handy when you come back to a connector later.
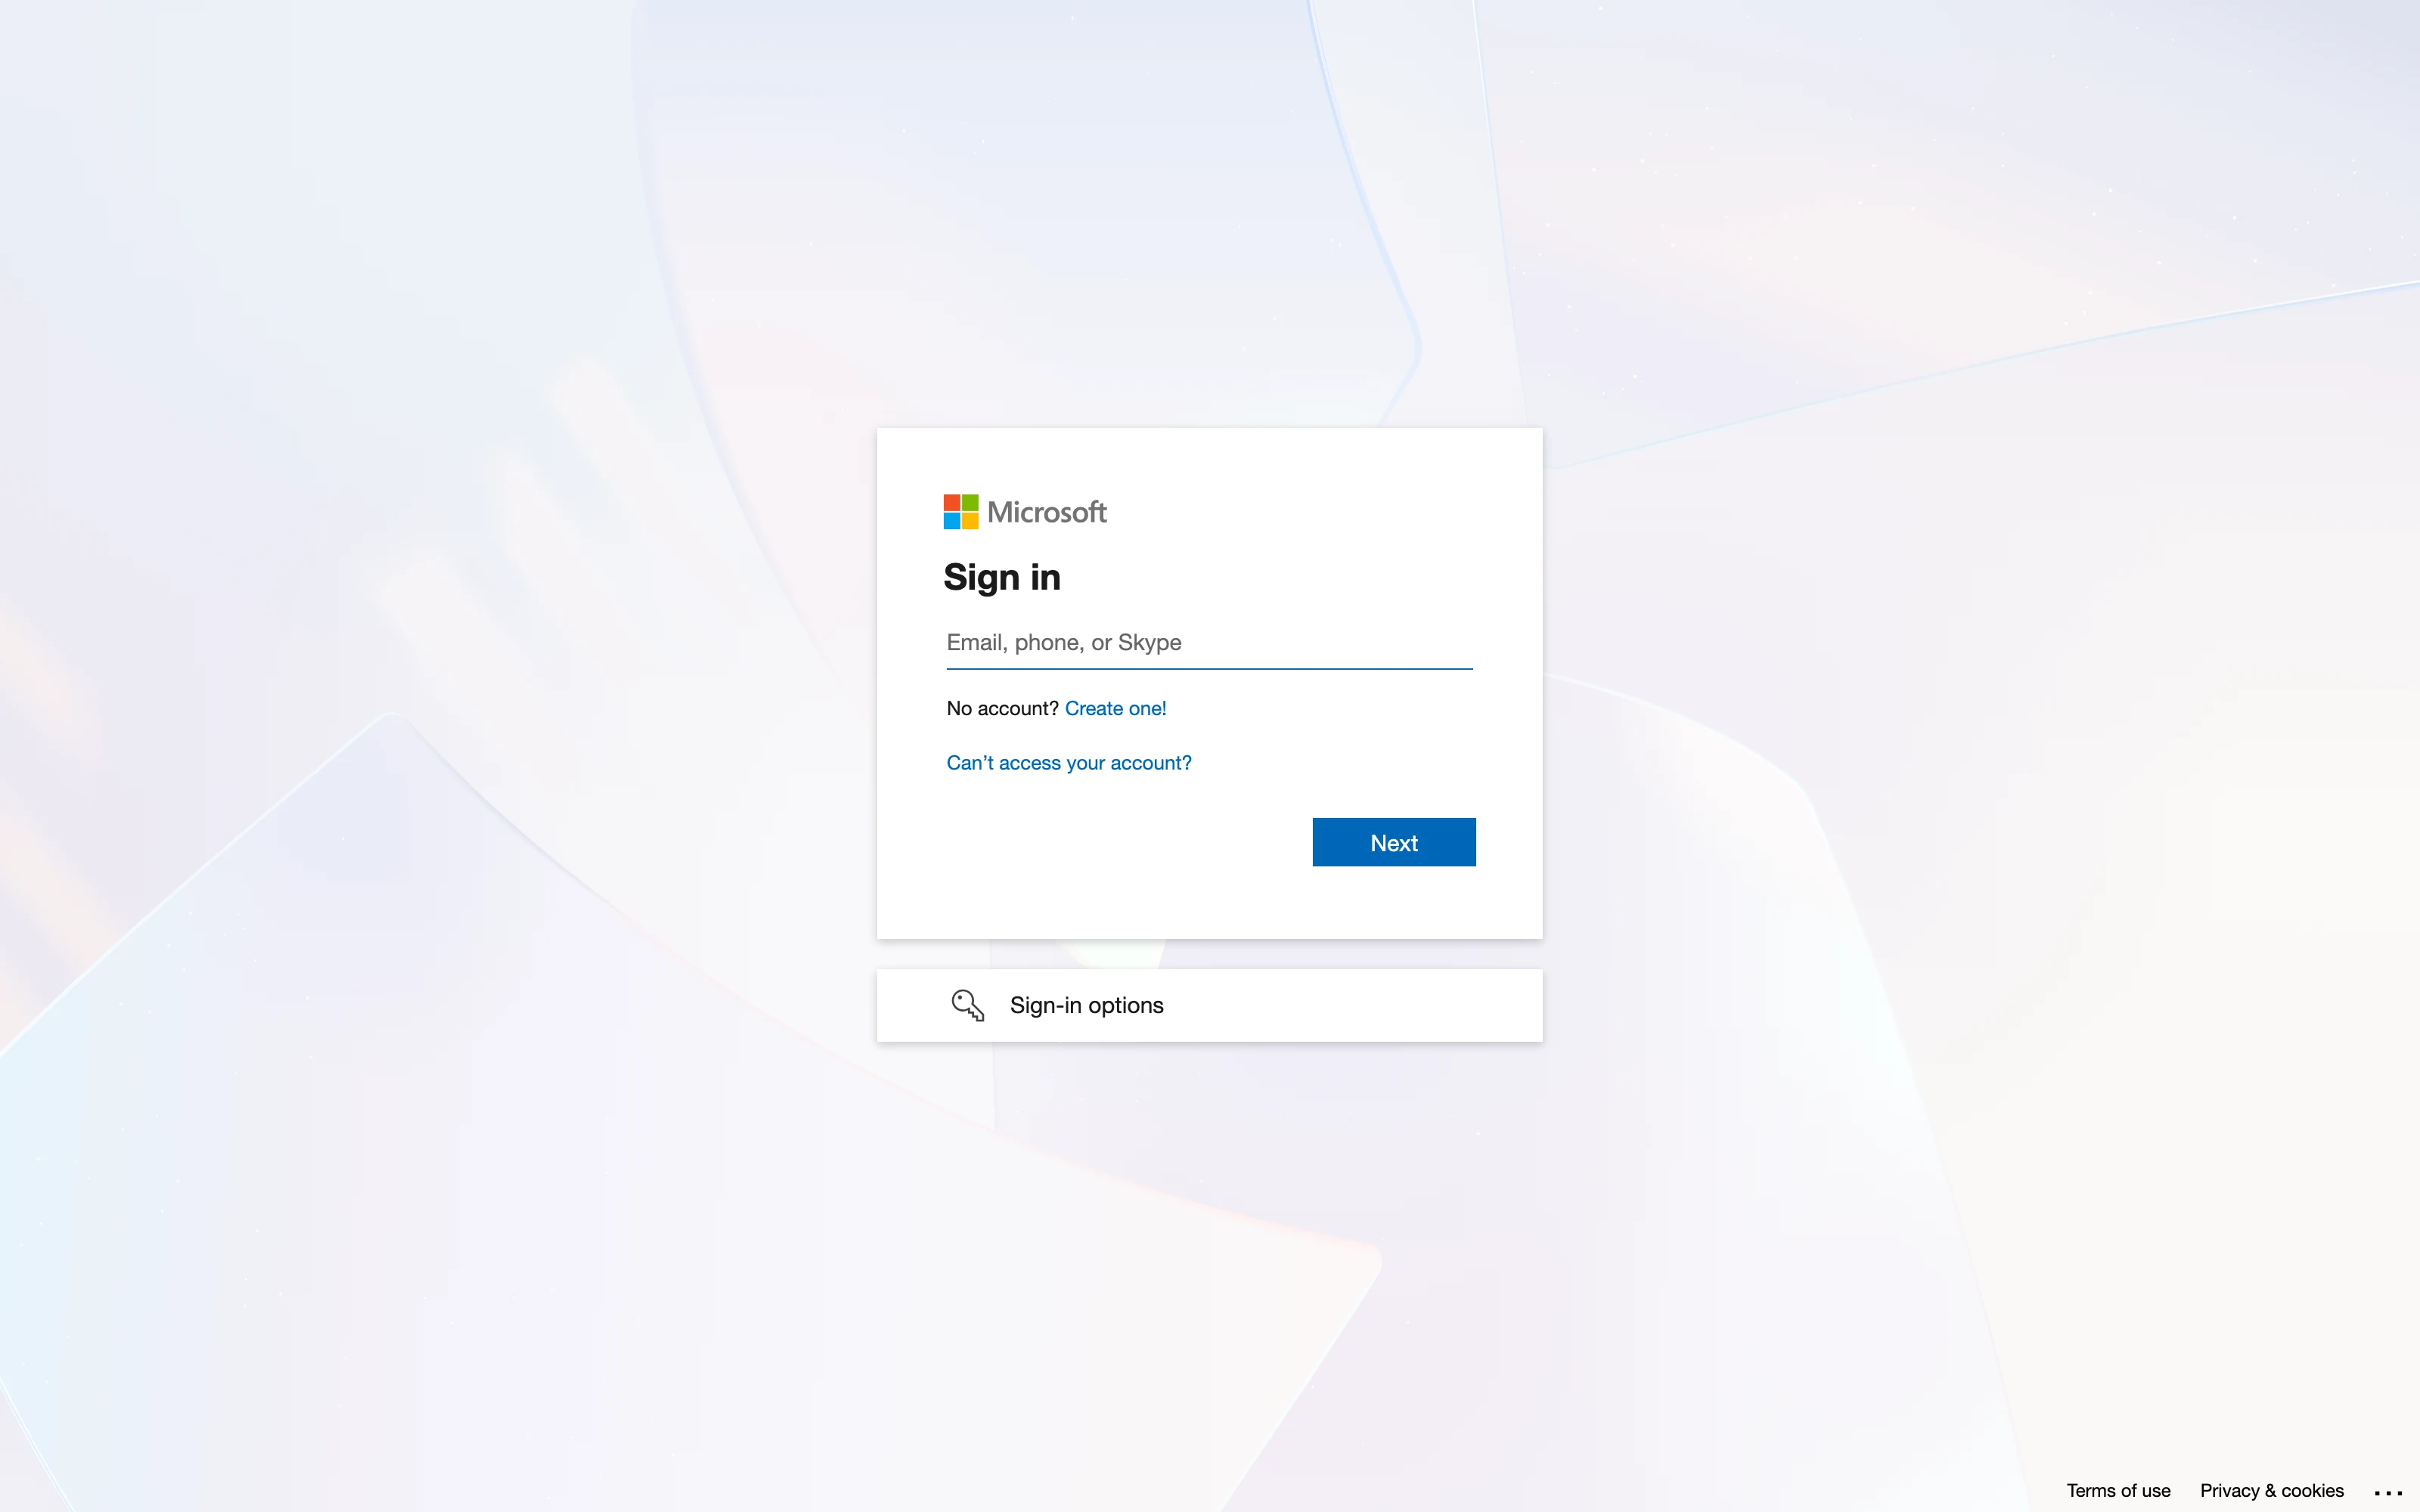
Sign in with Microsoft
Microsoft opens its own sign-in page. Enter the email address of the account that owns the files and click Next . Use the account that can actually see the documents — a personal account cannot reach a work drive, and the reverse is also true.
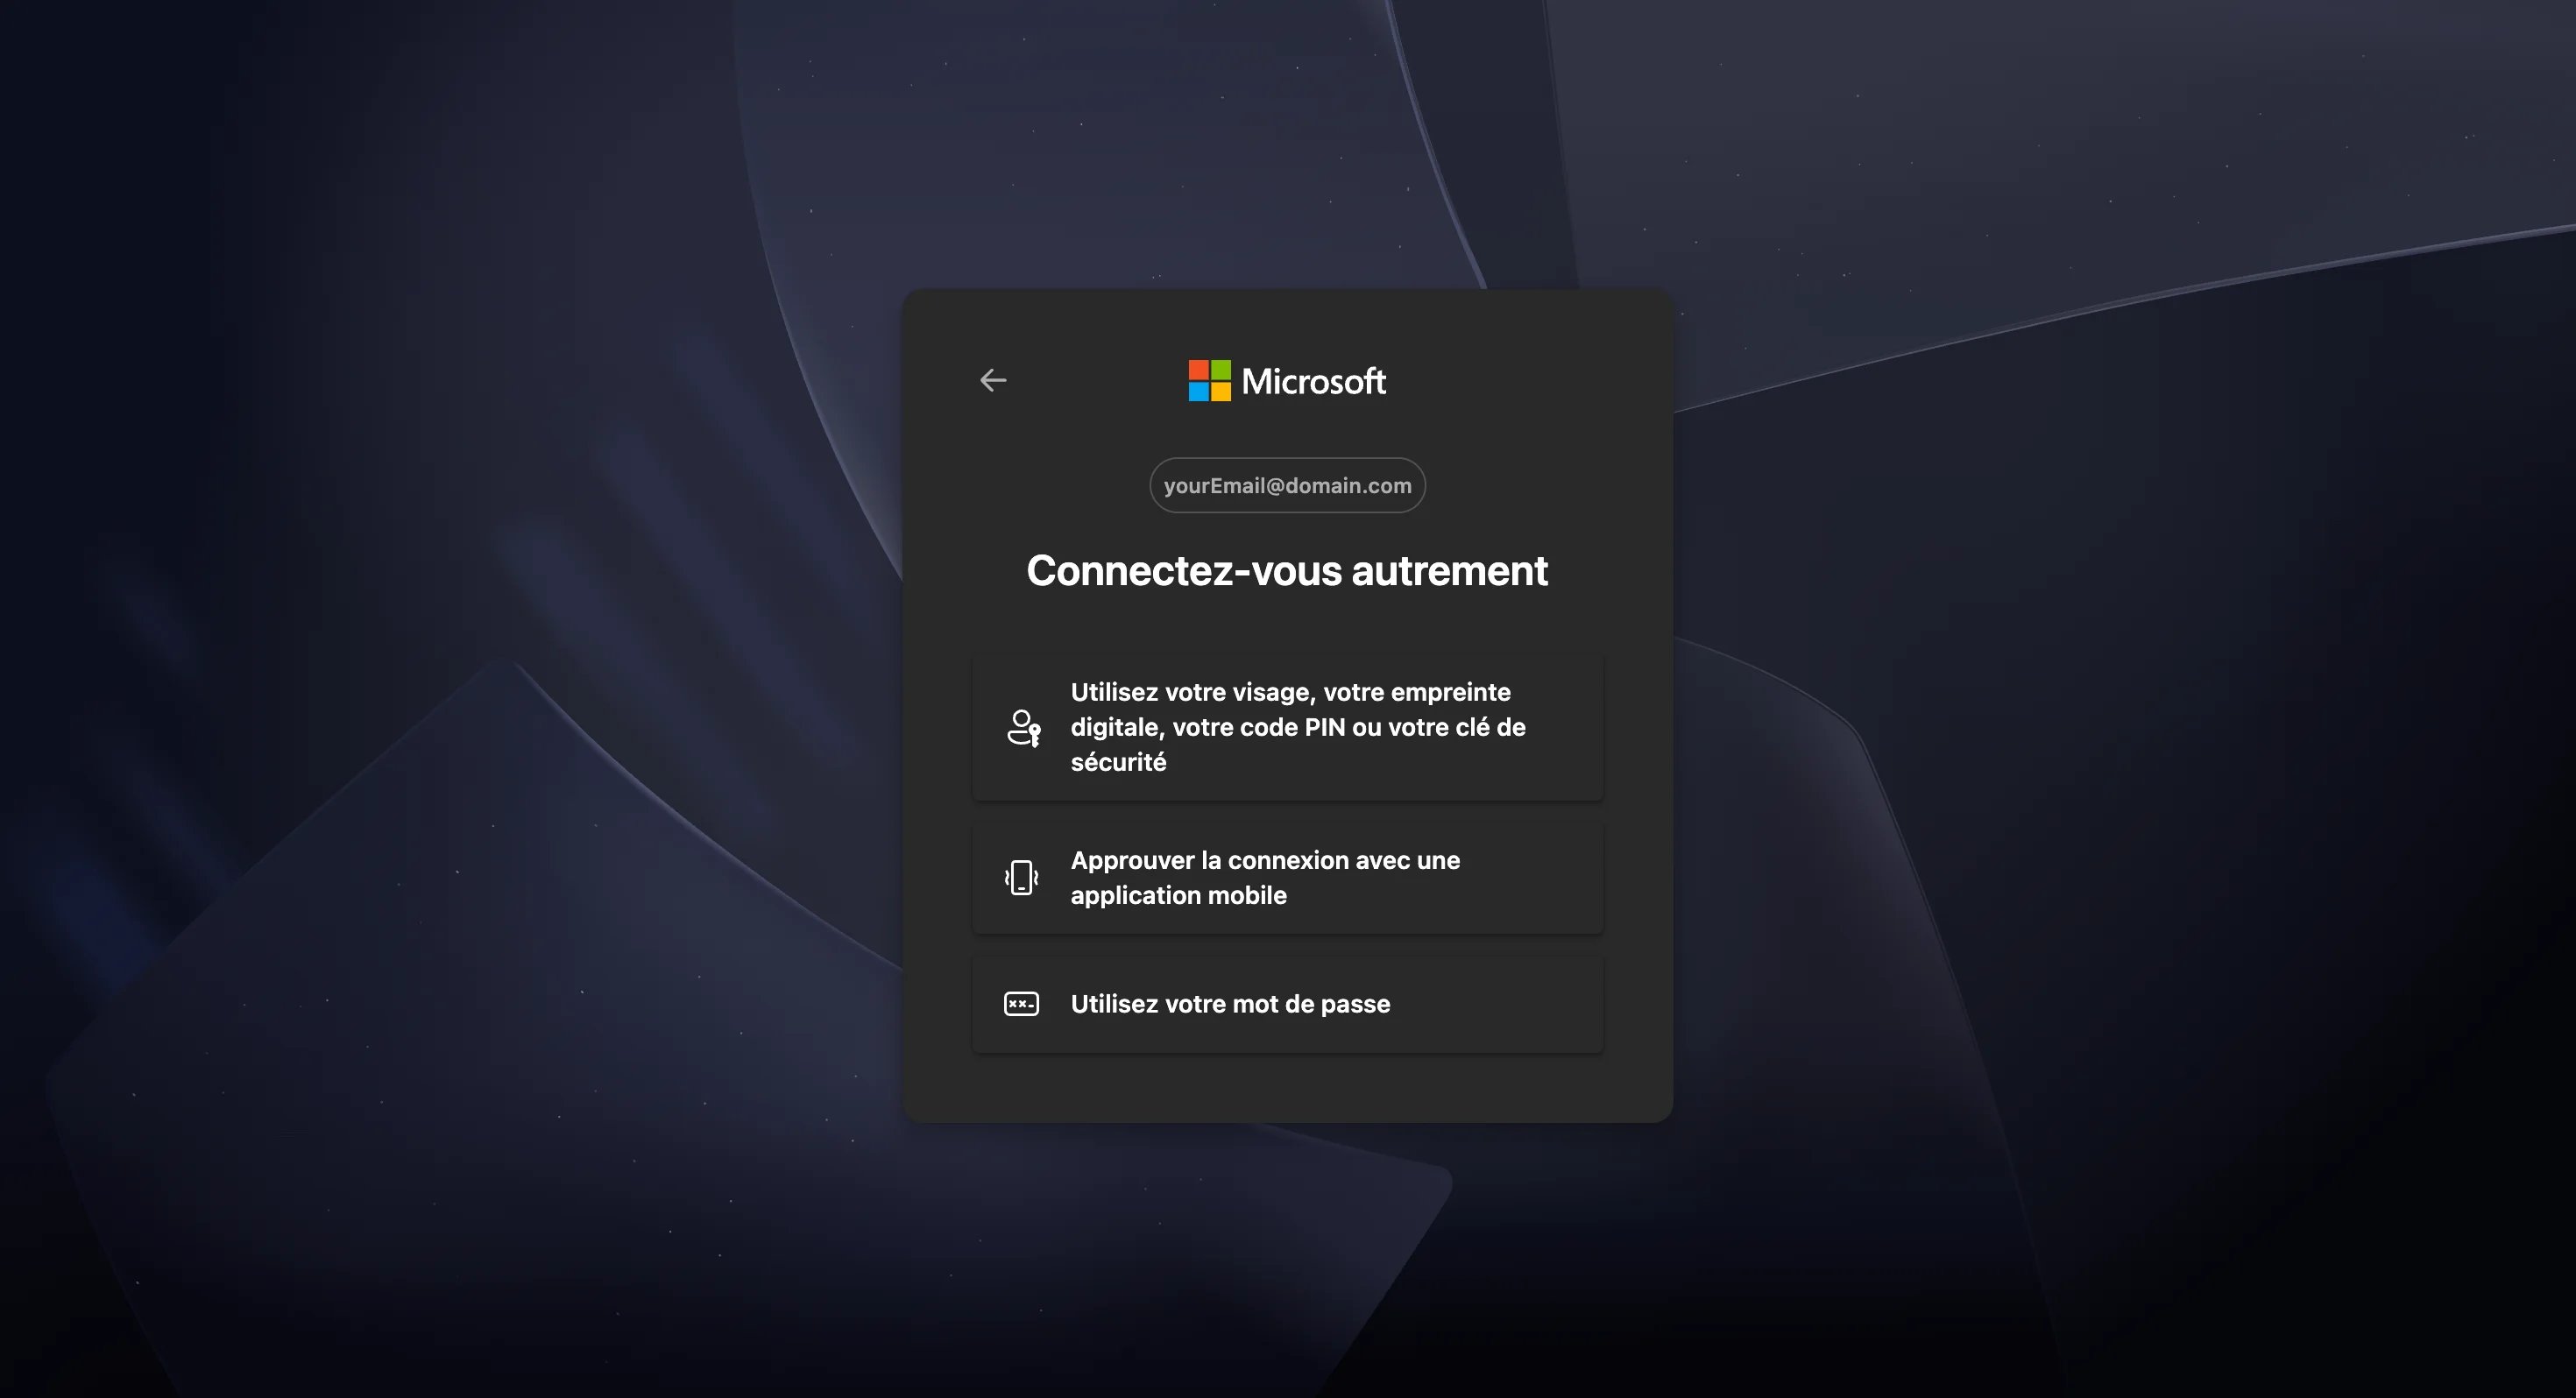
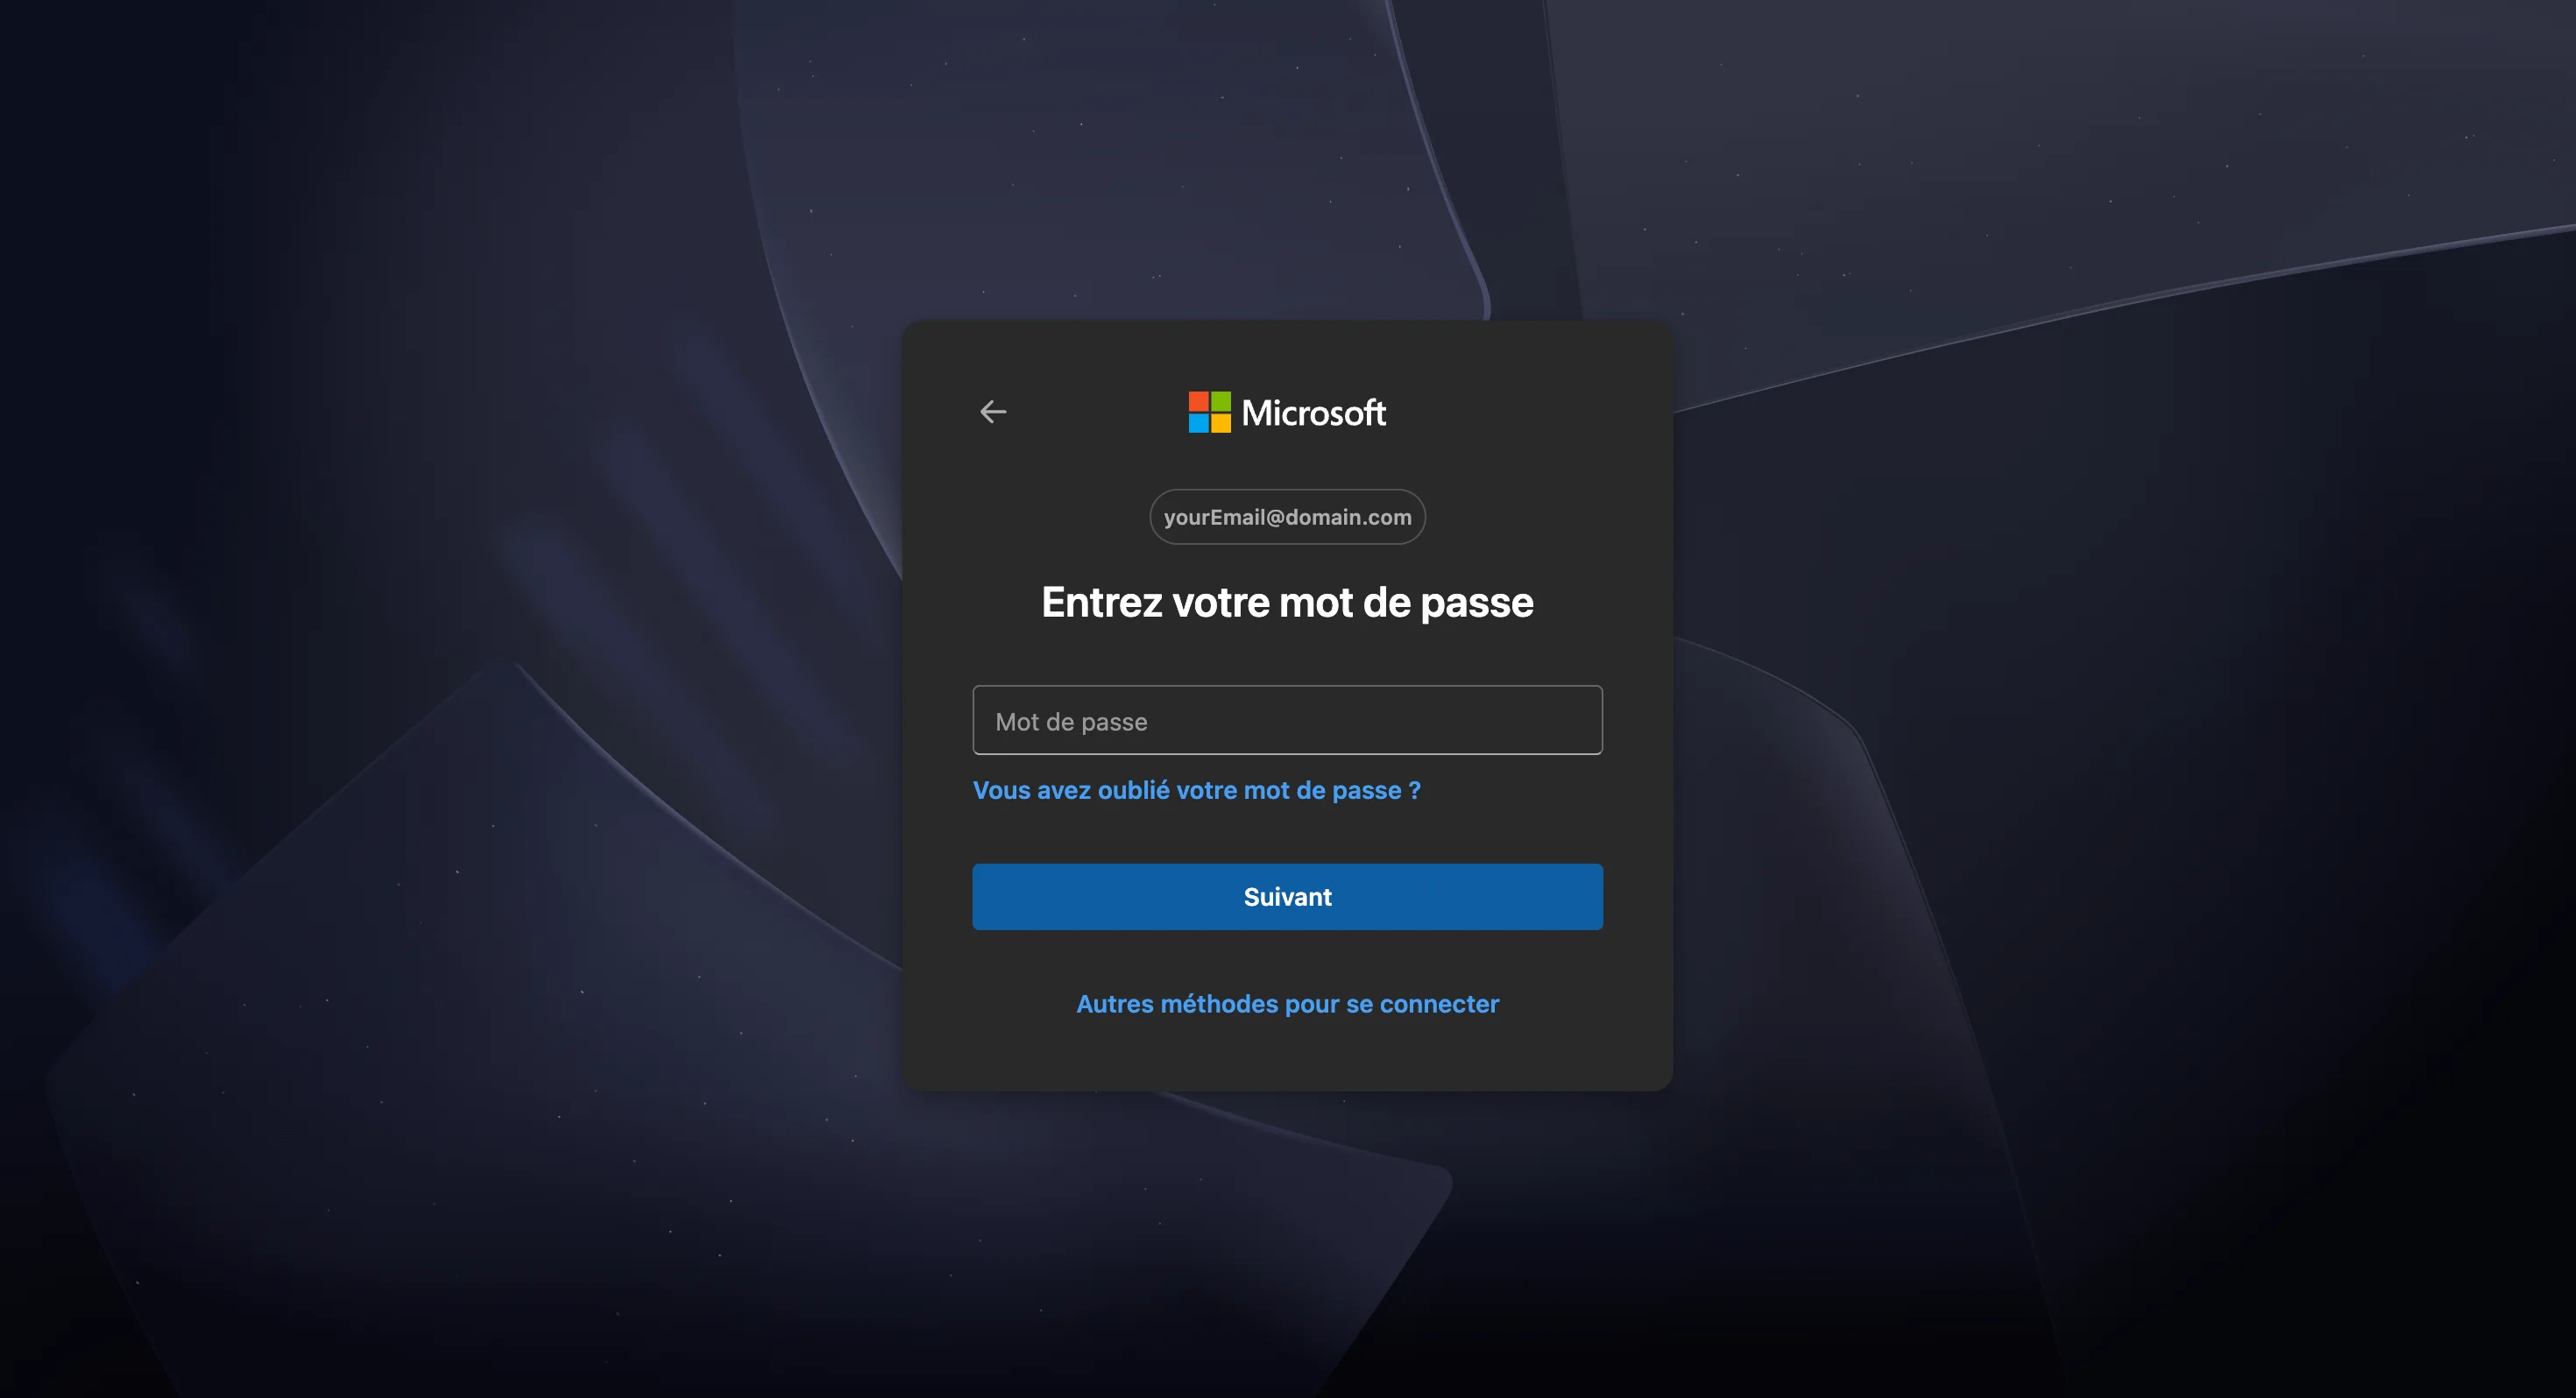
Microsoft then asks you to unlock the session with one of its methods, which vary by account and device:
- fingerprint, face recognition, a PIN or a security key,
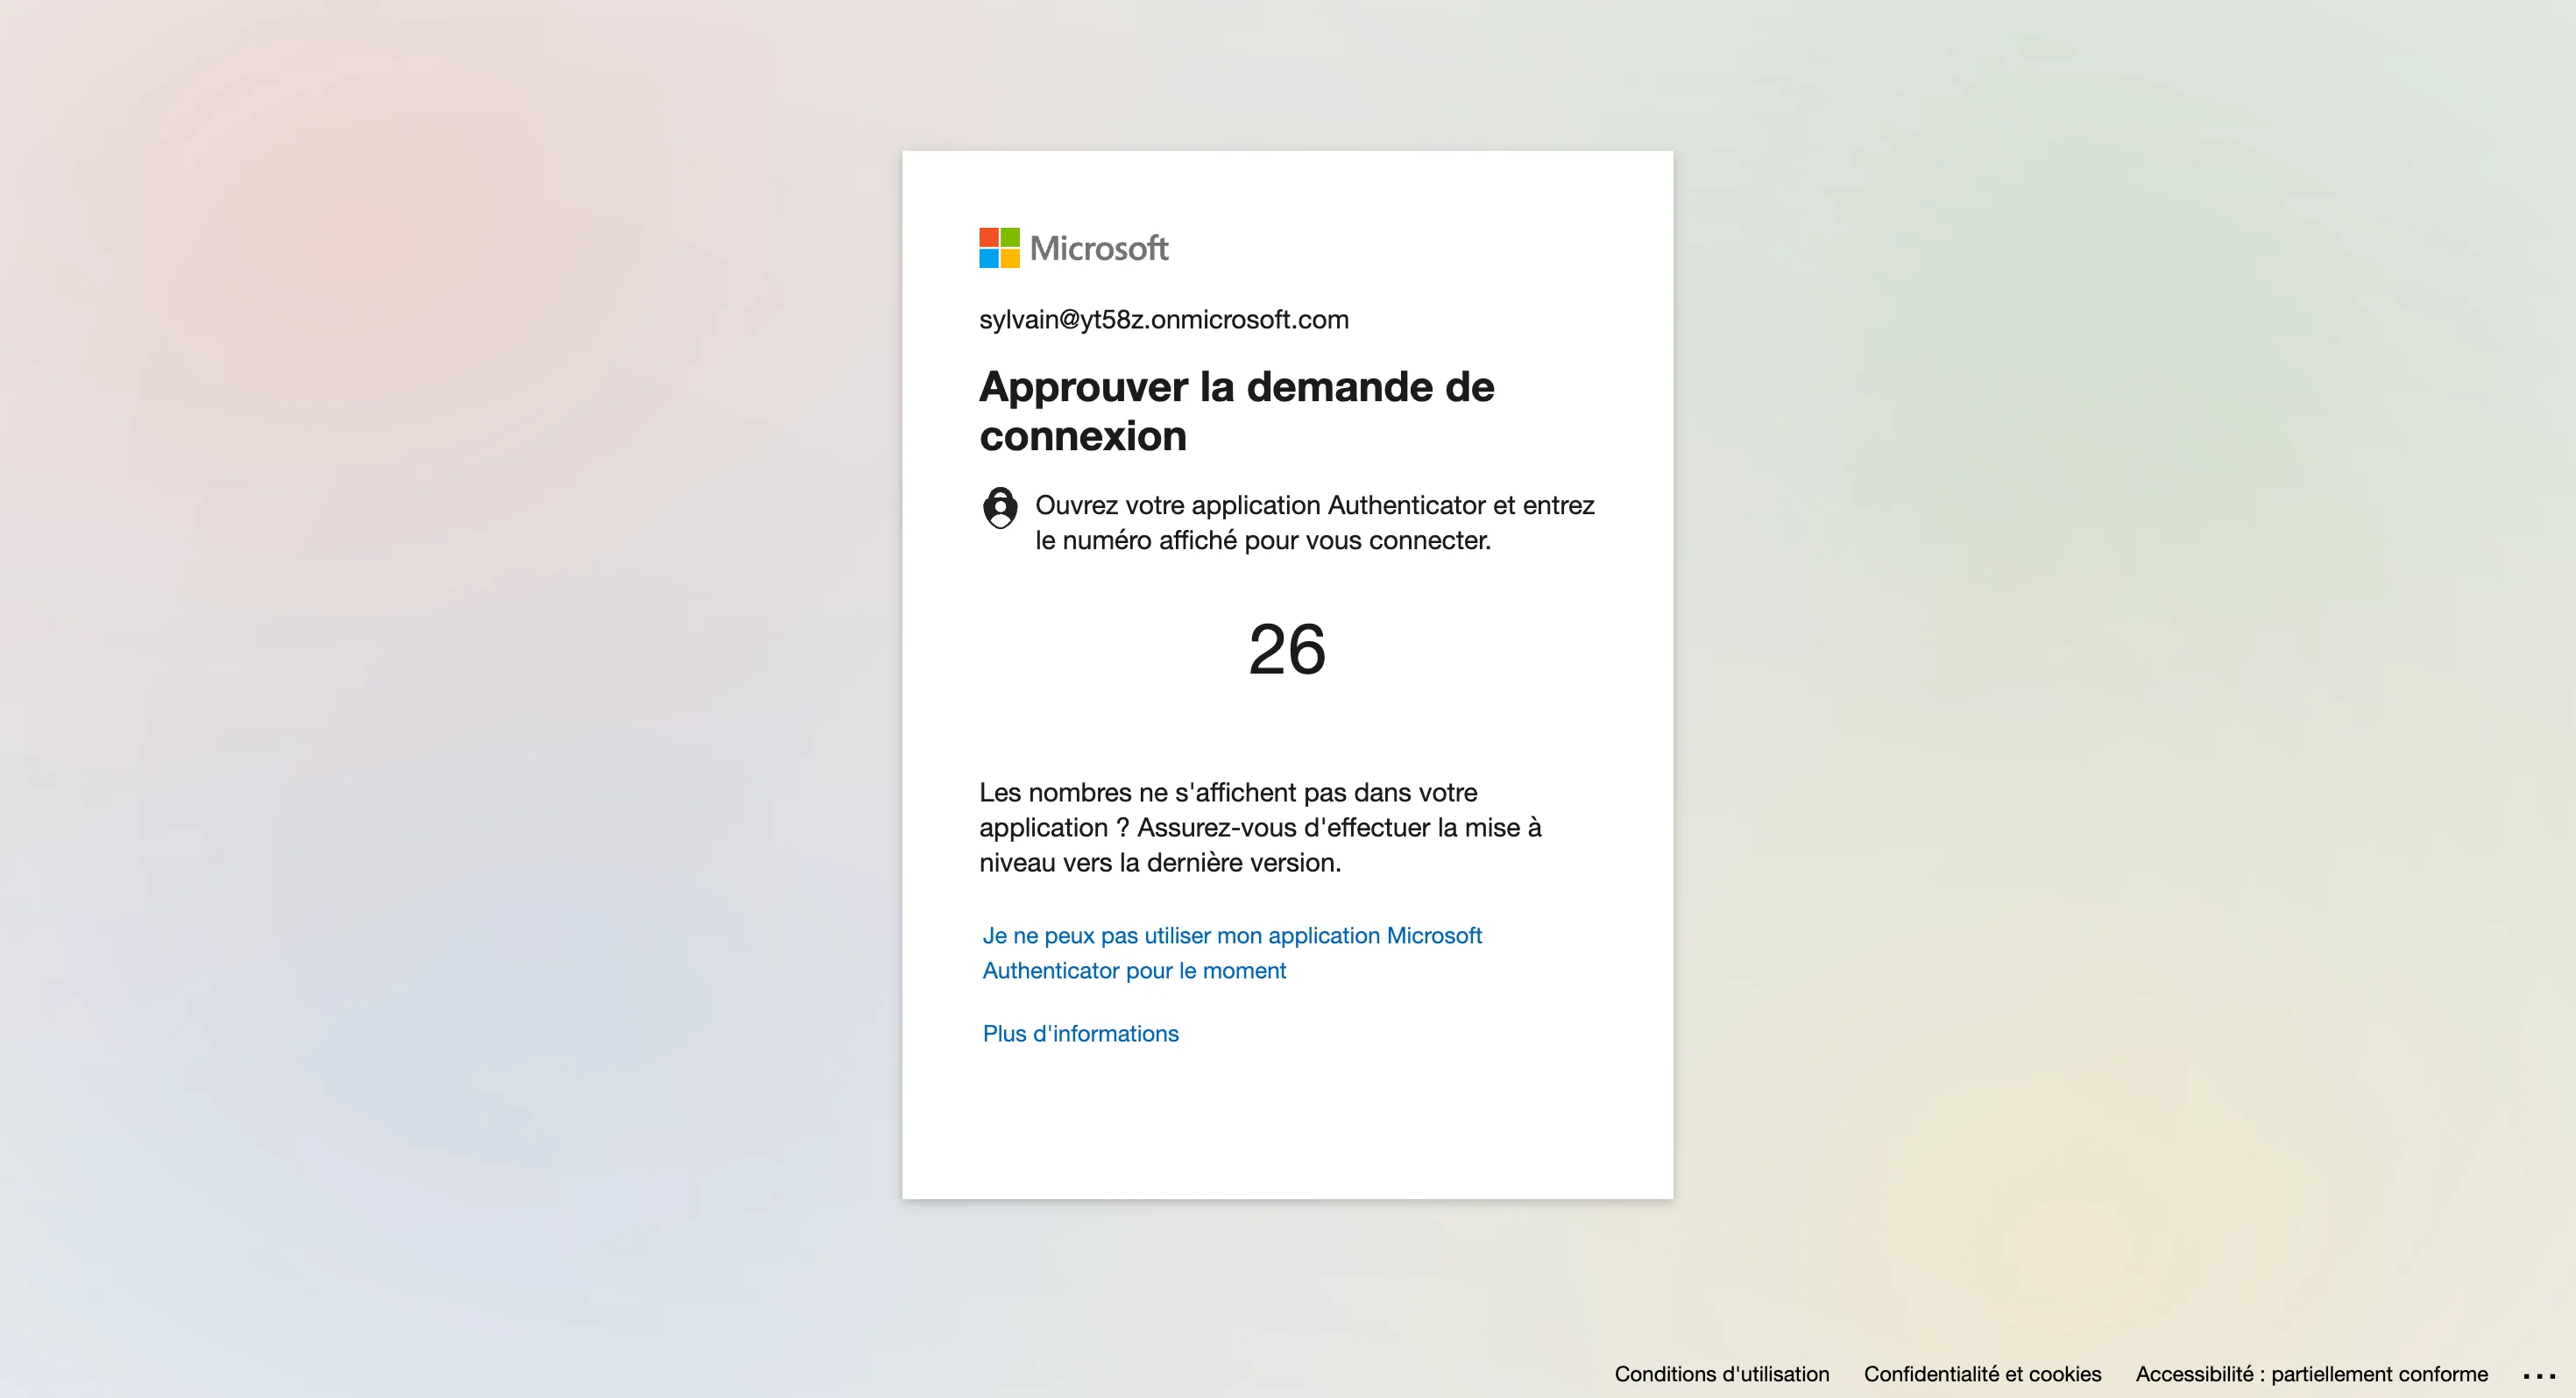
- a push notification through the Microsoft Authenticator app,
- the account password.
If the offered method is not the one you want, click Other ways to sign in and pick another.
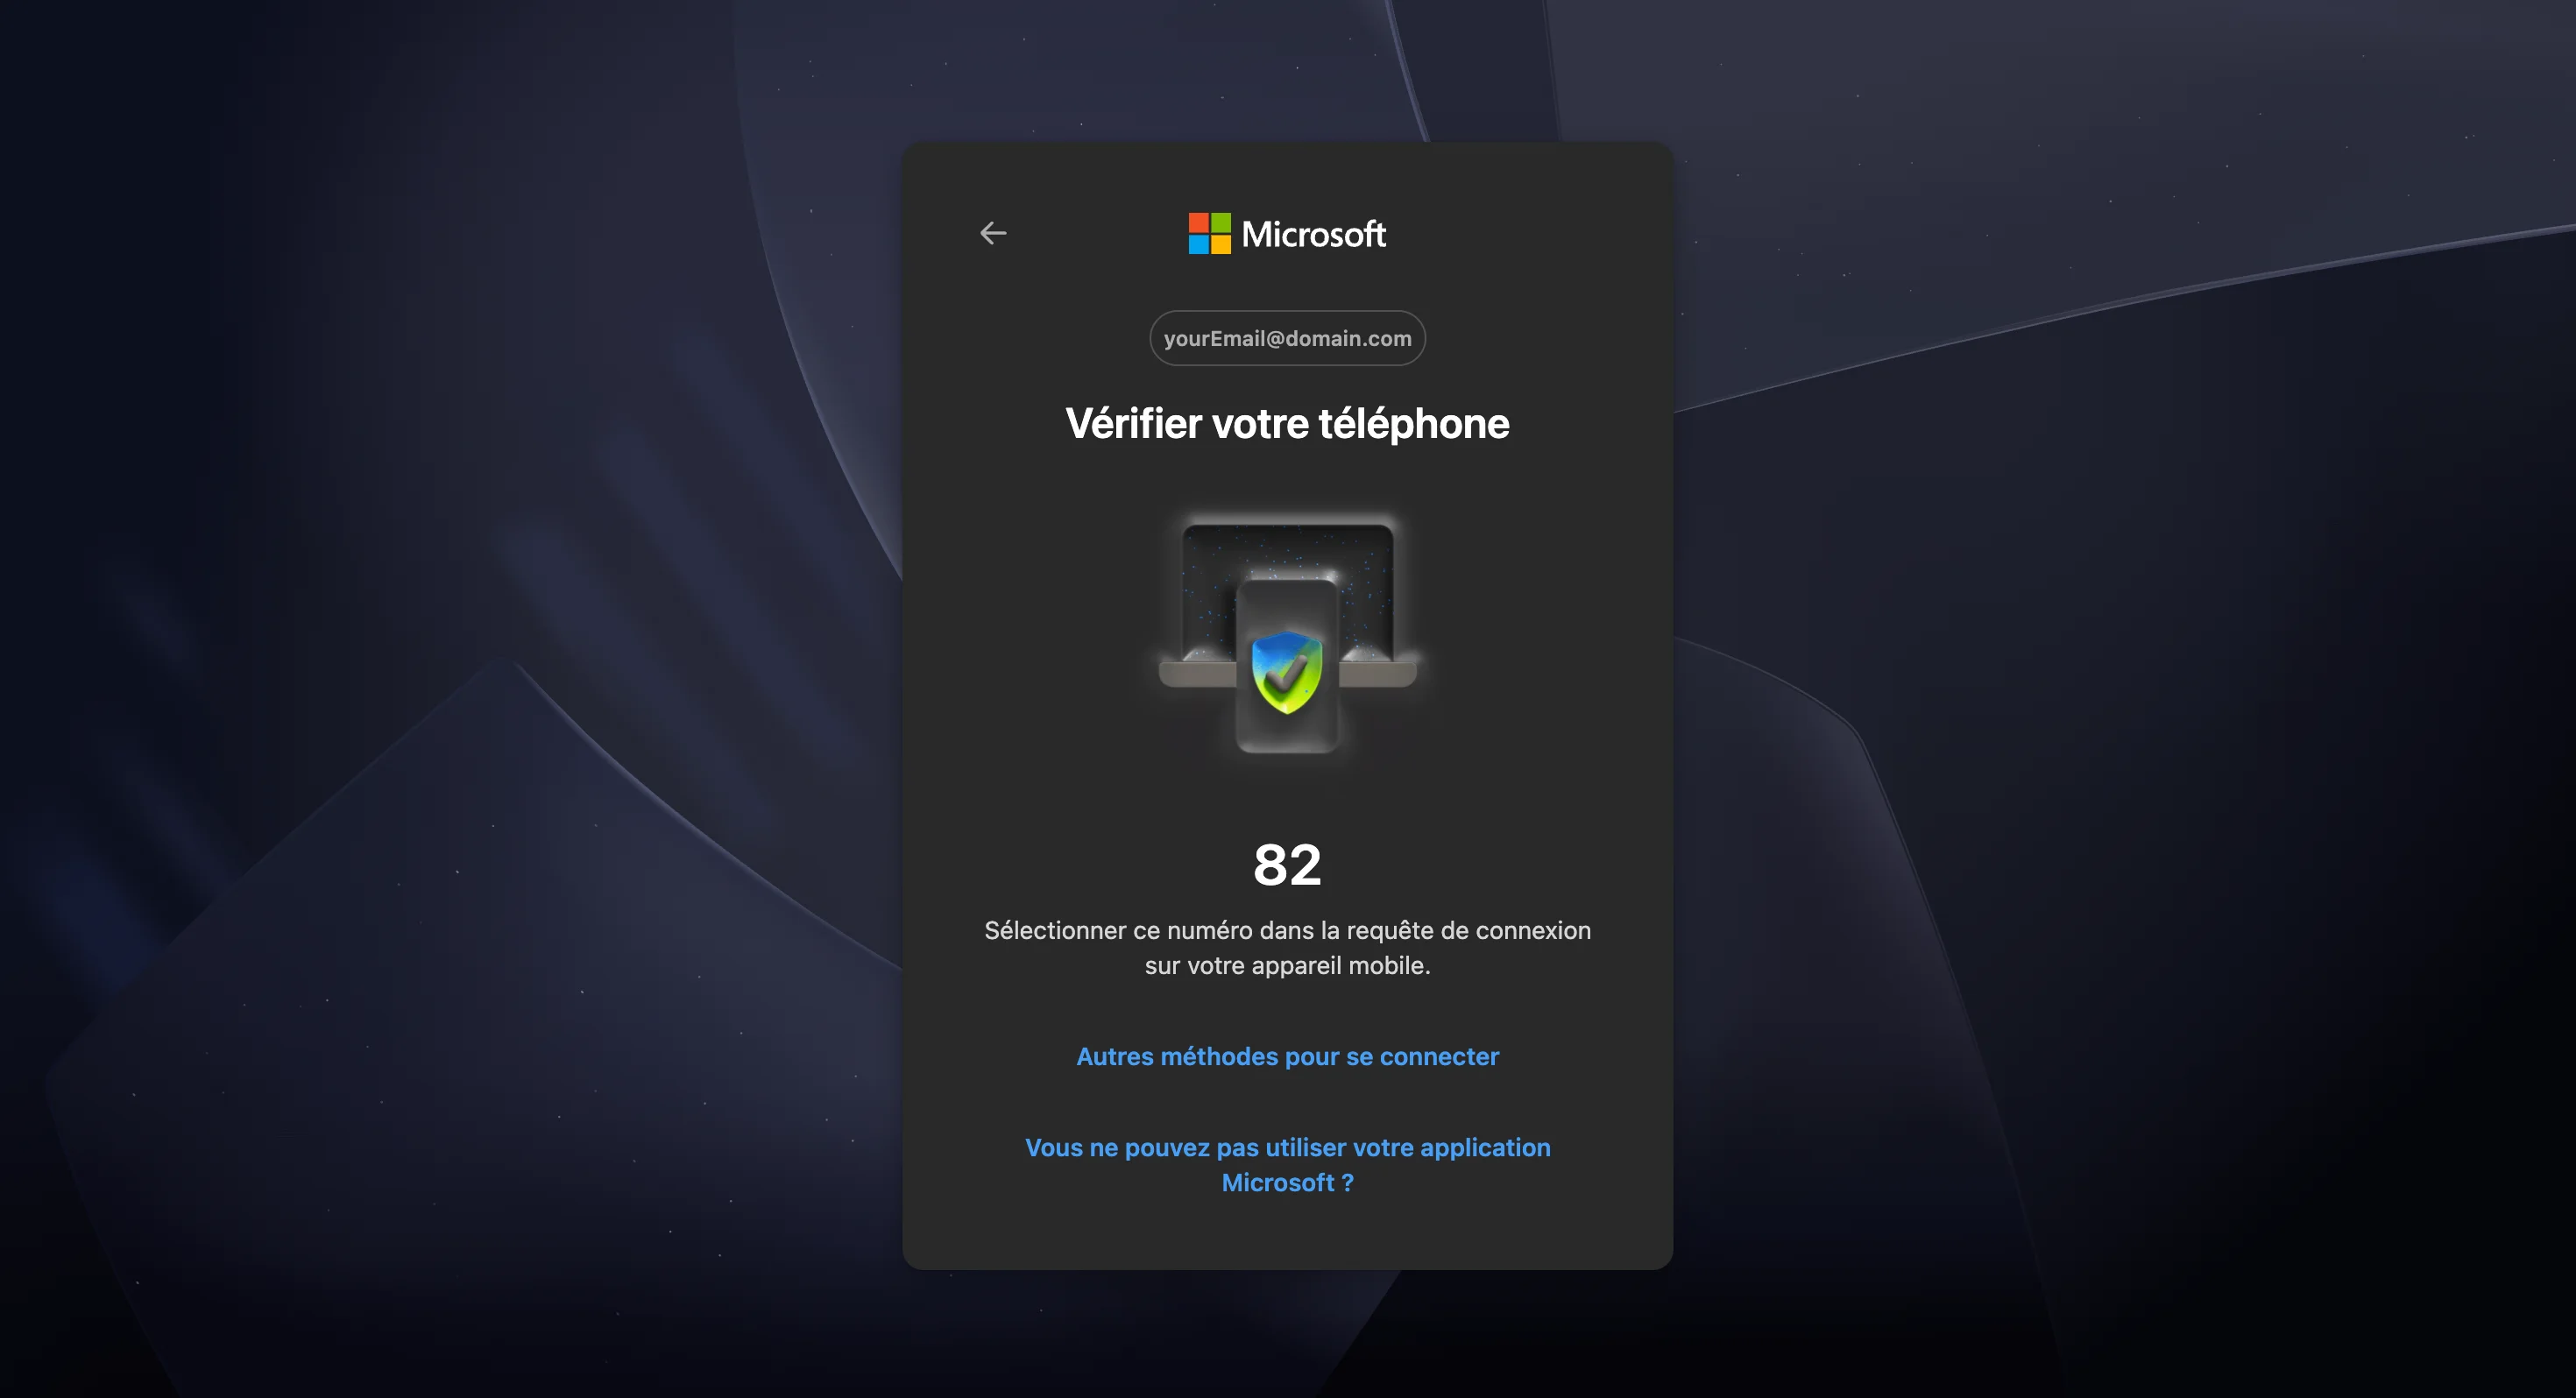
Microsoft Authenticator
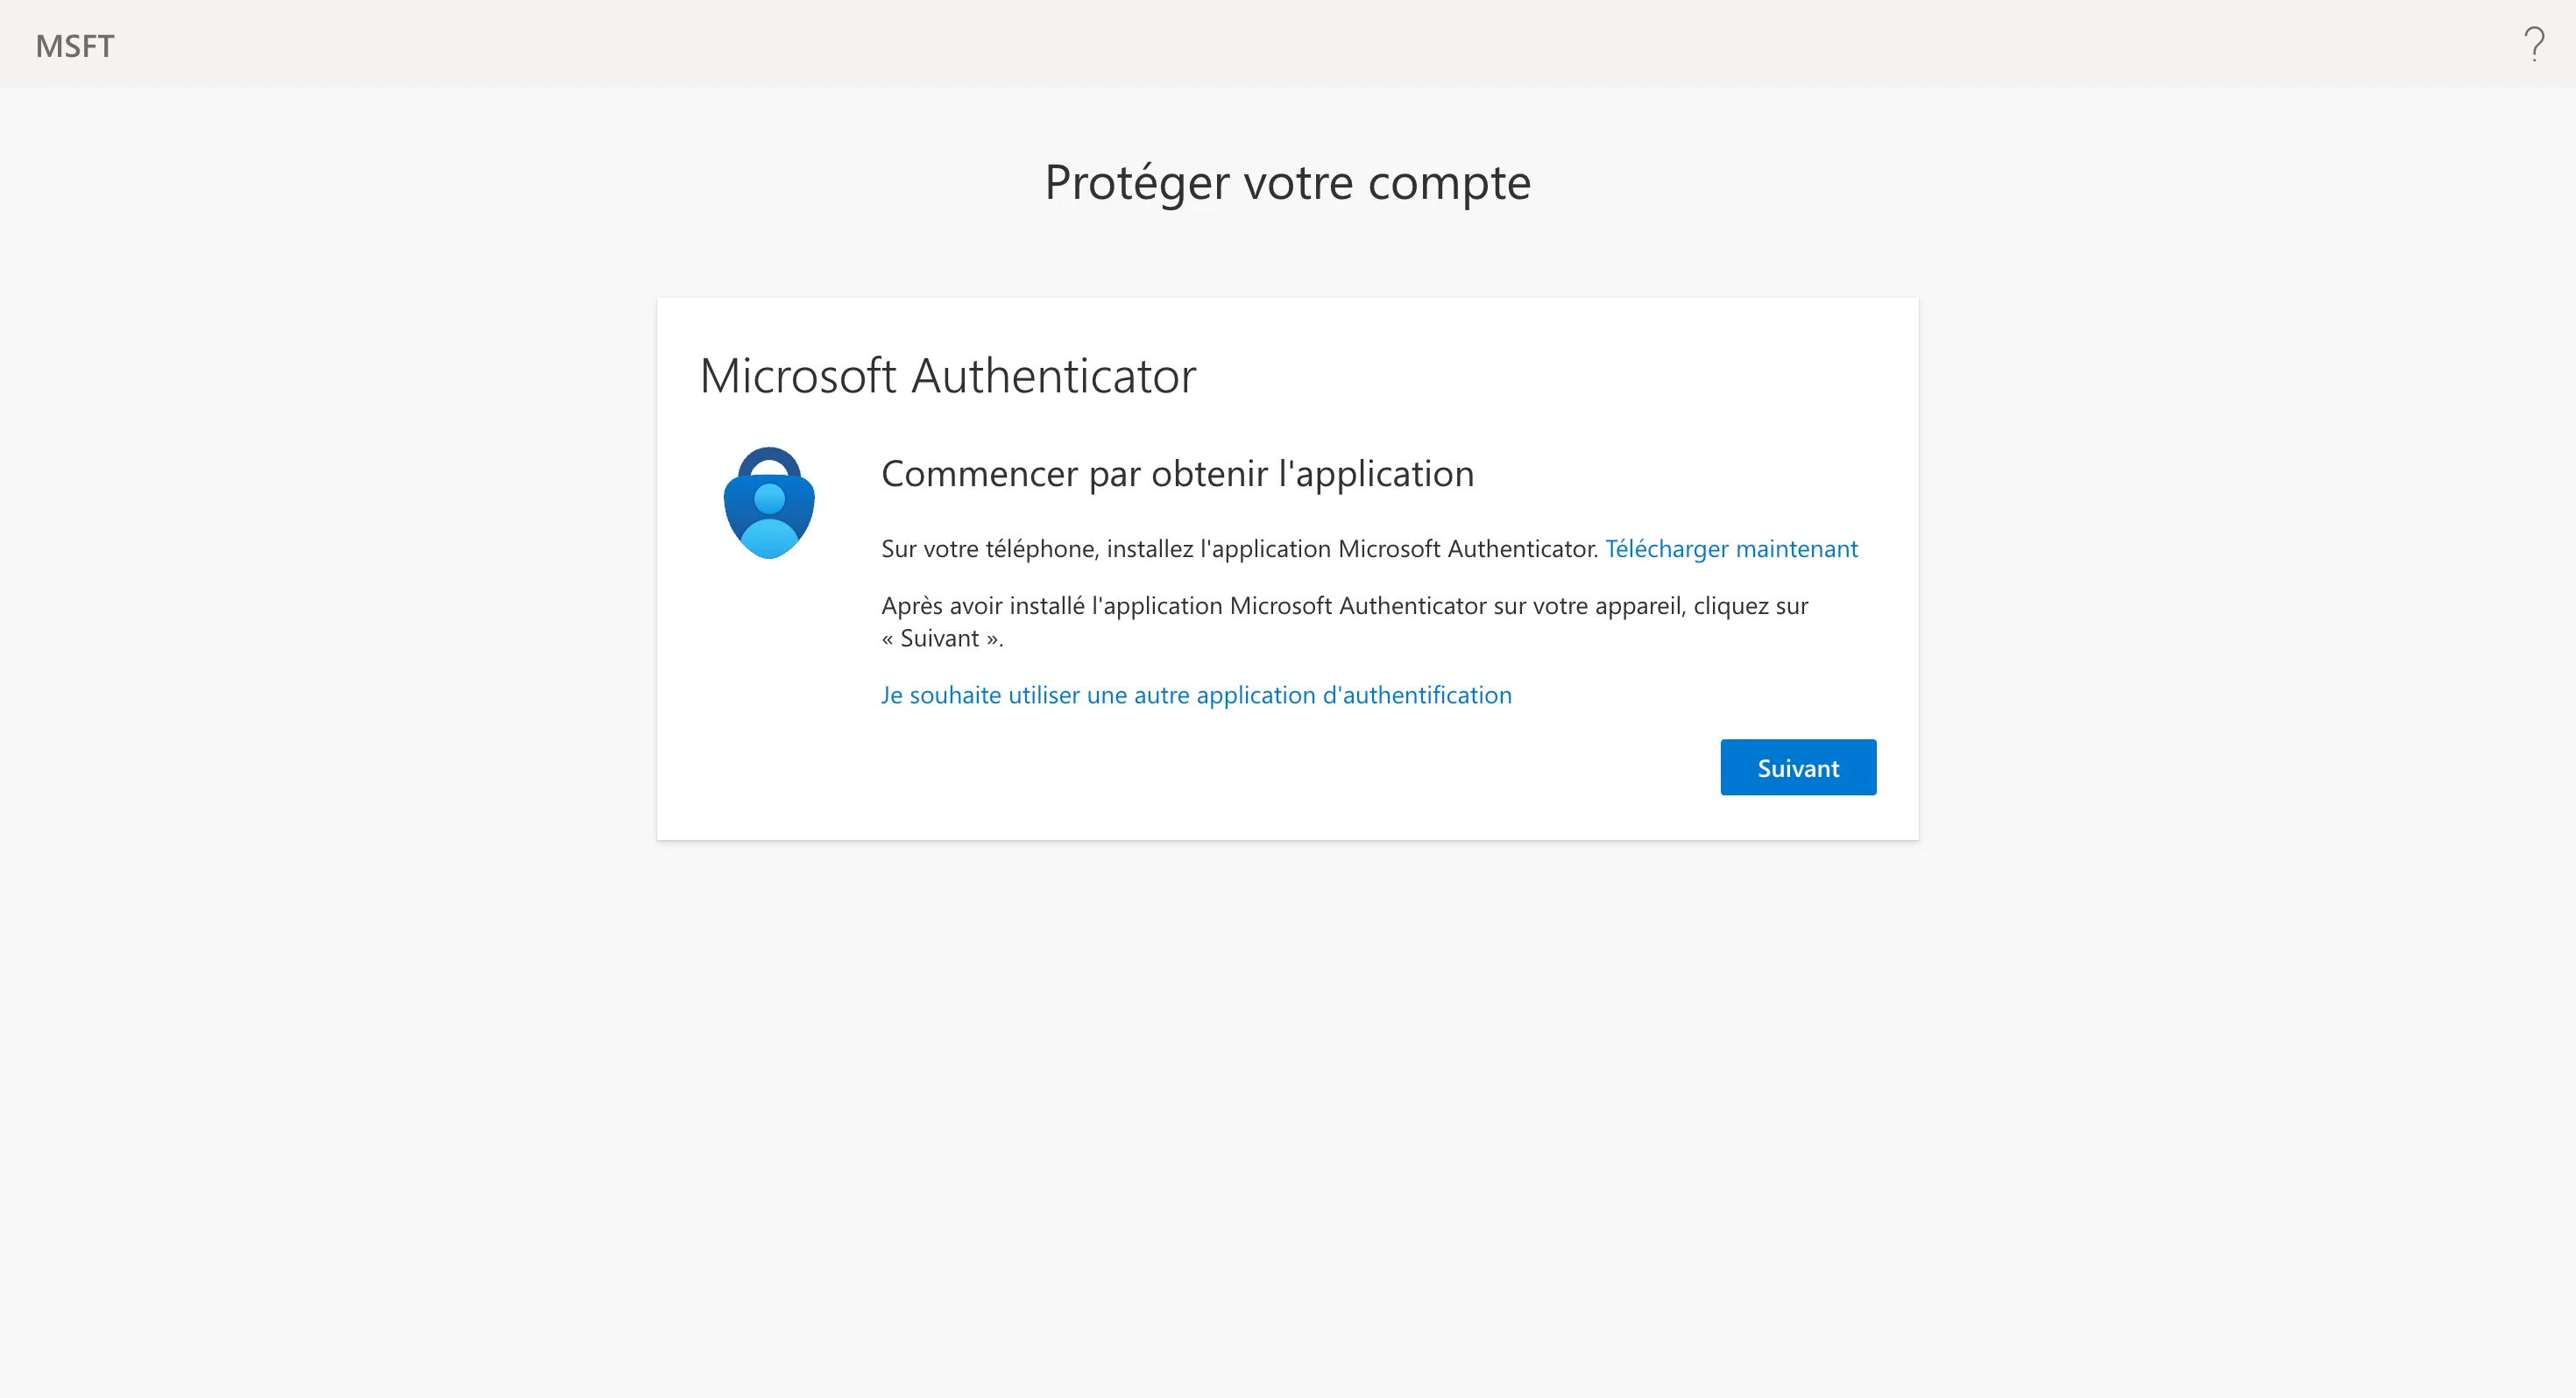
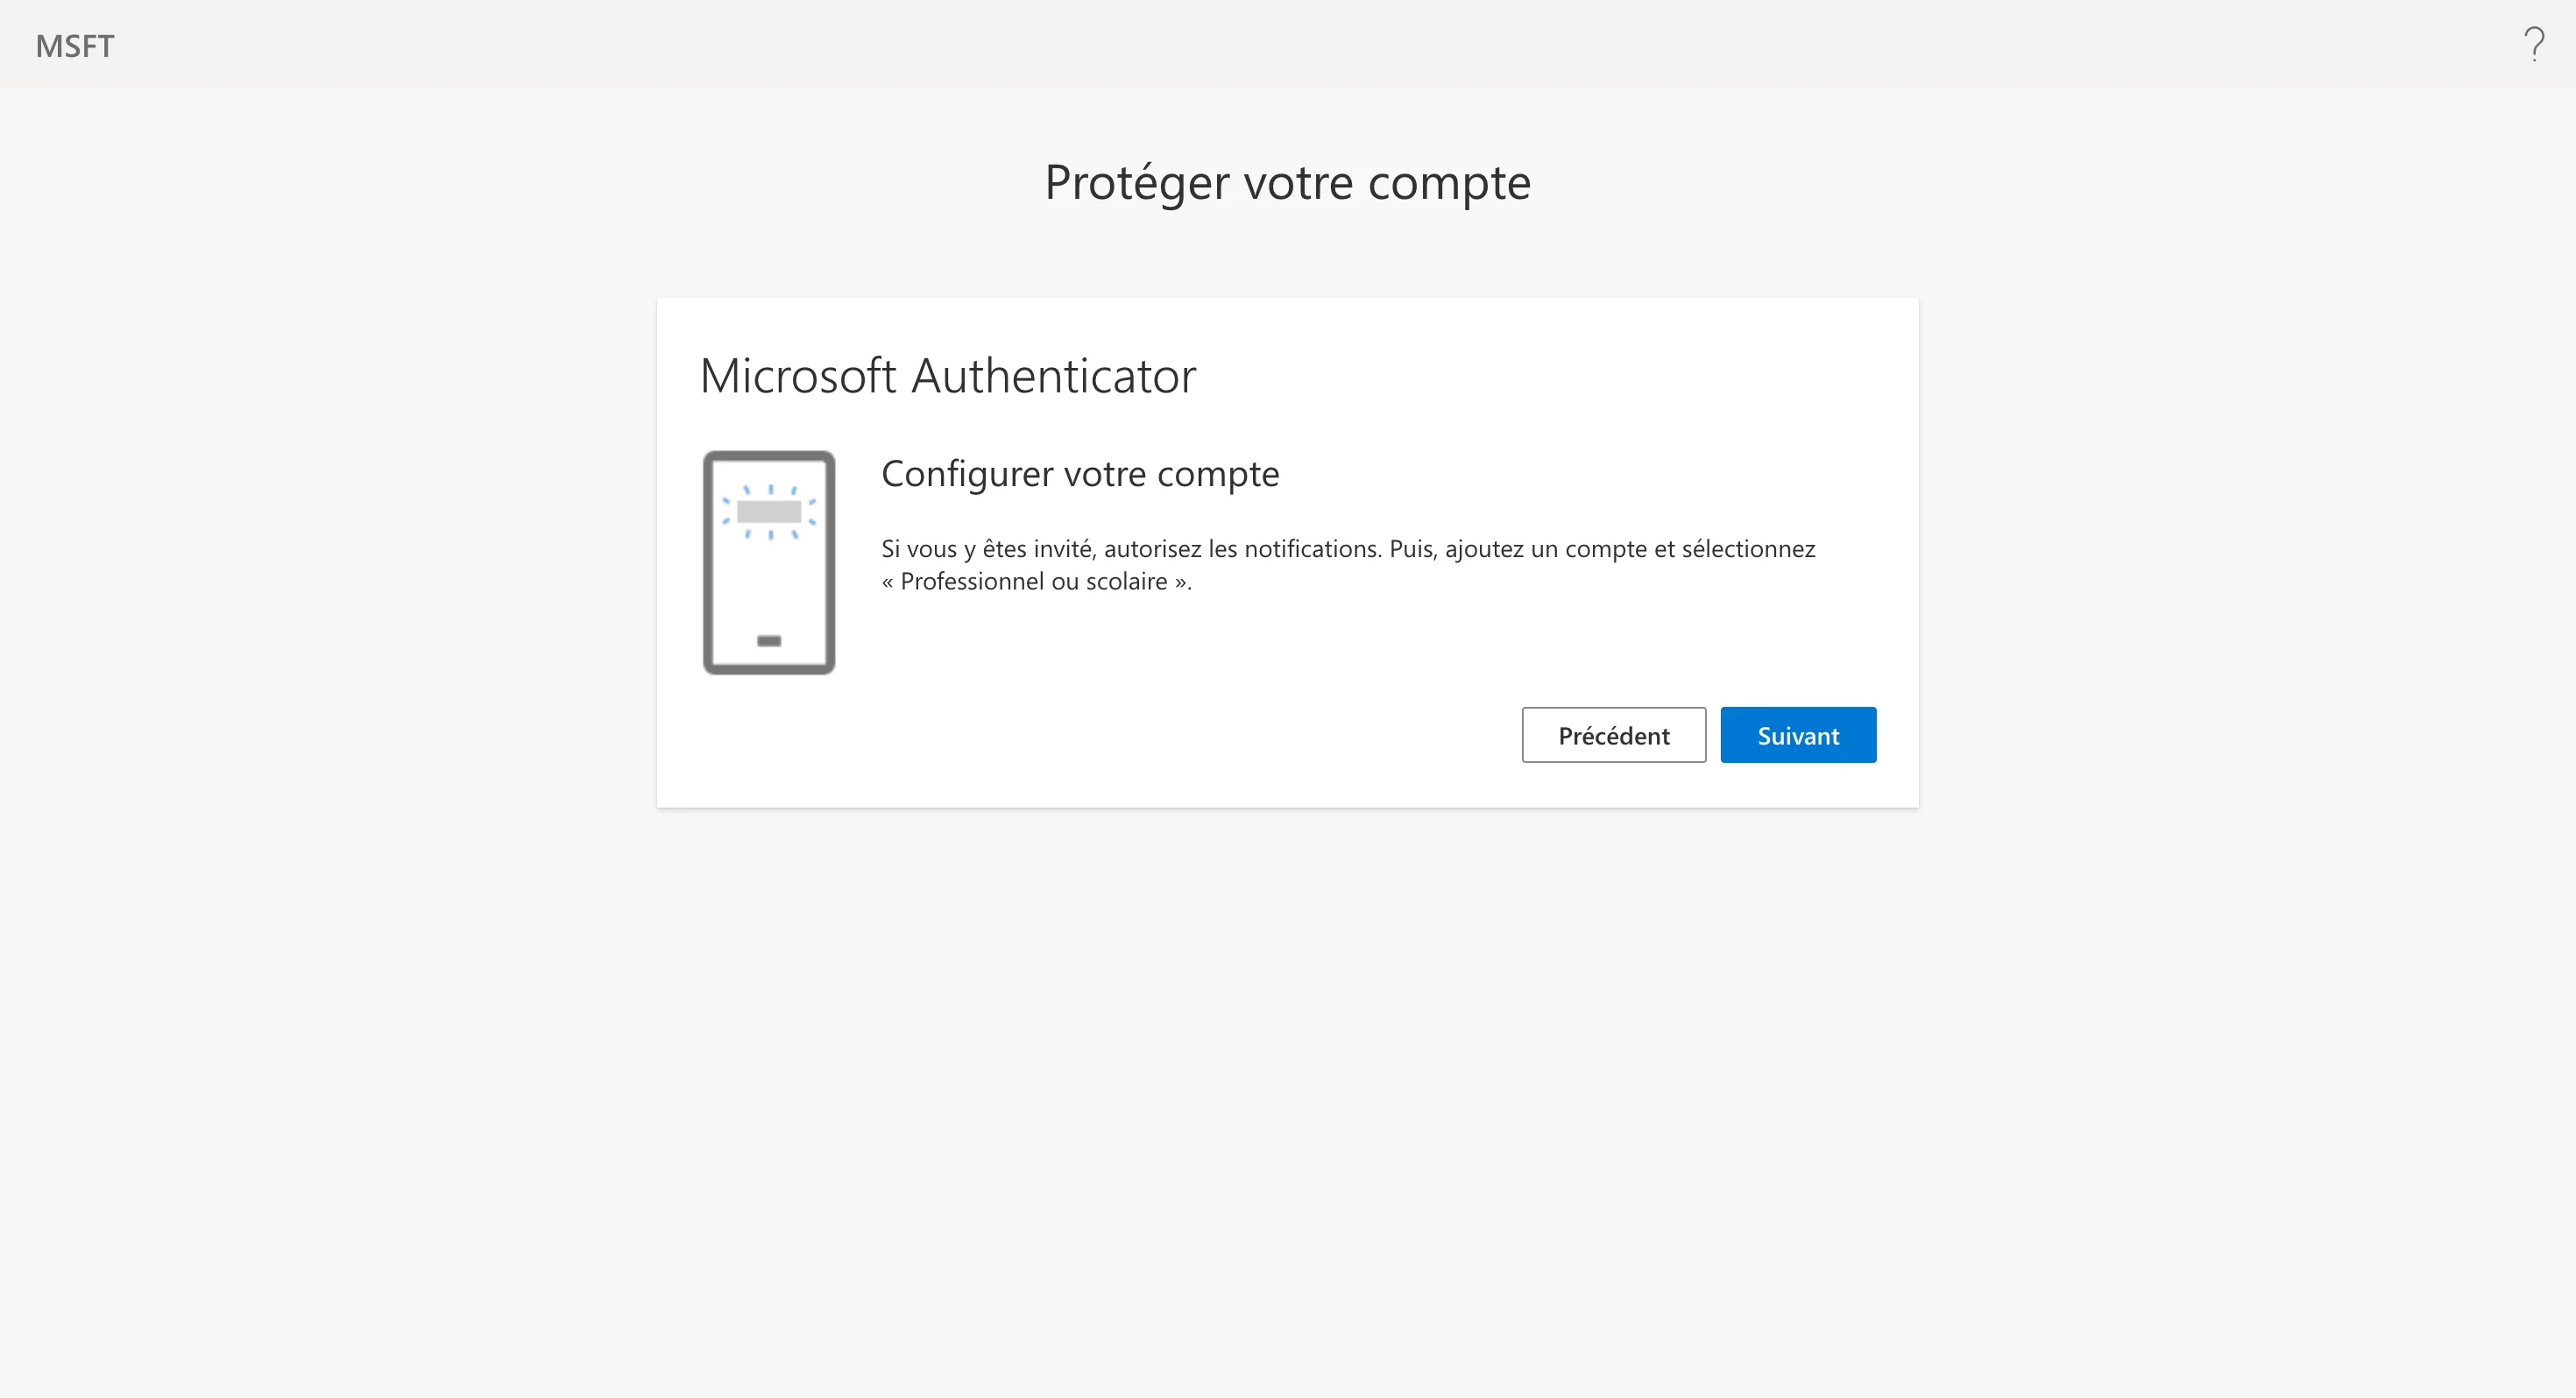
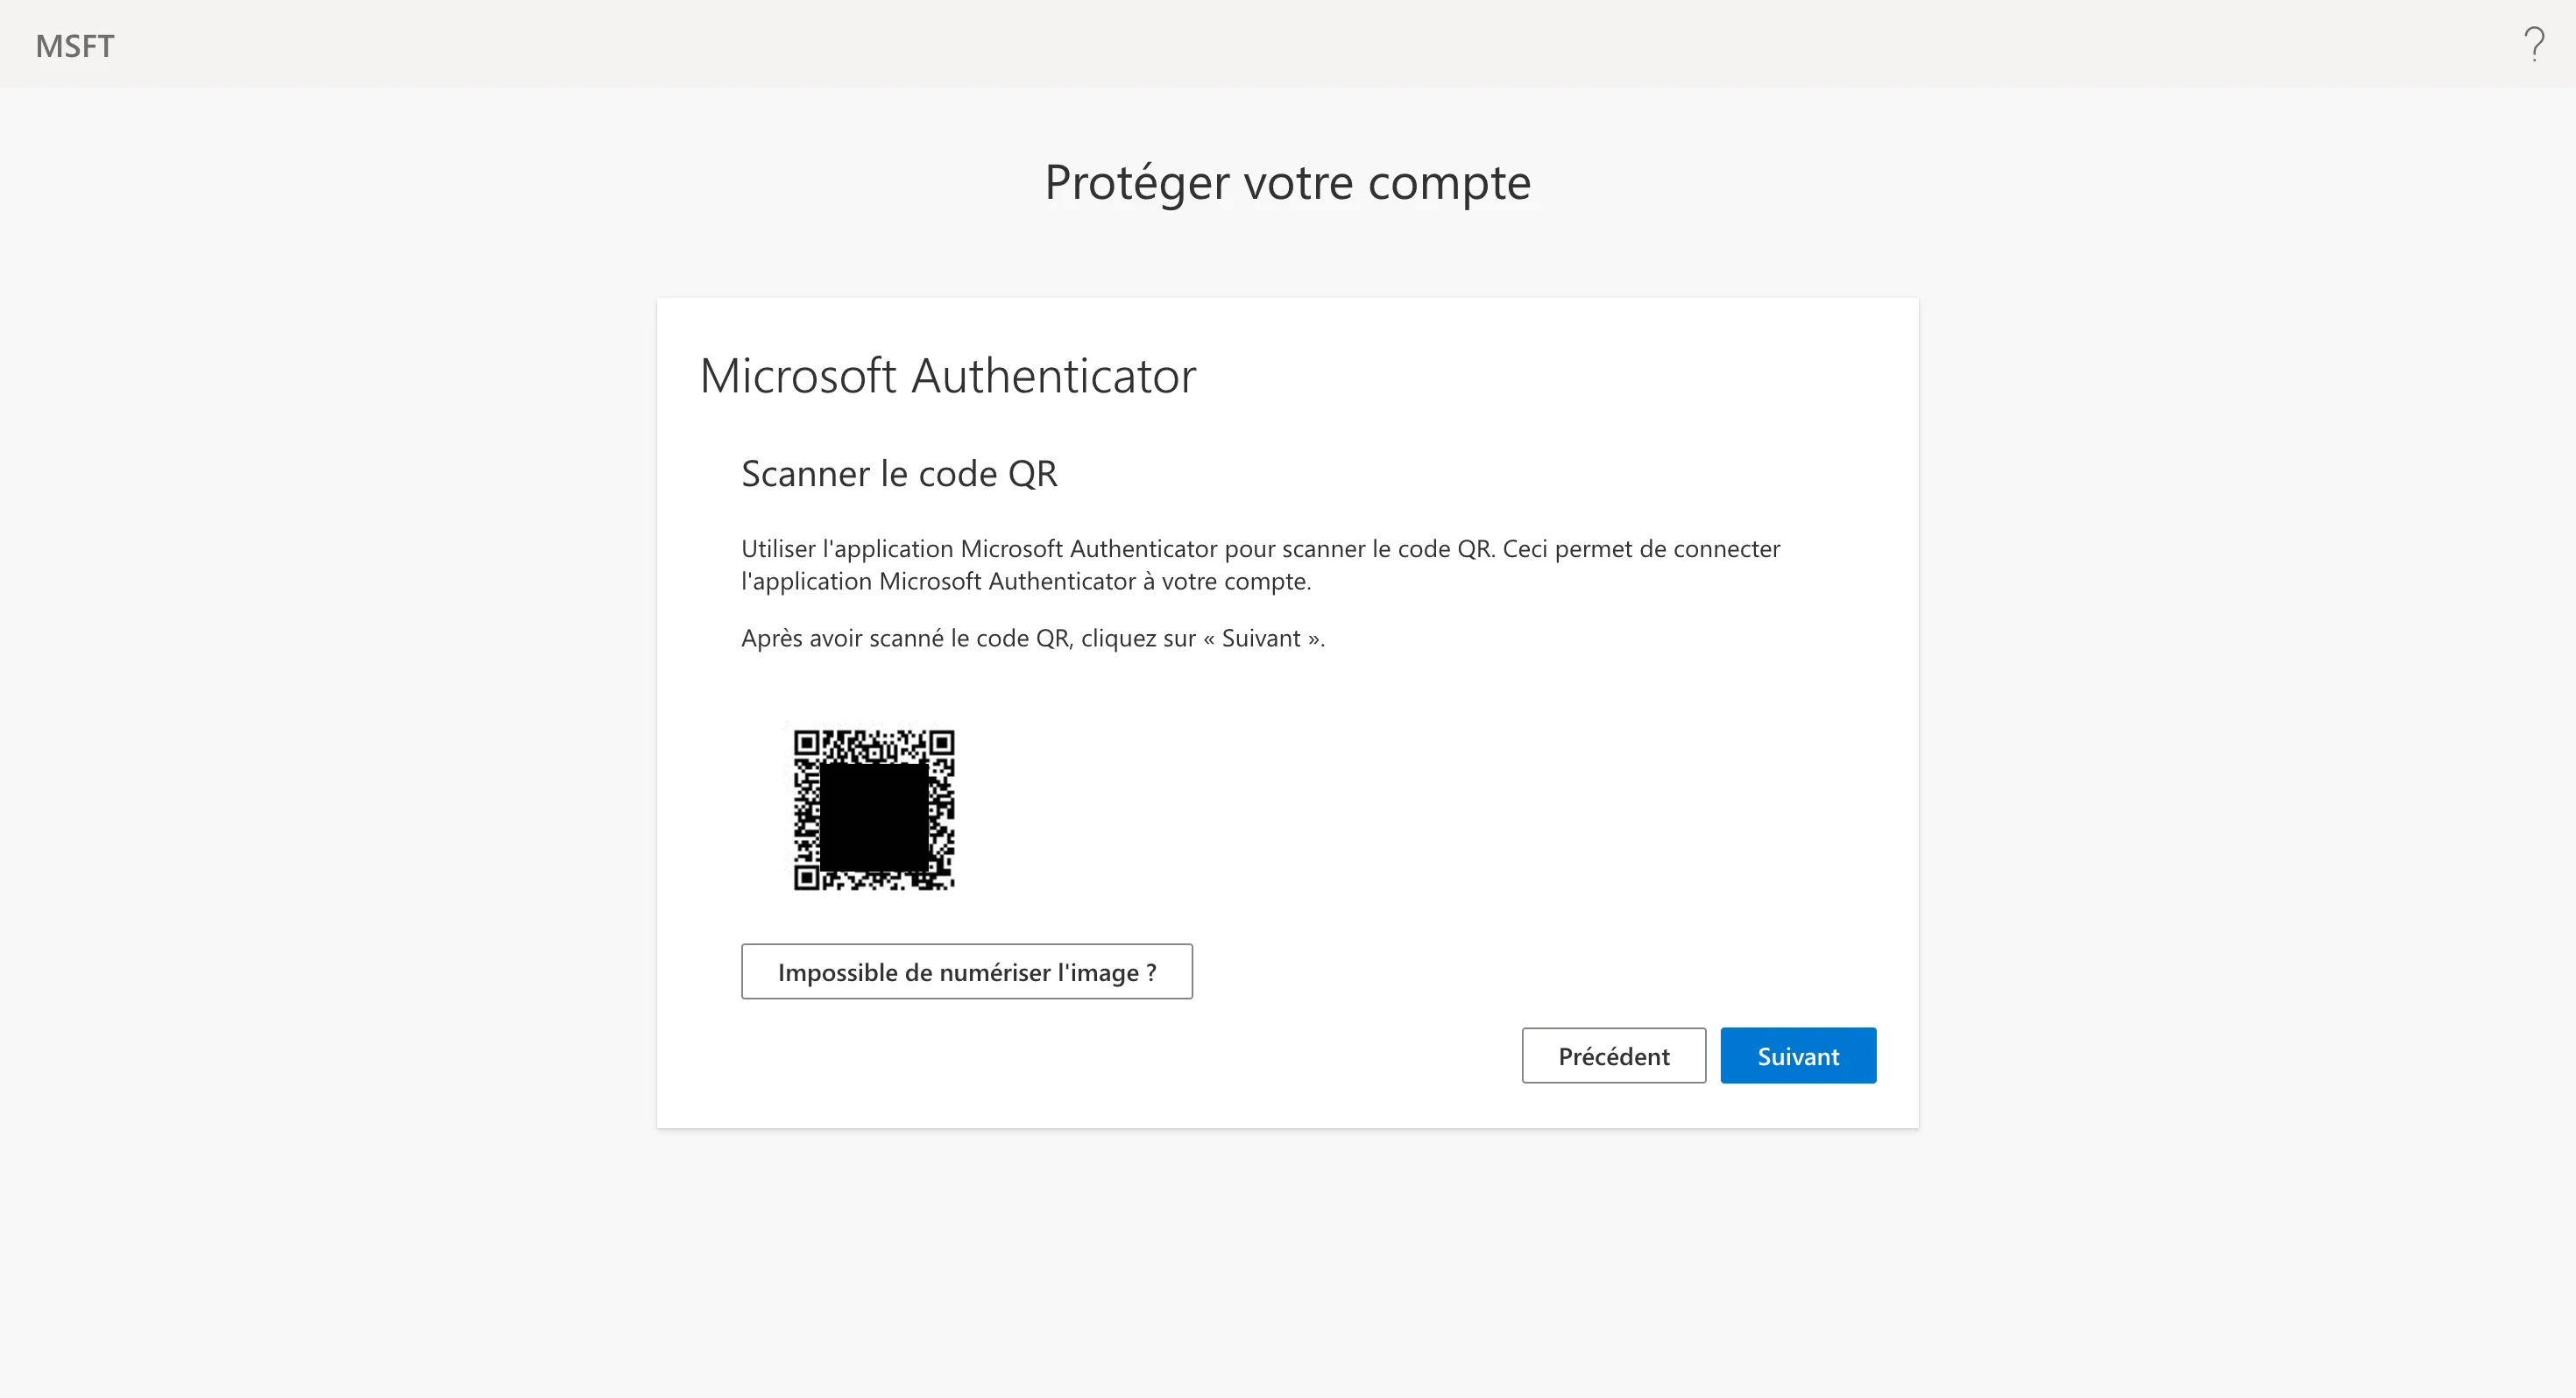
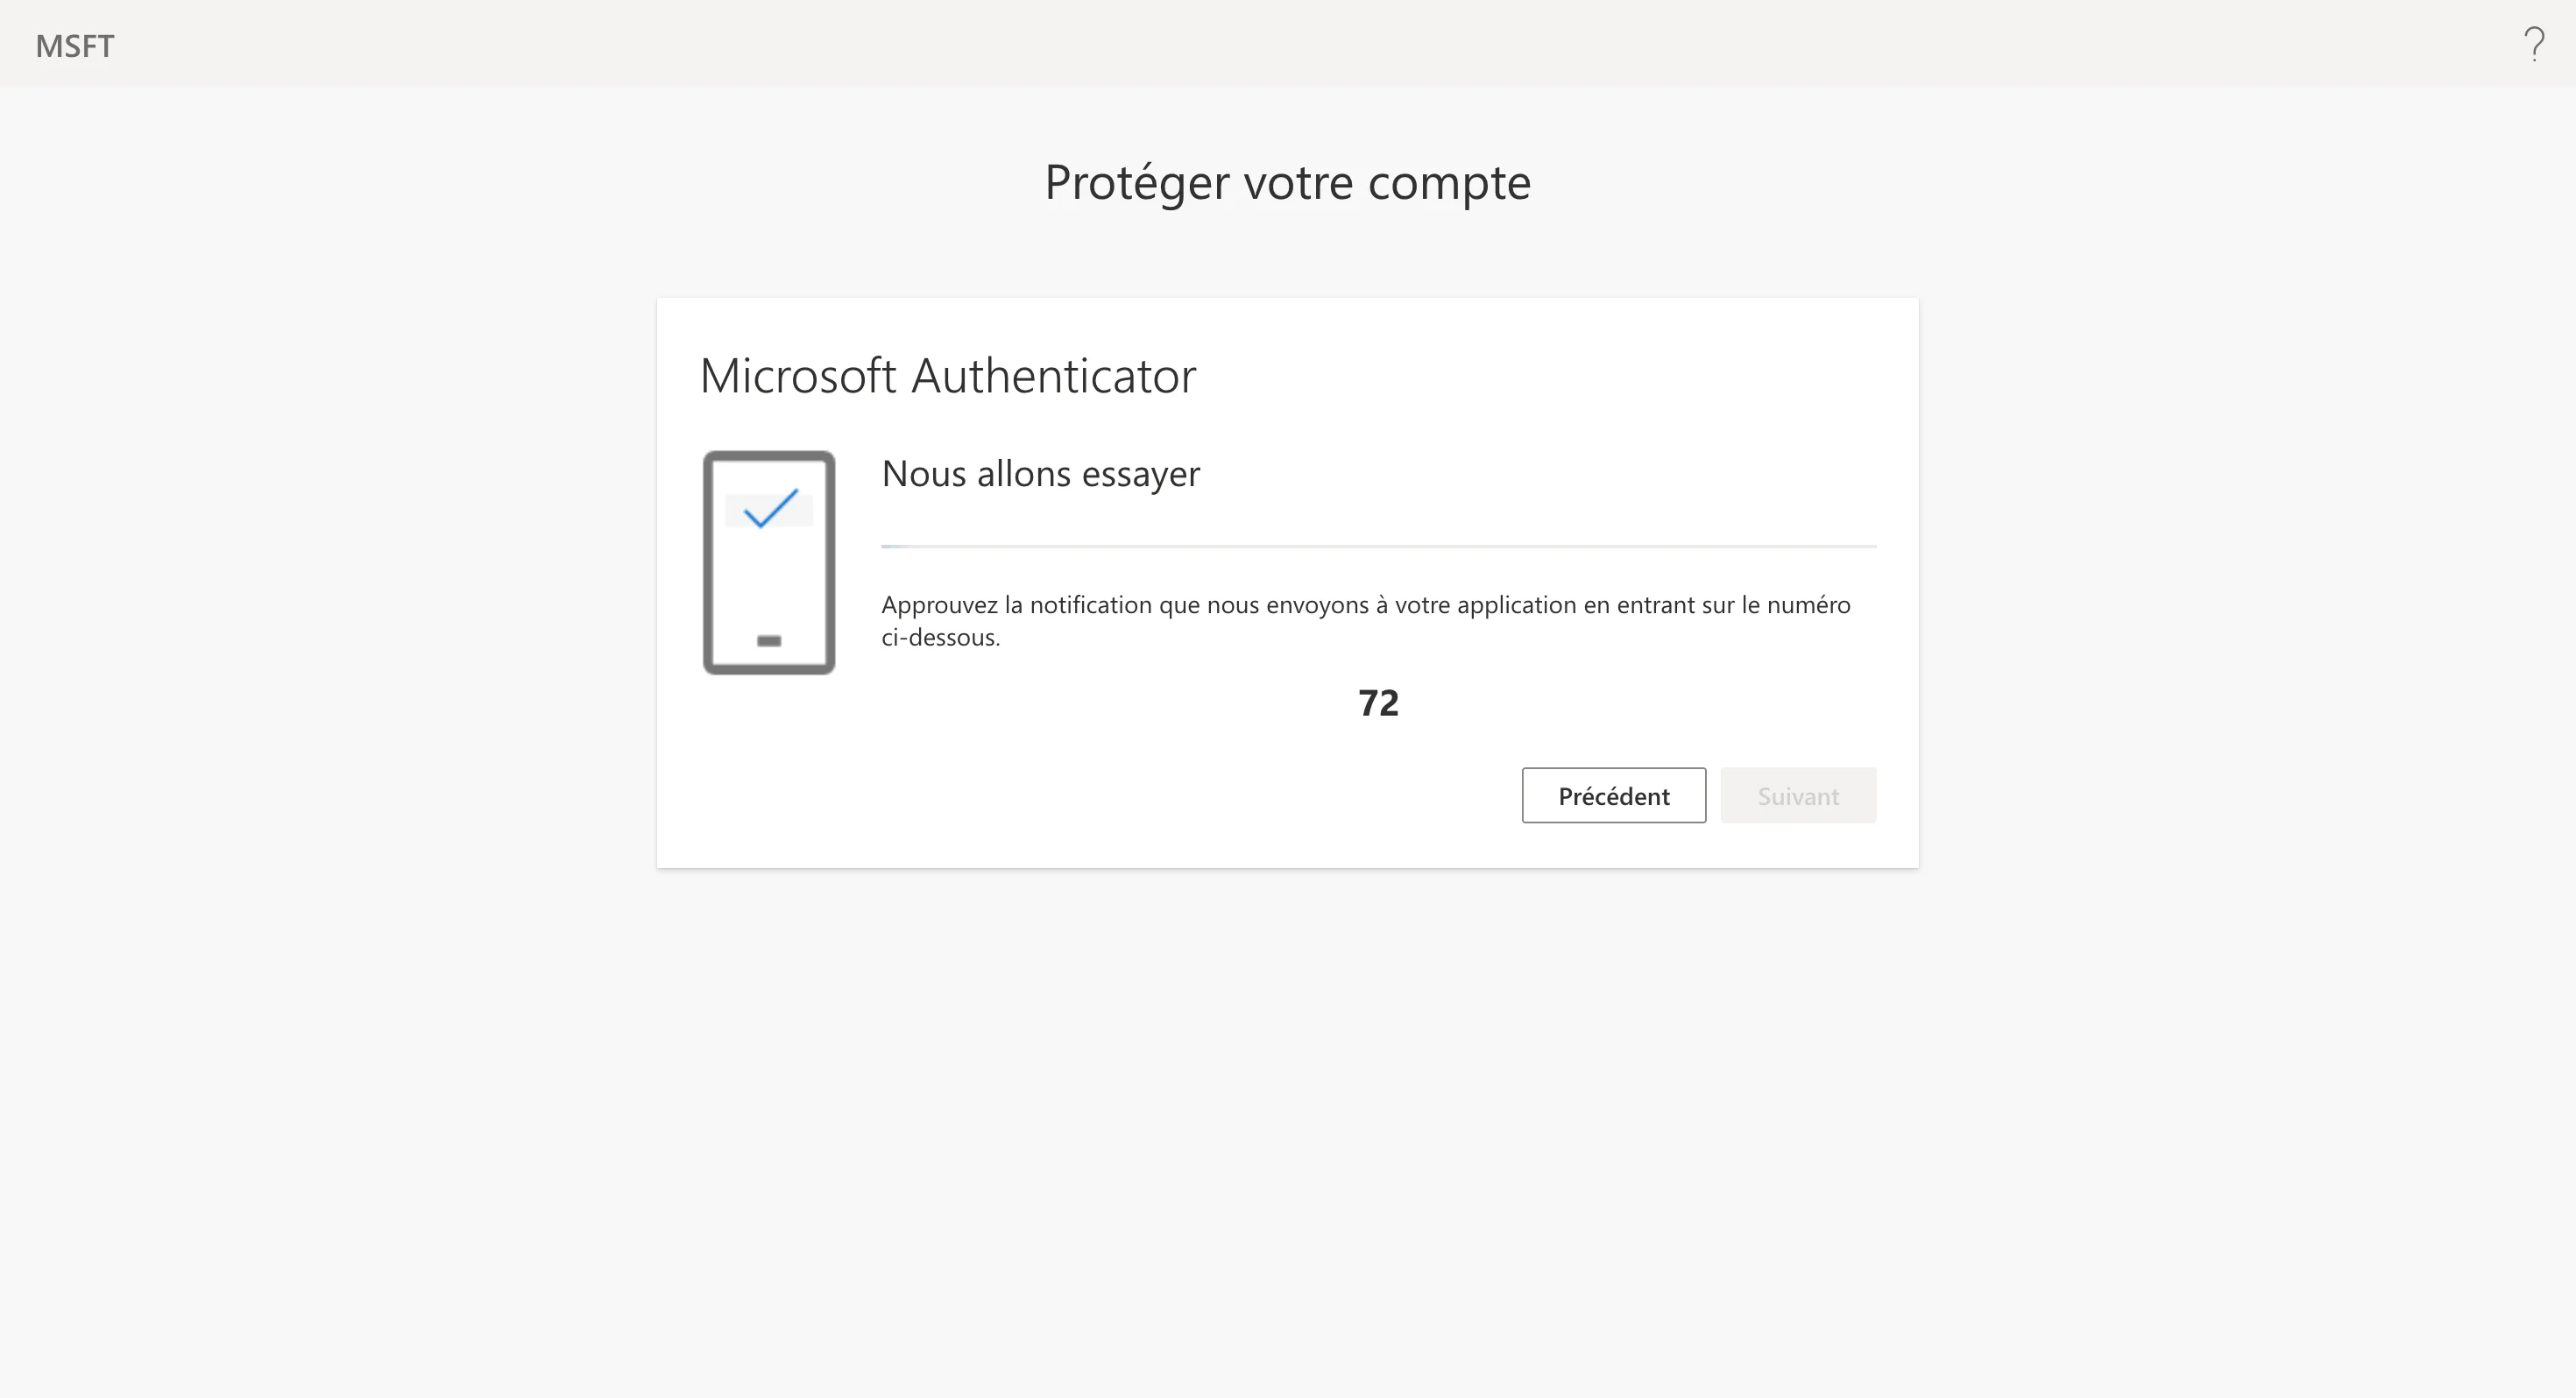
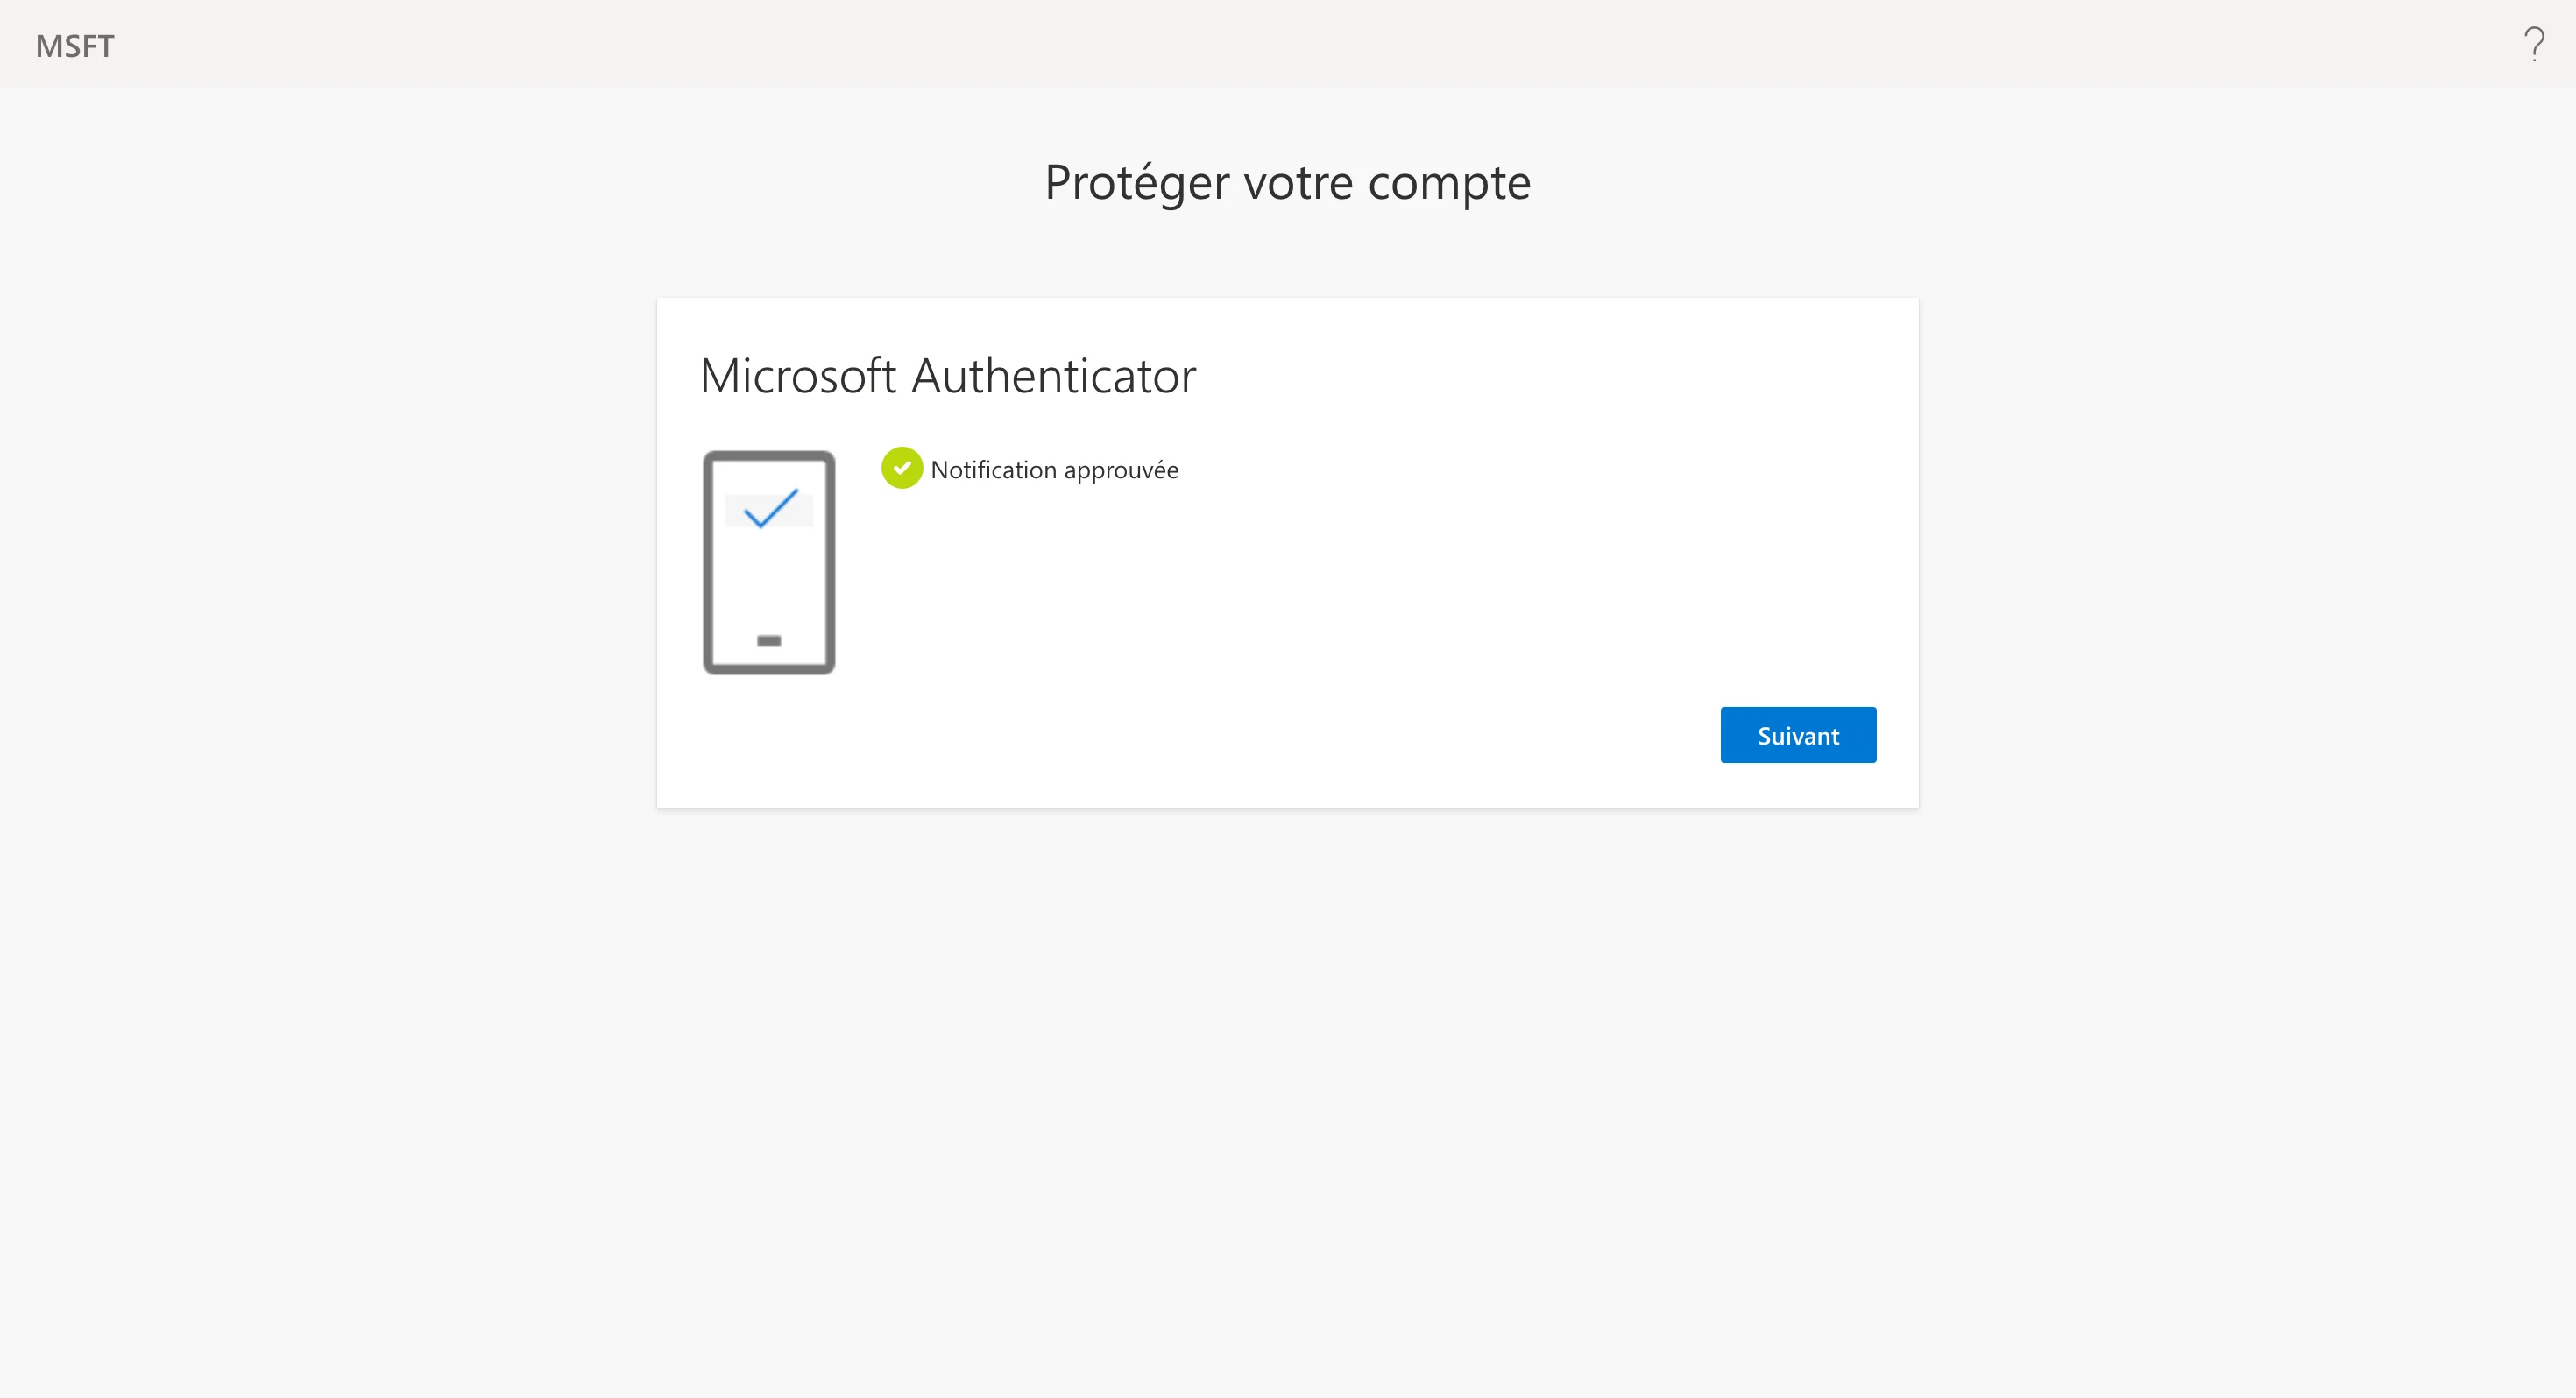
Work and school accounts often require the Microsoft Authenticator app. If your organisation has not set it up yet, Microsoft walks you through it during this sign-in: install the app, add the account, scan the QR code, then confirm the number it shows.
This is Microsoft's own process — QAnswer is not involved and never sees your password or second factor. Once the account is enrolled, later connectors only need the push confirmation.
Stay signed in and consent
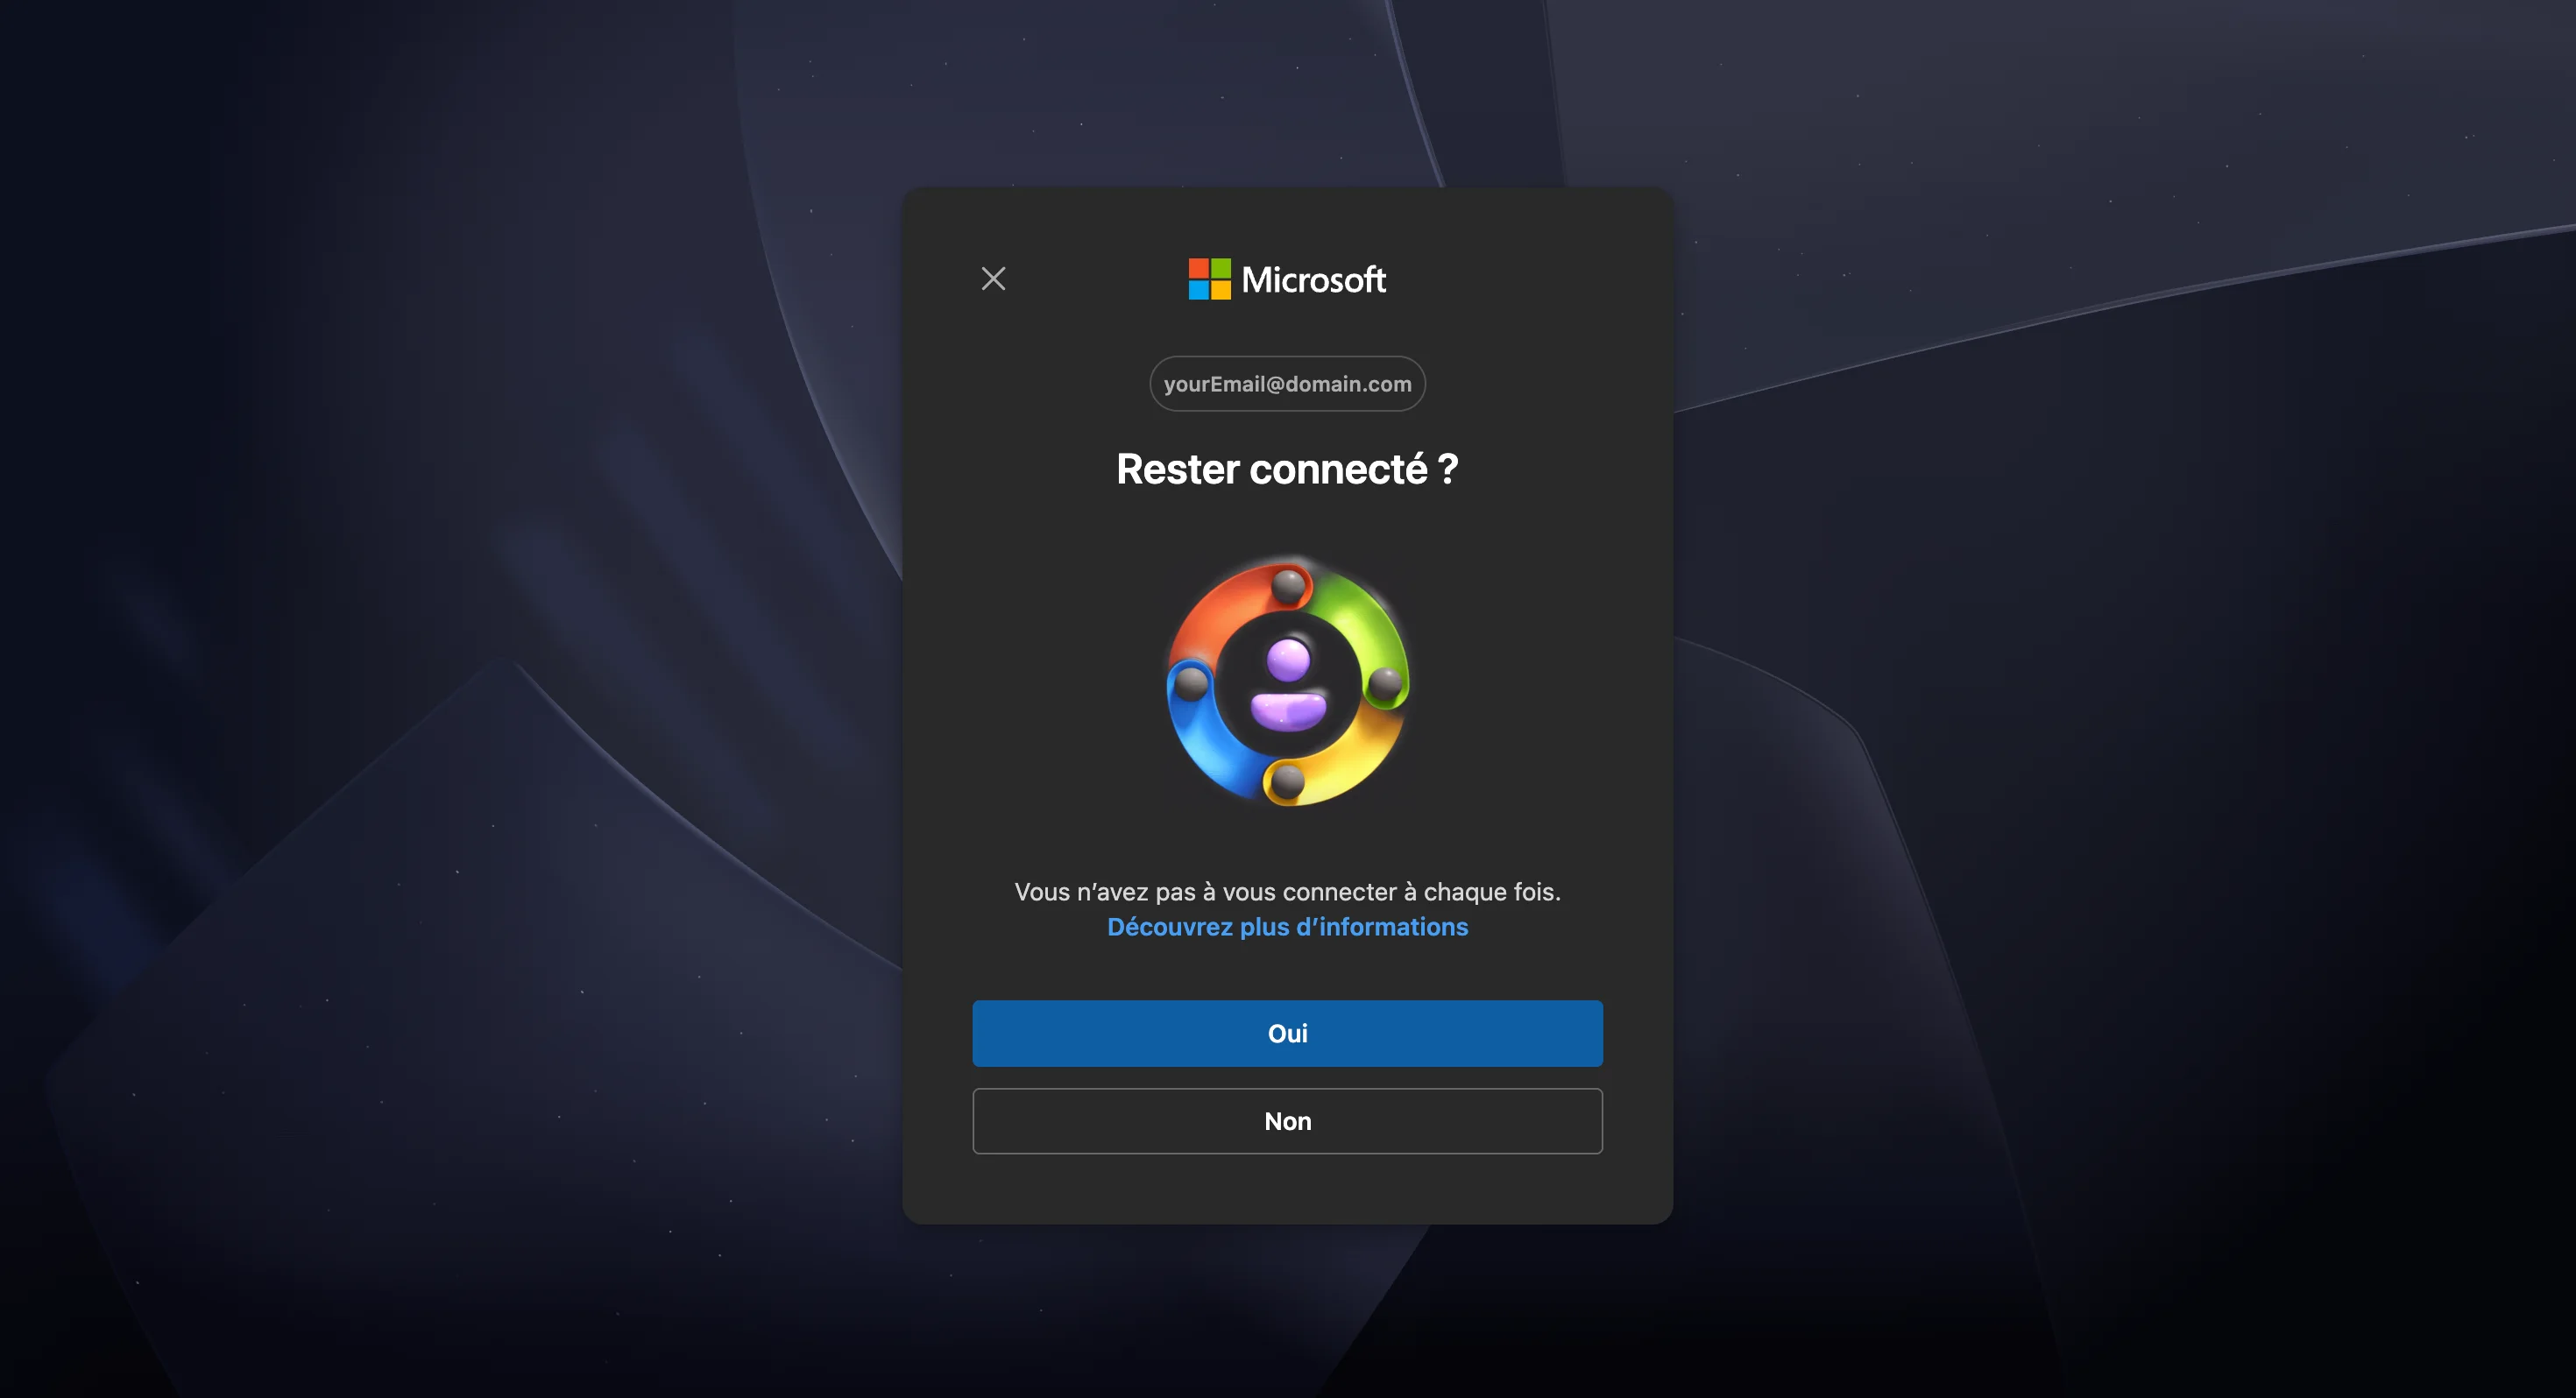
Microsoft asks whether to stay signed in. Answering Yes keeps your Microsoft session in this browser, which saves you the sign-in next time you add a Microsoft connector. It has no effect on the connector itself: the connector keeps its own authorisation either way.
If your organisation has not pre-approved QAnswer, a consent screen lists the permissions being requested — reading your files and their metadata. Accepting it is what lets the connector list your drive; declining ends the flow with nothing connected.
Choose what to index
The second step lists your drive, the same content you would see in OneDrive:
- Click a folder name to open it. The breadcrumb above the table shows where you are, and the ".." row goes back up one level.
- Each row shows the file size and when it was last modified, so you can tell stale files from current ones.
- Hovering a row reveals an icon that opens the file in OneDrive itself, for when the name alone is not enough.
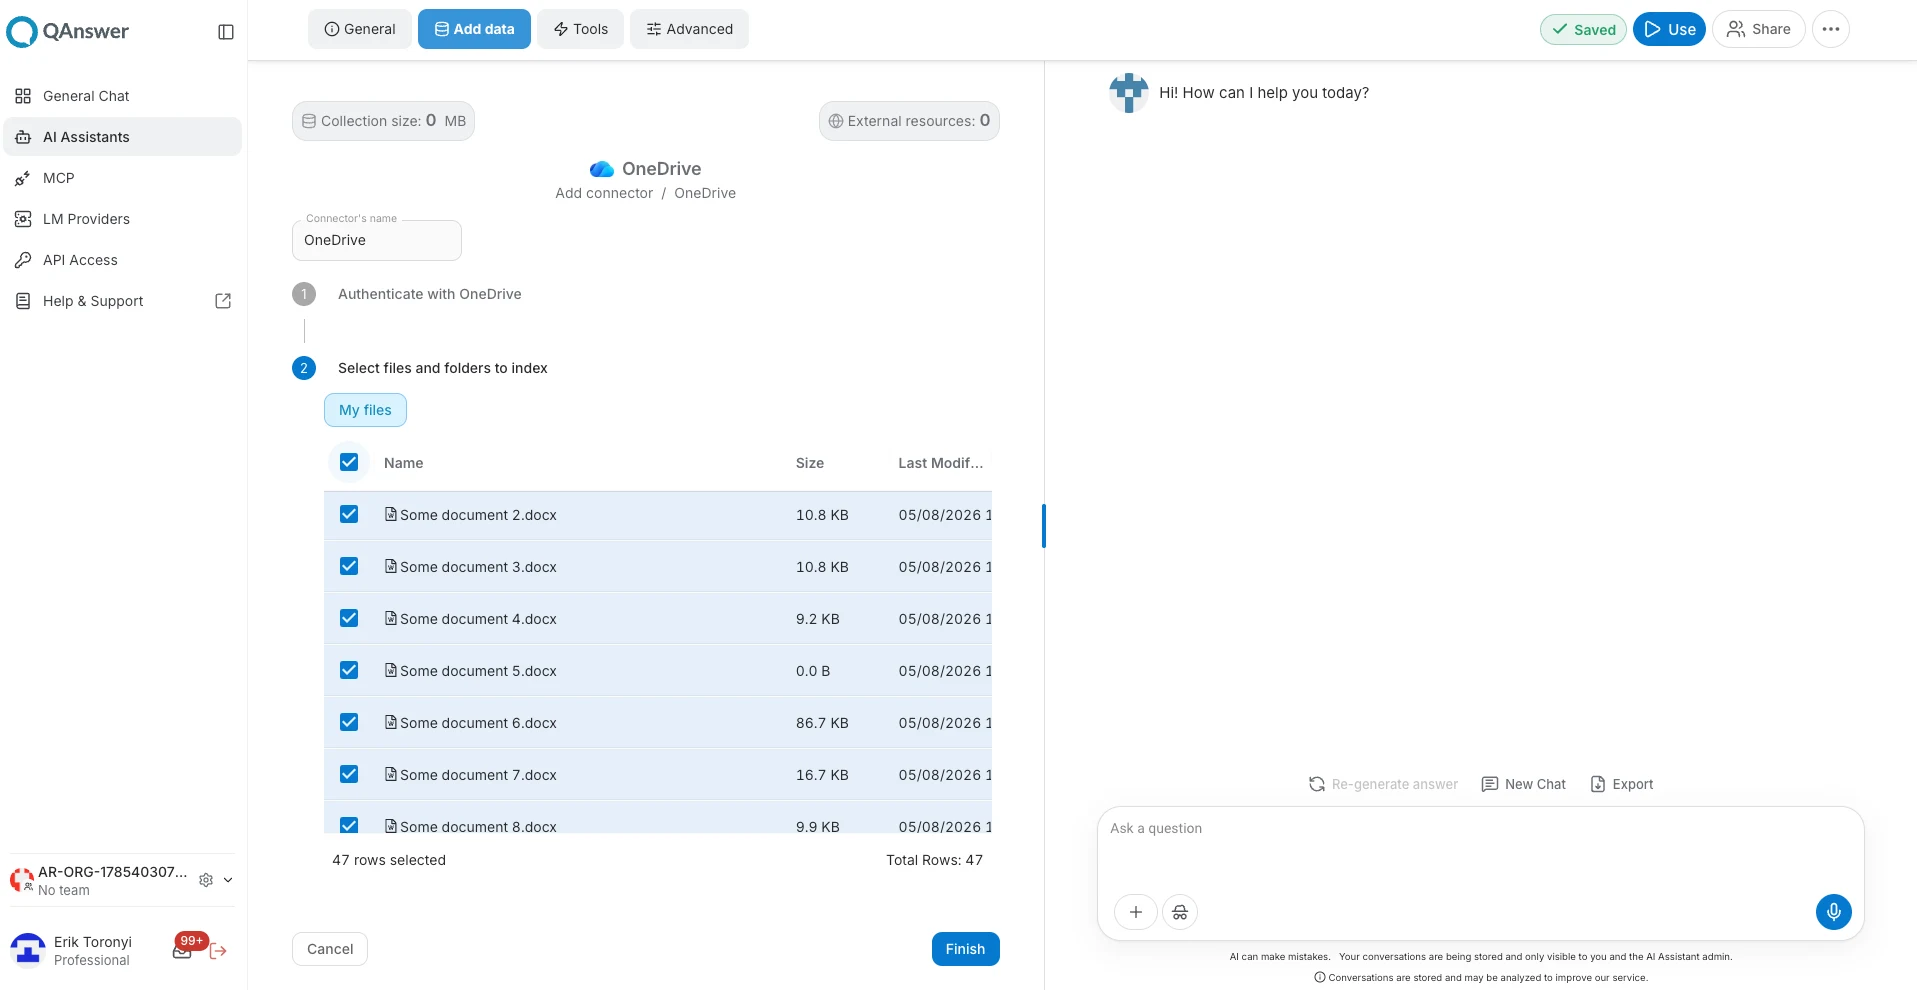
- Tick the folders and files to index. Selections survive navigation, so you can gather items from several folders before finishing.
- Click Finish to start indexing.
Indexing and updates
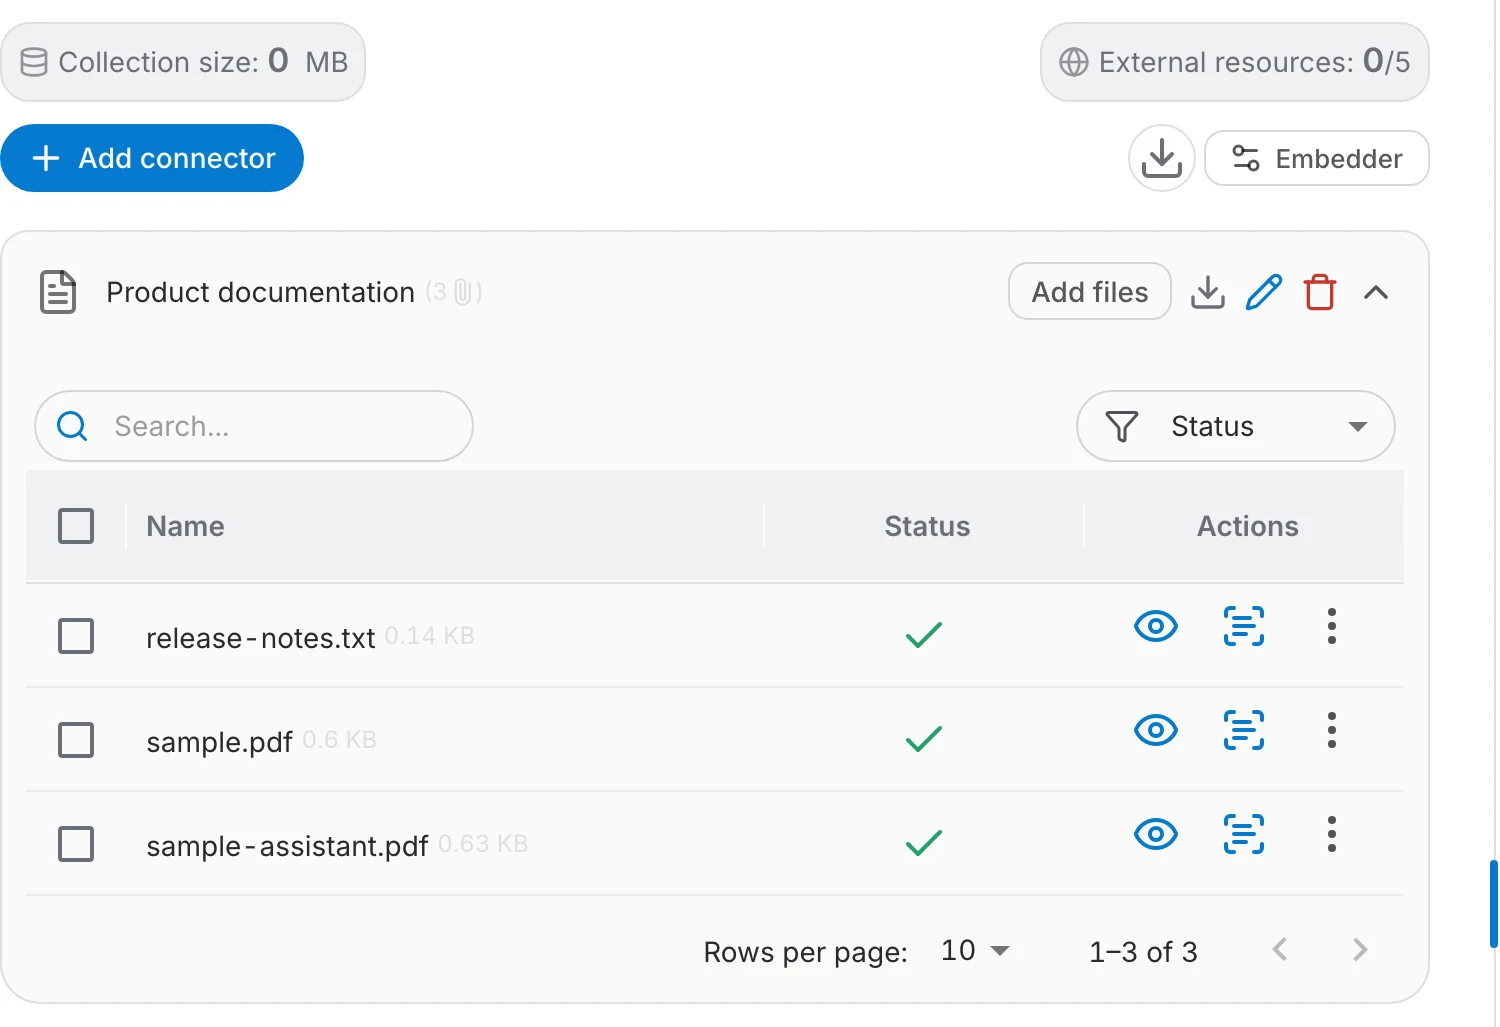
The connector's file table shows every file it pulled in and where the indexing got to:
- A green check means the file is indexed; failures are marked so you can see what did not make it.
- Add files on the connector row reopens the drive listing, so you can index more files into the same connector later.
- Indexing reads the files once. Later edits in OneDrive are not picked up on their own — add the file again to refresh it.
Access
Once files are indexed, their content is available to everyone who can use the assistant, whatever the sharing settings were in OneDrive. That is a deliberate consequence of indexing: the assistant answers from the text, not from each reader's permissions.