
Create an AI Assistant
An AI Assistant is a chat, search or report interface built on top of your own data. This guide walks through creating an assistant in a single click, configuring it in the split-view editor, and putting it to work.
Where to find your AI assistants
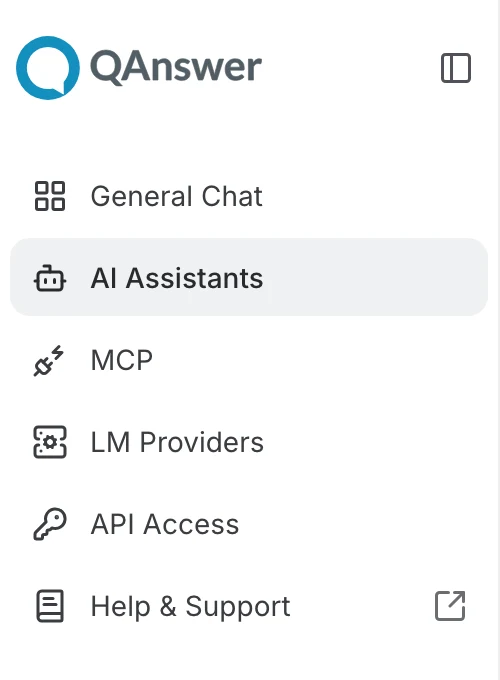
Click AI Assistants in the left navigation drawer. Use the toggle at the top of the drawer to expand it and see the labels next to each icon:
The AI Assistants page lists every assistant you own or that has been shared with you. It is also directly available here:
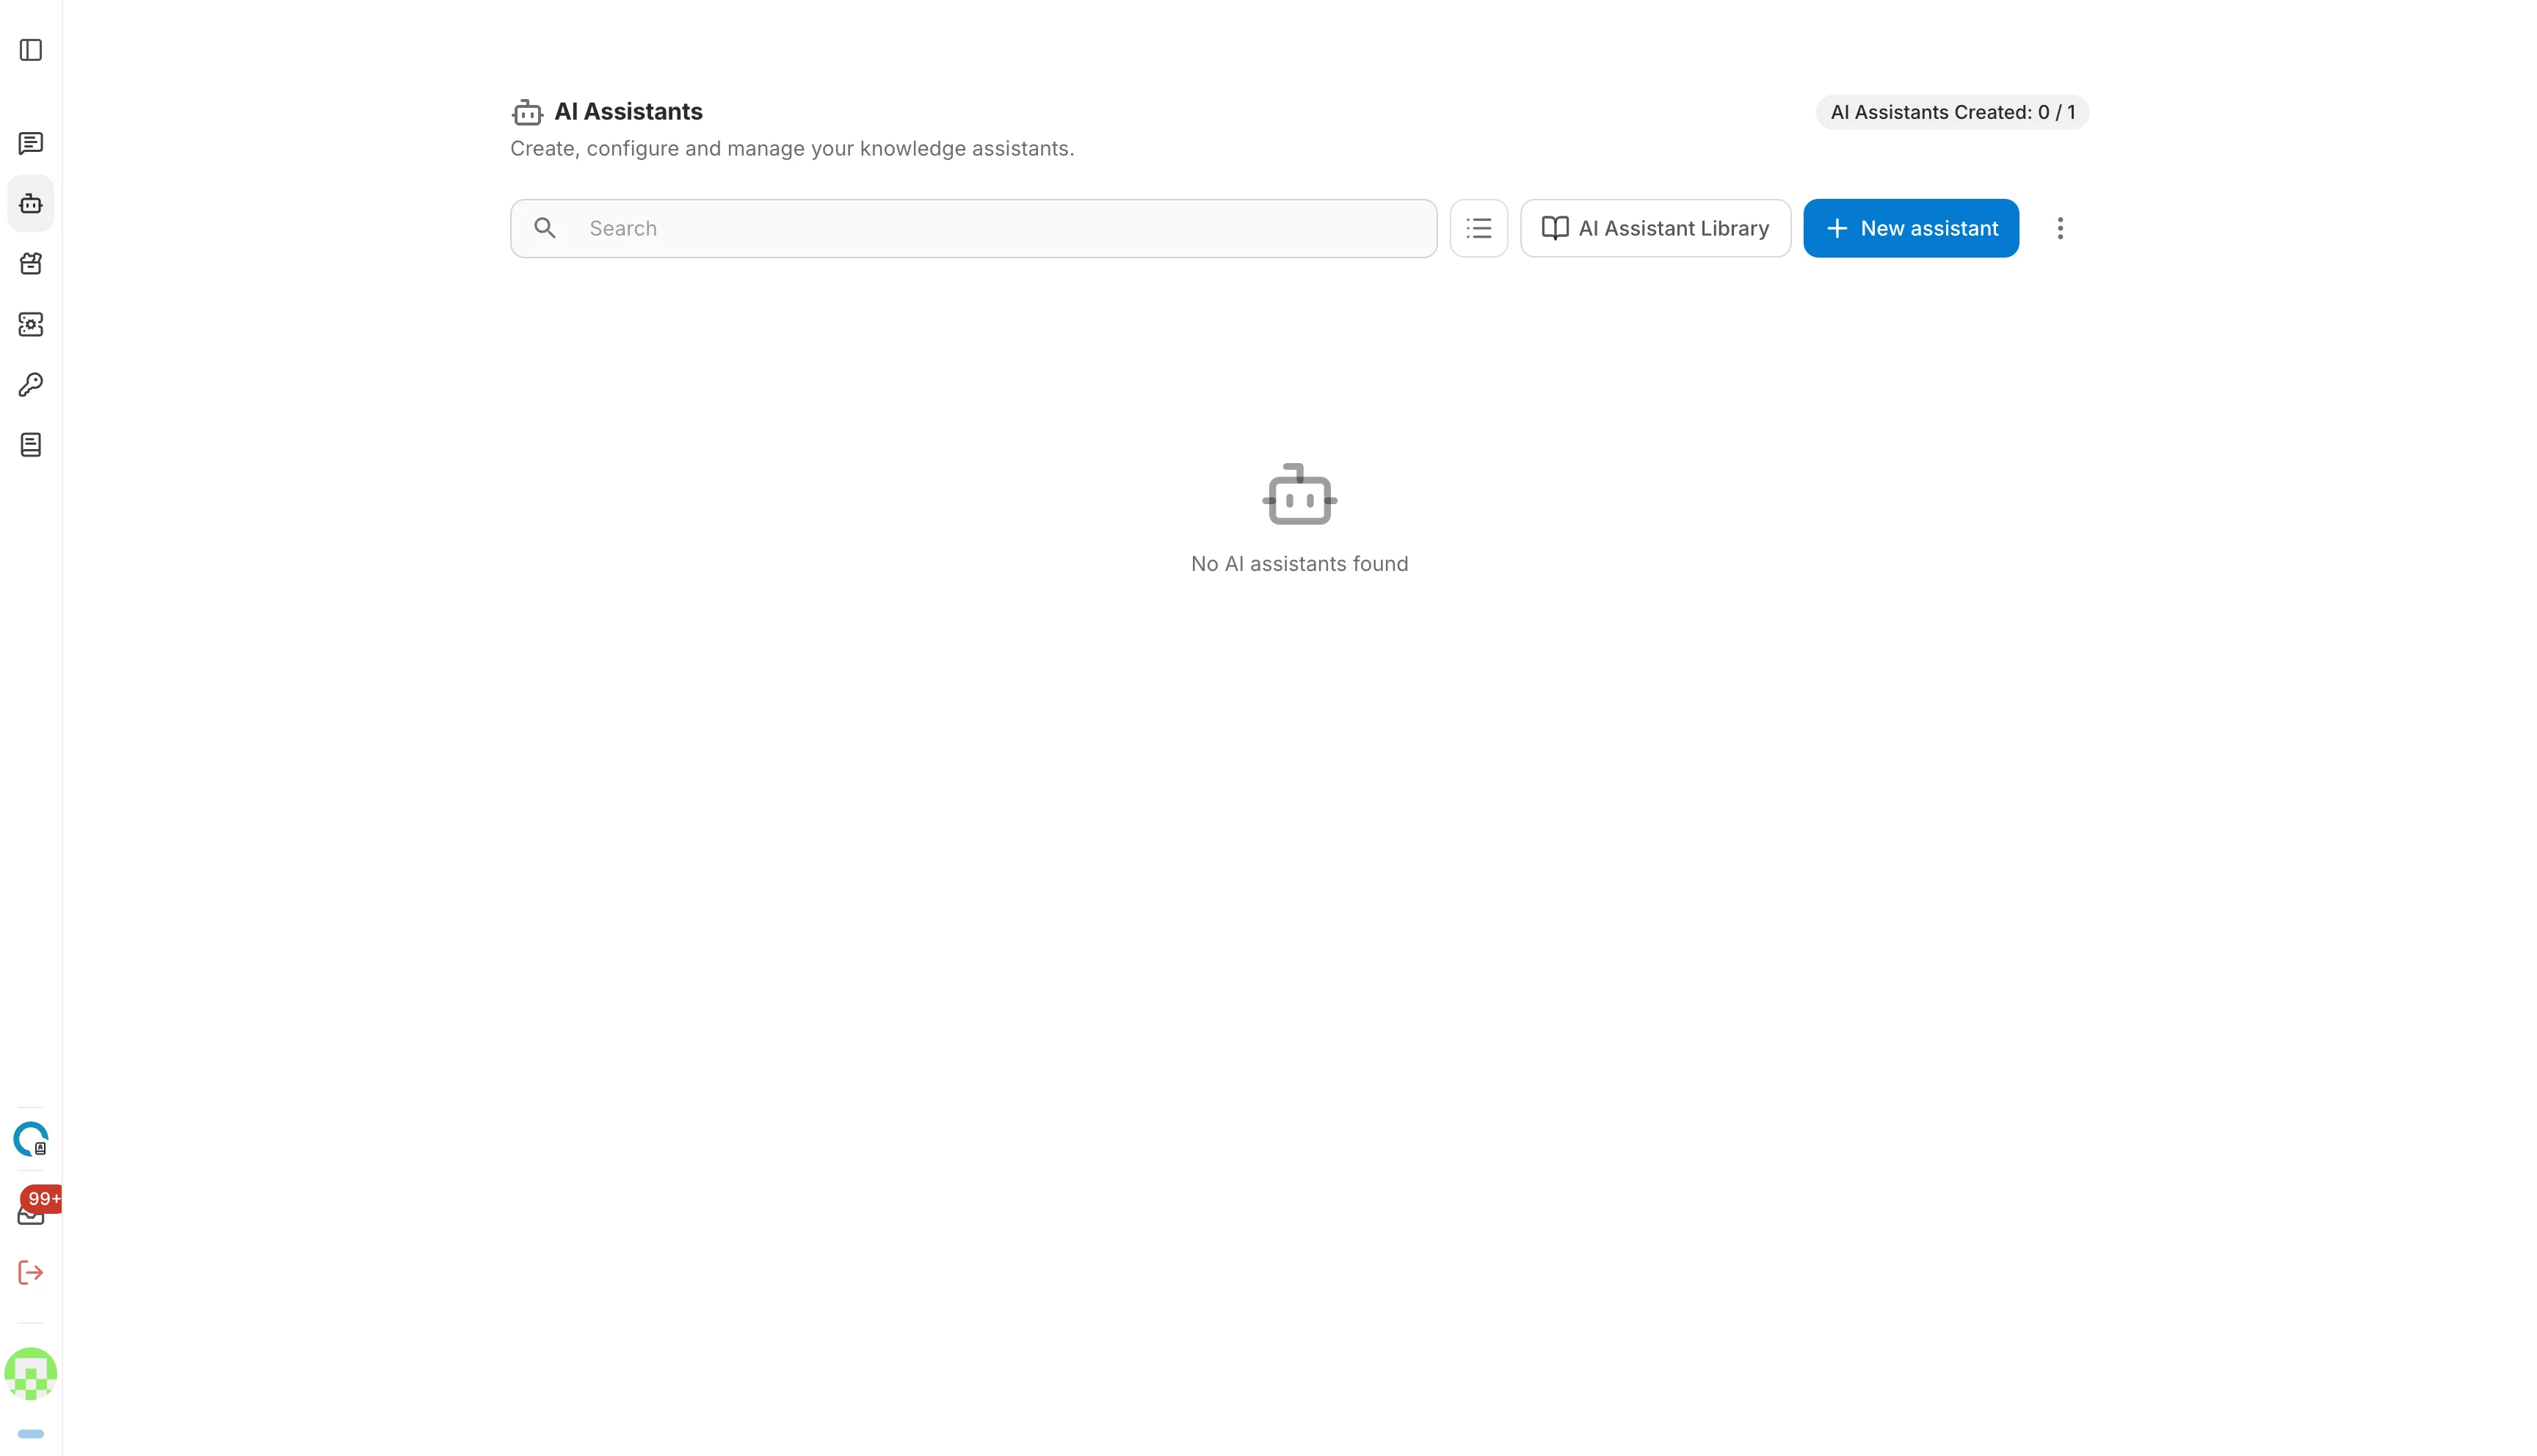
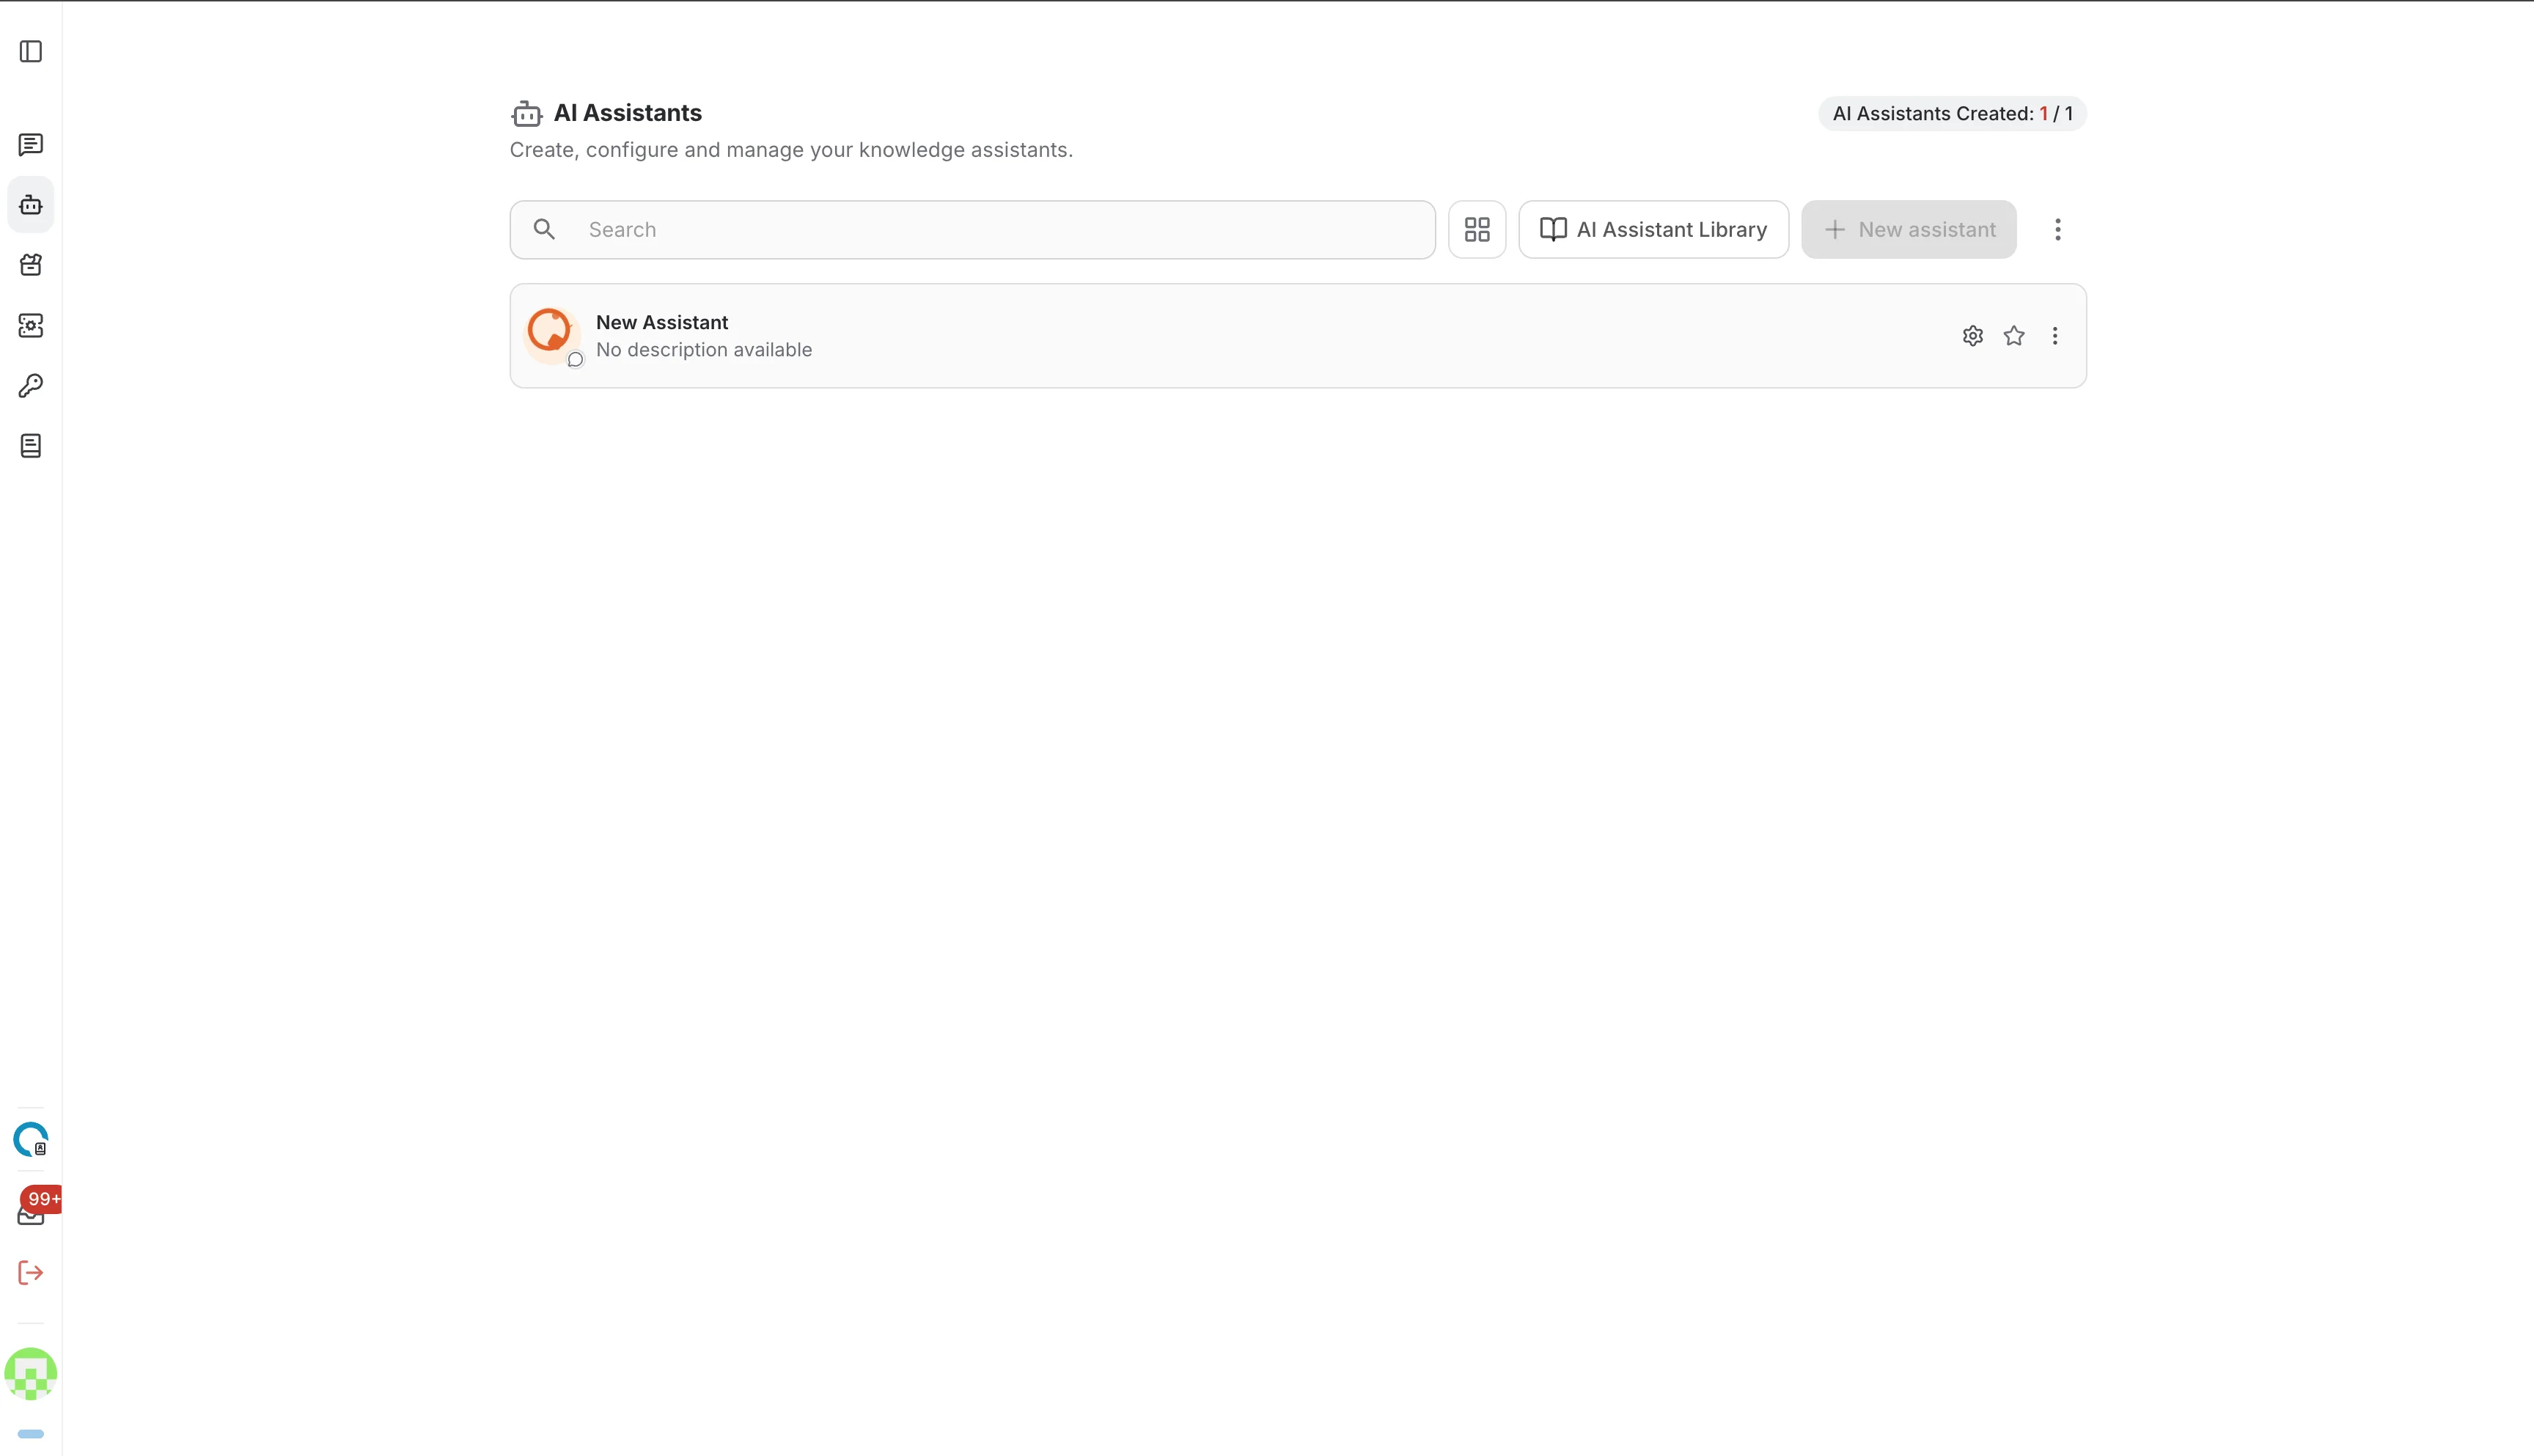
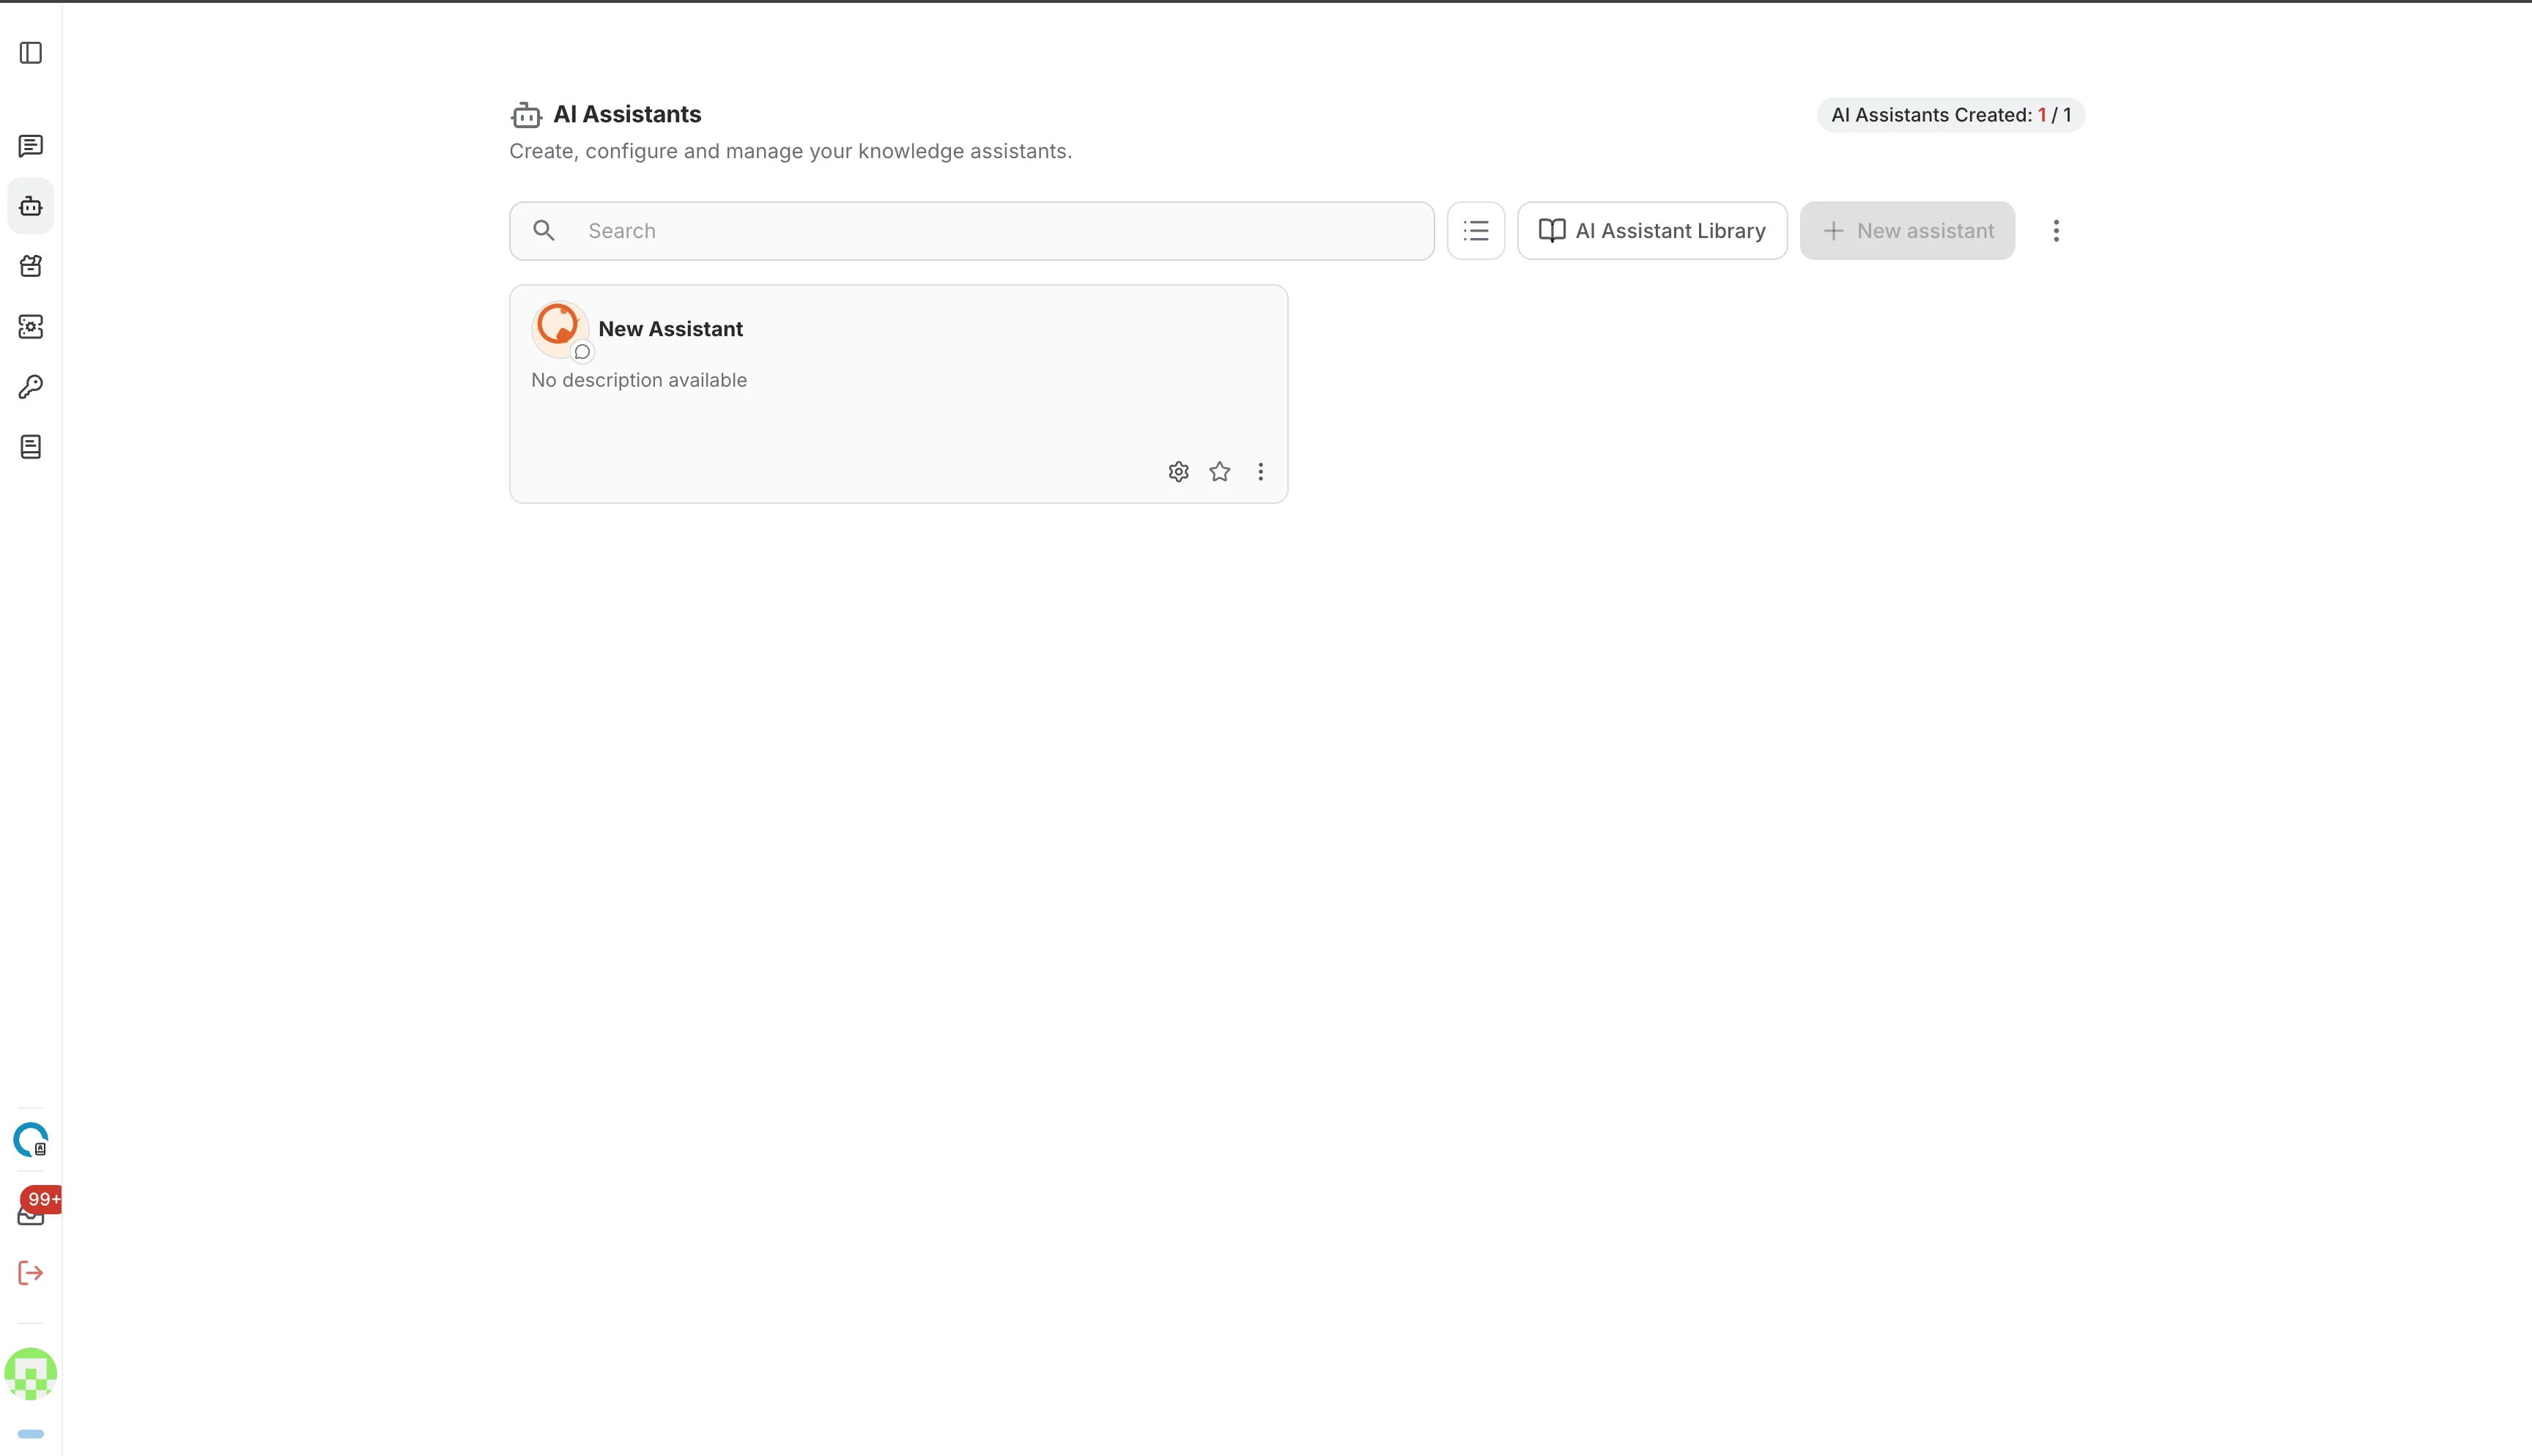
The chip in the top-right corner shows how many assistants you have created against your quota. The page is empty until you create your first assistant, and you can display your assistants either as a list or as a grid of cards:
The toolbar
Everything you need to create and organise assistants sits in the toolbar above the list:

- Search — filter your assistants by name.
- View toggle — switch between the list and the grid layout.
- AI Assistant Library — browse ready-made assistants and add them to your workspace.
- New assistant — create an empty assistant and open its editor immediately.
- More options (⋮) — select several assistants at once, or import and export assistants.
Create an assistant
Click New assistant in the toolbar. The assistant is created straight away and its editor opens with the name field focused, ready for you to type.
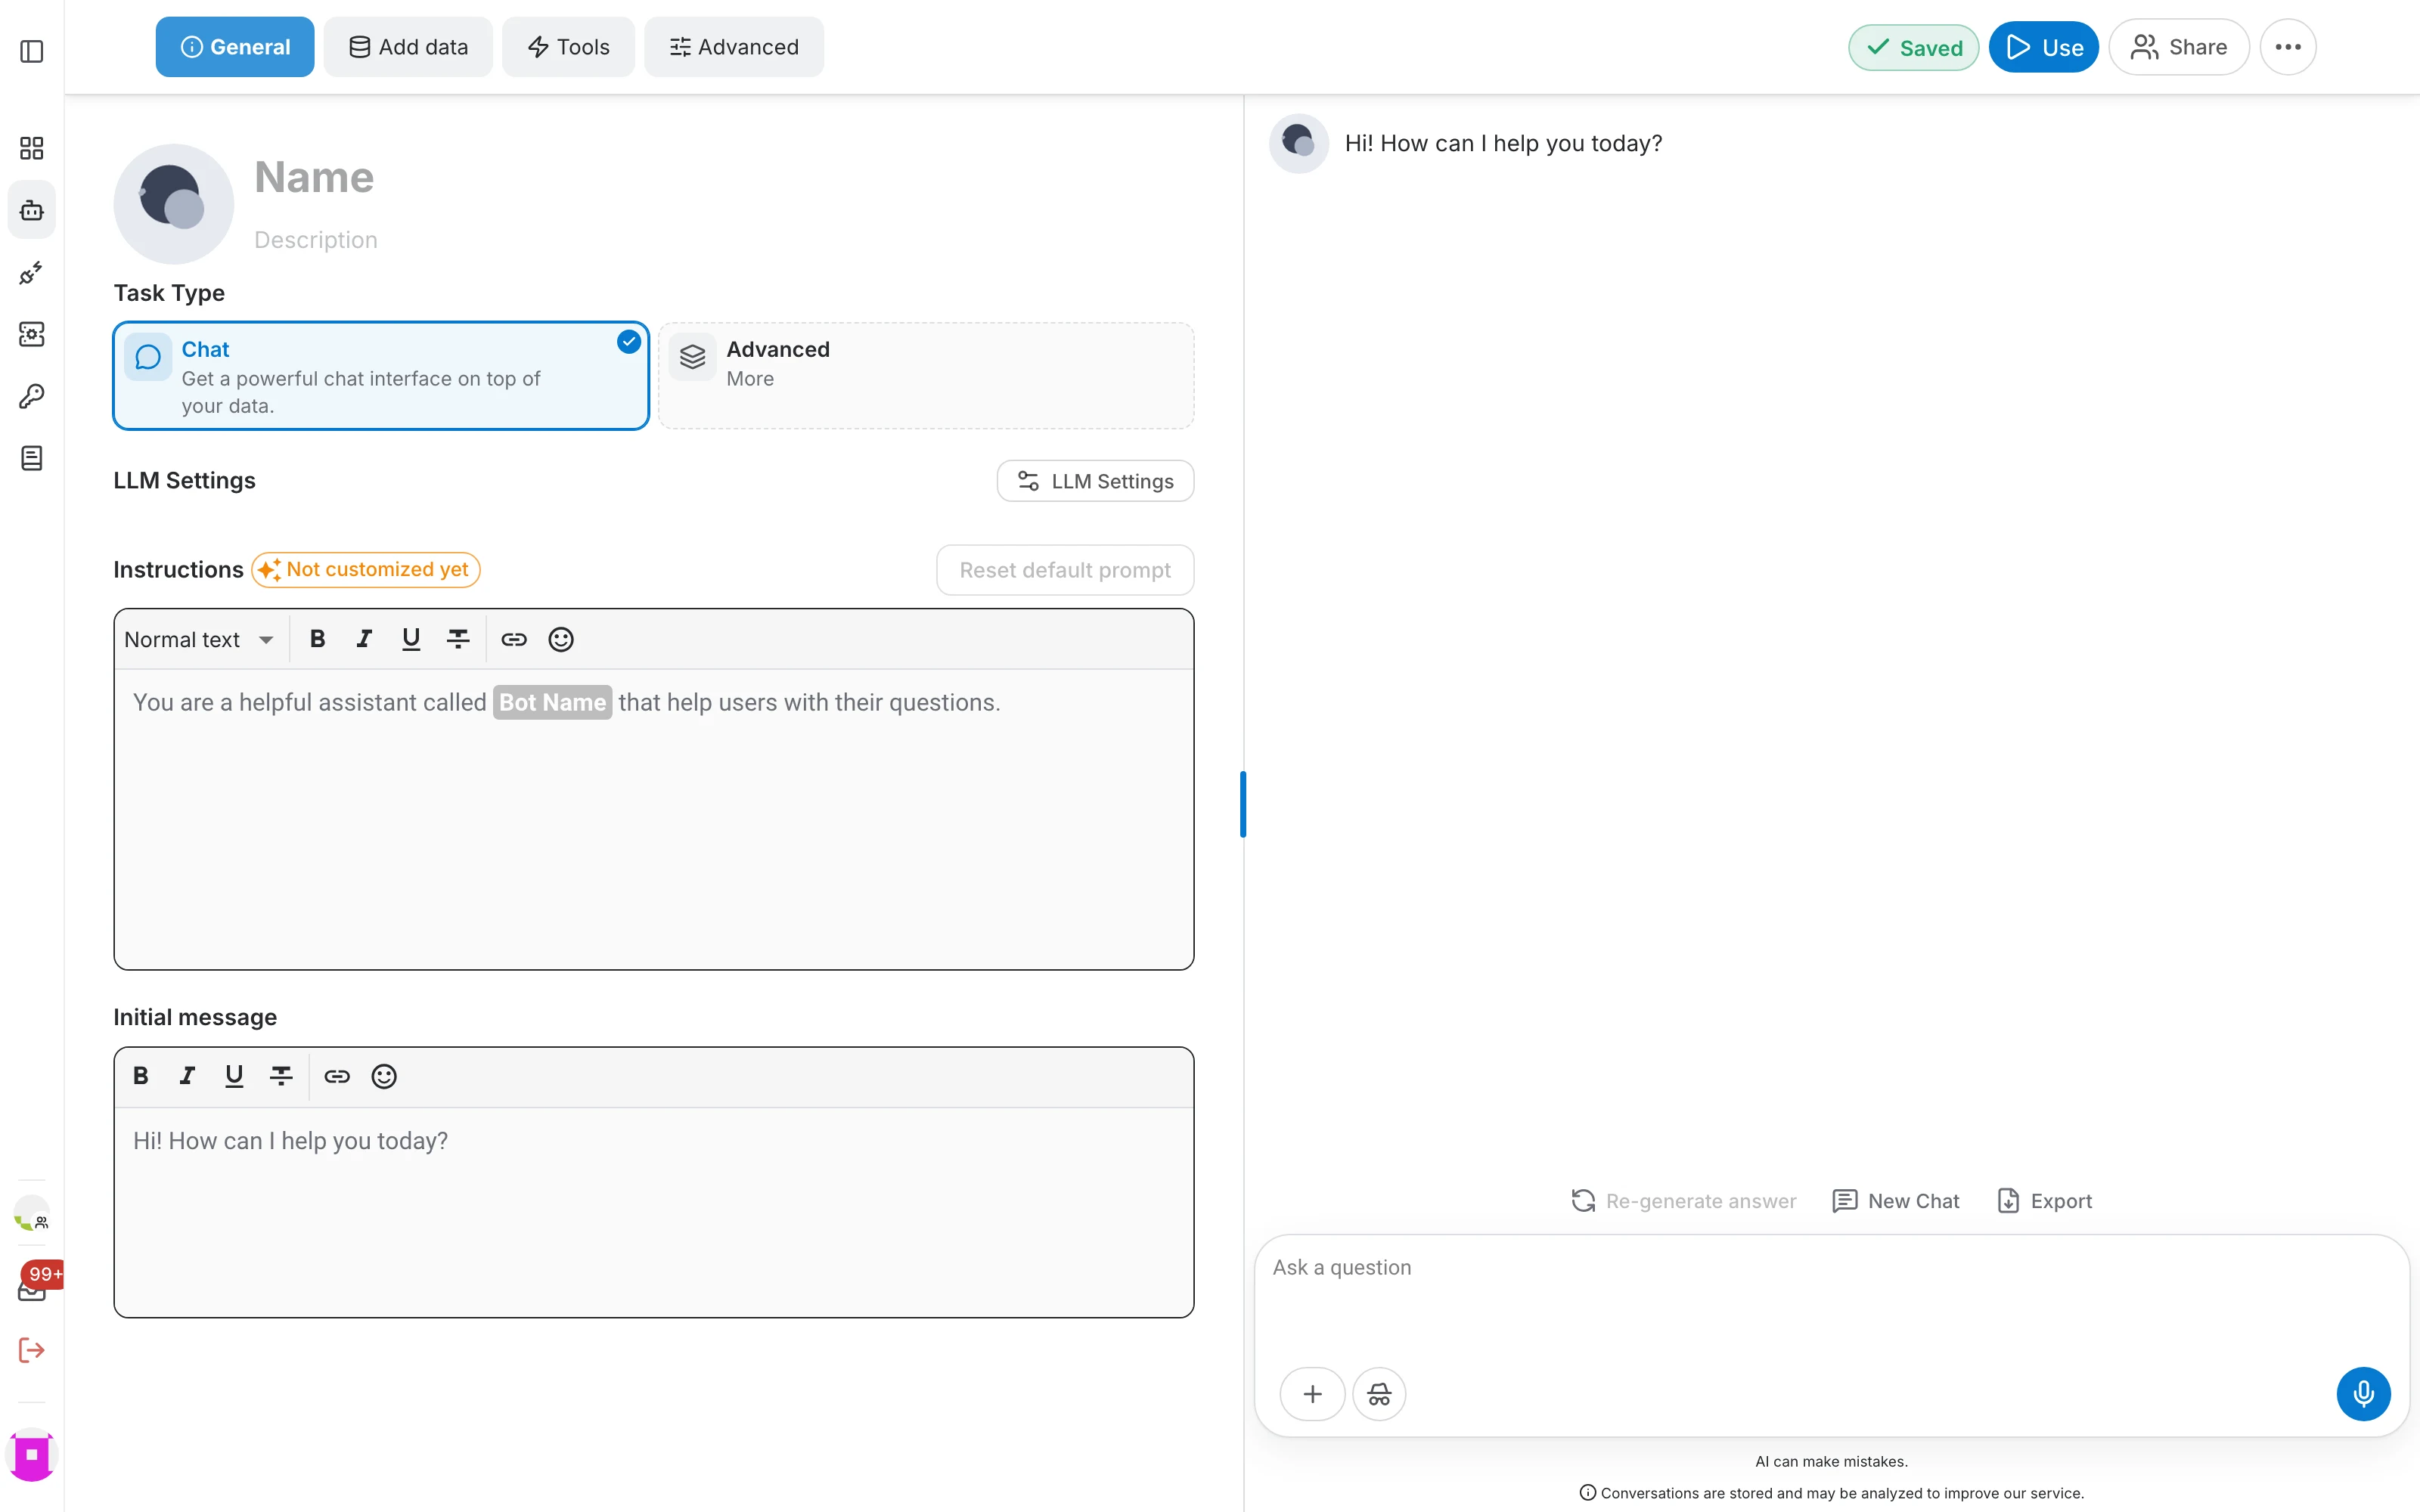
In the header of the editor you can:
- Change the avatar — click the generated picture to upload your own image.
- Set the name — the name identifies the assistant everywhere in QAnswer. It cannot contain a slash (/).
- Add a description — a short sentence that explains what the assistant does, shown in the list and in the library.
Every change is saved automatically. The Saved indicator in the top-right corner tells you when your edits have been stored — there is no Save button to press.
The assistant editor
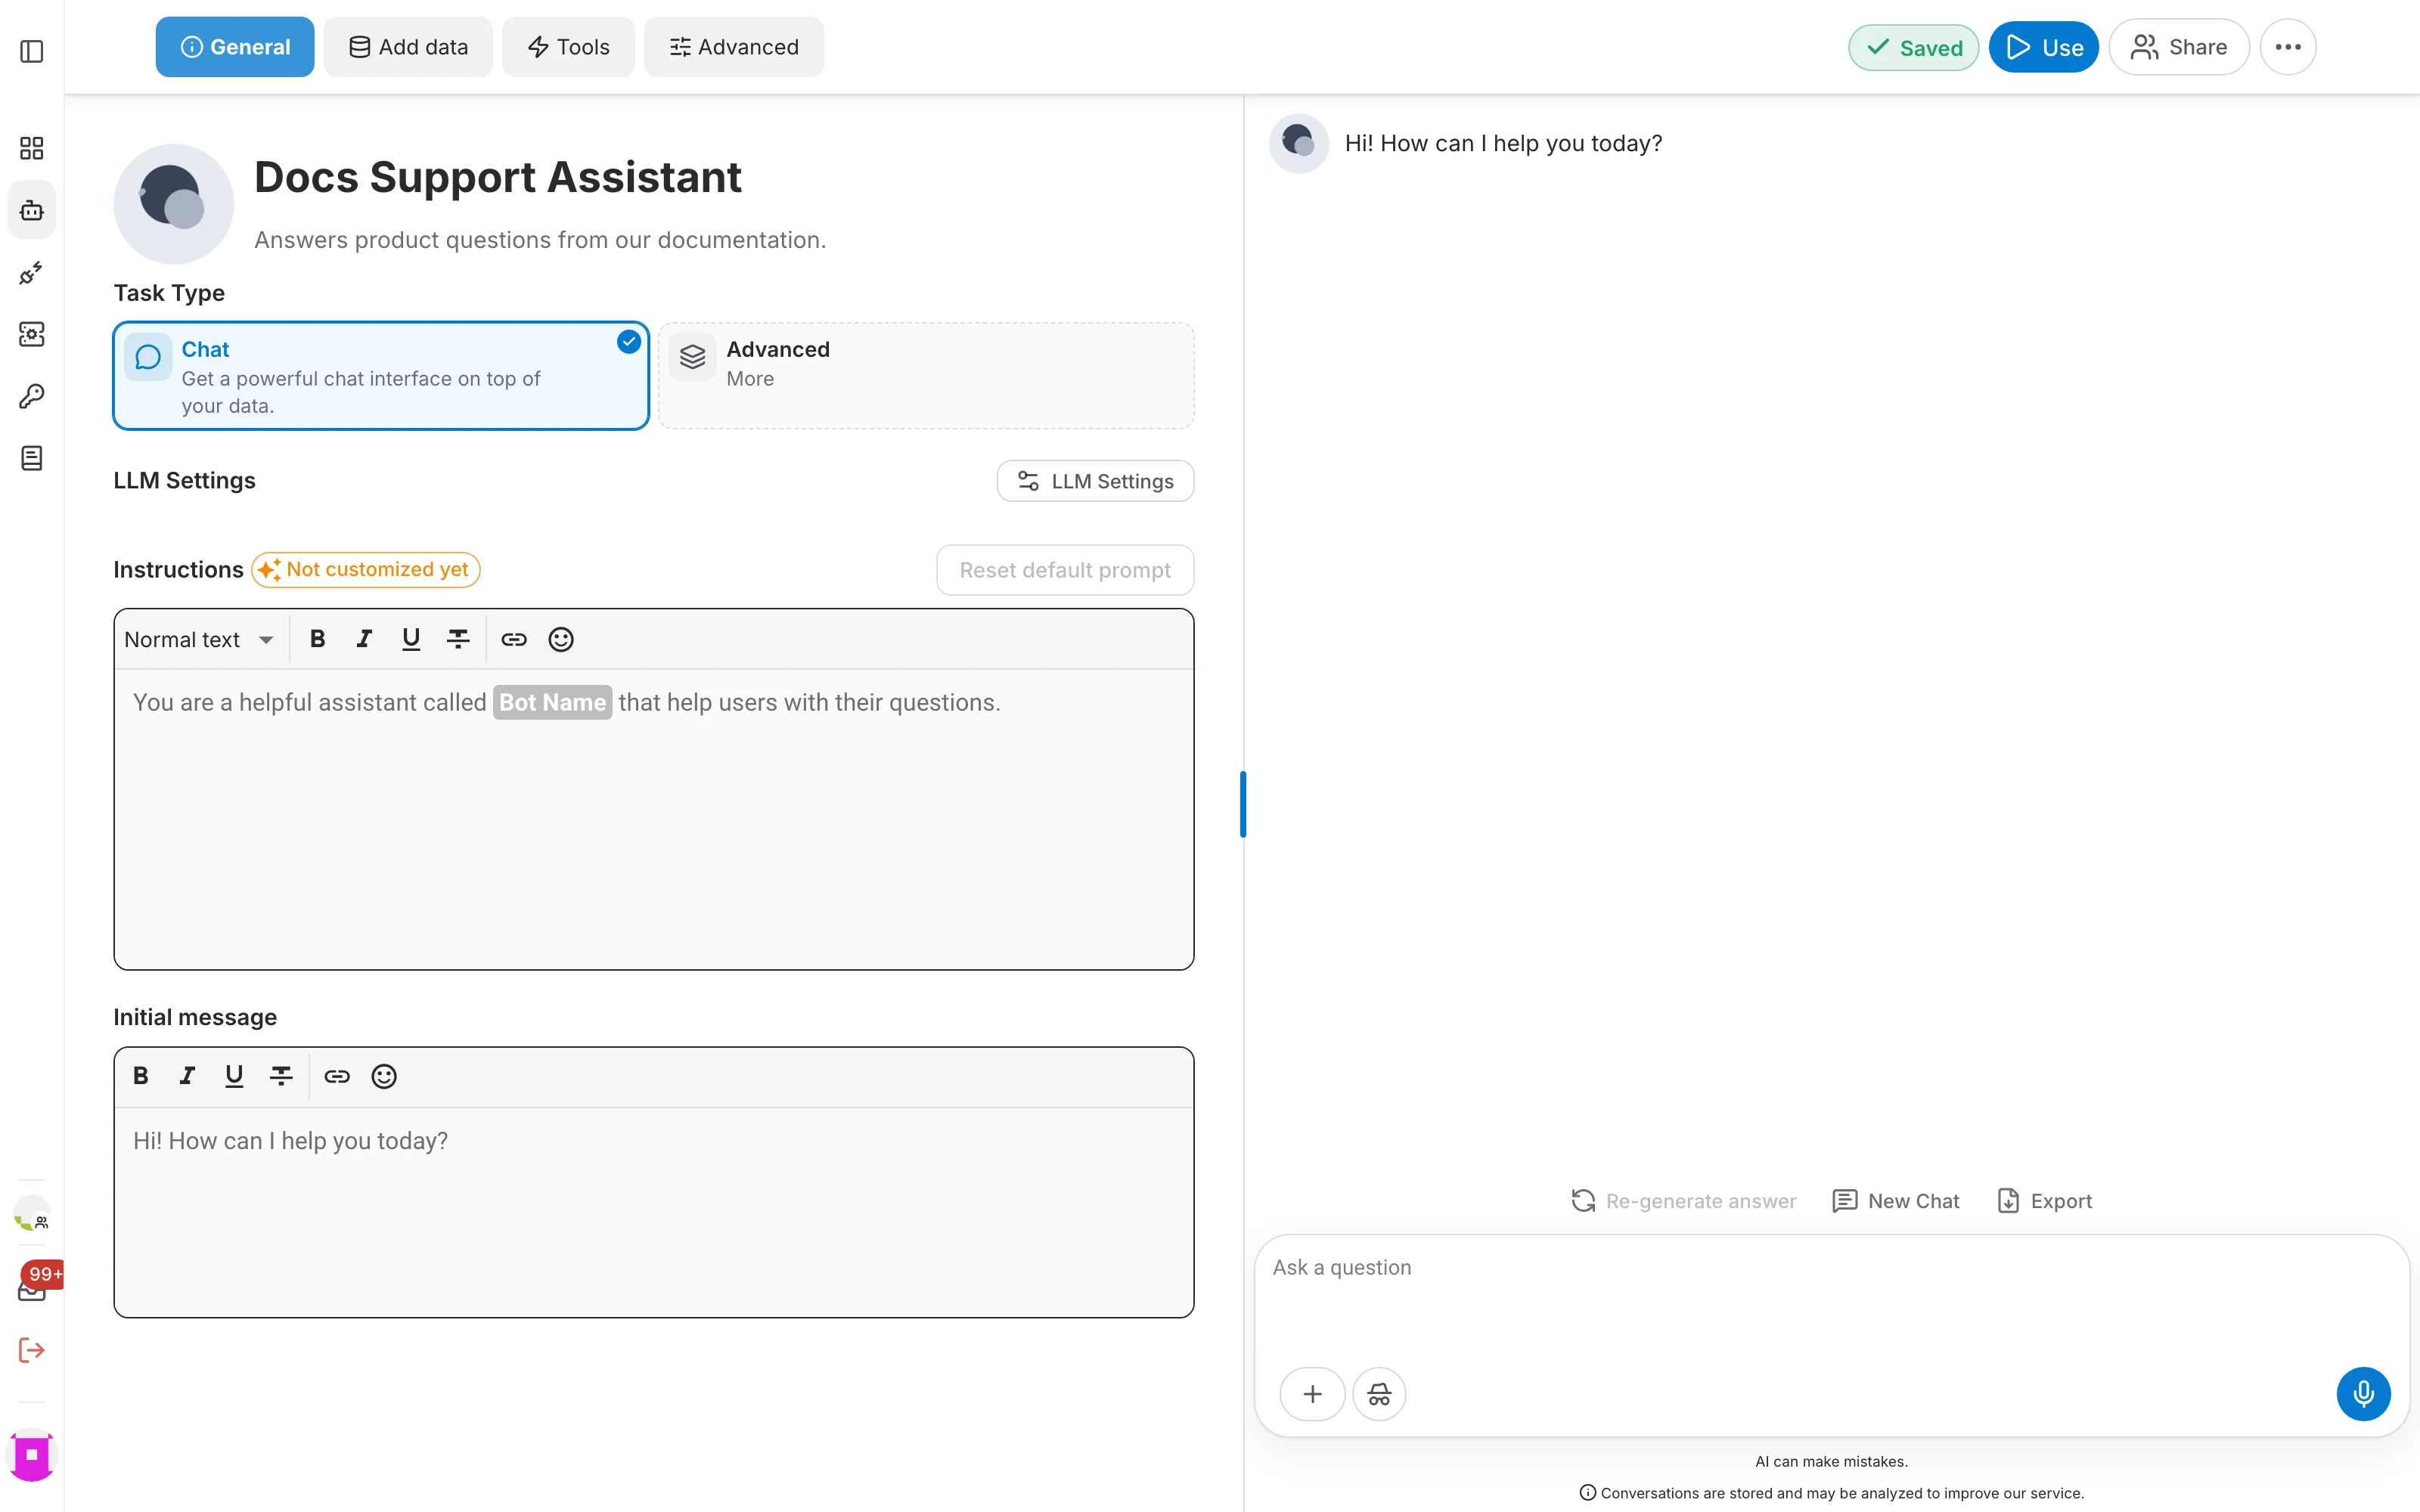
The editor is a split view: you configure the assistant on the left and try it out on the right, without leaving the page. Drag the divider to give either side more room.
- Four tabs group the configuration: General, Add data, Tools and Advanced.
- The right-hand panel is a live playground. Ask a question there to check the effect of your changes right away.
- The top-right corner holds the autosave indicator and the Use, Share and more options (⋯) actions.
General
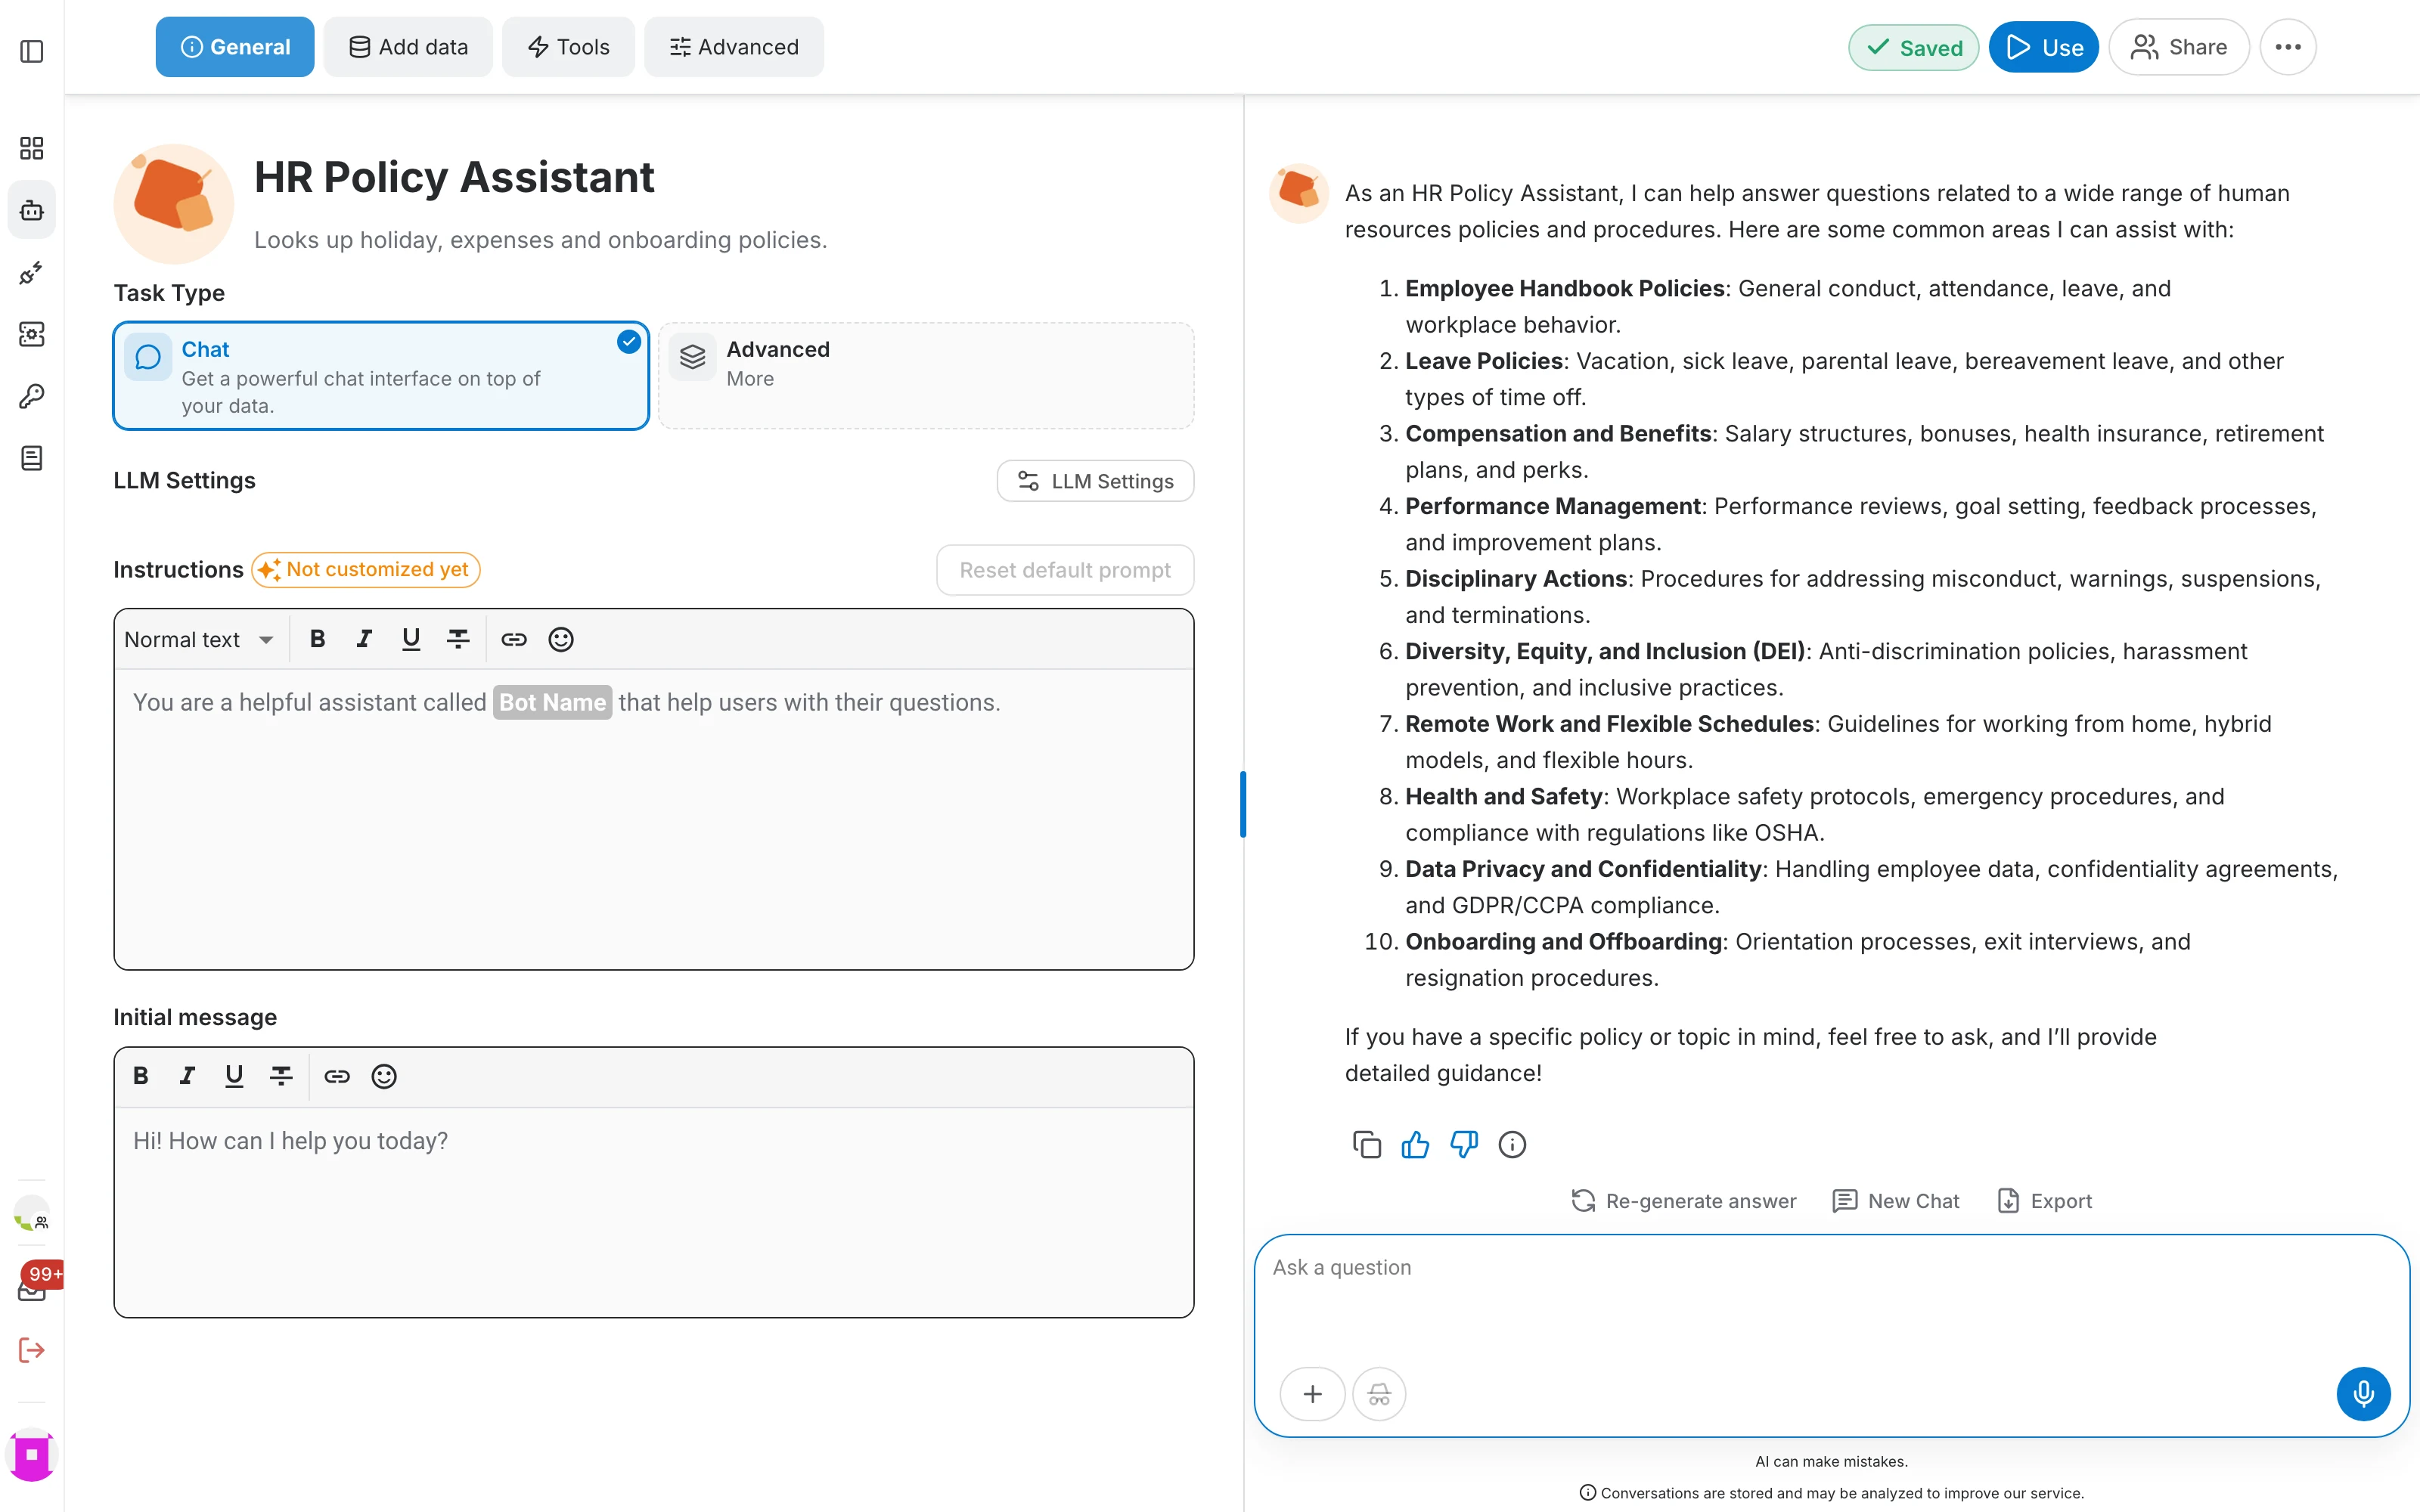
The General tab defines the personality and the purpose of the assistant:
- Task Type — what kind of interface the assistant provides. Chat is selected by default.
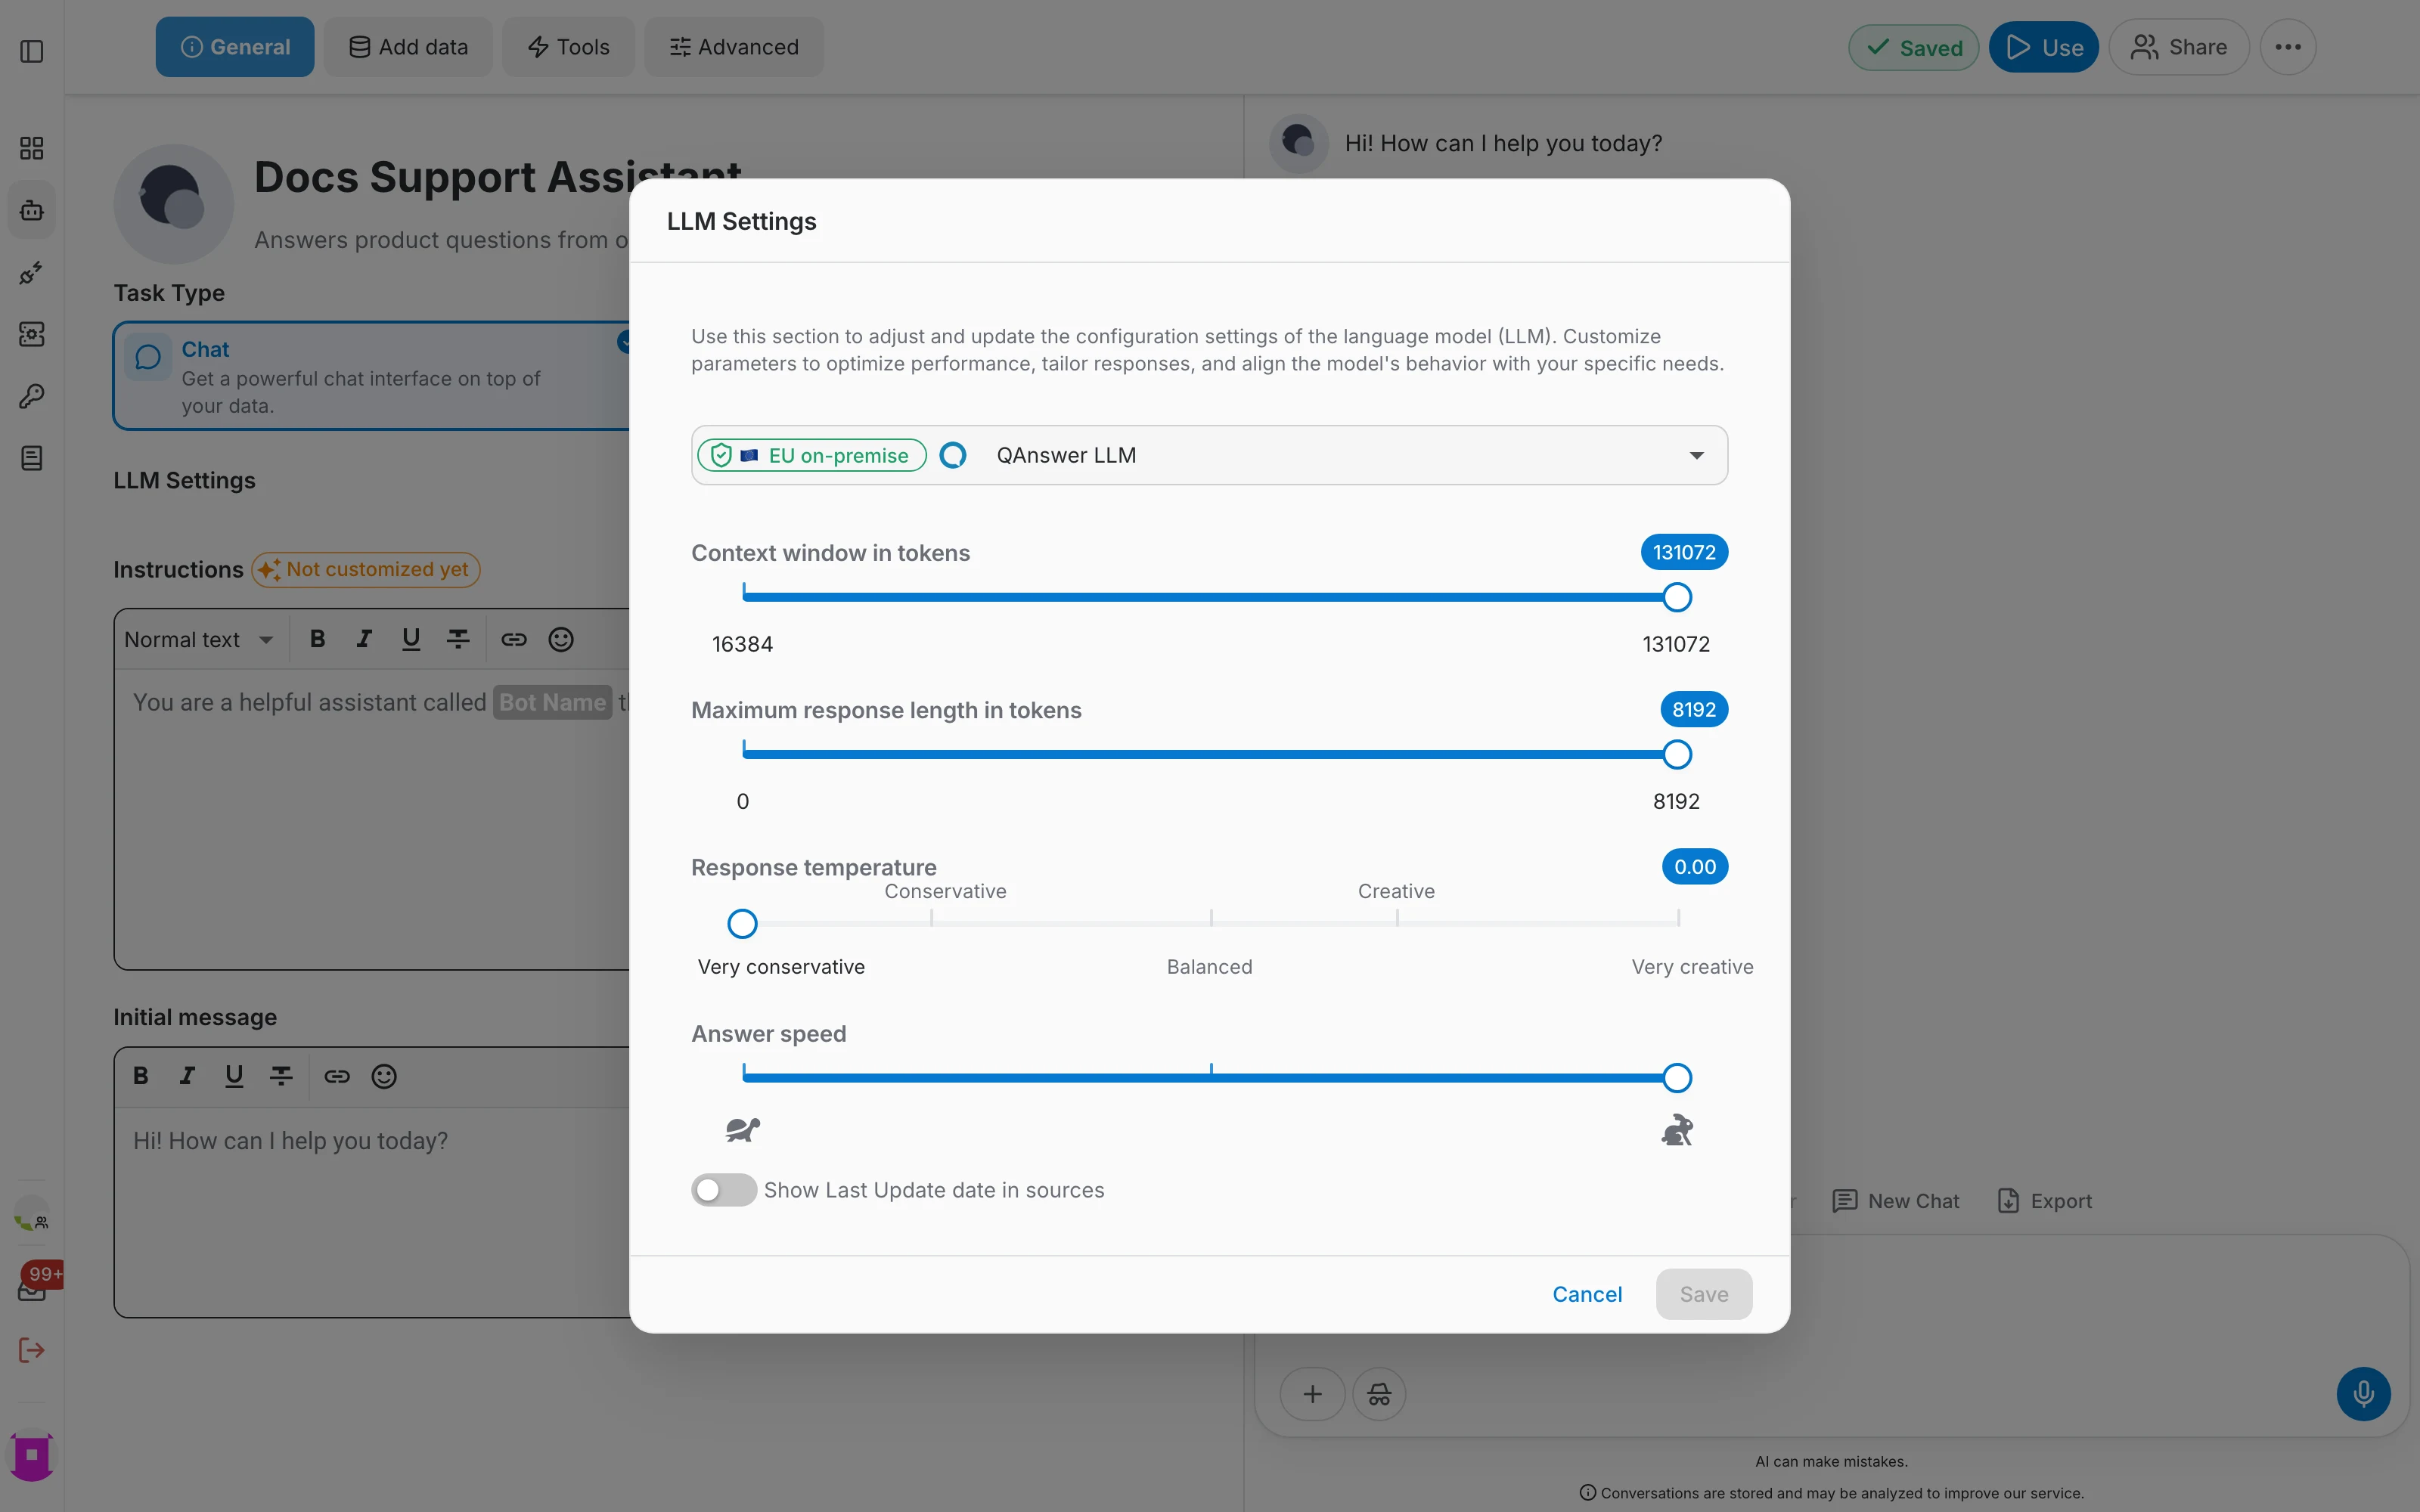
- LLM Settings — the language model to use, plus the context window, maximum answer length, response temperature and answer speed.
- Instructions — the system prompt that tells the assistant how to behave. Slots such as Bot Name are filled in automatically, and you can restore the default text at any time.
- Initial message — the greeting shown to users when they open a new conversation.
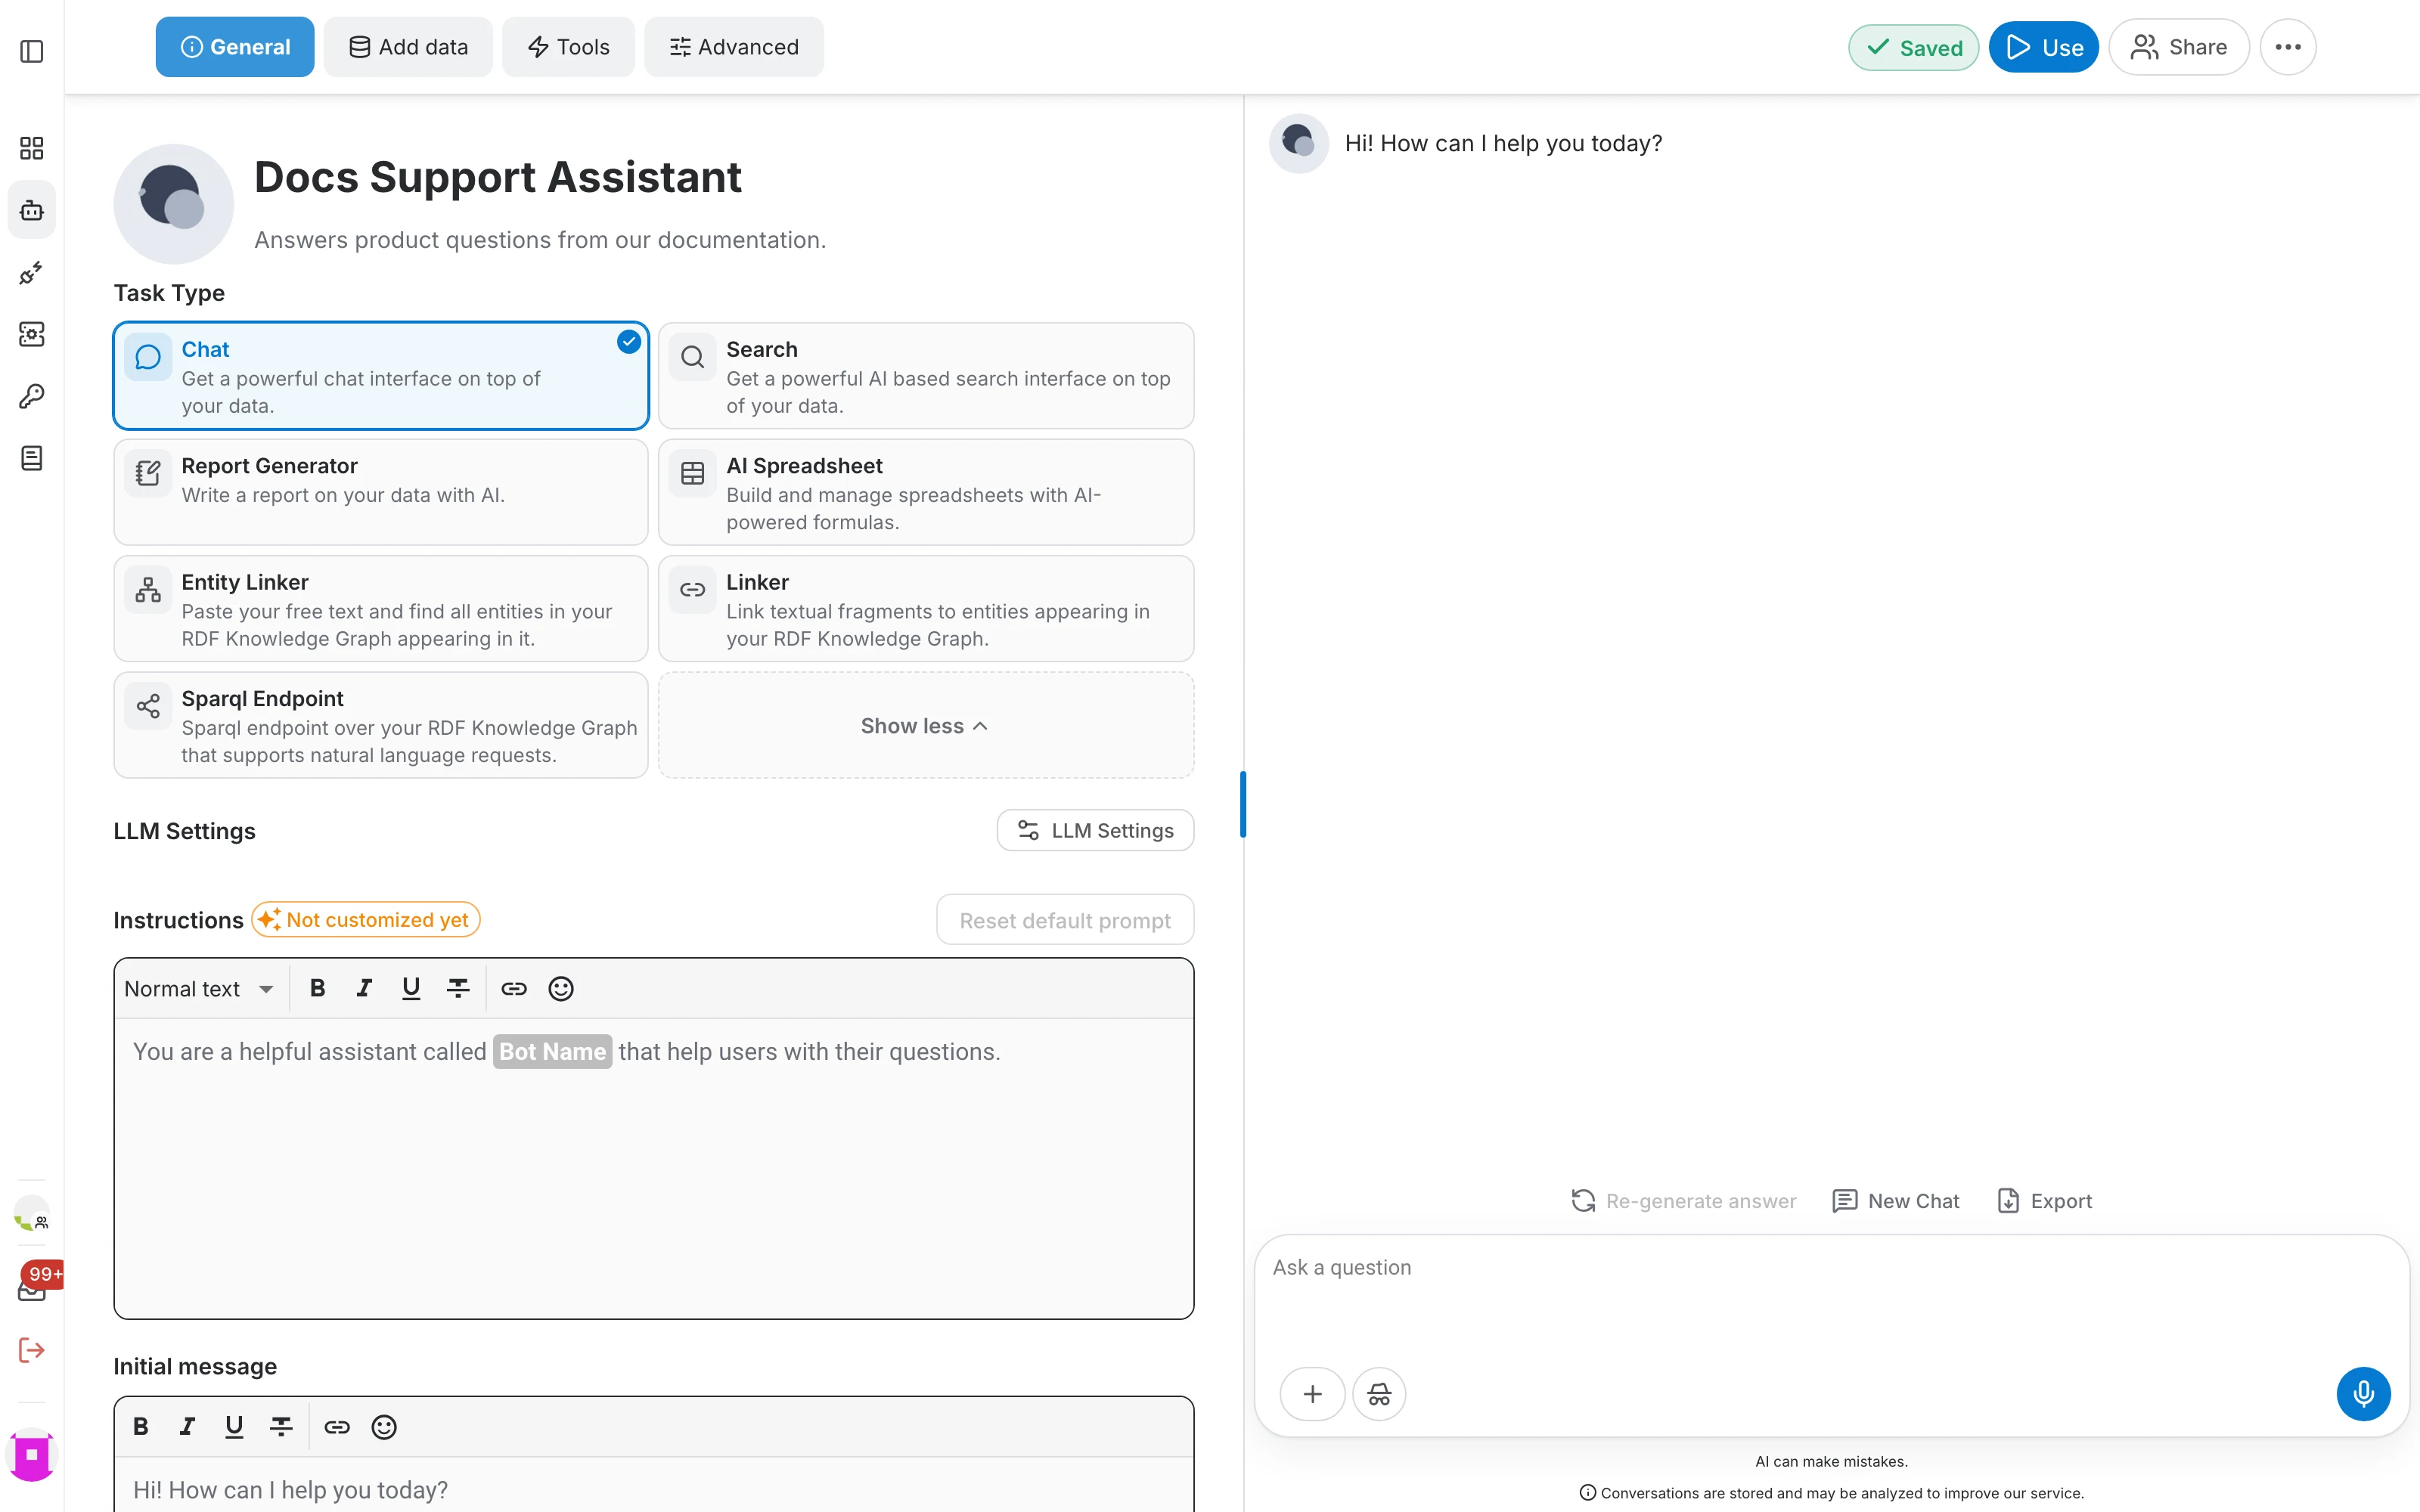
Only Chat and the currently selected task are shown at first. Click Advanced / More to reveal the other task types — Search, Report Generator, AI Spreadsheet, Entity Linker, Linker and Sparql Endpoint. Each one is described in the AI tasks section.
Add data
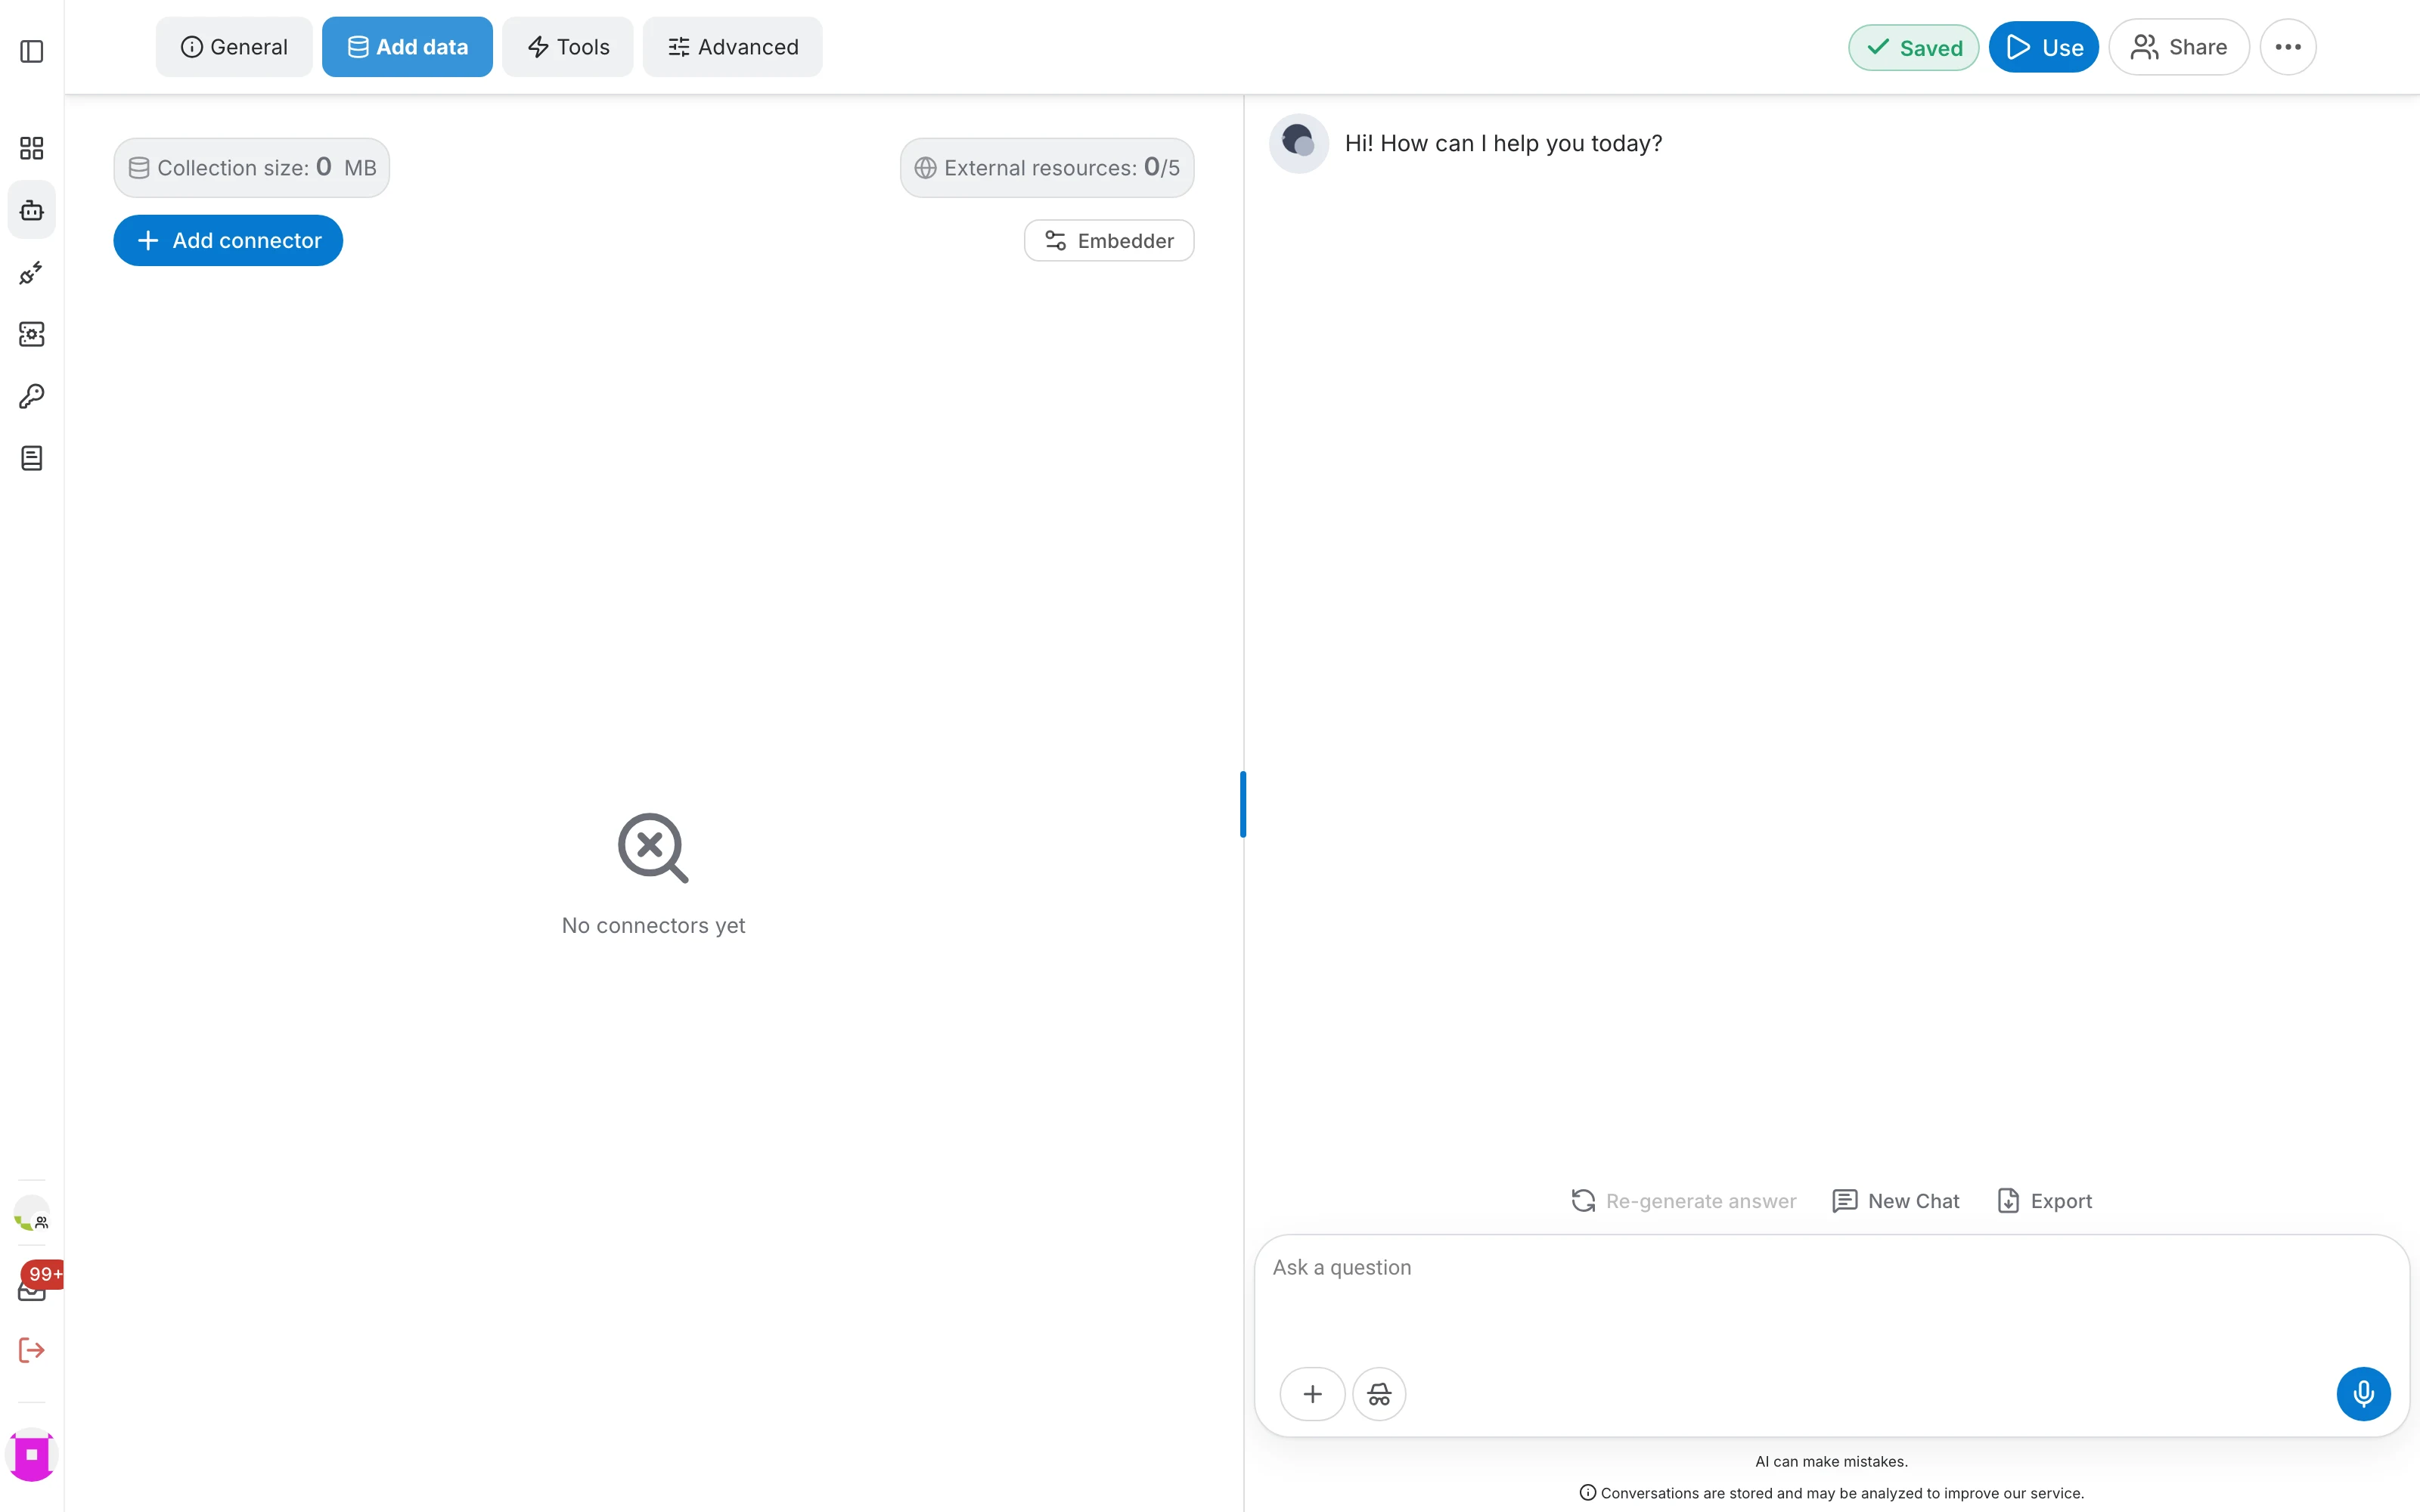
This tab is where the assistant gets its knowledge. Click Add connector and pick a source — documents, websites, Q&A pairs, RDF graphs, SharePoint, Google Drive and more. Every connector type is documented in the data sources section.
- Collection size shows how much data the assistant already holds.
- External resources counts the live sources (such as web search) against your quota.
- Embedder lets you choose the embedding model used to index the data.
Tools
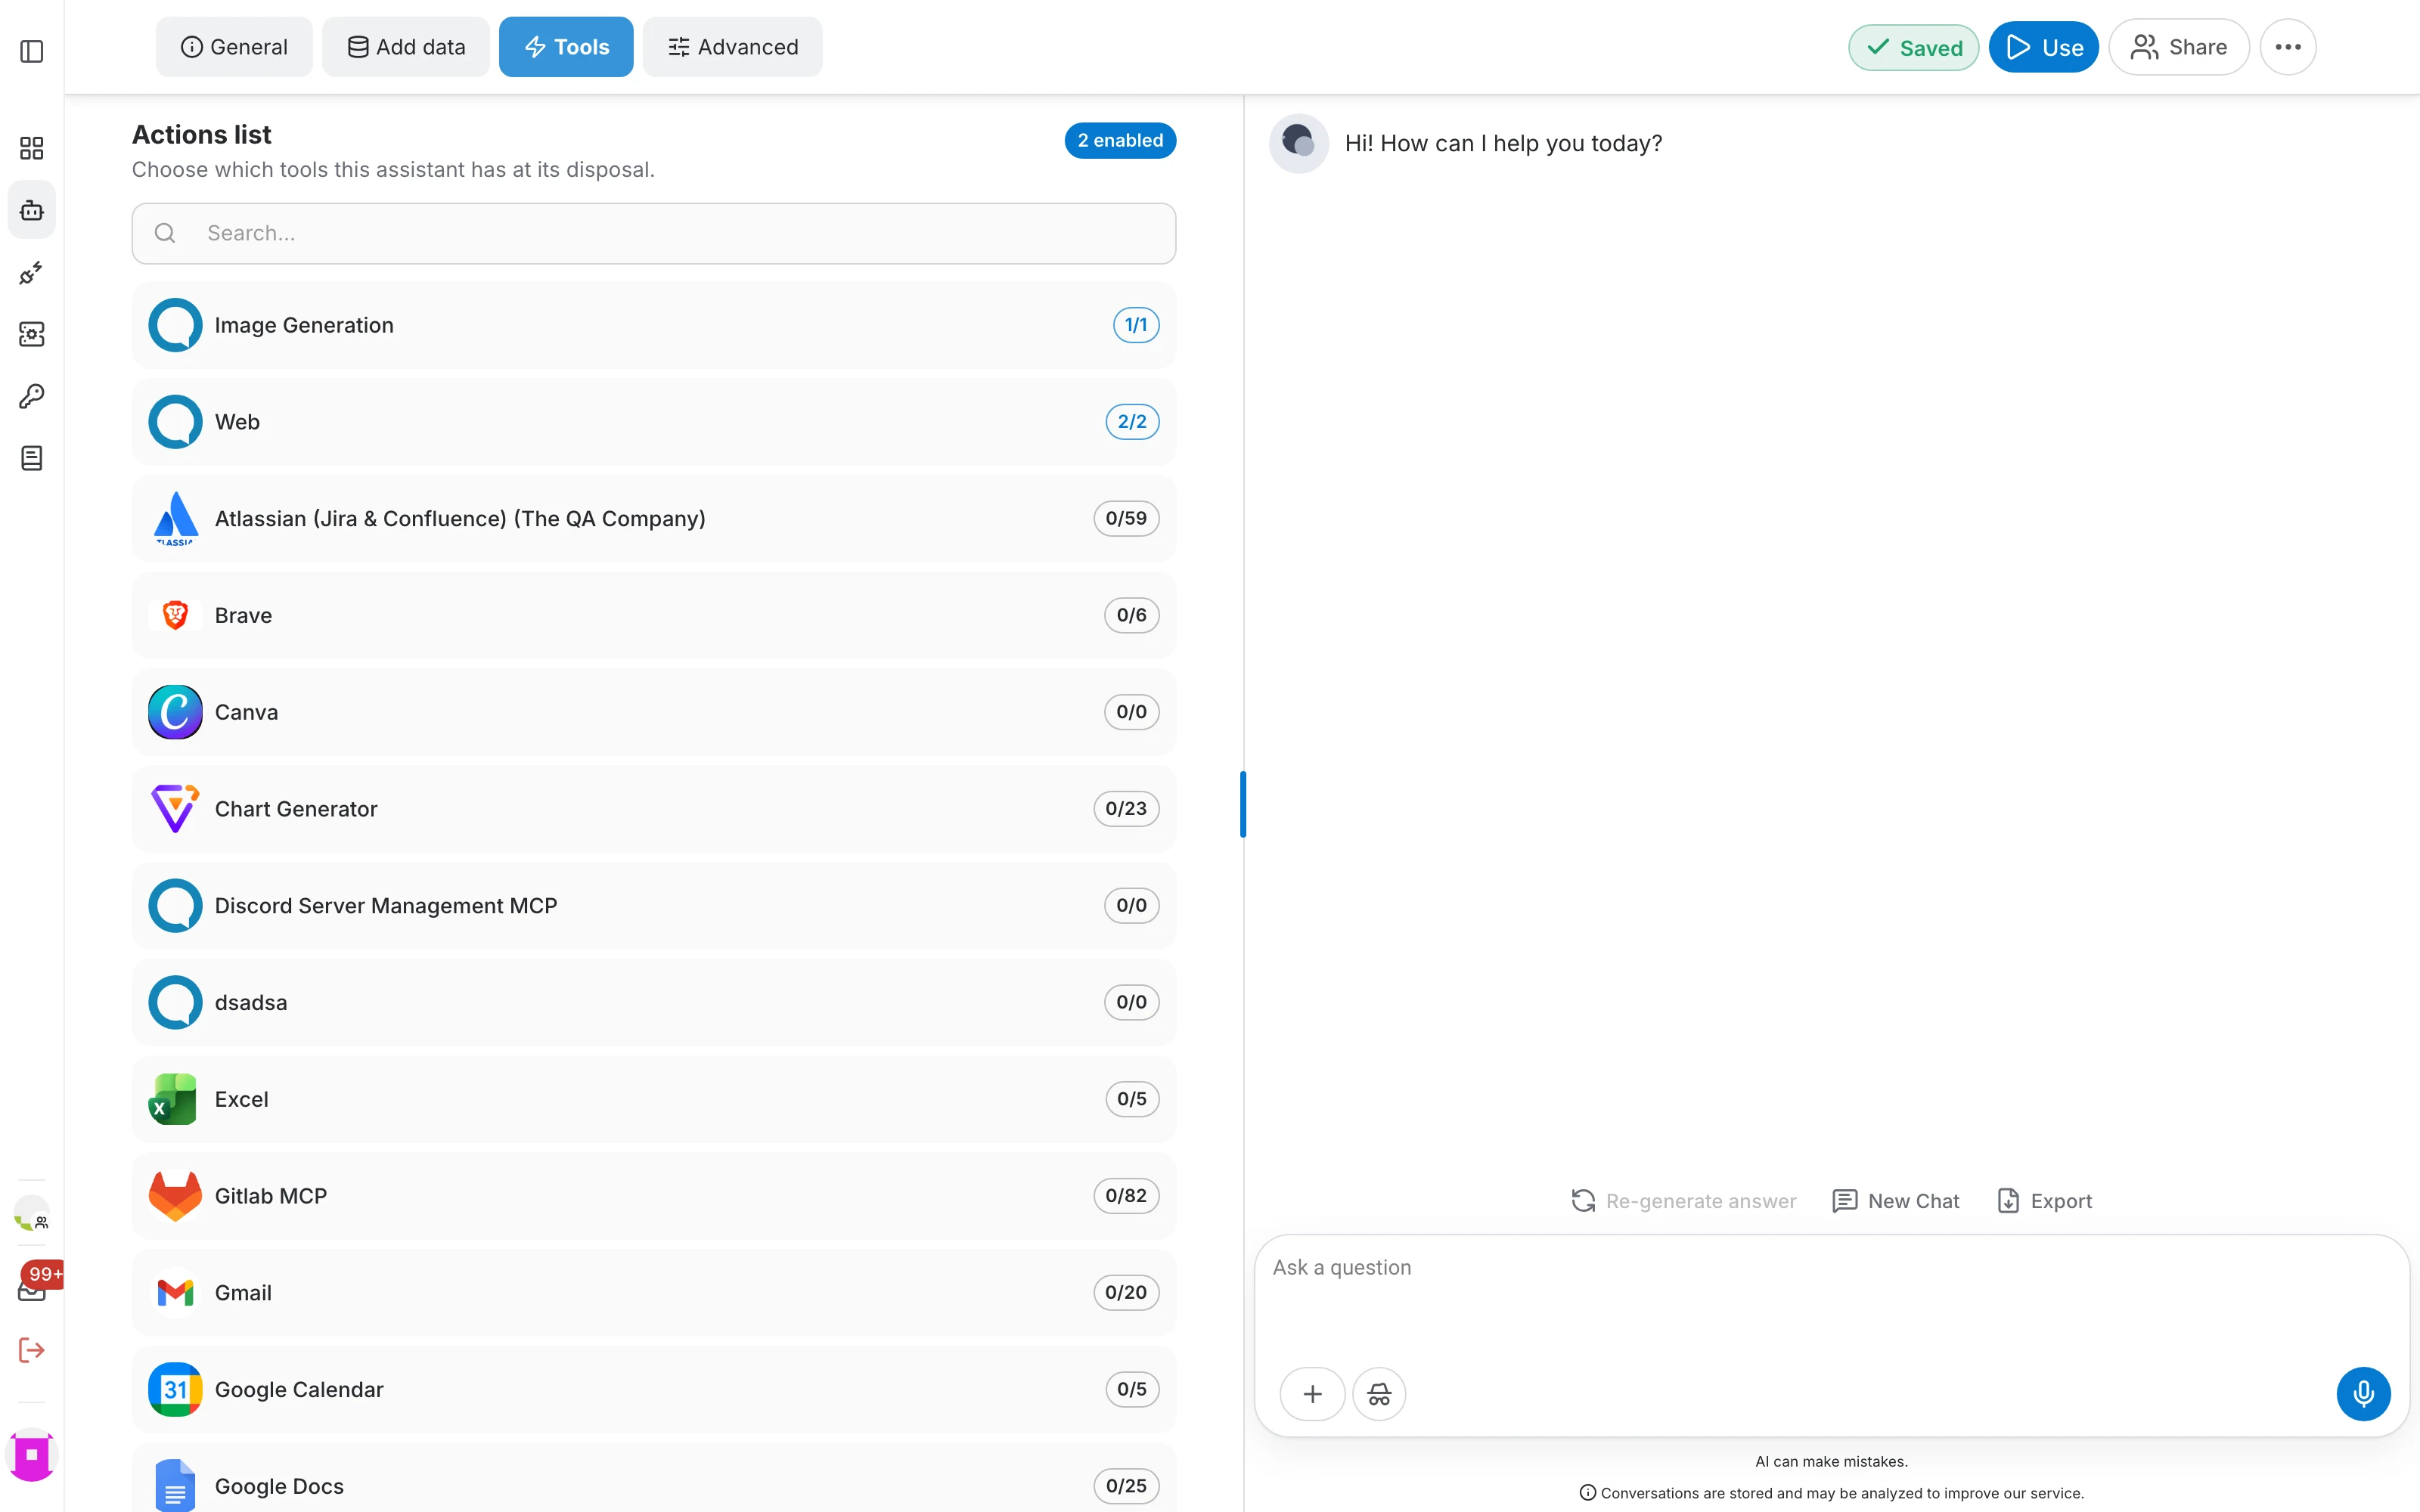
Tools are actions the assistant can perform while answering — generating an image, searching the web, or calling any MCP server connected to your account. See the MCP documentation.
- Search the list to find a tool provider quickly.
- The counter on each row shows how many of that provider's tools are enabled; open a row to enable them individually.
- Tools are only available for the Chat task type.
Advanced
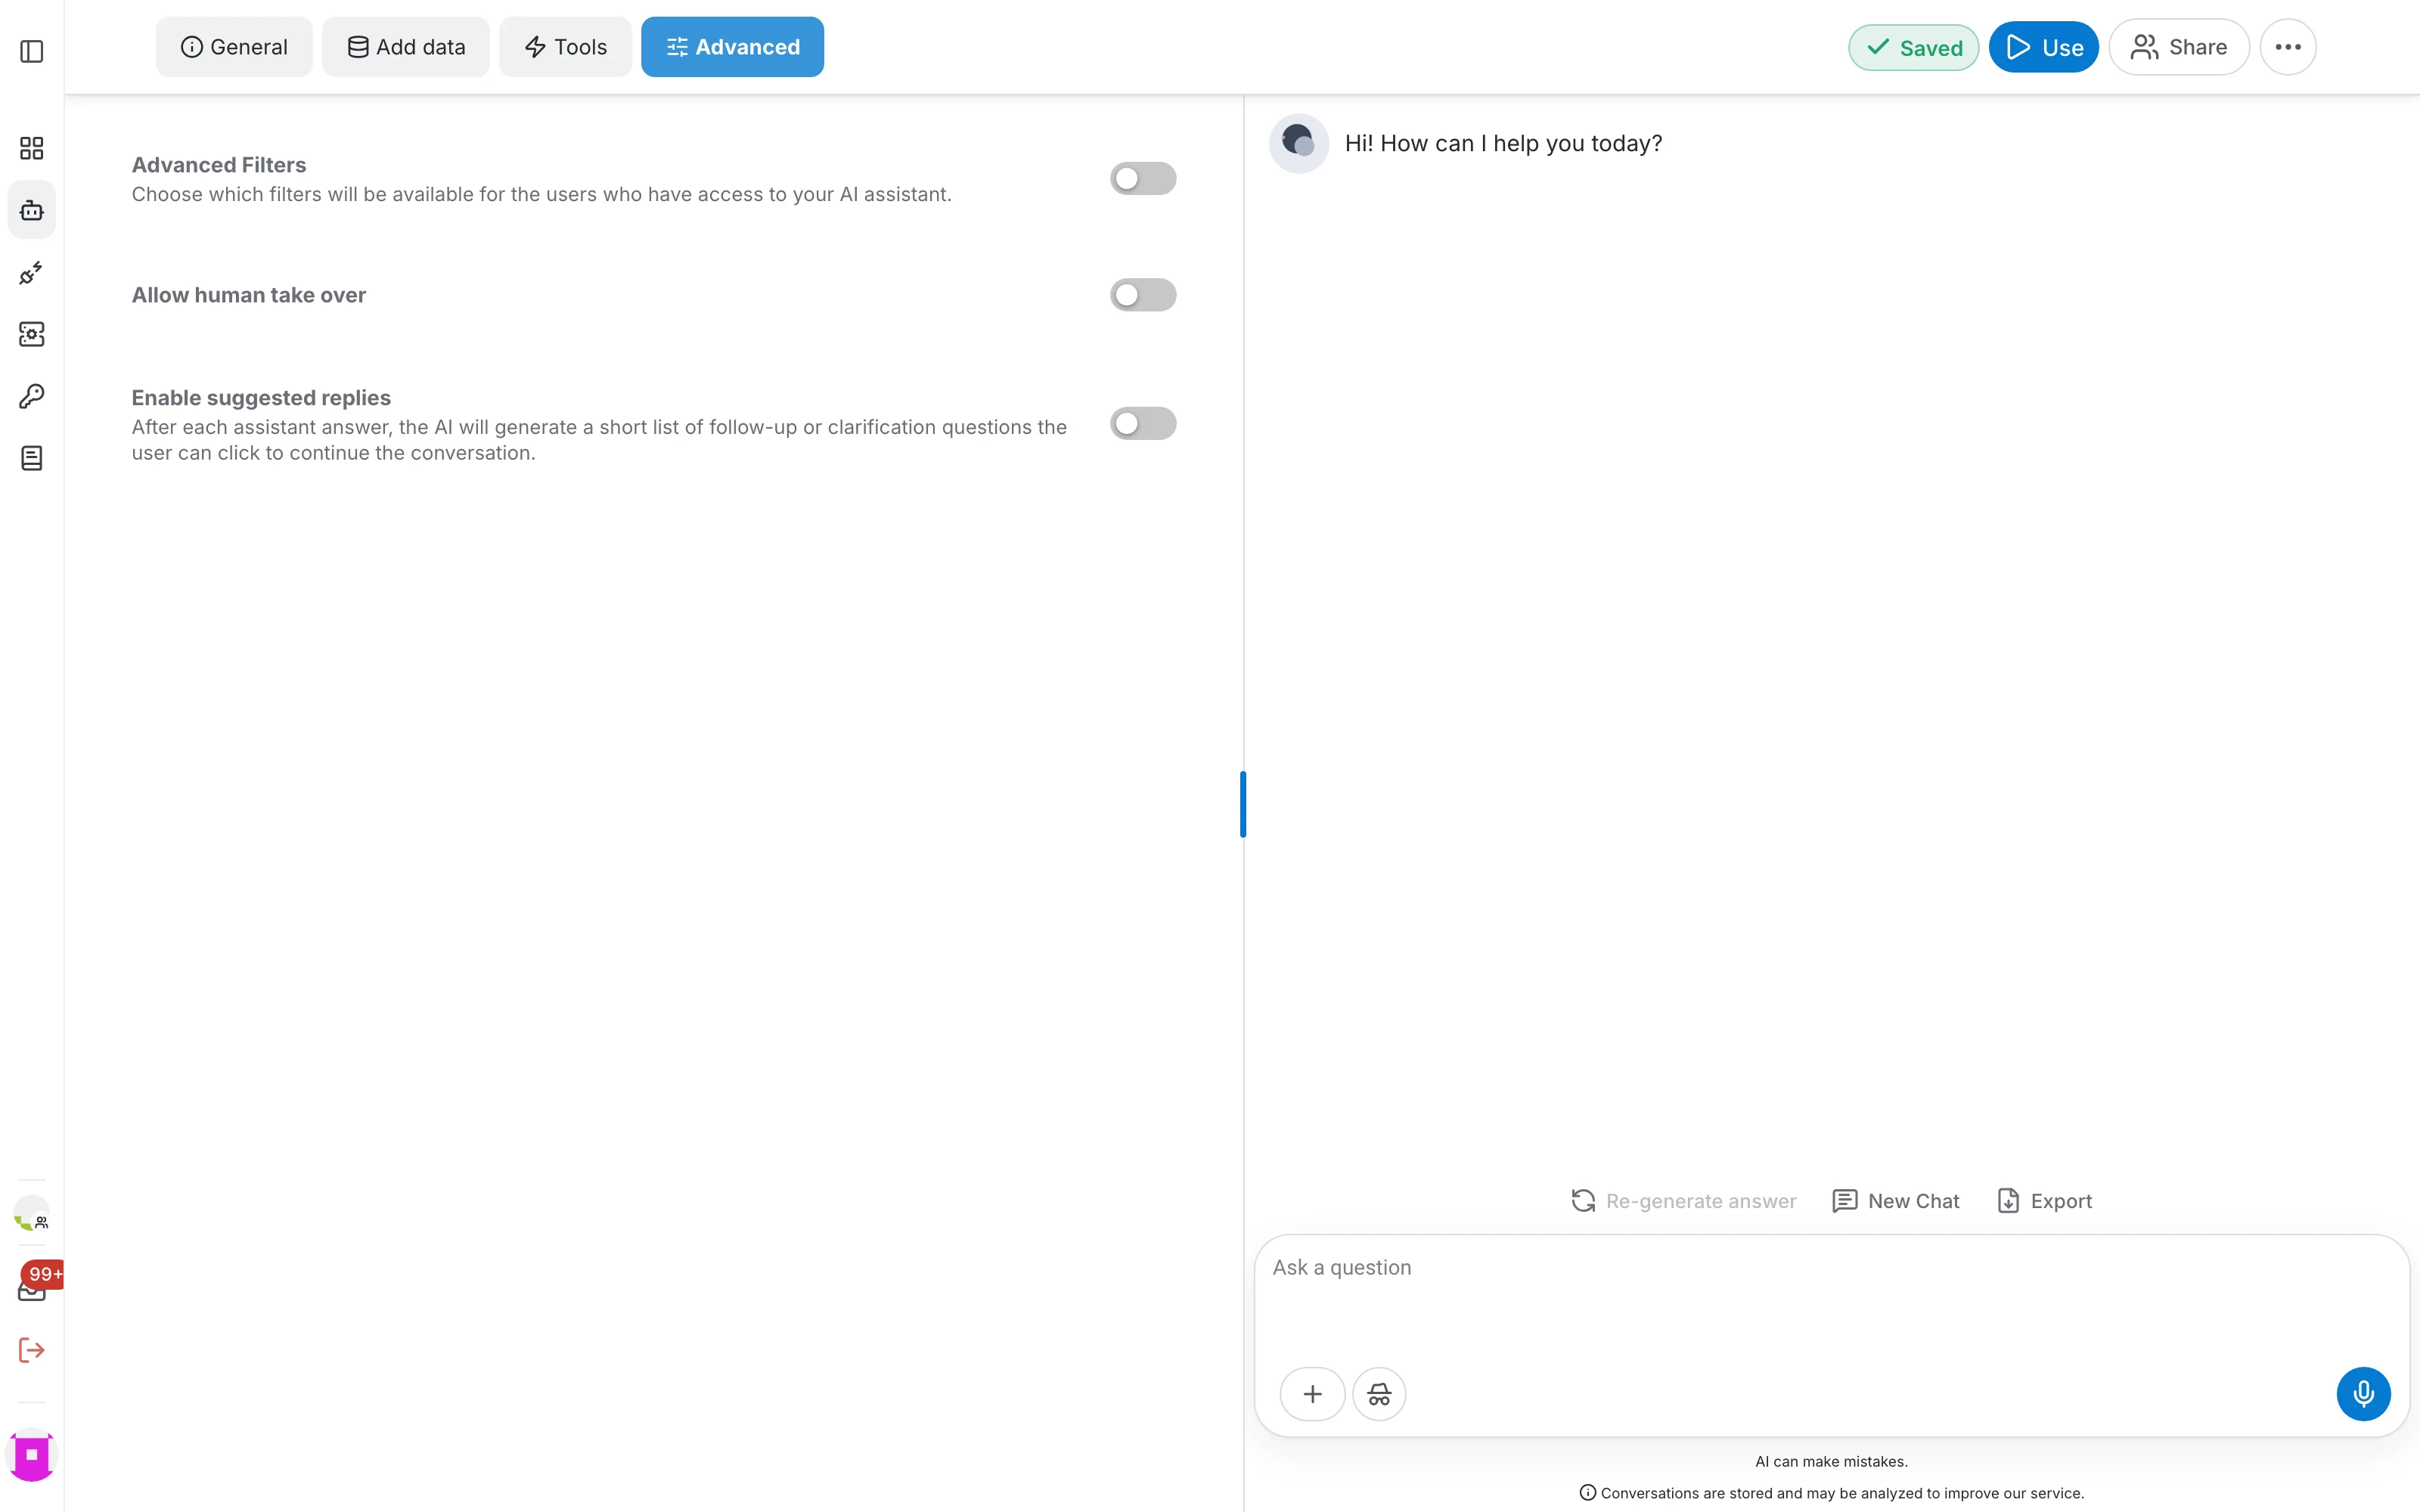
The Advanced tab collects the optional behaviours of the assistant:
- Advanced Filters — choose which filters the people using your assistant are allowed to apply to the data.
- Allow human take over — let a human agent step into a conversation and answer instead of the assistant.
- Enable suggested replies — after each answer, the assistant proposes follow-up questions the user can click.
Use your assistant
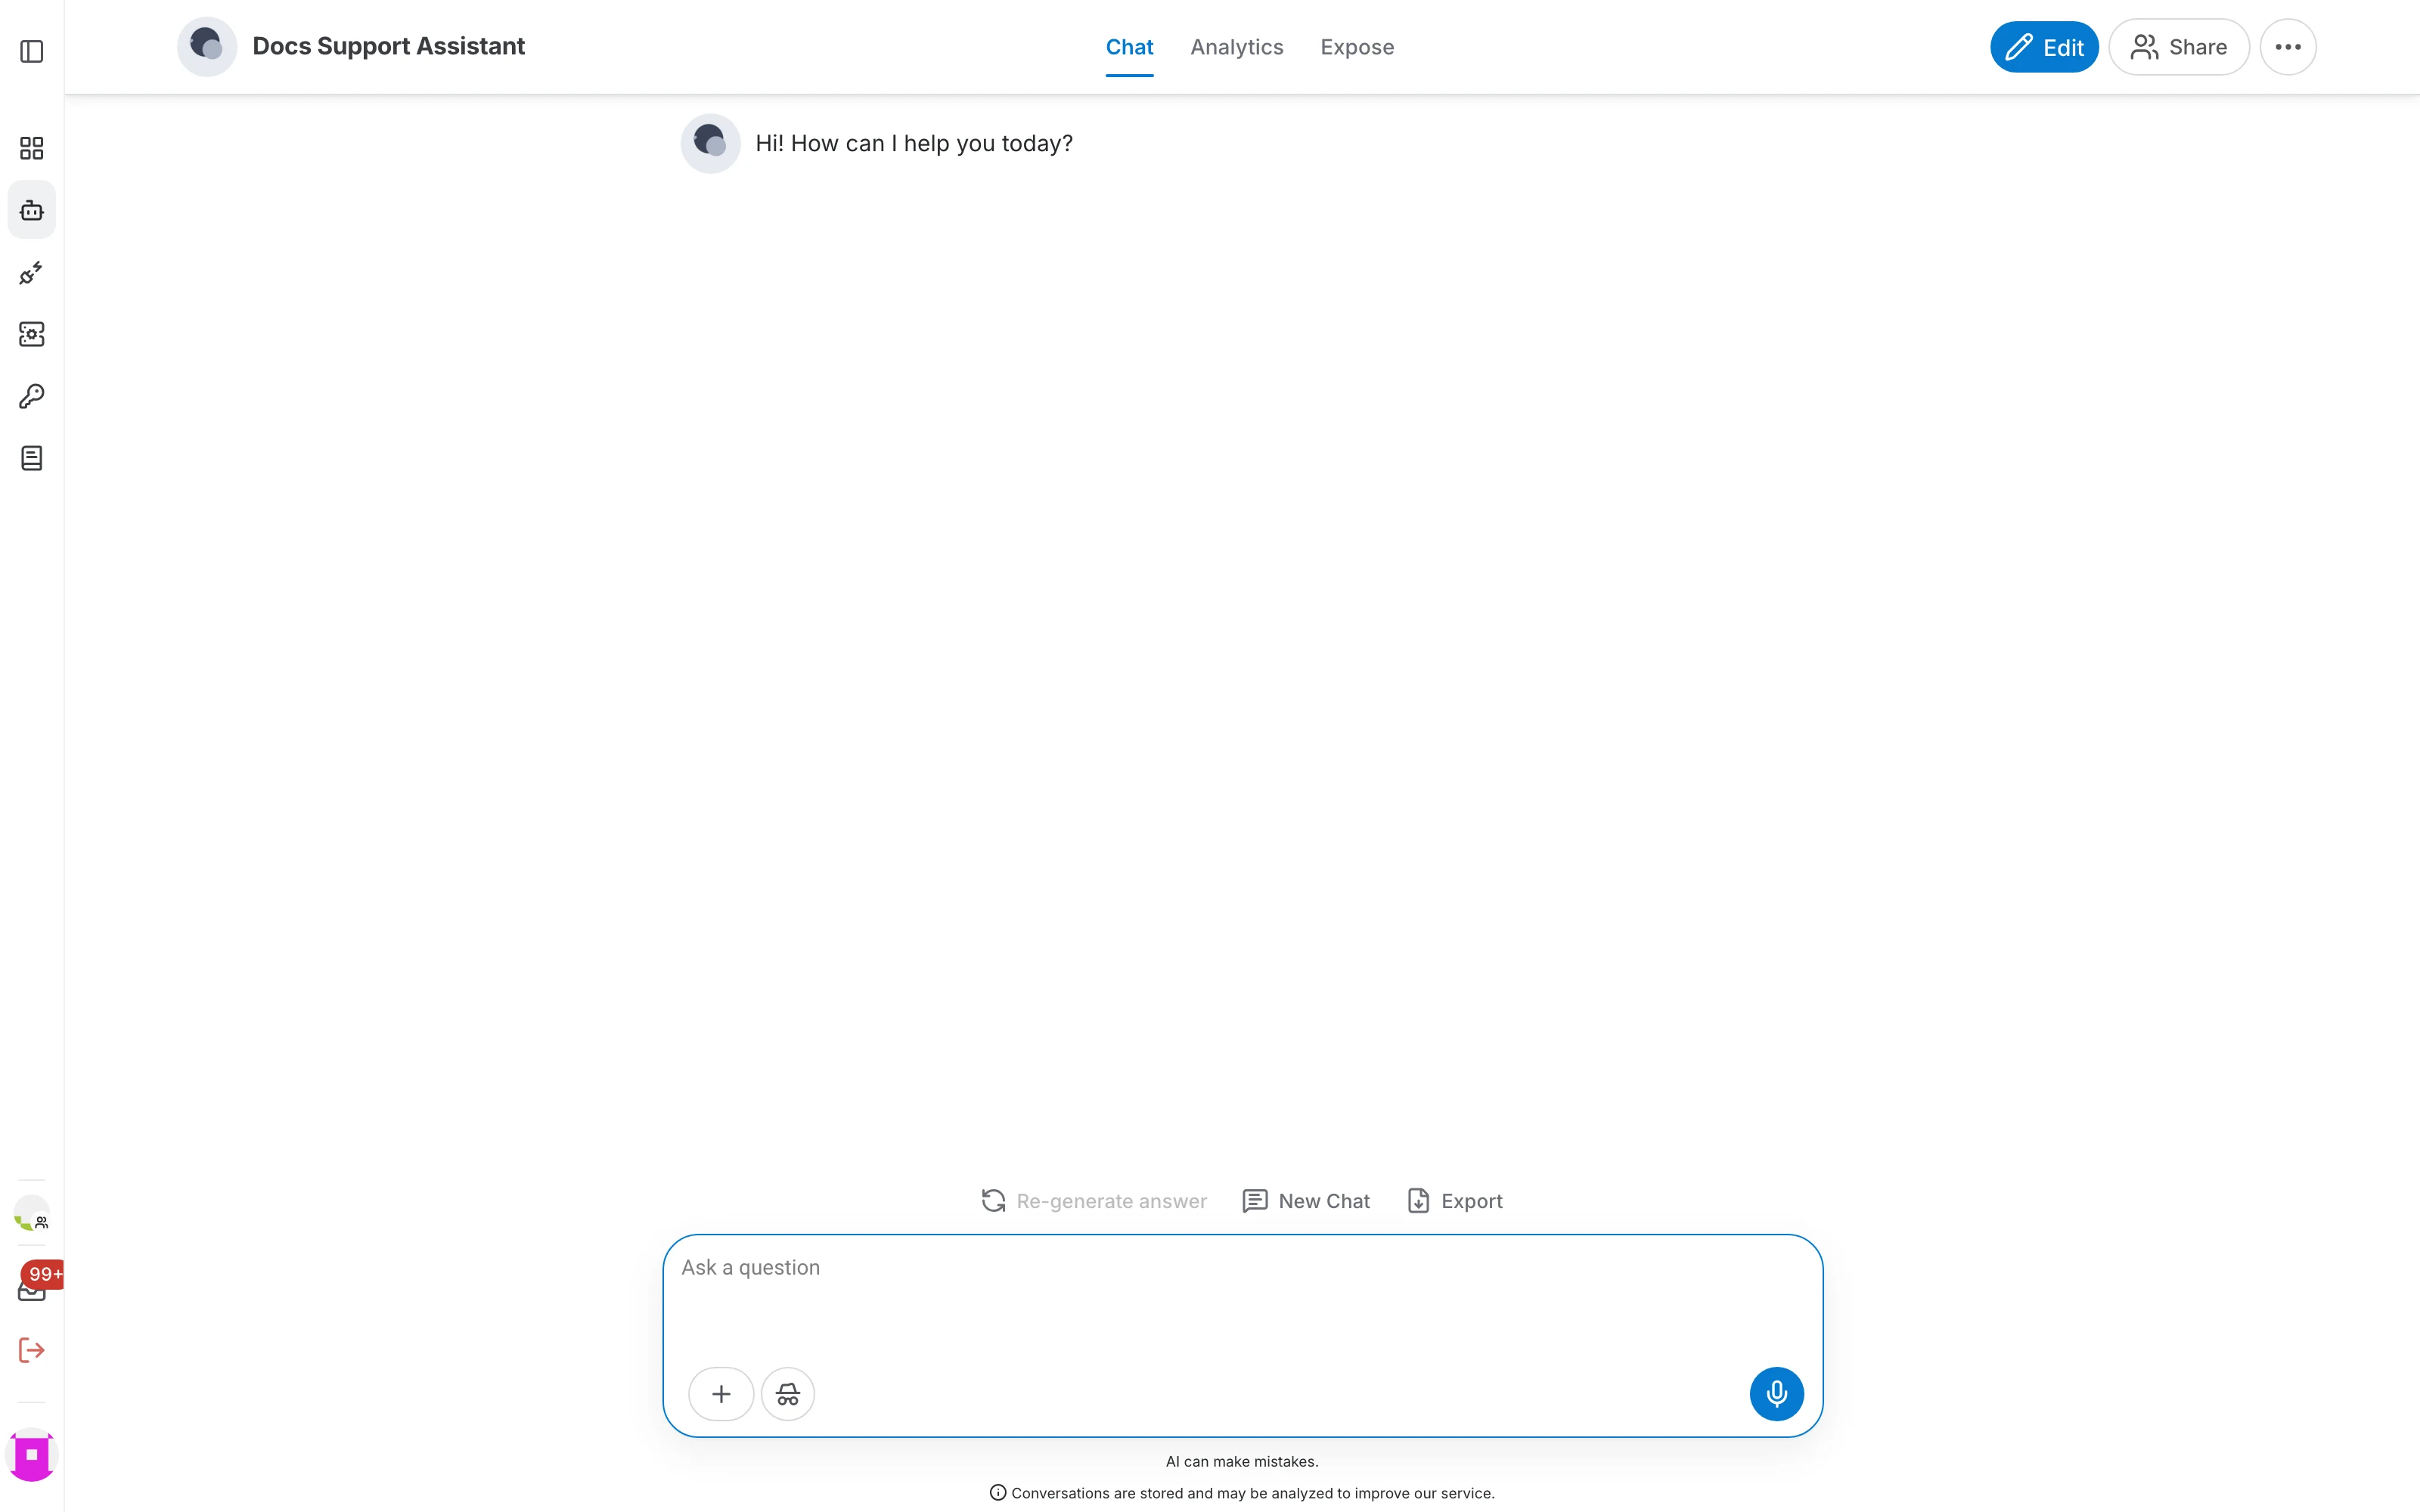
Use leaves the editor and opens the assistant's own page, which is what the people you share it with will see. It has three tabs:
- Chat — the full-size conversation interface, with attachments, incognito mode, conversation export and answer feedback.
- Analytics — usage figures and the log of past conversations. See the logs page.
- Expose — the integrations that publish your assistant to the outside world, such as a website chatbot, Slack or Teams. See the expose section.
Share
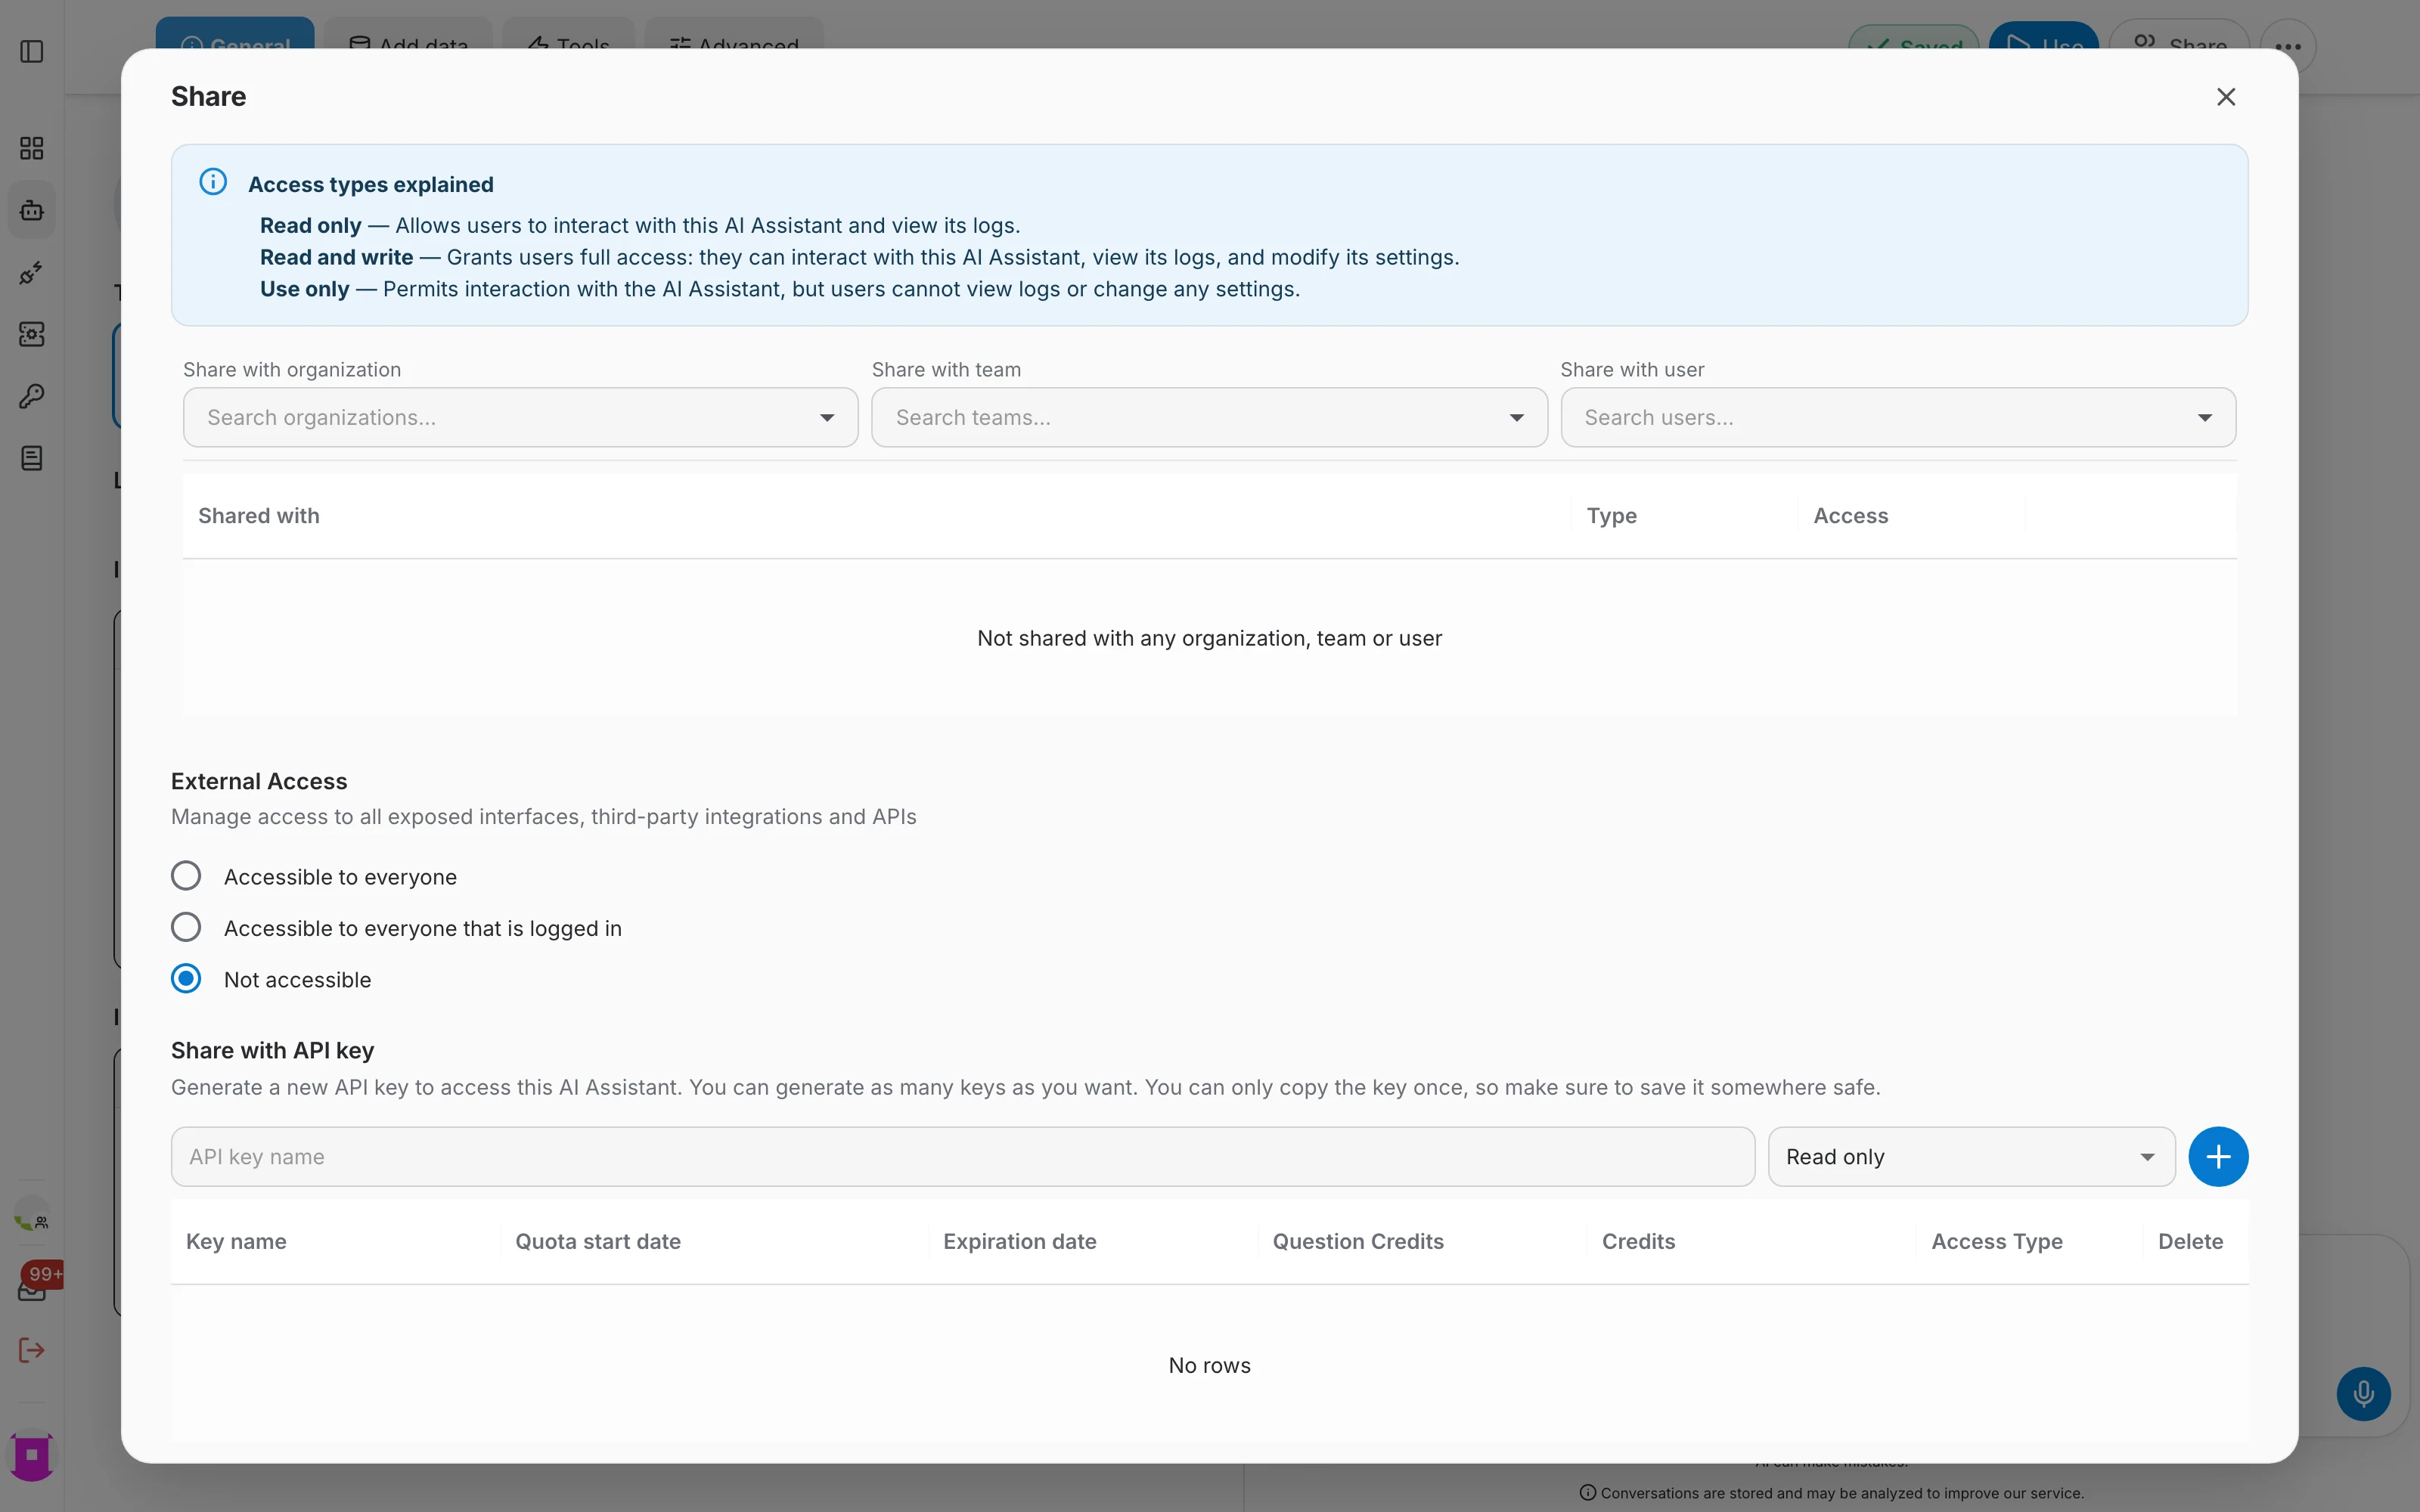
Share opens the sharing dialog, where you decide who may use the assistant and with which rights. The three access types are explained at the top of the dialog and in detail in the access rights page.
- Share with an organization, a team or an individual user, and set read-only, read-and-write or use-only access.
- External Access controls whether the exposed interfaces and APIs are reachable by everyone, by logged-in users only, or by nobody.
- Share with API key generates keys that give programmatic access to this assistant. A key can only be copied once, so store it safely.
More options
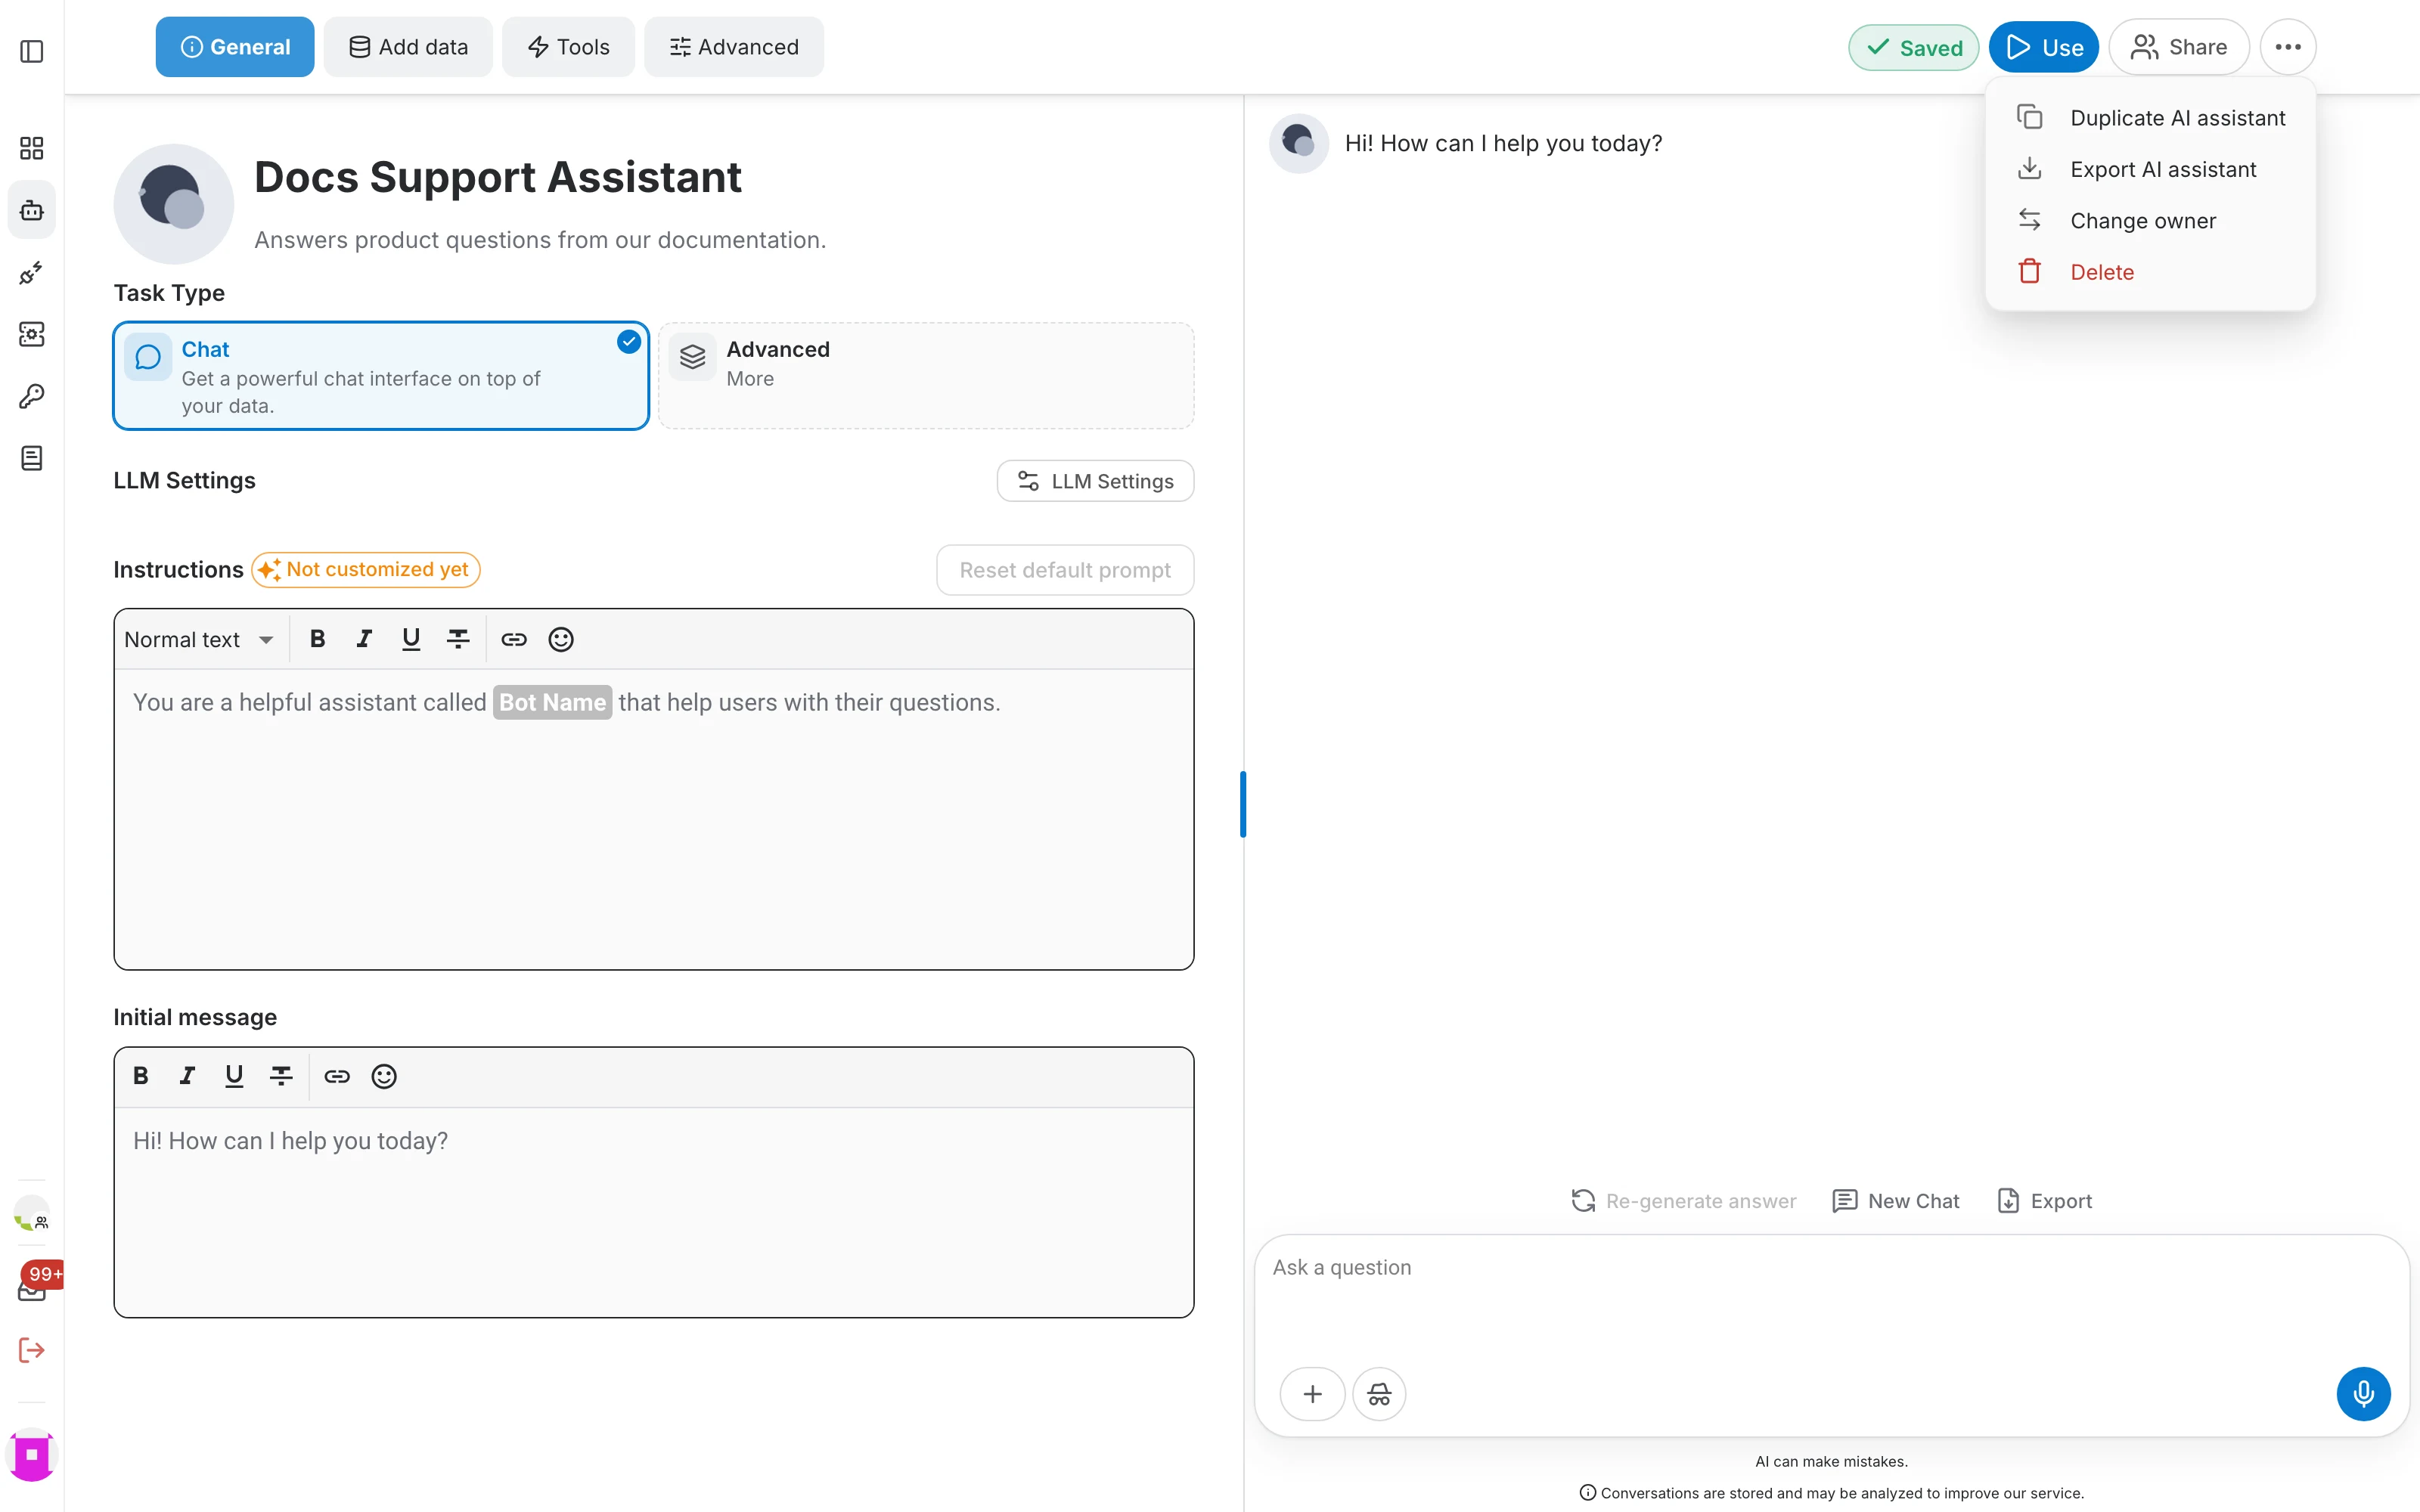
The ⋯ button next to Share holds the actions that affect the assistant as a whole:
- Duplicate AI assistant — create an independent copy, including its configuration and data.
- Export AI assistant — download the assistant as a ZIP bundle you can import elsewhere.
- Change owner — transfer the assistant to another user. Only the current owner can do this.
- Delete — remove the assistant and its data permanently, after a confirmation.
Manage assistants from the list
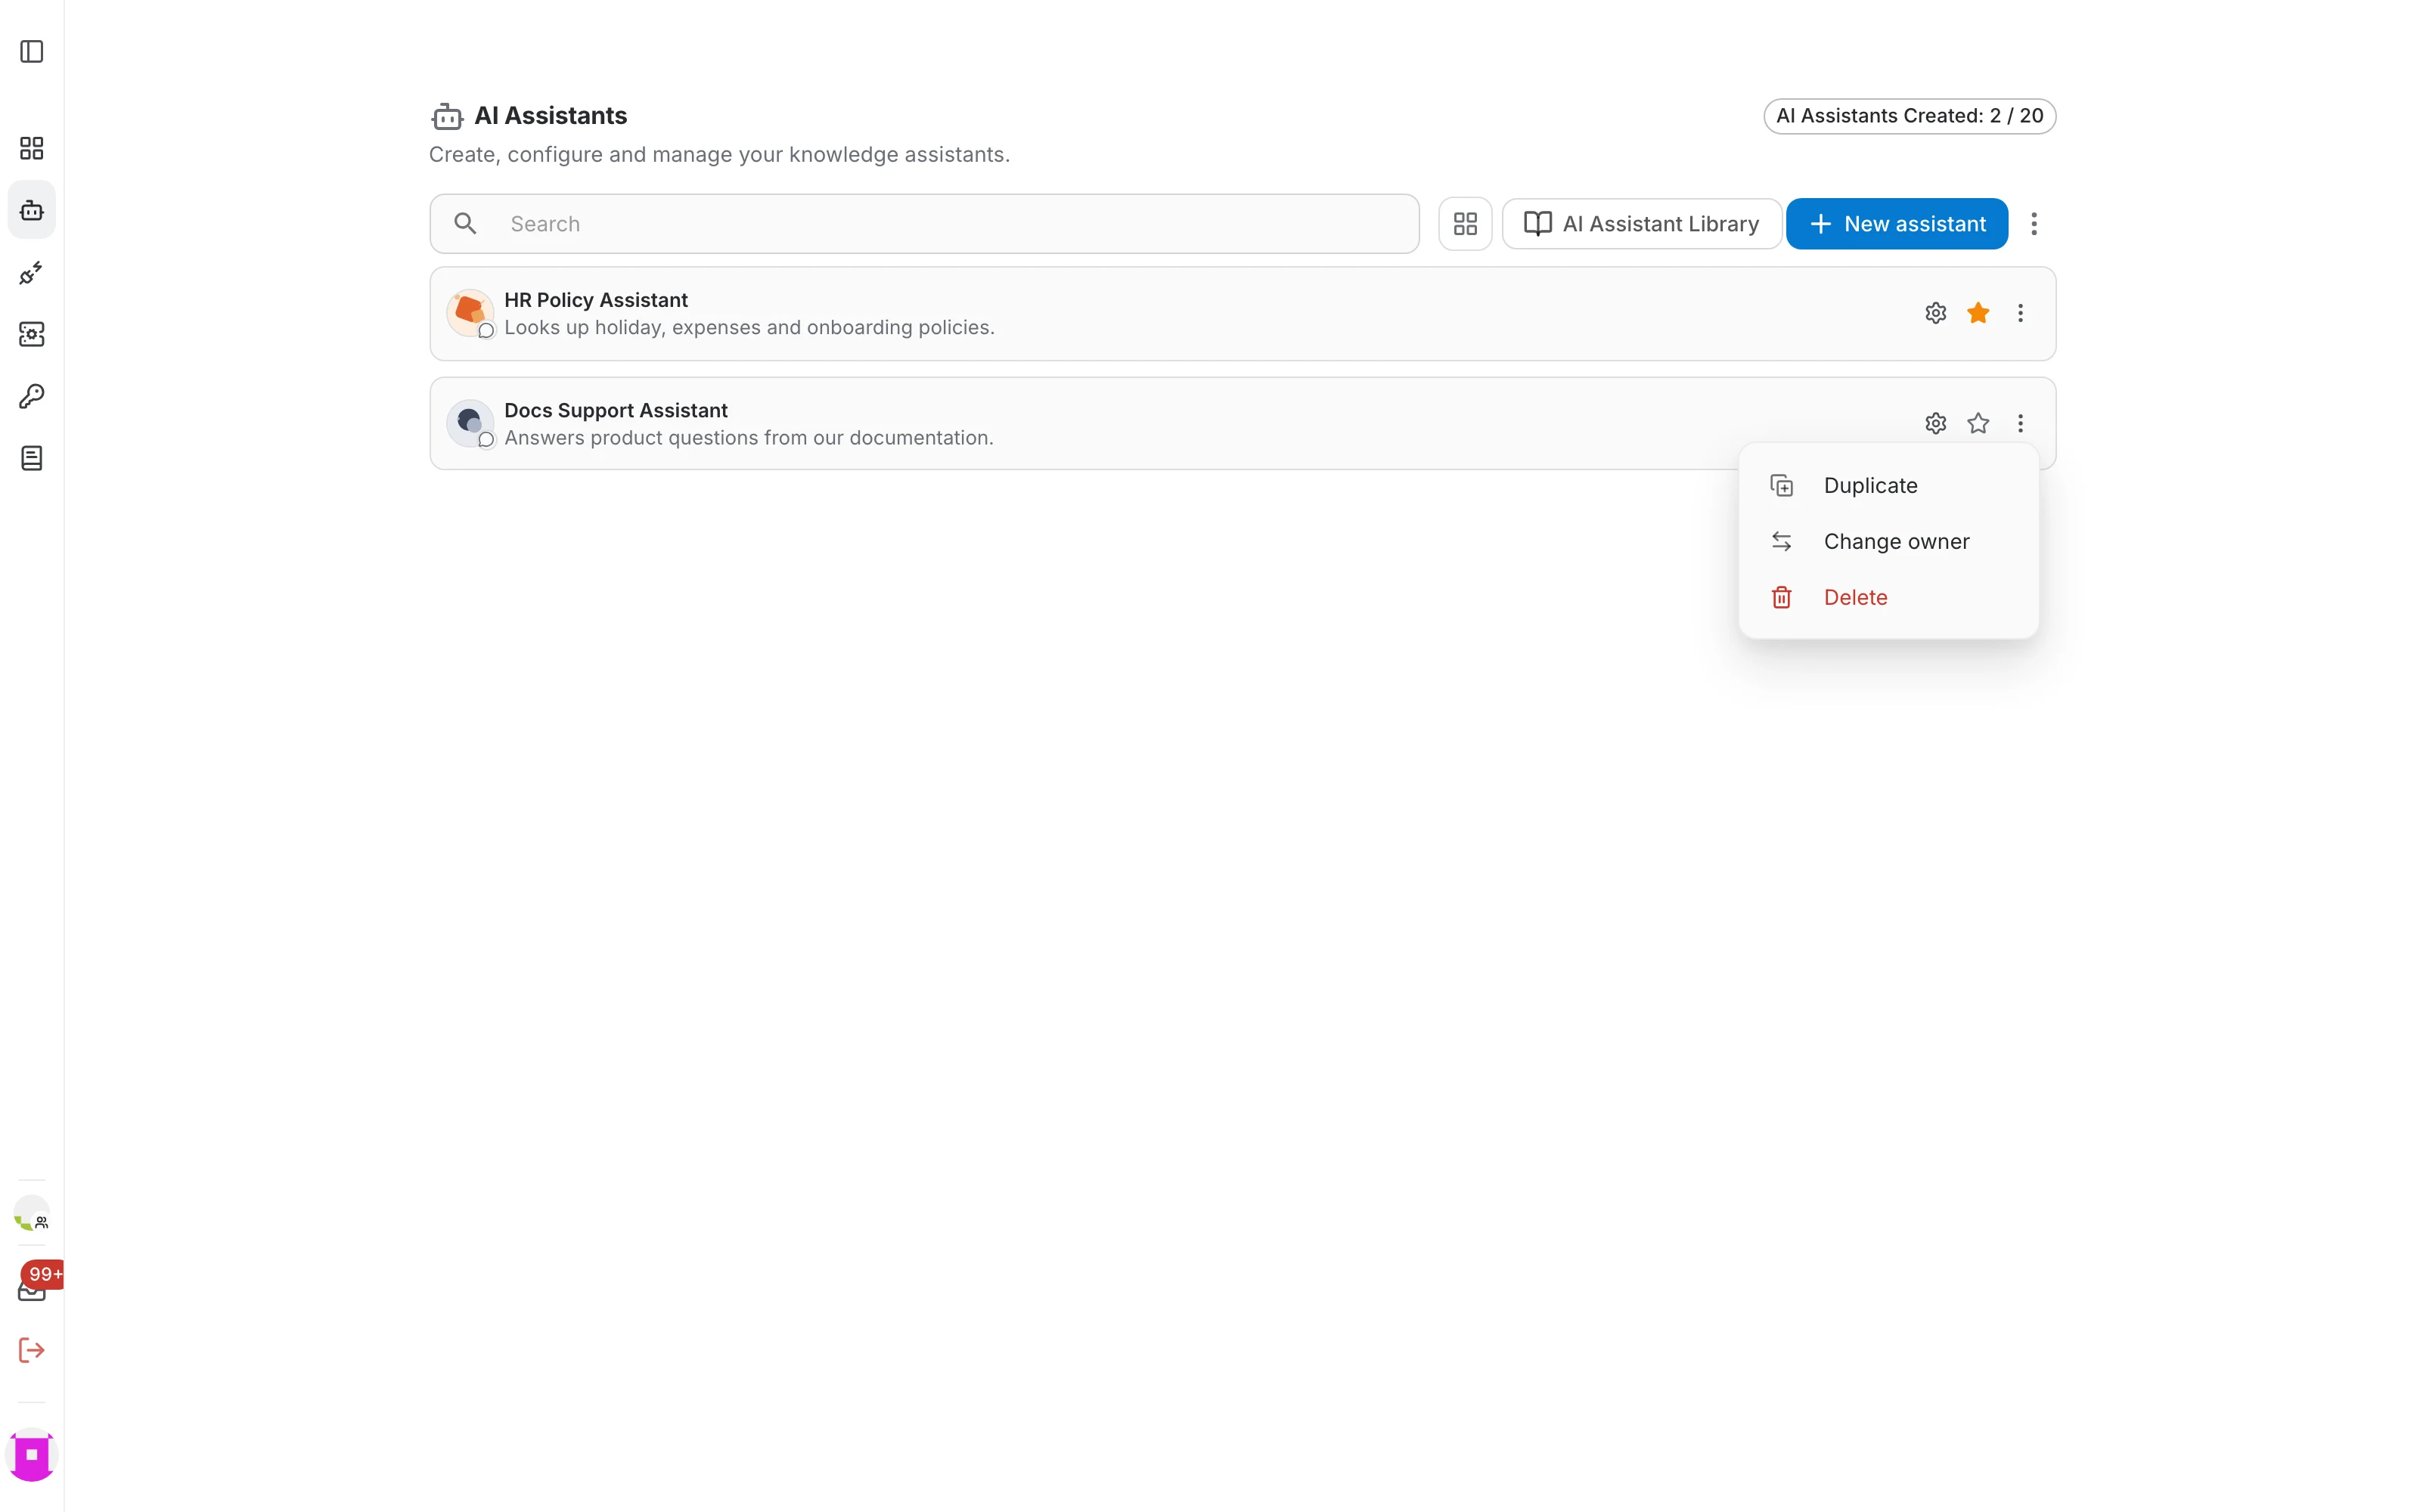
You do not have to open the editor for everyday actions. Hover an assistant in the list and three controls appear on the right:
- The gear opens the assistant's editor.
- The star marks the assistant as a favourite so it stays at the top of your list.
- The ⋮ menu offers Duplicate, Change owner and Delete. For an assistant that was shared with you, it offers to remove it from your list instead.

Import an assistant
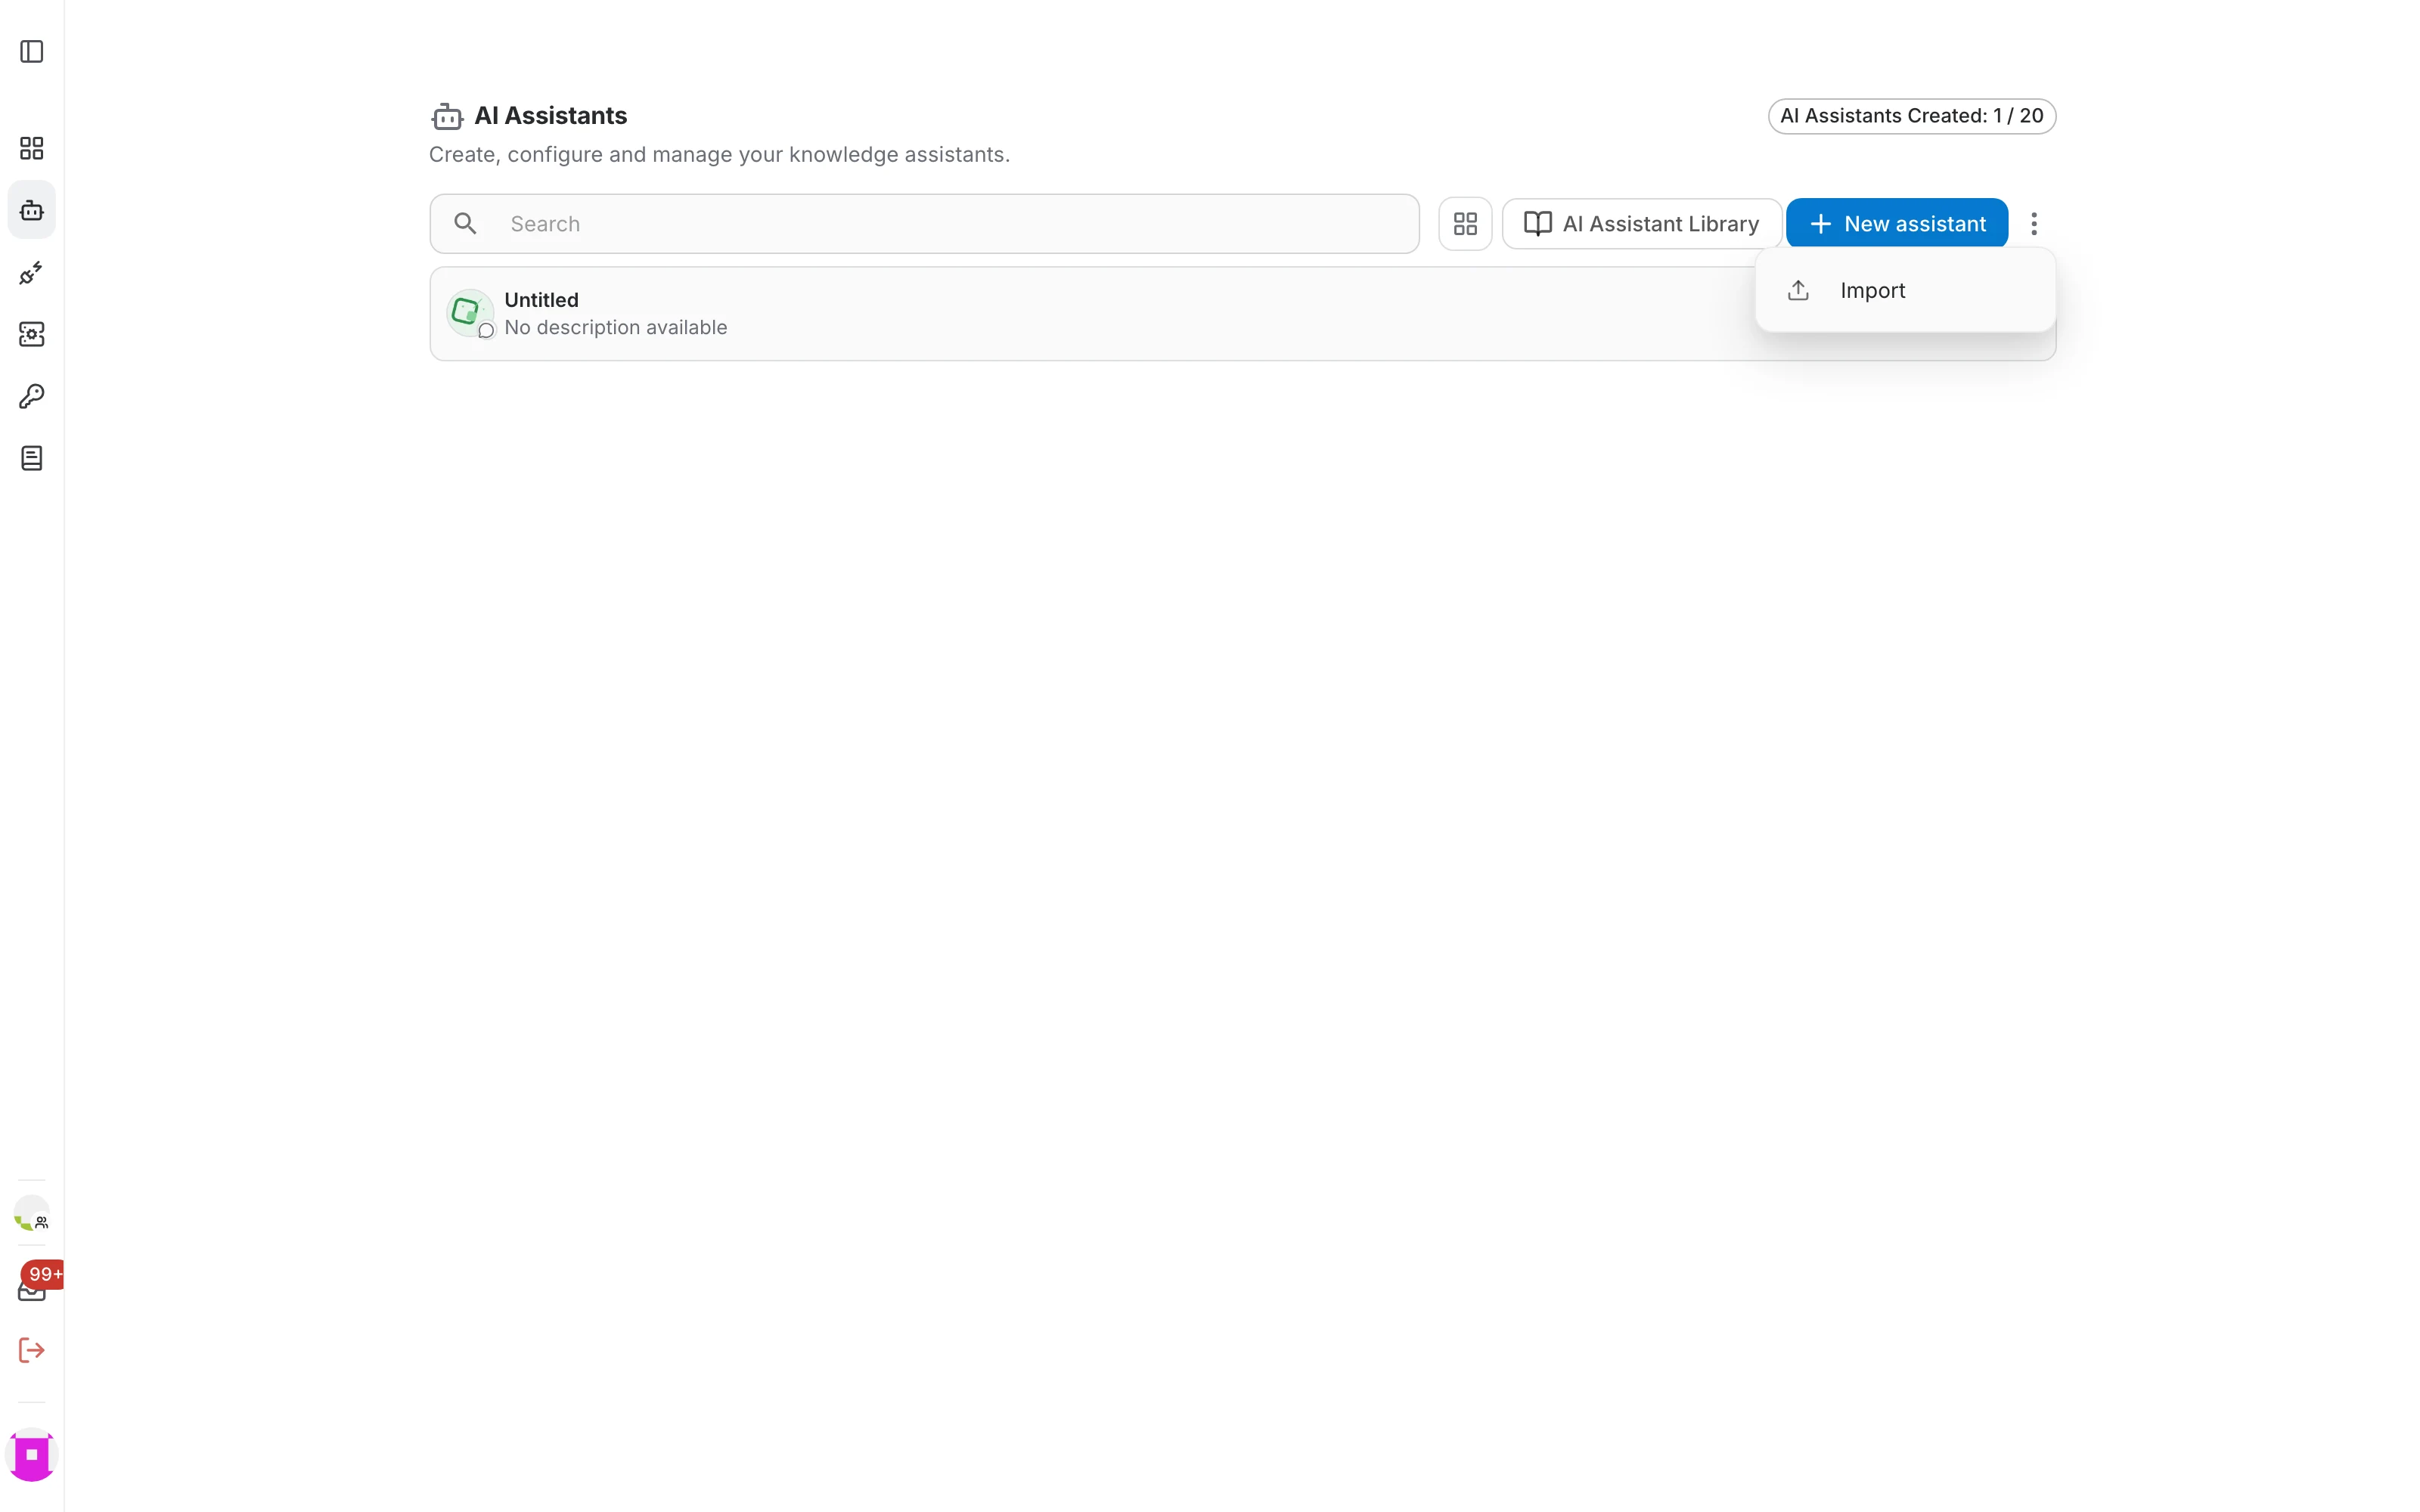
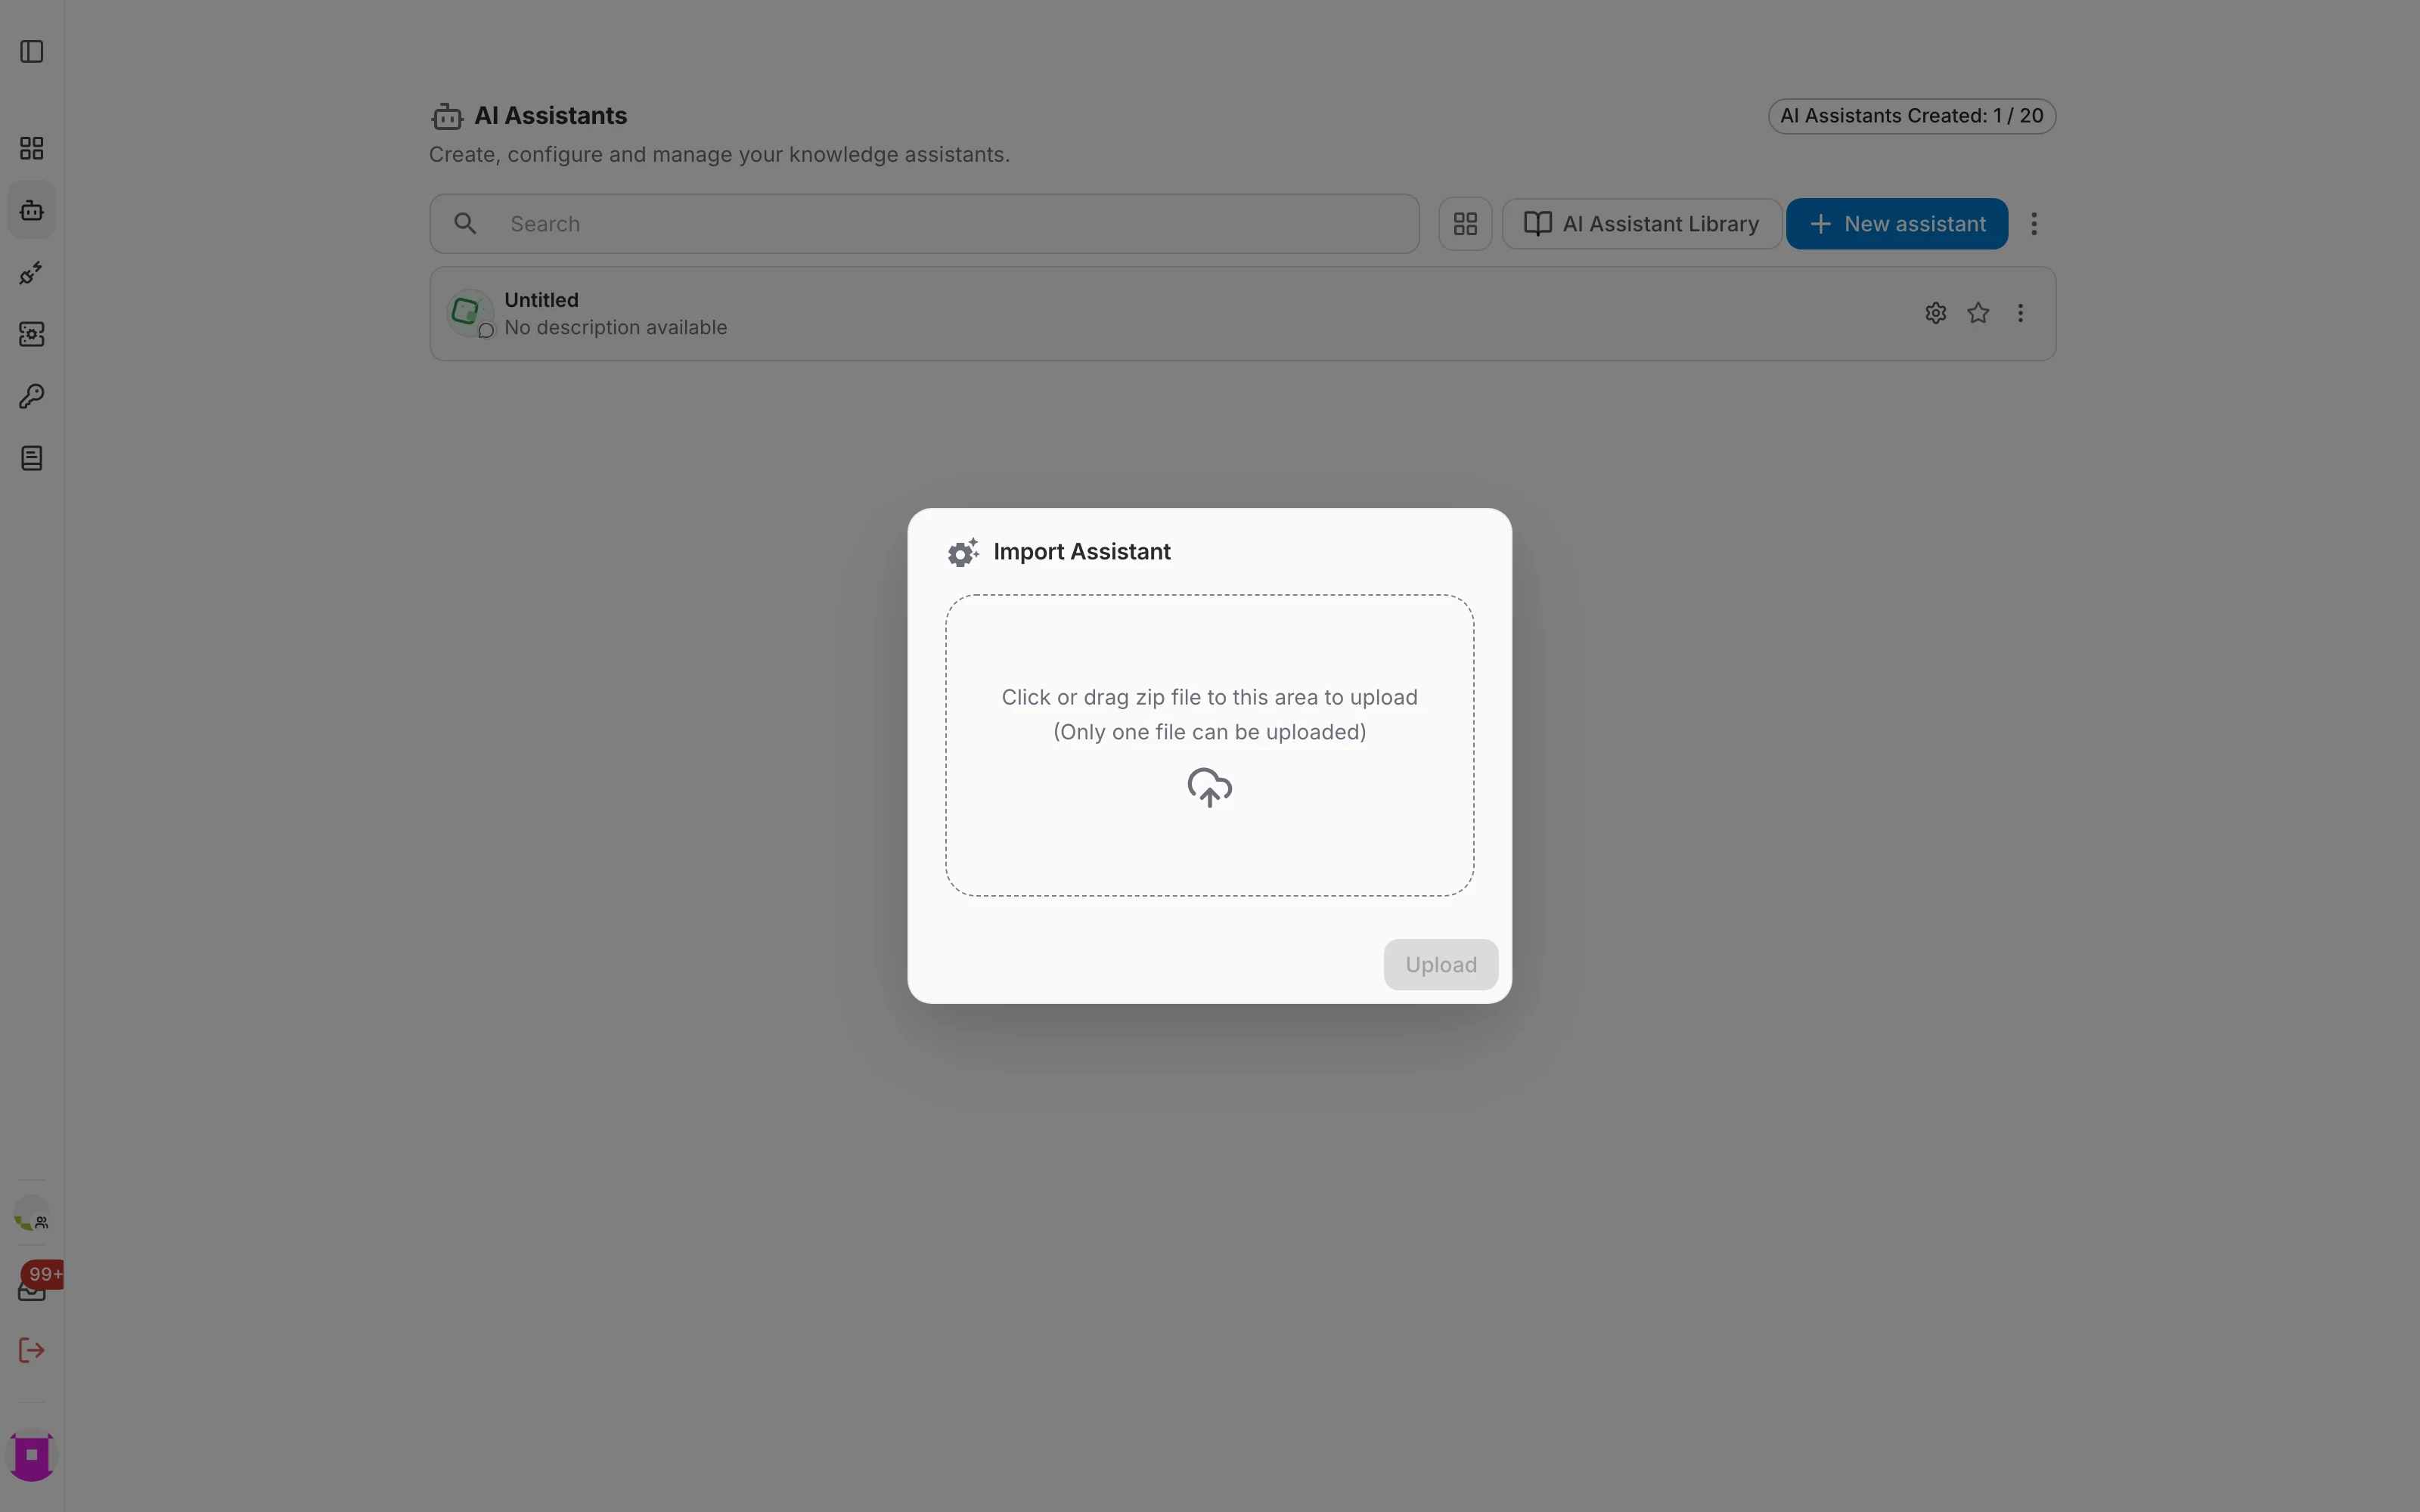
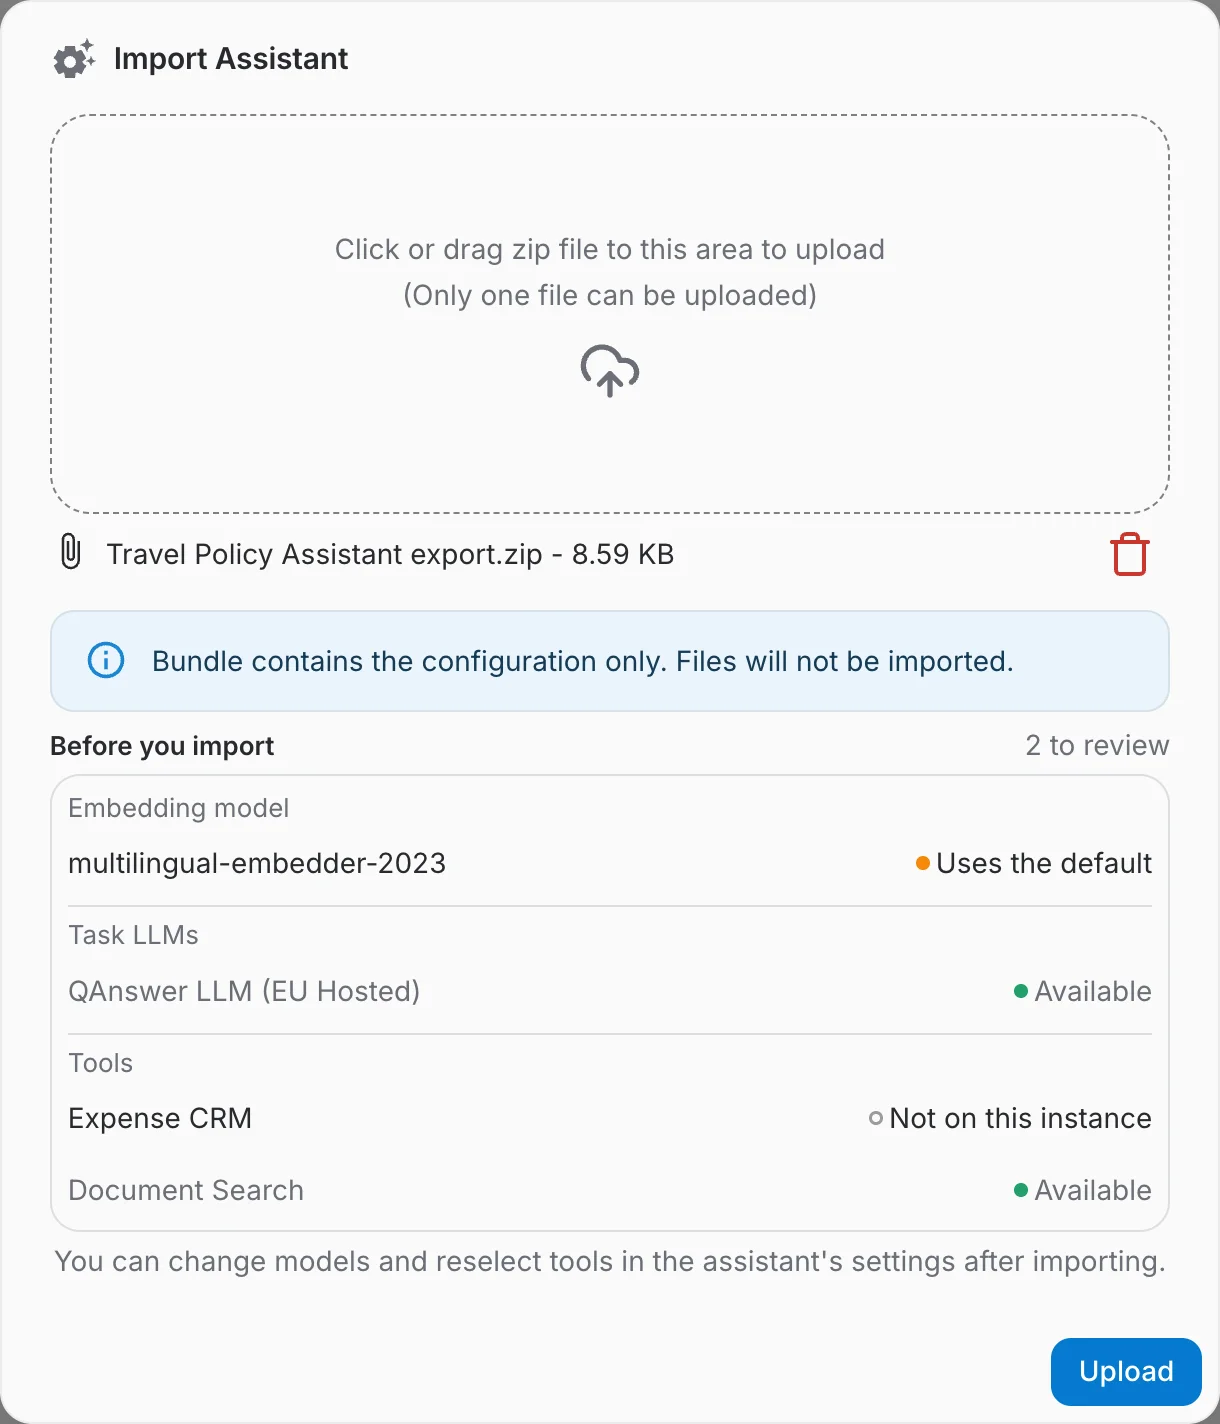
To restore an exported assistant, open the ⋮ More options menu in the toolbar and choose Import. Drop the bundle in the dialog, wait for it to be analysed, and click Upload.
Start from the AI Assistant Library
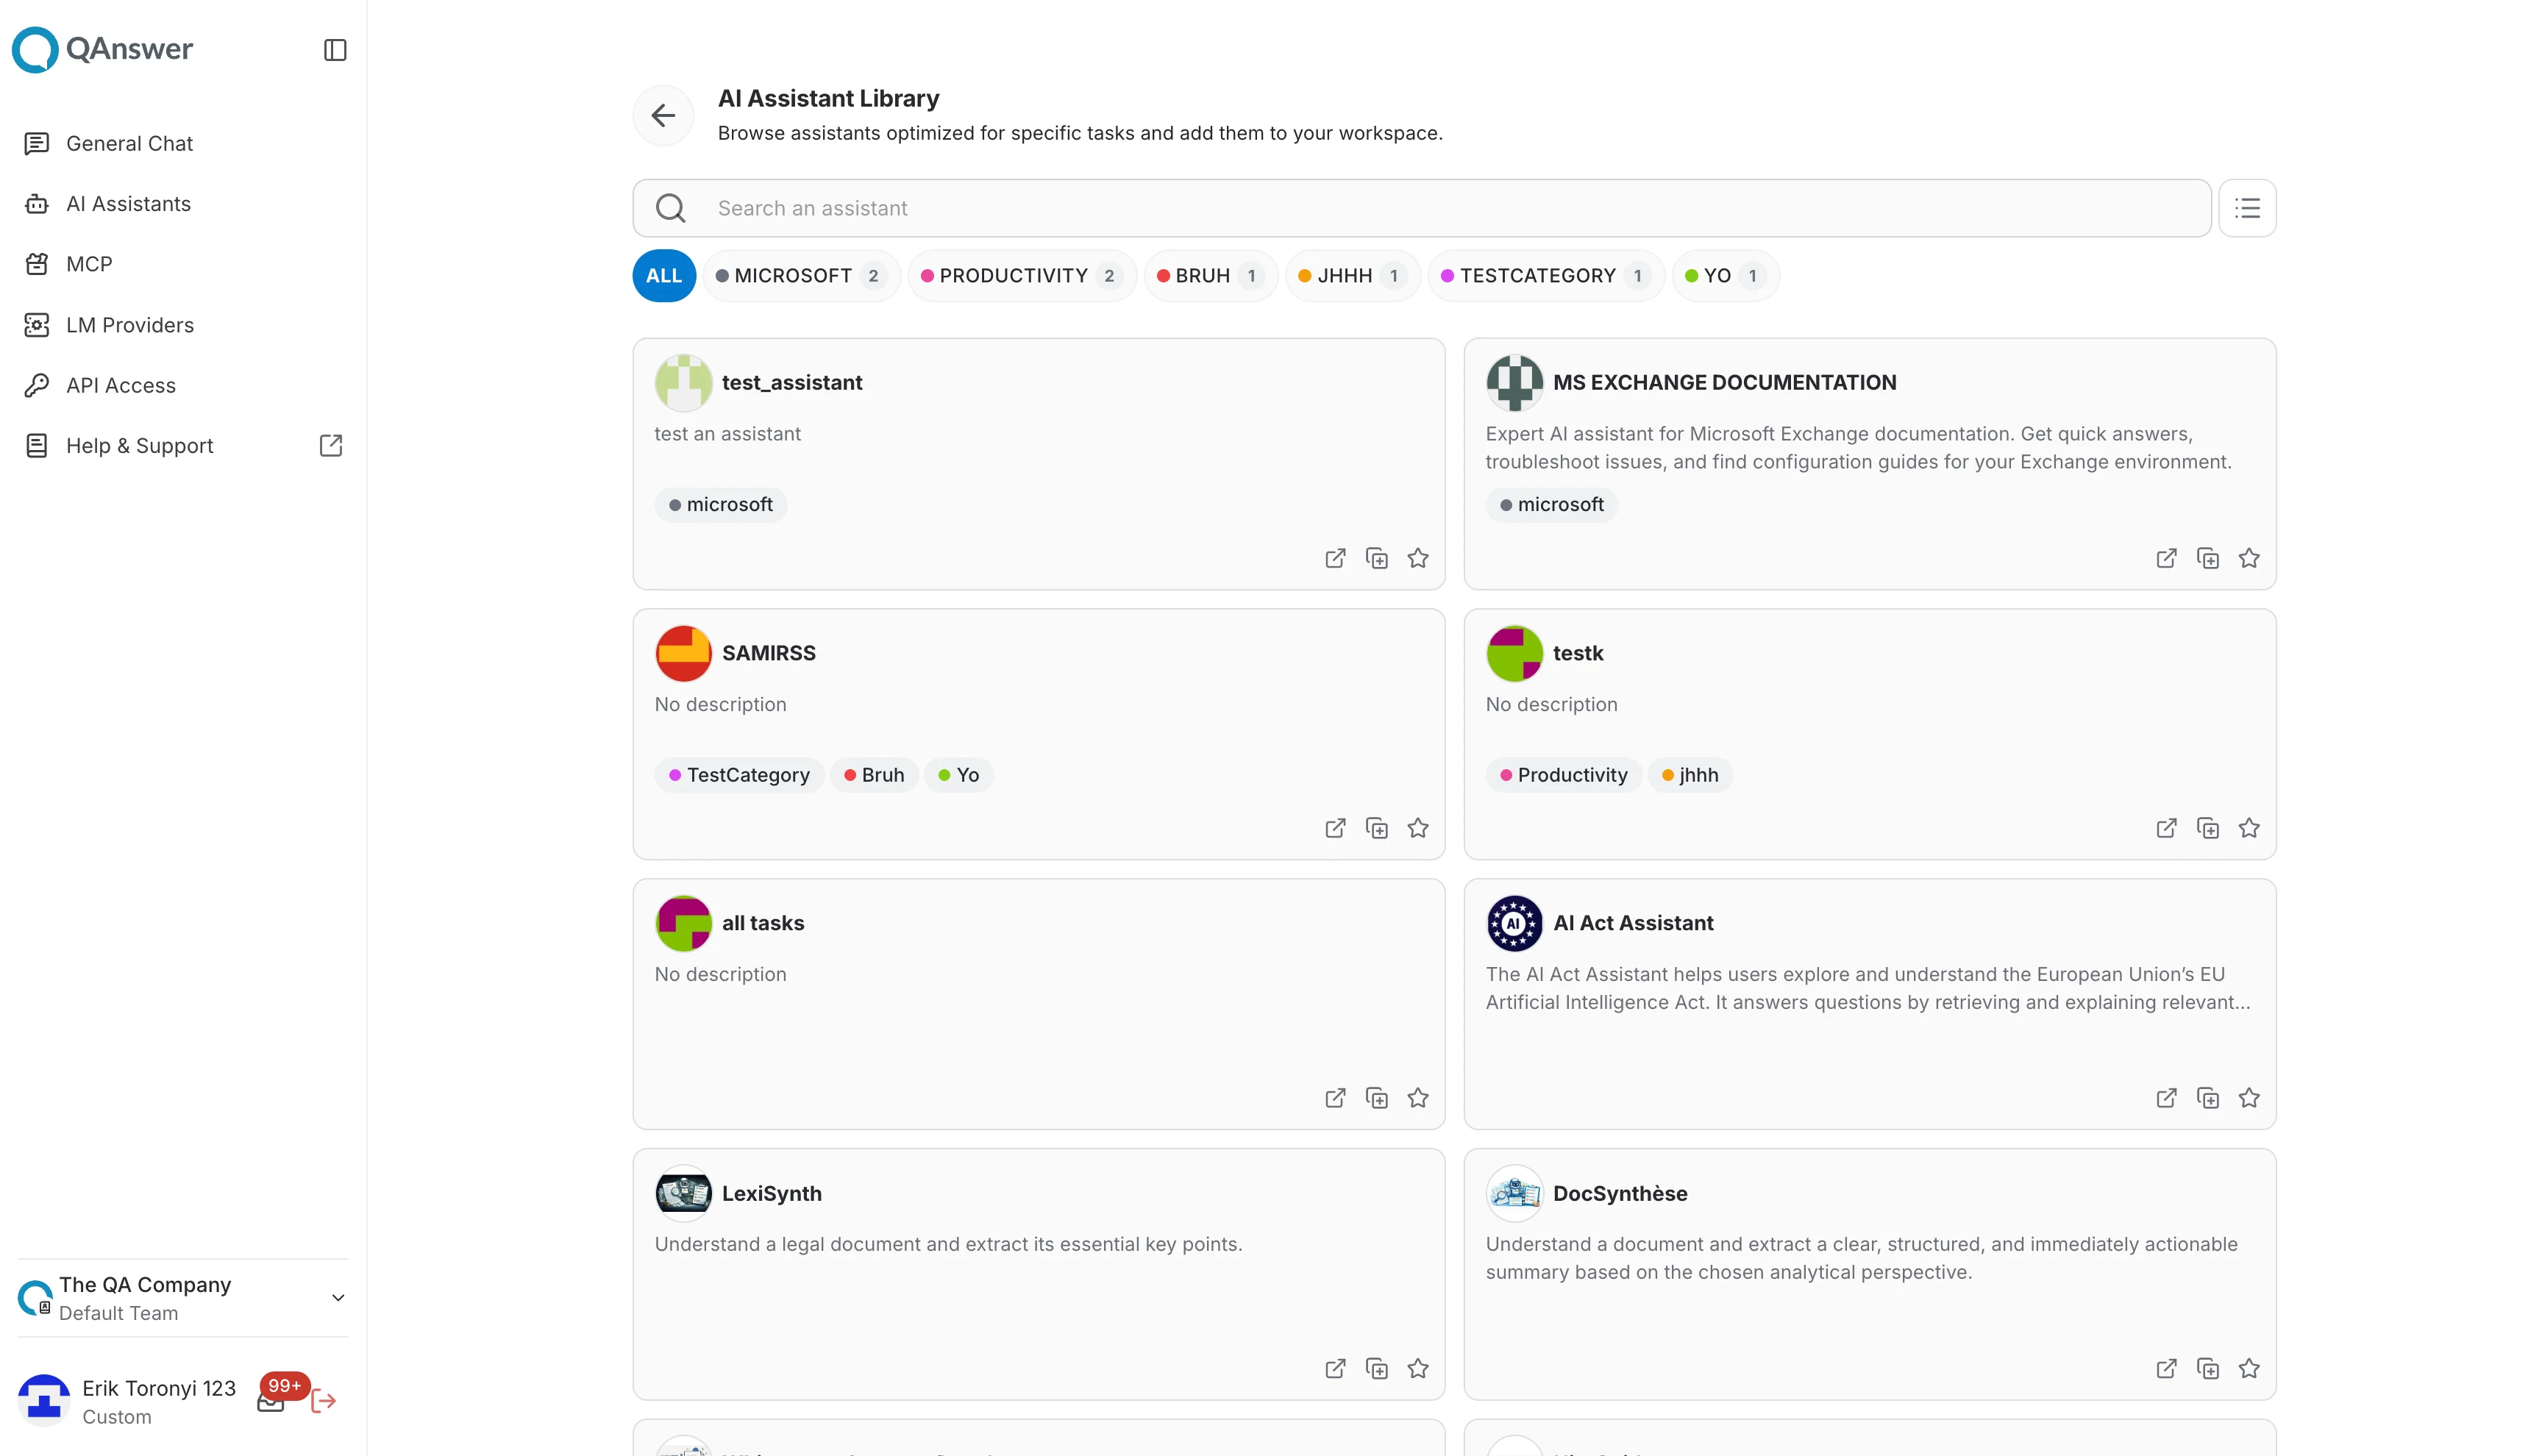
Rather than starting from scratch, you can pick a ready-made assistant. Click AI Assistant Library in the toolbar to open the library page:
- Search an assistant by name or description.
- Filter by category using the colour-coded tabs; the number on each tab is how many assistants it contains.
- Open — try the assistant without adding it to your workspace. You cannot change its settings.
- Duplicate — copy the assistant into your own workspace, where you can edit everything.
- Star — keep a library assistant close at hand.
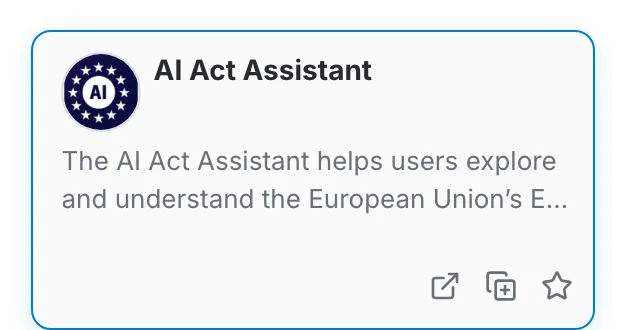
On premise, the categories of the library and their colours are configured by an administrator. See the admin configuration page.