
Users
Organization admins manage the members of their organization from Settings › Organization › Users. From here you can invite users, set each member's organization role, reset passwords, and open a member to review their account and usage.
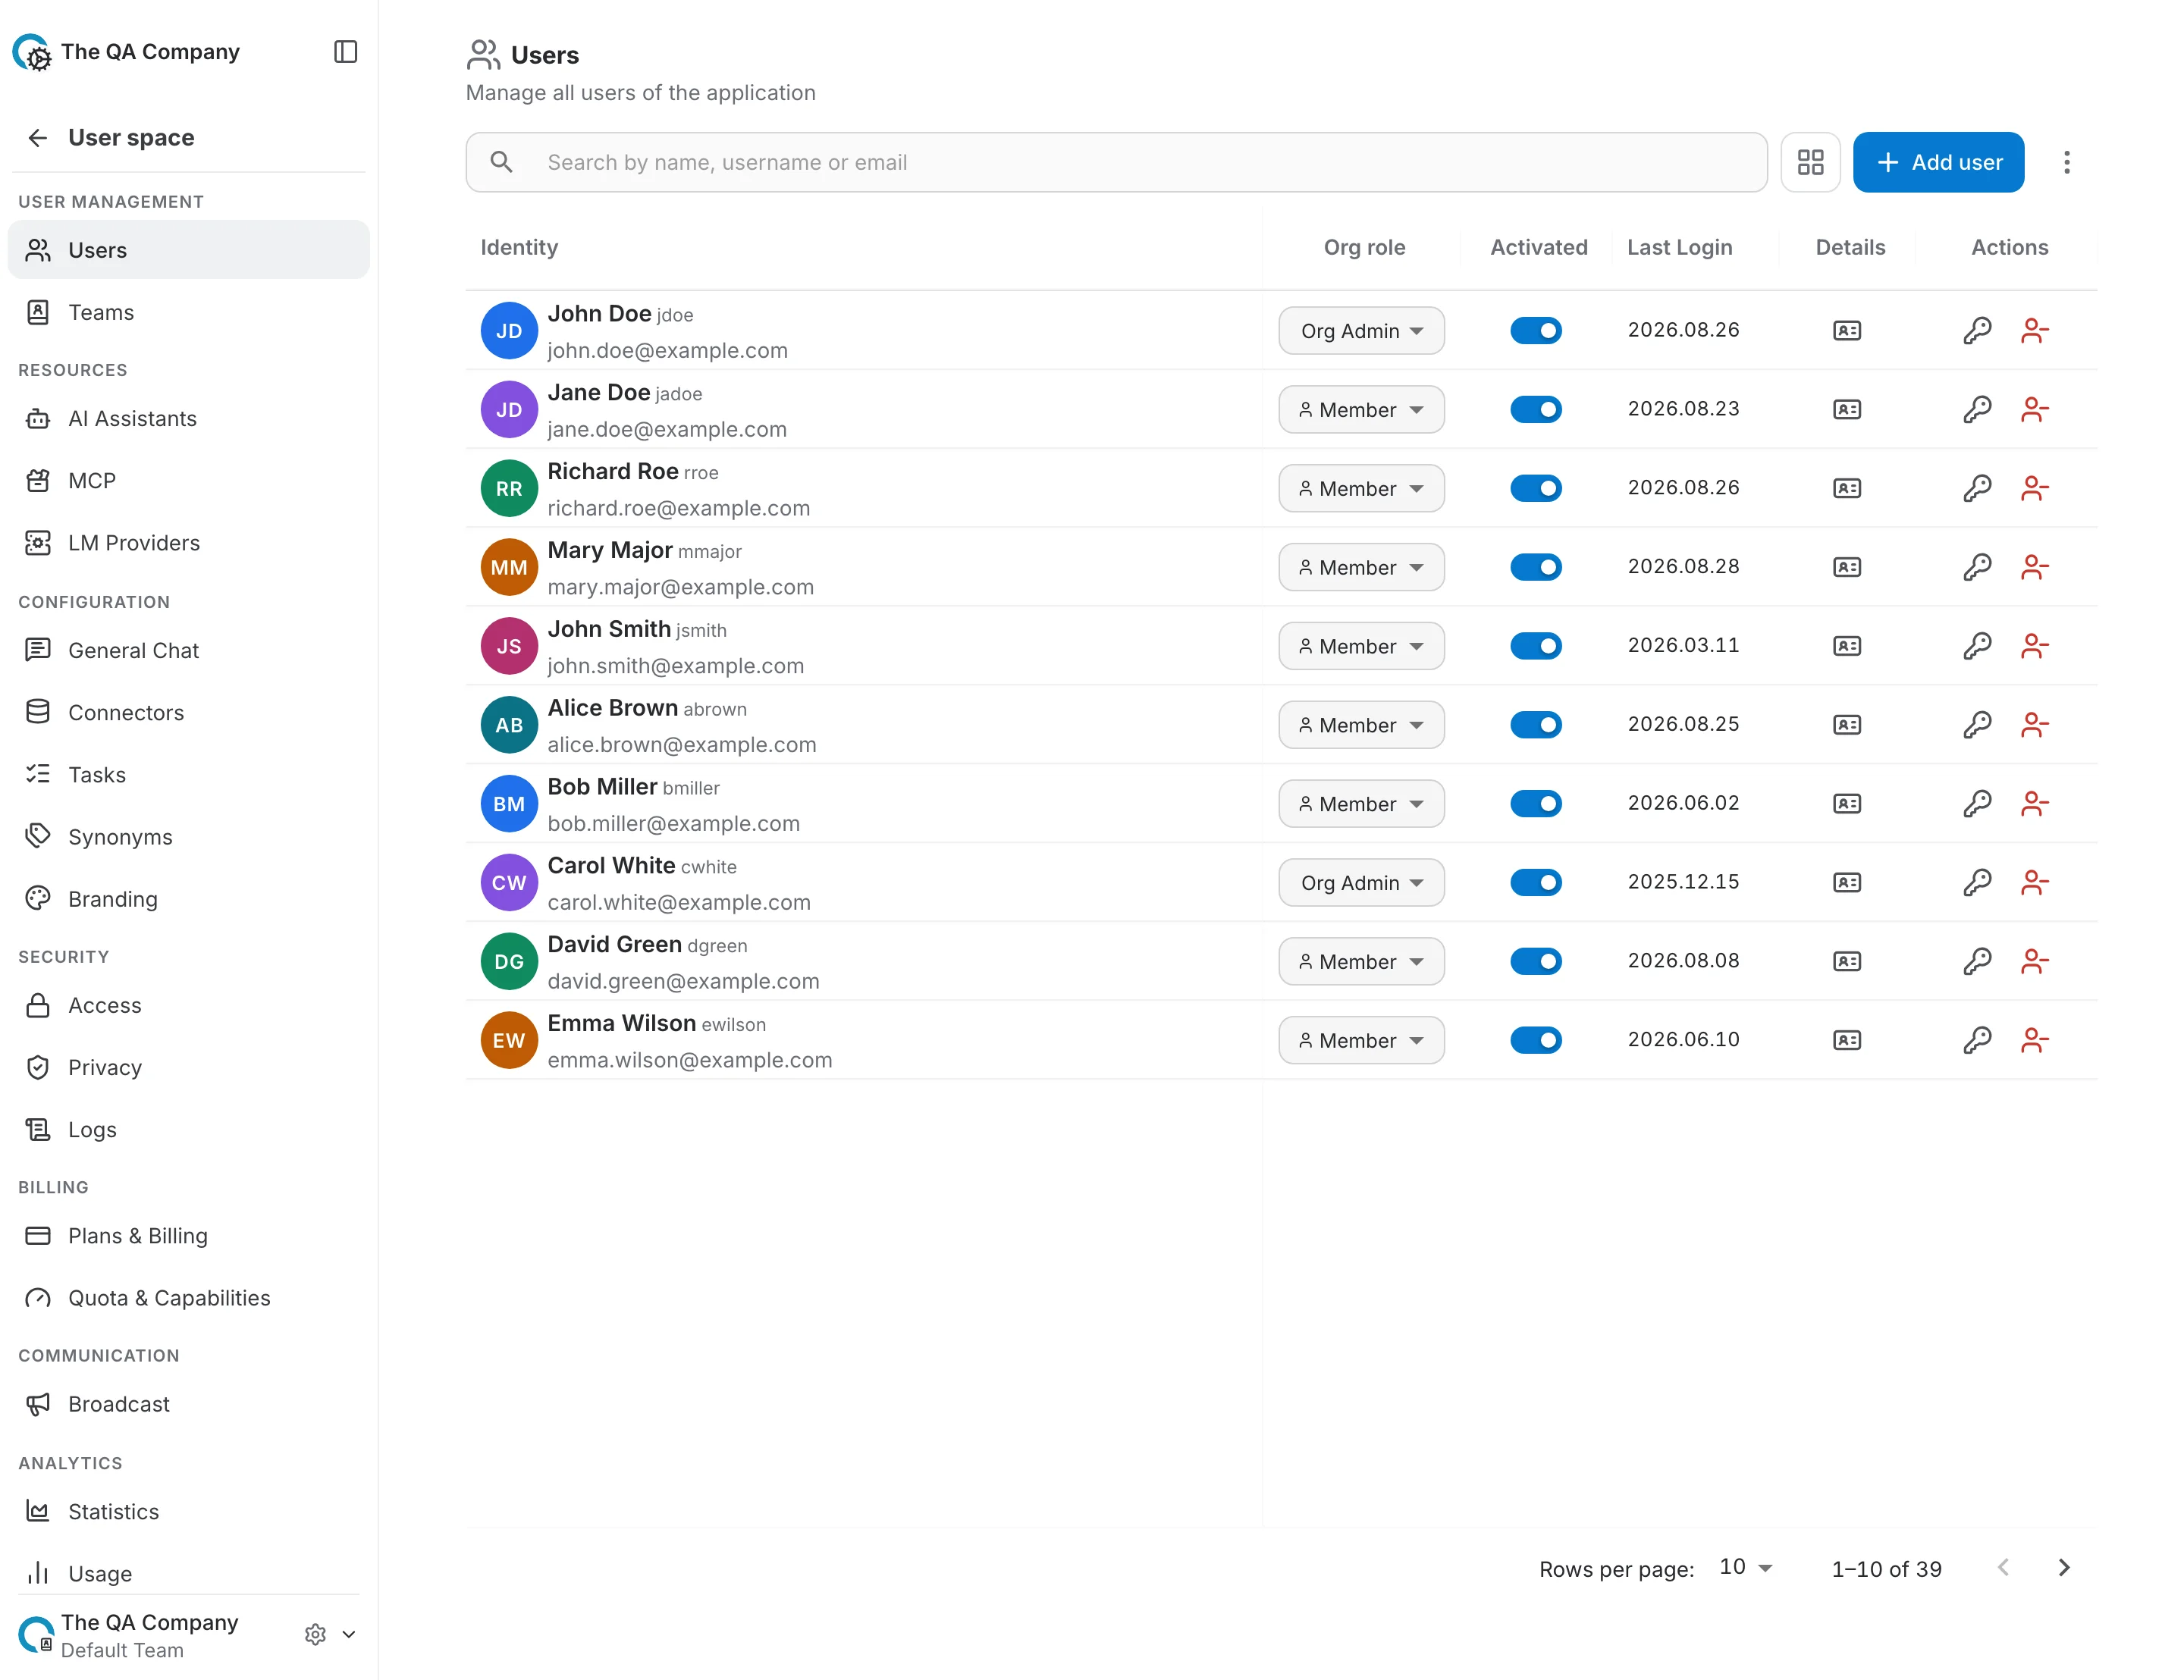
The users table
Each row is a member of the organization. The columns are:
- Identity — avatar, name, username and email. Click a row to open the member's detail page.
- Role — the member's organization role (Org Admin or Member). Admins can change it inline from the dropdown.
- Actions — reset the member's password or remove them from the organization.
- Language — the member's interface language.
- Activated — whether the account is active. Deactivated members cannot sign in.
- Profile — quotas, credit usage and other account metadata.
Organization roles
A member holds one of two roles in the organization:
- Org Admin — can add and remove members, change roles, reset passwords, create and manage teams, and share resources across the organization.
- Member — a regular member who can use the organization's shared resources but cannot manage other members.
Table and card views
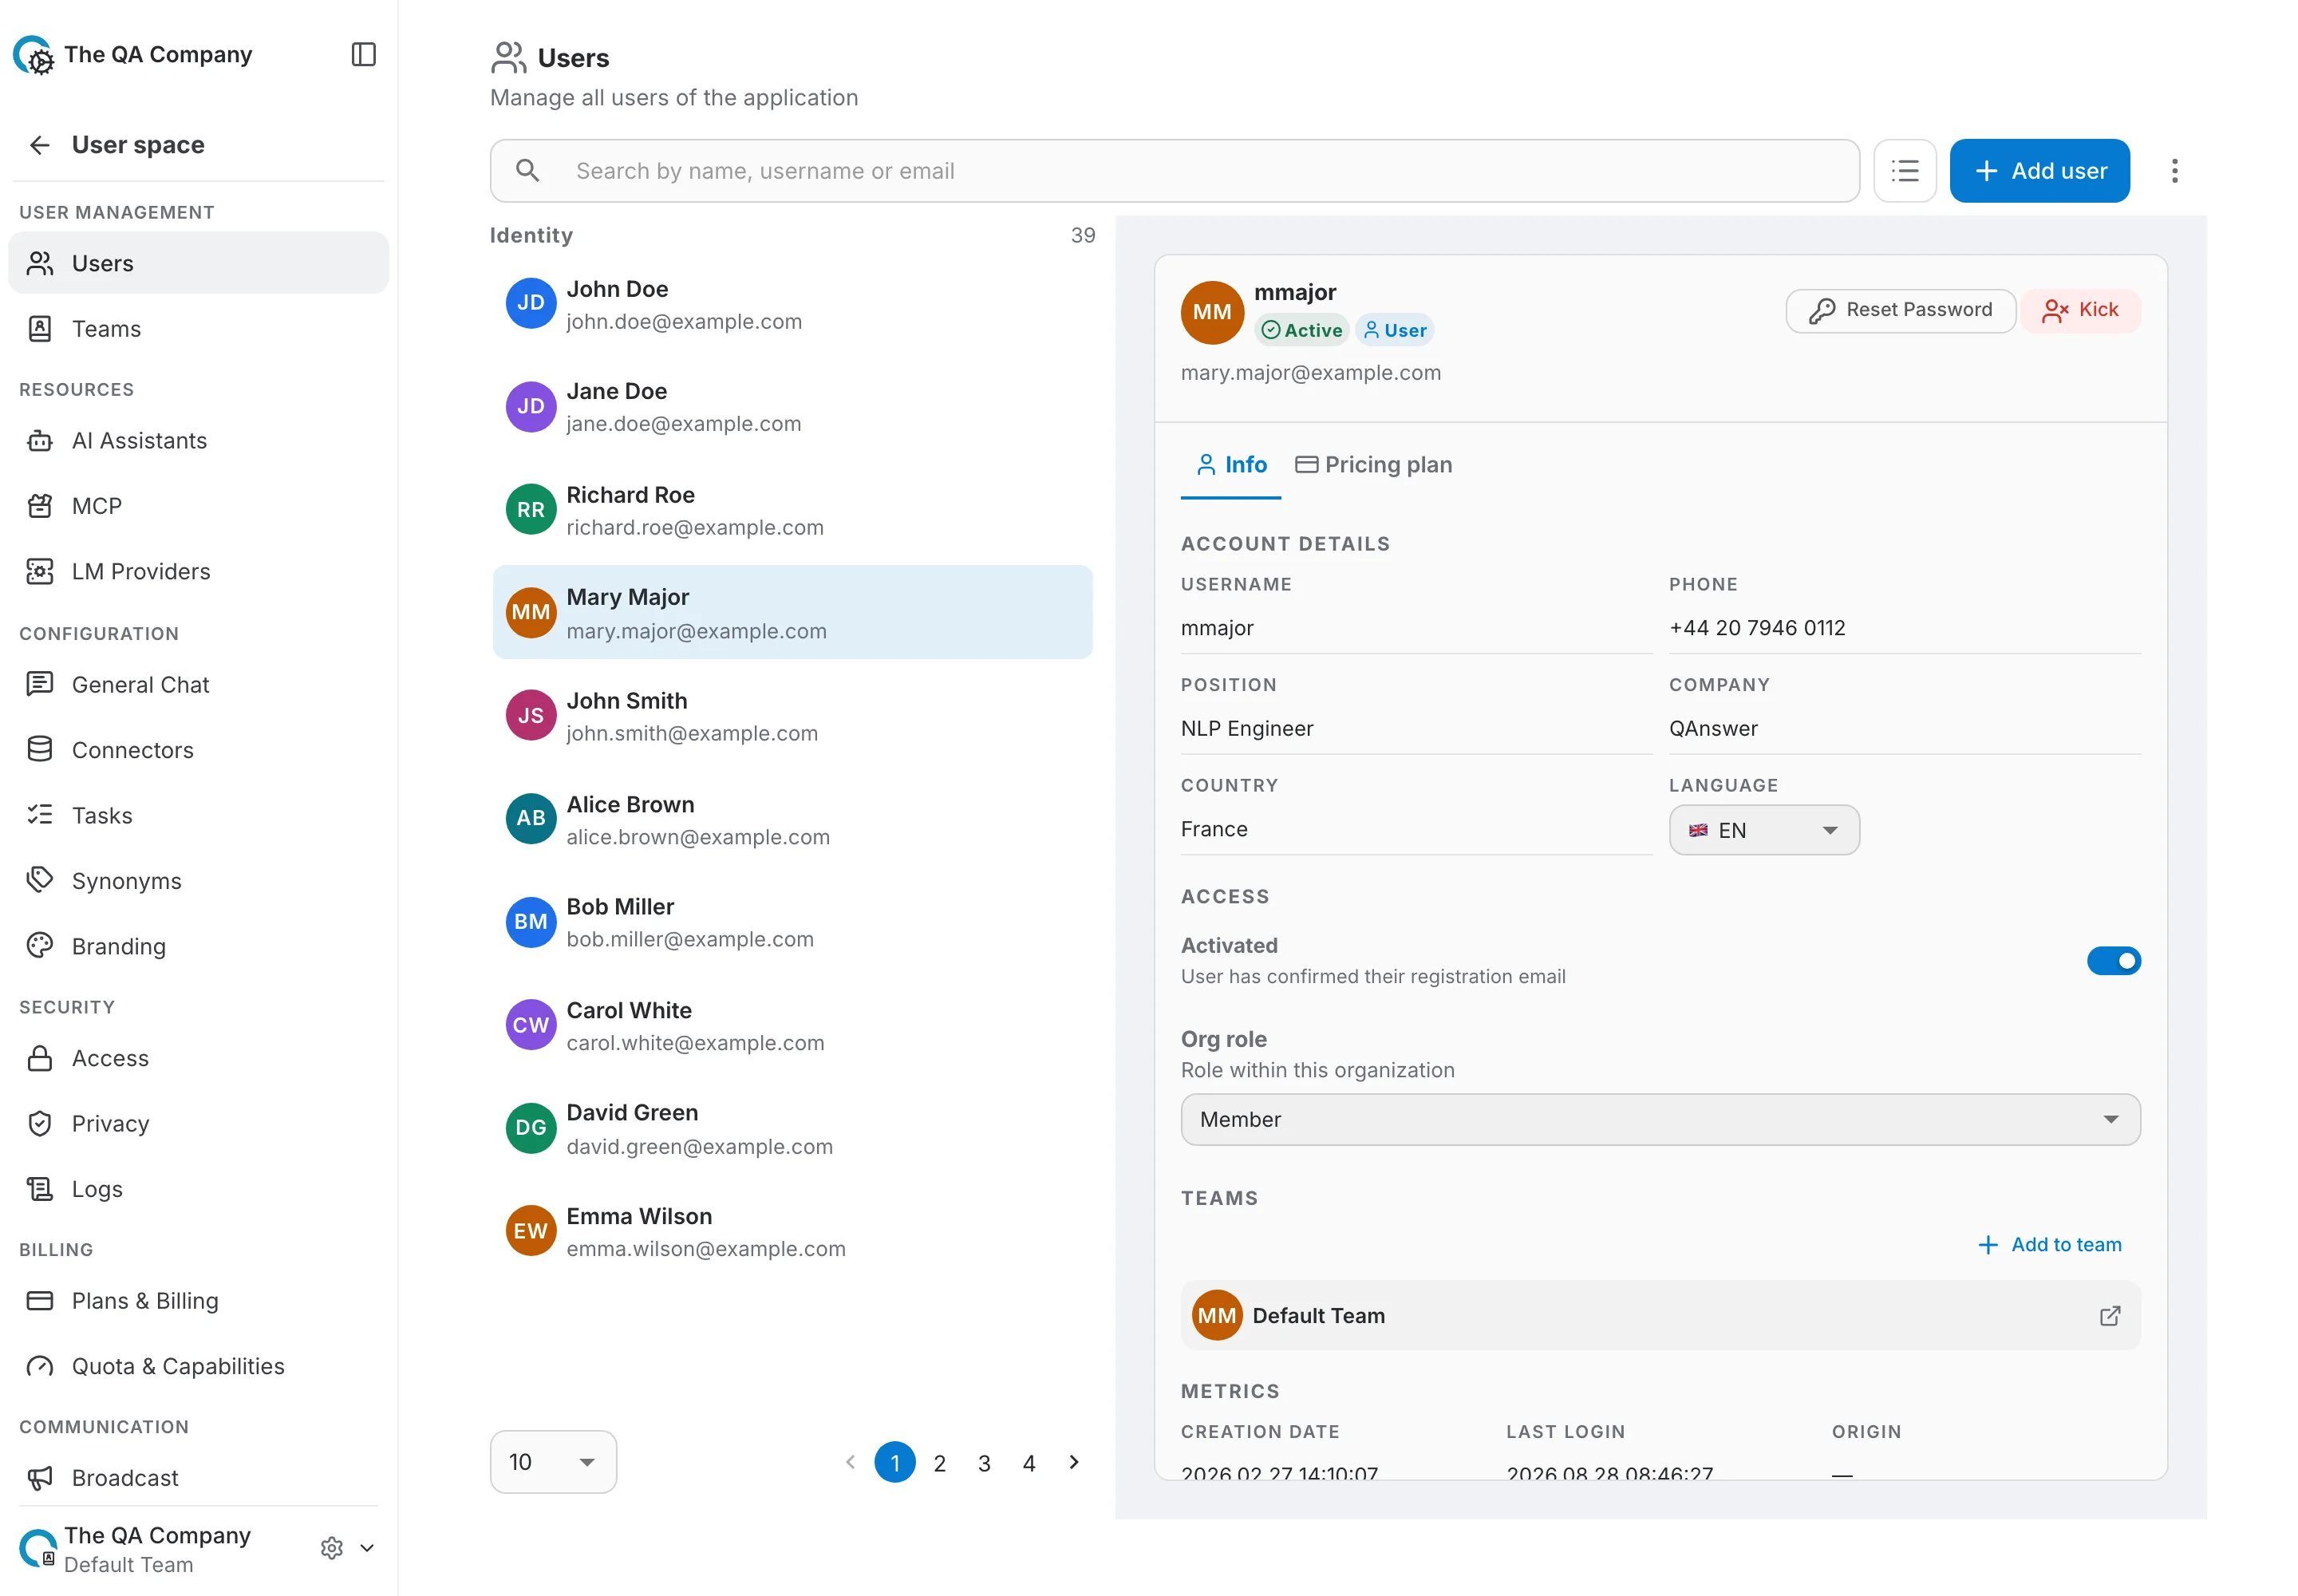
Use the view toggle in the toolbar to switch between the compact table and a card layout. Both show the same members.
Search and export
Search by name, username or email to filter the list. The overflow (⋮) menu in the toolbar exports the current members as a CSV file.
Adding a user
There are two ways to add a user, depending on your role:
- Option 1 — Invite by e-mail. Send an invitation to an address. It does not need a QAnswer account yet, and nobody joins until they accept. Available to every organization admin.
- Option 2 — Add an existing user (platform admins only). Pick an account that already exists on this instance and add it to the organization at once, with no invitation and nothing for the person to accept.
Option 1: Inviting people by e-mail
An invitation is an offer, not a membership. Nothing changes in the organization until the person accepts, and you can withdraw it at any time before they do.
- Paste as many addresses as you like, separated by commas or new lines — straight out of a mail client or a spreadsheet.
- Choose the role they will hold when they accept: Member or Org Admin.
- The address does not need a QAnswer account. If there is none, the link takes the recipient through signup first.
- Addresses are handled independently: if one is malformed, already a member or already invited, it is reported on its own and the rest still go out.
The Invited tab
Outstanding invitations live on their own tab beside Members, with the number still waiting for an answer in the tab label. Accepted invitations leave the list — the person has joined by then, and shows up under Members.
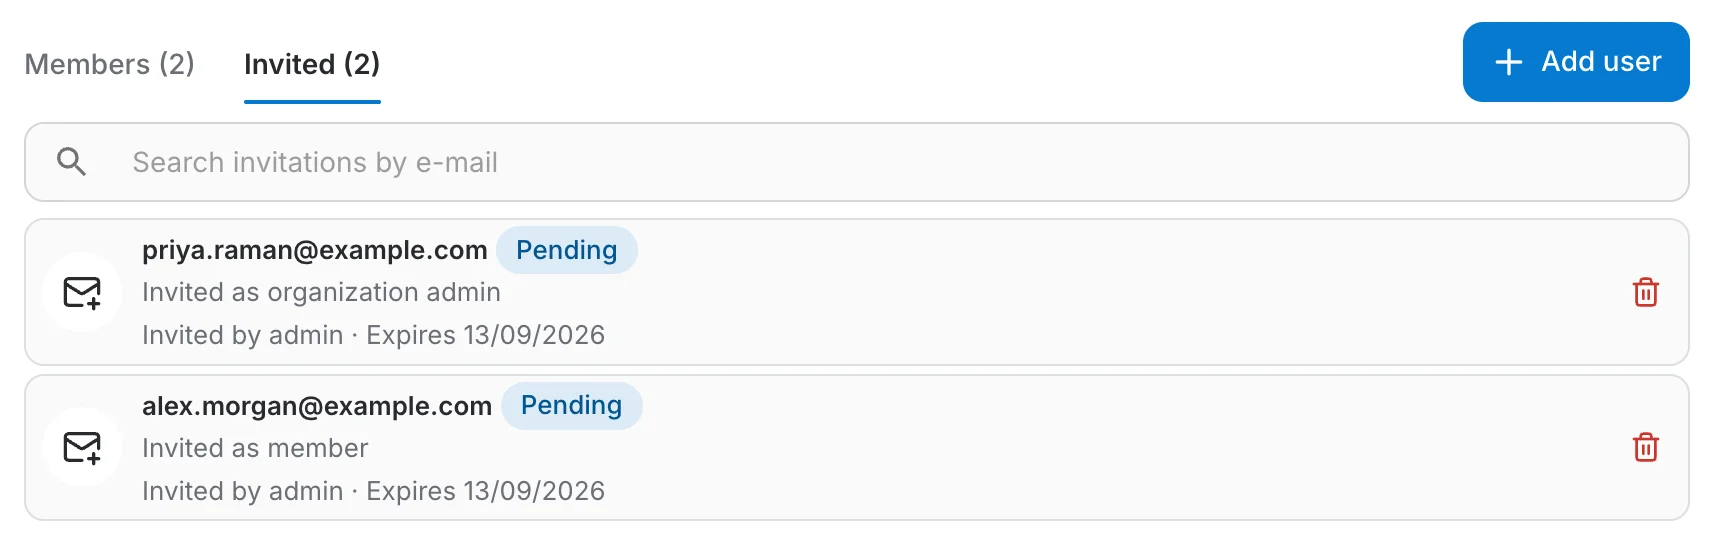
- Pending — sent, not yet answered. The row shows who invited them and when the invitation expires.
- Expired — an invitation lapses after 14 days. Withdraw it and send a new one.
- The bin icon withdraws an invitation. The link stops working immediately, and the address is free to be invited again.
What the invitee sees
The invitation arrives as an e-mail naming who invited them and what they are being invited to, with one button to accept and a quieter link to decline.
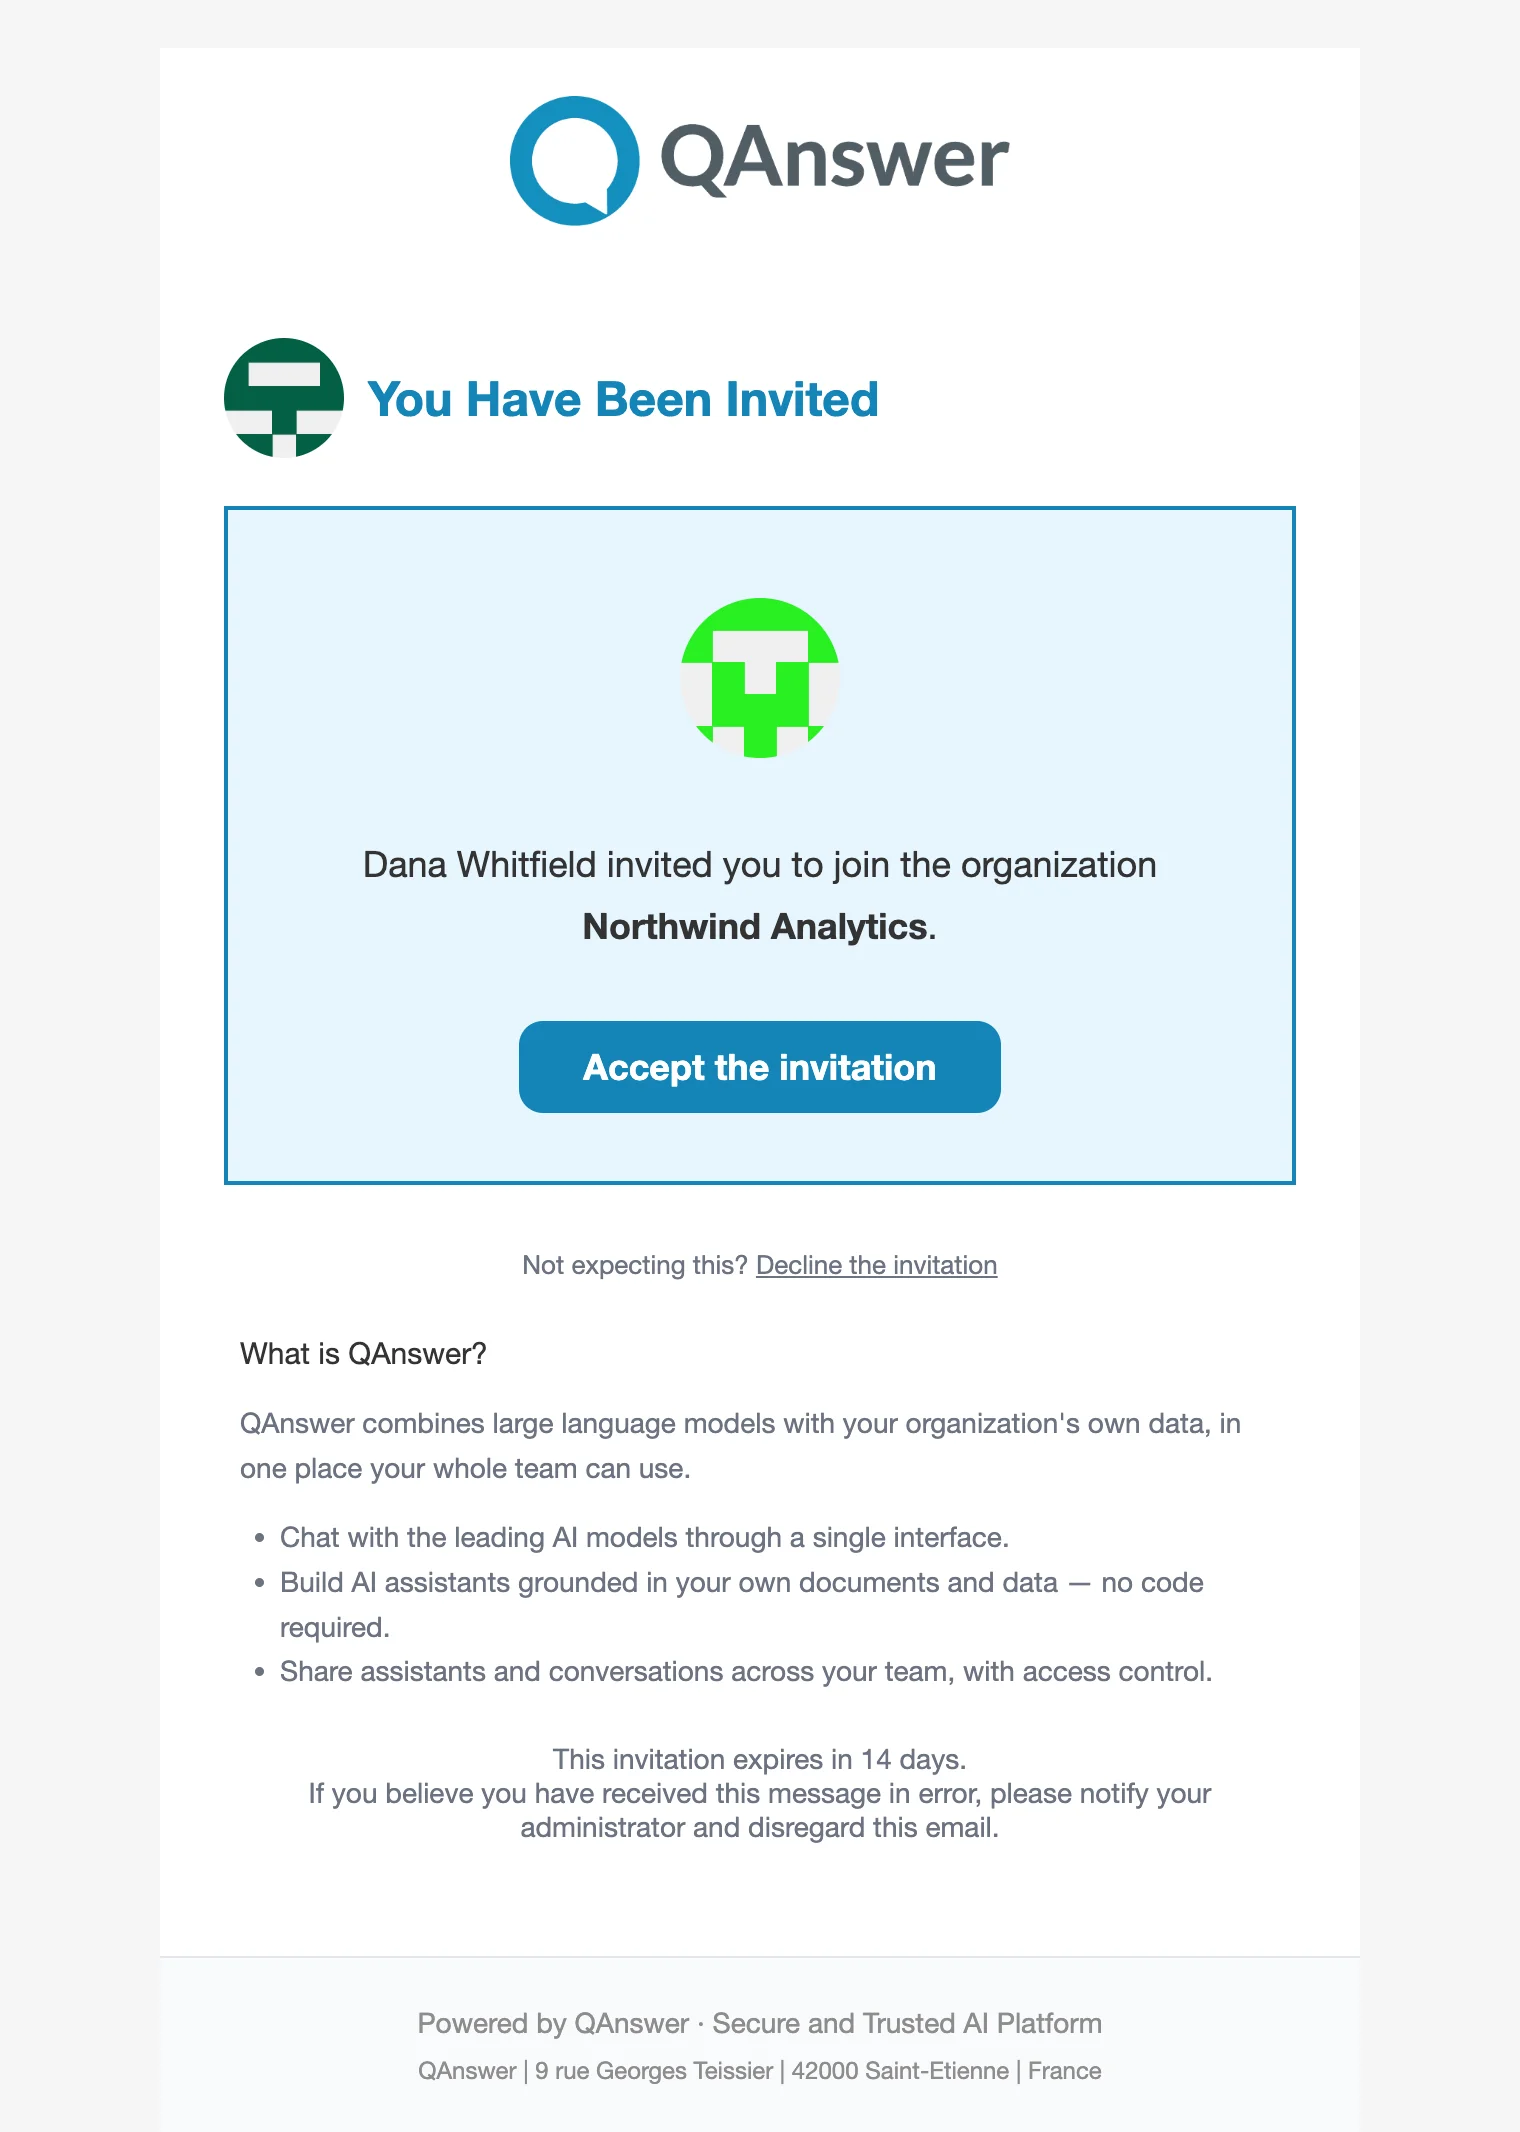
The e-mail carries one link. Following it is itself the act of accepting, so there is no second confirmation step:
- If the address already has an account, they sign in (if they are not already) and join immediately.
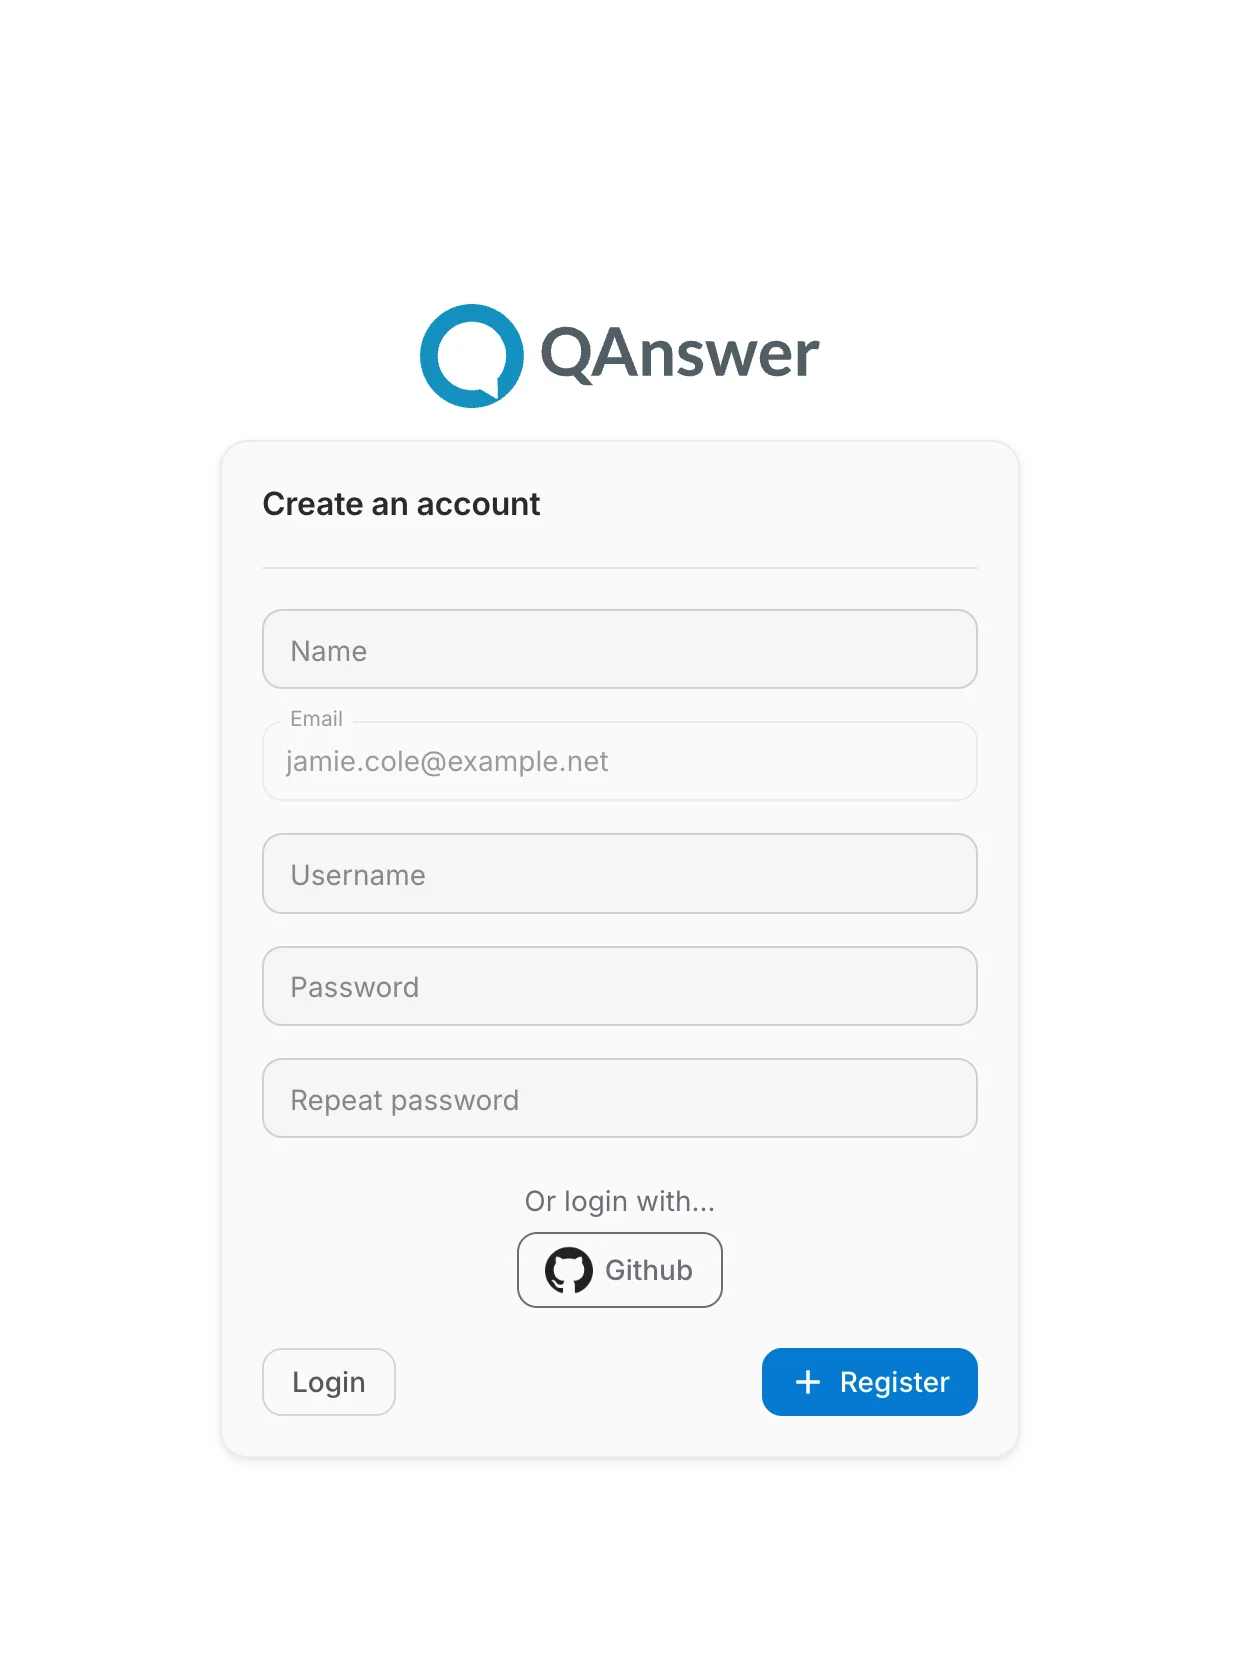
- If it does not, the link opens signup with the address filled in and locked — the invitation is only valid for the address it was sent to. The account is created ready to use, with no separate confirmation e-mail, and joins at once. They can also sign up through an identity provider (Google, GitHub, Microsoft…) and still join.
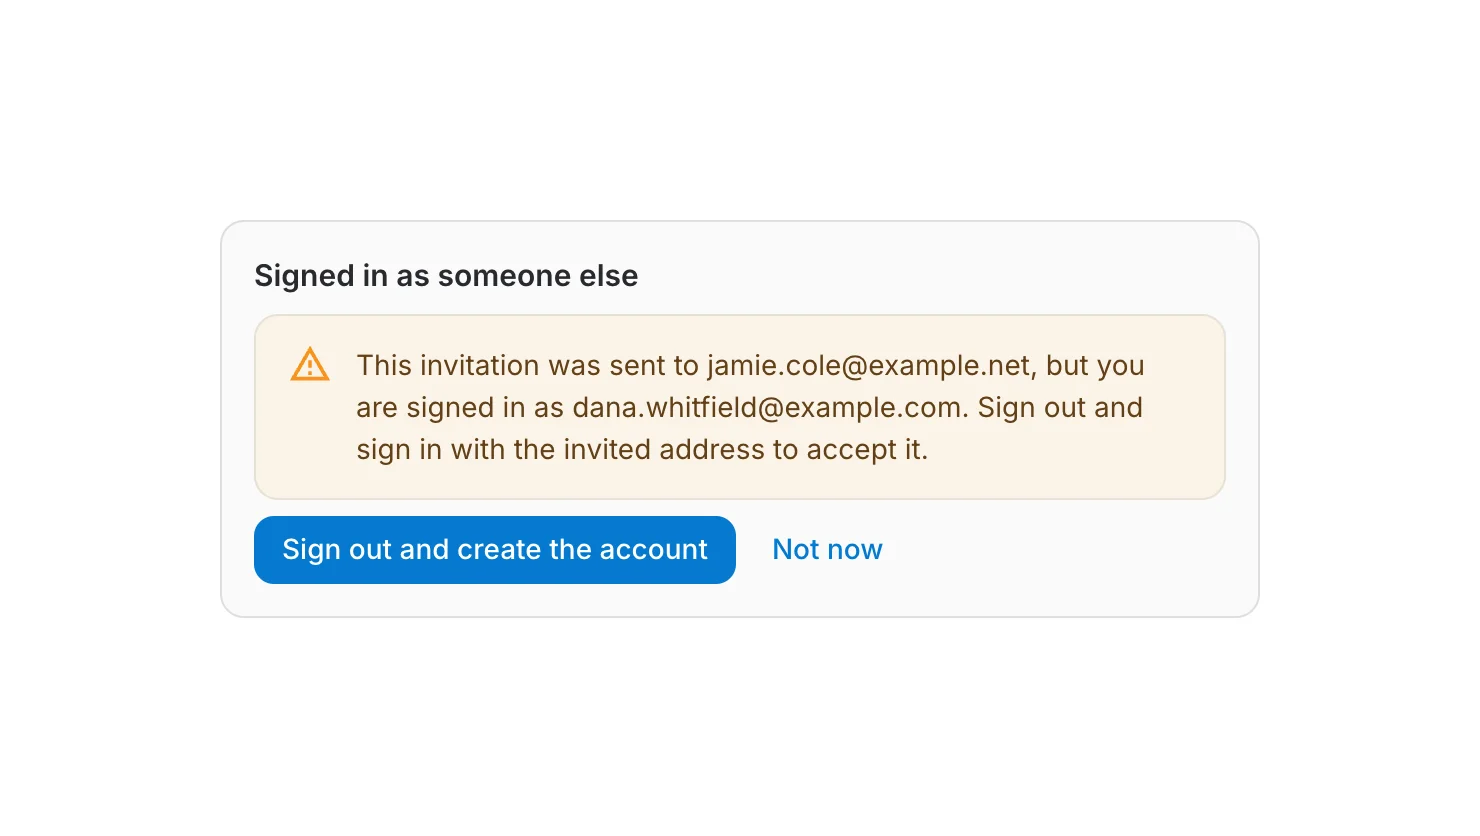
- If they are signed in as a different account, the page says so and offers to switch — holding the link is not enough, the invitation names an address.
The link opens signup with the invited address already filled in. The field cannot be edited: the invitation is only valid for the address it was sent to. Signing up here — with a password or through a provider — creates the account and joins the organization in one step.
Organizations with their own login page
If your organization has a custom login page turned on ( Branding › Login page), invitees are sent to it rather than to the instance's own page: they sign in on your branded page and land in the organization from there. Someone who has no account yet is sent there too, as long as the page offers at least one identity provider — signing in through a provider creates the account and accepts the invitation in one step. Only when the page has no provider does signing up fall back to the standard page, because its username-and-password form can sign people in but cannot register them.
Option 2: Adding an existing user
The second option skips the invitation entirely. It is the right one when the account already exists and you know it should be in this organization — an internal transfer, or an account you have just created yourself.
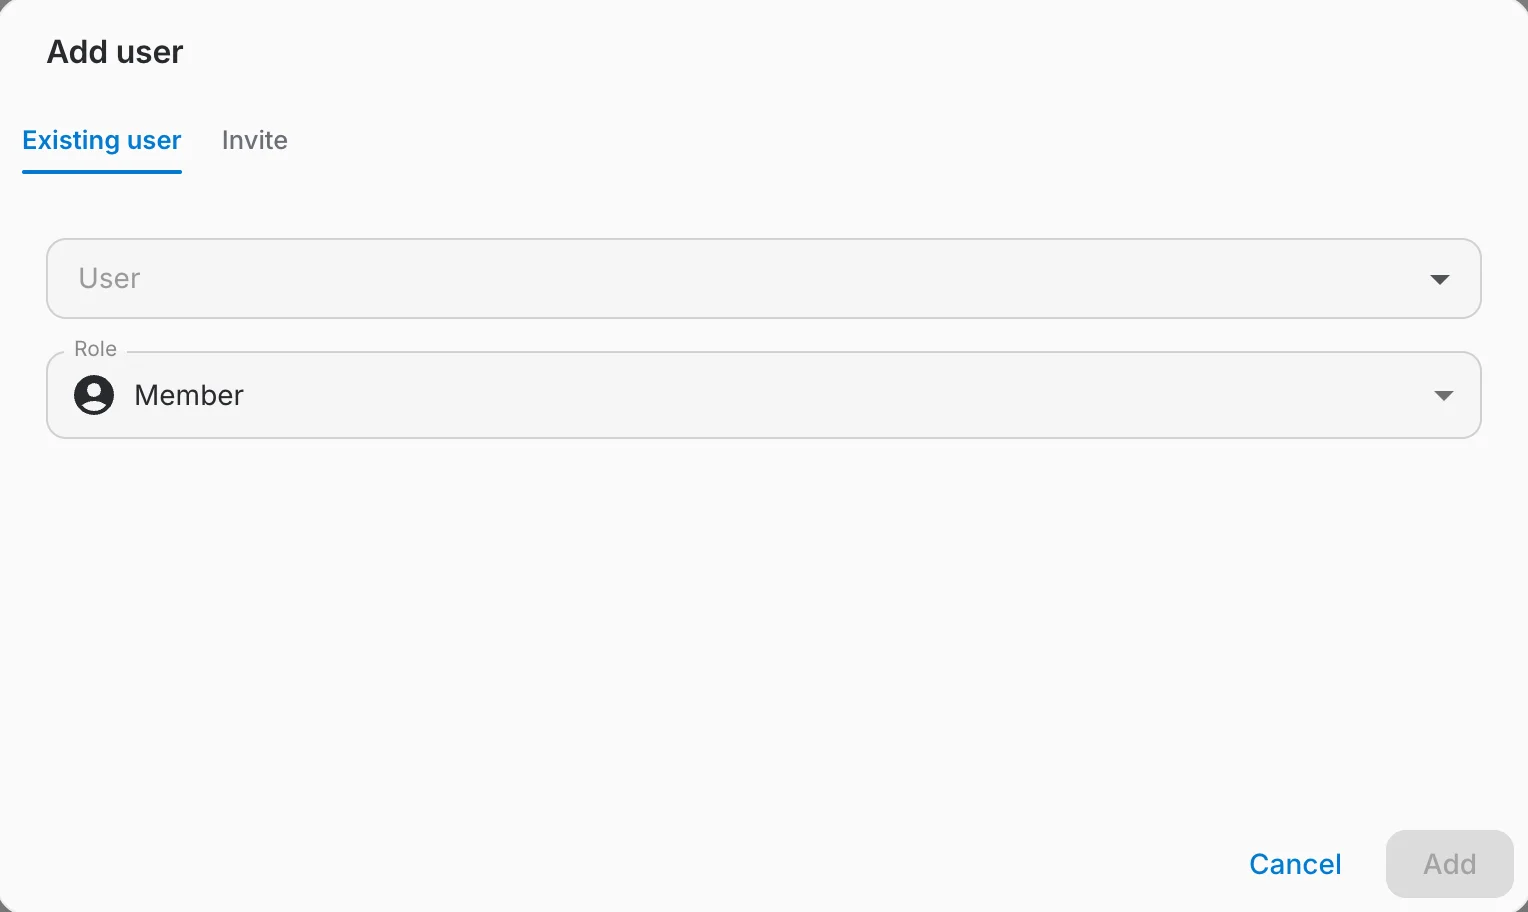
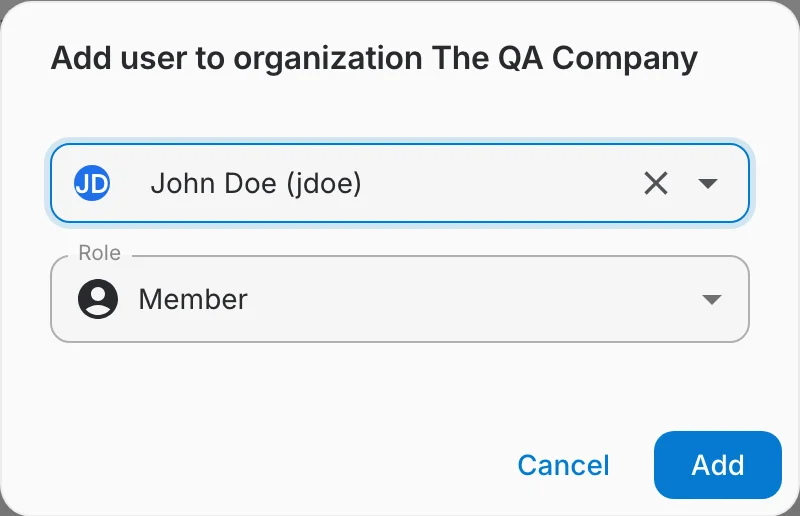
- Search the User field by name, username or email. It searches every account on the instance, which is why only platform admins see this tab.
- Choose the role they get: Member or Org Admin. It can be changed later from the Role dropdown in the users table.
- Clicking Add puts them in the organization immediately — they are a member the moment the dialog closes, and are notified rather than asked.
Member detail
Clicking a member opens their detail page, organized into tabs.
Info
Account details — name, email, language, activation state, and the organization role.
Metrics
Usage metrics for the member, including question-credit consumption.
Plan
The member's pricing plan and quotas within this organization.
Teams
The teams the member belongs to in this organization. Admins can add the member to a team or remove them from one here.
Resetting a password
Organization admins can reset a member's password from the row action or the member detail page — either set a new password directly or send the member a reset email.
Removing a member
Removing a member takes them out of the organization (and its teams). Their account is not deleted — it simply loses access to this organization's resources.