Report Generator

Video Tutorial
Report Generator
Watch on Tutorials page →
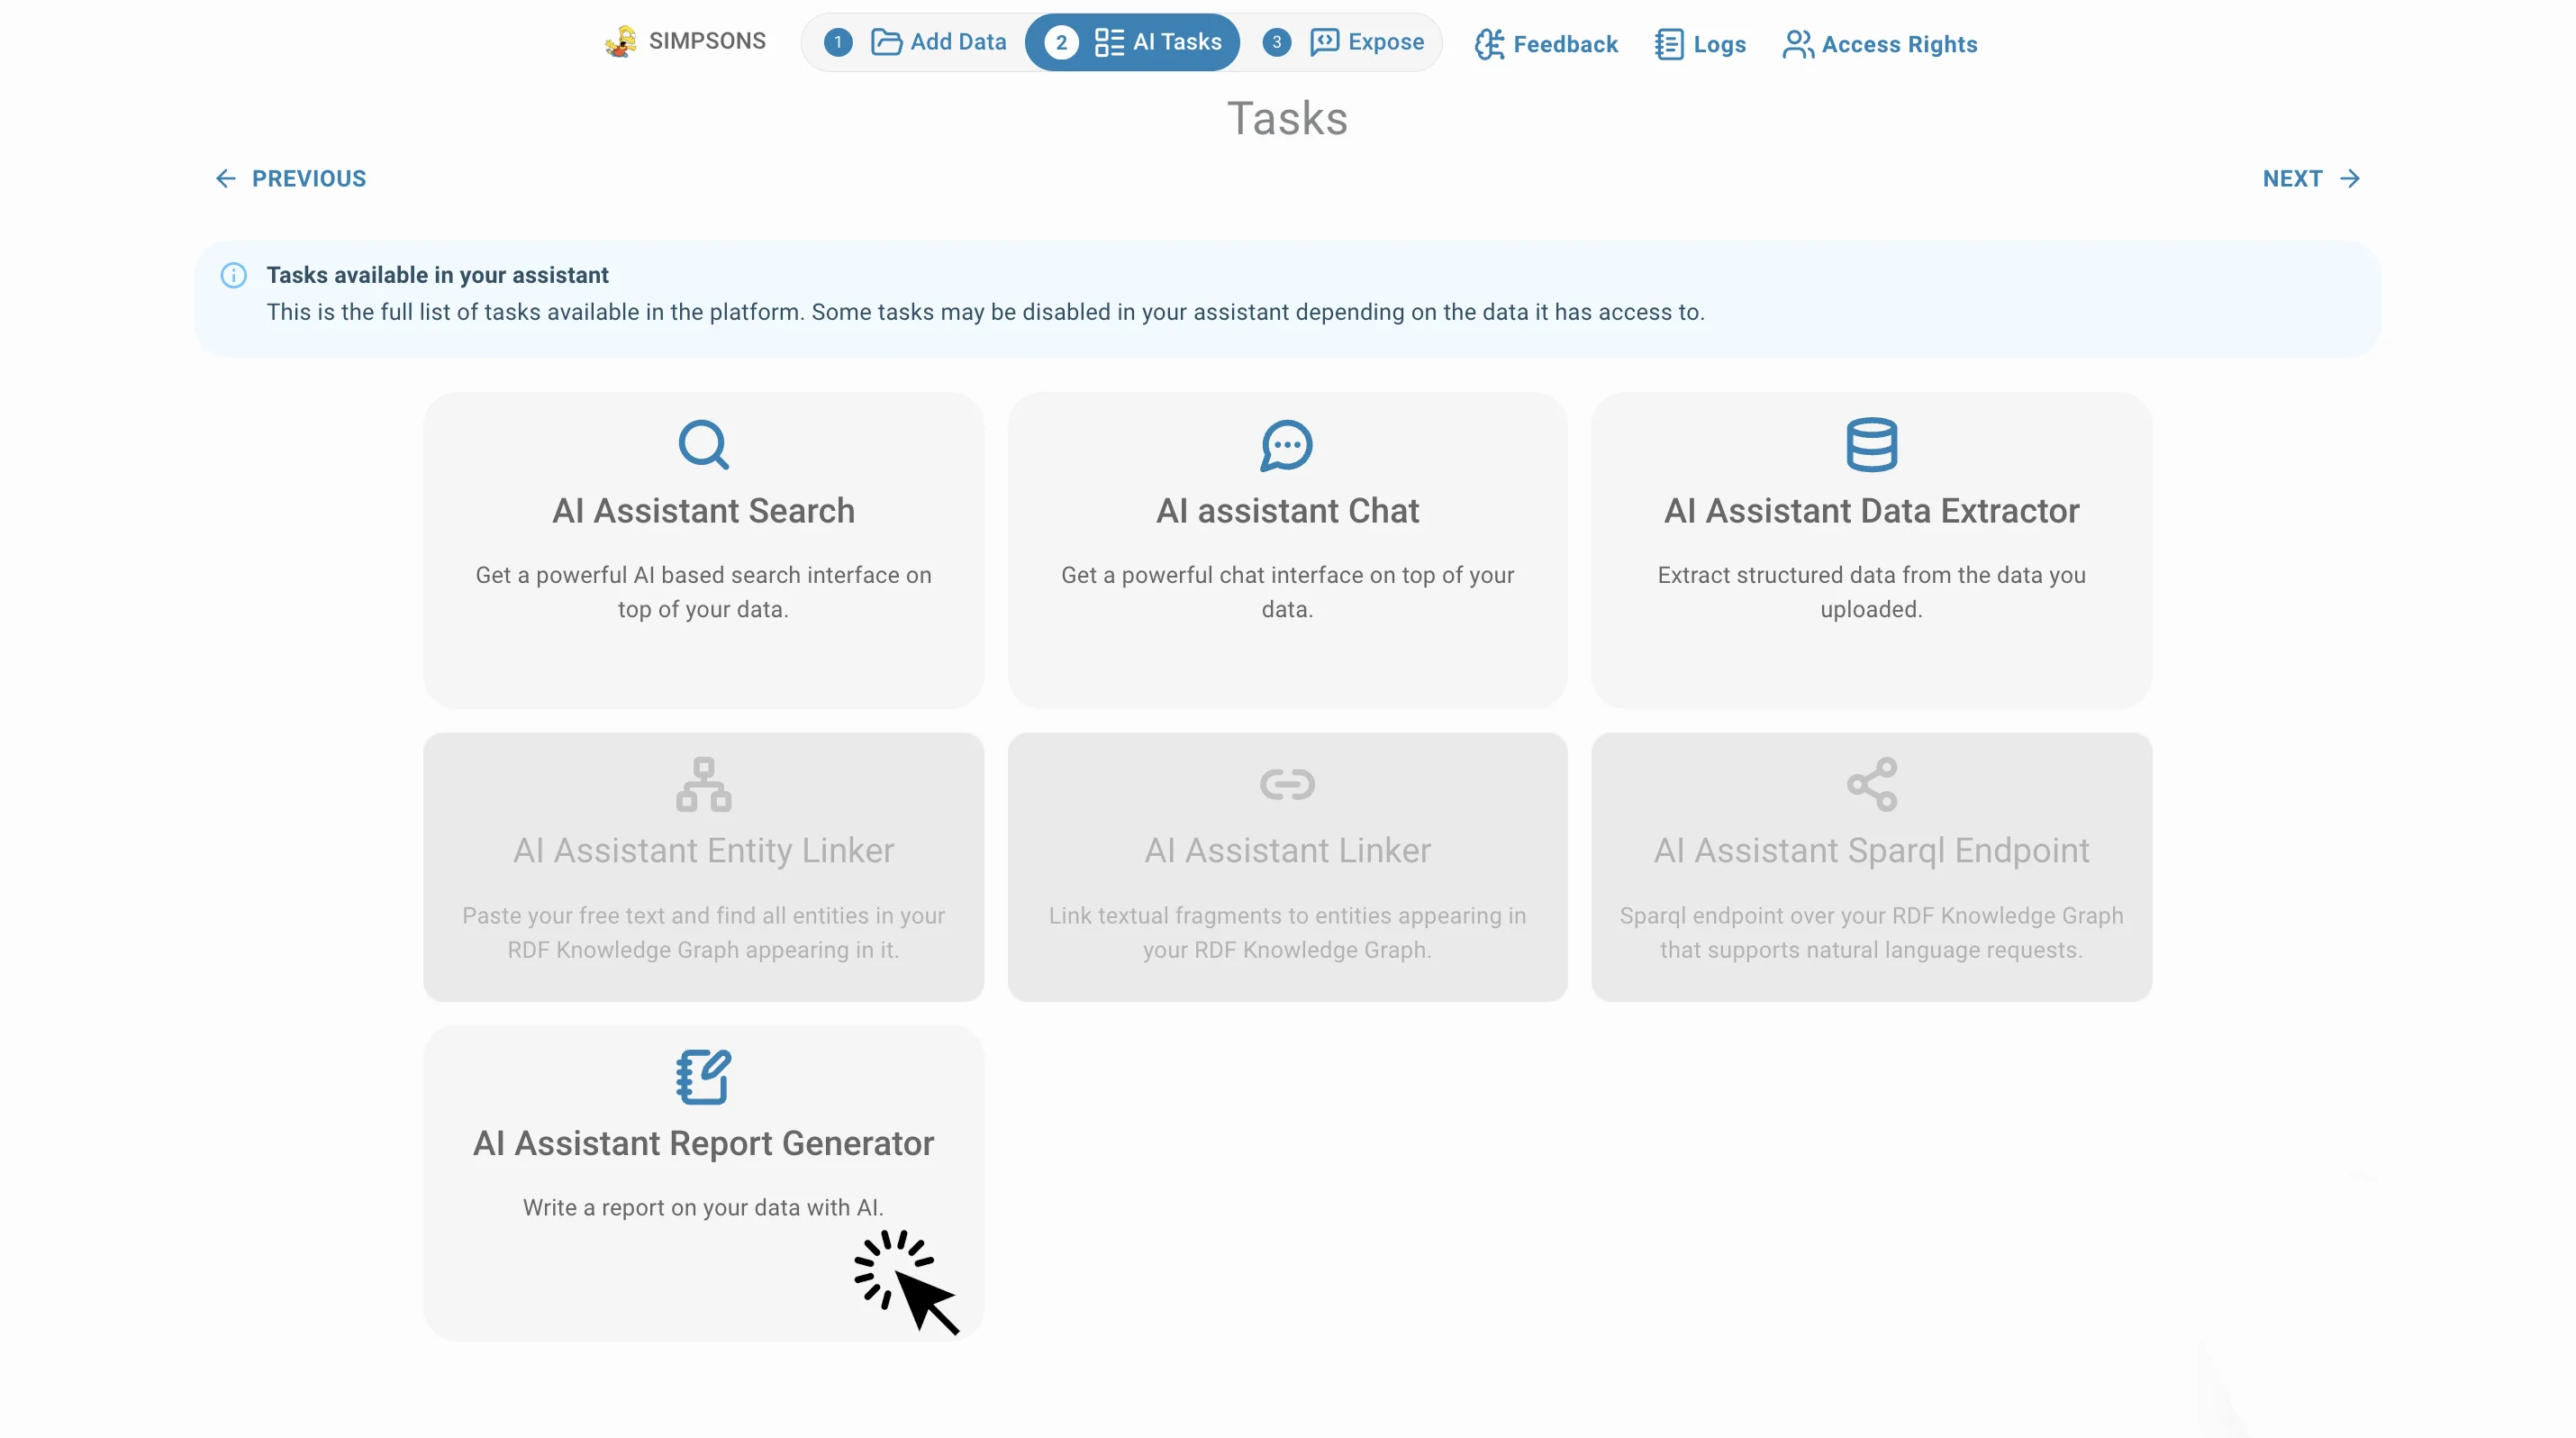
The Report Generator AI Task transforms uploaded data into structured reports.
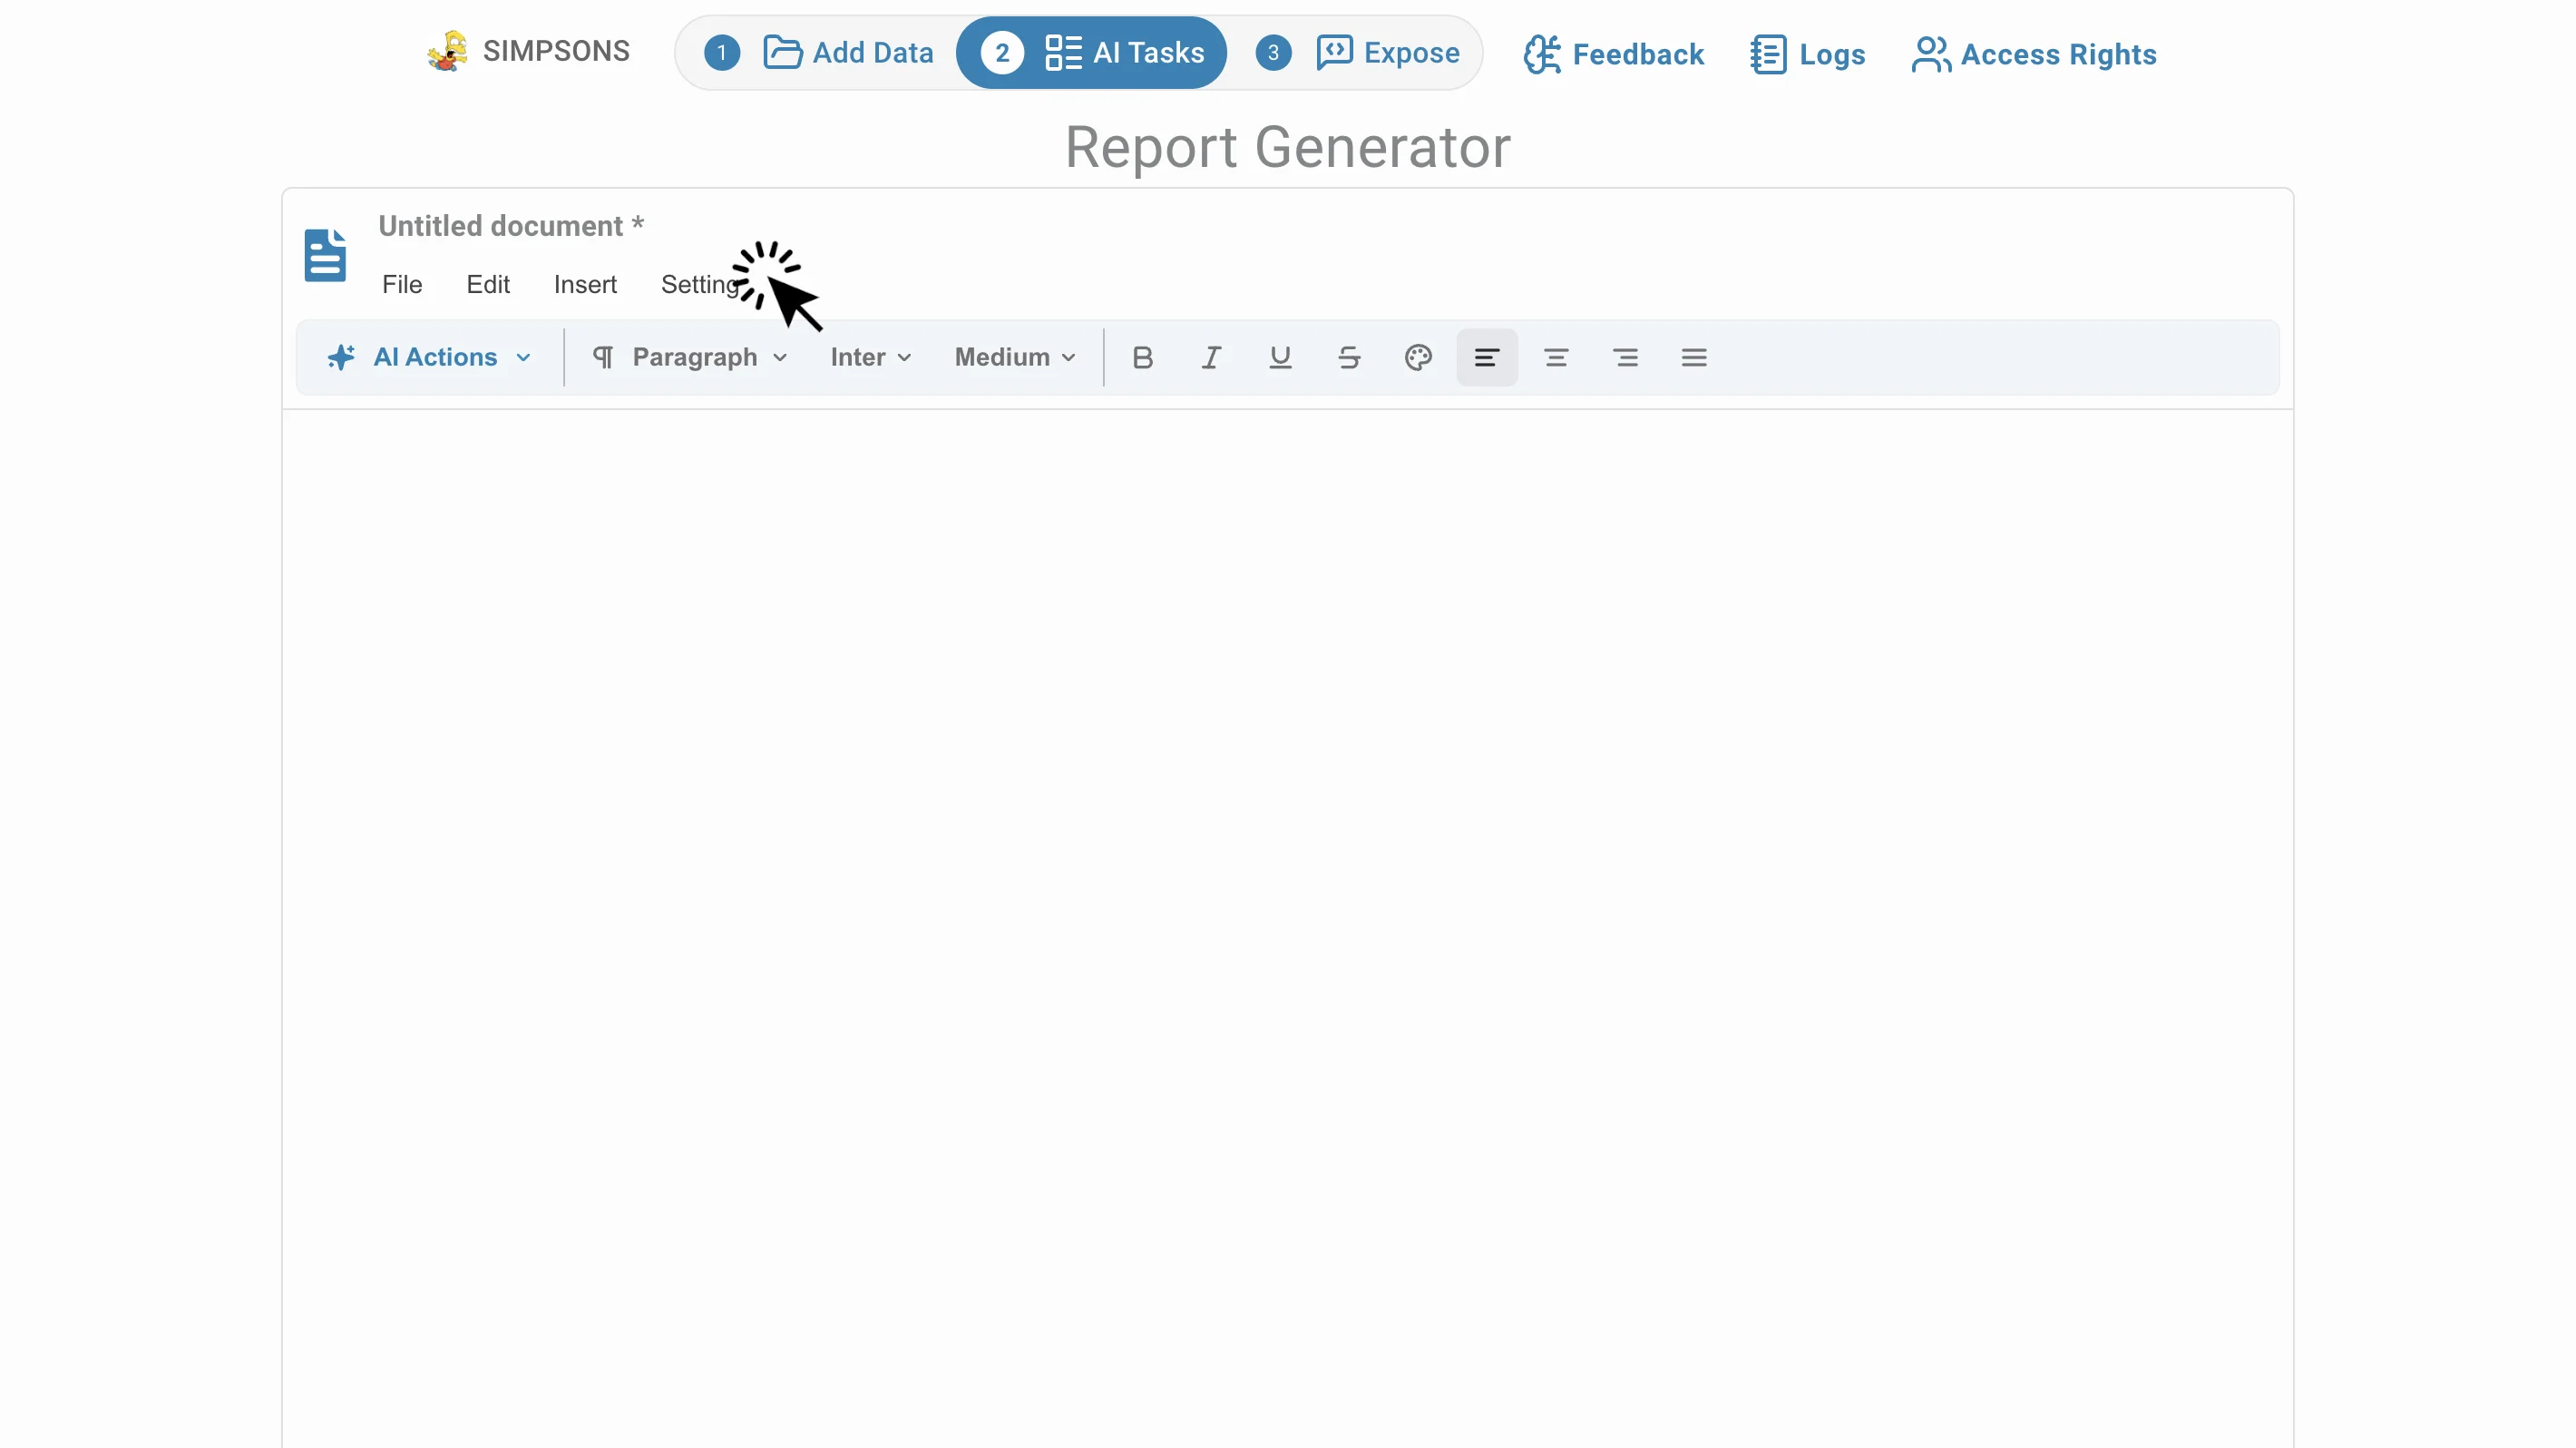
To access this AI task, click AI Tasks and then Report Generator:
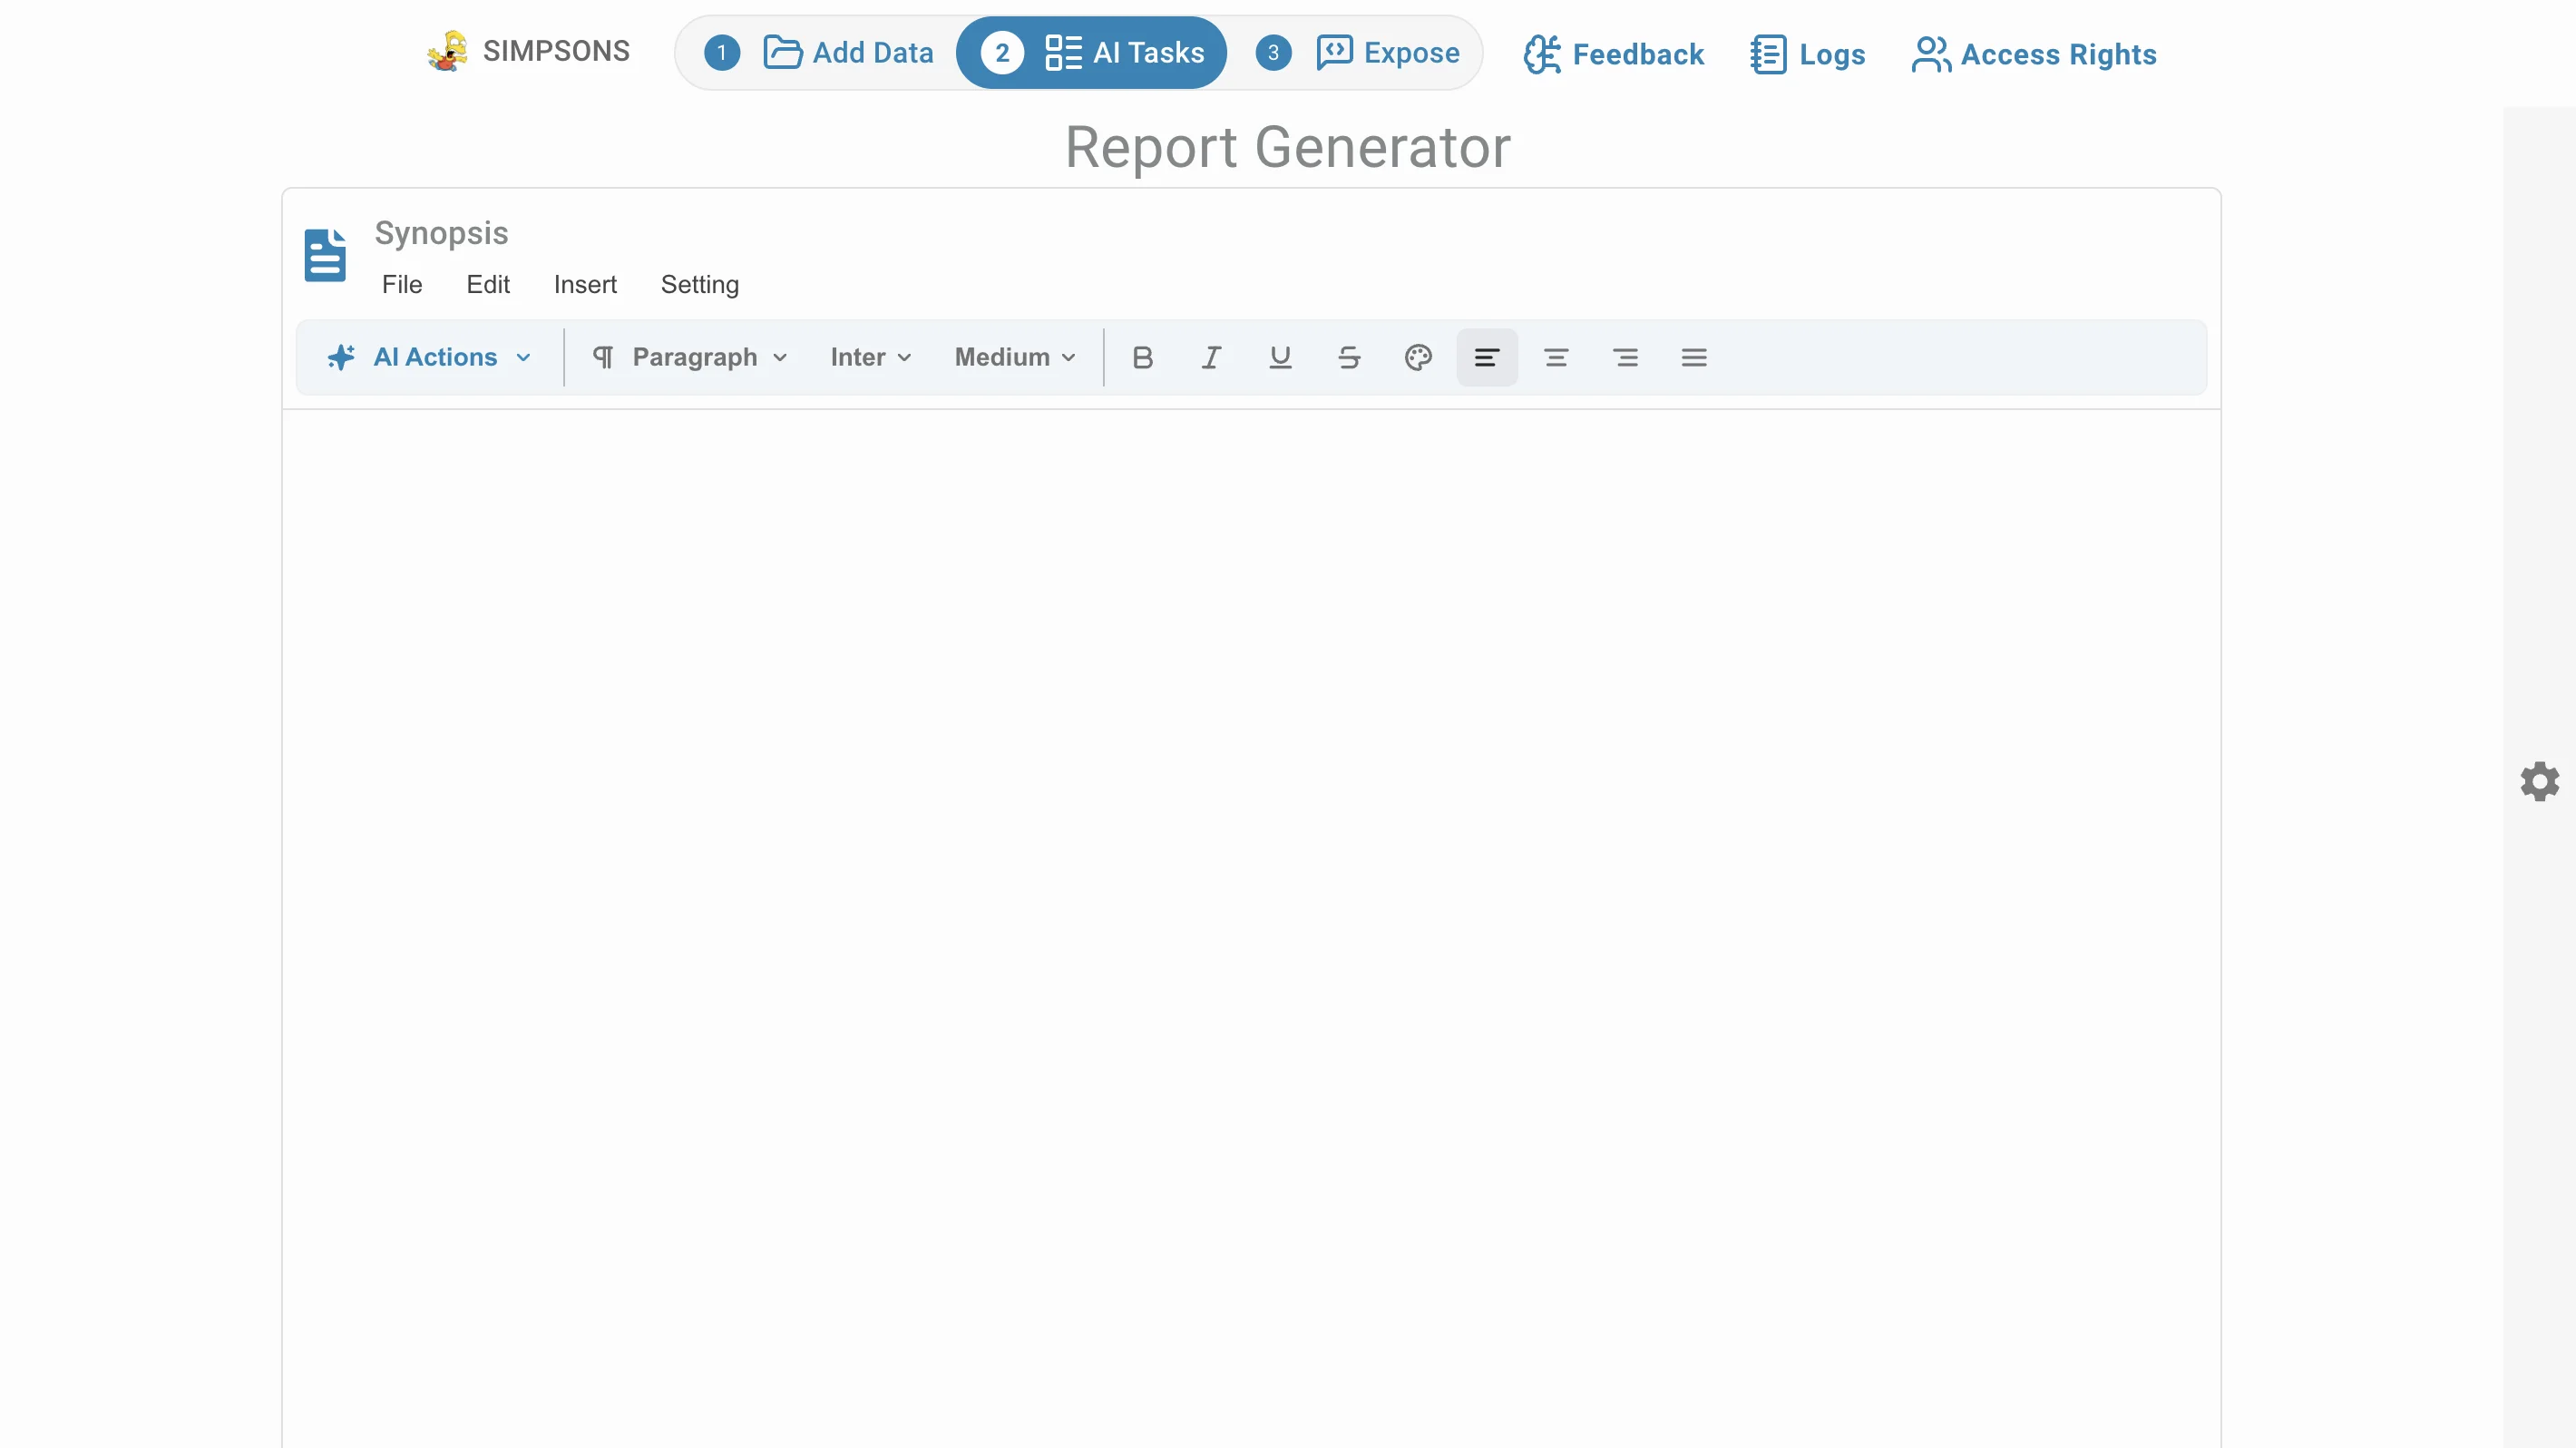
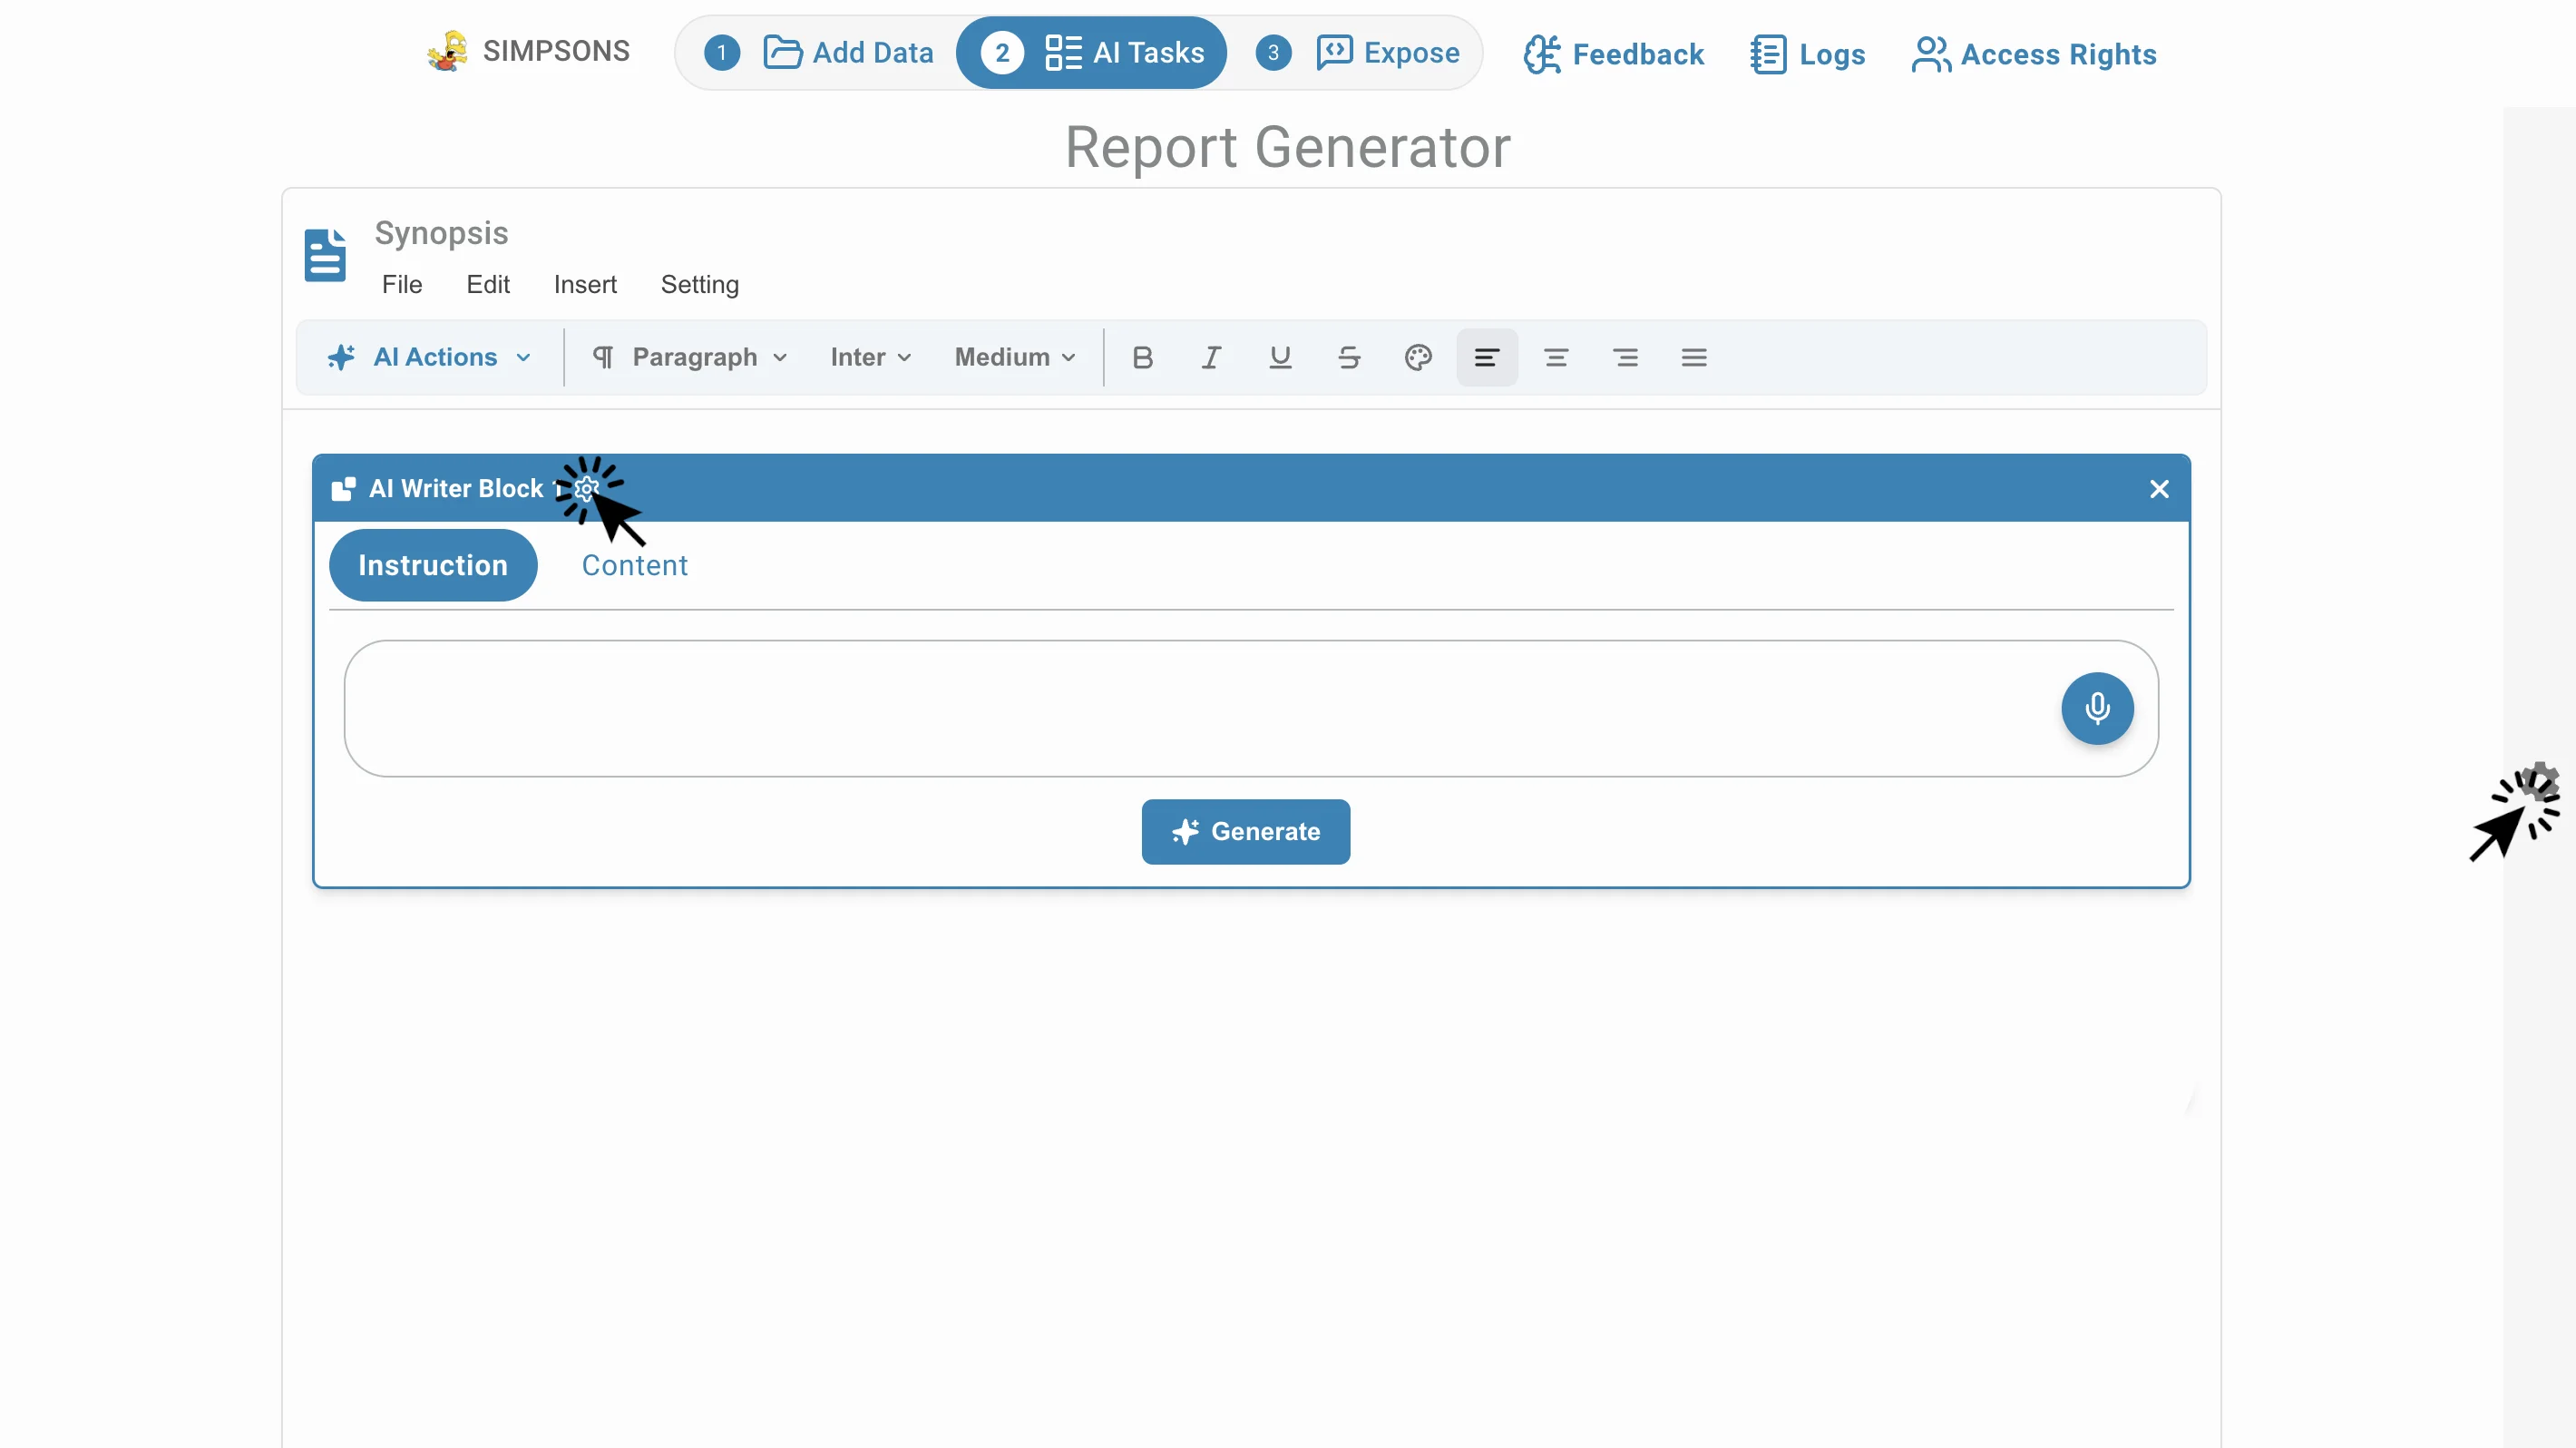
Write the report manually and use the AI Assistant to generate specific sections:
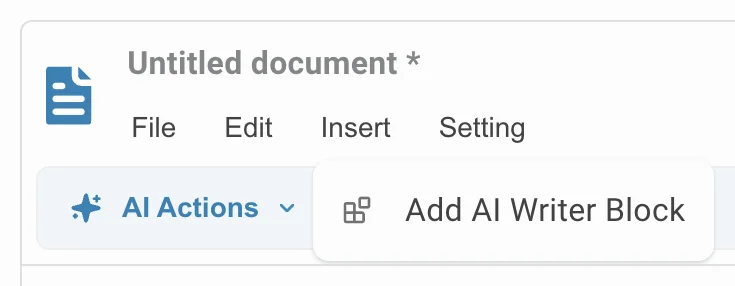
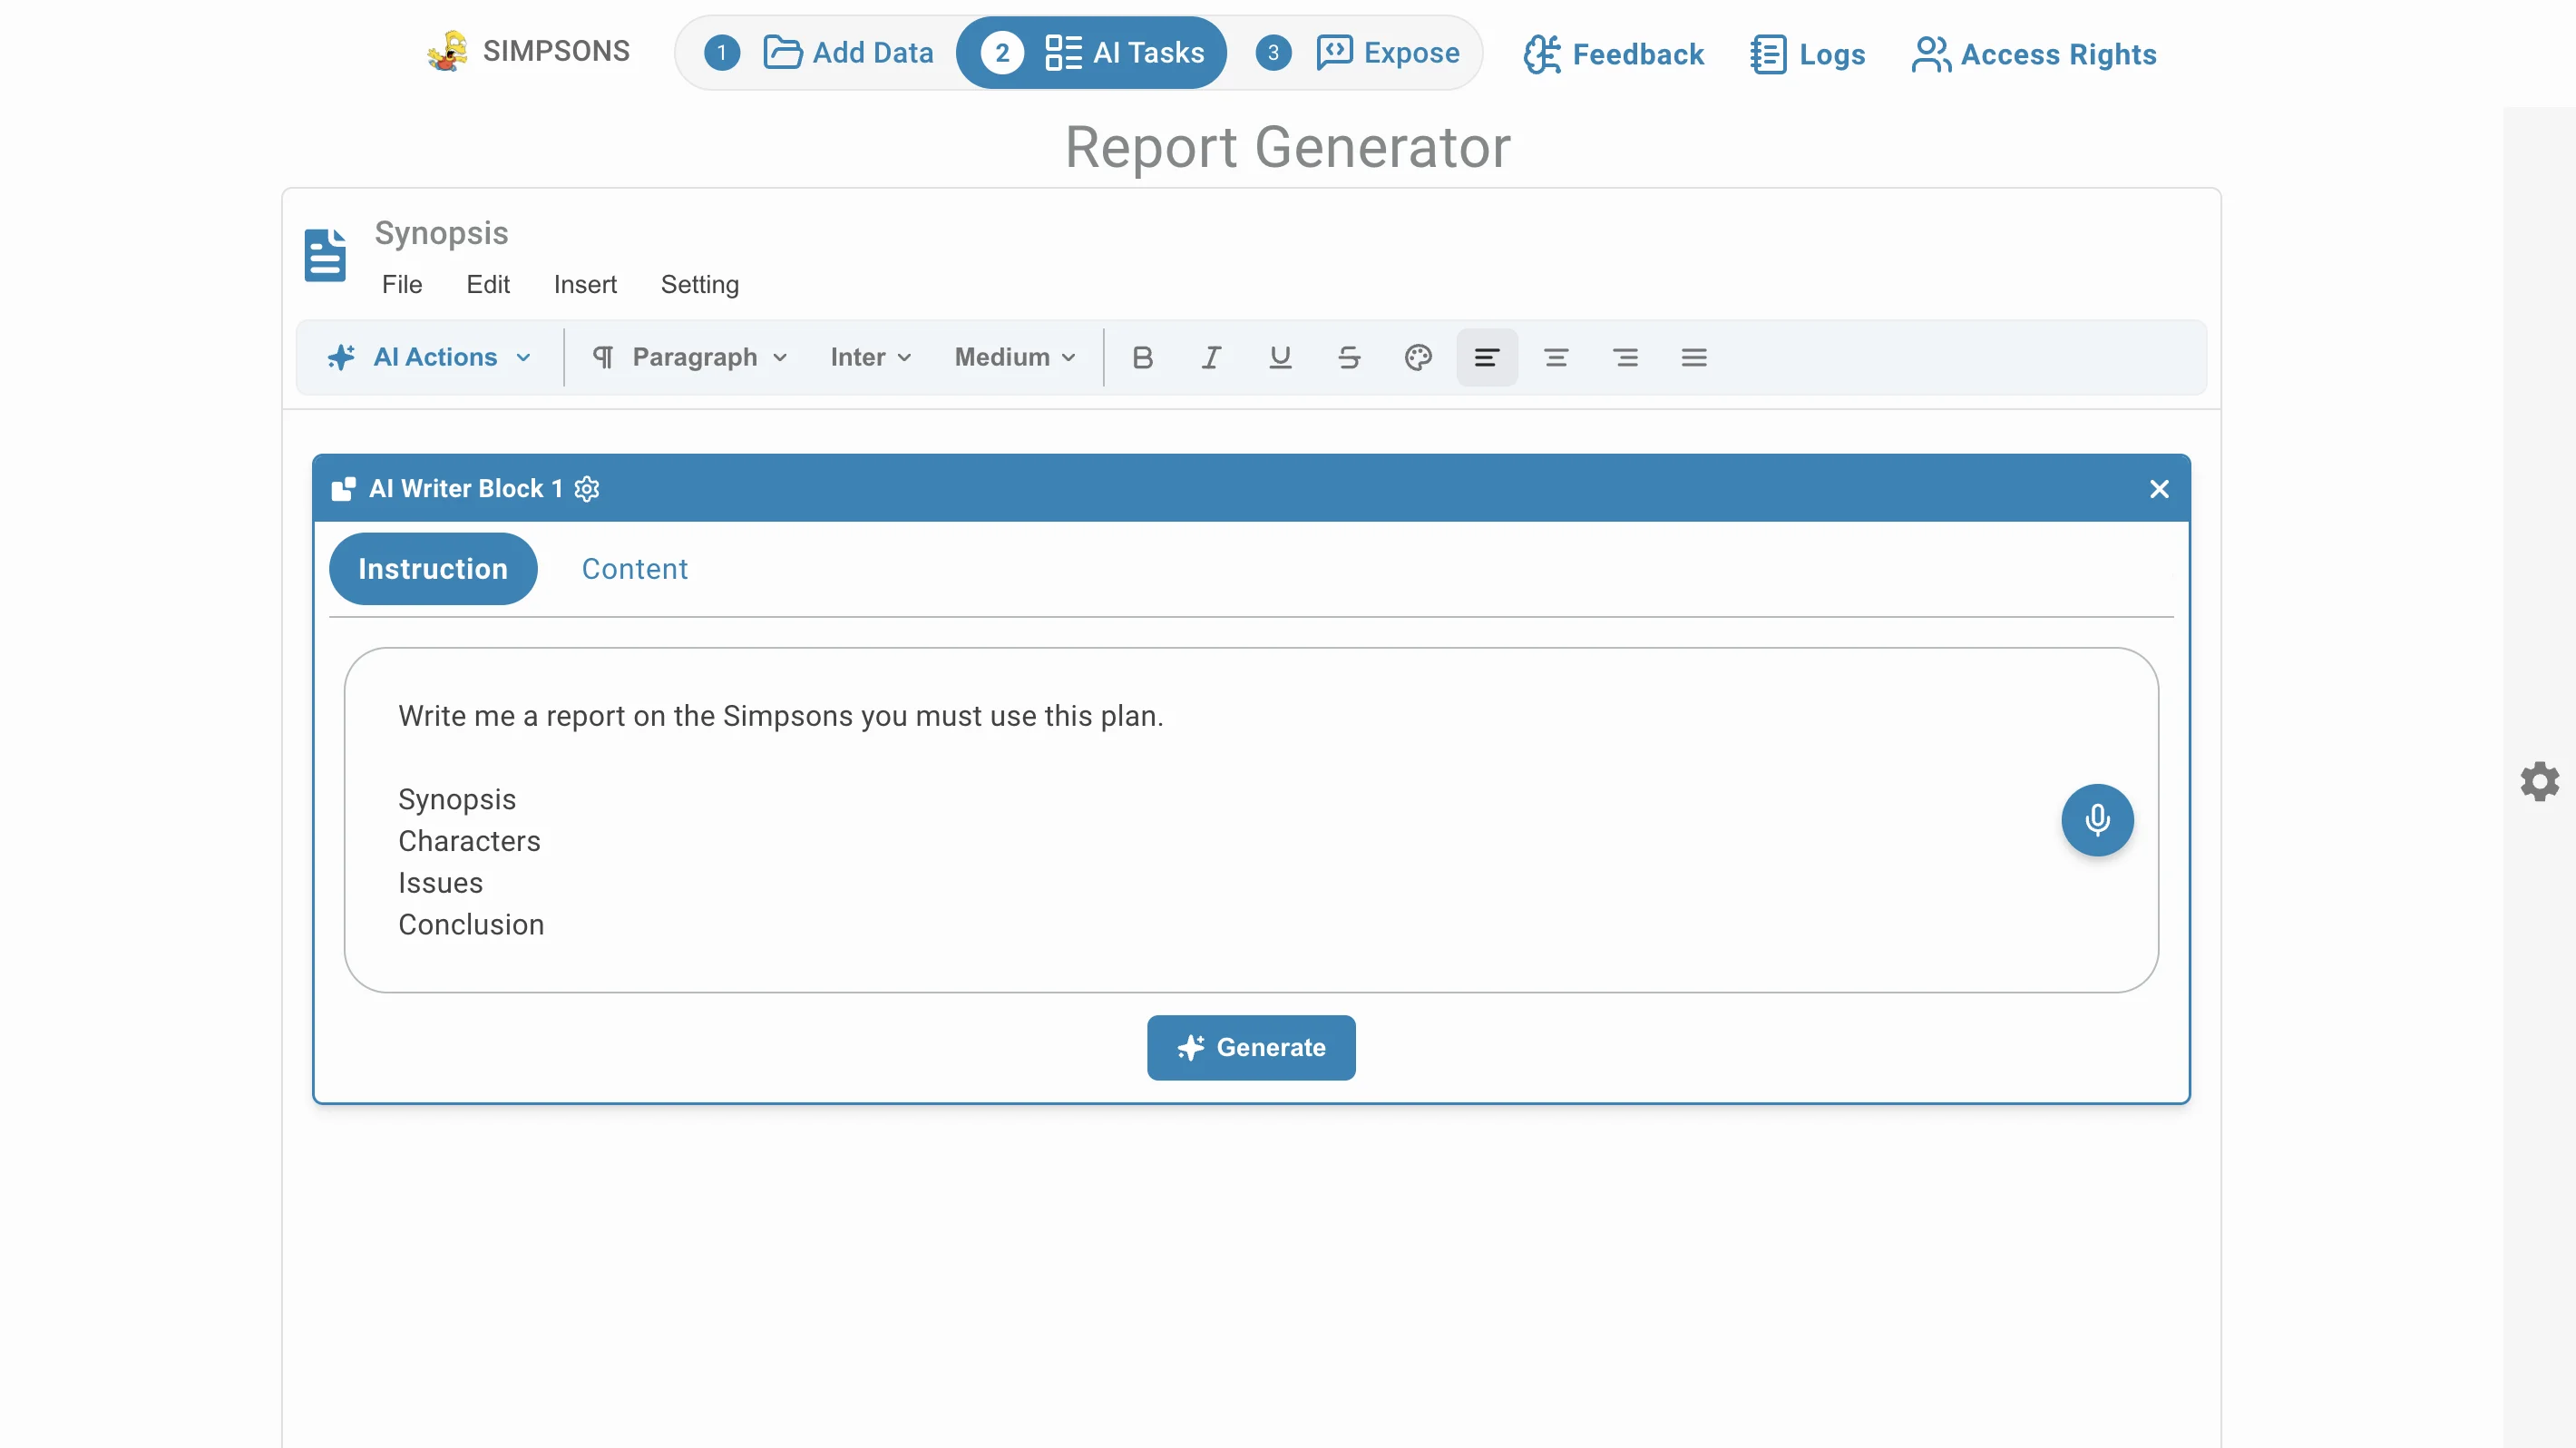
- Click on Insert, then select Add AI writer block to add an AI-generated section.
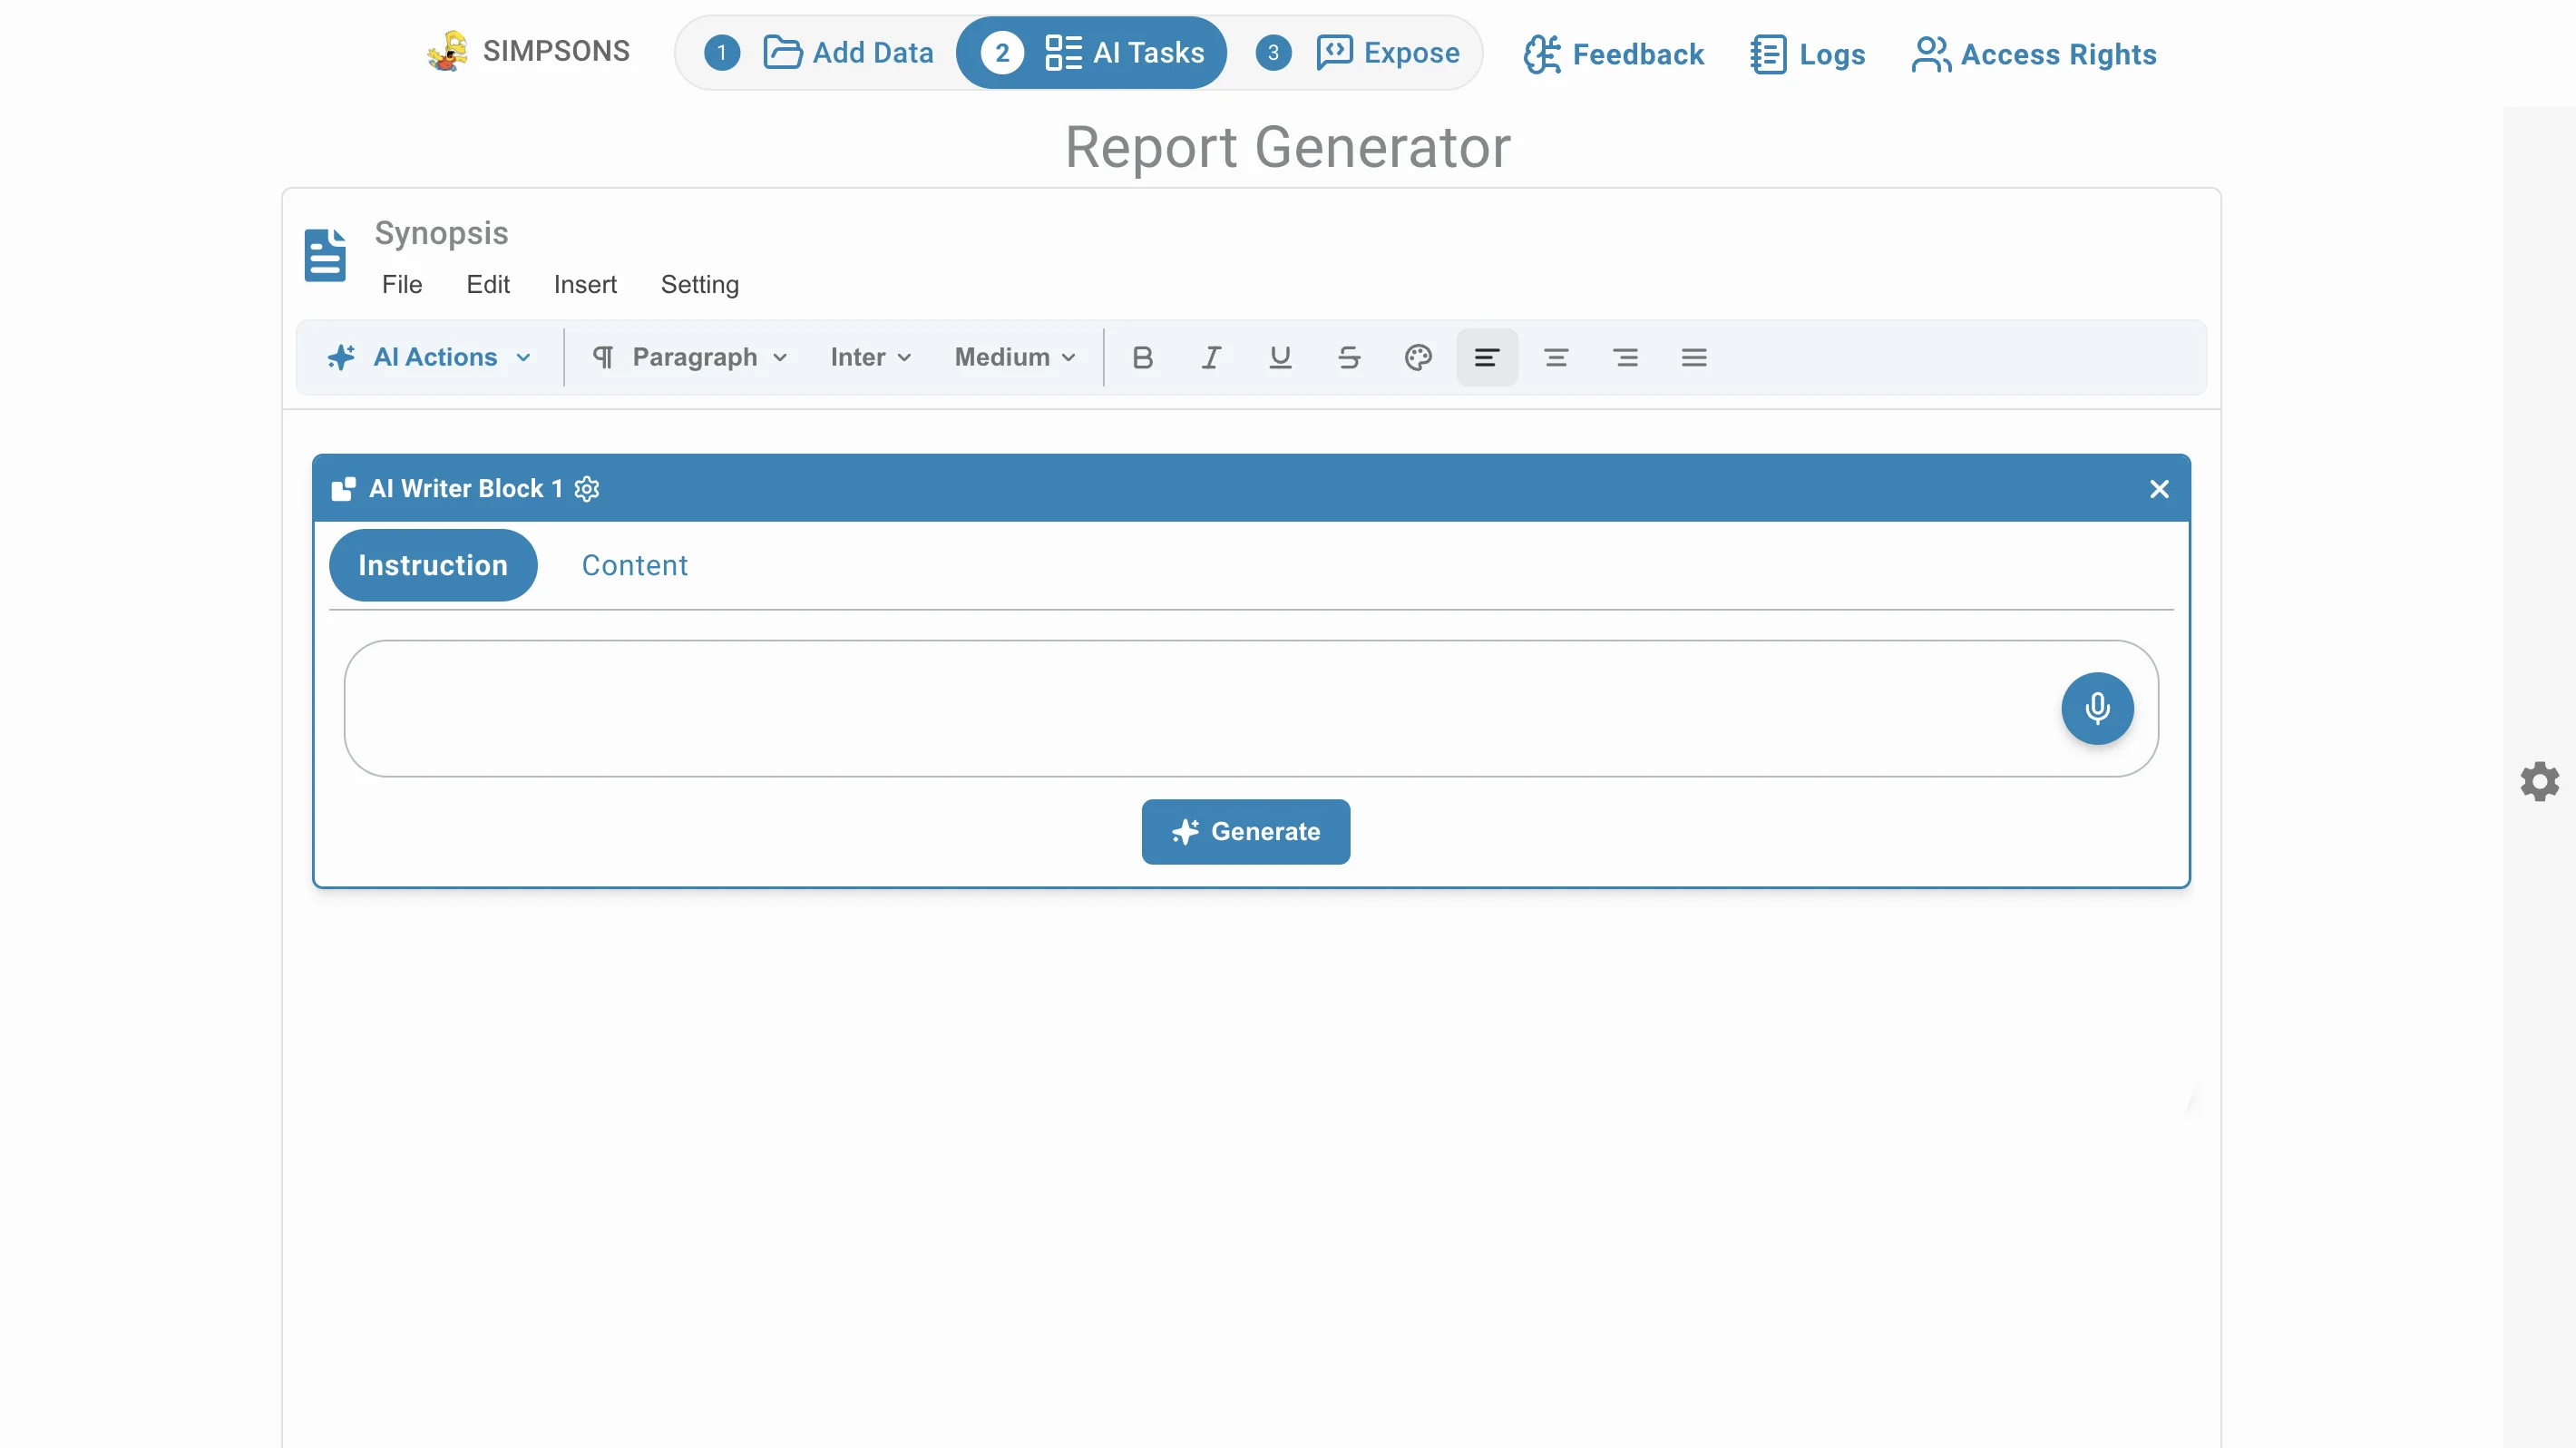
- Enter your prompt in the text field to give the assistant writing instructions.
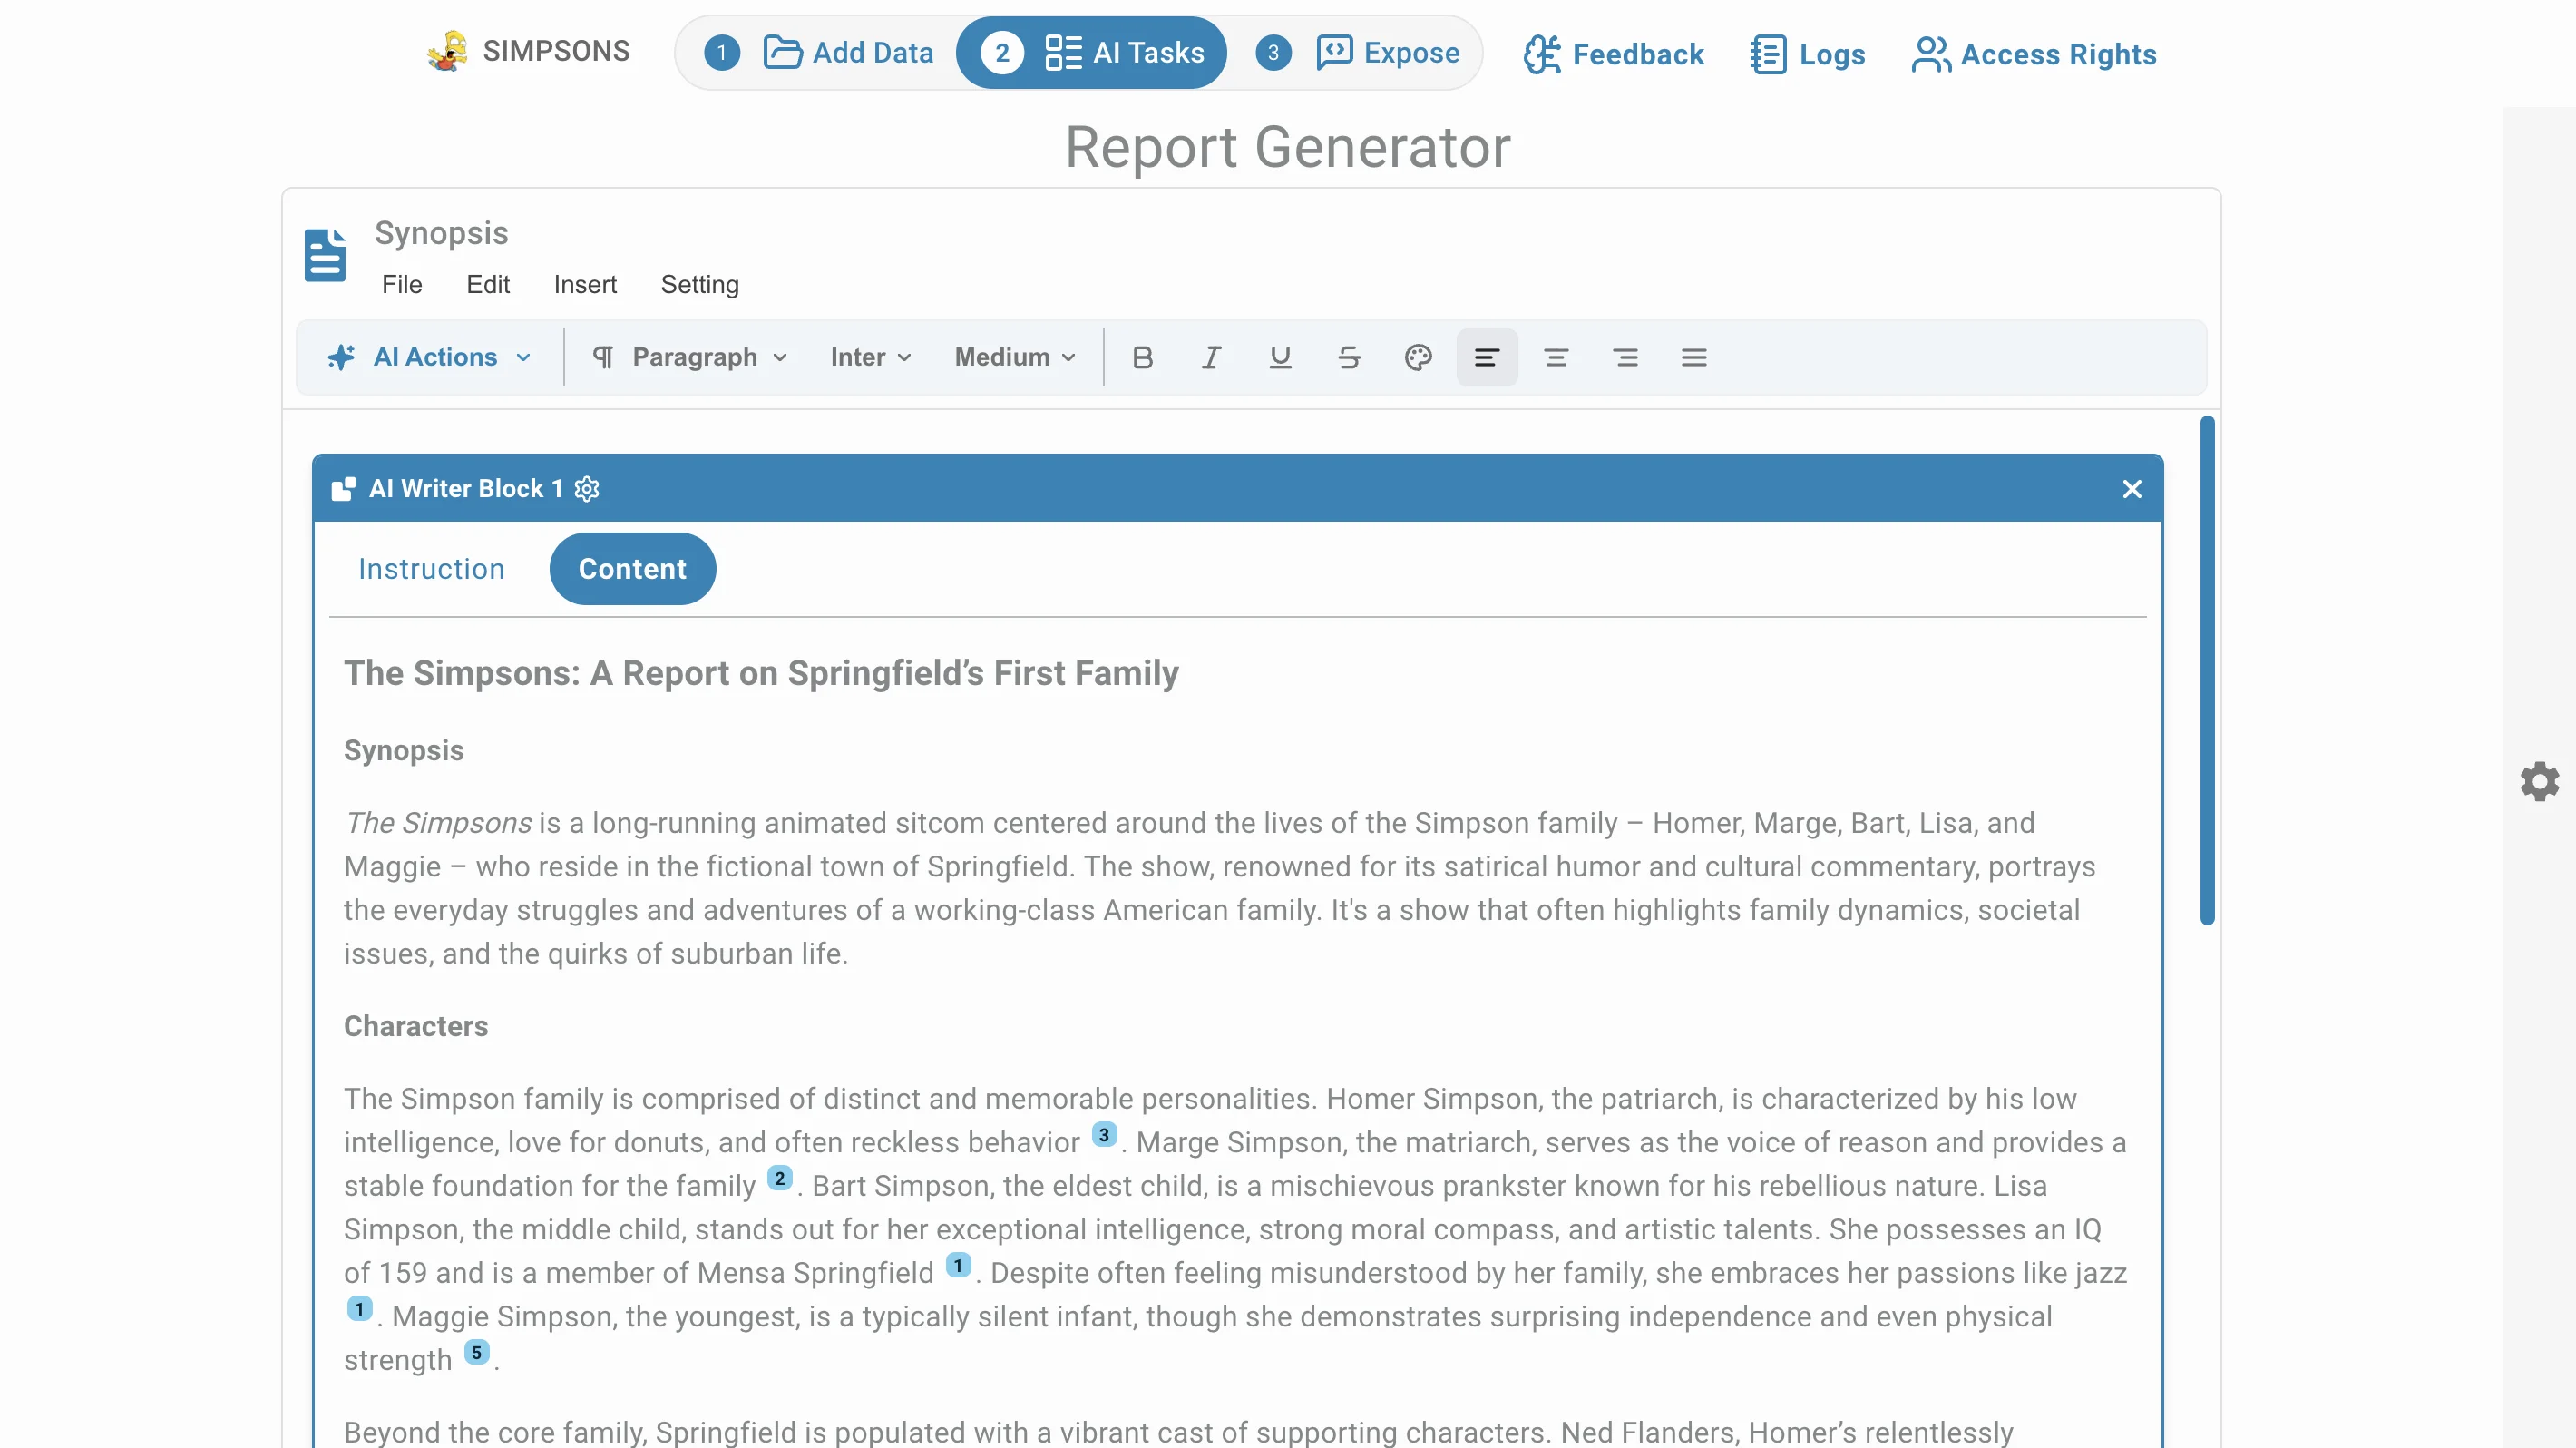
- Click Generate. The assistant creates a response, which streams as it is written.
- Leave the page and return at any time; generation continues in the background.
- To modify the result, go back to the corresponding tab and update the prompt.
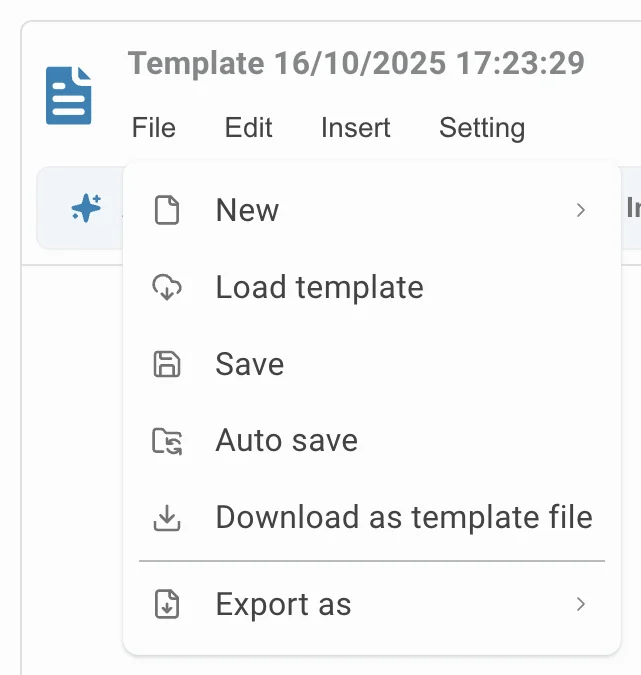
- Finally, click on File to access options such as Create a New report, Load template, Save and rename the document, Download as template file, Export as Export as .docx file.
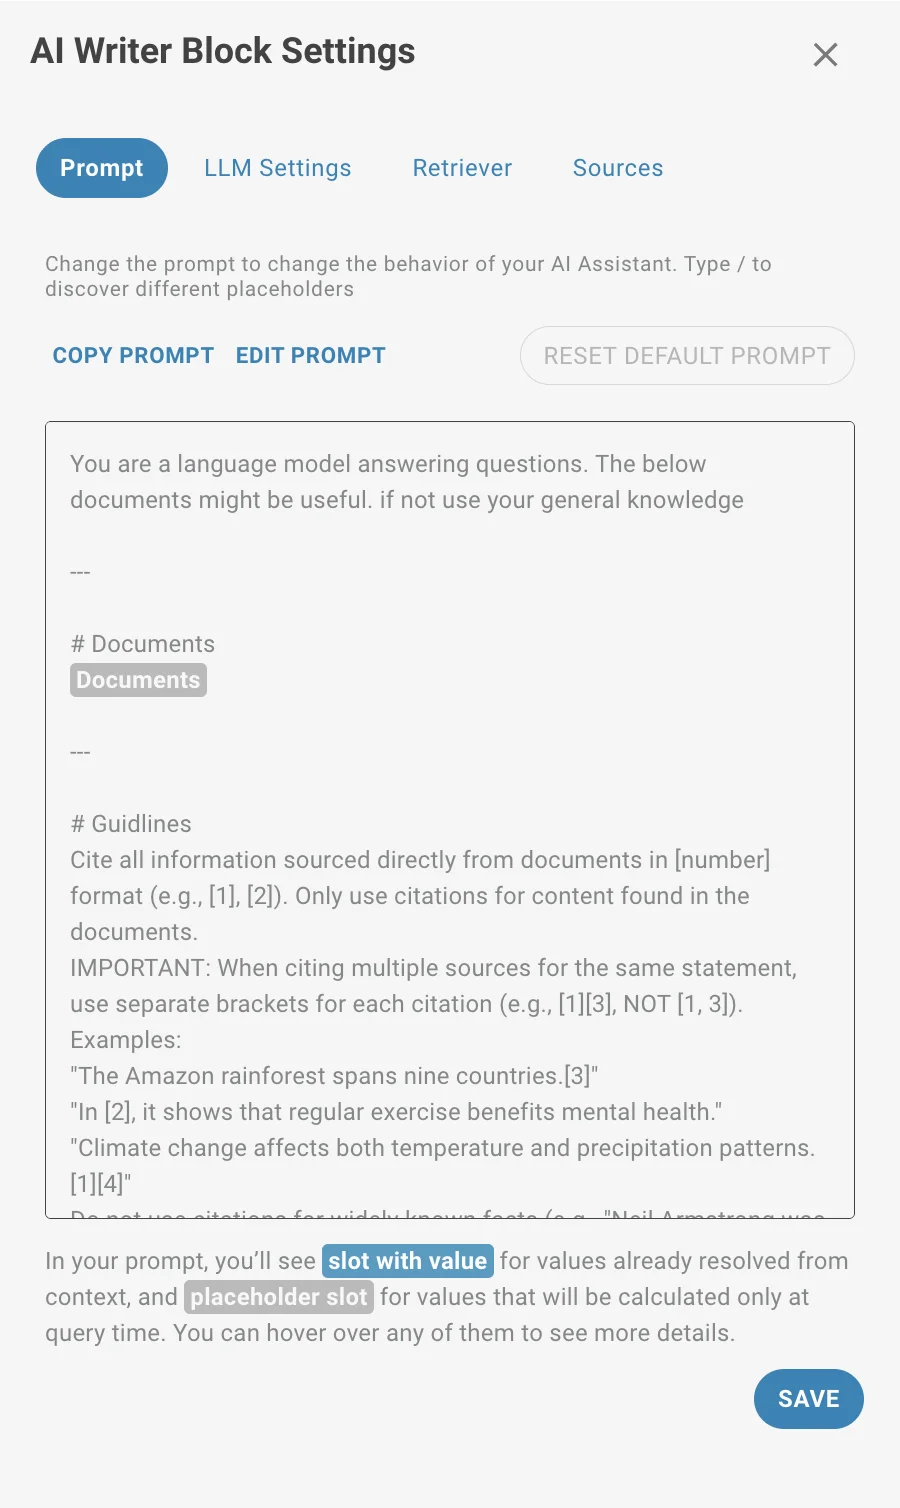
Task Settings
Customize the Report Generator AI Assistant by clicking the settings icon:
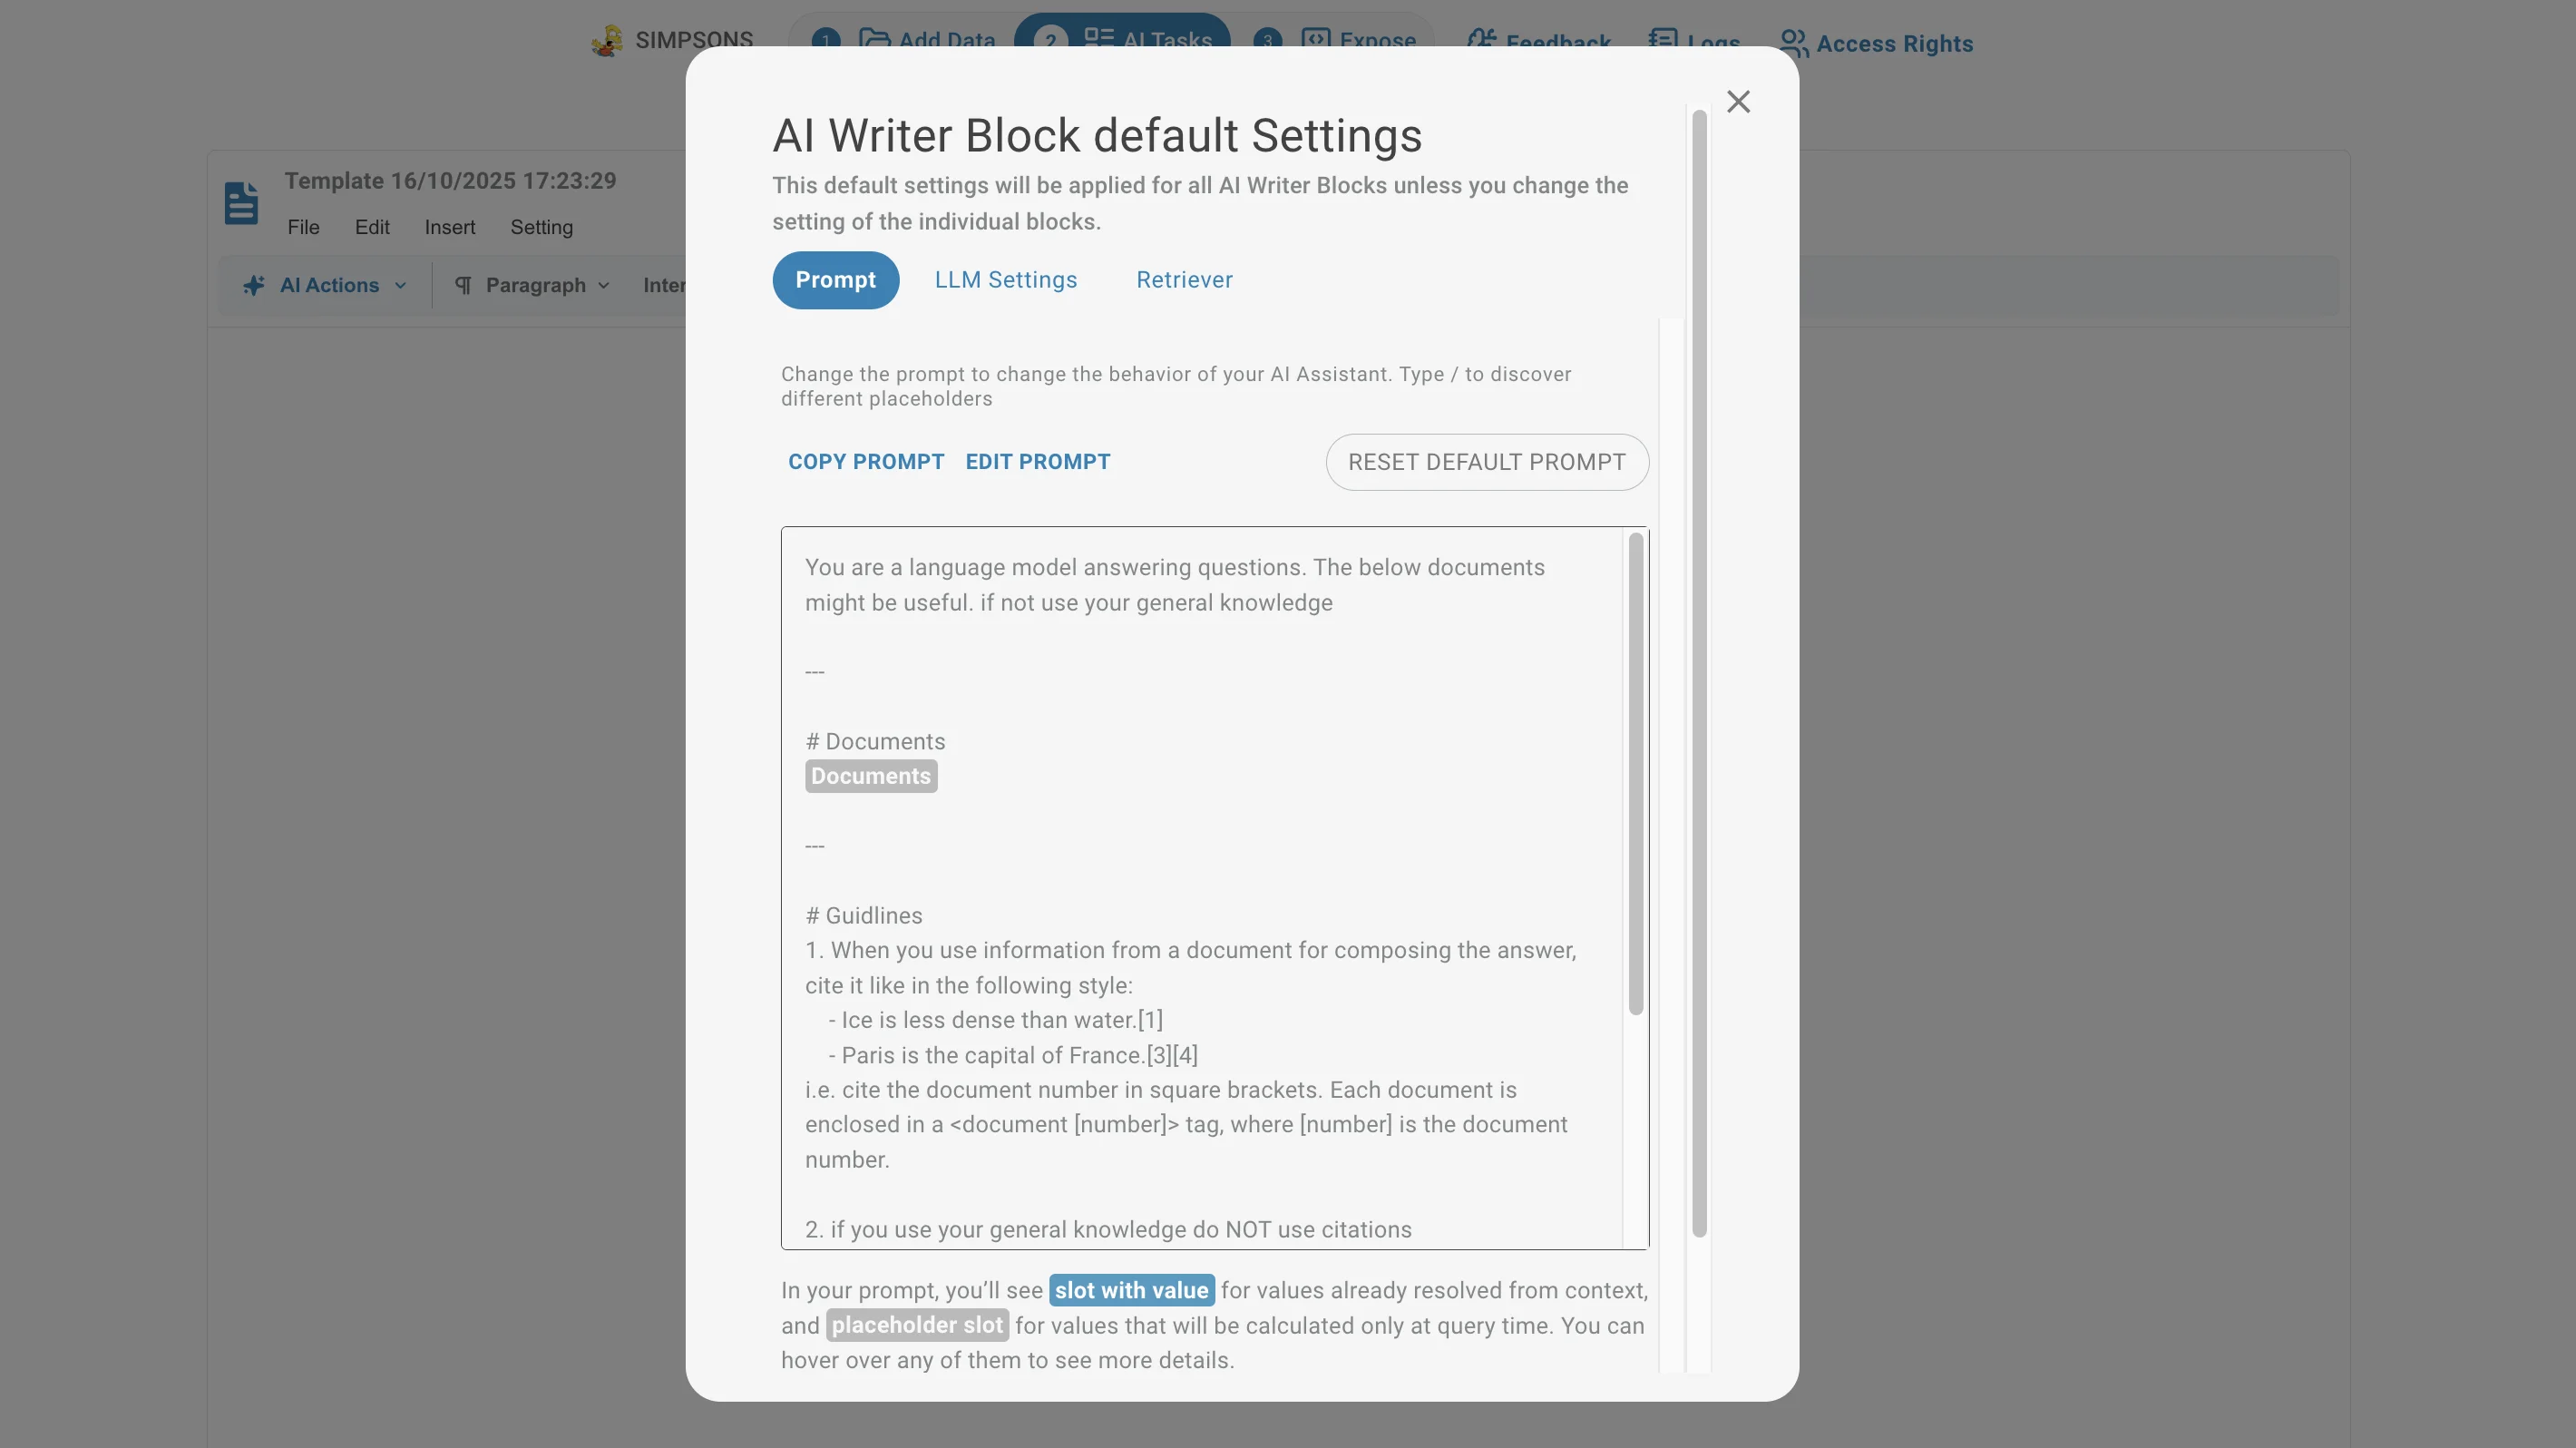
- Filling the prompt settings: defines the assistant's personality; follow the example in the default settings.
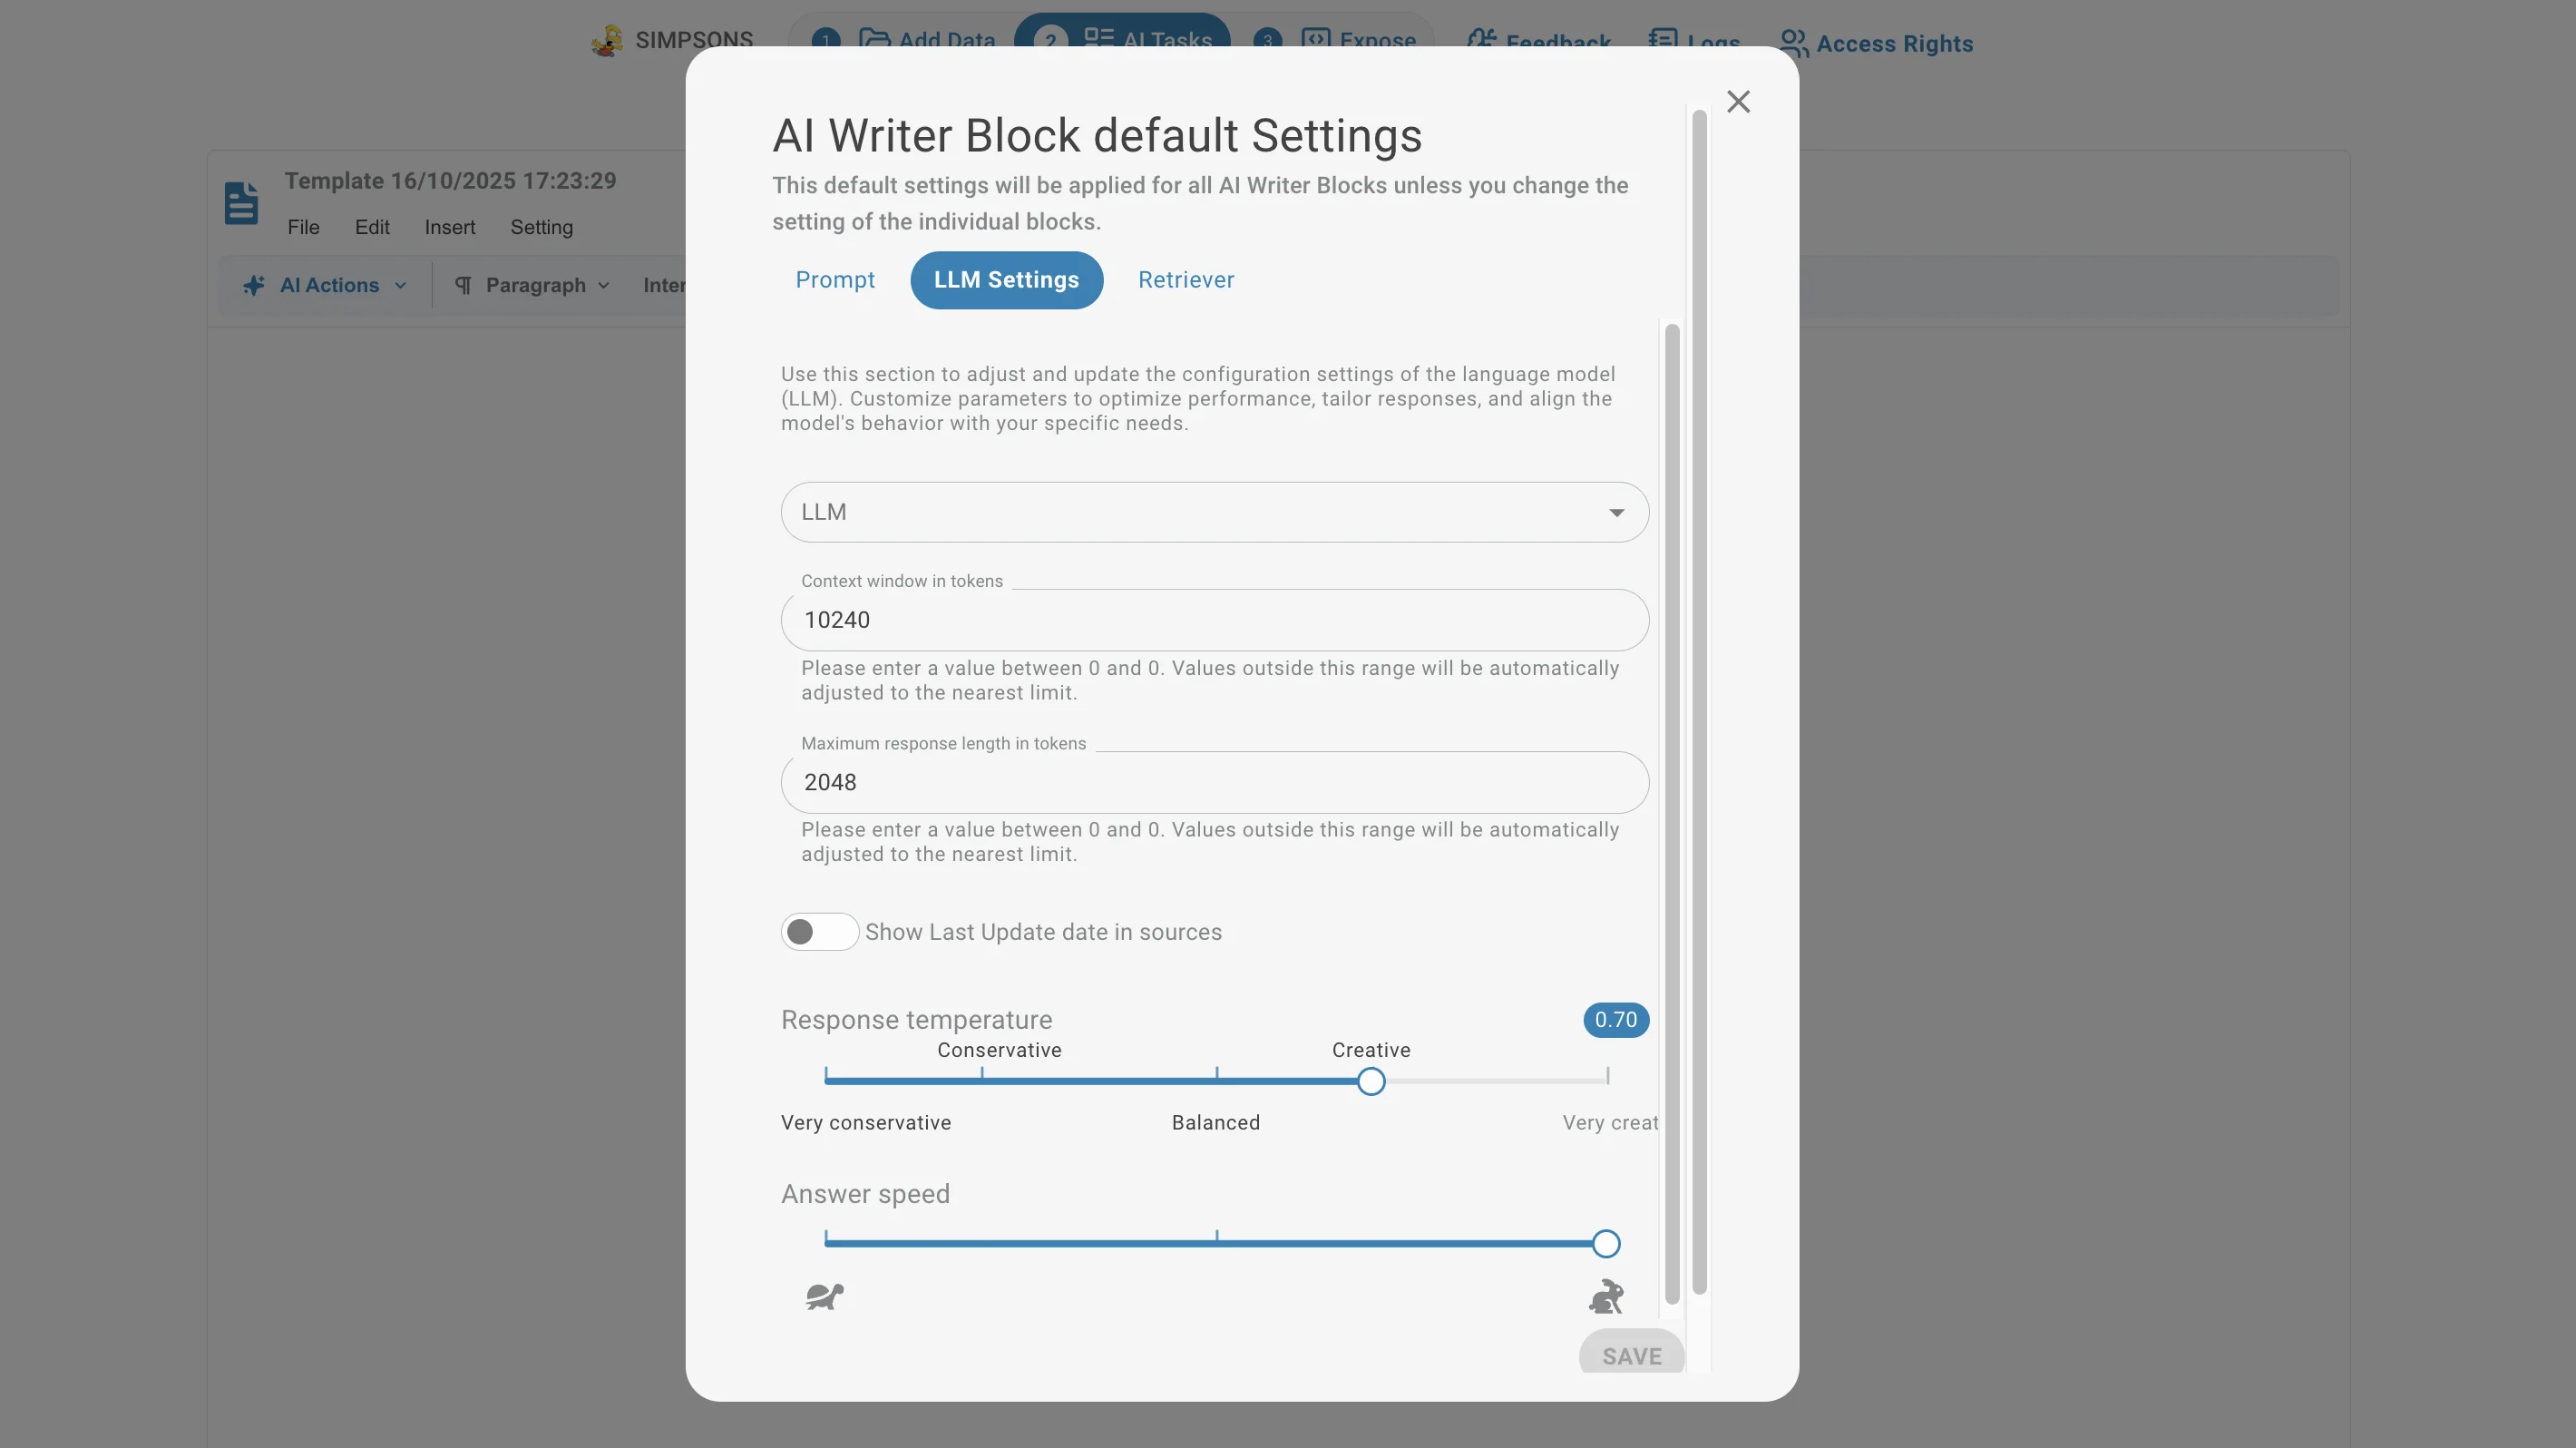
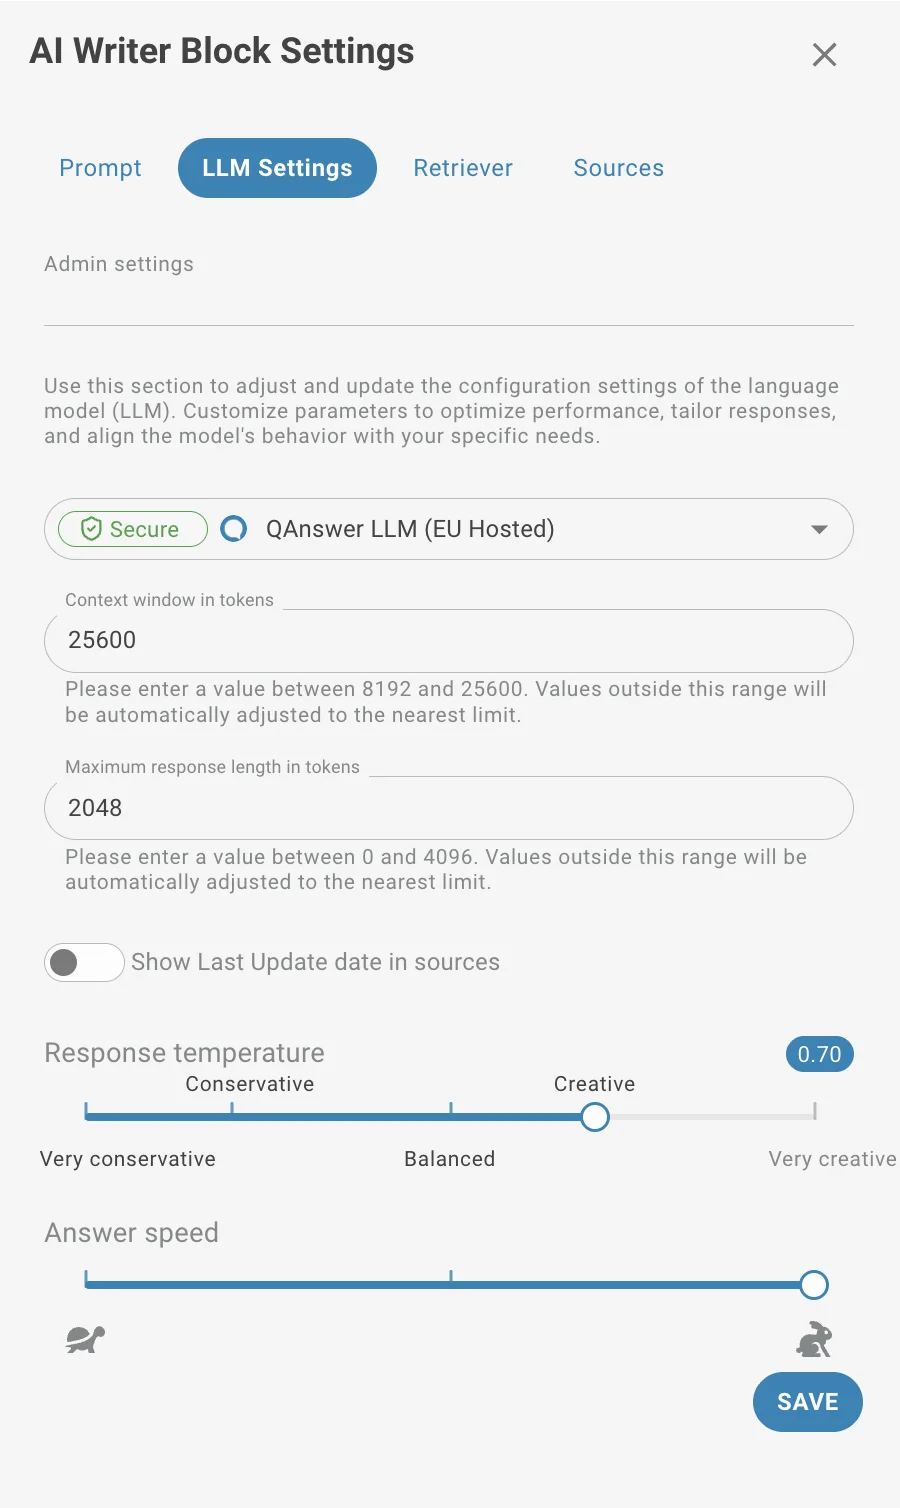
- Adjusting the LLM settings: choose the LLM, answer length, creativity level, and answer speed.
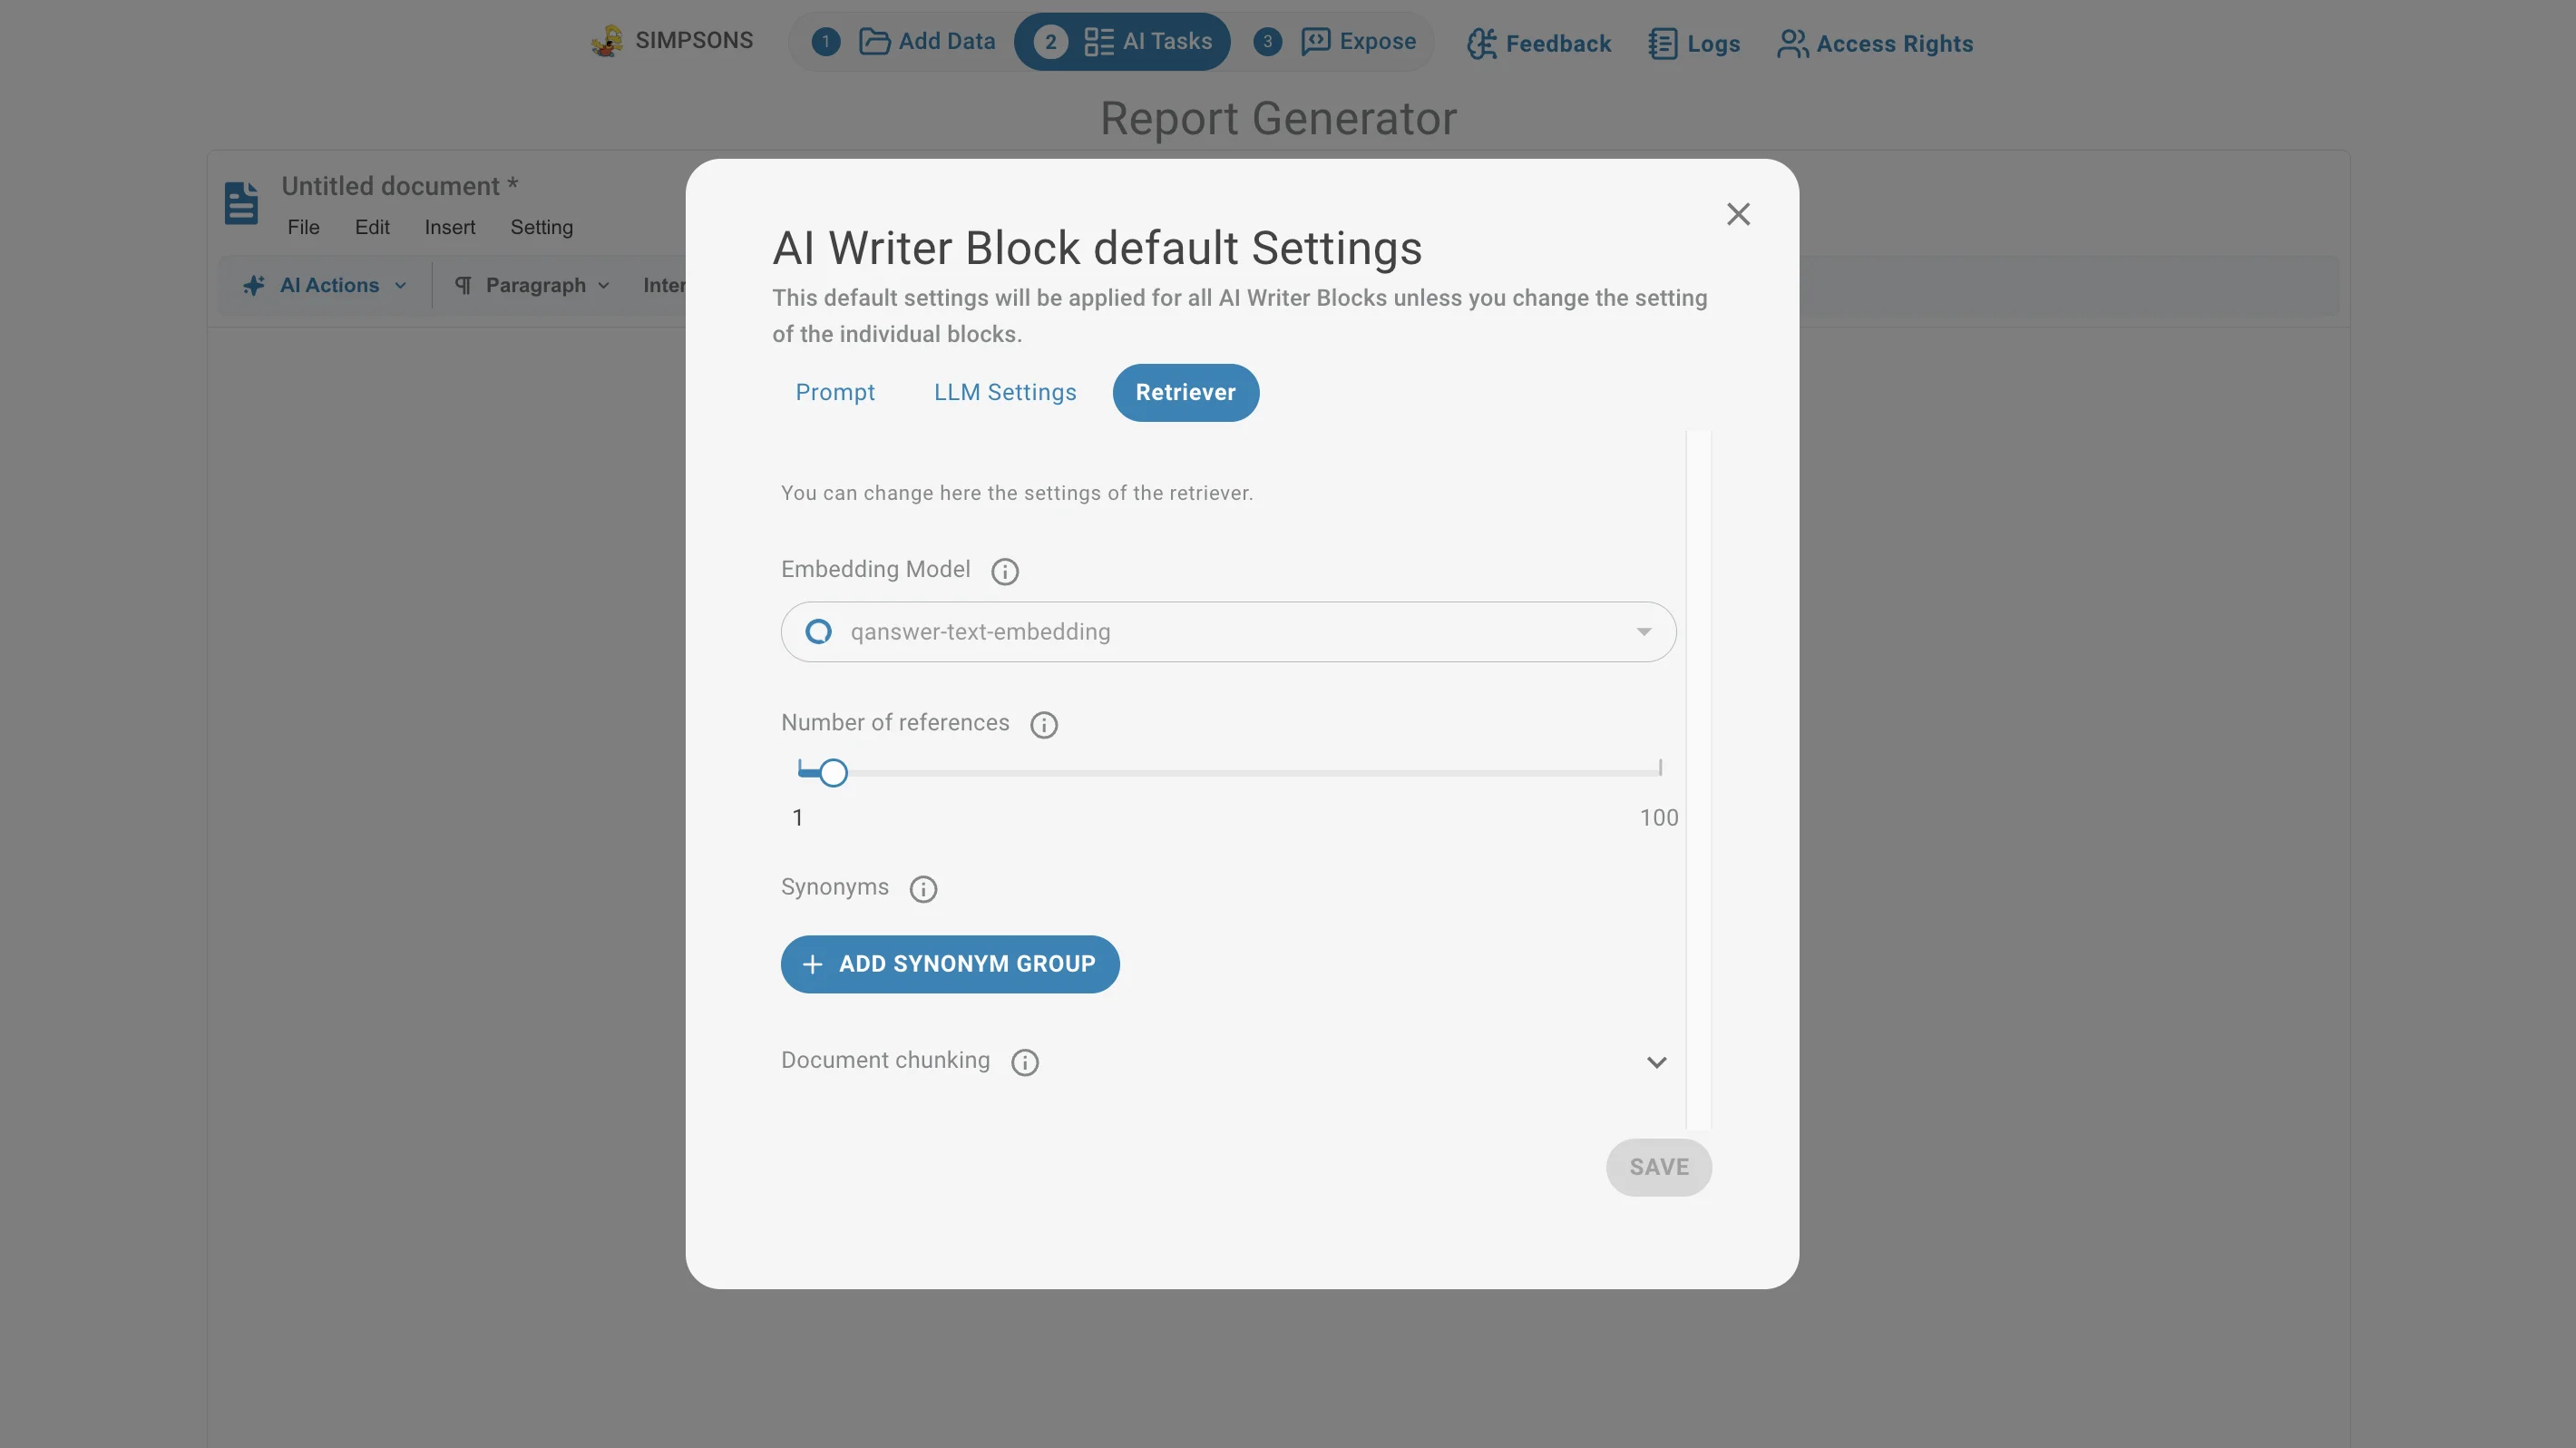
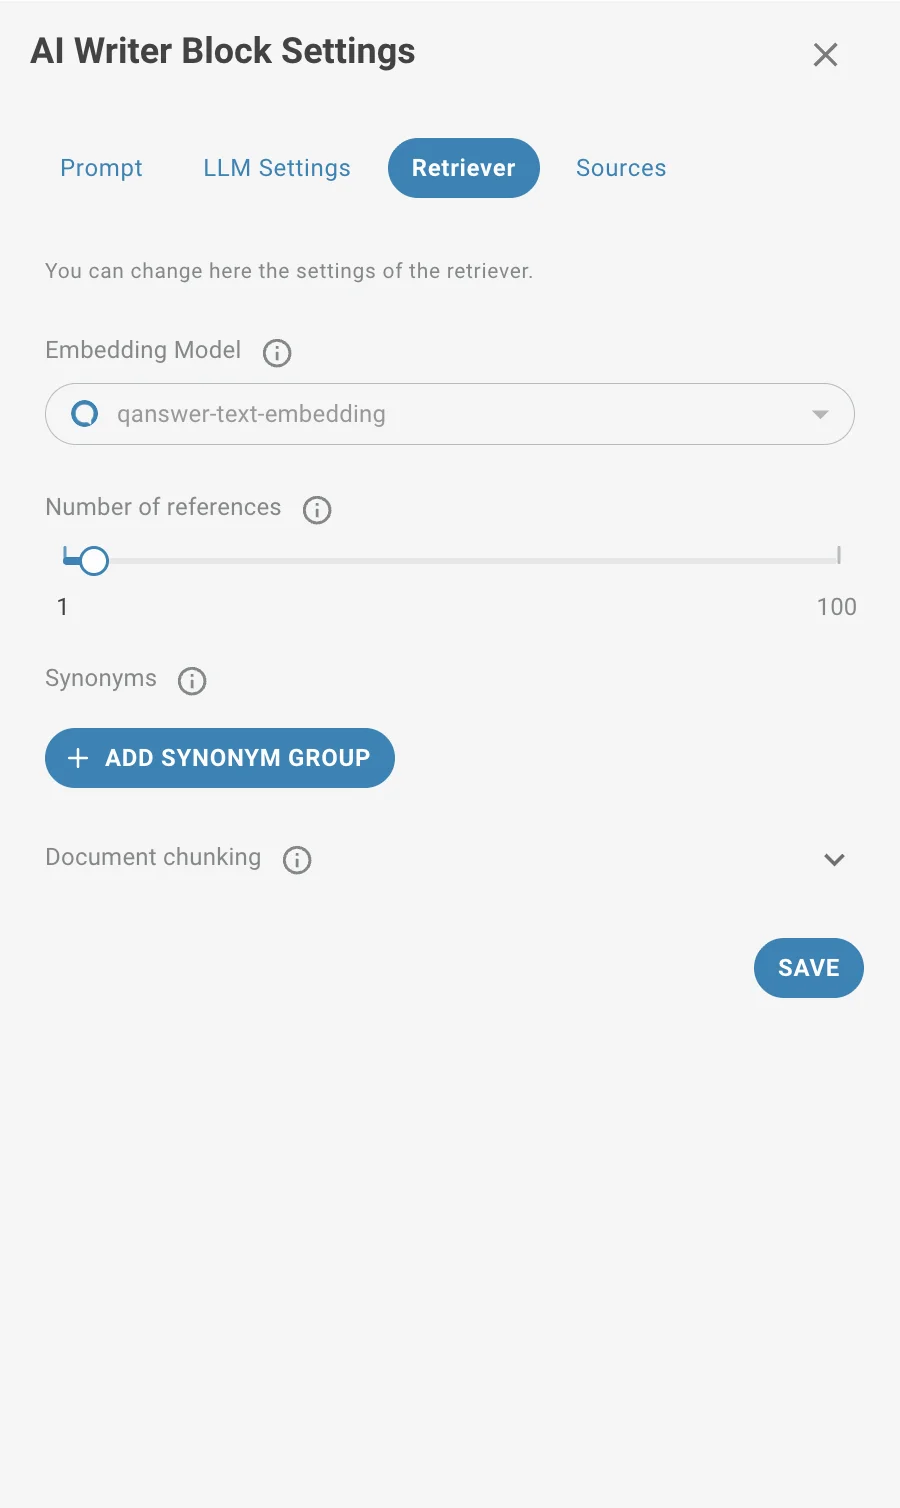
- Adjusting the Retriever: choose the reference level and add synonyms.
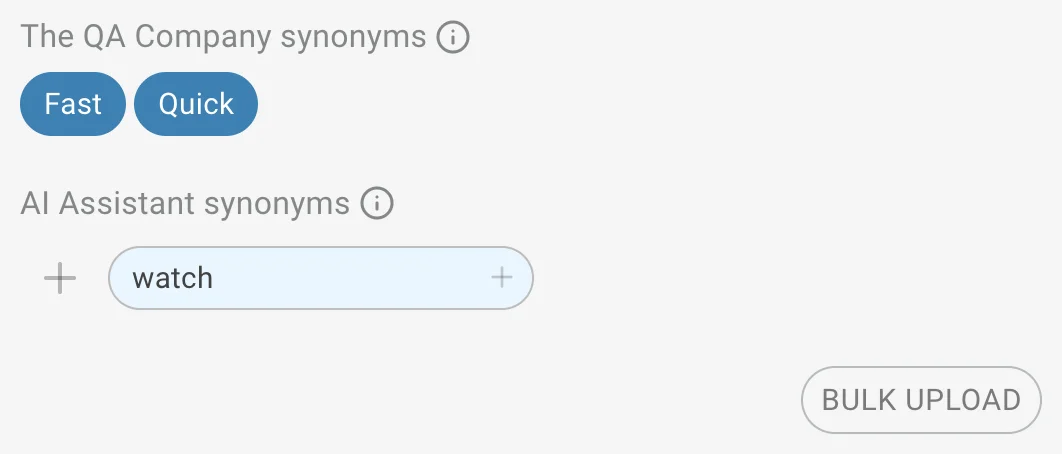
Synonyms
Define groups of synonyms to retrieve more relevant documents.
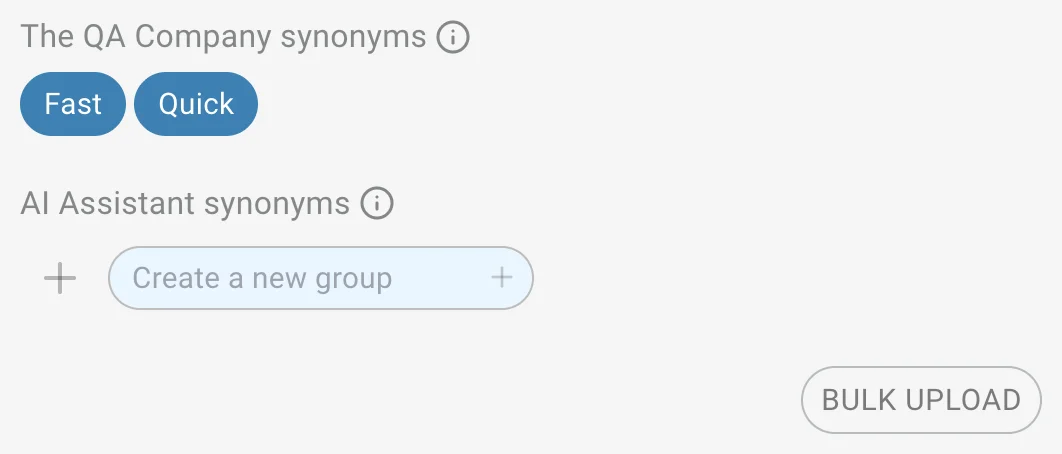
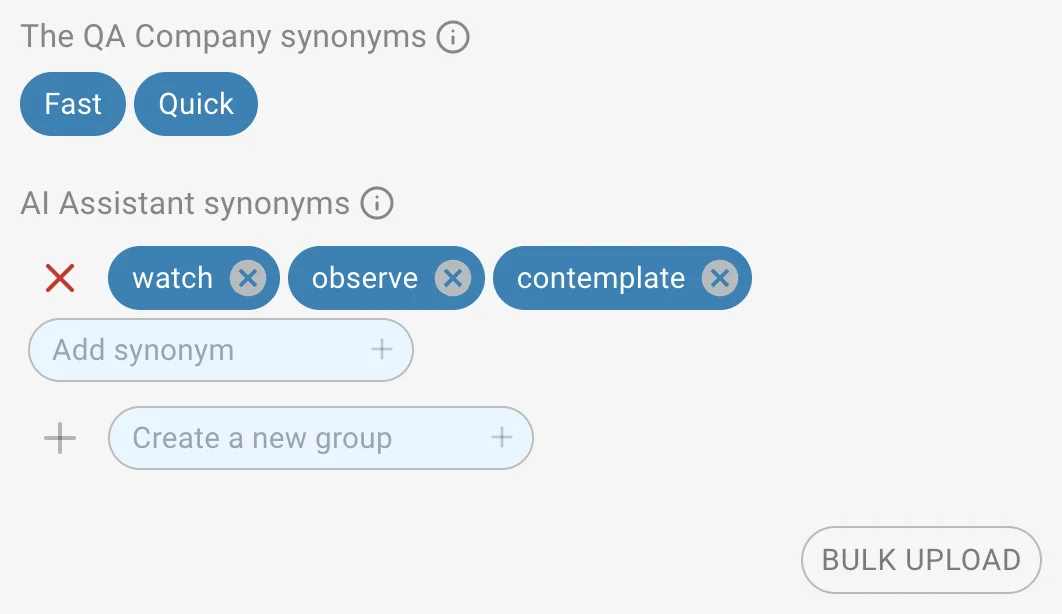
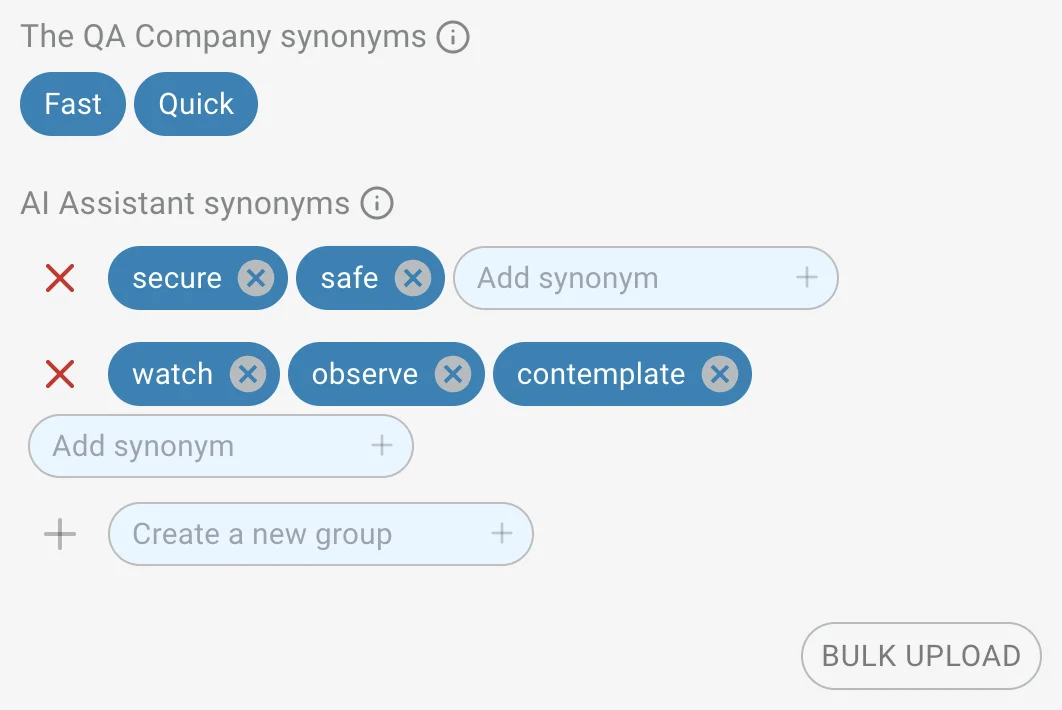
- Click + Add synonym group to add a new group.
- Enter a word and press Enter or click + to add it to the group.
- A new group can only be added when no existing groups are present, or the last group has at least one synonym and the input field is empty.
- Click the trash icon to delete a group.
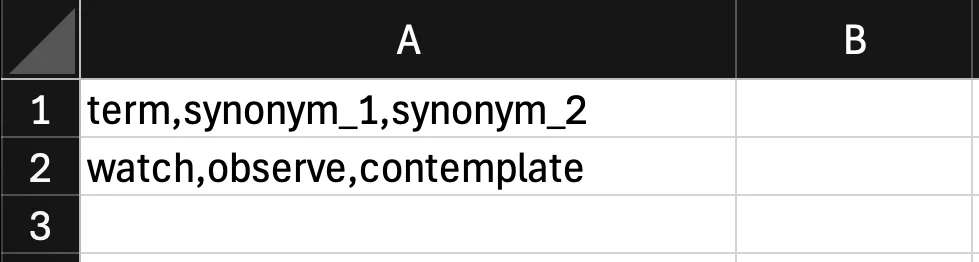
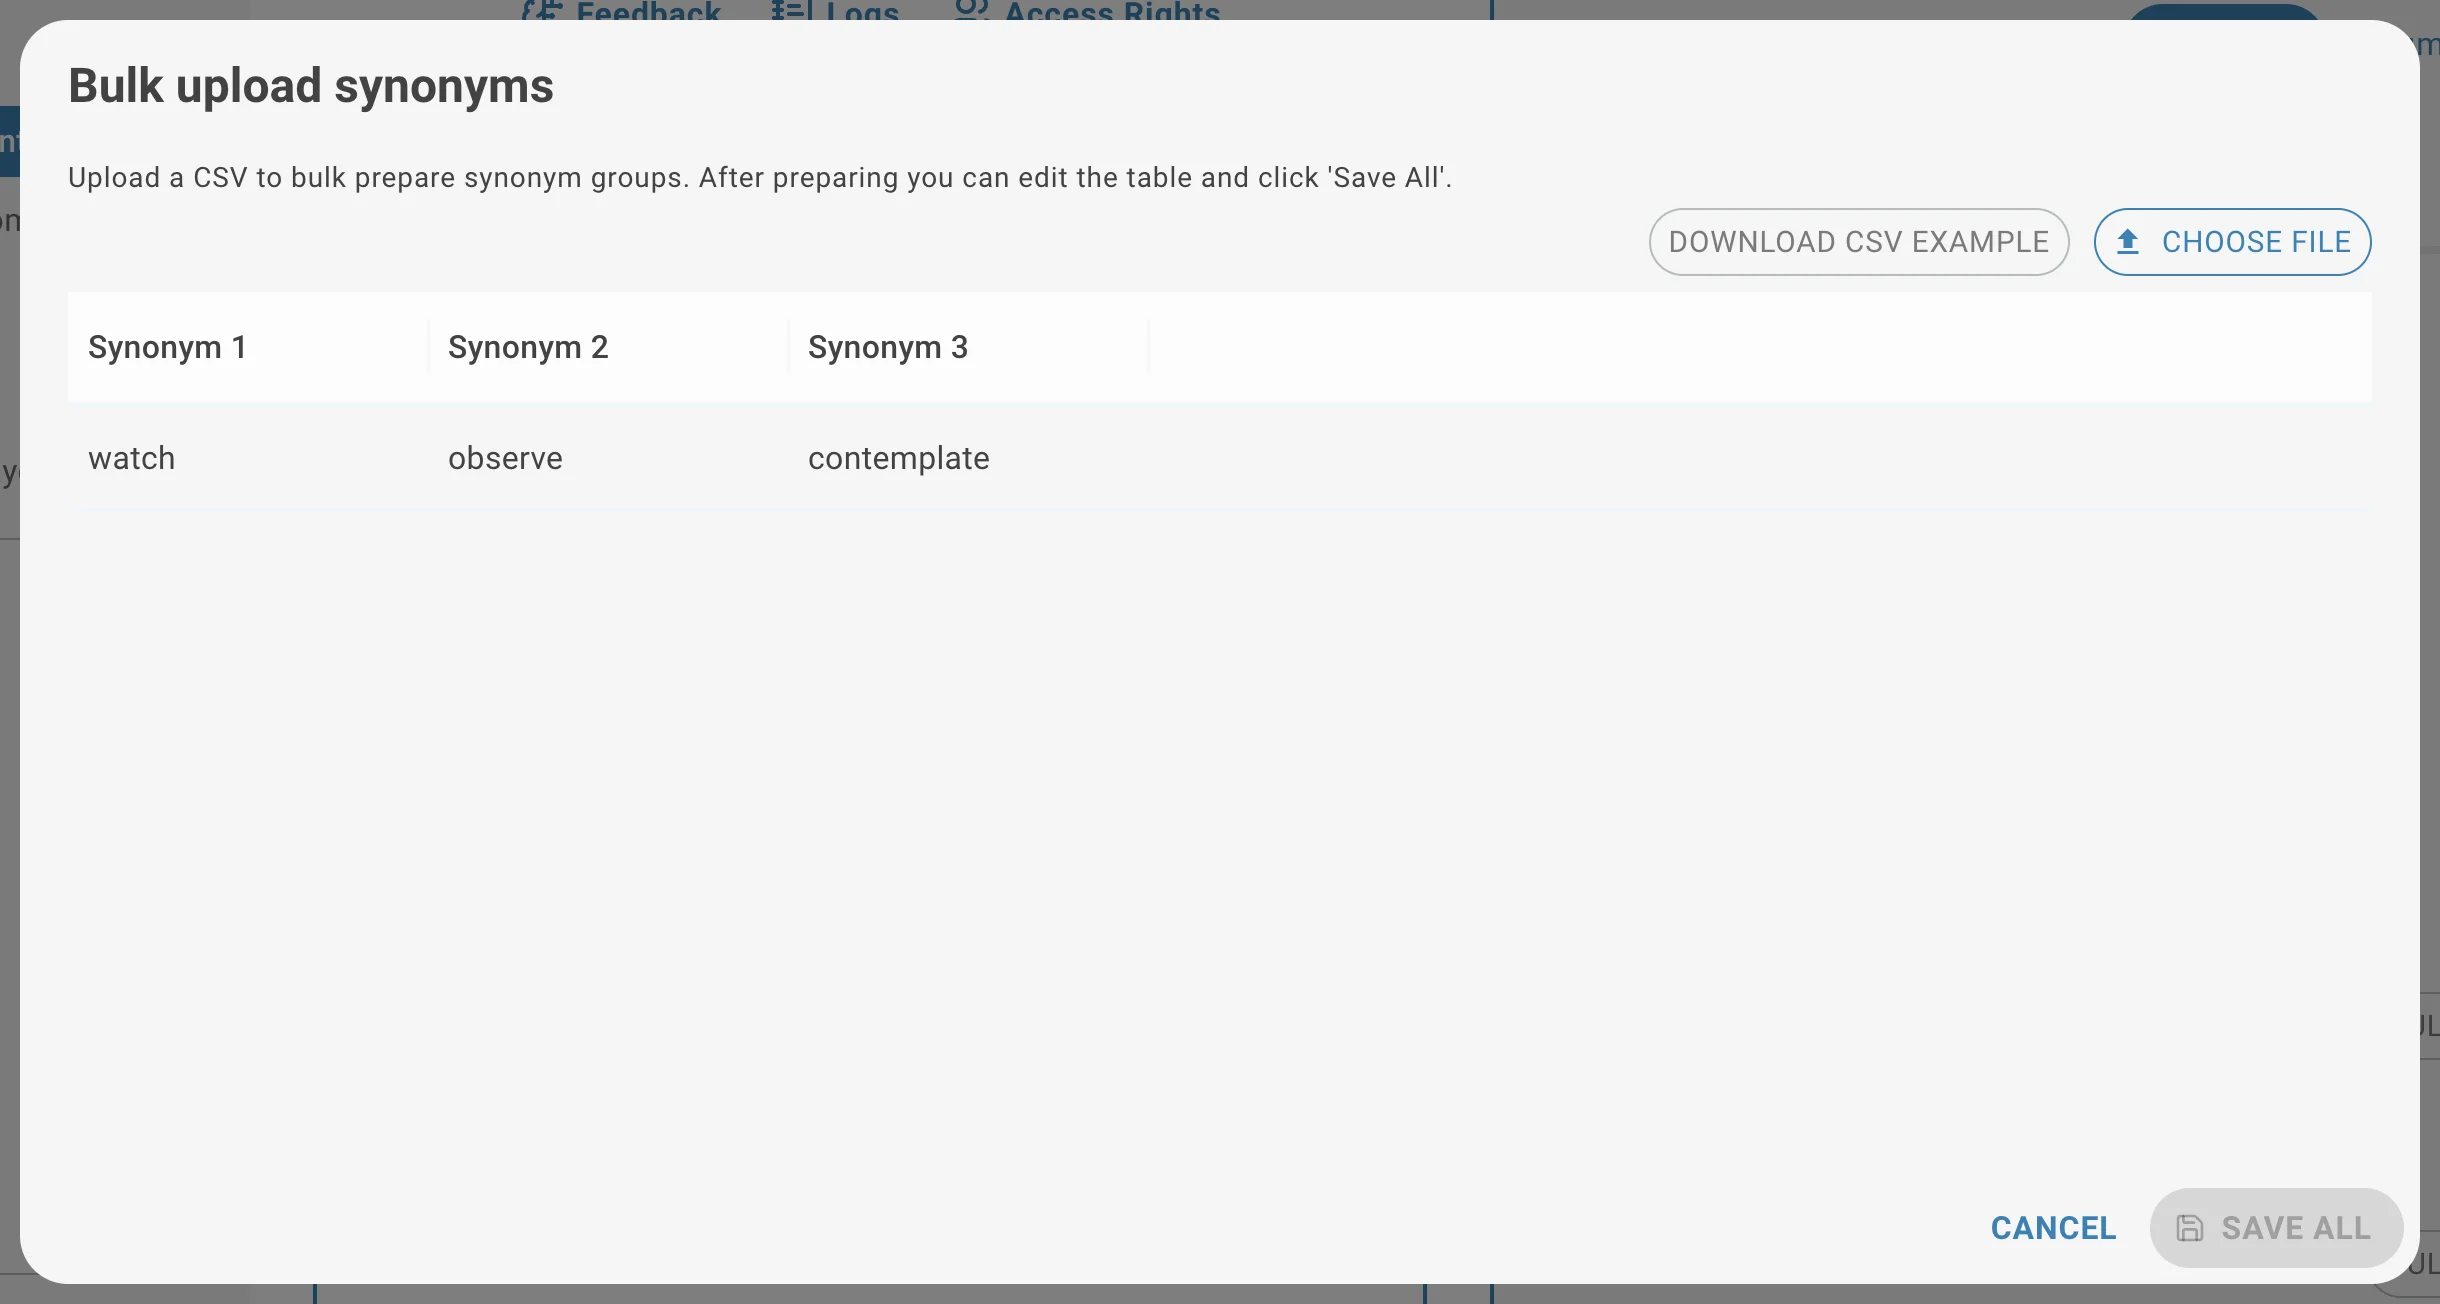
- Click Bulk Upload to upload synonyms in bulk. Use download the CSV example to see the format, or Choose File to upload a CSV.
Document Chunking
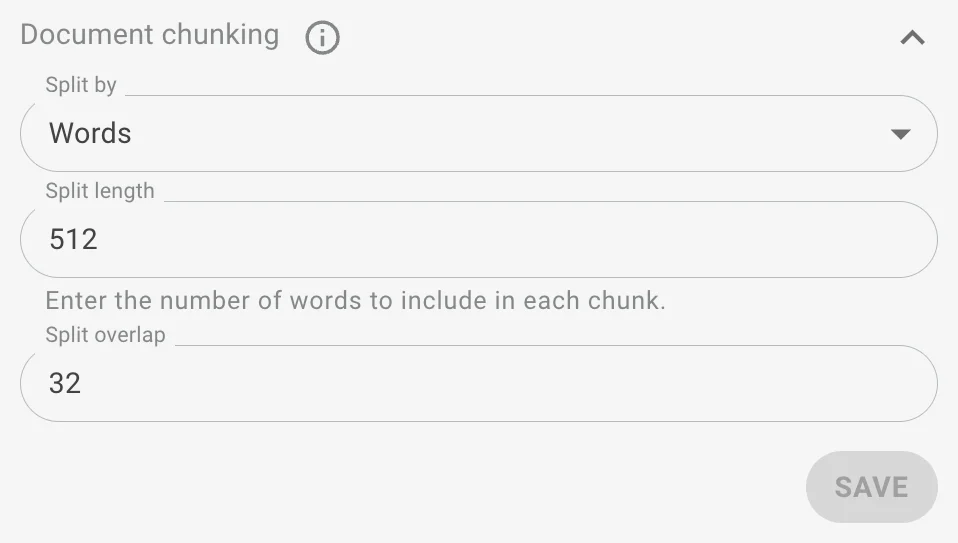
Document chunking controls how text is split before embedding and indexing, affecting retrieval quality and context windows. Three main parameters apply:
Split by
Choose the unit used to cut the document:
- Words – Splits by a fixed number of words.
- Sentences – Splits by sentence boundaries.
- Pages – Splits based on original PDF/page breaks.
Split Length
how big each chunk is, based on the selected unit.
- If split by Words: this = number of words per chunk.
- If split by Sentences: this = number of sentences per chunk.
- If split by Pages: this = number of pages per chunk (usually 1).
Split Overlap
Defines how much of the previous chunk is carried into the next chunk to preserve context. Example: Split length = 100 words, Overlap = 20 → each new chunk repeats 20 words from the previous one.
AI Block Versioning and Feedback
How It Works
In the AI Writer block, each time Regenerate content or Ask a new question is used, a new version of the response is generated. All versions are stored and accessible via a version switcher.
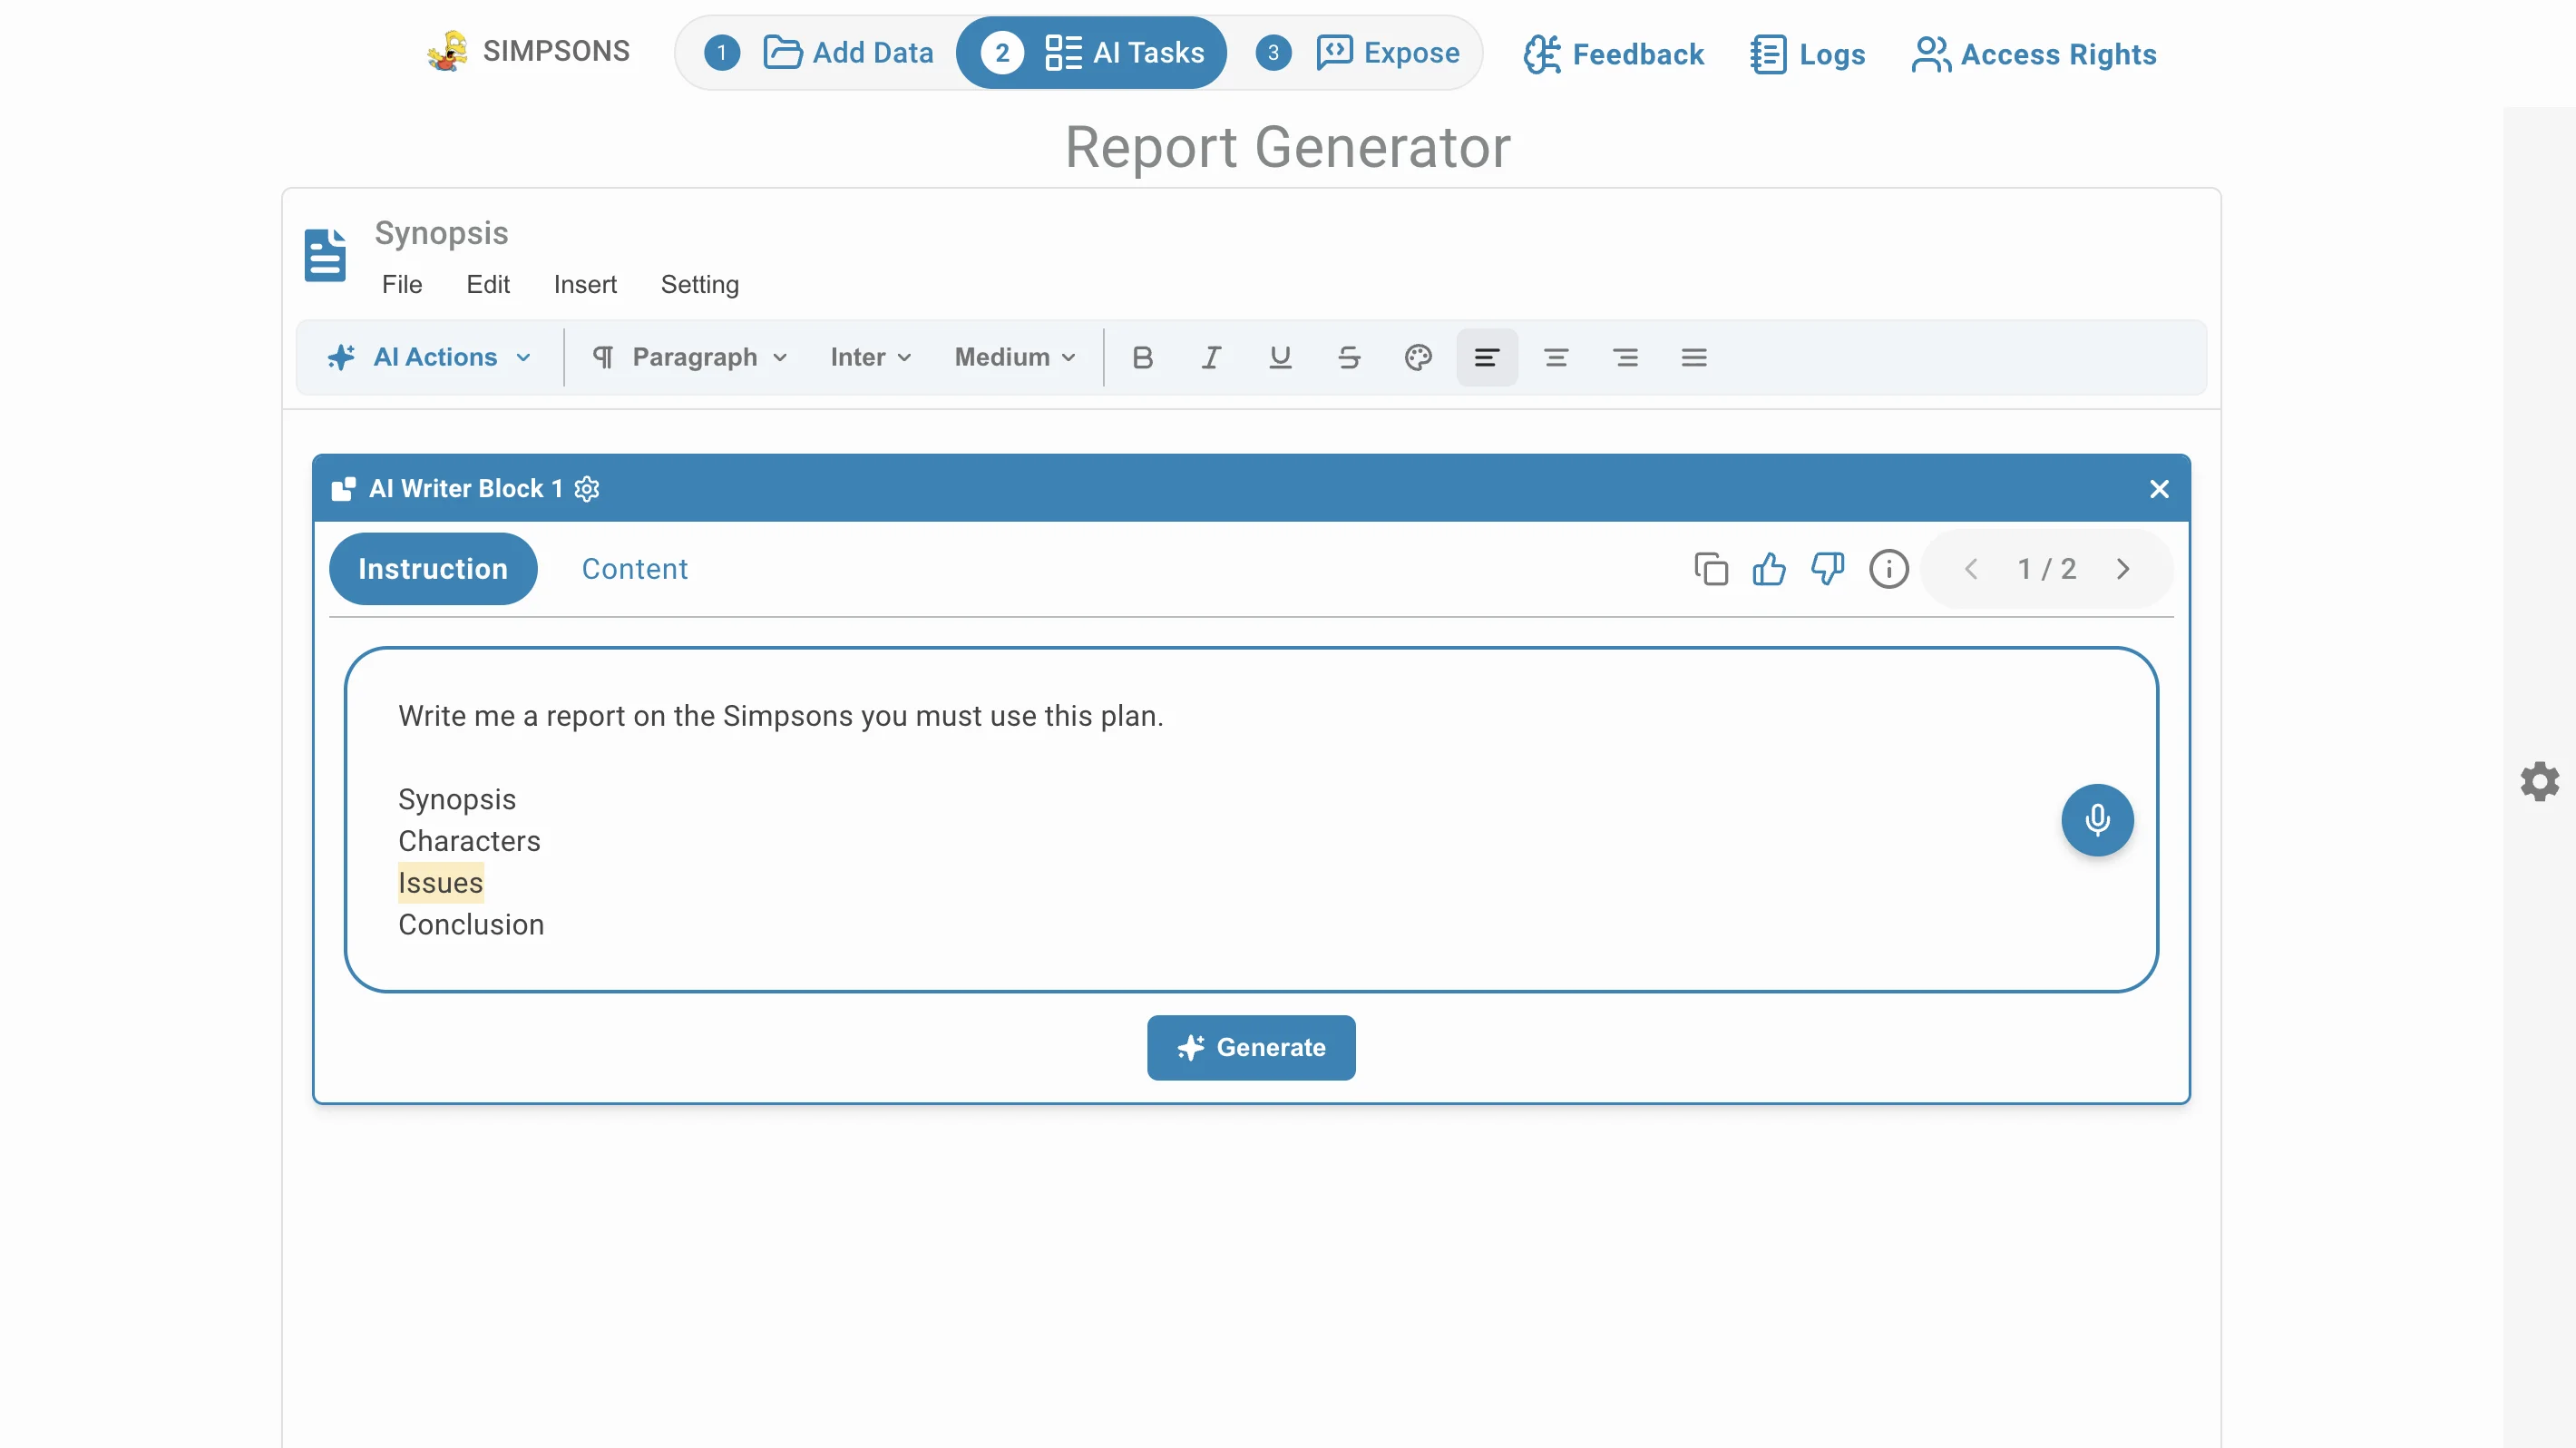
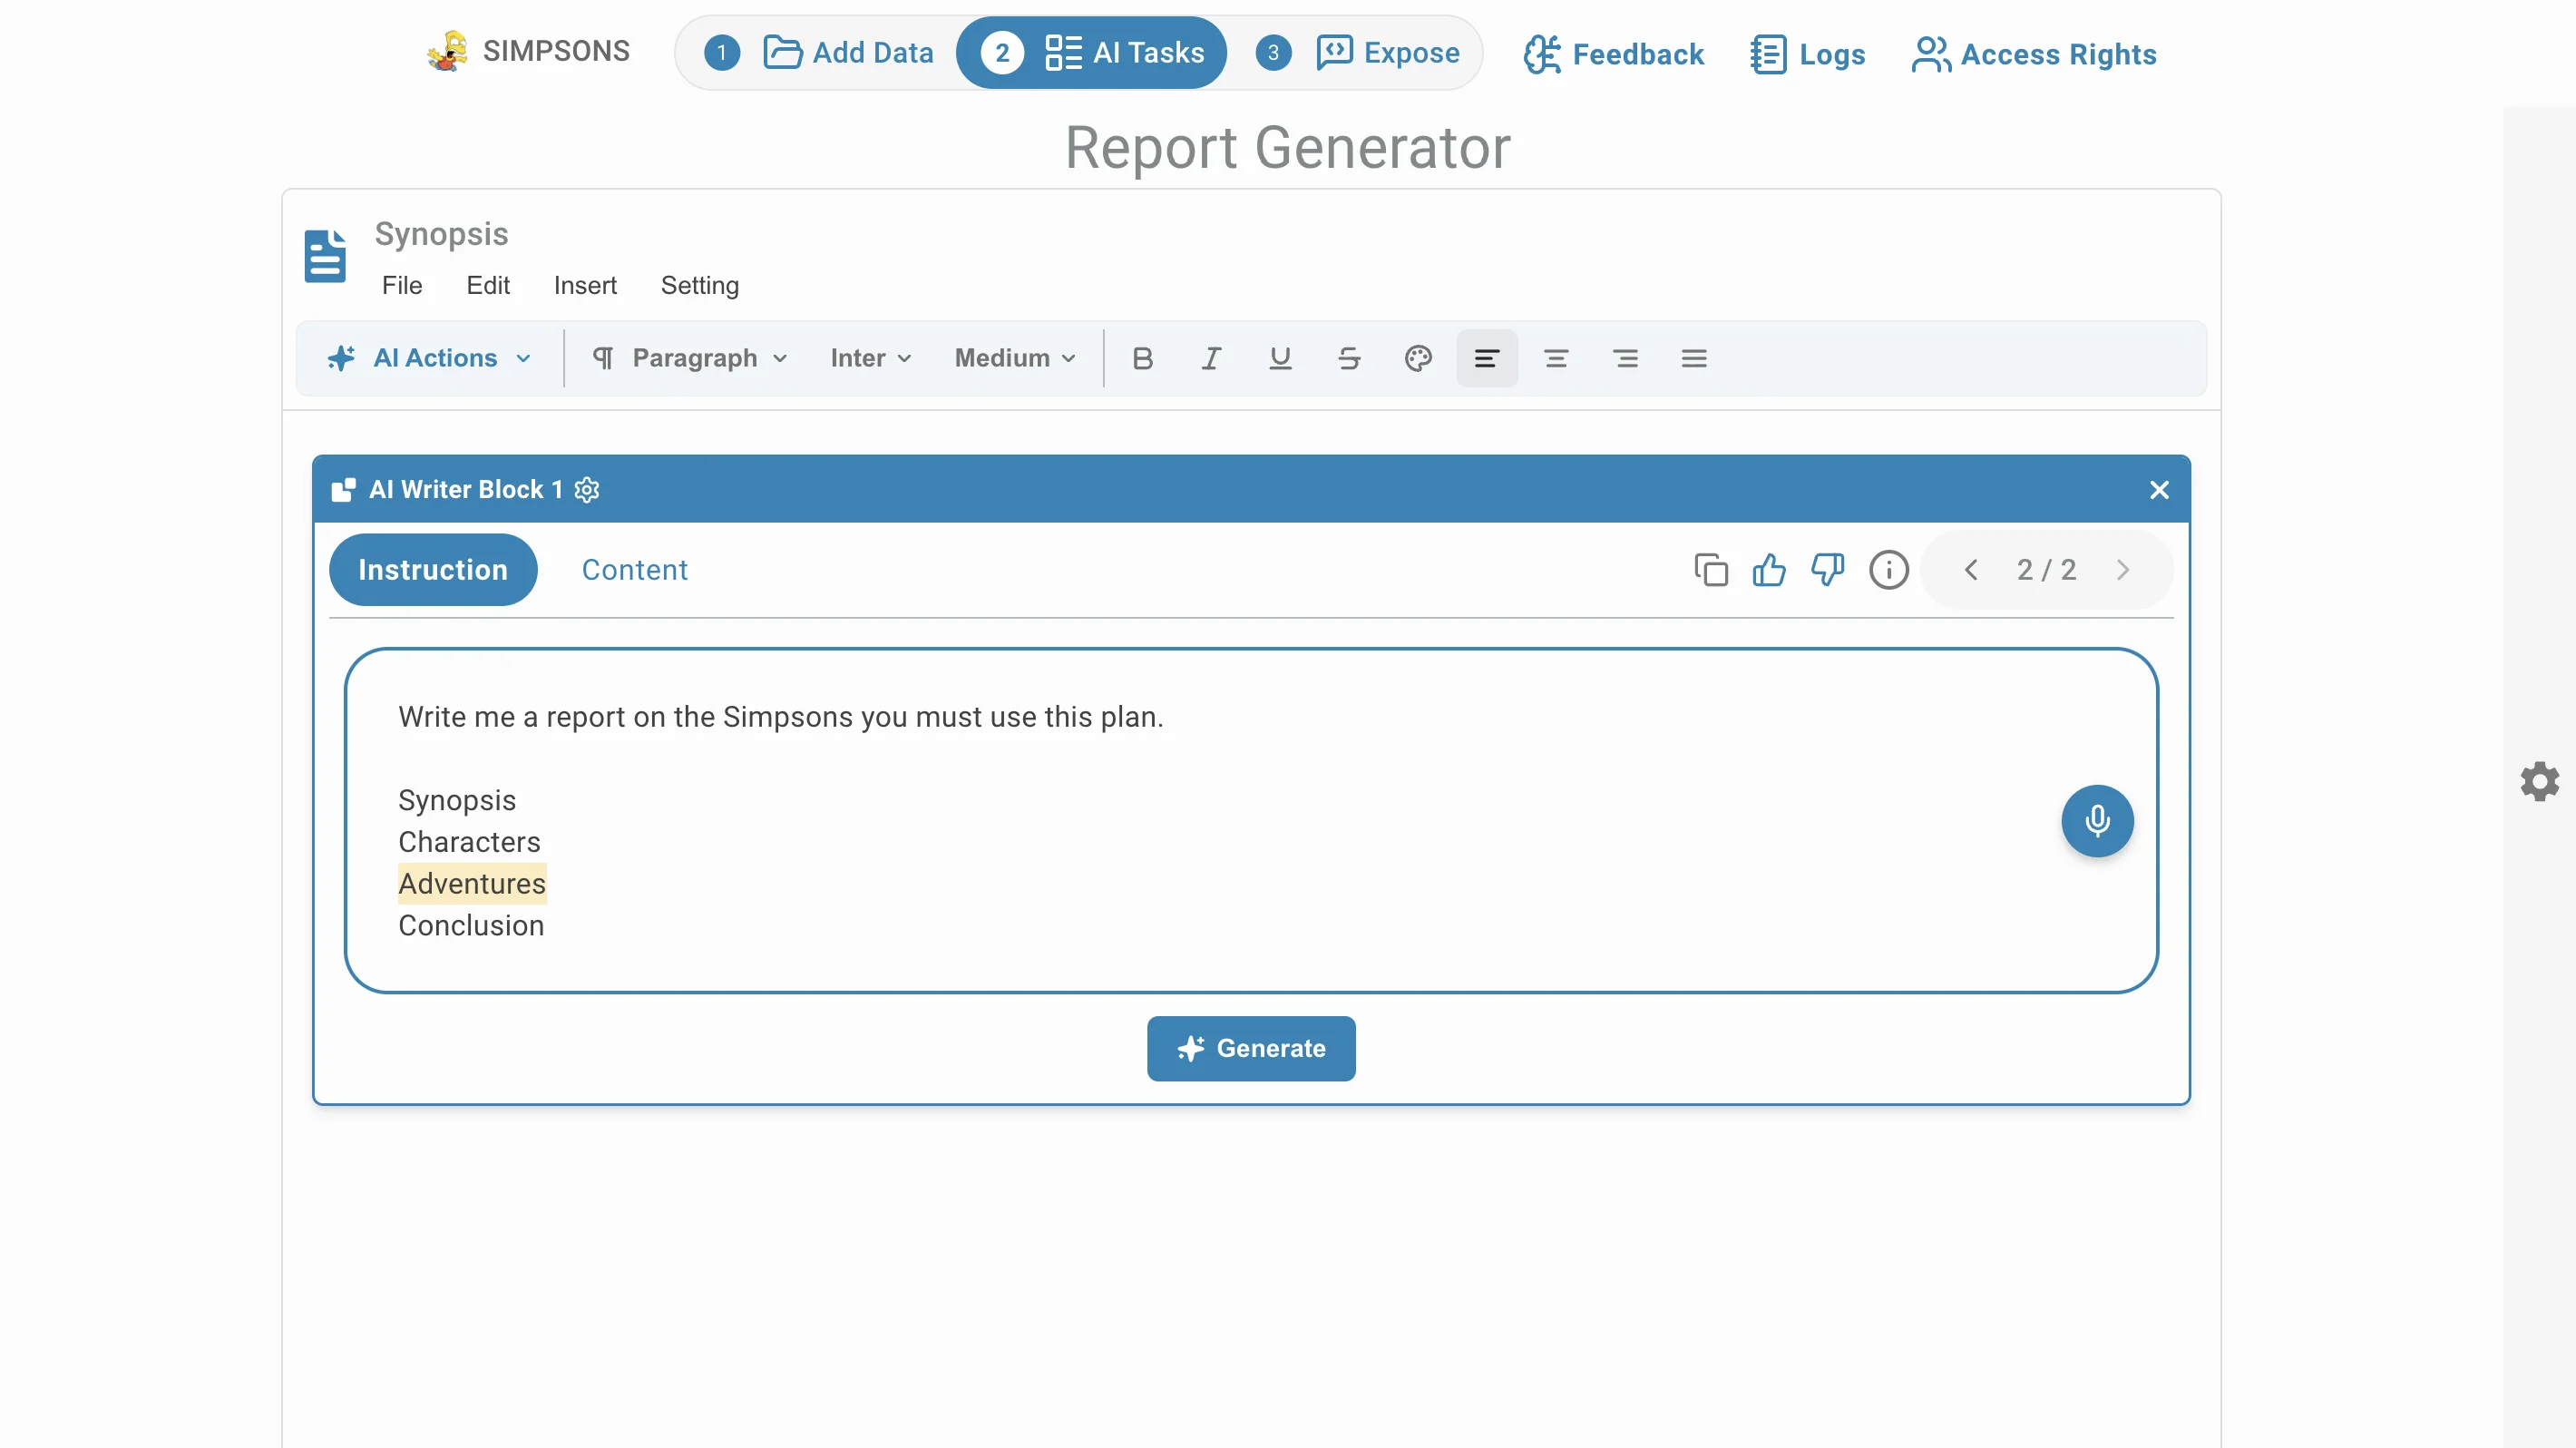
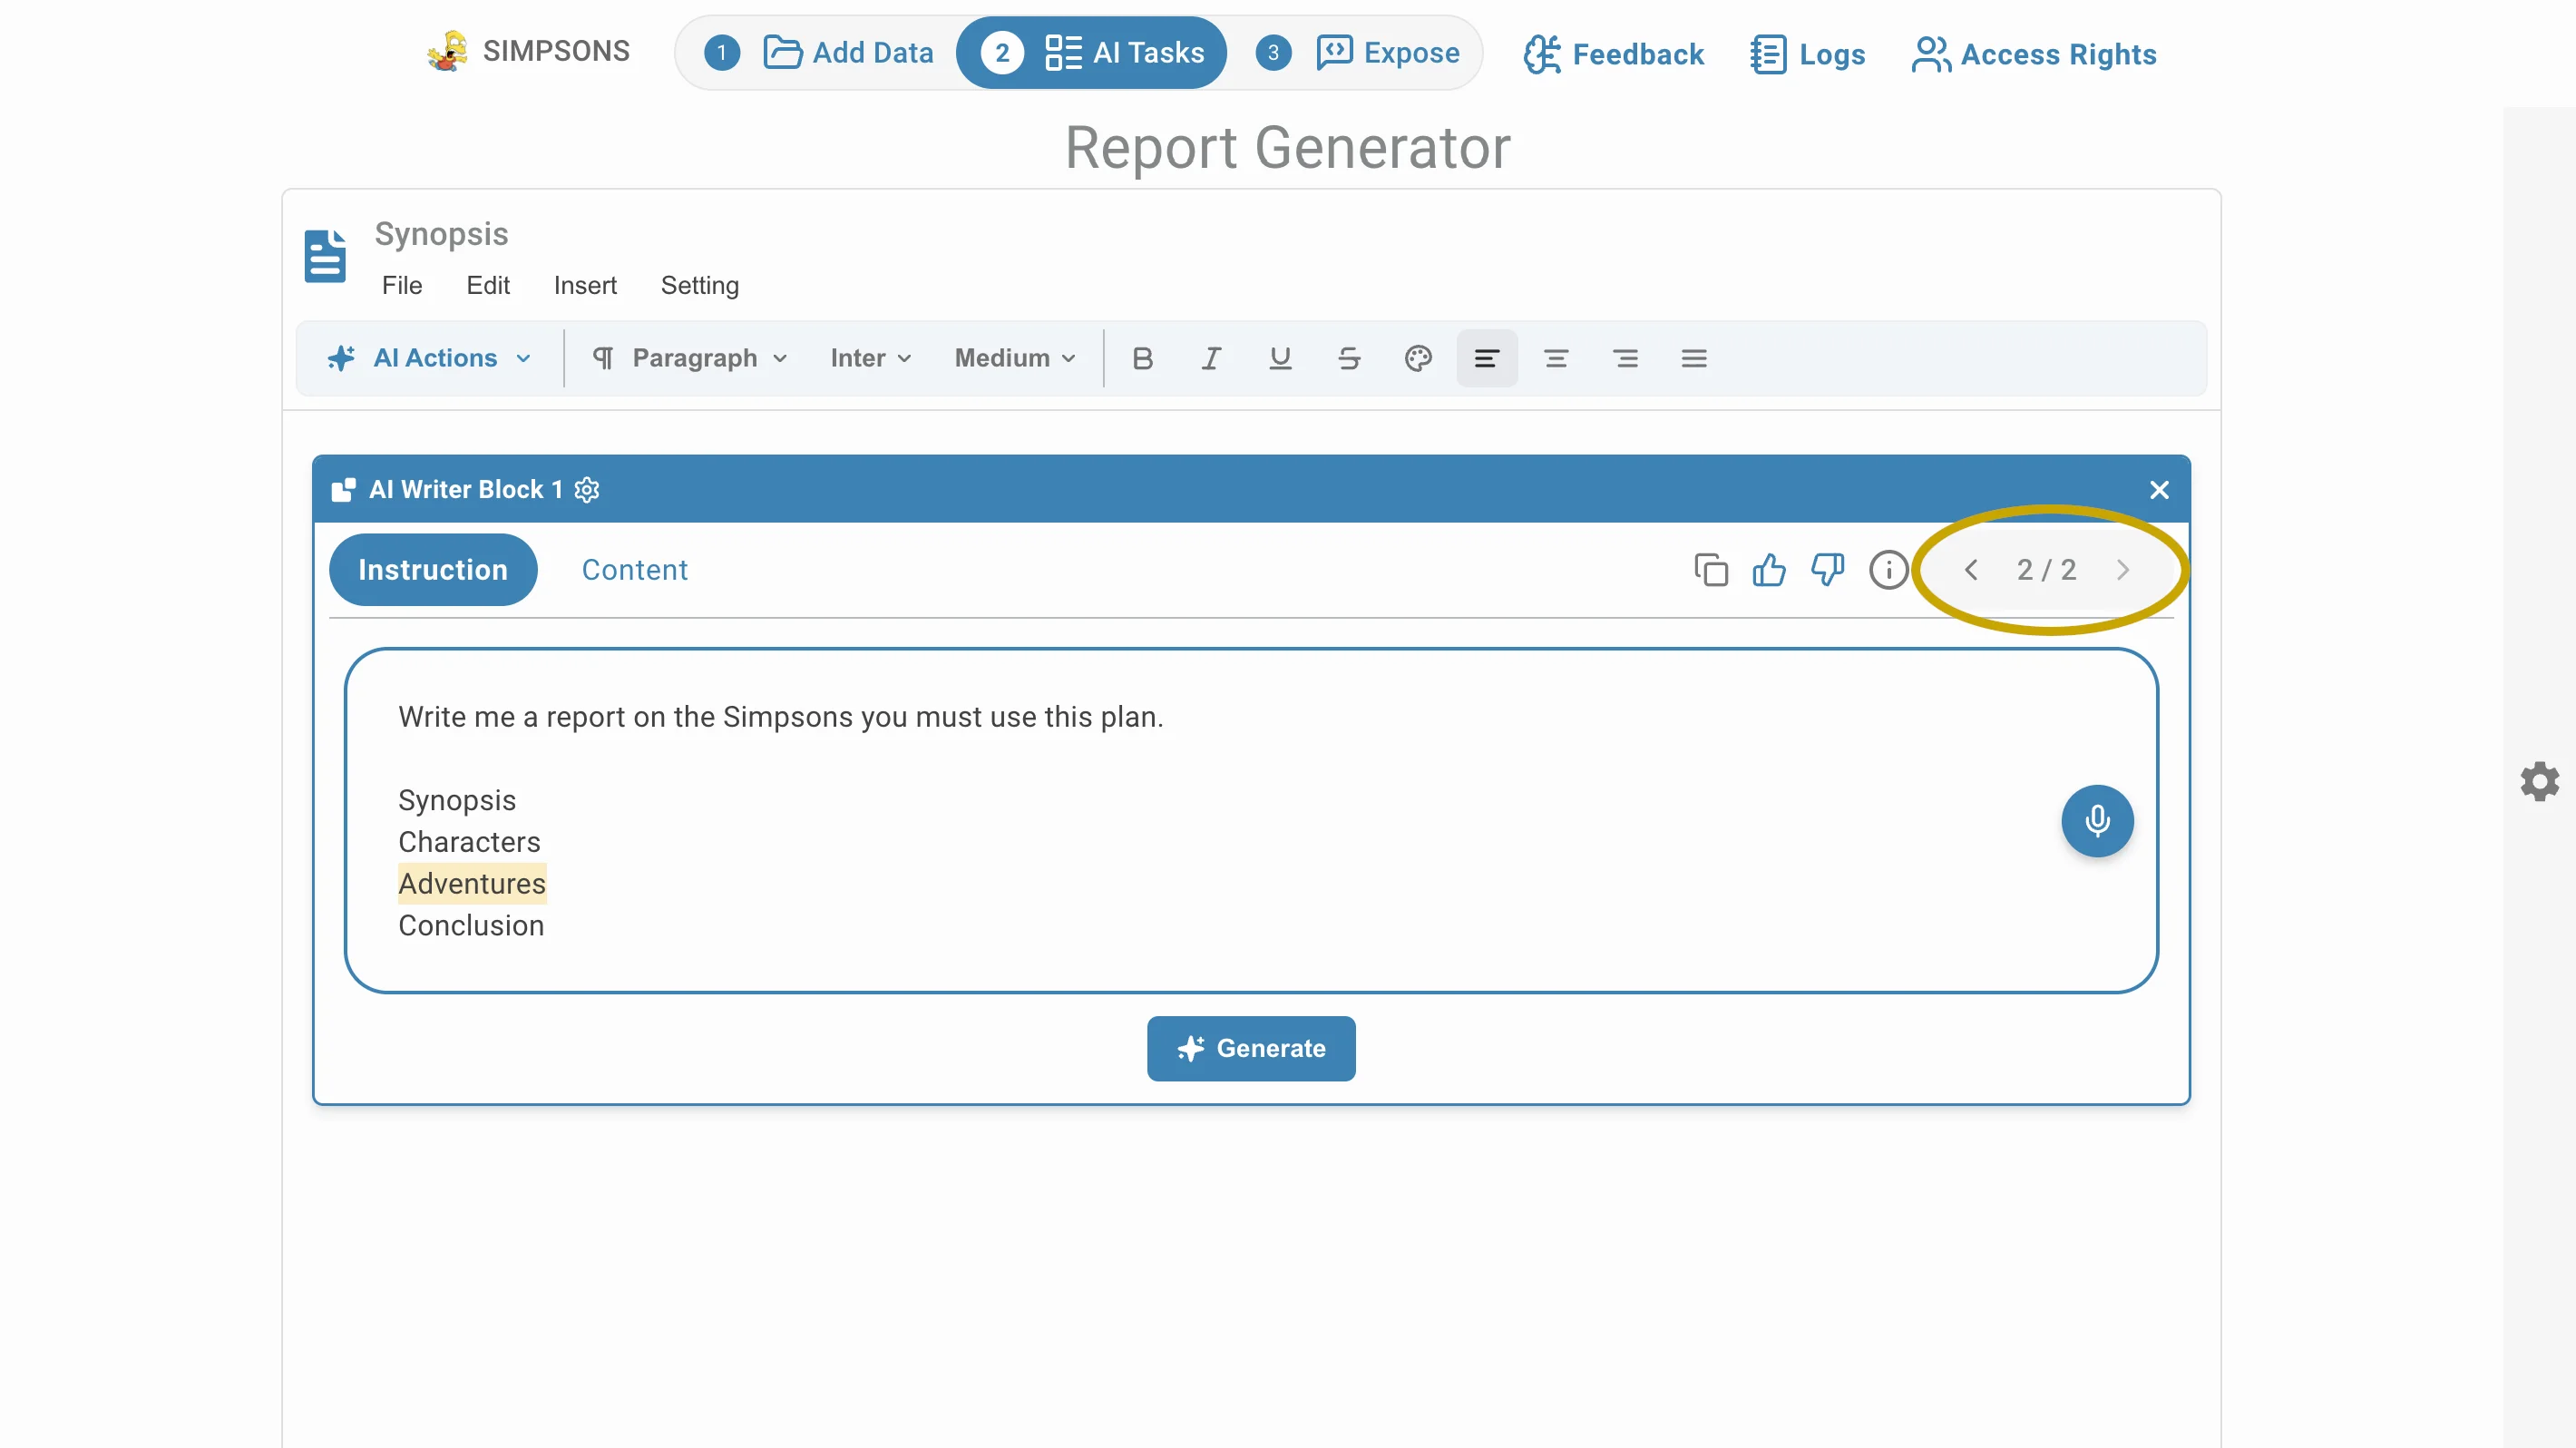
From the version switcher:
- Switch between versions to compare outputs.
- Provide thumbs up or thumbs down feedback.
- Add comments to explain your rating.
- Copy any version directly into your clipboard.
Key Benefits
| Feature | Benefit |
|---|---|
| Multiple Versions | Compare AI outputs side-by-side |
| Feedback System | Rate and comment on each version |
| Copy Content | Instantly insert the best version into your report |
| Version Switcher | Navigate between generations with ease |
AI Bloc Settings
Access the AI Block settings by clicking the settings icon in the AI Writer block toolbar. The right panel opens.
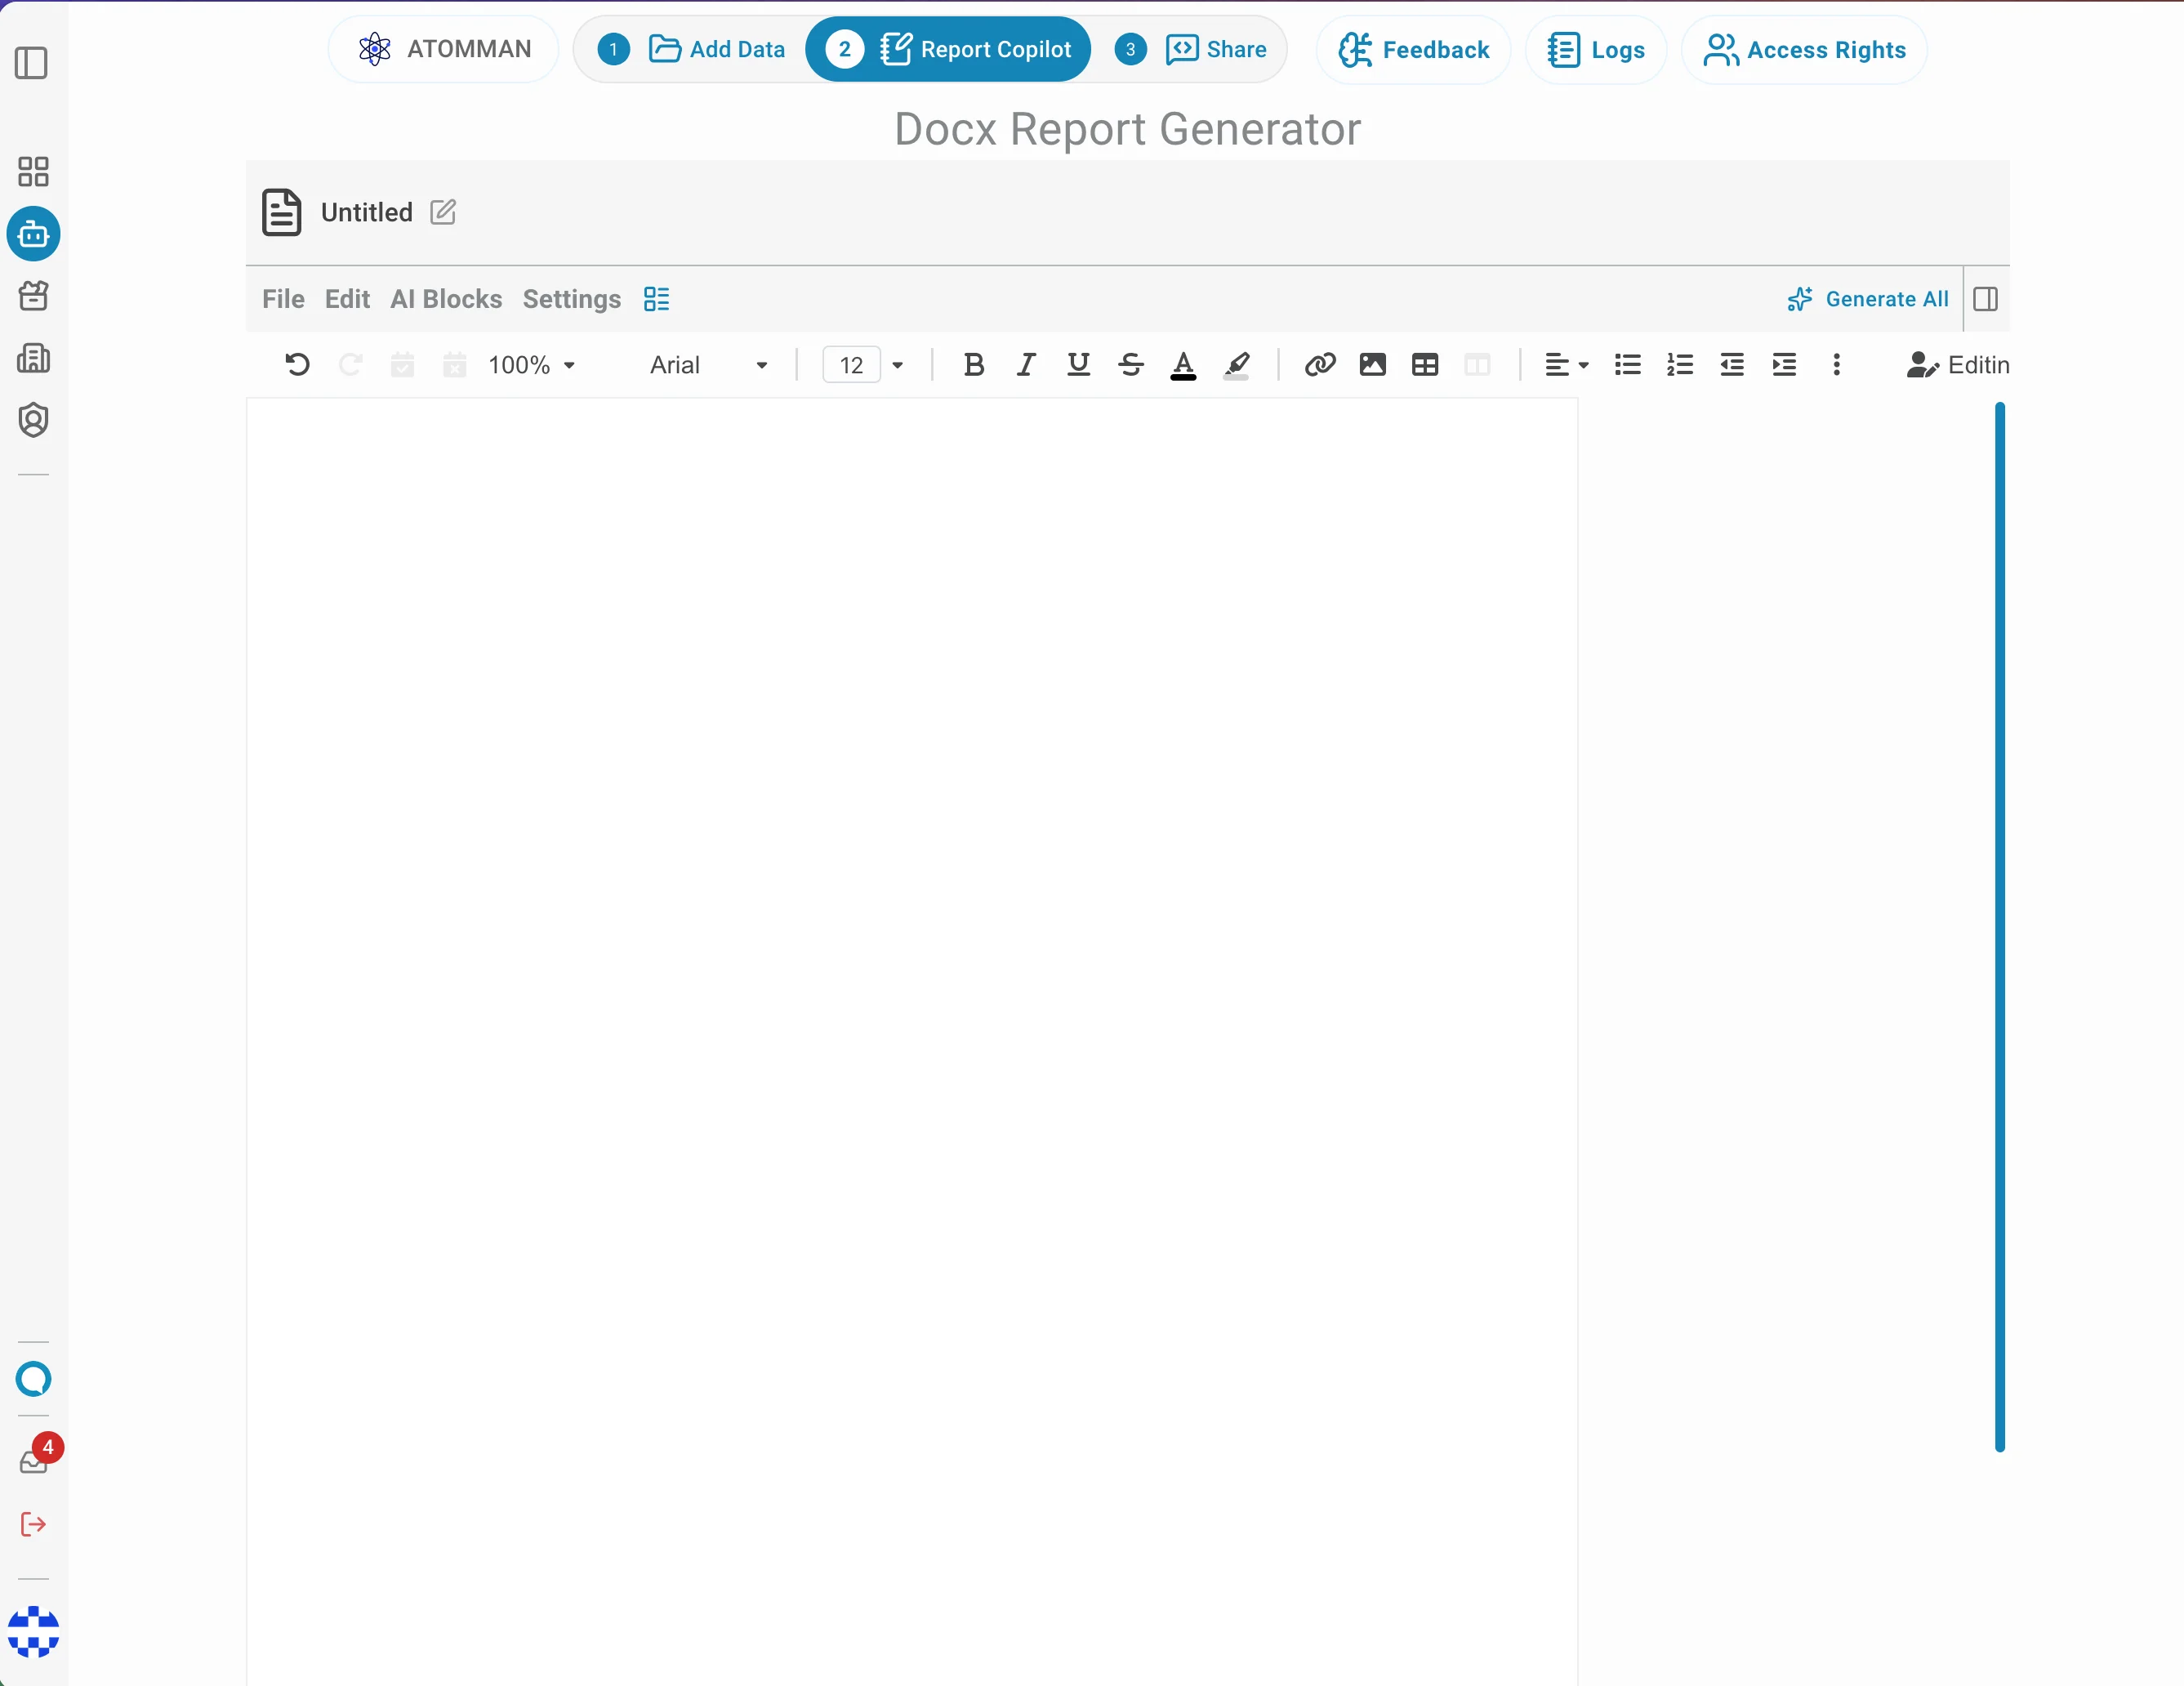
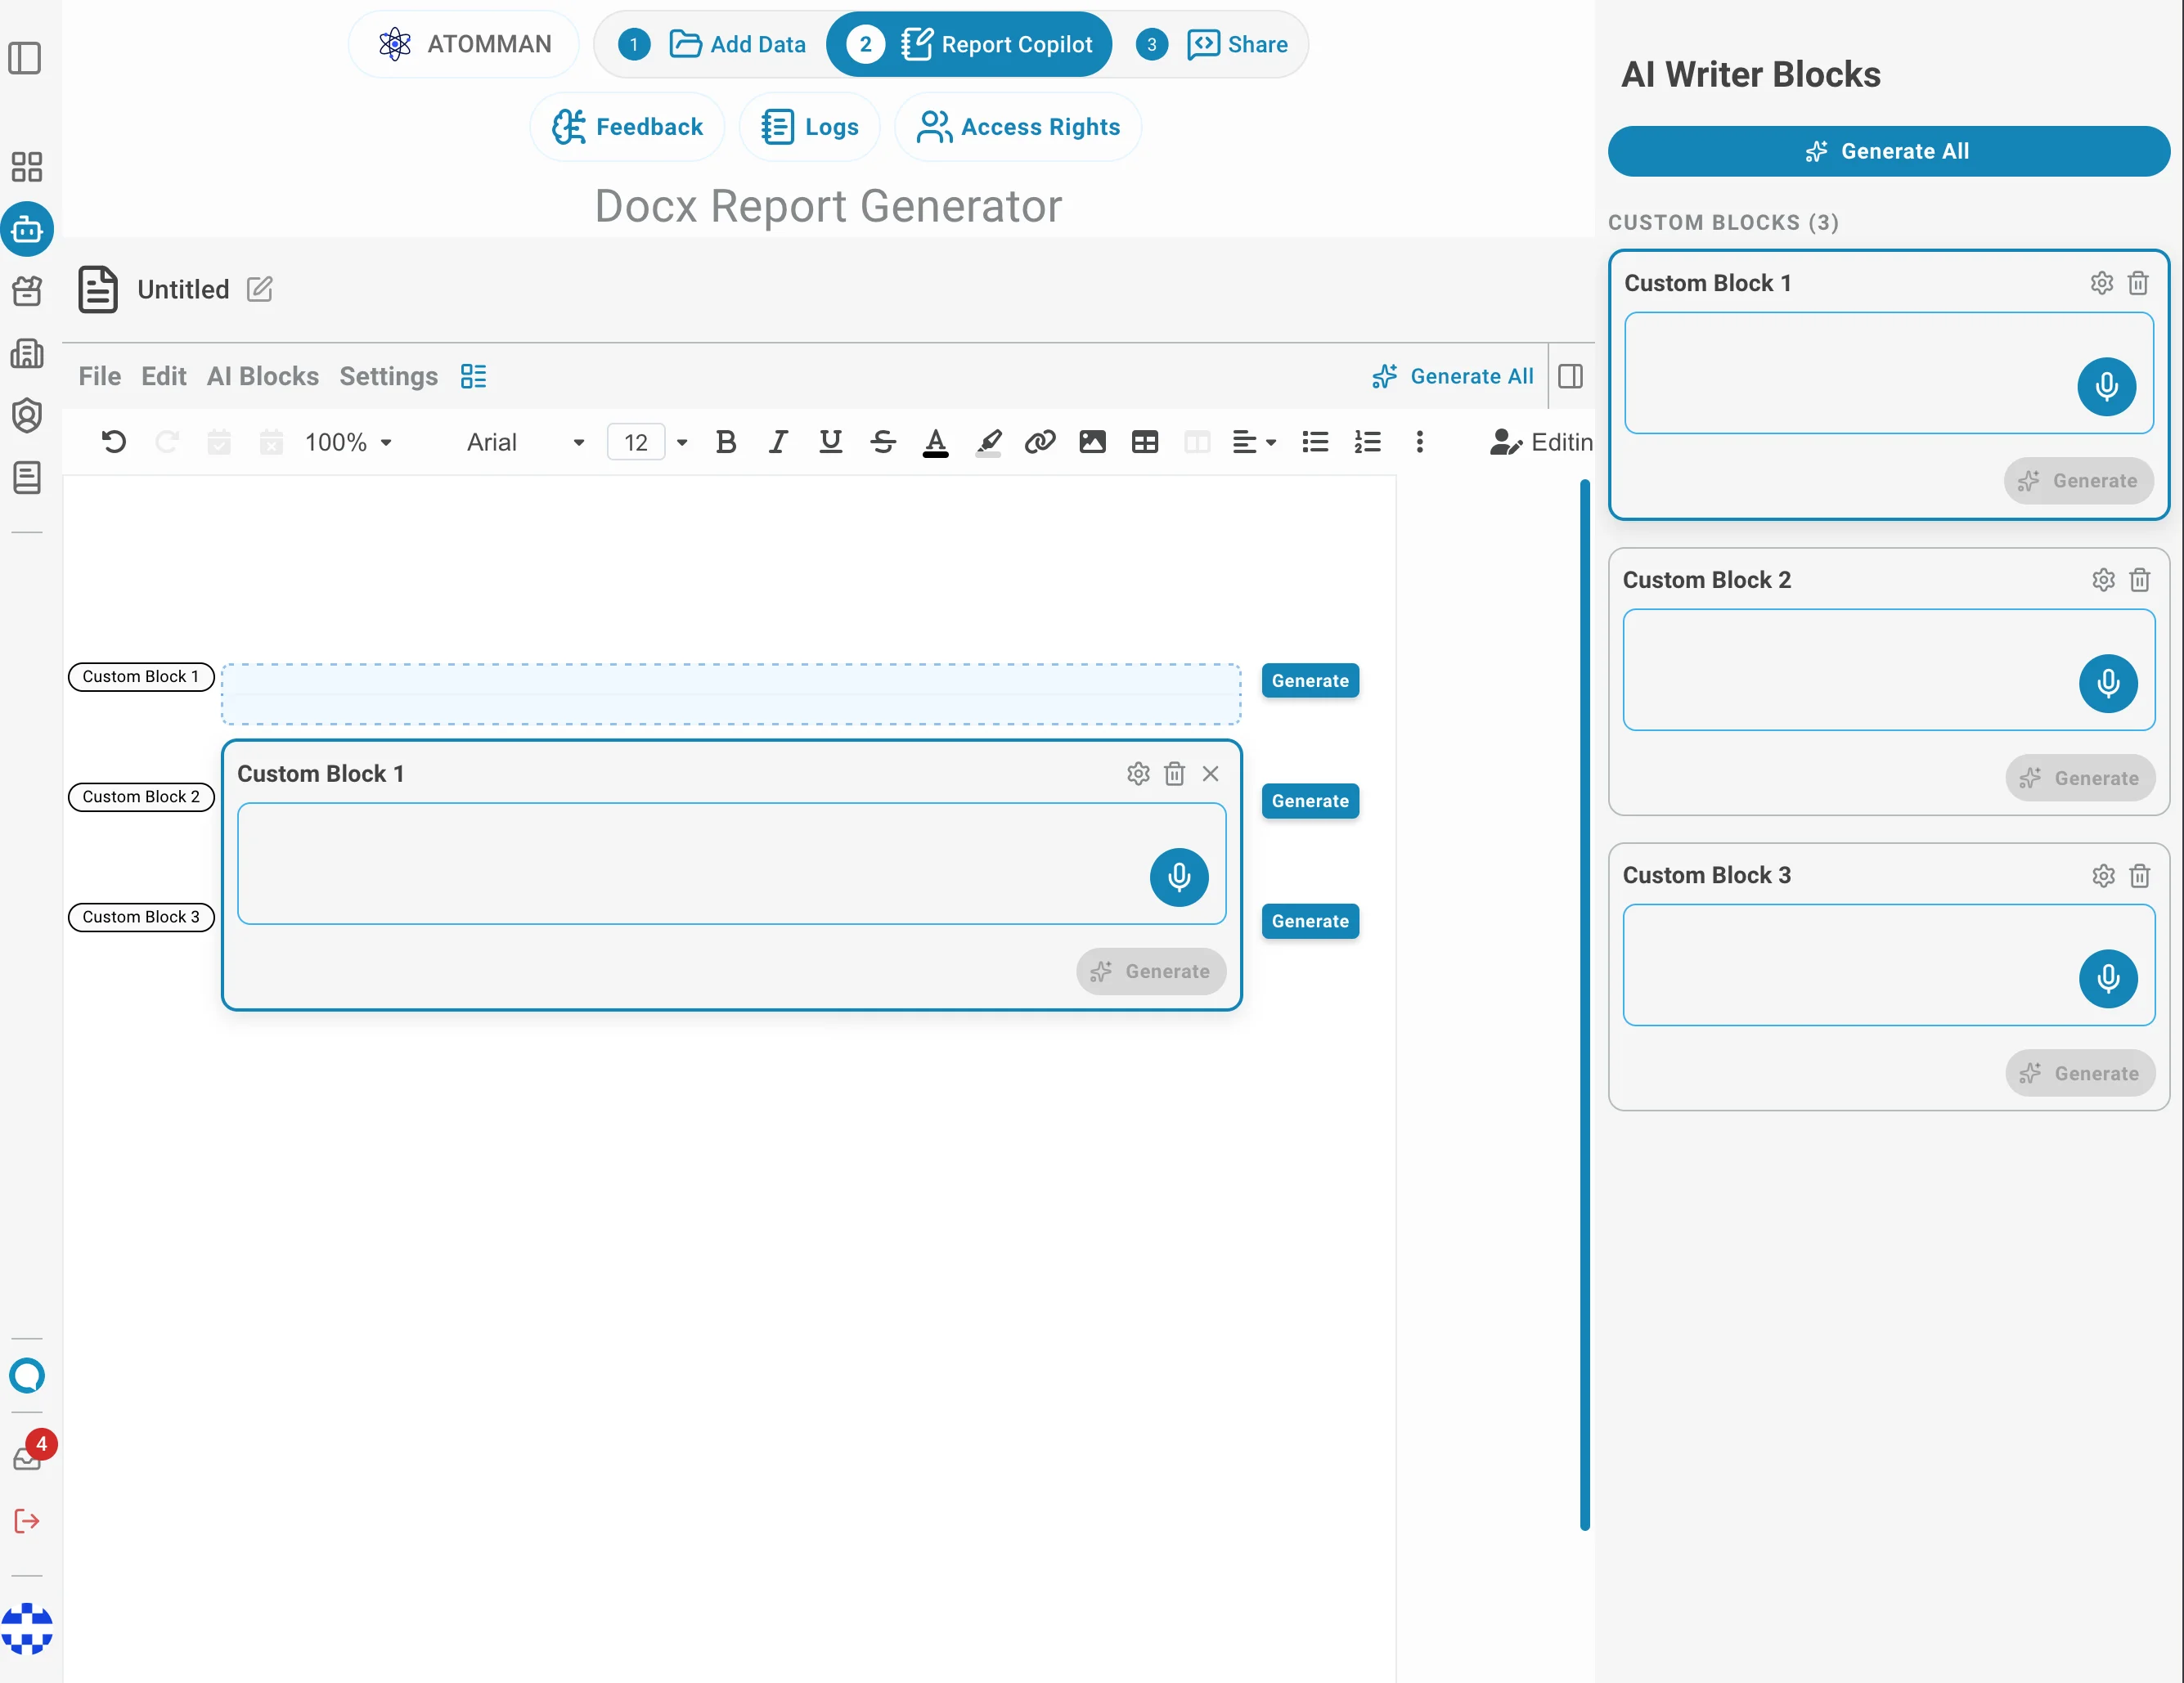
Docx Report Generator (Beta)
The Docx Report Generator uses a Word-compatible editor that produces .docx-native documents. It introduces two types of AI elements — Sections and Inline Fields — and a sidebar panel that lists all AI blocks in the document.
Sections and Inline Fields
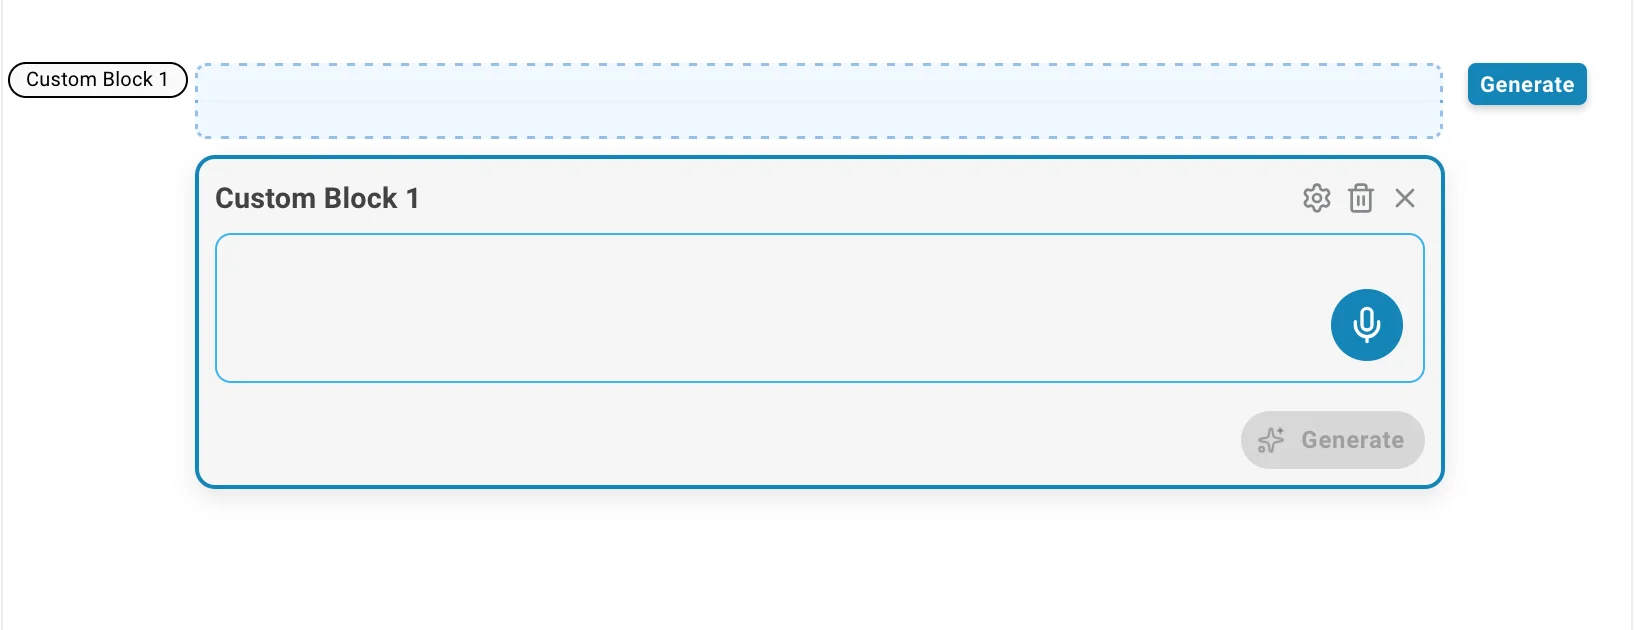
Sections are large AI-generated blocks — paragraphs, tables, multi-paragraph content. Insert one via Insert → Add Custom Block, or right-click anywhere in the document and choose Add Custom Block.
Inline Fields are short AI-generated values that sit inline within a sentence — a name, a date, a number, a one-line answer. Place your cursor inside a sentence and go to Insert → Insert Inline Field. The field appears as a chip in the text.
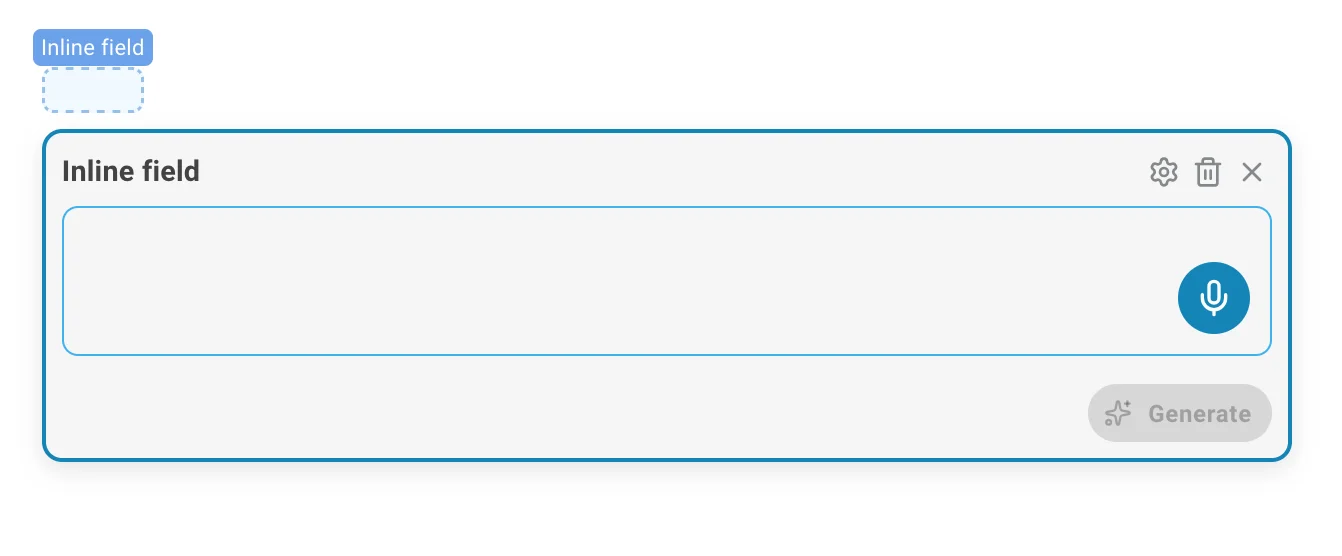
Both types appear as cards in the sidebar with their own prompt input and generate button.
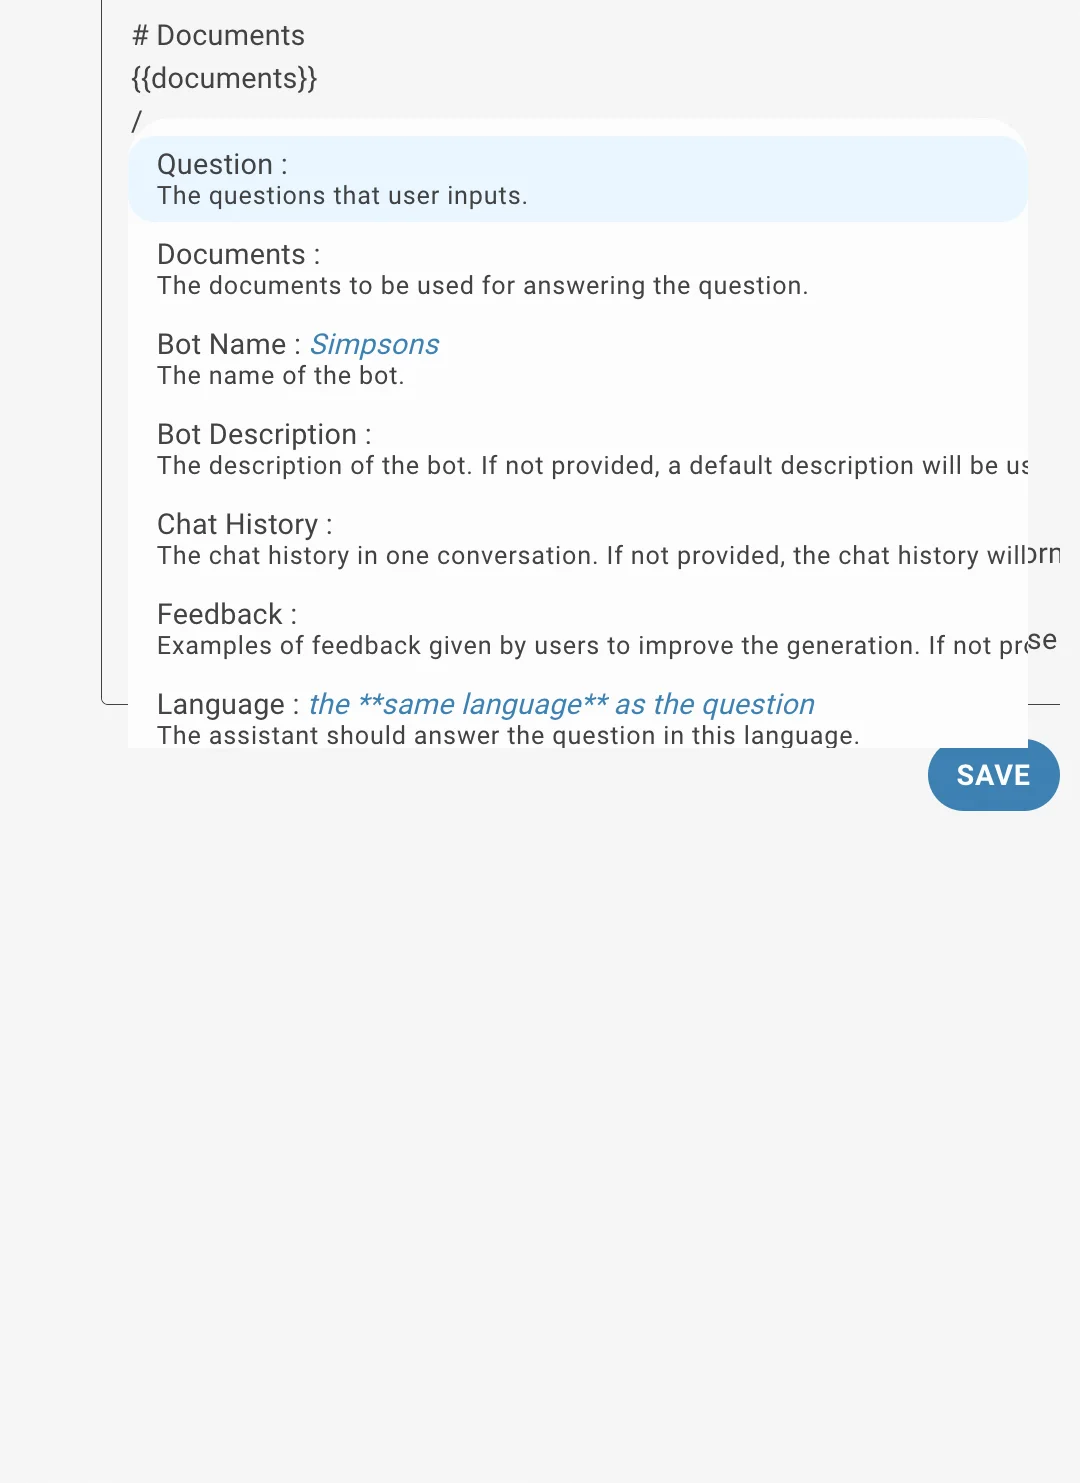
Writing Prompts
Type the prompt for each block directly in its sidebar card. You can reference the output of other sections in your prompt using the {{...}} autocomplete syntax, which lets you chain sections — for example, using a summary section's output as context for a conclusions section.
Generating Content
- Single block: Click the Generate button (sparkle icon) in the block's sidebar card, or click the generate button in the overlay that appears when you hover over the block in the document.
- All blocks at once: Click Generate All in the menu bar. A counter shows progress (e.g., Generating 2/5).
- Stop at any time: Click Stop in the menu bar while generation is running.
Like the default editor, generation runs in the background if you leave the page.
Per-Block Settings
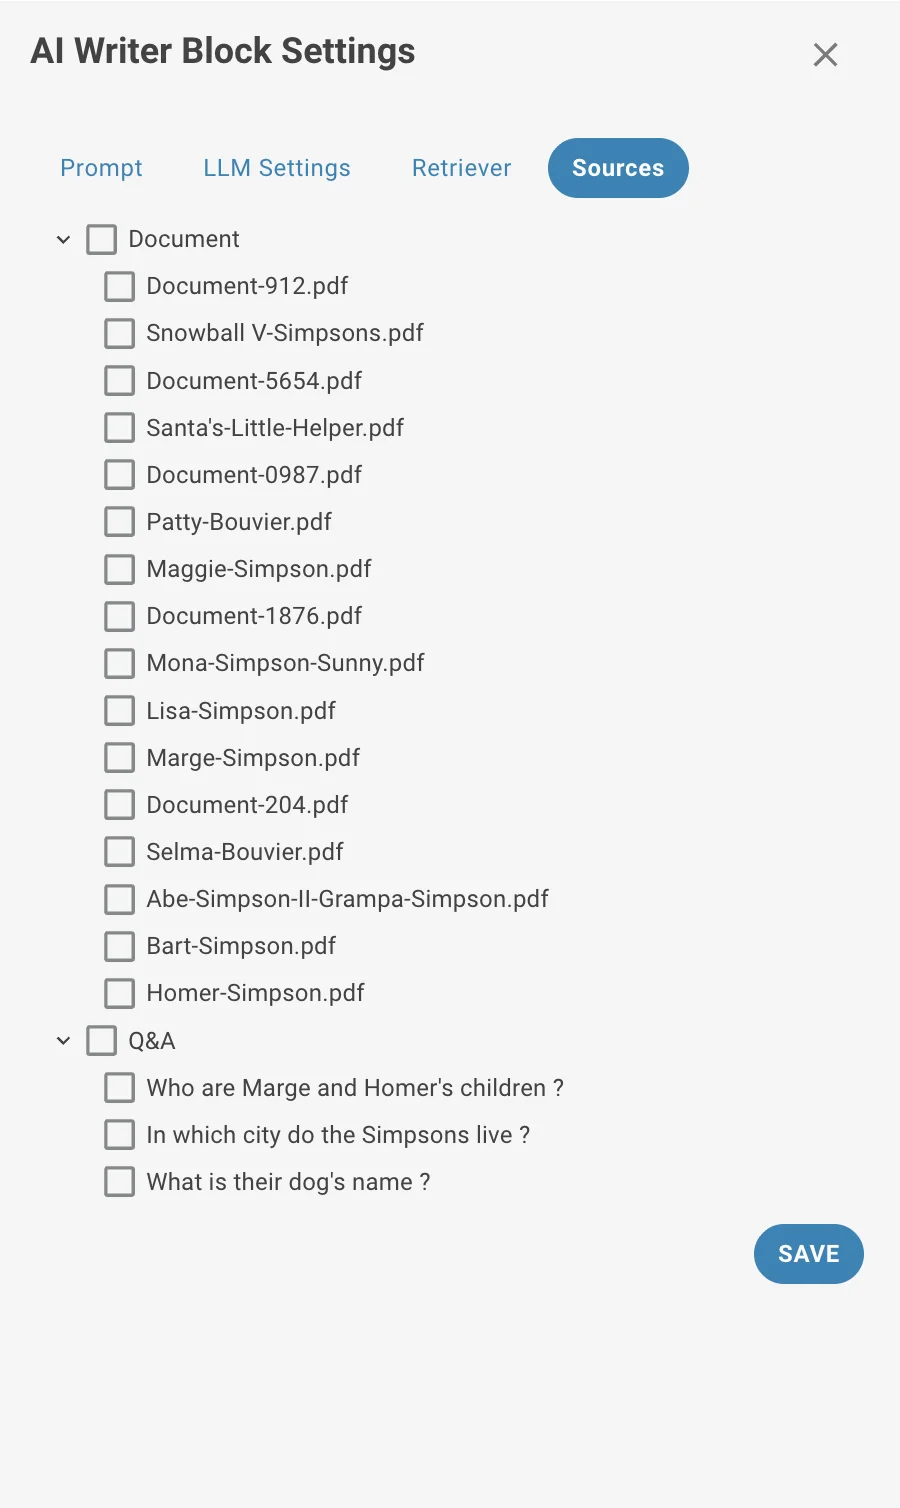
Click theicon on any sidebar card to open the same four-tab settings drawer as in the default editor (Prompt, LLM, Retriever, Sources). Settings are per-block and override the global Task Settings.
The Settings → General Settings menu item opens the task-level configuration, which also has an Apply settings to all slots button — same as in the default editor.
Version Control & Feedback
Identical to the default editor — every regeneration creates a new version. Use the version navigator arrows in the sidebar card to step through previous outputs. Versions update the document canvas in real time.
Refining Text
Select any text in the document canvas — a floating overlay appears — enter a refinement instruction (e.g., "Make this more concise" or "Rewrite in a formal tone") — confirm. The selected text is replaced with the refined version.

Image Upload
Images can be inserted directly into report templates in the Docx editor. Paste or drag and drop an image anywhere on the document canvas — it is uploaded to the backend and stored as part of the template. When you export the document as .docx, images are embedded in the file.
Images are stored per-template, so they persist across sessions and are available when collaborators open the same template.
Import / Export
| Action | How |
|---|---|
| Import .docx | File → Import Document |
| Import .json | File → Import JSON |
| Import .html | File → Import HTML |
| Export .docx | File → Export Document |
| Export .json | File → Export JSON |
| Save template | File → Save |
Template Name
The document title shown at the top of the menu bar is editable — click it to rename the template inline.
Section Overlays
Generate buttons and in-document AI writer block controls float over each section in the document canvas. If you find them distracting, toggle them off via Settings → Show Generate Buttons Overlay or the list icon in the menu bar.
Template Management (Both Editors)
Templates are saved and can be loaded across sessions. Both editors share the same template library.
- Save — Opens a dialog to set a name, tags, and description for the template.
- Load — Opens a searchable list of all saved templates; select one to open it.
- Duplicate — Creates an independent copy of the current template.
- Share — Generates a public share link that opens the template in read-only mode.
Migrating from Default to Docx Editor
If you open a template originally created in the default Report Generator inside the Docx editor, it is automatically converted to the Word-compatible format. The original is preserved — the migration only affects how it displays in the new editor.
Report Generator as an AI Assistant Task
The Report Generator can be configured as the task for an AI assistant, not just used as a standalone tool. This enables two additional features.
Playground for Report Generator
When you open a Report Generator assistant from the assistant list, it launches the editor in a conversation-linked mode. A conversation is created in the background — associated with the template you are working on. This means the session is tracked like any other assistant conversation: it appears in the conversation history with the report generator icon, and is linked to the template that was active during that session.
This lets you use the Report Generator as a shared, persistent tool within an assistant context, rather than as a one-off editing session.