
Multi select
Multi select is a task type that gives one assistant every other task type at once. Instead of picking Chat or Search or Report Generator, the assistant carries all of them on the same data sources, and whoever opens it chooses which task to run.
Select the Multi select task type
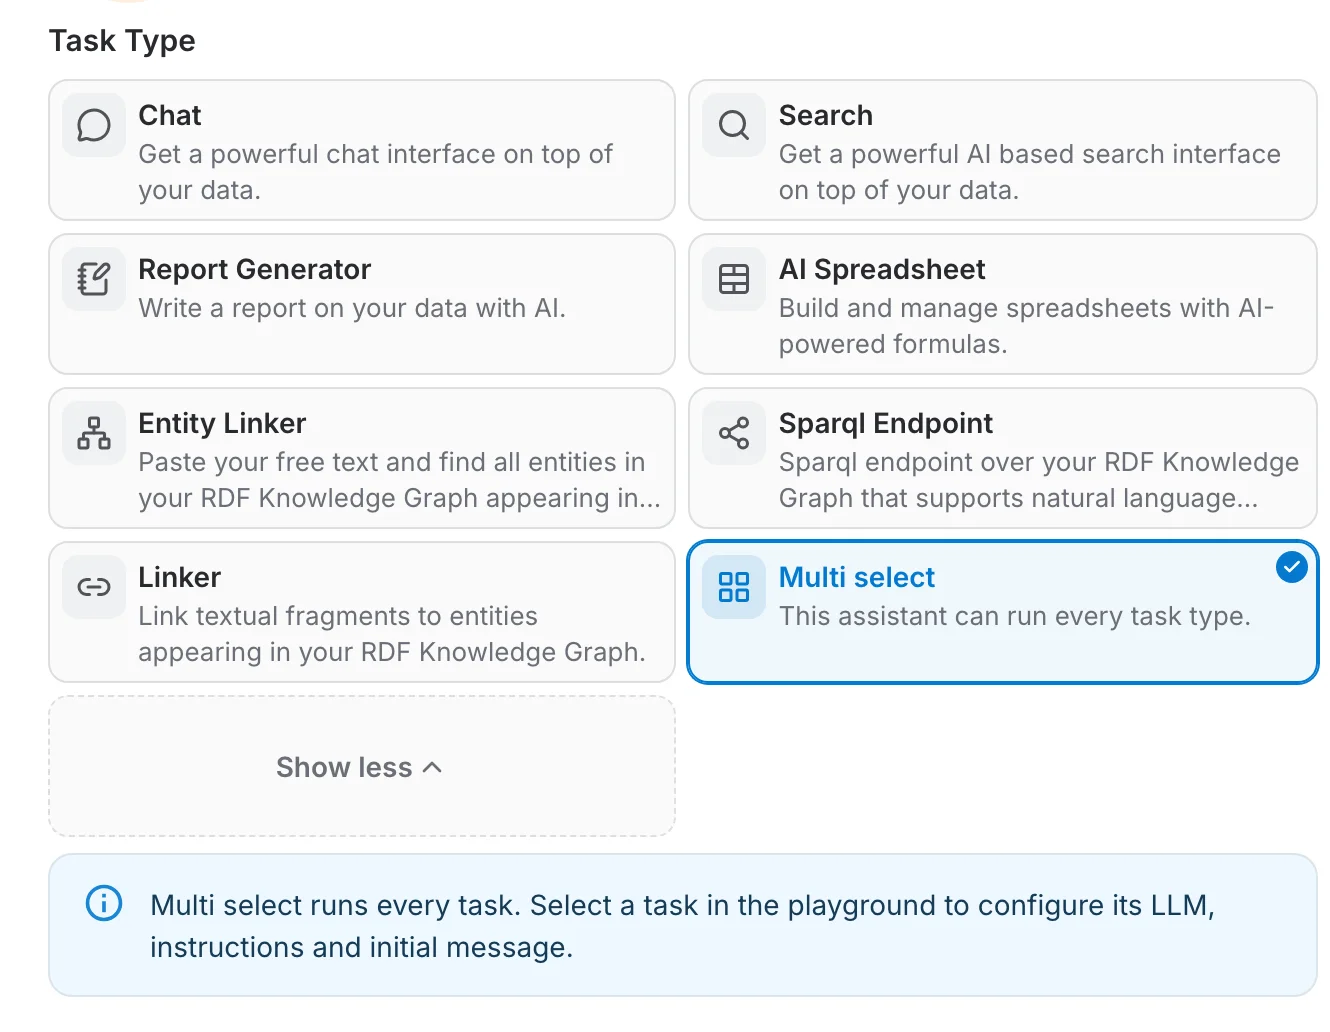
Multi select is an advanced choice, so it is not among the tiles shown by default:
- Open AI Assistants in the left navigation bar and open the assistant's editor.
- Stay on the General tab and look at the Task Type tiles.
- Click the Advanced tile to unfold the remaining task types.
- Click the Multi select tile. It is highlighted and carries a check badge, and an information banner appears under the grid.

Configure each task
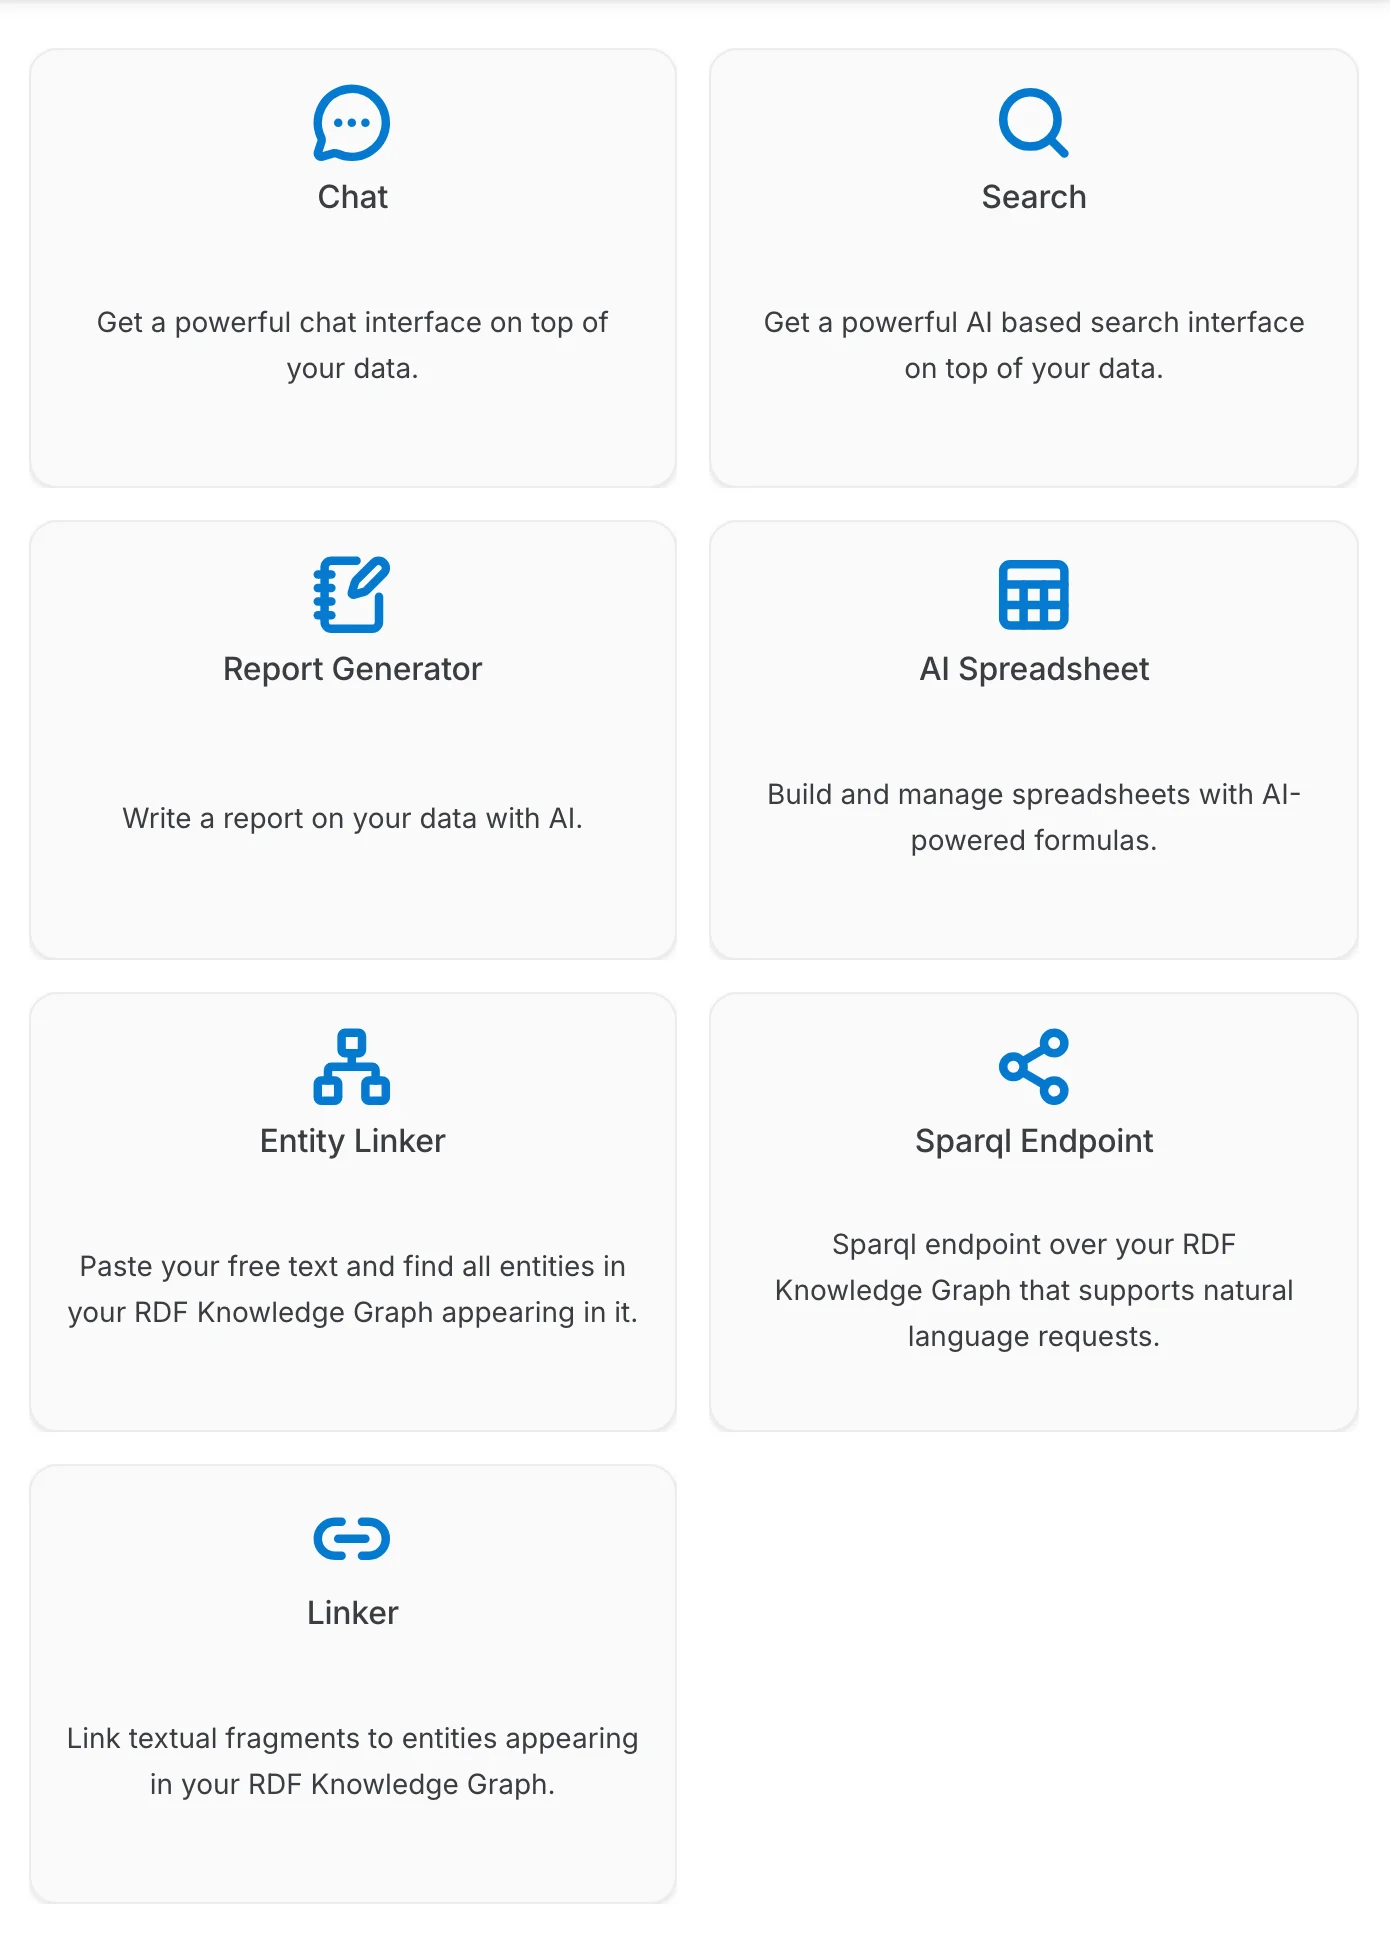
A multi select assistant has no single task to preview, so the playground on the right of the editor shows the same task overview your users will see. Click a card to open that task in the panel:
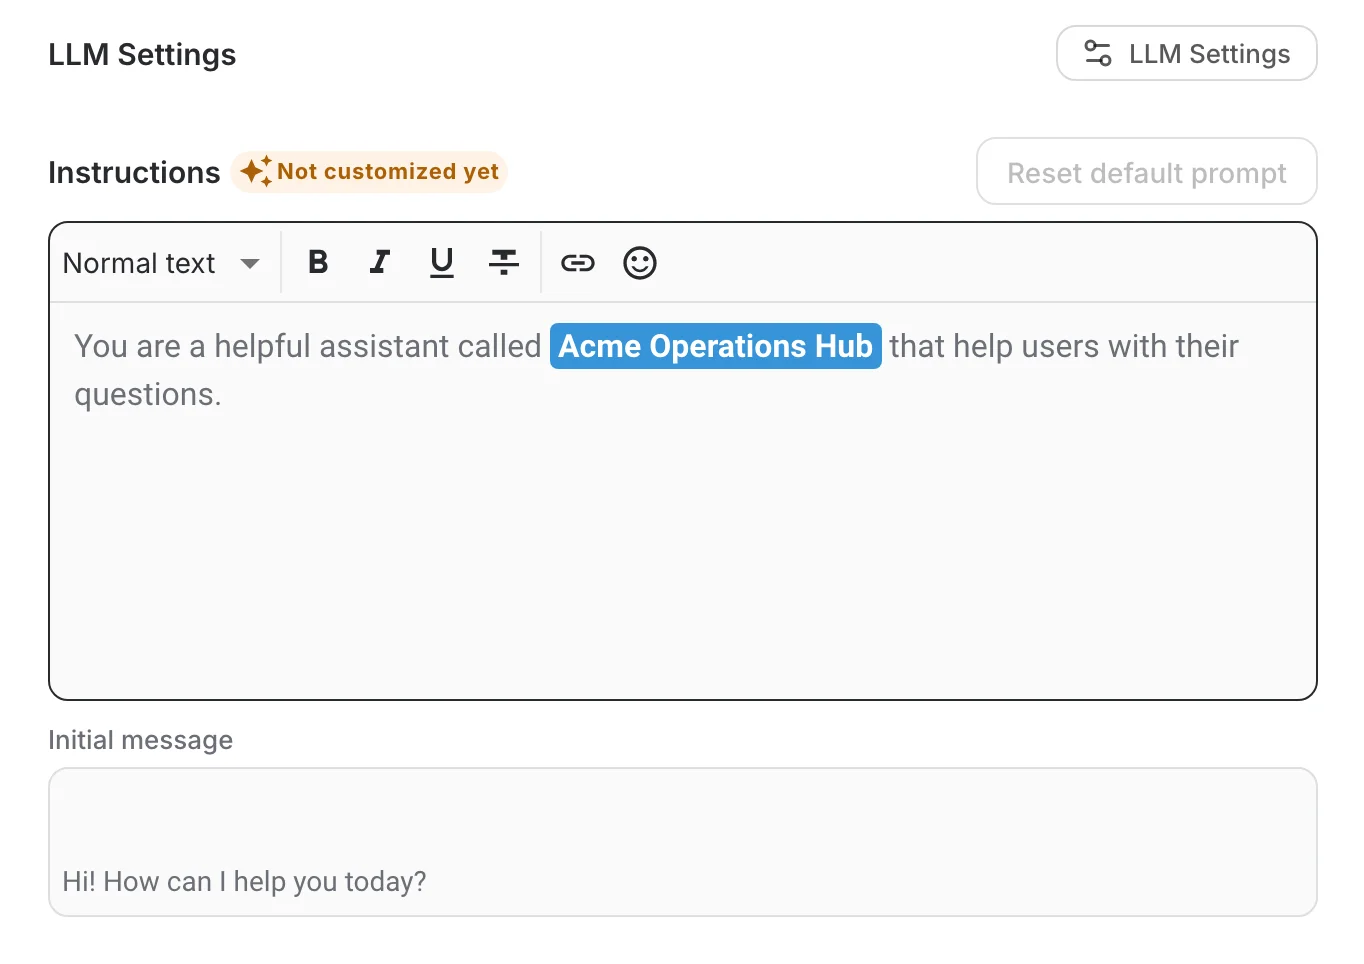
Picking a task changes the editor around it: the tab bar gains the tabs that task supports, and the General tab now edits that task's own LLM Settings, instructions and initial message.

- Shared by every task — the assistant's name, description, avatar, data sources and their parsing options, sharing and access rights.
- Set per task — the LLM settings, the instructions, the initial message, the tools and everything on the Advanced tab. Configuring Chat leaves Search untouched.
Use the assistant
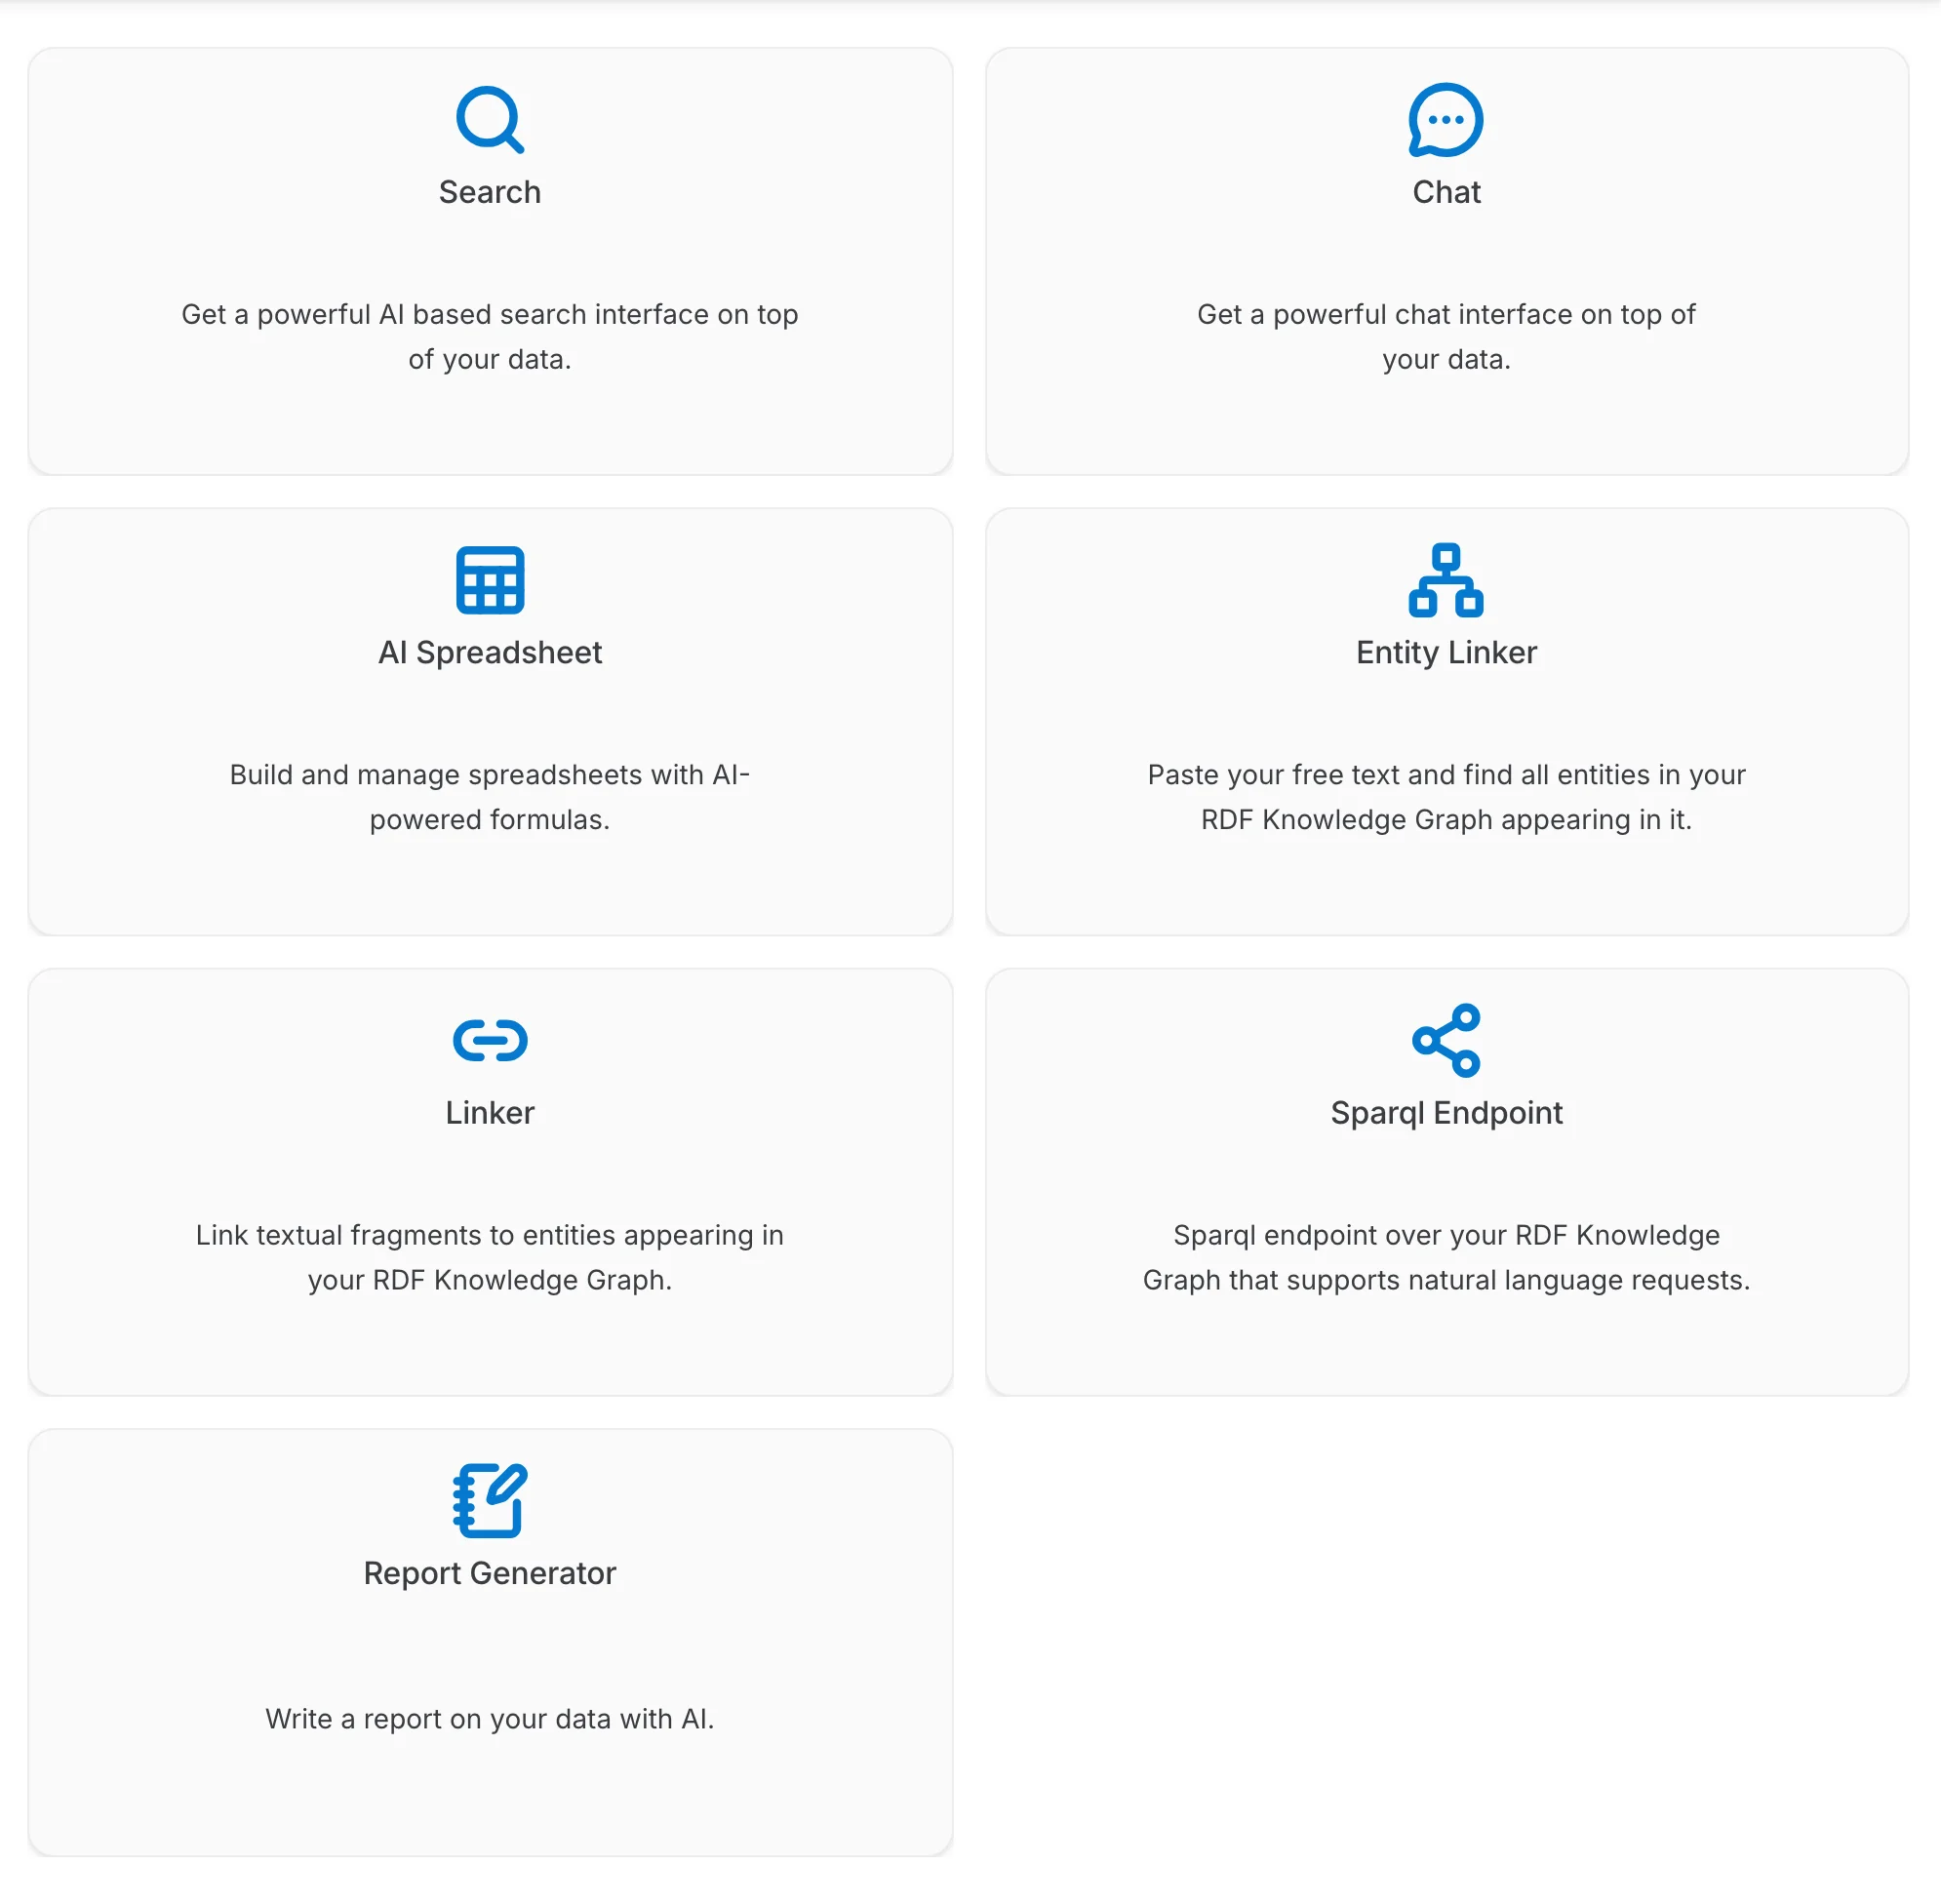
Click Use to leave the editor. The assistant's page opens on the task overview instead of a single task, and every task is one click away:
Expose every channel
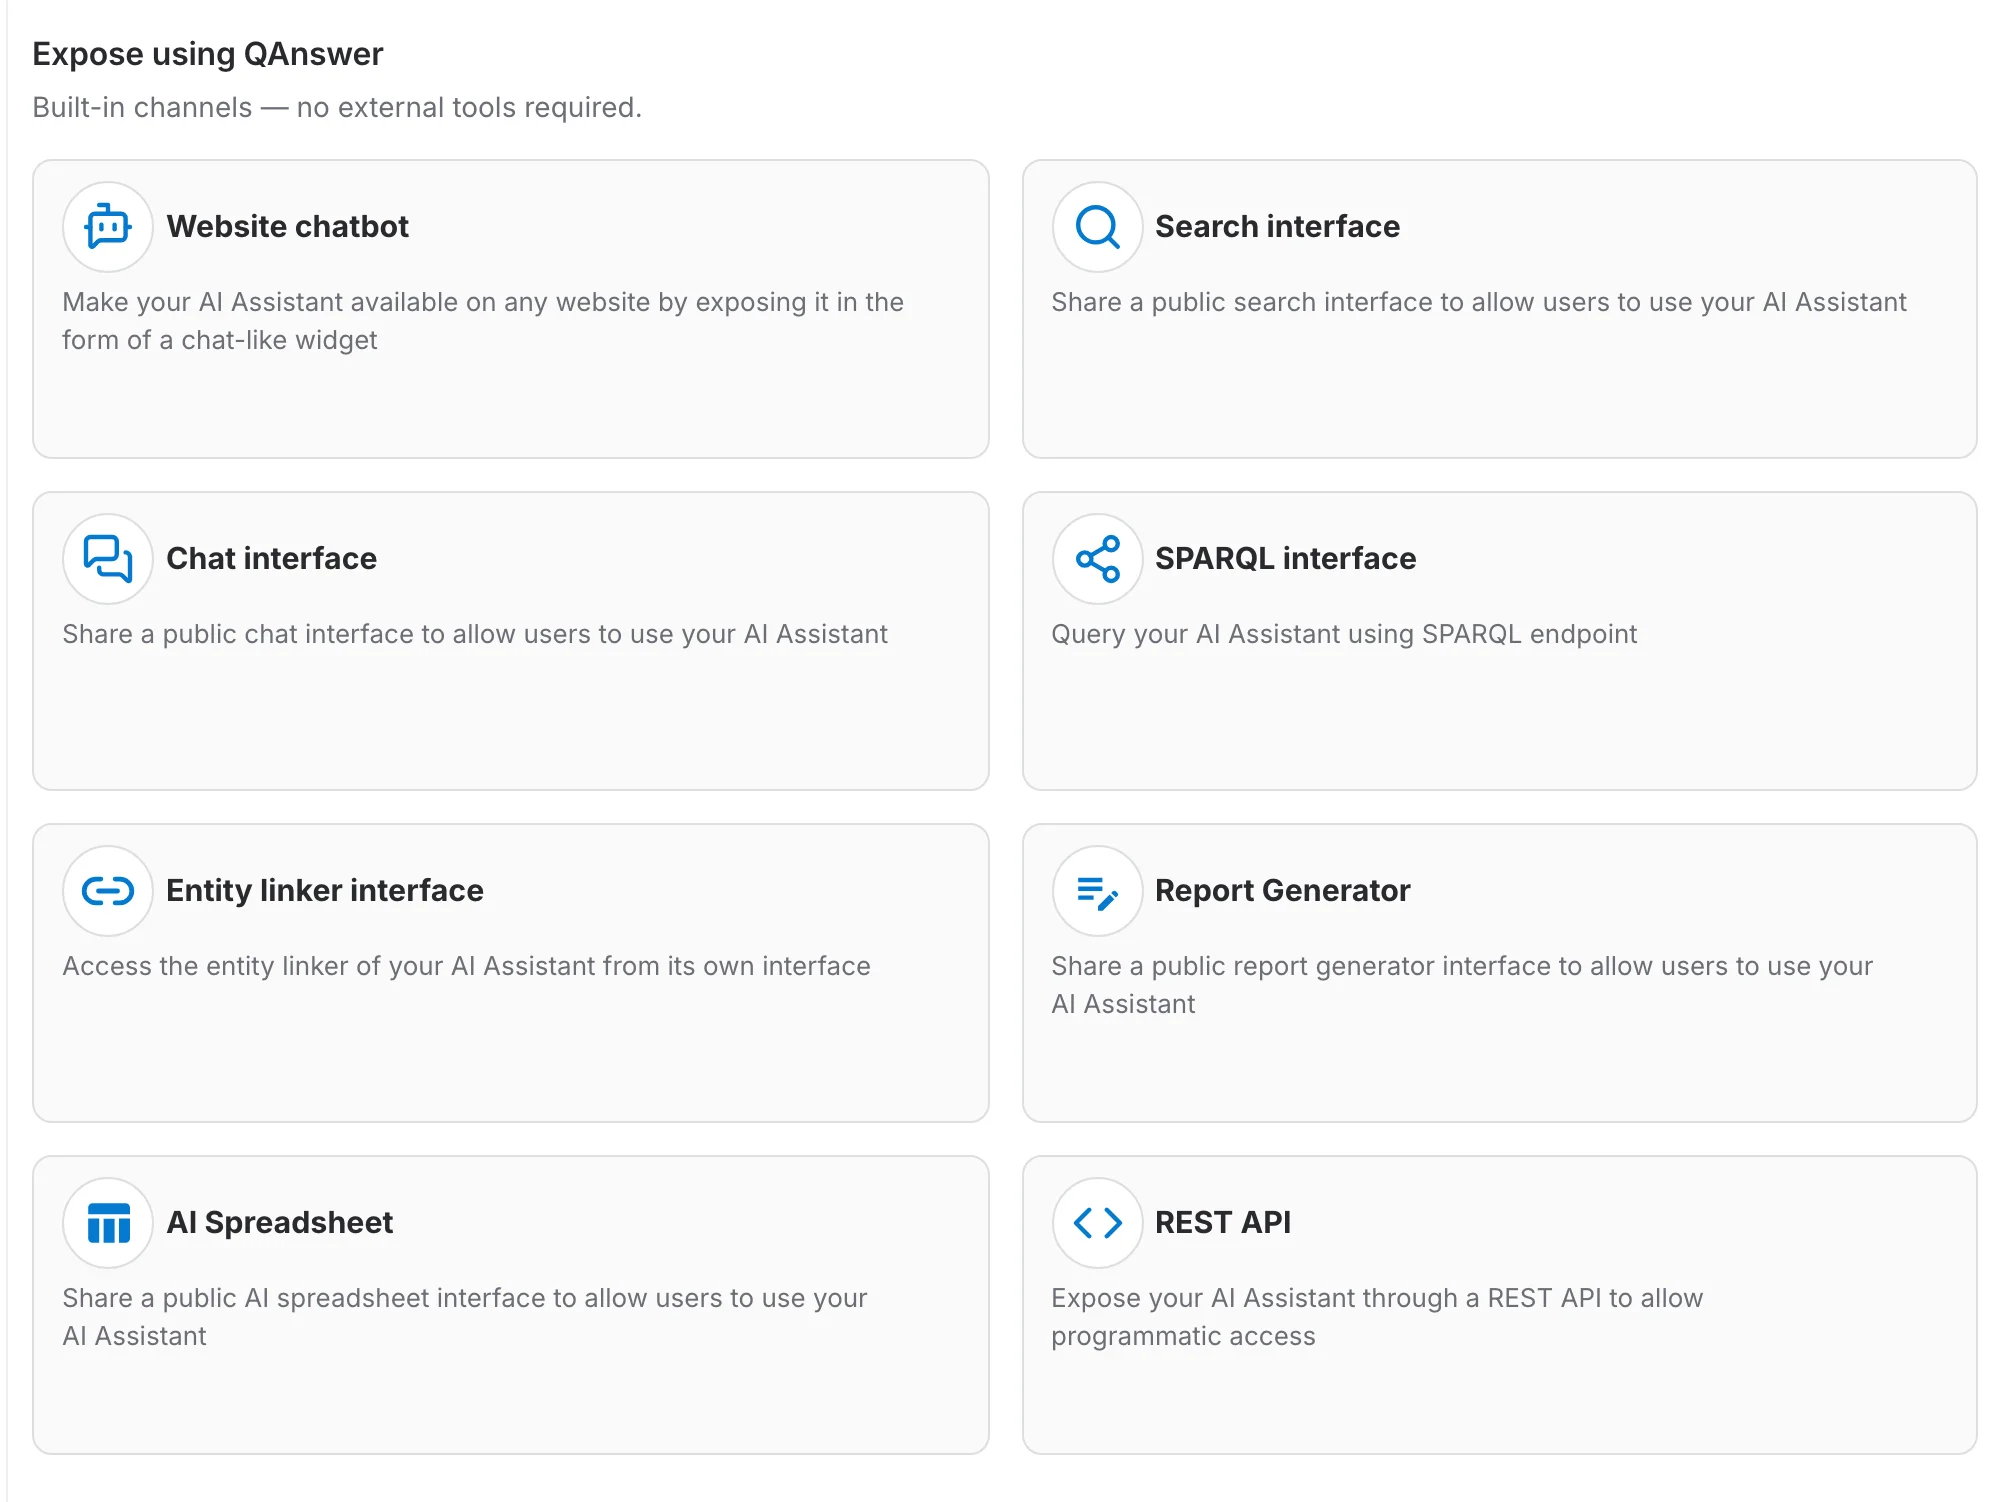
Because the assistant runs every task, its Expose tab offers every task's channels at once — the website chatbot, the public search, chat, SPARQL, entity linker, report generator and AI spreadsheet interfaces, and the REST API. A single-task assistant only offers the channels of its own task.
Good to know
- Multi select has to be enabled for your scope. If the tile does not appear behind Advanced, an administrator has restricted the available task types for your organization.
- You can switch back to a single task type at any time. The other tasks stop being offered, but their settings are kept, so switching back to Multi select restores them.
- All tasks read the same data sources. Adding a data source on the Add data tab makes it available to every task at once.