Assistant Settings
Every setting of an existing AI assistant lives in its editor. This page walks through what you can change there — the way the assistant presents itself, the model and instructions behind its answers, and the actions that copy, hand over or remove it.
Opening the settings
There are two ways into the editor of an existing assistant:
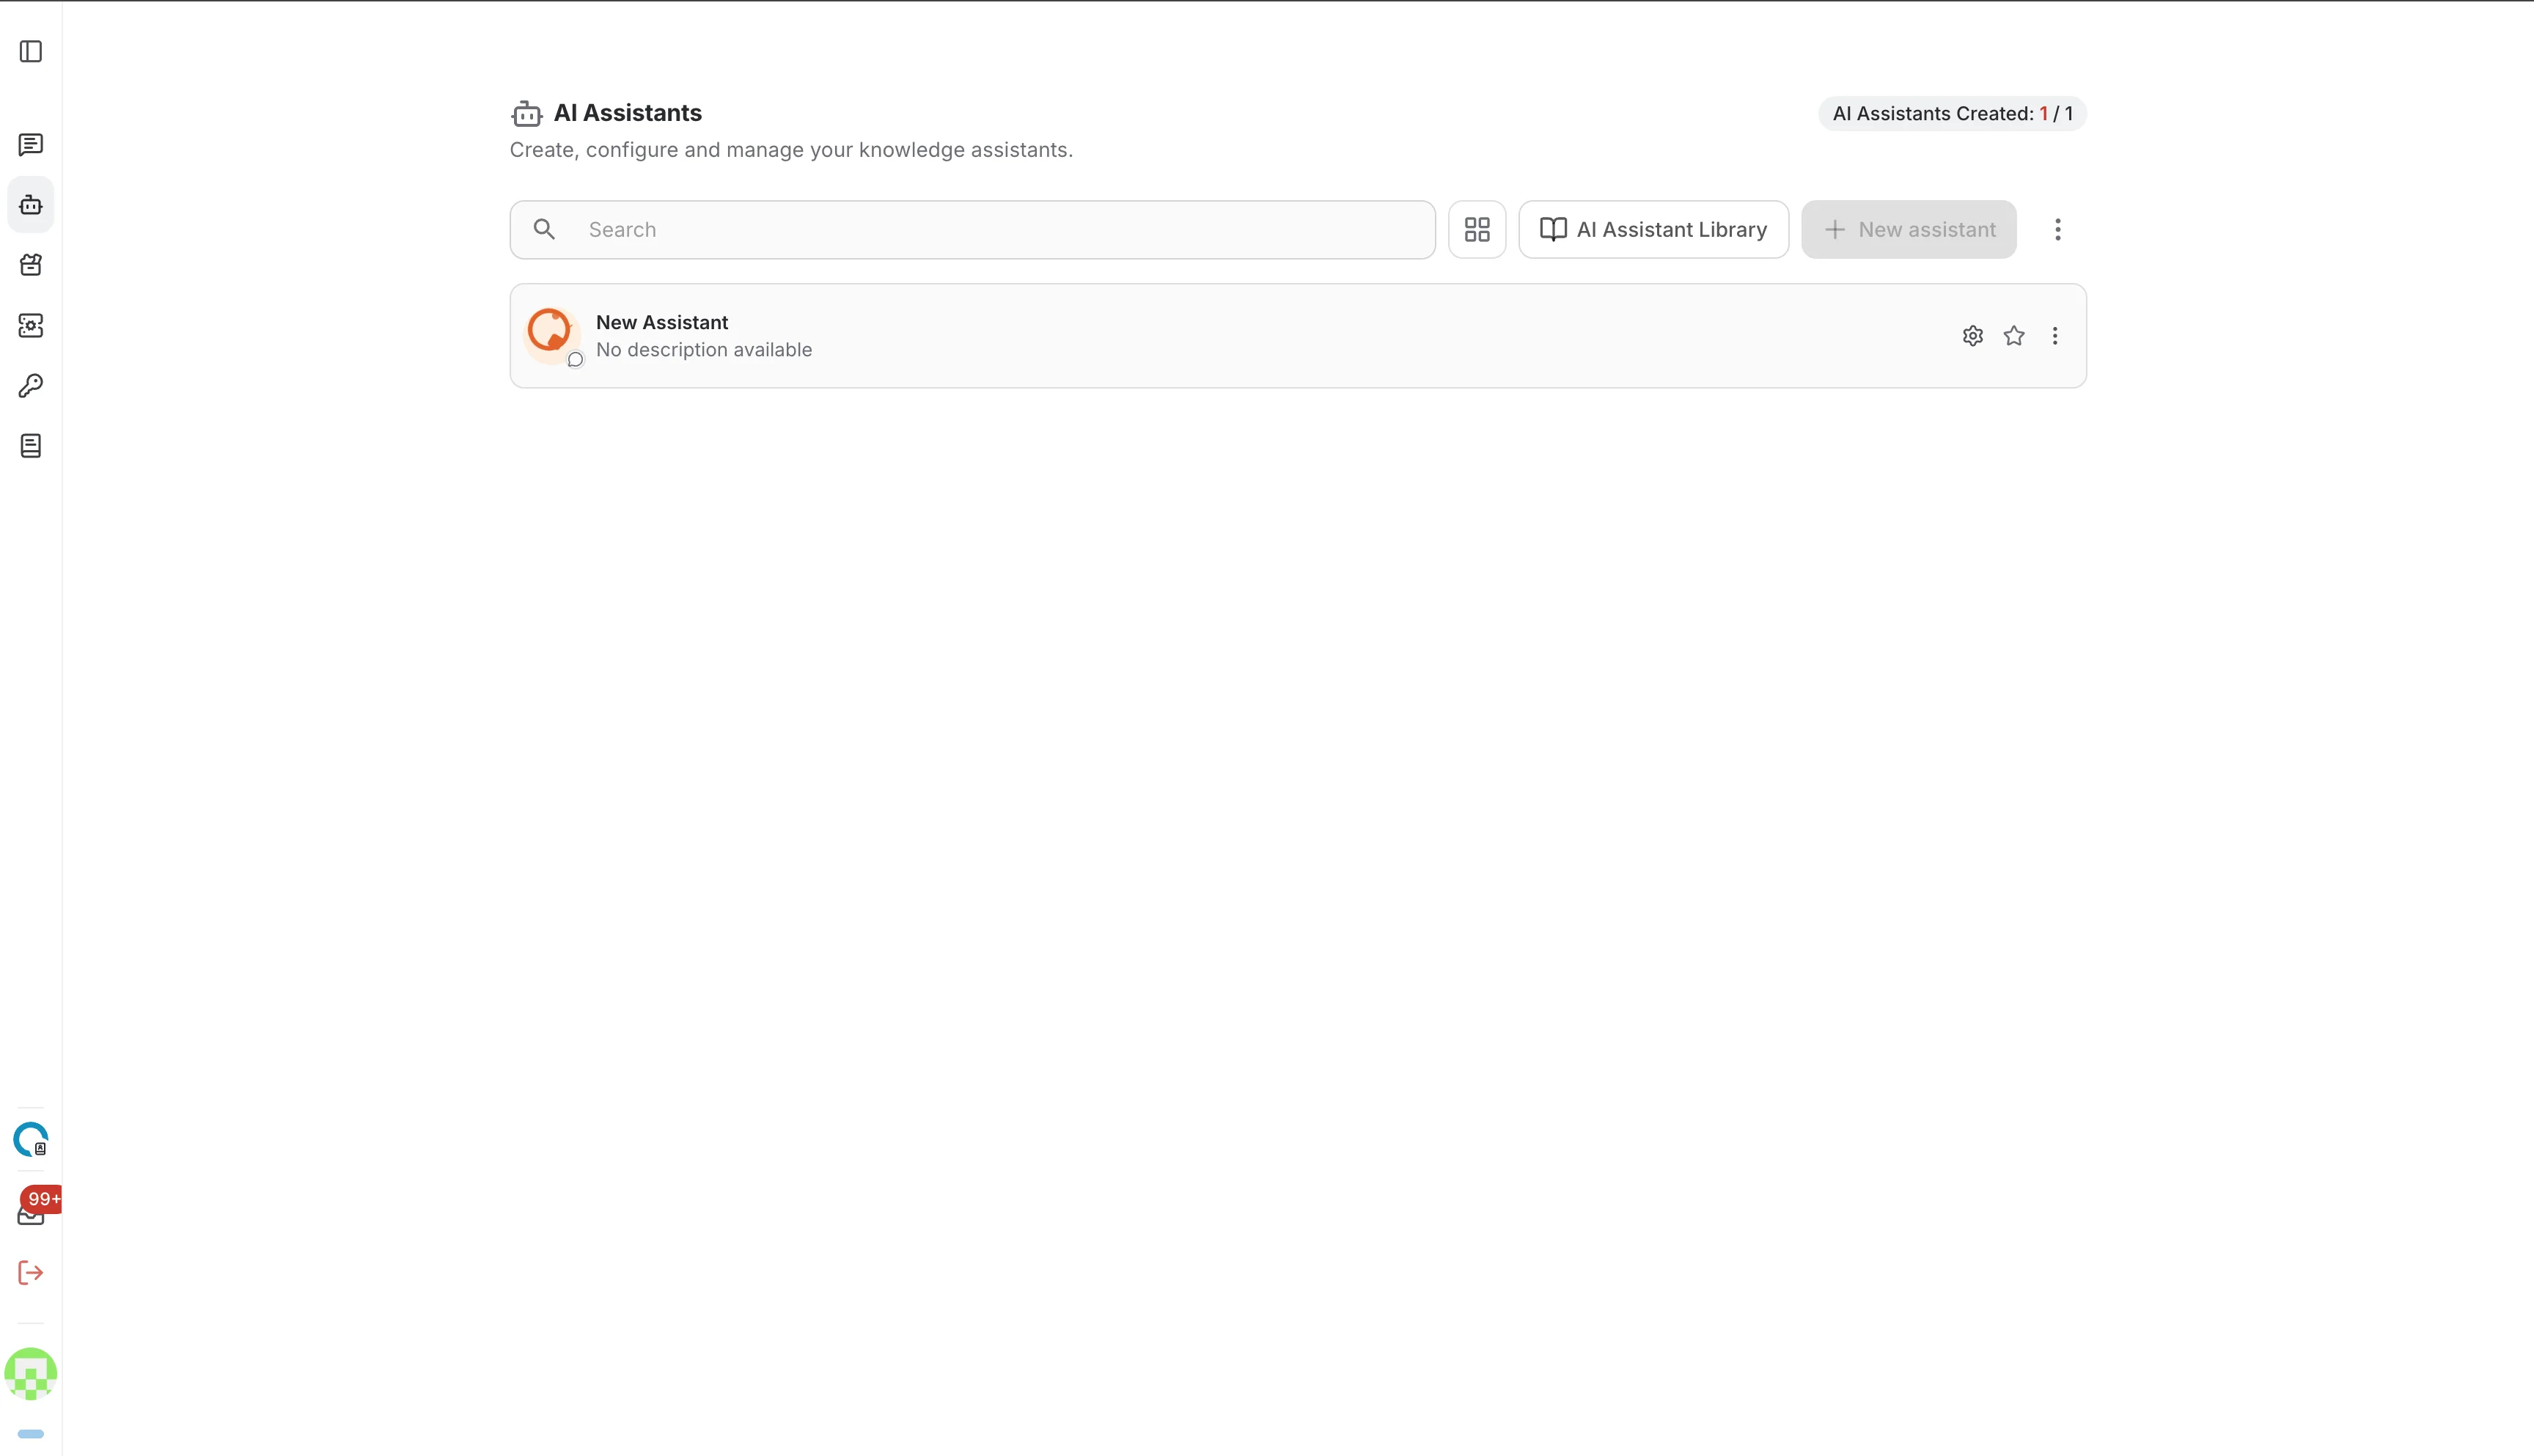
- On the AI Assistants page, hover the assistant and click the gear icon on its row.
- On the assistant's own page, click Edit in the top-right corner.


The settings are grouped into the four tabs of the editor — General, Add data, Tools and Advanced — with a live playground on the right. The layout itself is described in the creation guide.
Name, description and avatar
The header of the General tab is how your assistant introduces itself: its picture, its name and a one-line description. All three are visible to everyone you share the assistant with.

Avatar
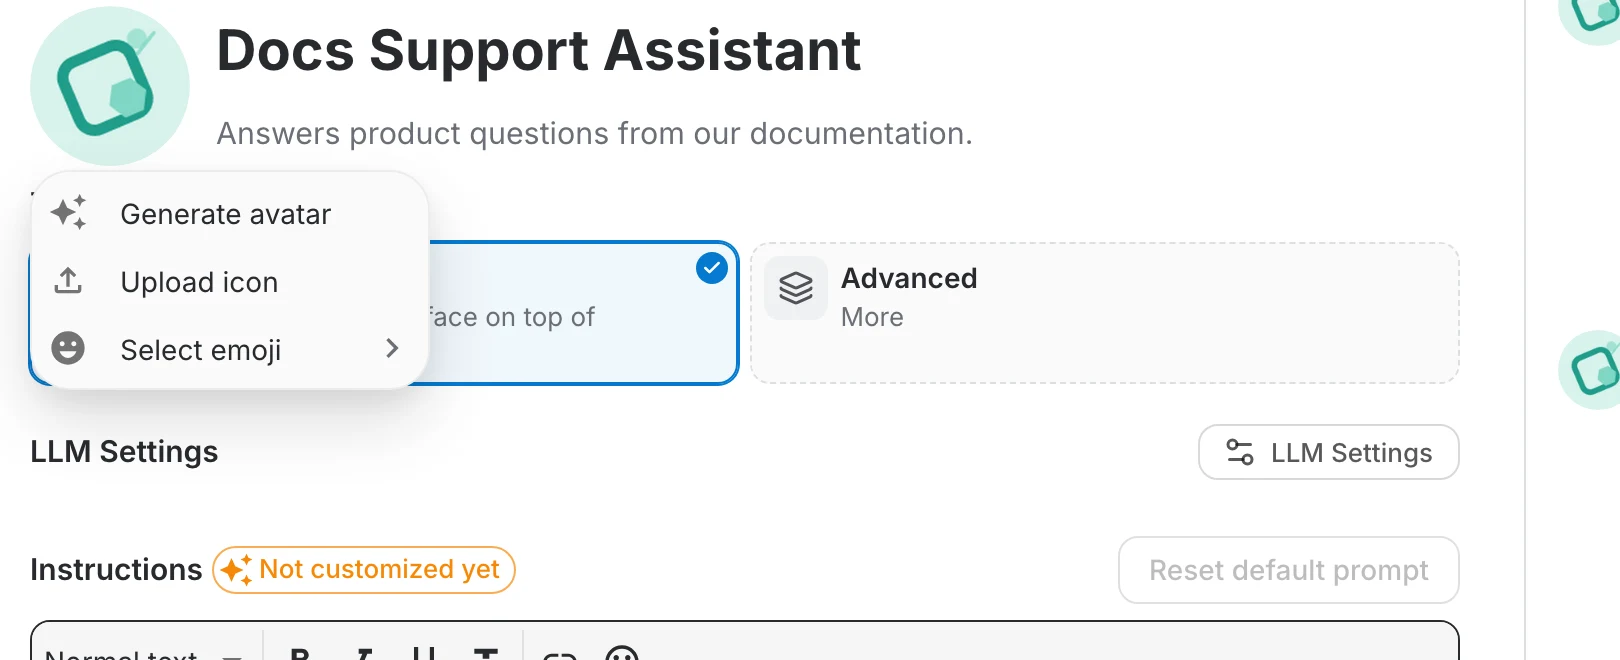
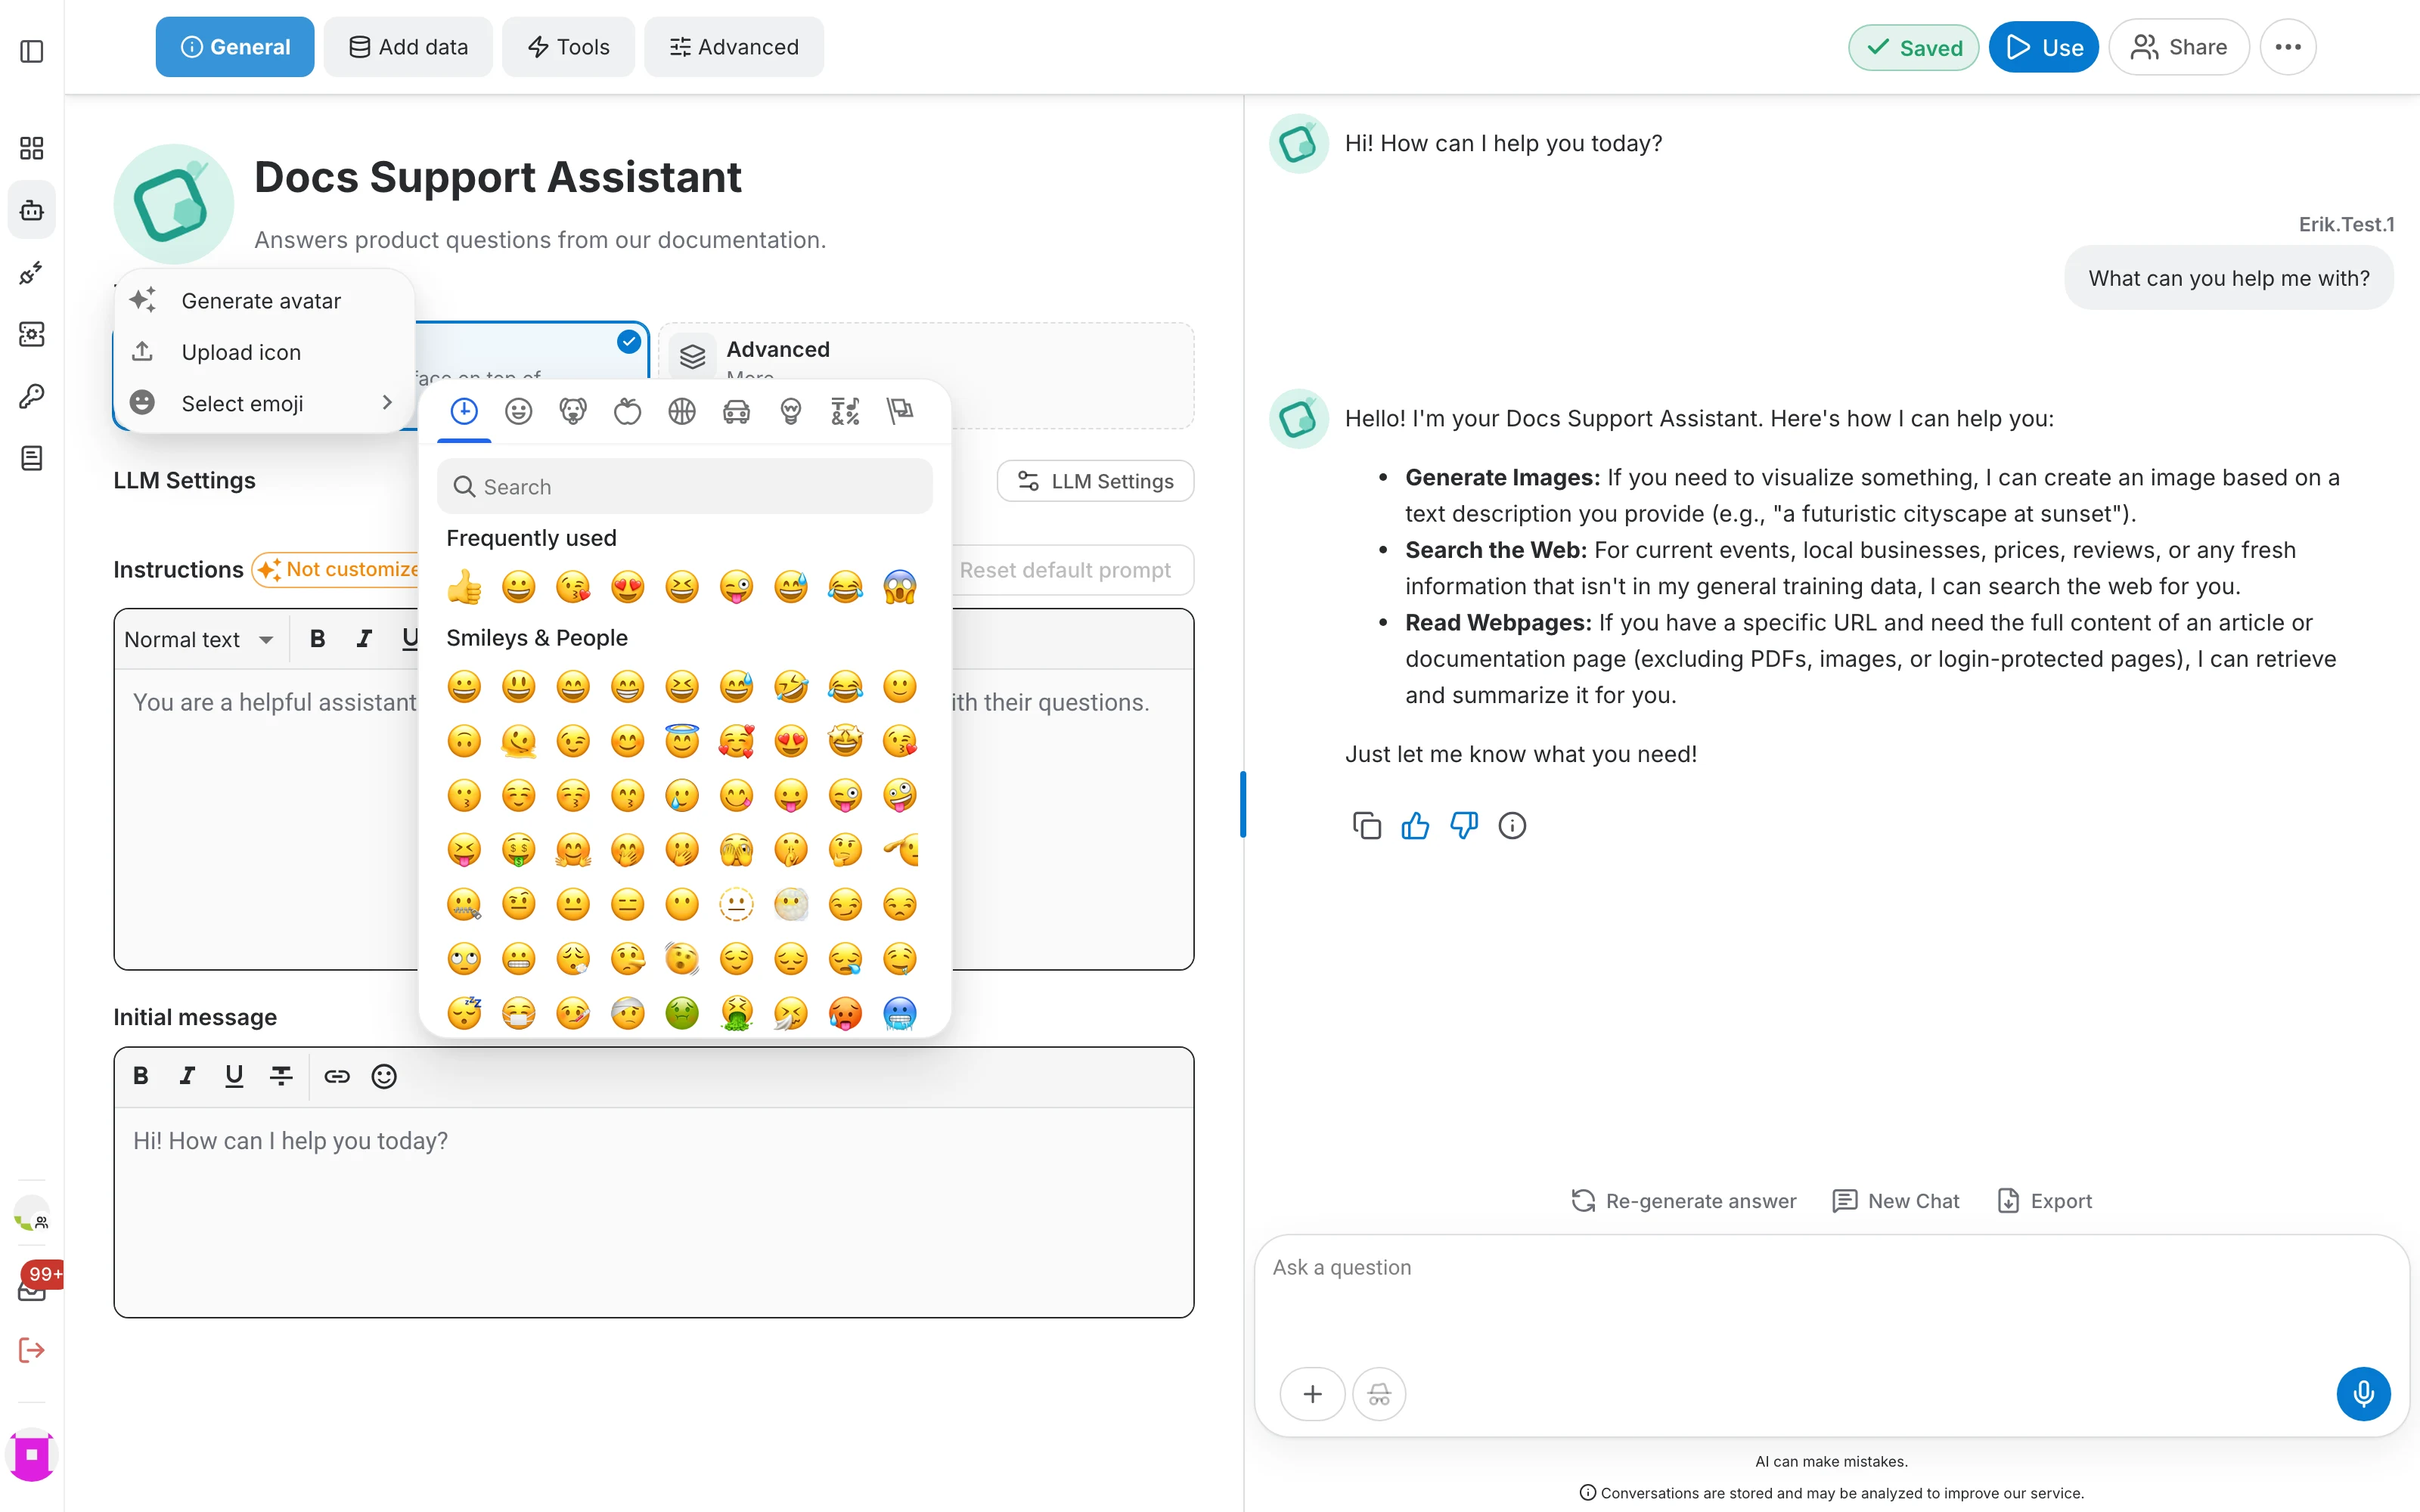
Click the picture to open the avatar menu. Three options are available:
- Generate avatar — produces a new abstract picture. Click it again for another one.
- Upload icon — pick an image from your computer. It is applied as soon as you choose the file.
- Select emoji — opens an emoji picker with a search field and categories, and uses the emoji you click as the avatar.
Name
Click the name to rename the assistant. The name is what your users see, it must not contain a slash (/), and it can be changed as often as you like.
Description
The description appears under the name, in the assistants list and in the library. Click the sparkle icon at the end of the field to have the description written for you from the assistant's configuration and data.
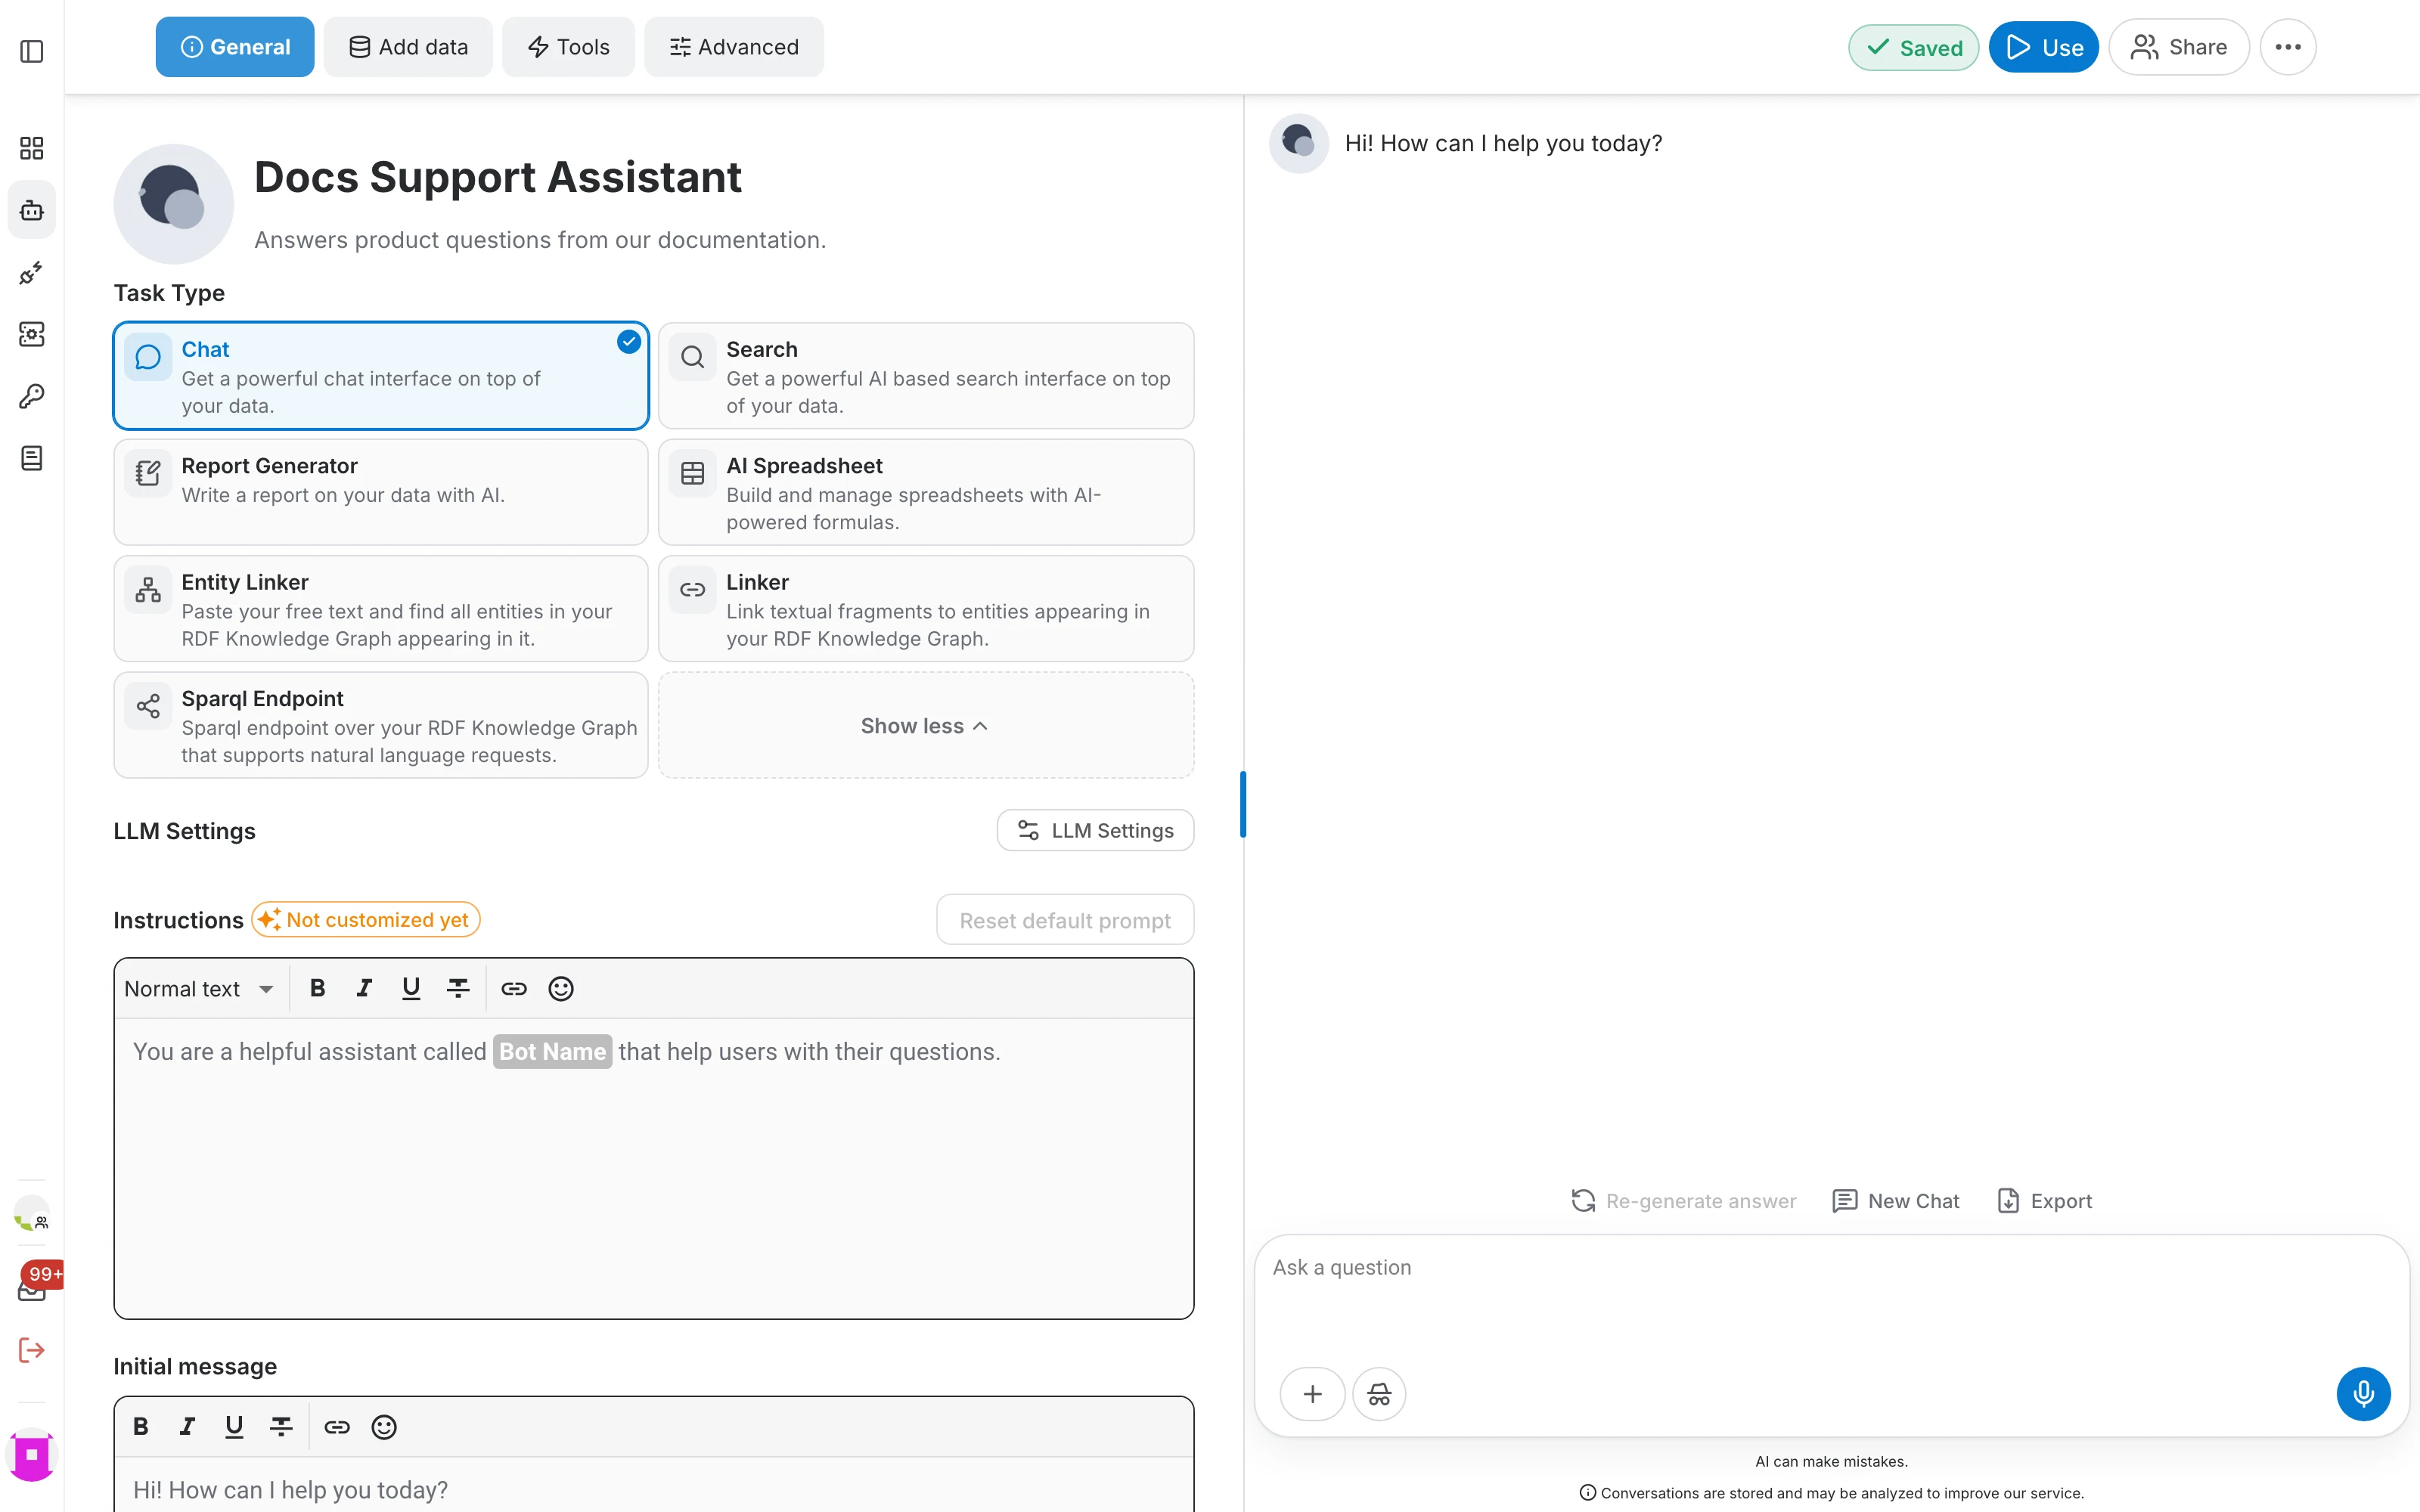
Task type
The task type decides which interface the assistant offers. Chat is the default; click Advanced / More to see the others — Search, Report Generator, AI Spreadsheet, Entity Linker, Linker and Sparql Endpoint. Each one is described in the AI tasks section.
Language model
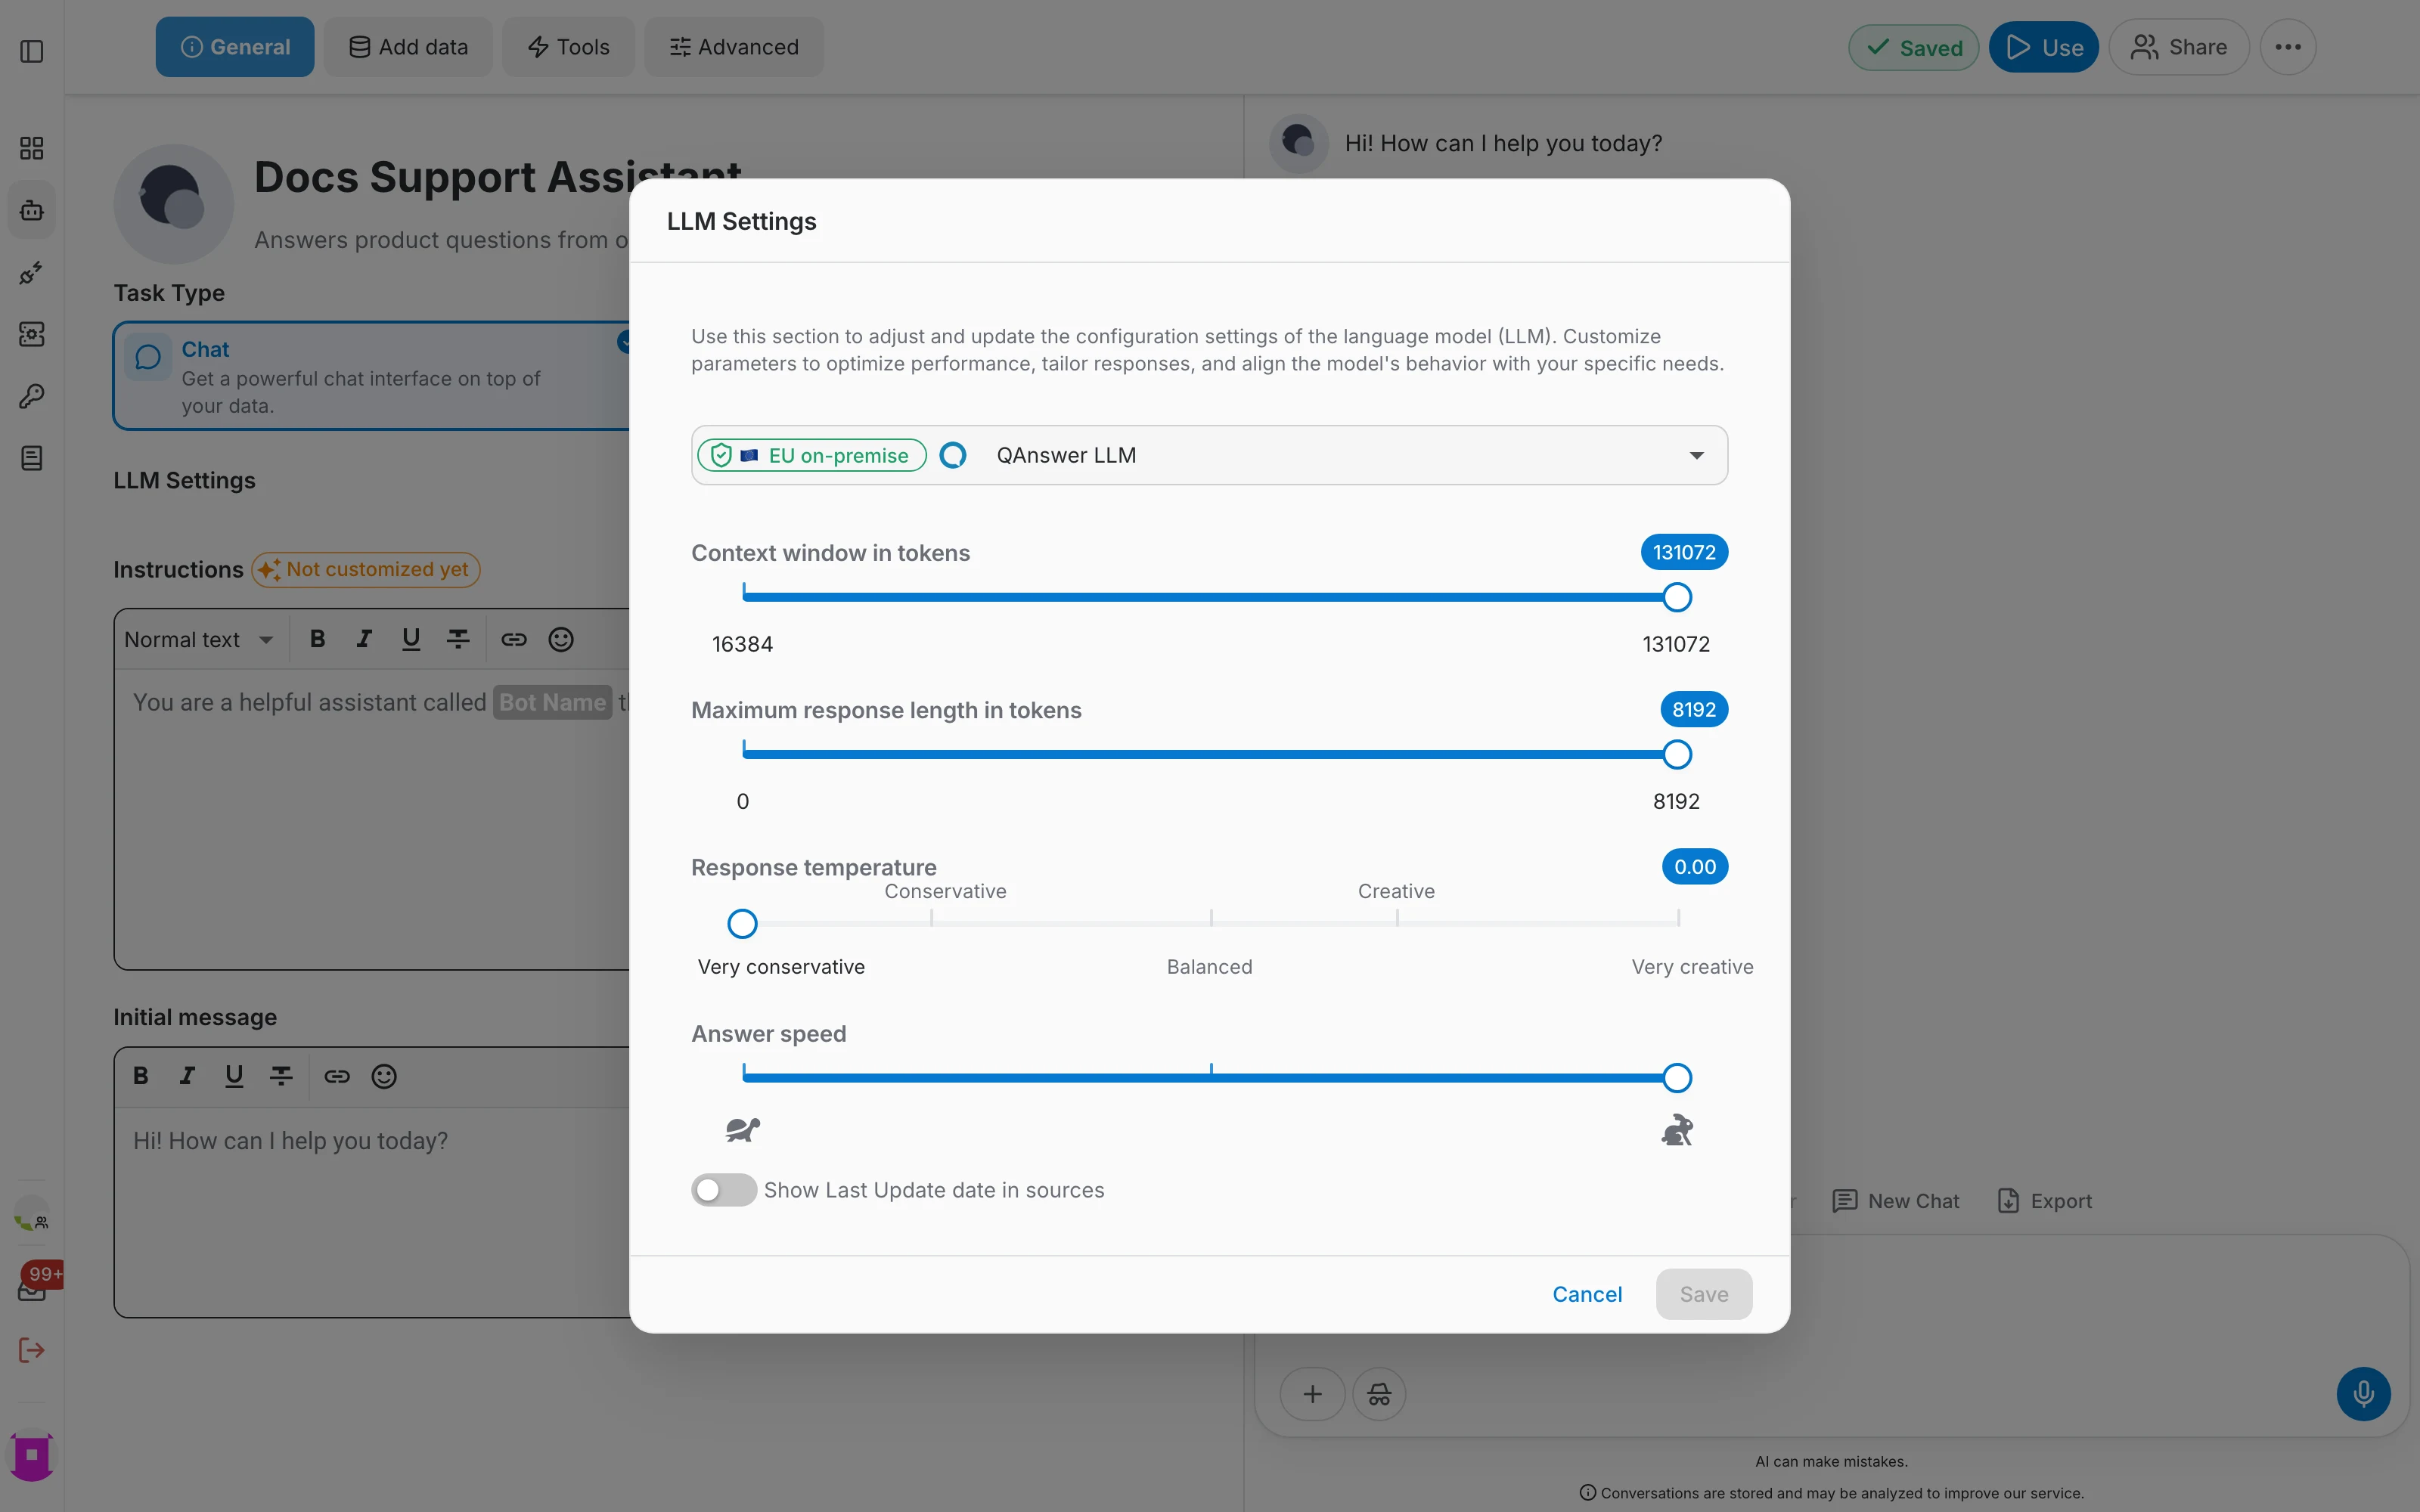
Click LLM Settings on the General tab to choose the model and tune how it answers:
- Model — the language model used by this assistant. Models hosted in the EU are labelled accordingly.
- Context window in tokens — how much text the model may take into account per request.
- Maximum response length in tokens — an upper bound on the length of each answer.
- Response temperature — from very conservative to very creative. Keep it low for factual answers on your own data.
- Answer speed — trades thoroughness for latency.
- Show Last Update date in sources — adds the date of each source to the answer's references.
Instructions and initial message
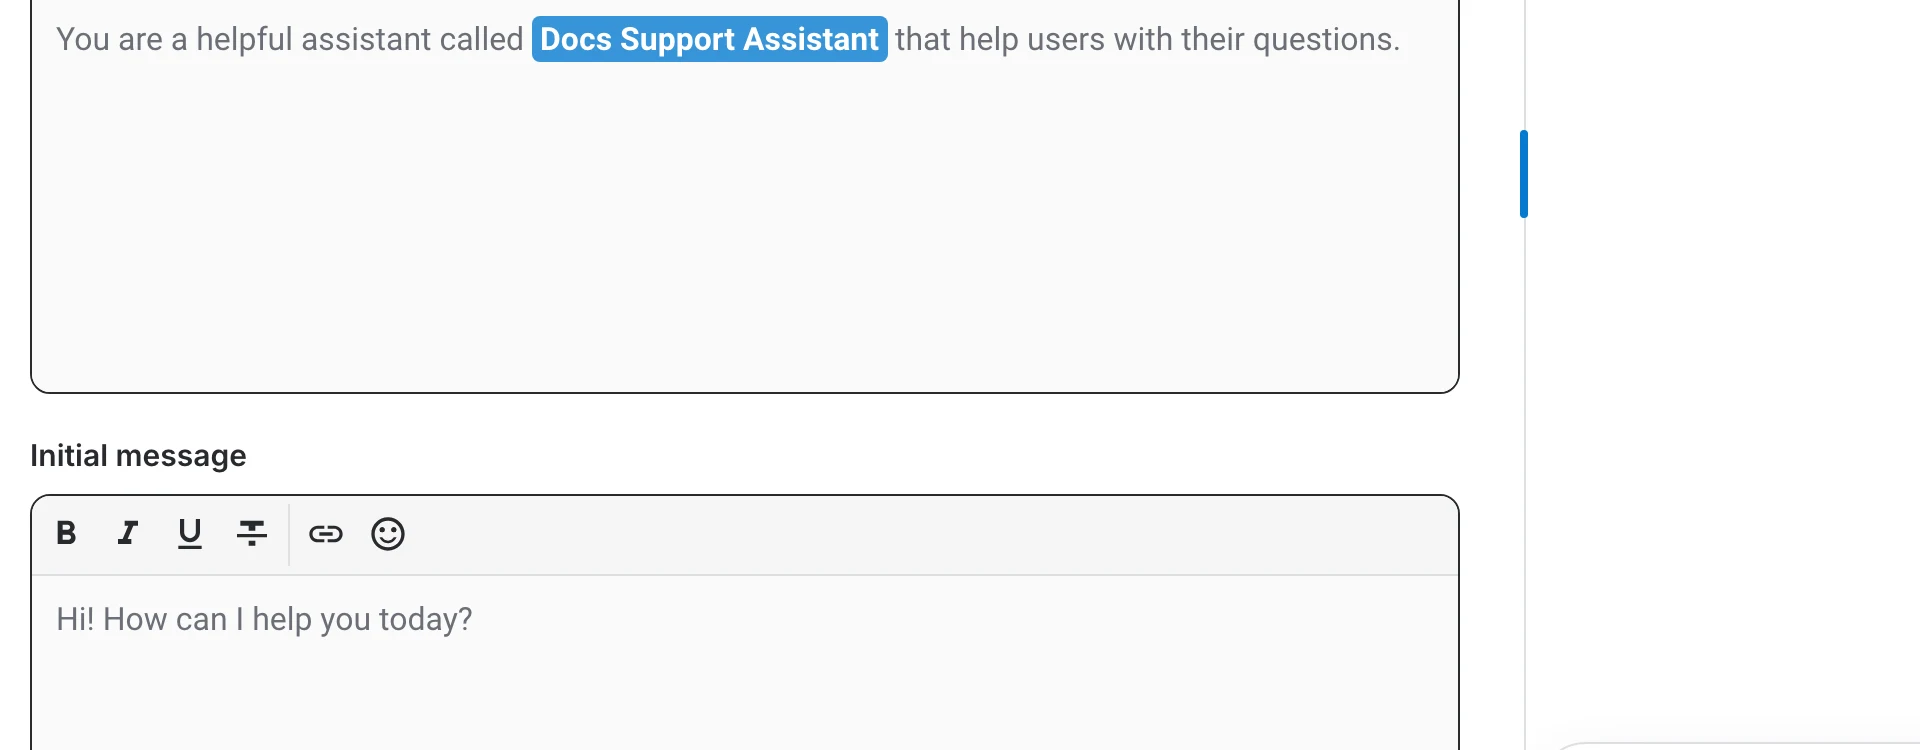
The Instructions field is the system prompt: it tells the assistant who it is and how to answer. The Initial message below it is the greeting users see when they open a new conversation.
- The blue chip inside the text is a slot. The name slot is replaced by the assistant's current name, so renaming the assistant updates the prompt too.
- The chip next to the heading reads "Not customized yet" until you edit the text, which makes it easy to see whether an assistant still uses the default prompt.
- Once you have edited it, Reset default prompt brings the original wording back.
- The initial message supports basic formatting, links and emoji, exactly like the instructions.
In addition to the name, the prompt of a chat assistant can use these slots:
- {{question}} — the question the user just asked.
- {{documents}} — the passages retrieved from your data for that question.
- {{chat_history}} — the previous turns of the conversation.
- {{loop_through_documents}} — repeats a block of the prompt once per retrieved document.
Check what was actually sent
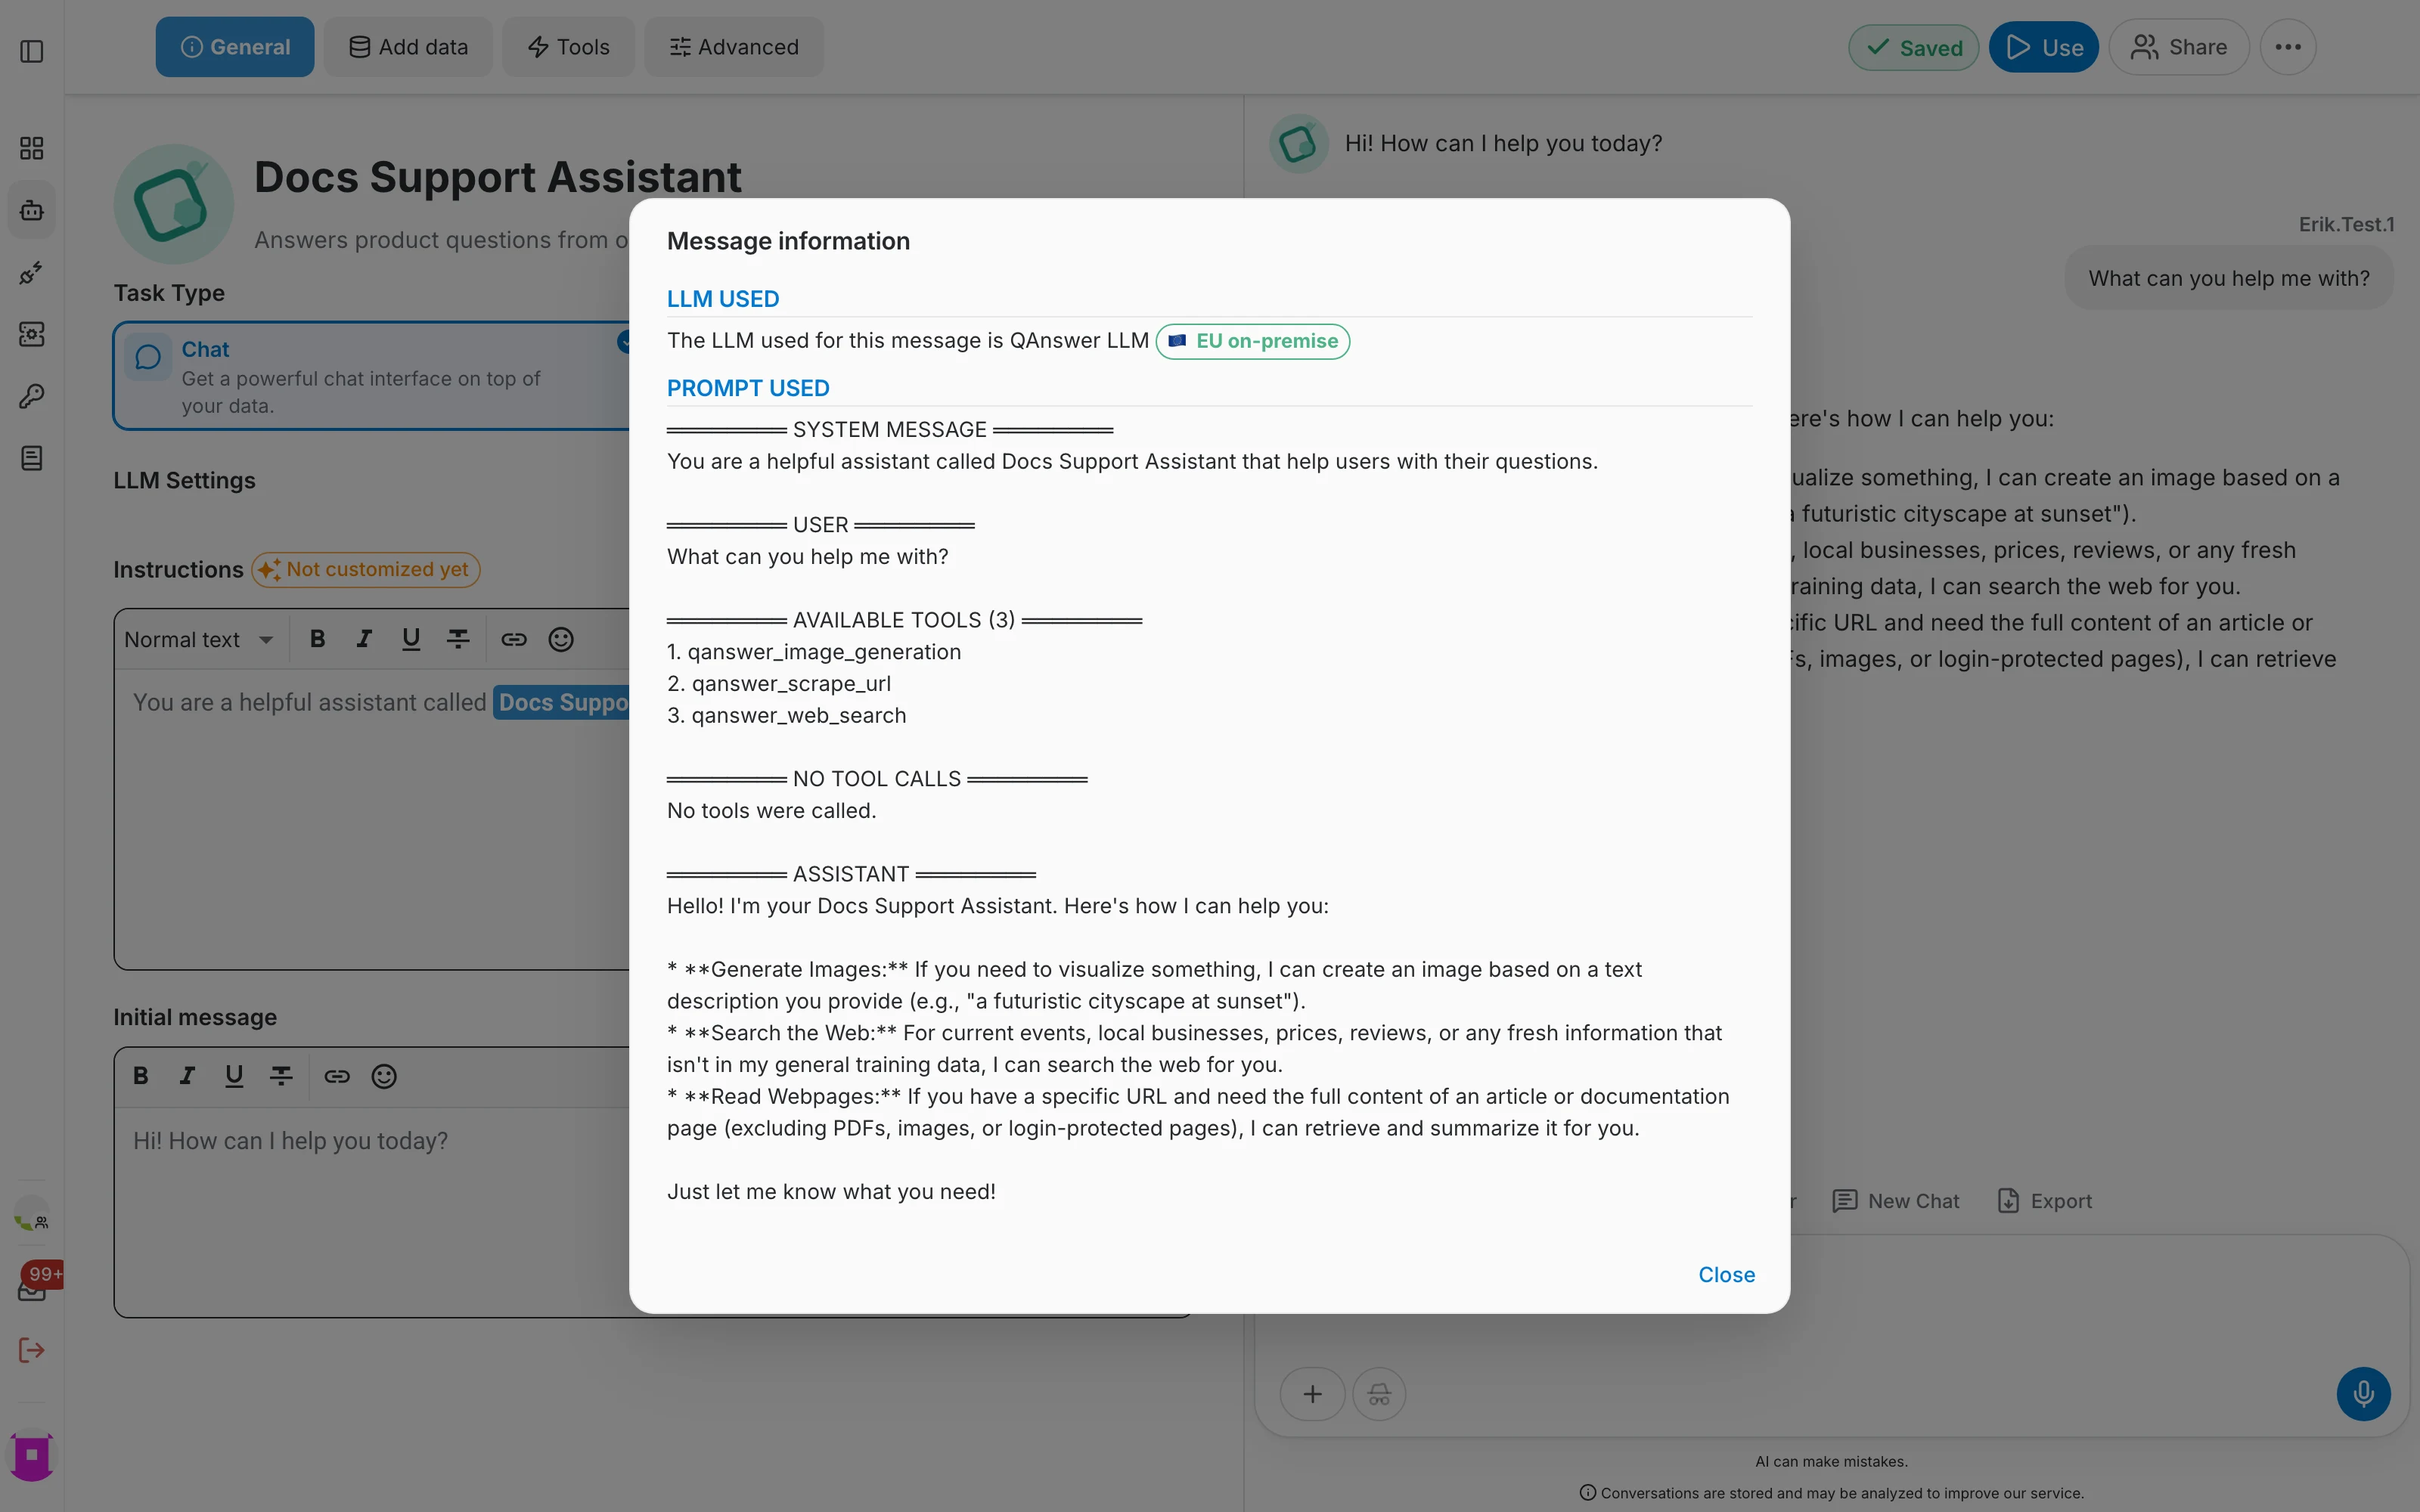
To verify the effect of your instructions, ask something in the playground and click the info icon under the answer. The Message information dialog shows:
- which language model produced the answer,
- the complete prompt that was sent, with the system message, the question, the chat history and the retrieved documents,
- the tools the assistant had at its disposal and which of them it called.
Behaviour
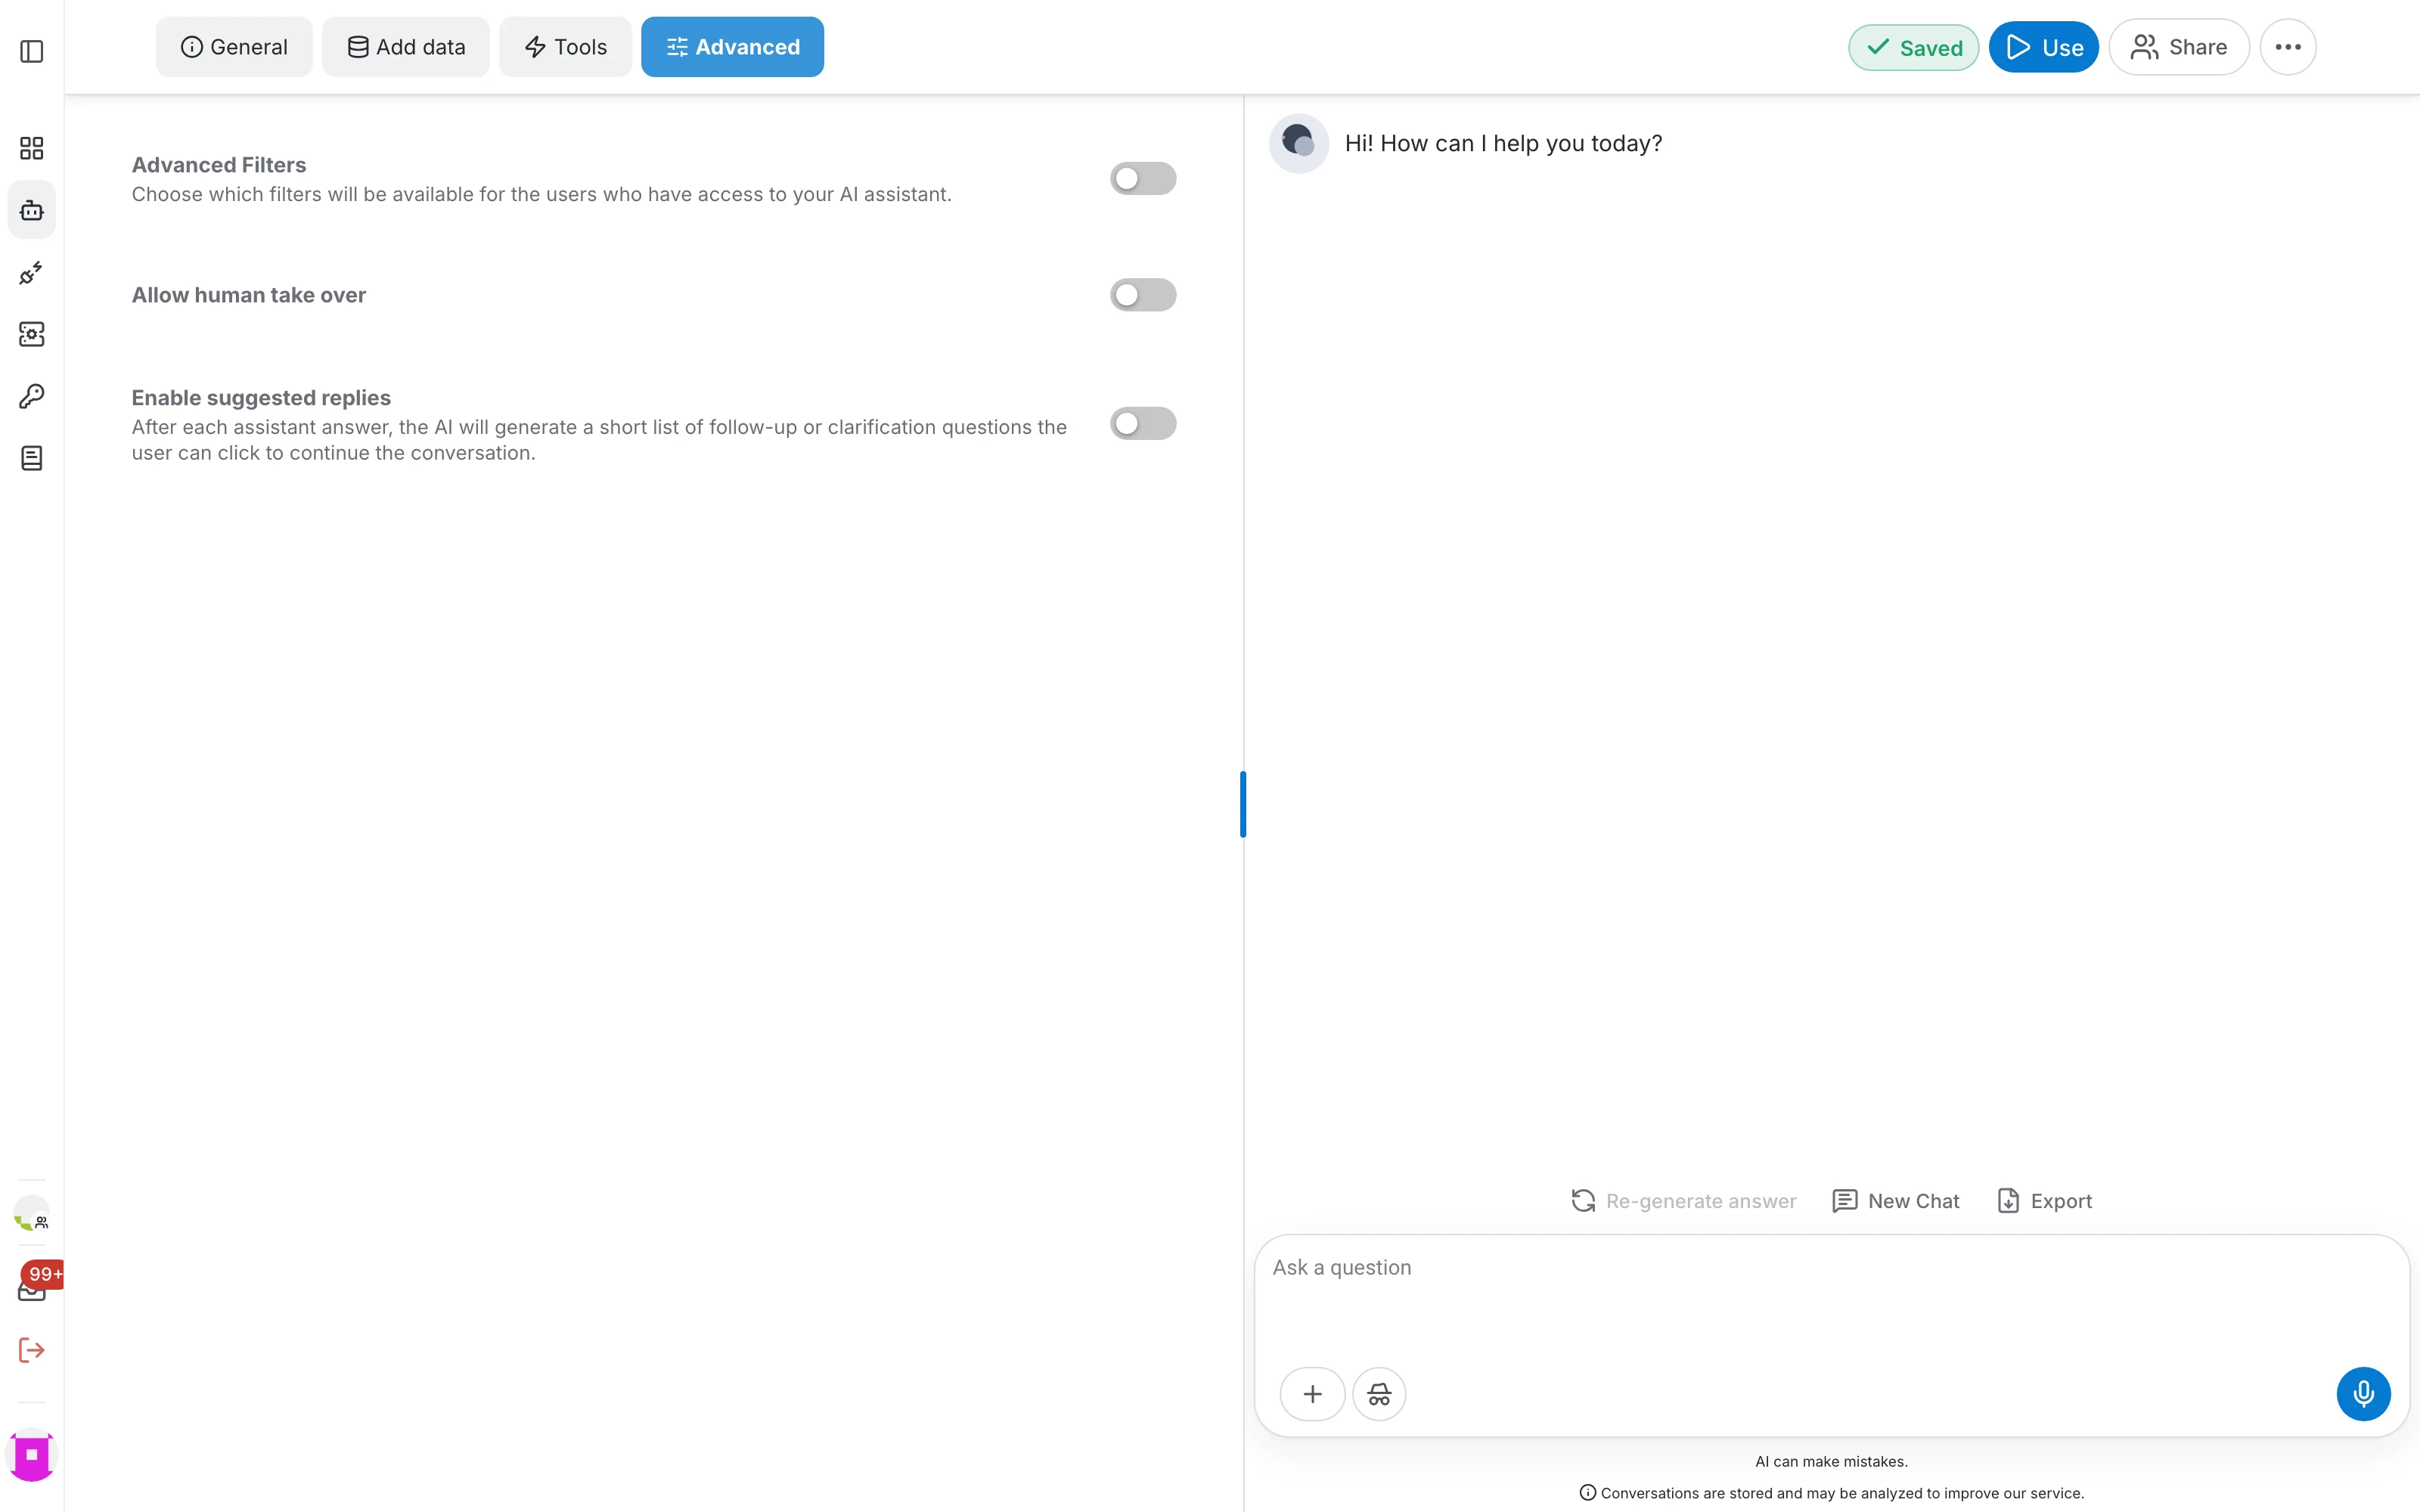
The Advanced tab holds the optional behaviours of the assistant:
- Advanced Filters — choose which filters the people using the assistant may apply to the data.
- Allow human take over — let a human agent step into a conversation and answer instead of the assistant.
- Enable suggested replies — after each answer, propose follow-up questions the user can click.
Mark as favourite
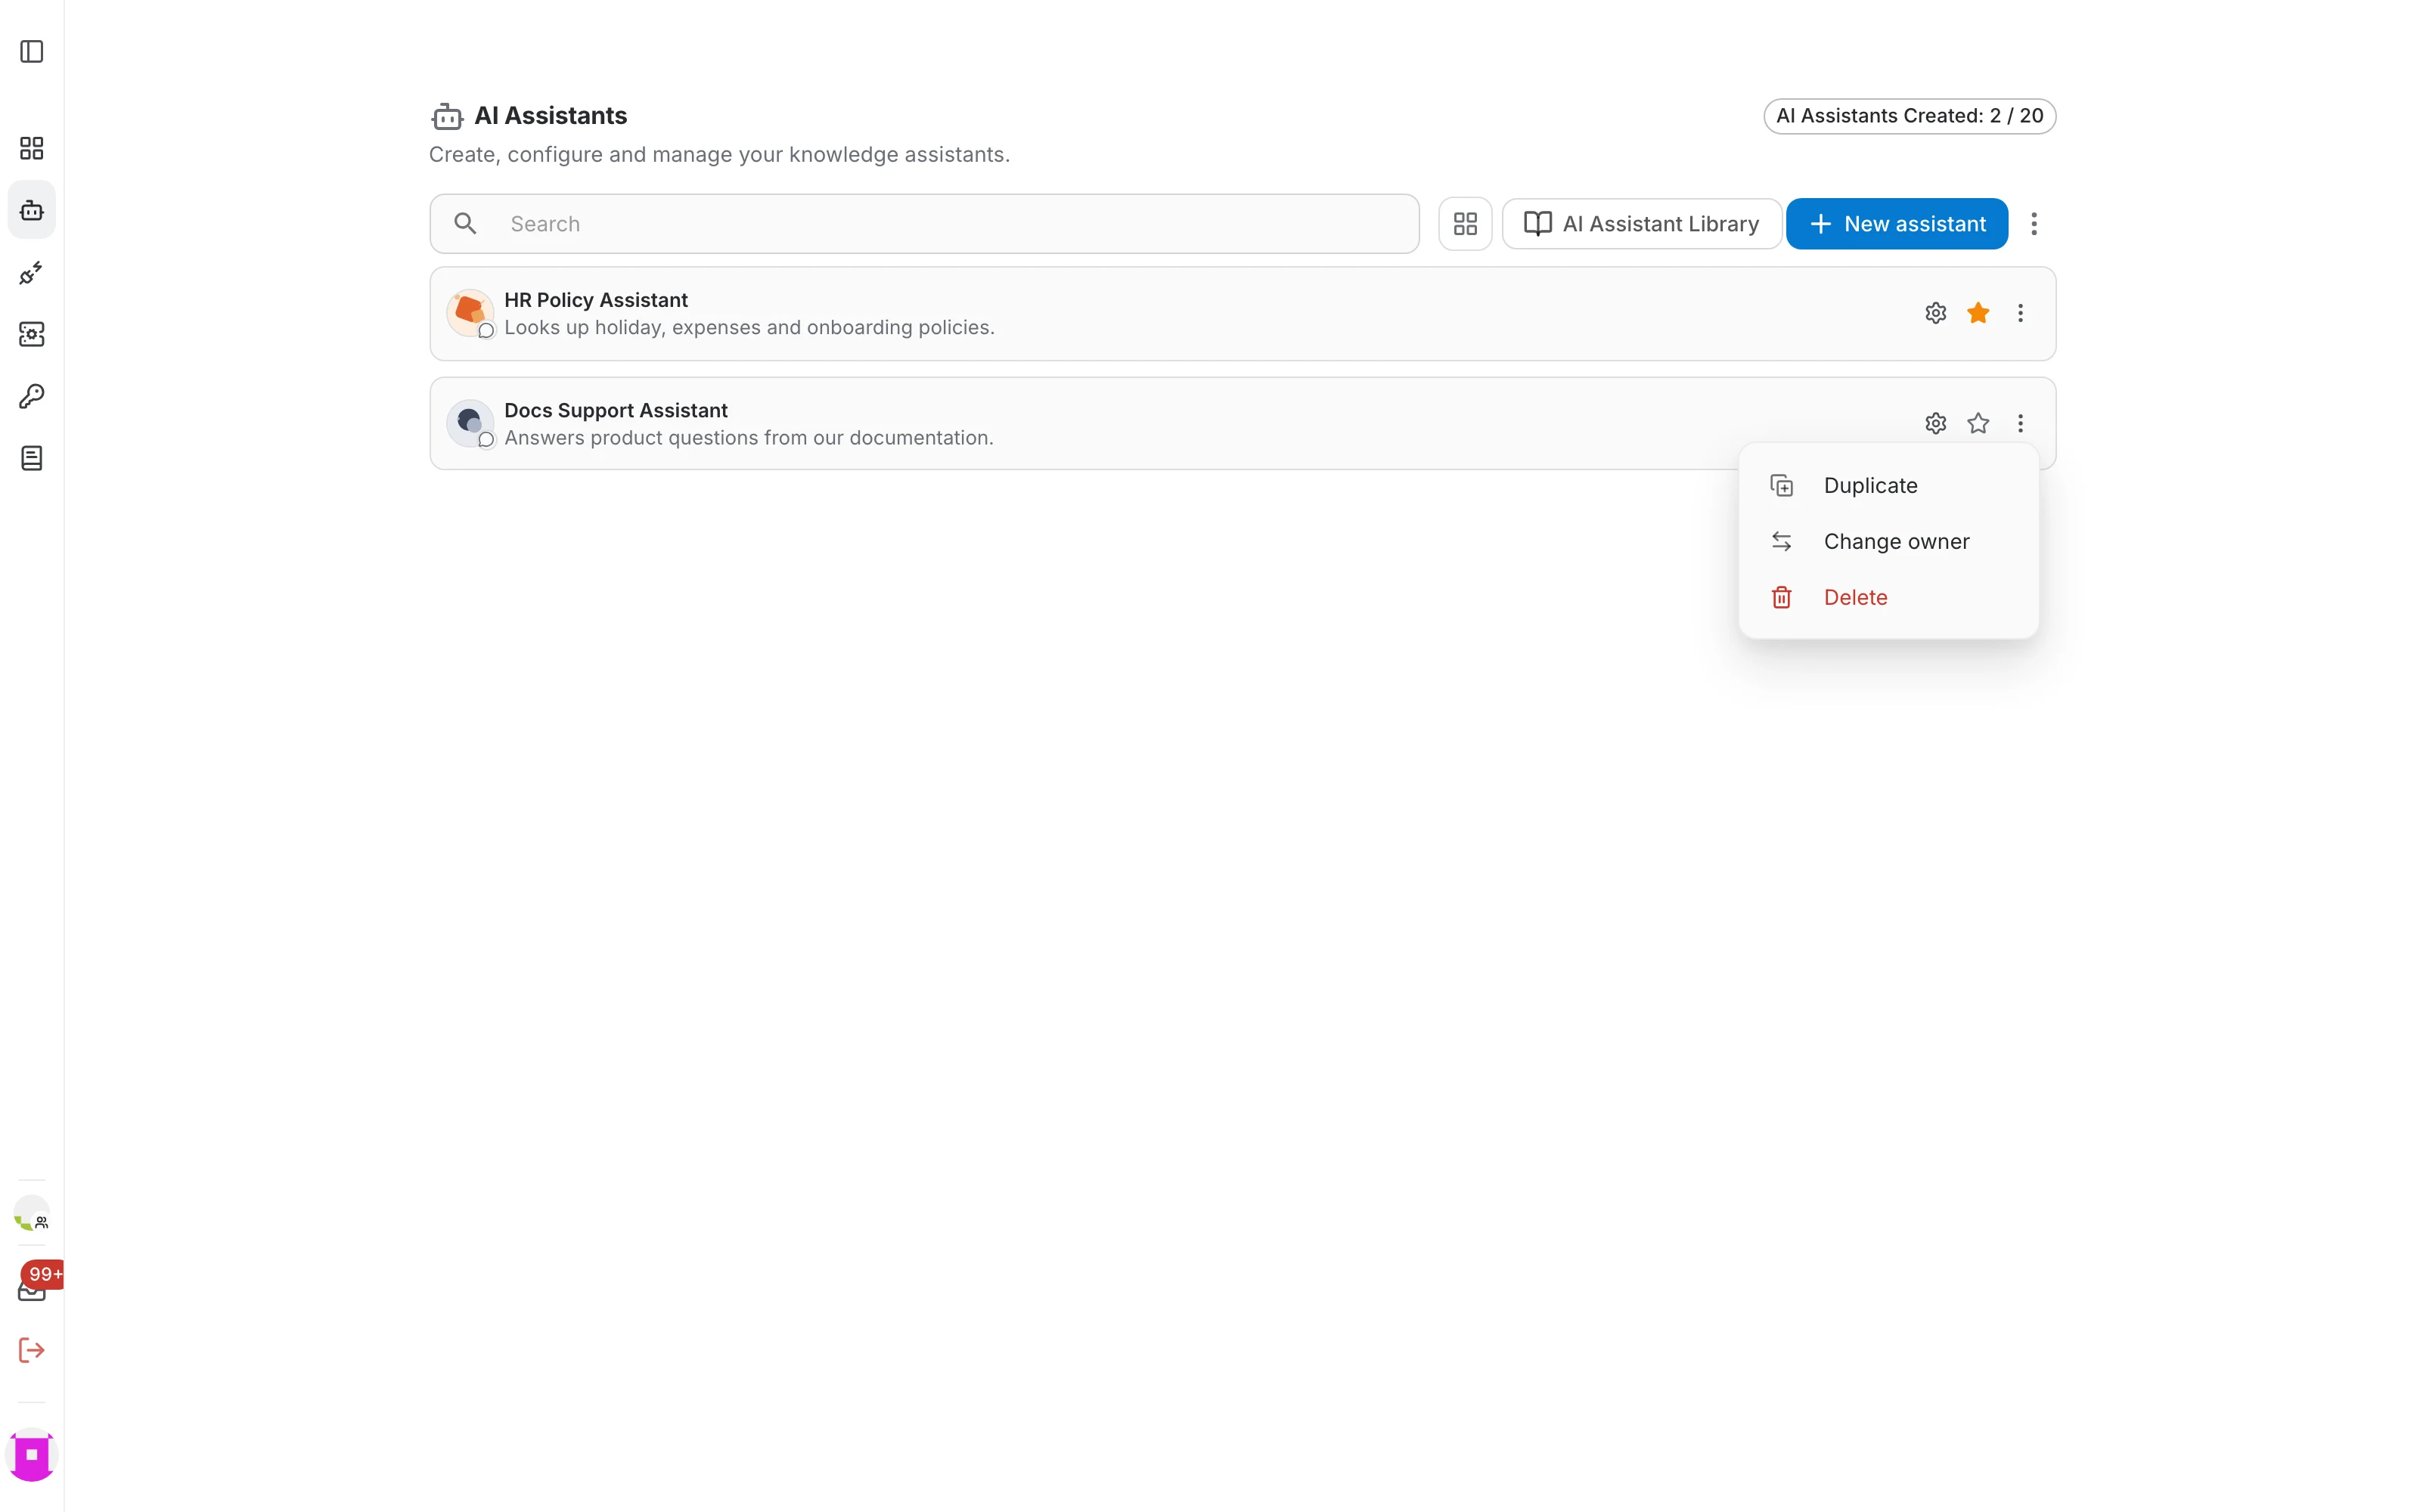
Click the star on an assistant's row in the AI Assistants list to mark it as a favourite. Favourites are sorted to the top of your list, which keeps the assistants you use daily within reach. The star is on the list, not in the editor.
Duplicate an assistant
Duplicating copies the whole assistant — its configuration, instructions, tools and data — into a new, independent one. It is the safe way to try a different prompt or model without touching an assistant that is already in use.
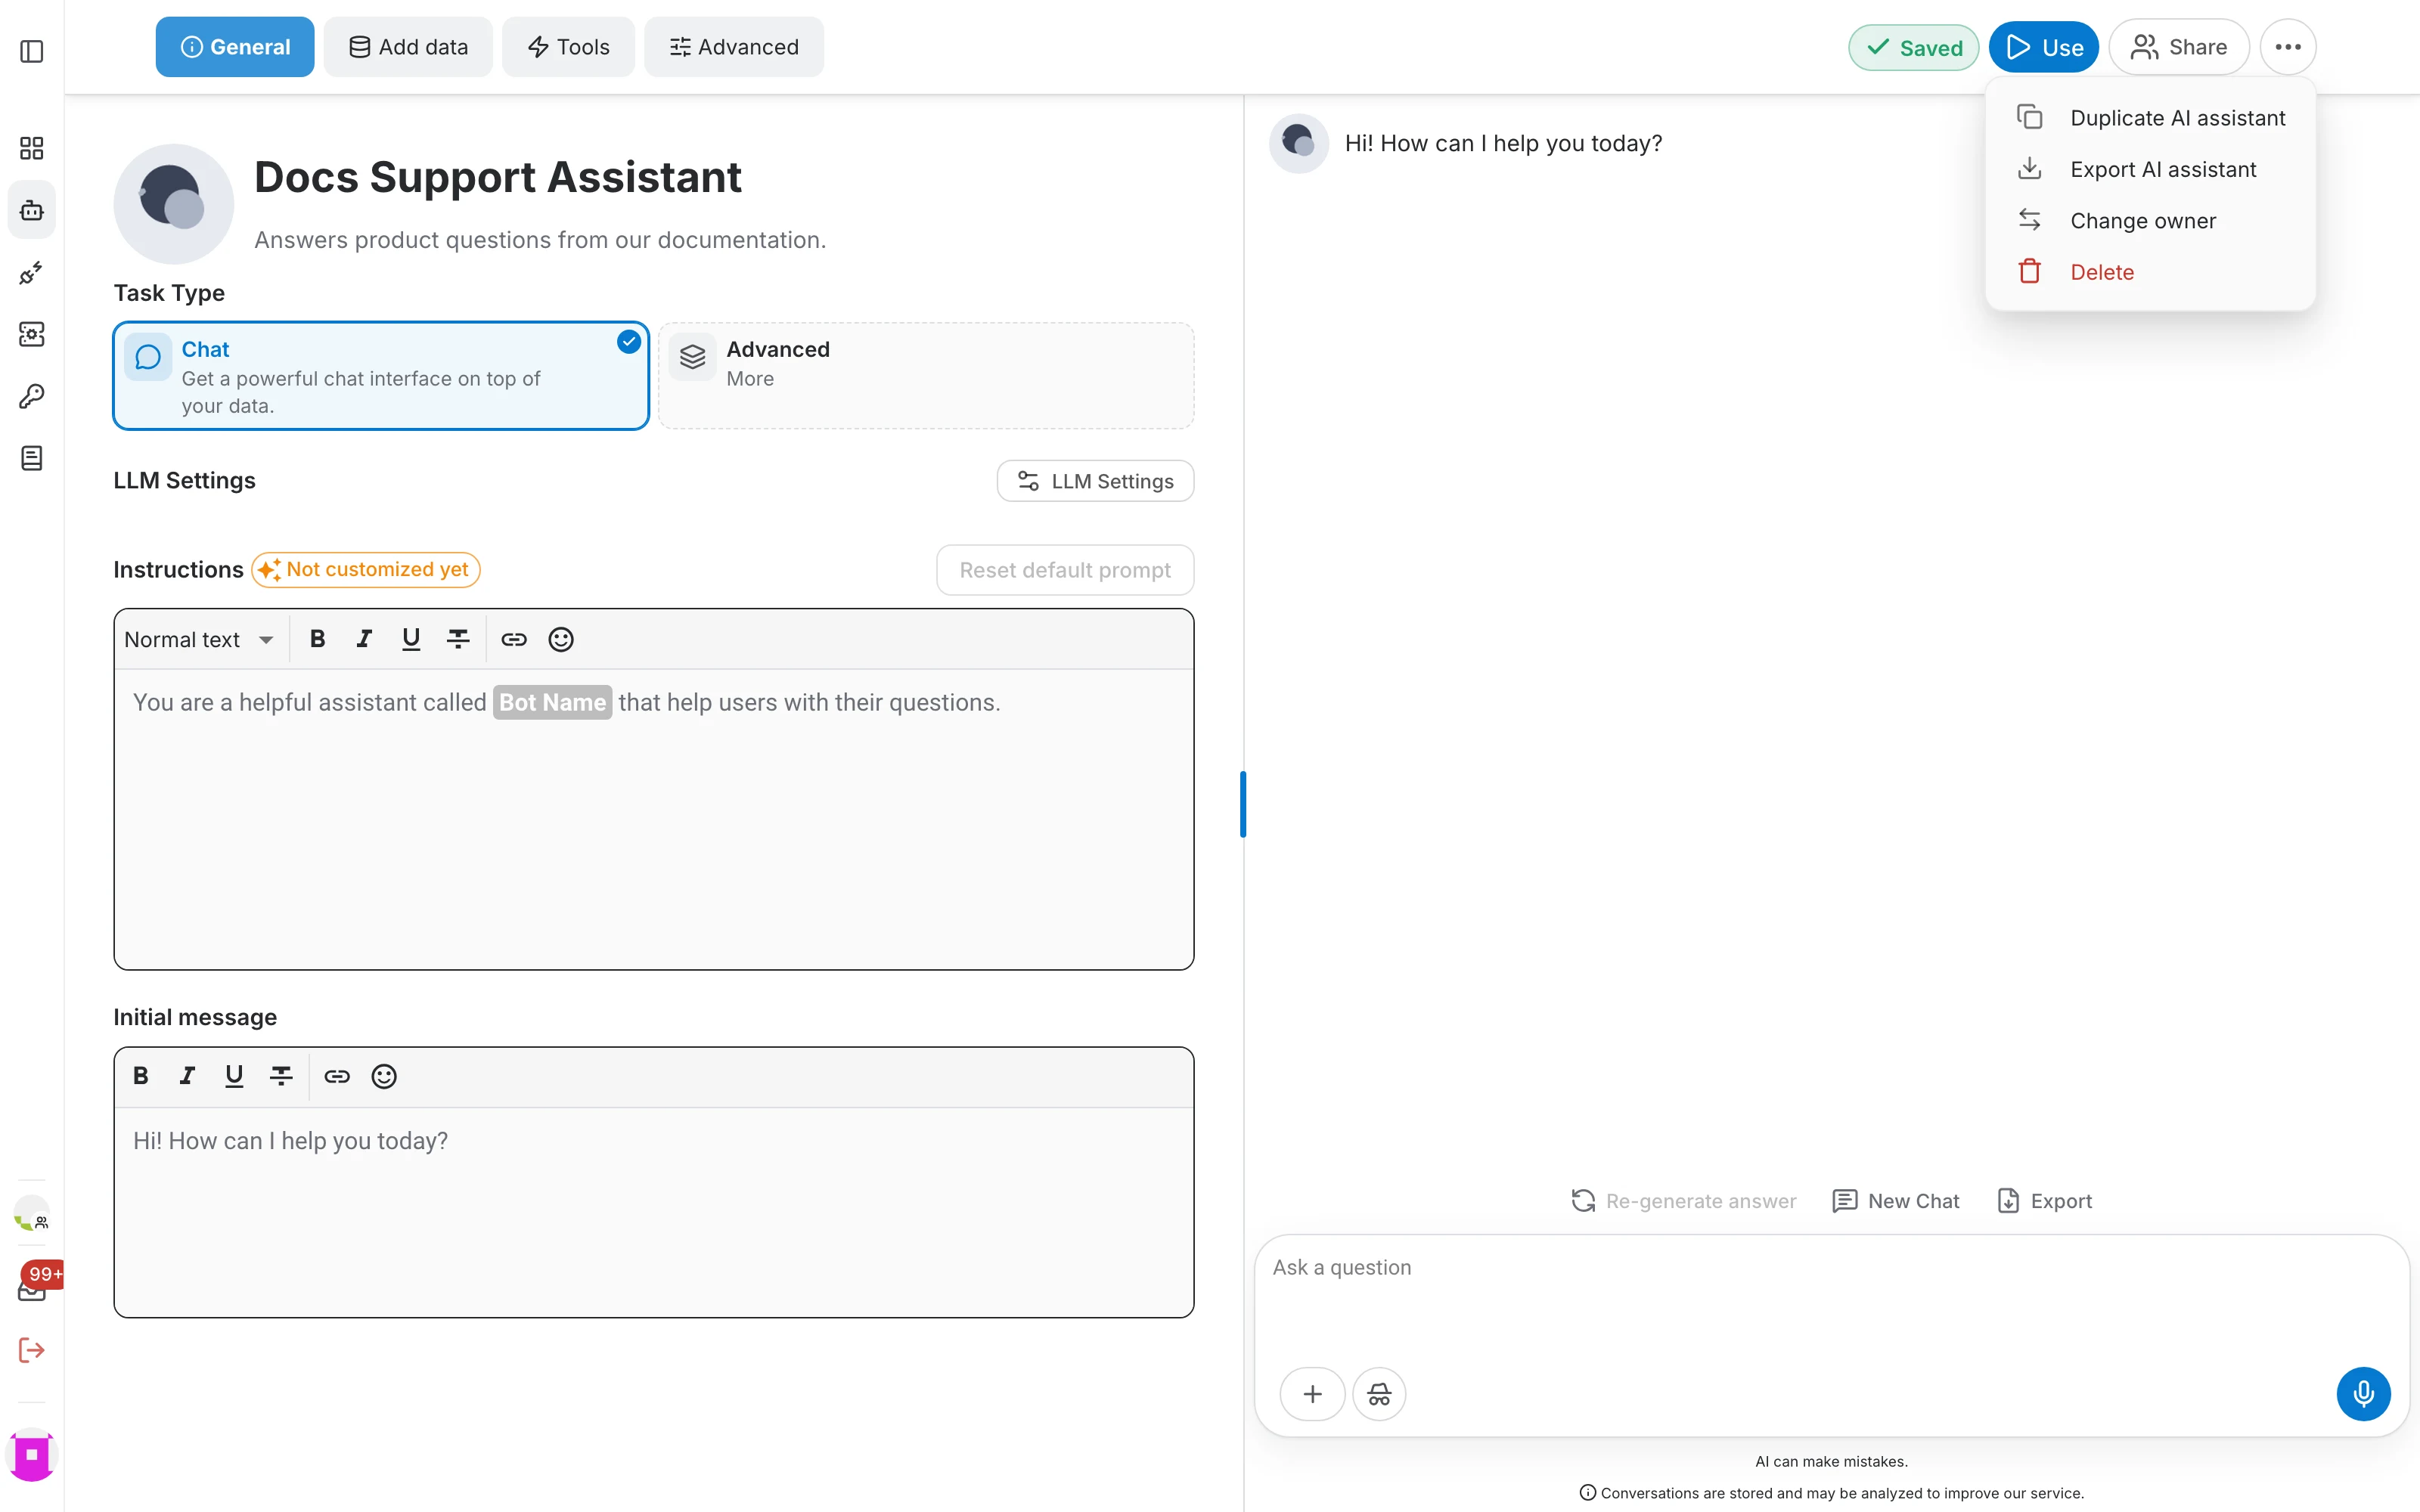
- In the editor, open the ⋯ menu and choose Duplicate AI assistant.
- In the list, open the ⋮ menu on the assistant's row and choose Duplicate.
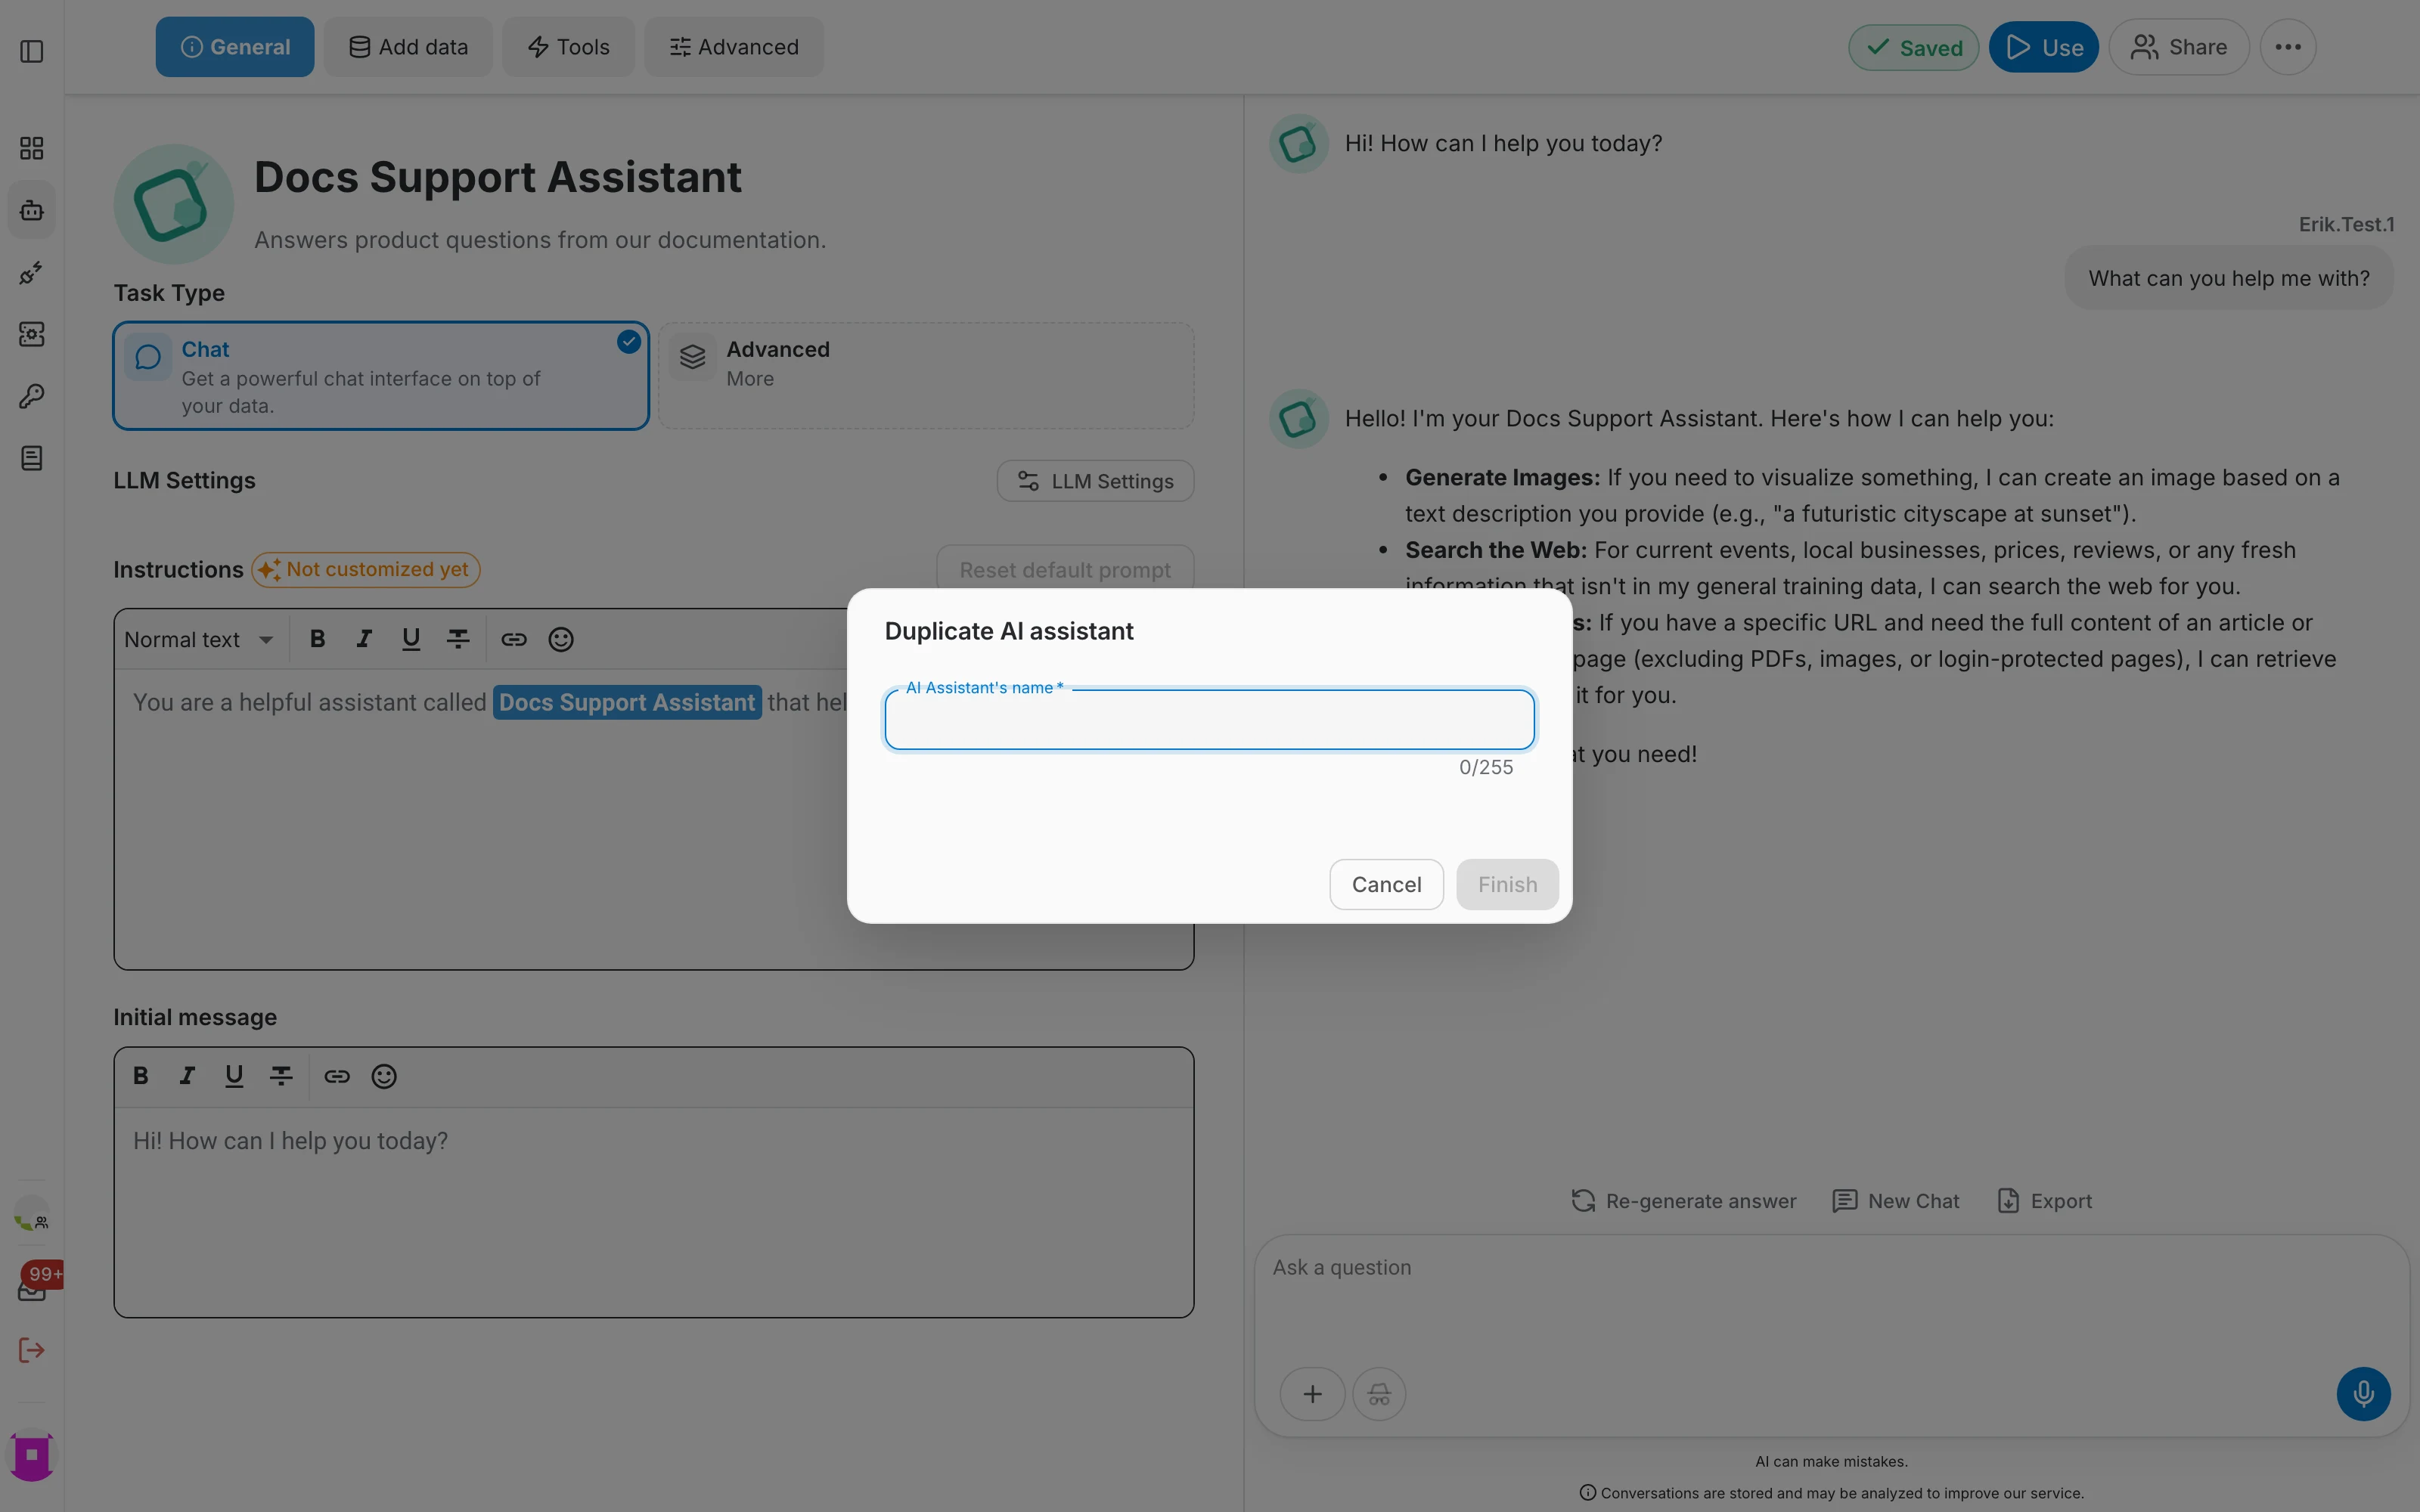
Give the copy a name and confirm with Finish. The duplicate counts towards your assistant quota, so you need a free slot.
Export and import
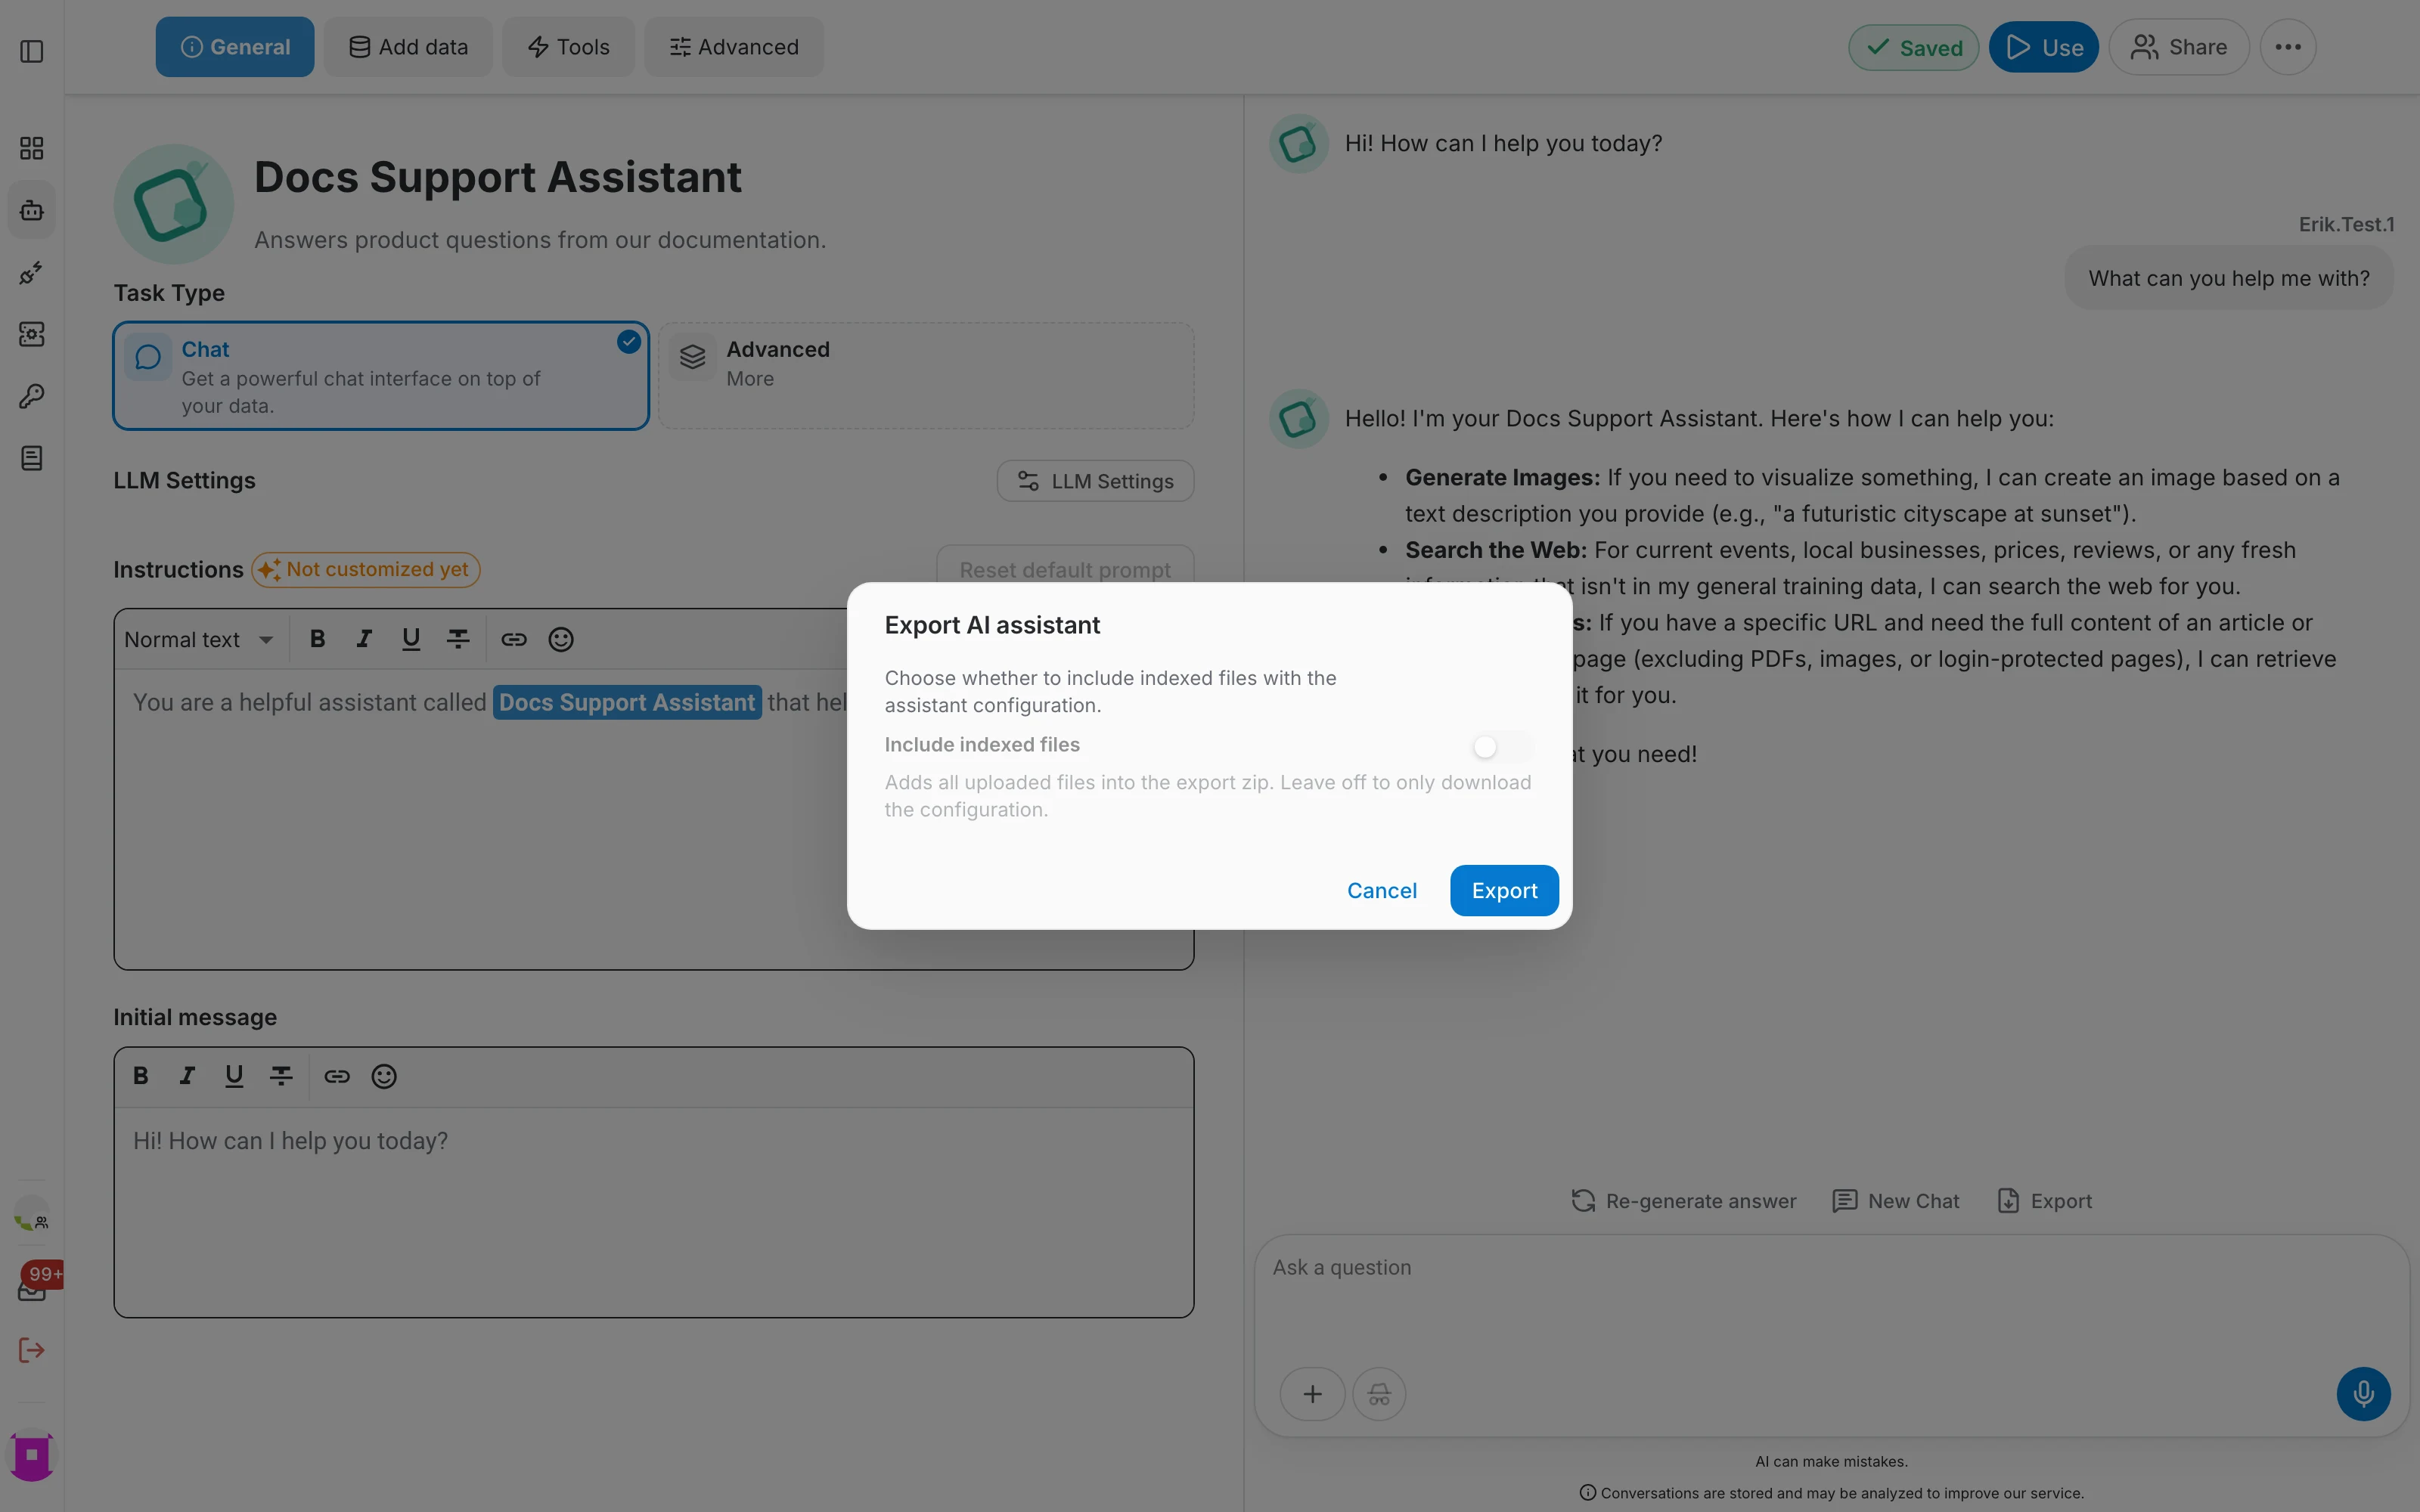
In the editor's ⋯ menu, choose Export AI assistant to download the assistant as a bundle. One switch decides what goes in:
- Left off, the bundle contains the configuration only — task type, model settings, instructions, tools and connector definitions.
- Turned on, Include indexed files adds every uploaded file, so the copy can be rebuilt with its data elsewhere.
Importing a bundle happens from the AI Assistants toolbar rather than from an existing assistant — see Import an assistant.
Change owner
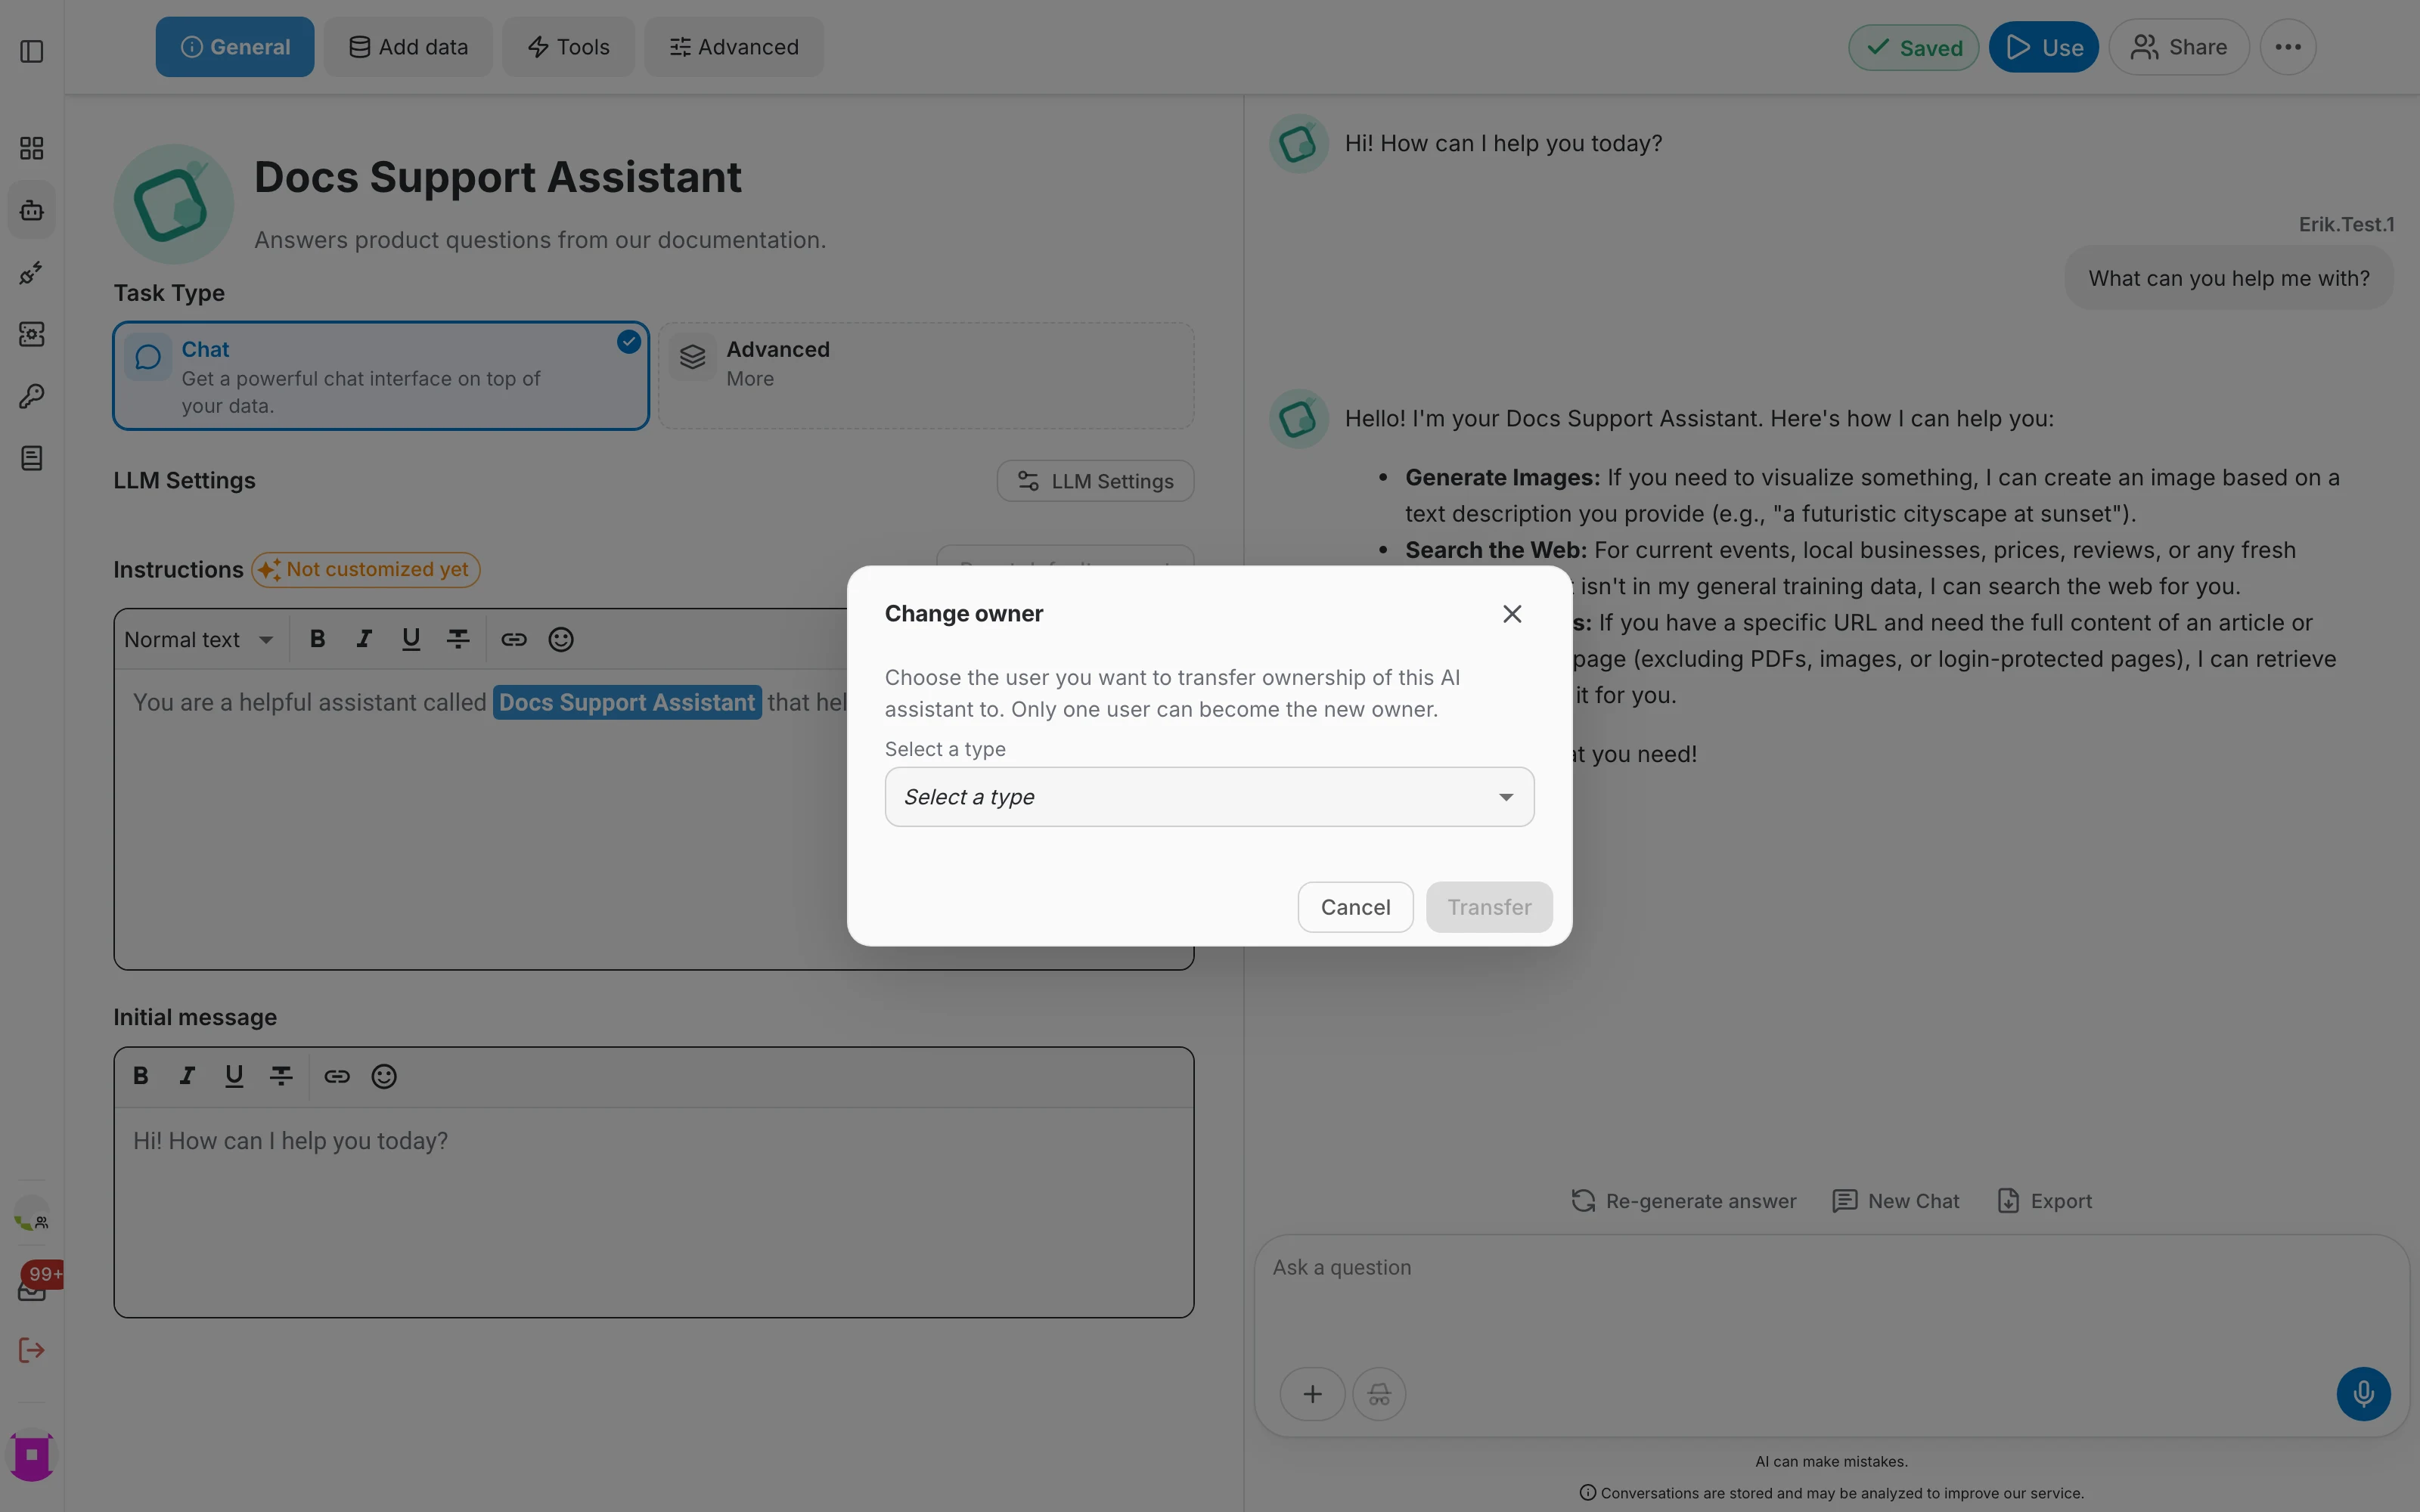
The owner of an assistant is the account it counts against and the only account that may hand it over. Open the ⋯ menu, choose Change owner, pick the new owner and confirm with Transfer.
Delete an assistant
Delete is the last entry of both the editor's ⋯ menu and the row's ⋮ menu. QAnswer asks for a confirmation before removing the assistant, and the confirmation names the assistant's internal identifier rather than its display name.
For an assistant that was shared with you, the menu offers to remove it from your list instead. That only hides it for you; the owner's assistant is untouched.
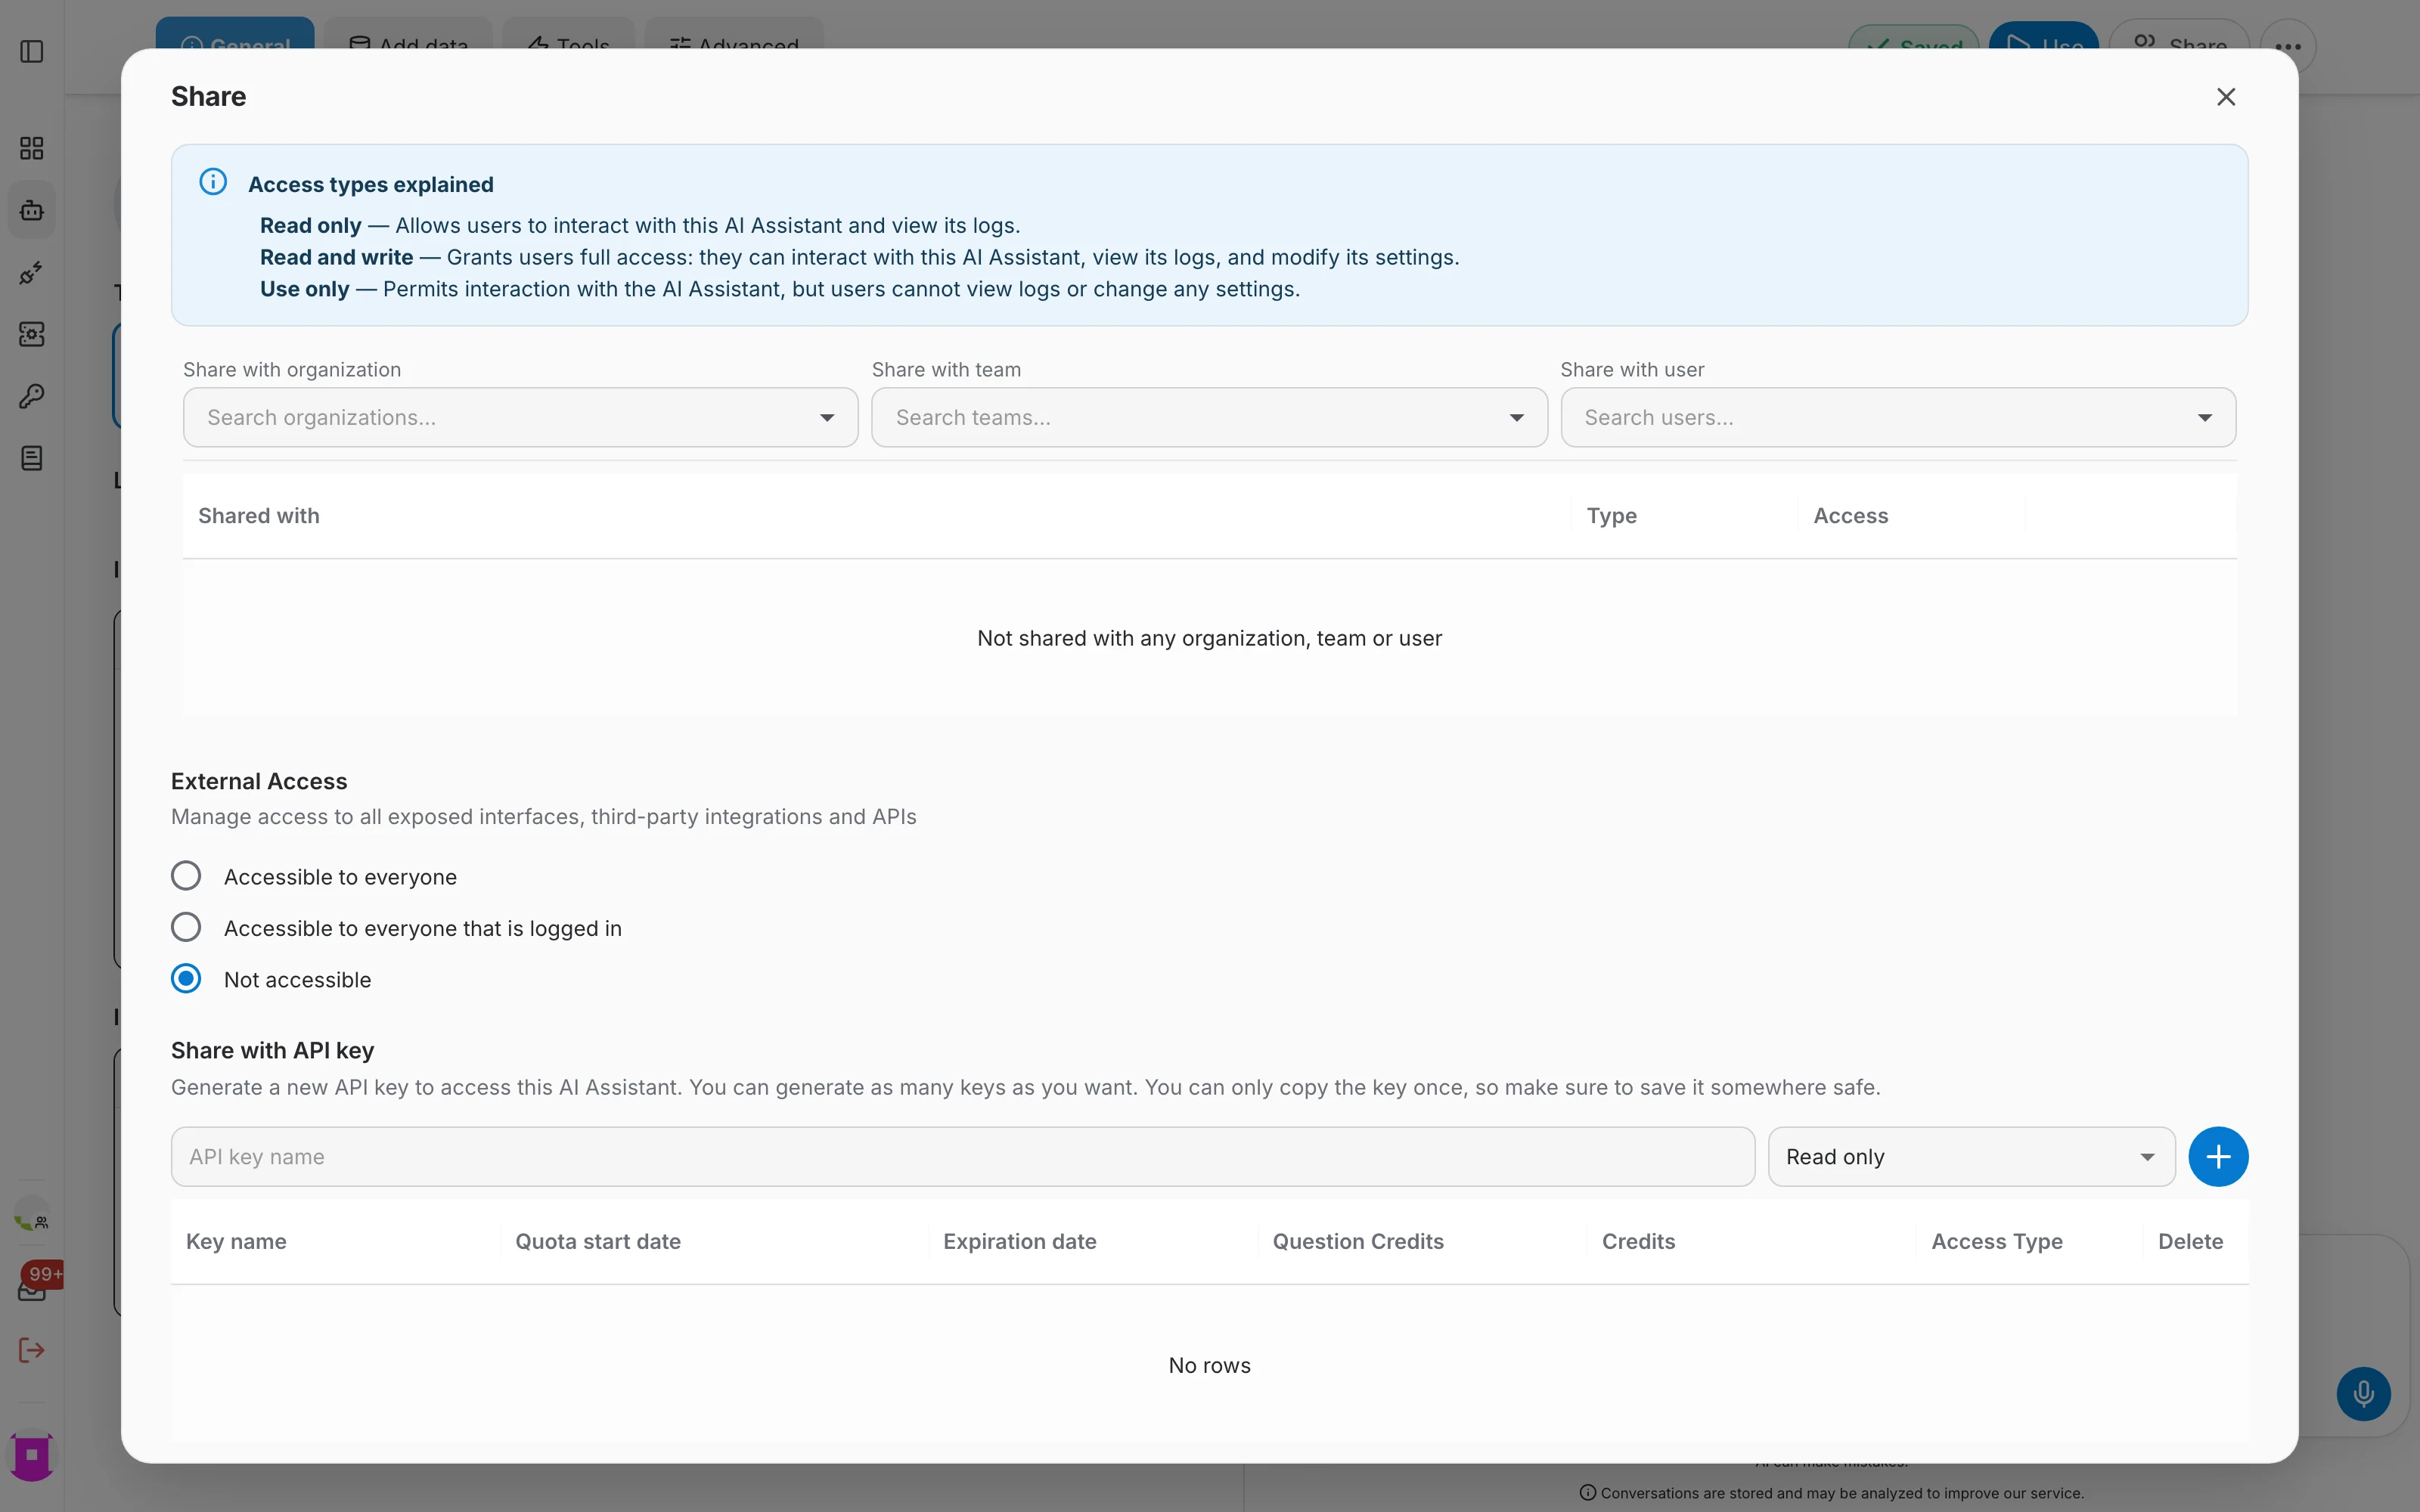
Sharing and access
Who may use or edit the assistant is not part of the editor's tabs but of the Share dialog, next to the ⋯ menu. It covers organizations, teams and individual users, external access to the exposed interfaces, and API keys. All of it is documented on the access rights page.