
Website Chatbot
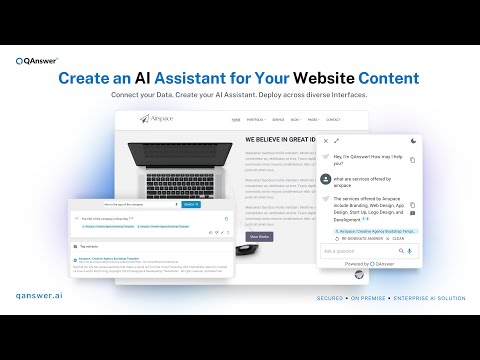
Video Tutorial
Website Chatbot
Watch on Tutorials page →
The website chatbot puts your AI Assistant on any website as a small chat bubble that visitors can open and talk to. You configure it entirely in QAnswer and then paste one snippet of code into your site.
Open the assistant, go to the Expose tab and select the Website chatbot card. The page that opens is a five-step installation guide; work through the steps from top to bottom.
Step 1 — Customize
The first step is split in two: the Widget Settings card on the left holds the options, and the Widget Preview on the right shows the result live as you change them.
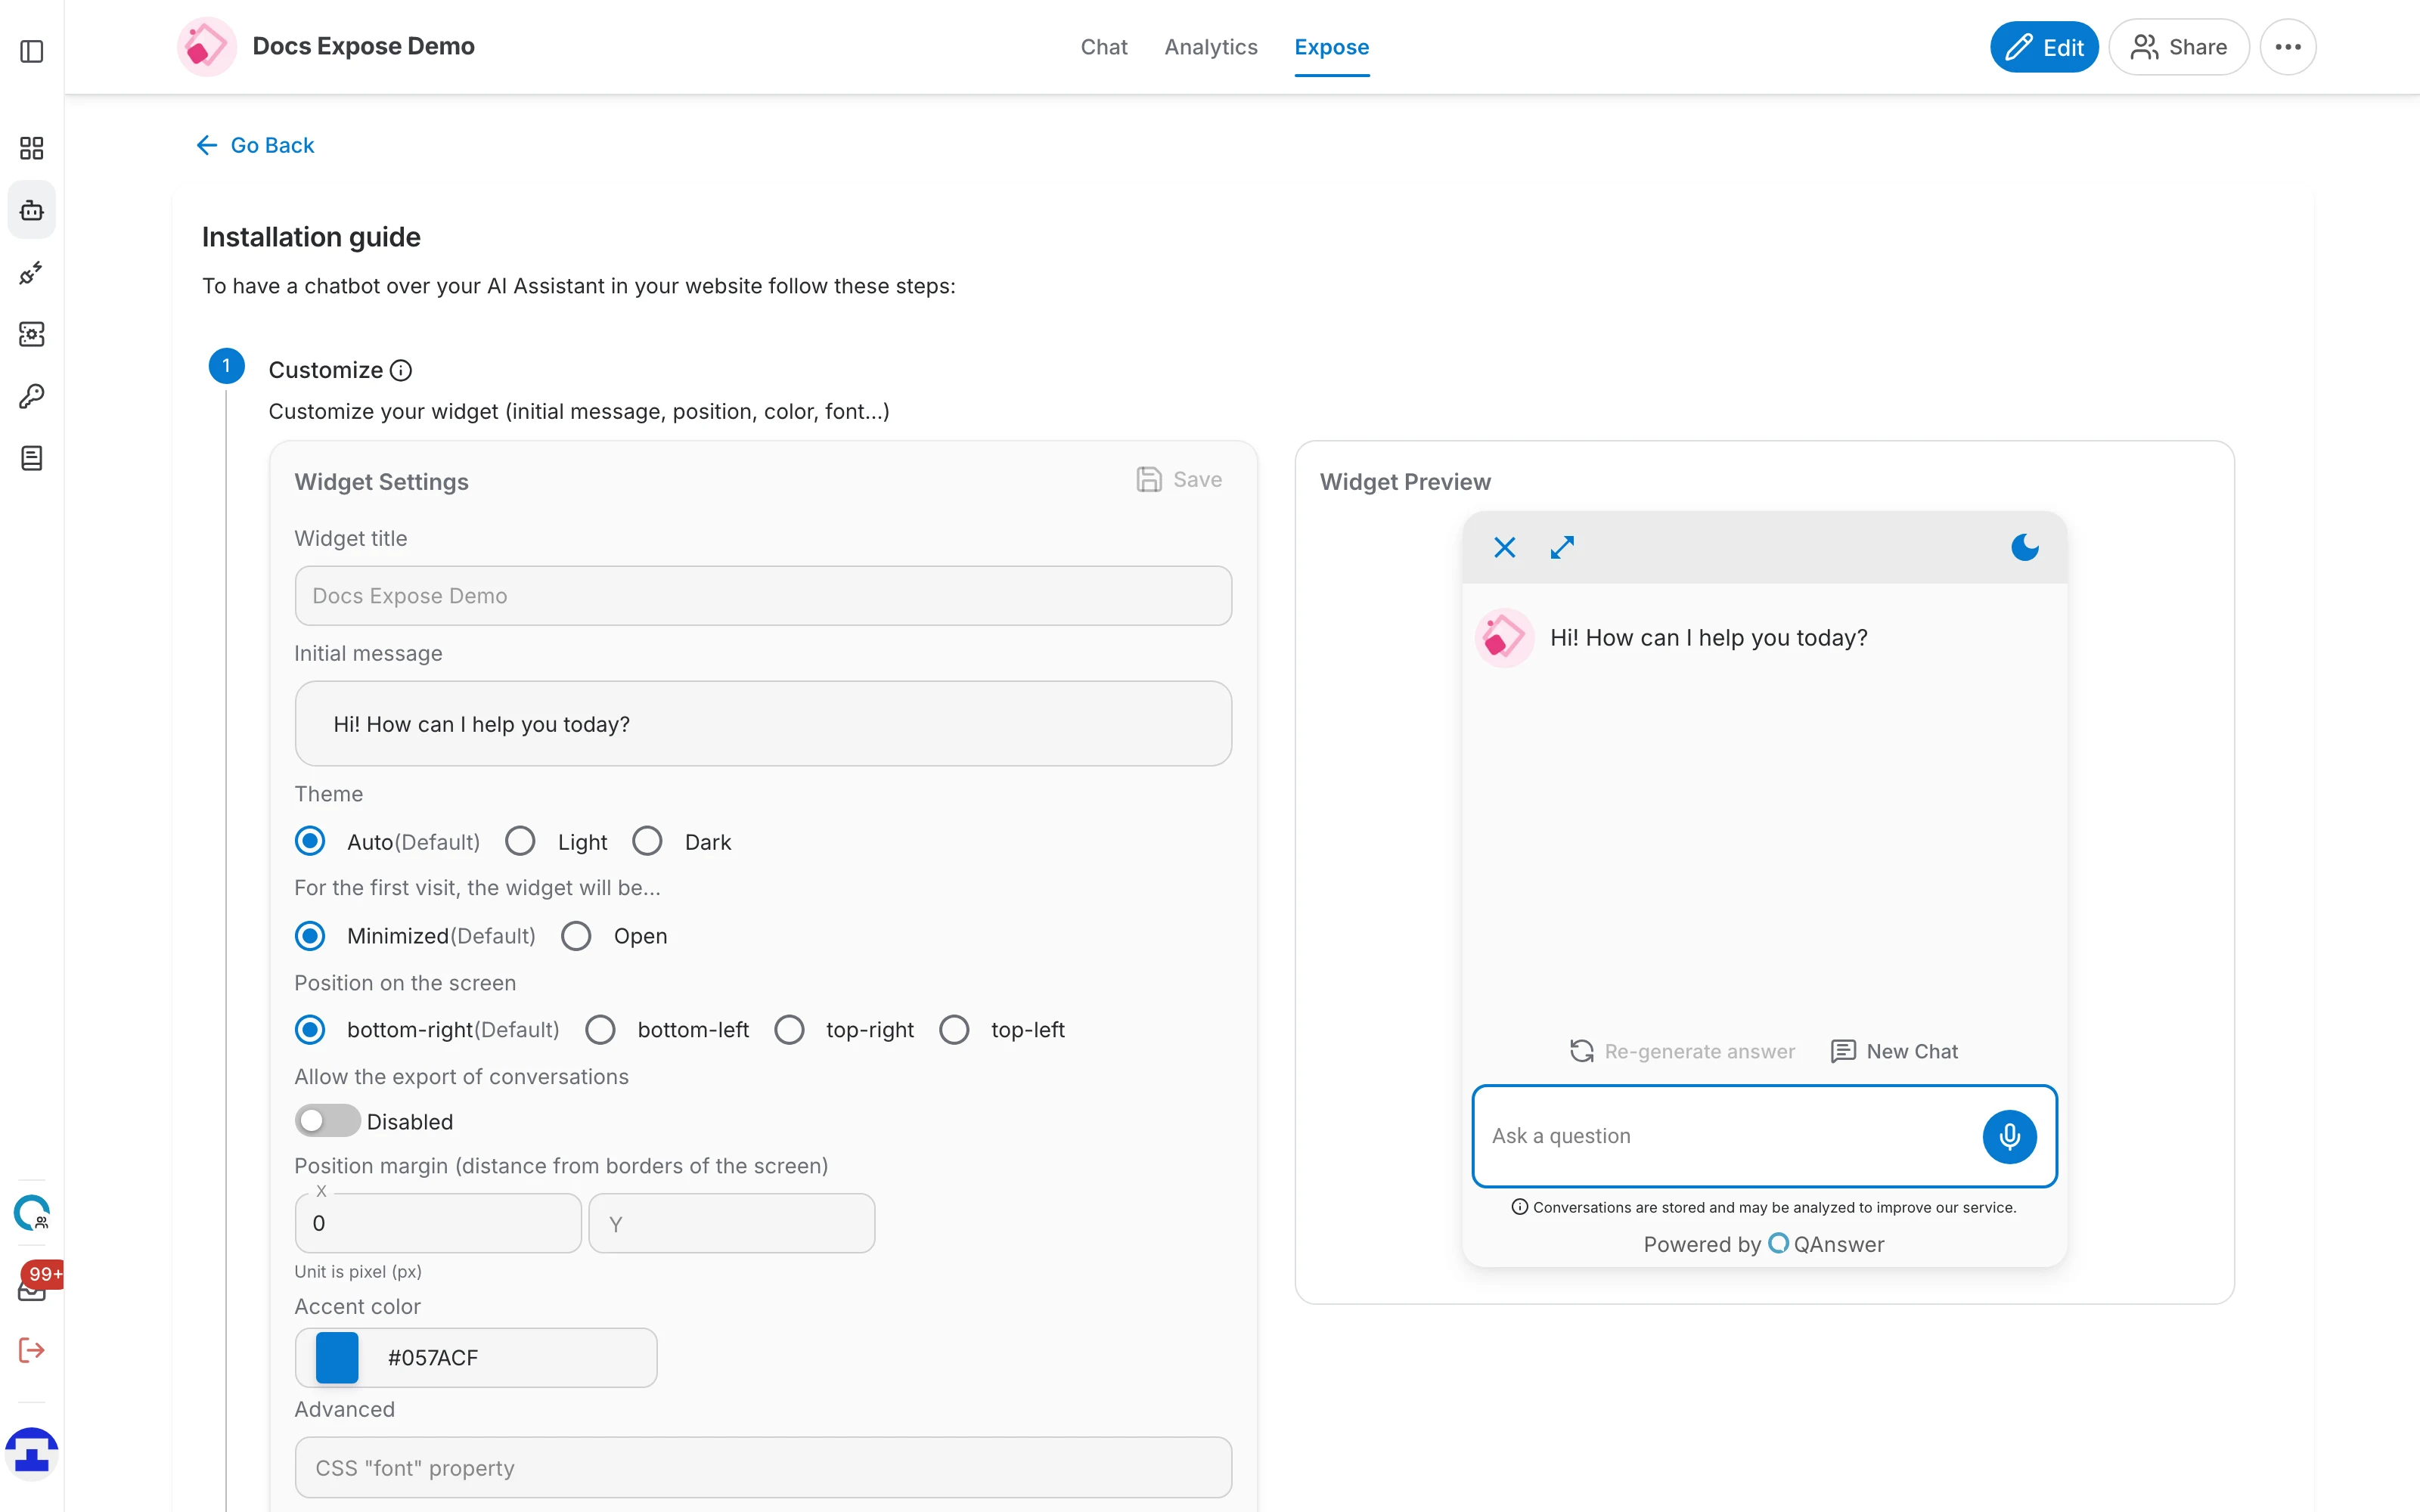
The upper half of the settings card covers how the widget looks and behaves:
- Widget title — the heading shown at the top of the open widget. Left empty, the assistant's own name is used.
- Initial message — the greeting the assistant opens with before the visitor types anything.
- Theme — Auto, Light or Dark. Auto follows the visitor's own system setting.
- For the first visit, the widget will be… — Minimized shows only the bubble; Open expands the chat straight away.
- Position on the screen — which corner the widget sits in — bottom-right, bottom-left, top-right or top-left.
- Allow the export of conversations — adds a control that lets visitors download their conversation.
Scrolling further down the same card reveals the finer styling options:
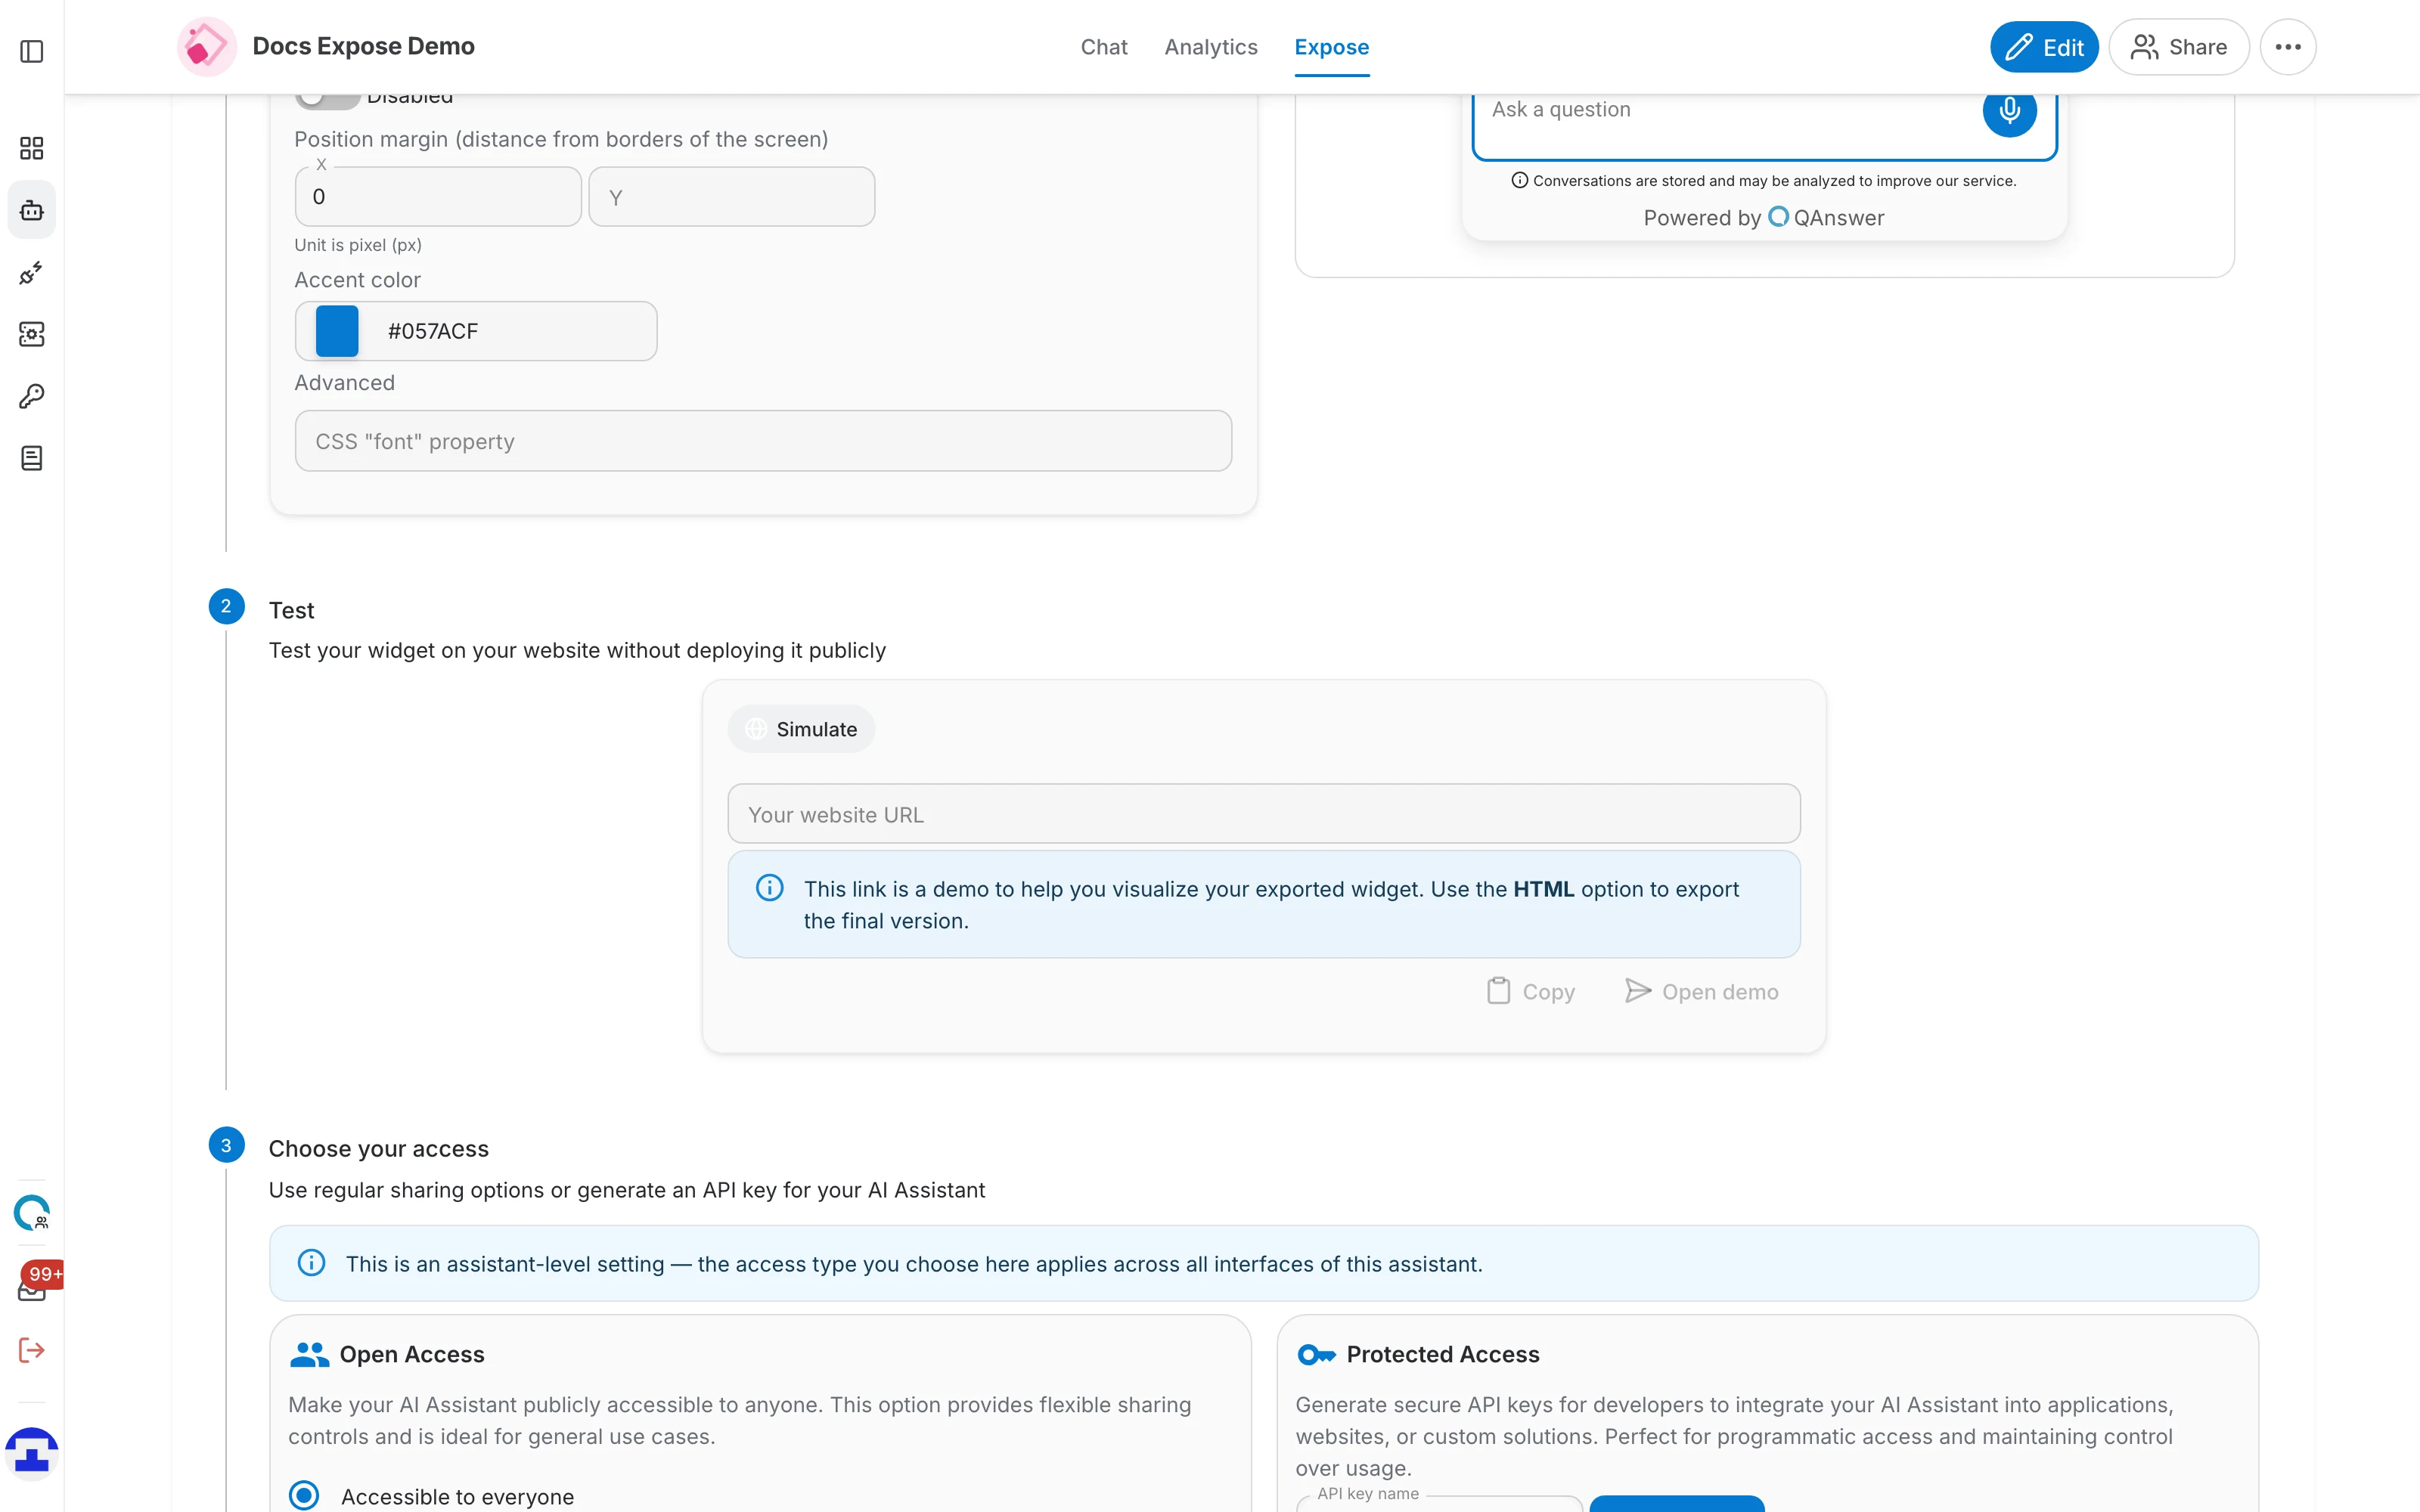
- Position margin — the X and Y distance in pixels between the widget and the edges of the screen — useful when the widget would otherwise cover something on your site.
- Accent color — the primary and secondary colours of the widget, so it can match your brand.
- Show "Powered by" text — clear the checkbox to remove the QAnswer credit from the bottom of the widget.
- CSS "font" property — an advanced escape hatch that lets you pass a raw CSS font declaration so the widget matches your site's typography.
Step 2 — Test
Before touching your real site, you can see the widget on top of it. Enter the address of the page you want to try it on:
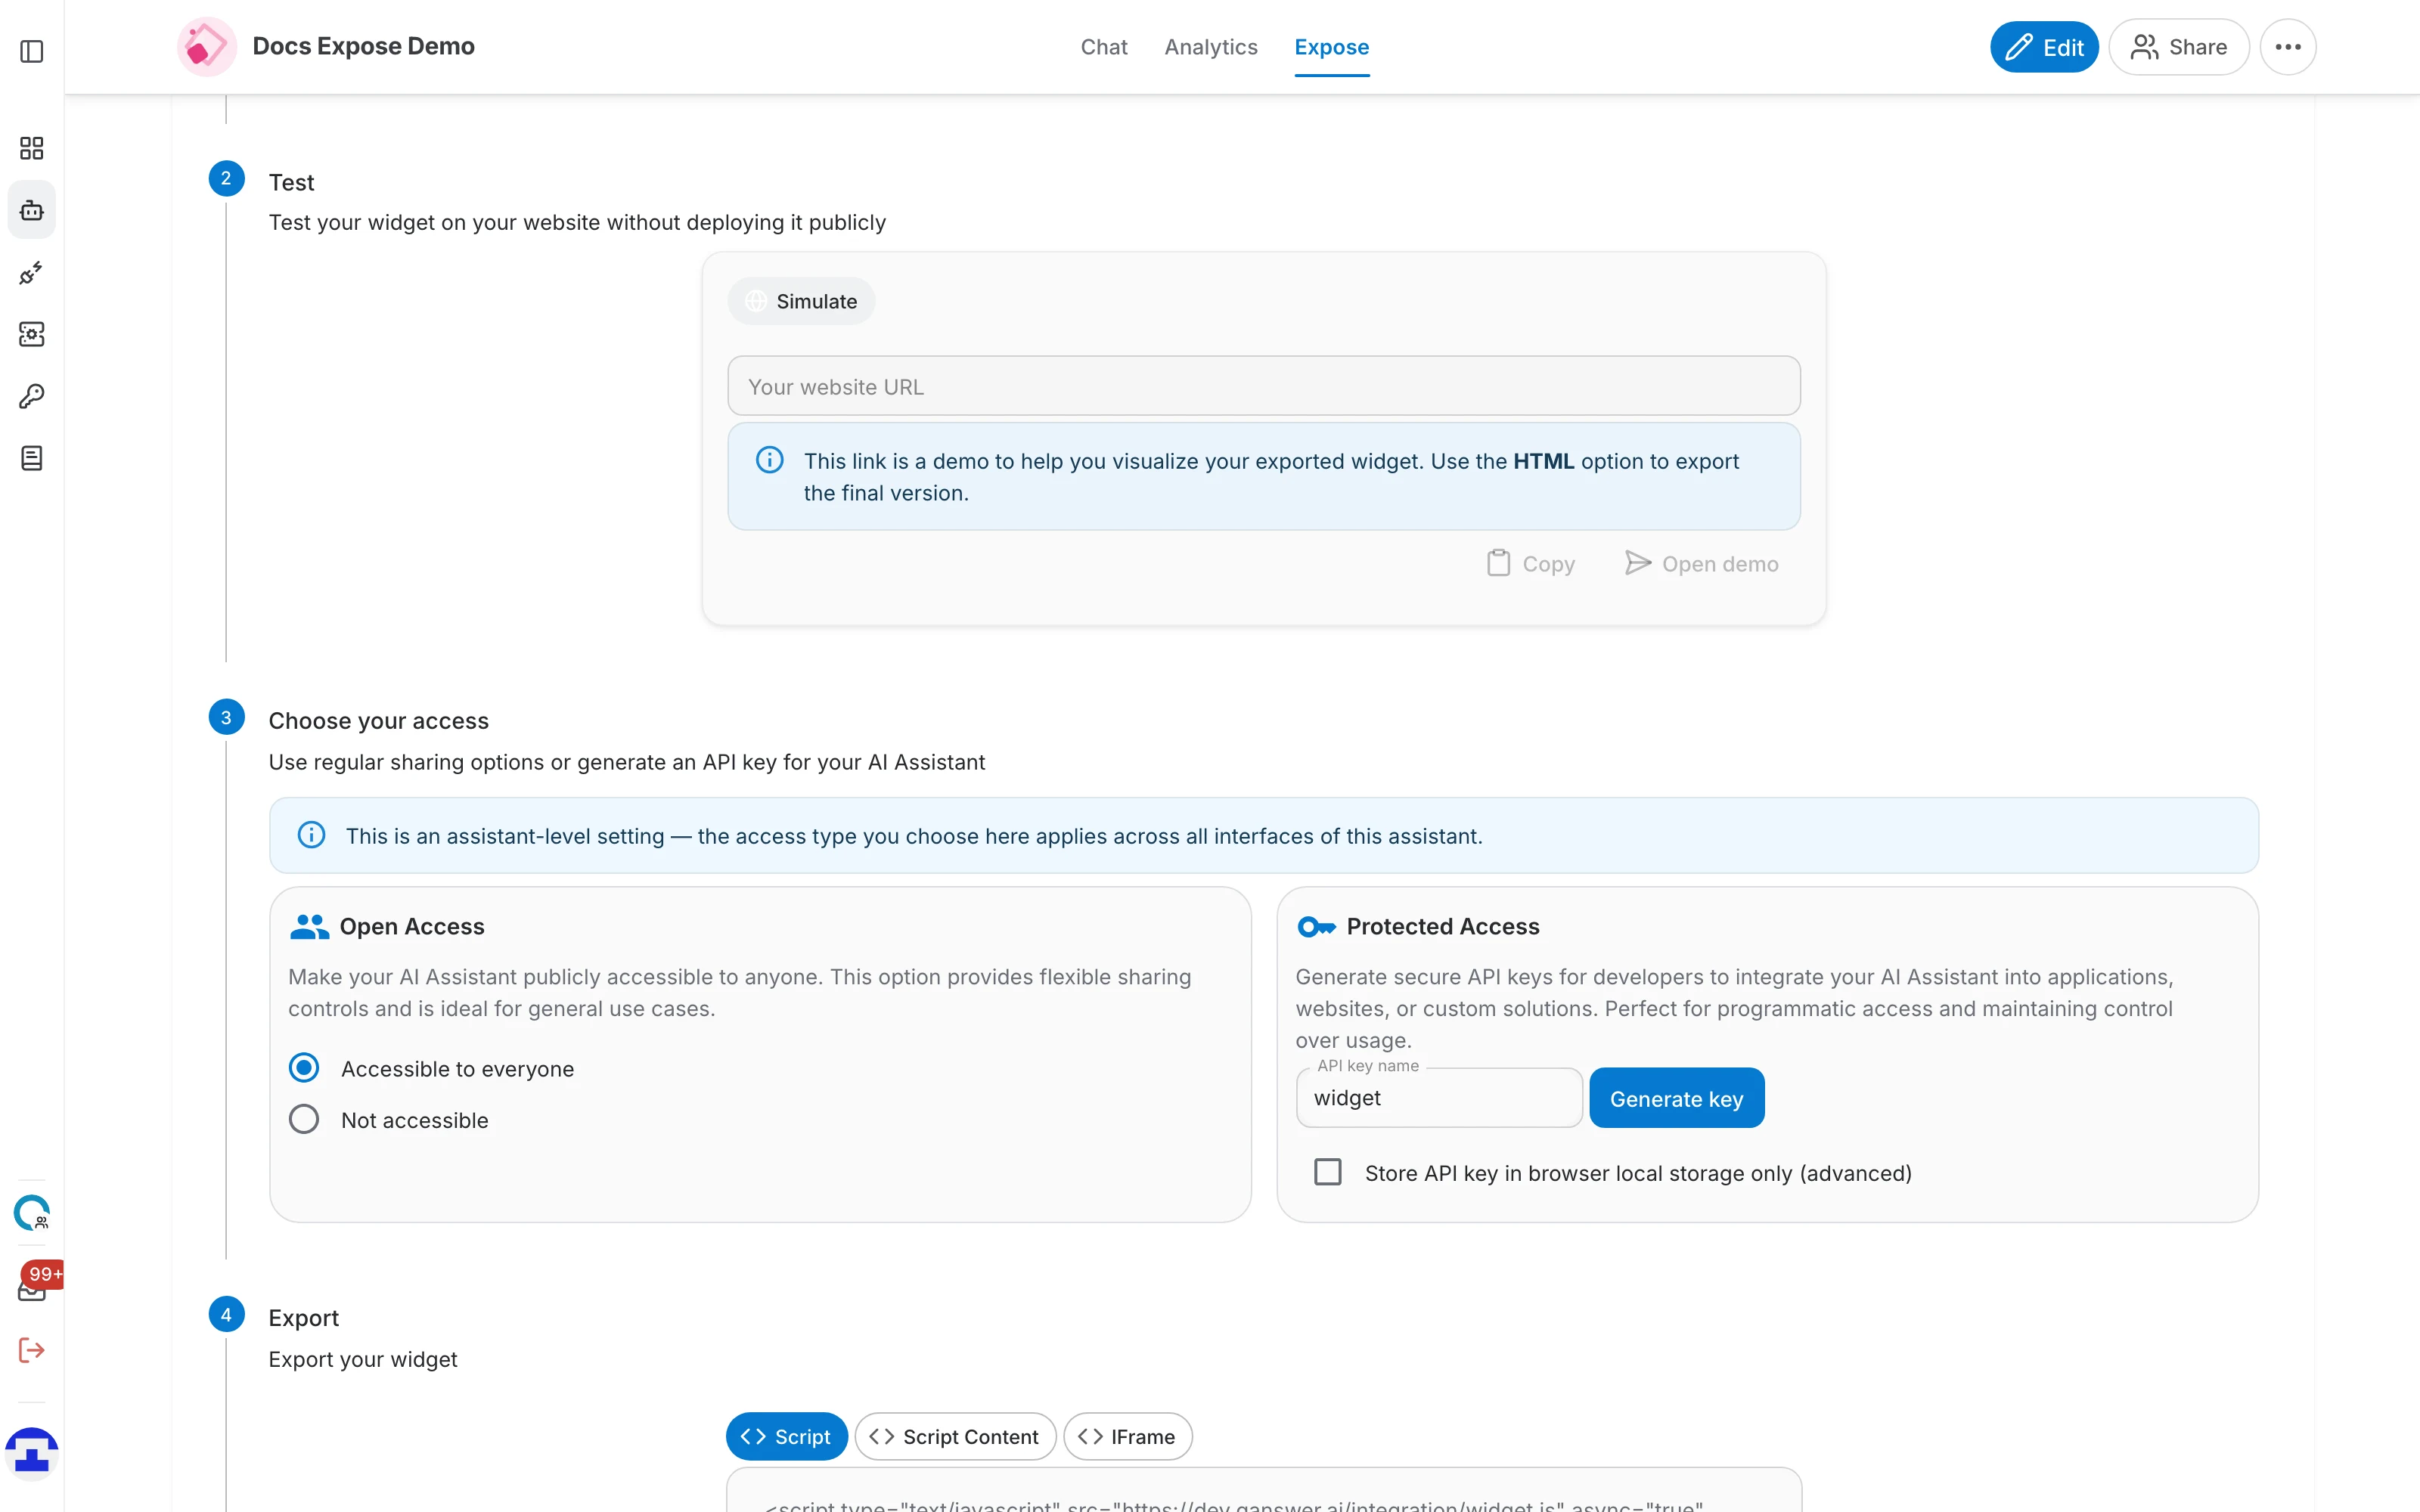
- Open demo opens that page in a new tab with your widget laid over it.
- Copy copies the demo link, so you can send it to a colleague for review.
Step 3 — Choose your access
A widget on a public website has to be reachable by people who are not signed in to QAnswer. This step decides who that is. There are two cards, and you use one or the other:
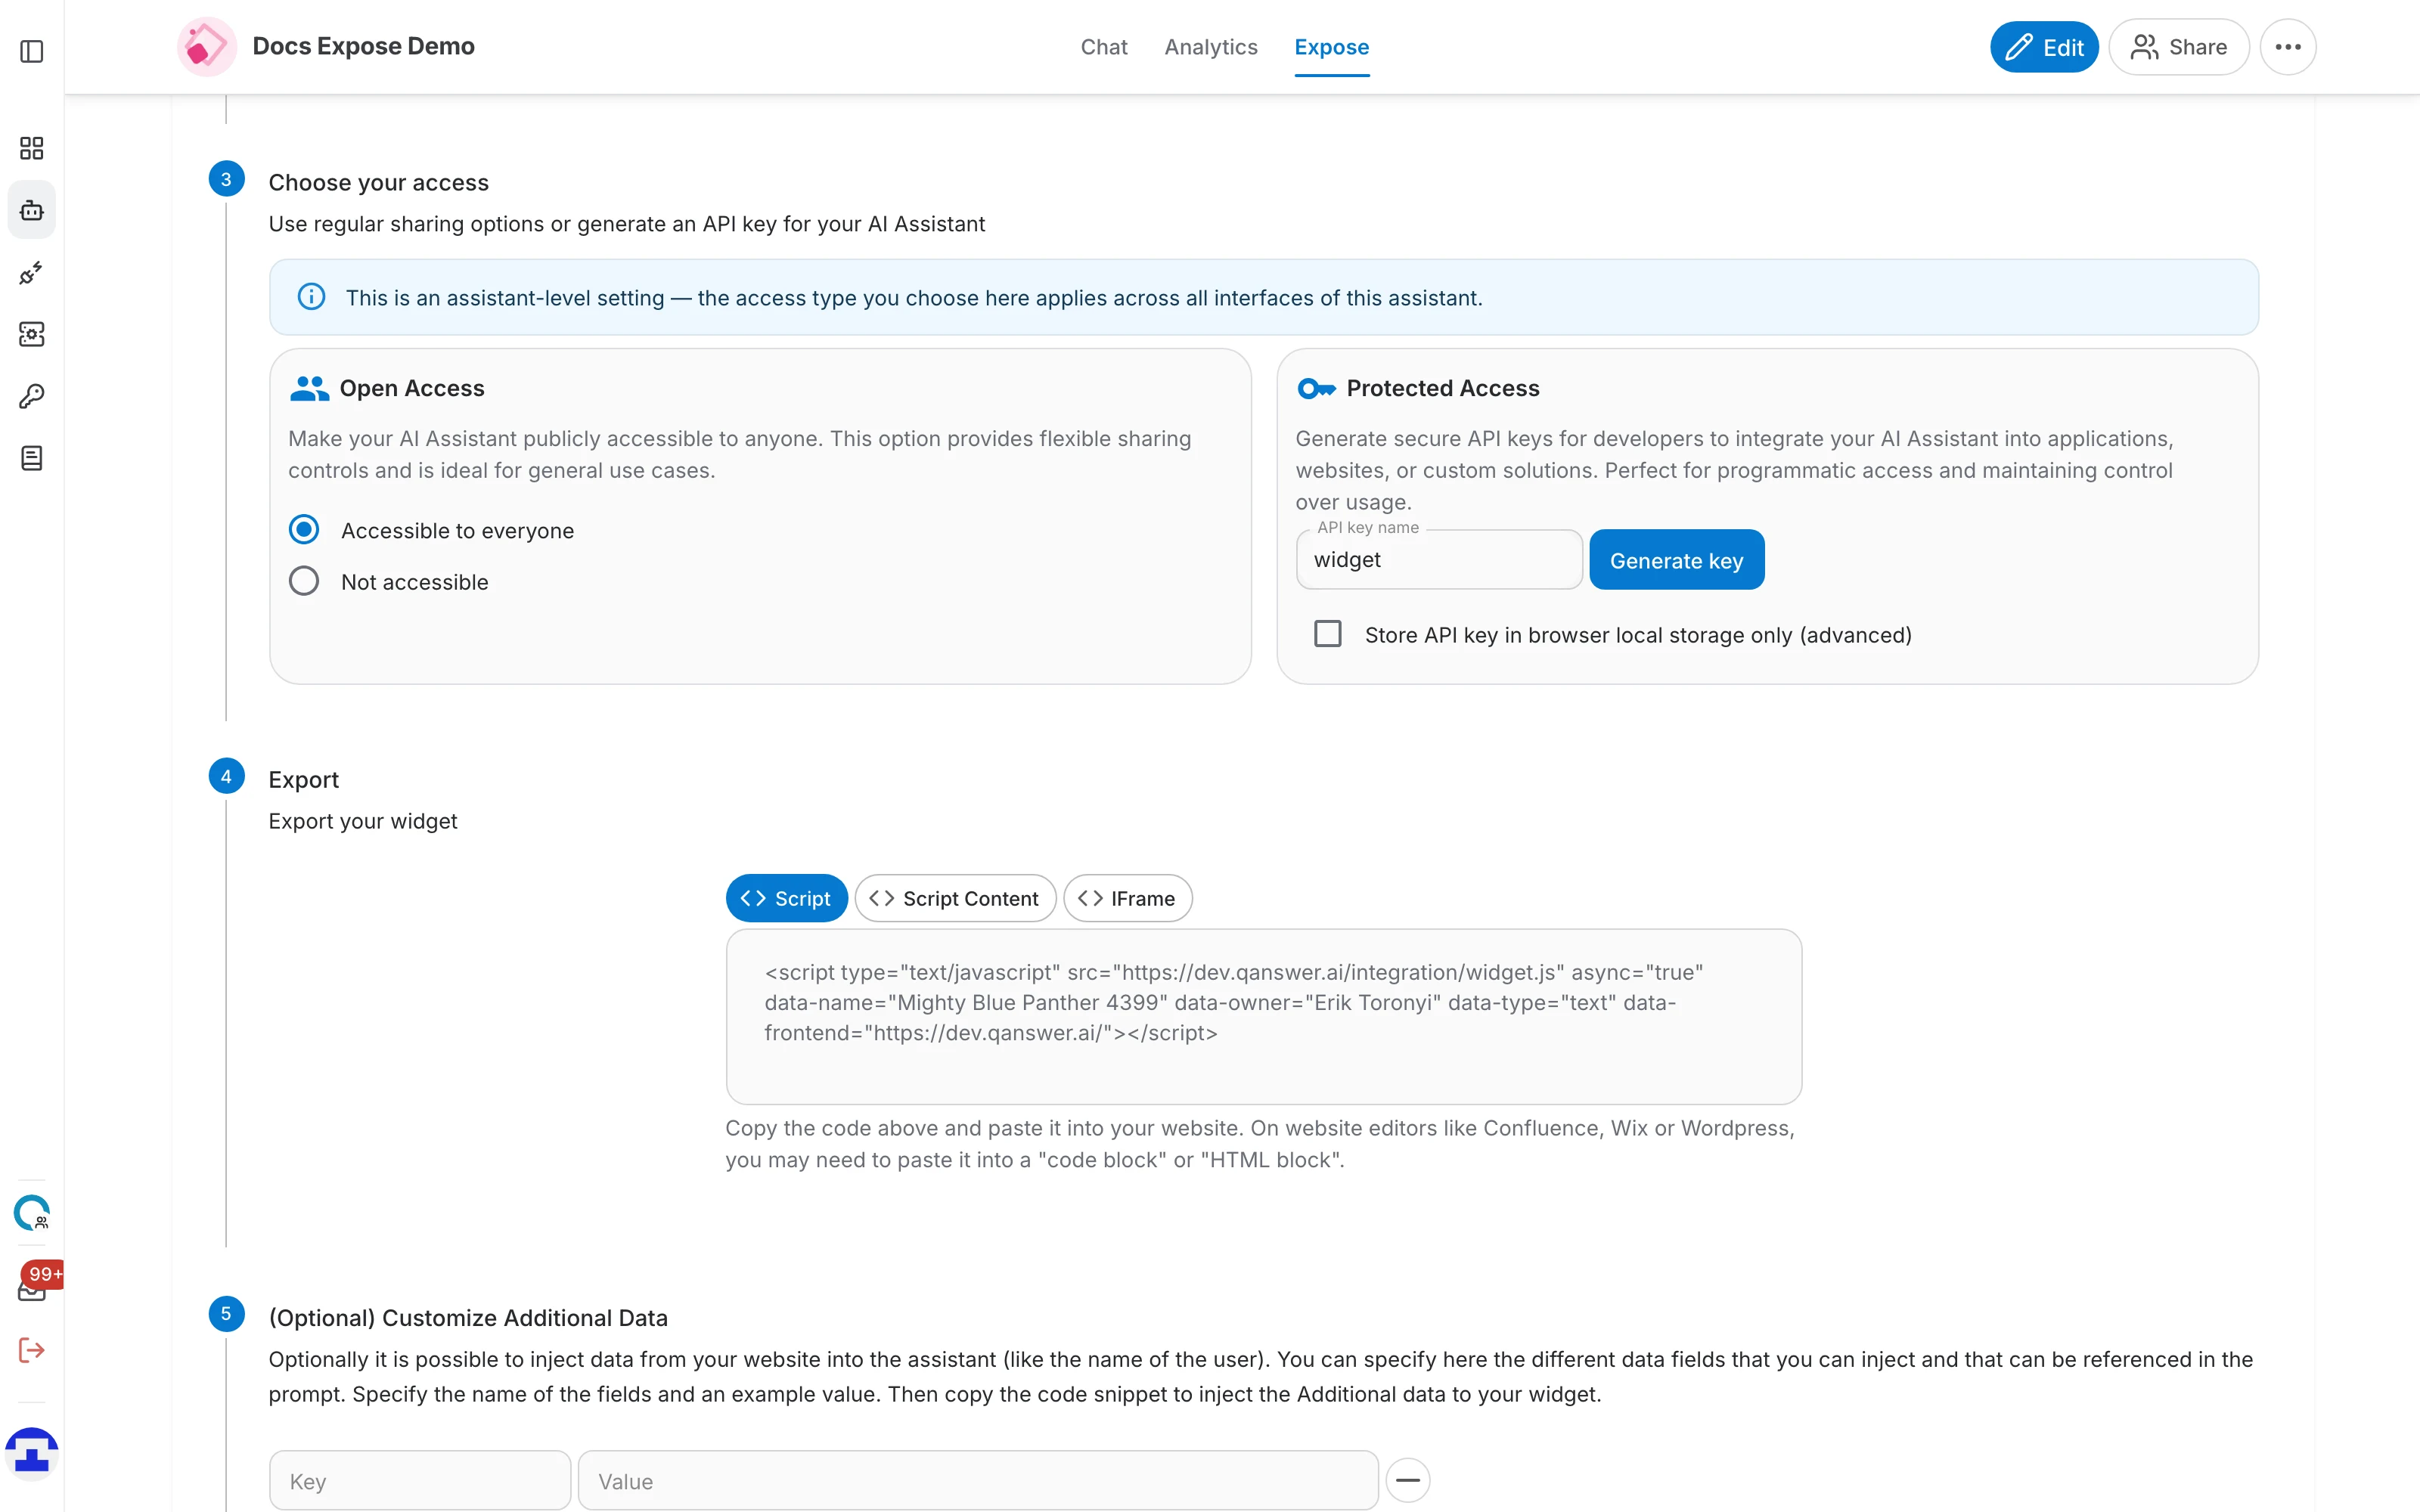
Open Access
Makes the assistant publicly reachable, with no credentials of any kind:
- Accessible to everyone — anyone who loads your website can use the widget. This is the usual choice for a public site.
- Not accessible — nobody outside QAnswer can reach it. The widget will not work while this is selected.
Protected Access
Instead of opening the assistant up, you can generate an API key that the integration sends with each request:
- Give the key a name and press Generate key. Copy the key when it appears — it is your only chance to see it.
- "Store API key in browser local storage only (advanced)" keeps the key out of the page source and in the visitor's browser storage instead.
Step 4 — Export
The last required step gives you the code to paste into your website. Three flavours of the same integration are available; pick the one that fits how your site is built.
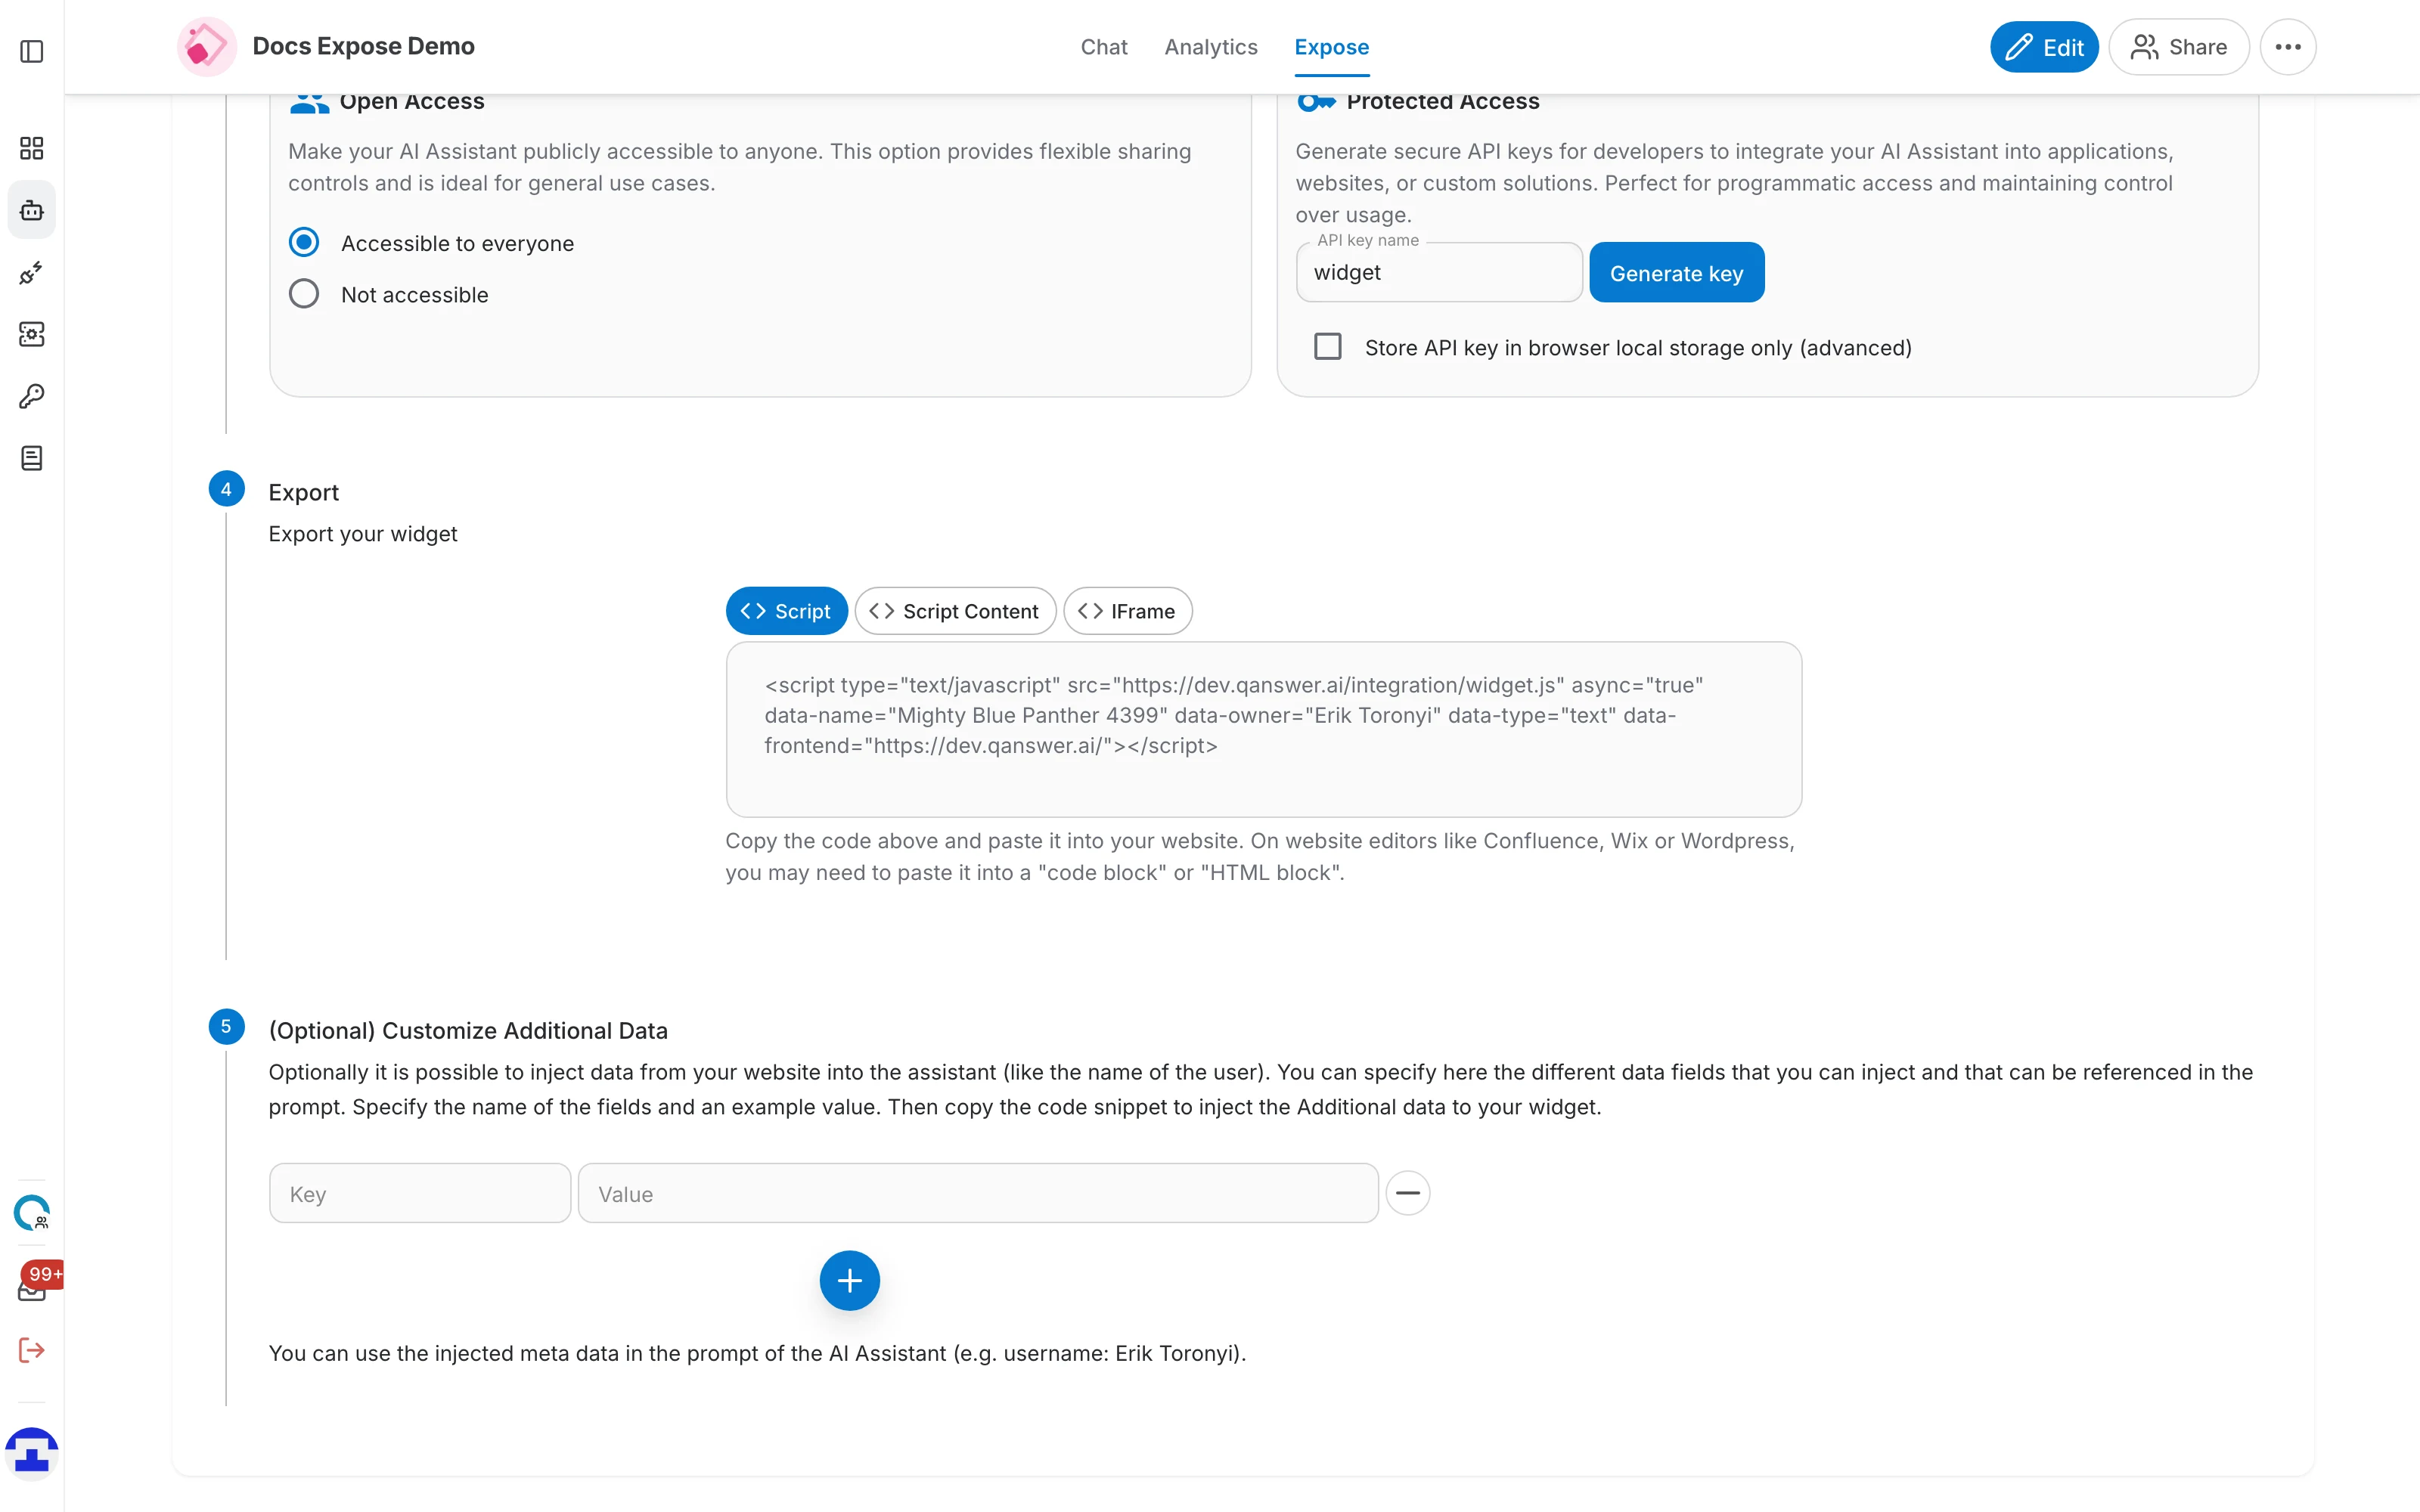
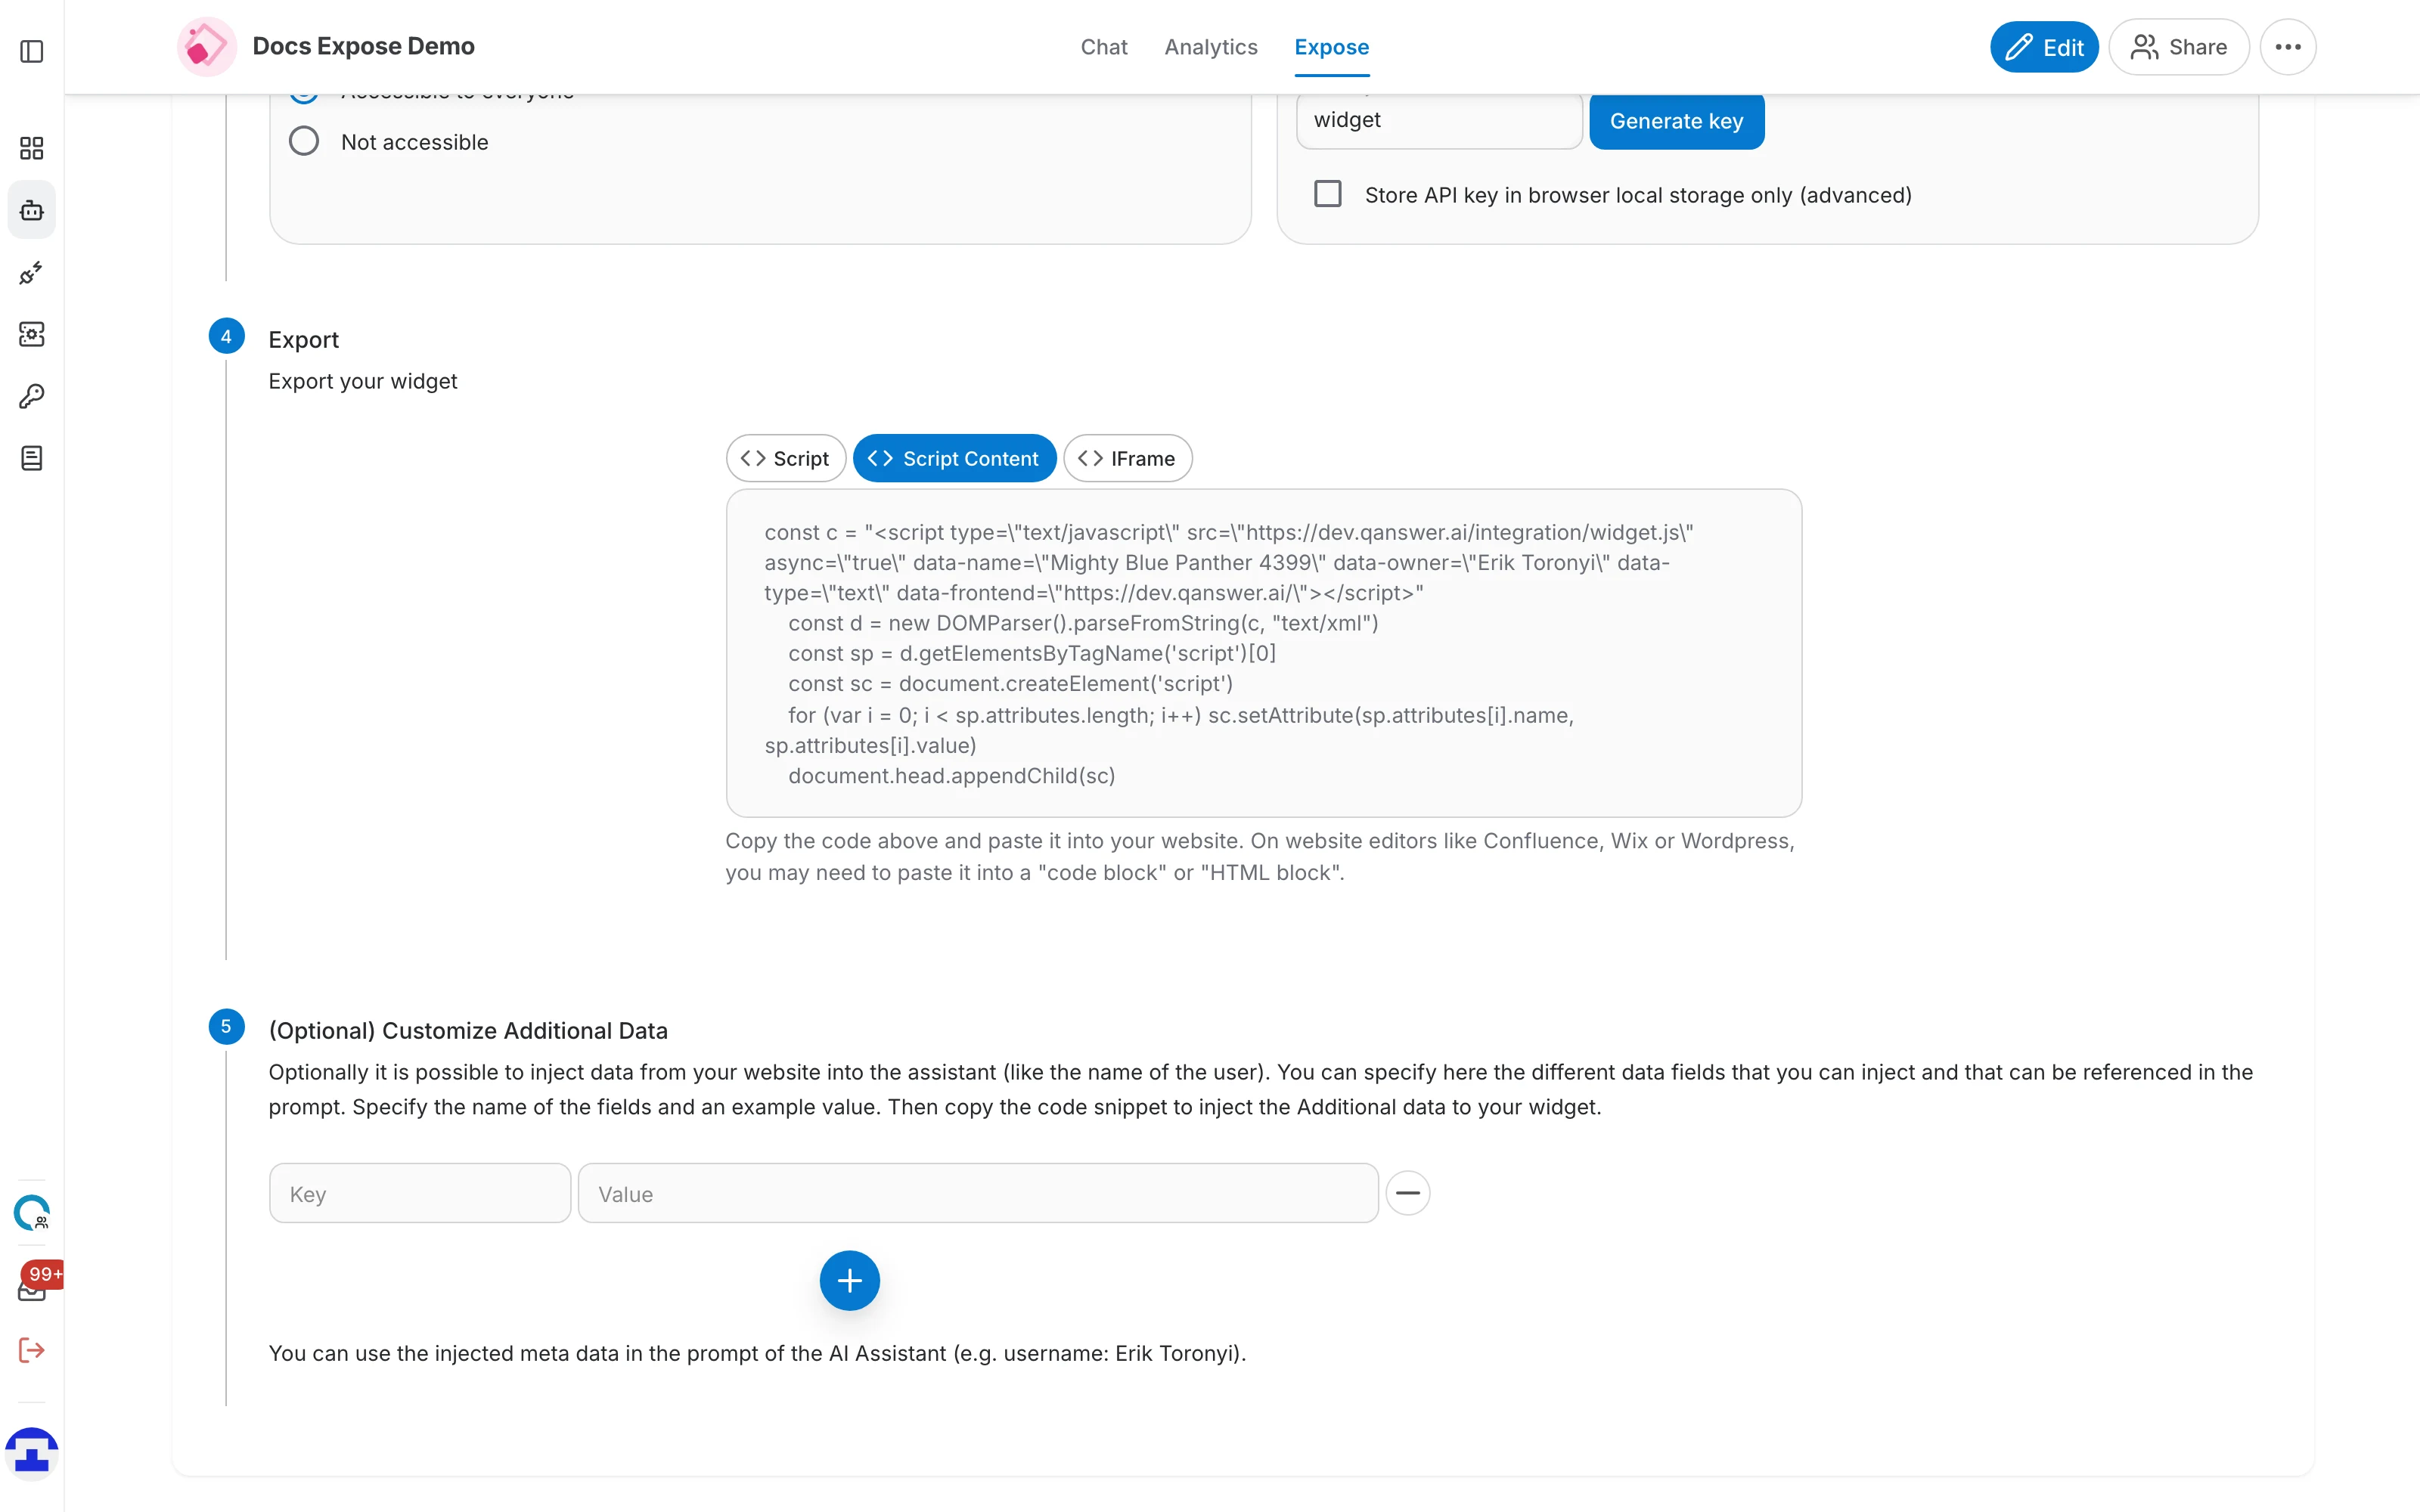
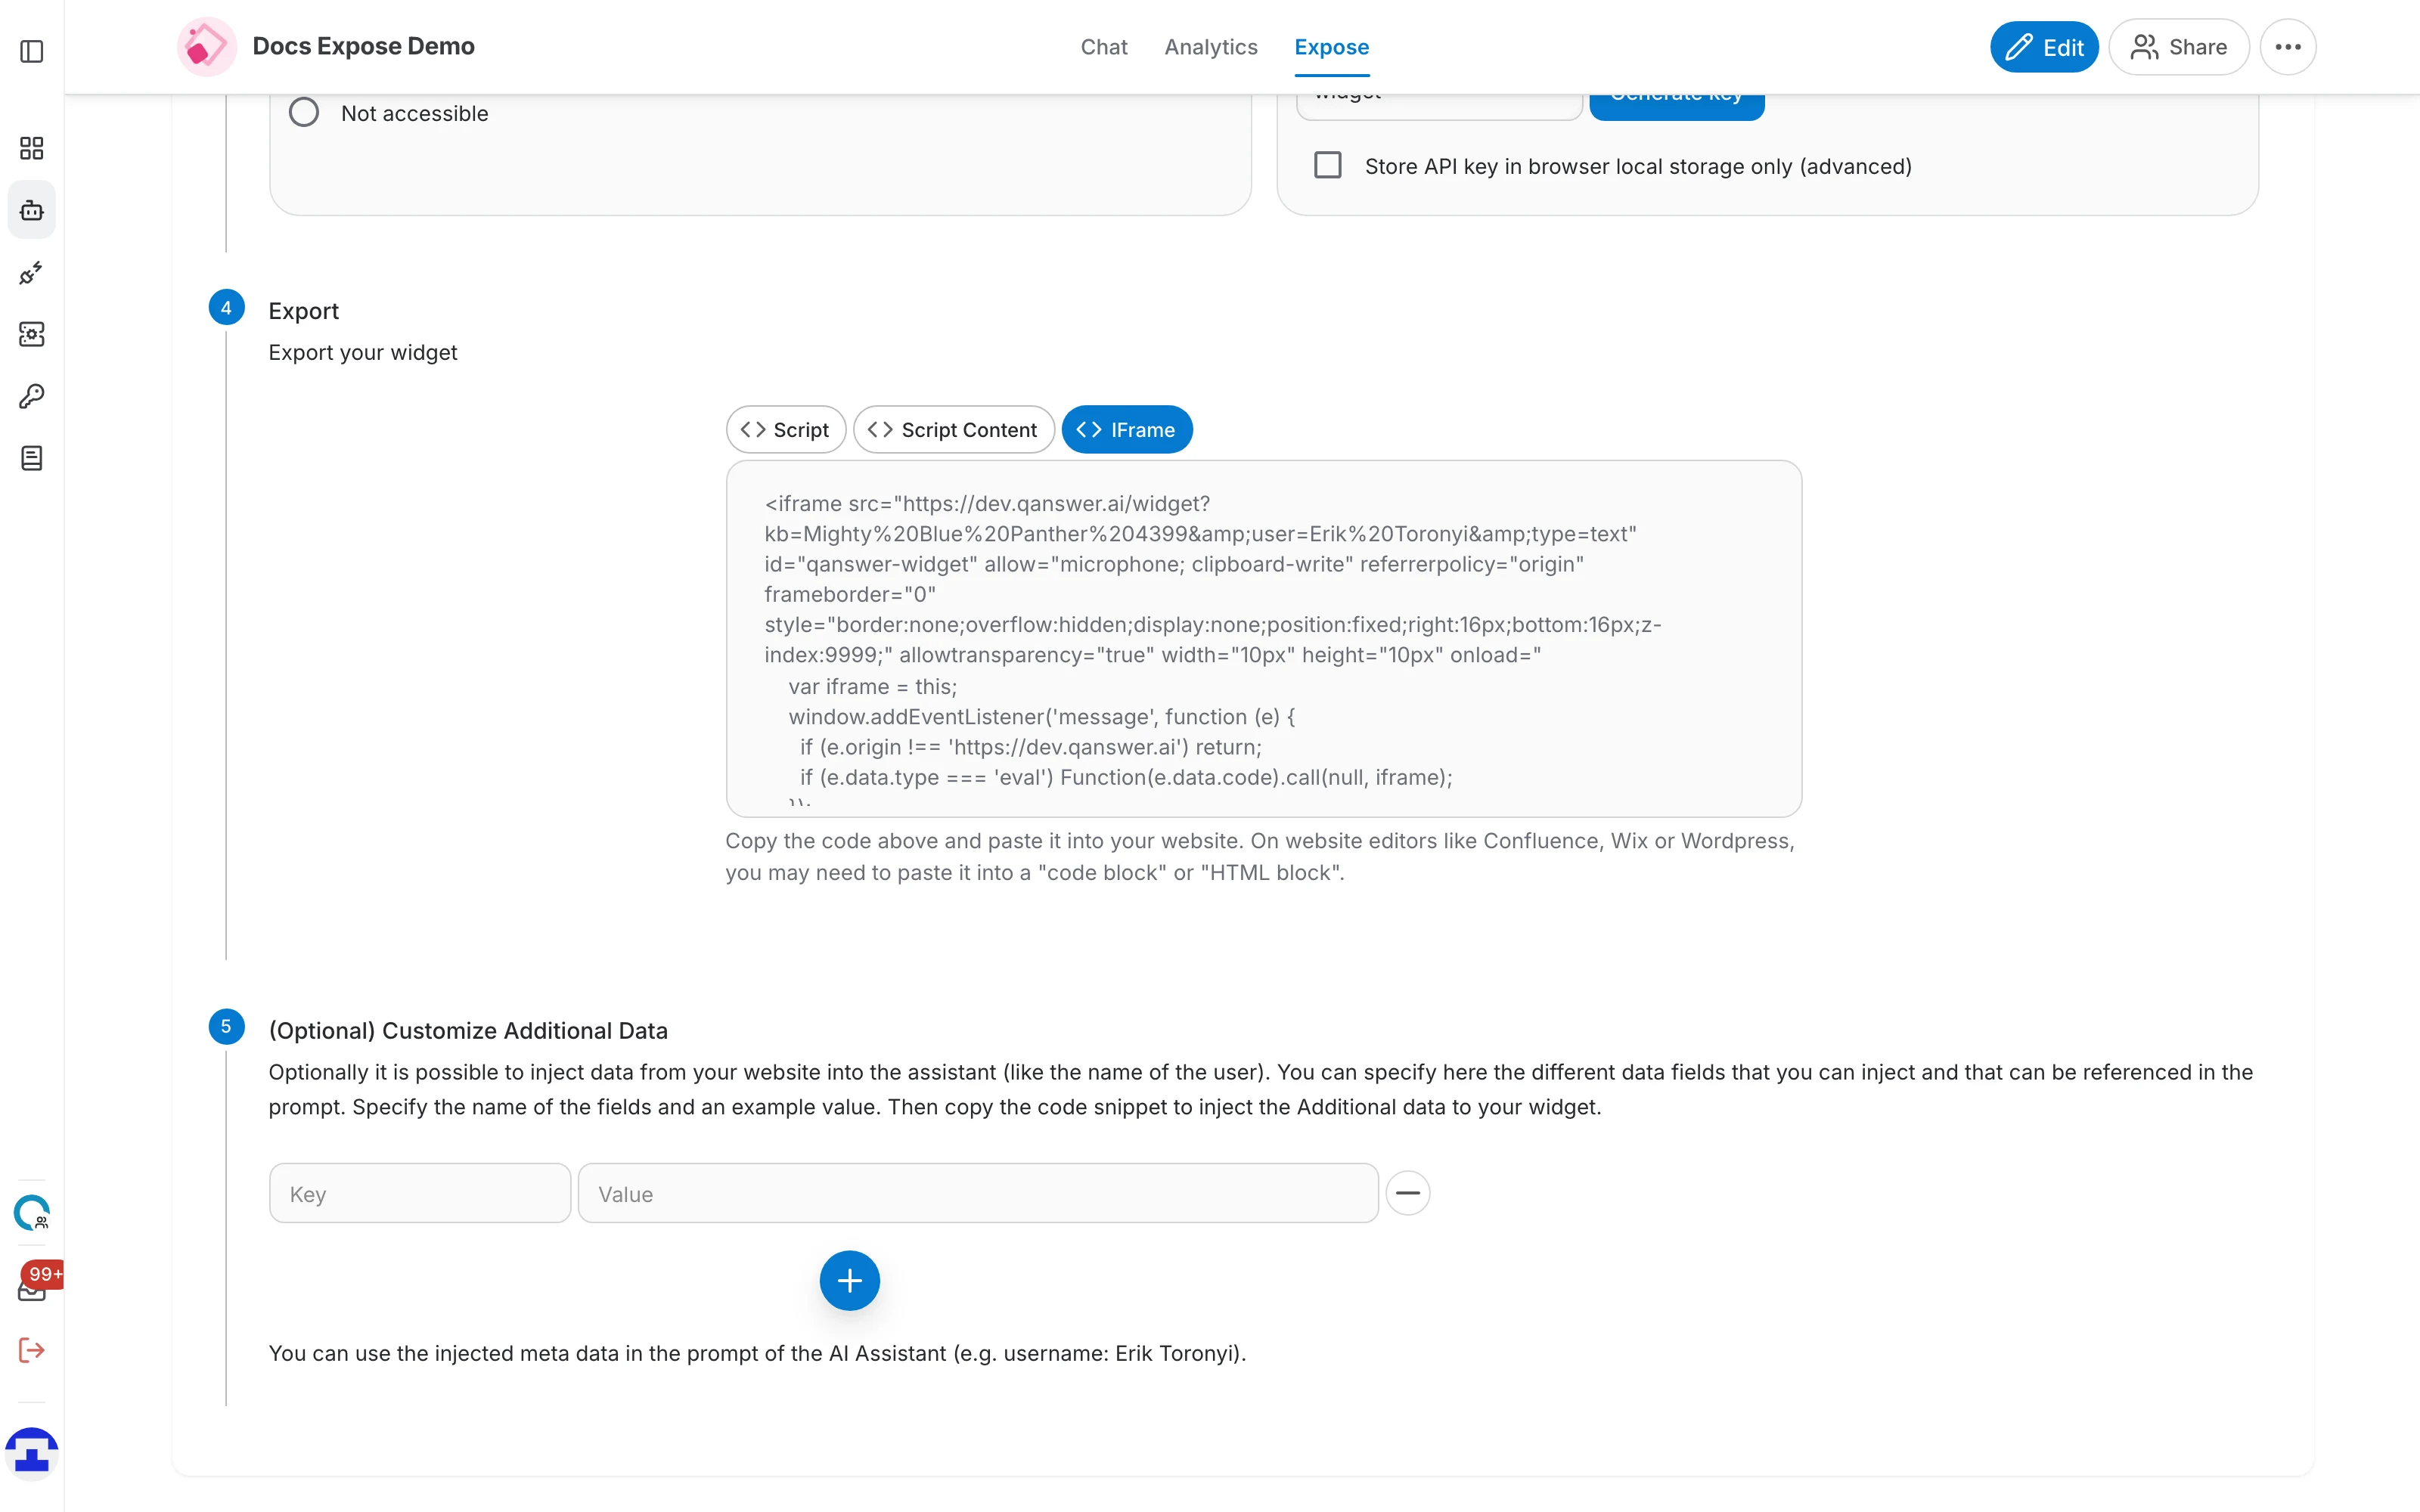
- Script — a single '<script>' tag that loads the widget from QAnswer. The simplest option, and the right one for almost every site.
- Script Content — the inline body of that script, for platforms that let you add JavaScript but not a script tag with a src attribute.
- IFrame — an '<iframe>' embed, for environments where external scripts are blocked by a content security policy.
Step 5 — Customize Additional Data (optional)
Your website often knows things about the visitor that the assistant does not — who they are, which plan they are on, which page they are reading. Additional data lets you pass those through to the assistant as key/value pairs. Fill in a field name and an example value, then use the + button to add more rows.
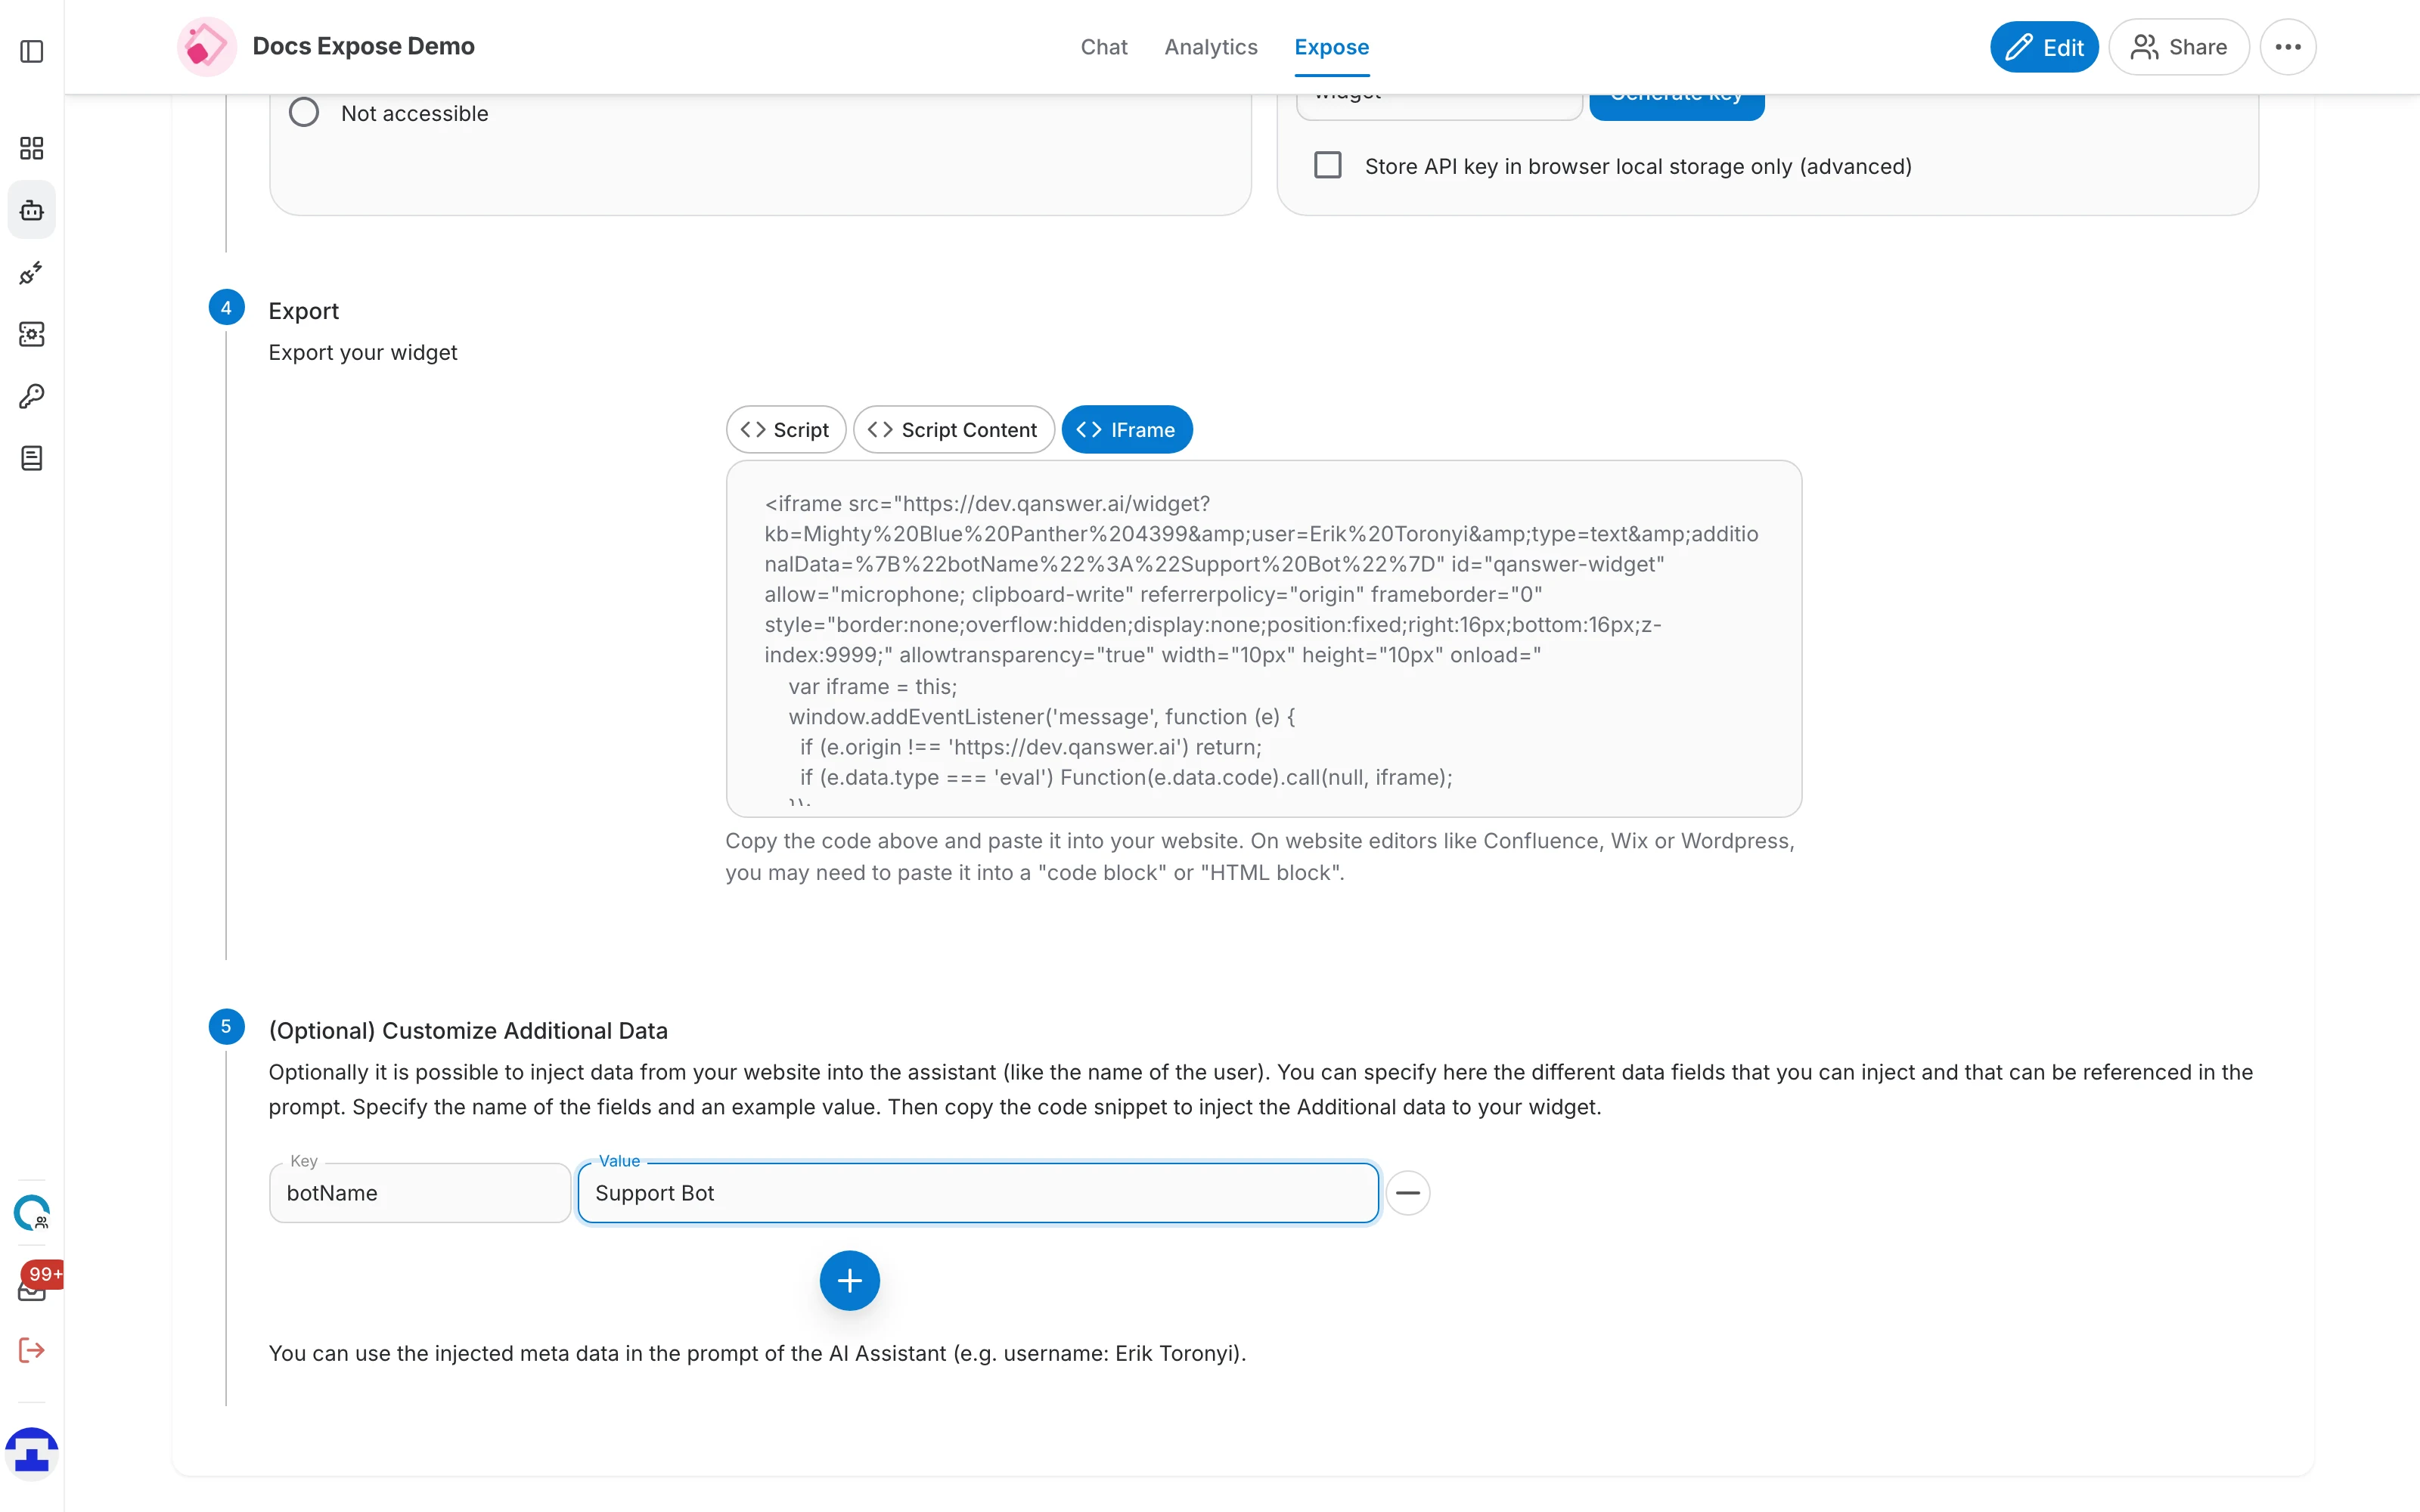
Adding a pair rewrites the snippet in step 4, so copy the code again after you change anything here. The example values you type are only there to build the snippet — replace them with real values from your own site when you paste it in.