
General
General is where an assistant gets its identity and its brain: what it is called, what it looks like, what job it does, which language model answers with it, and the instructions that shape every reply. It is the first tab of the assistant editor and the one you will come back to most.
Name, description and avatar
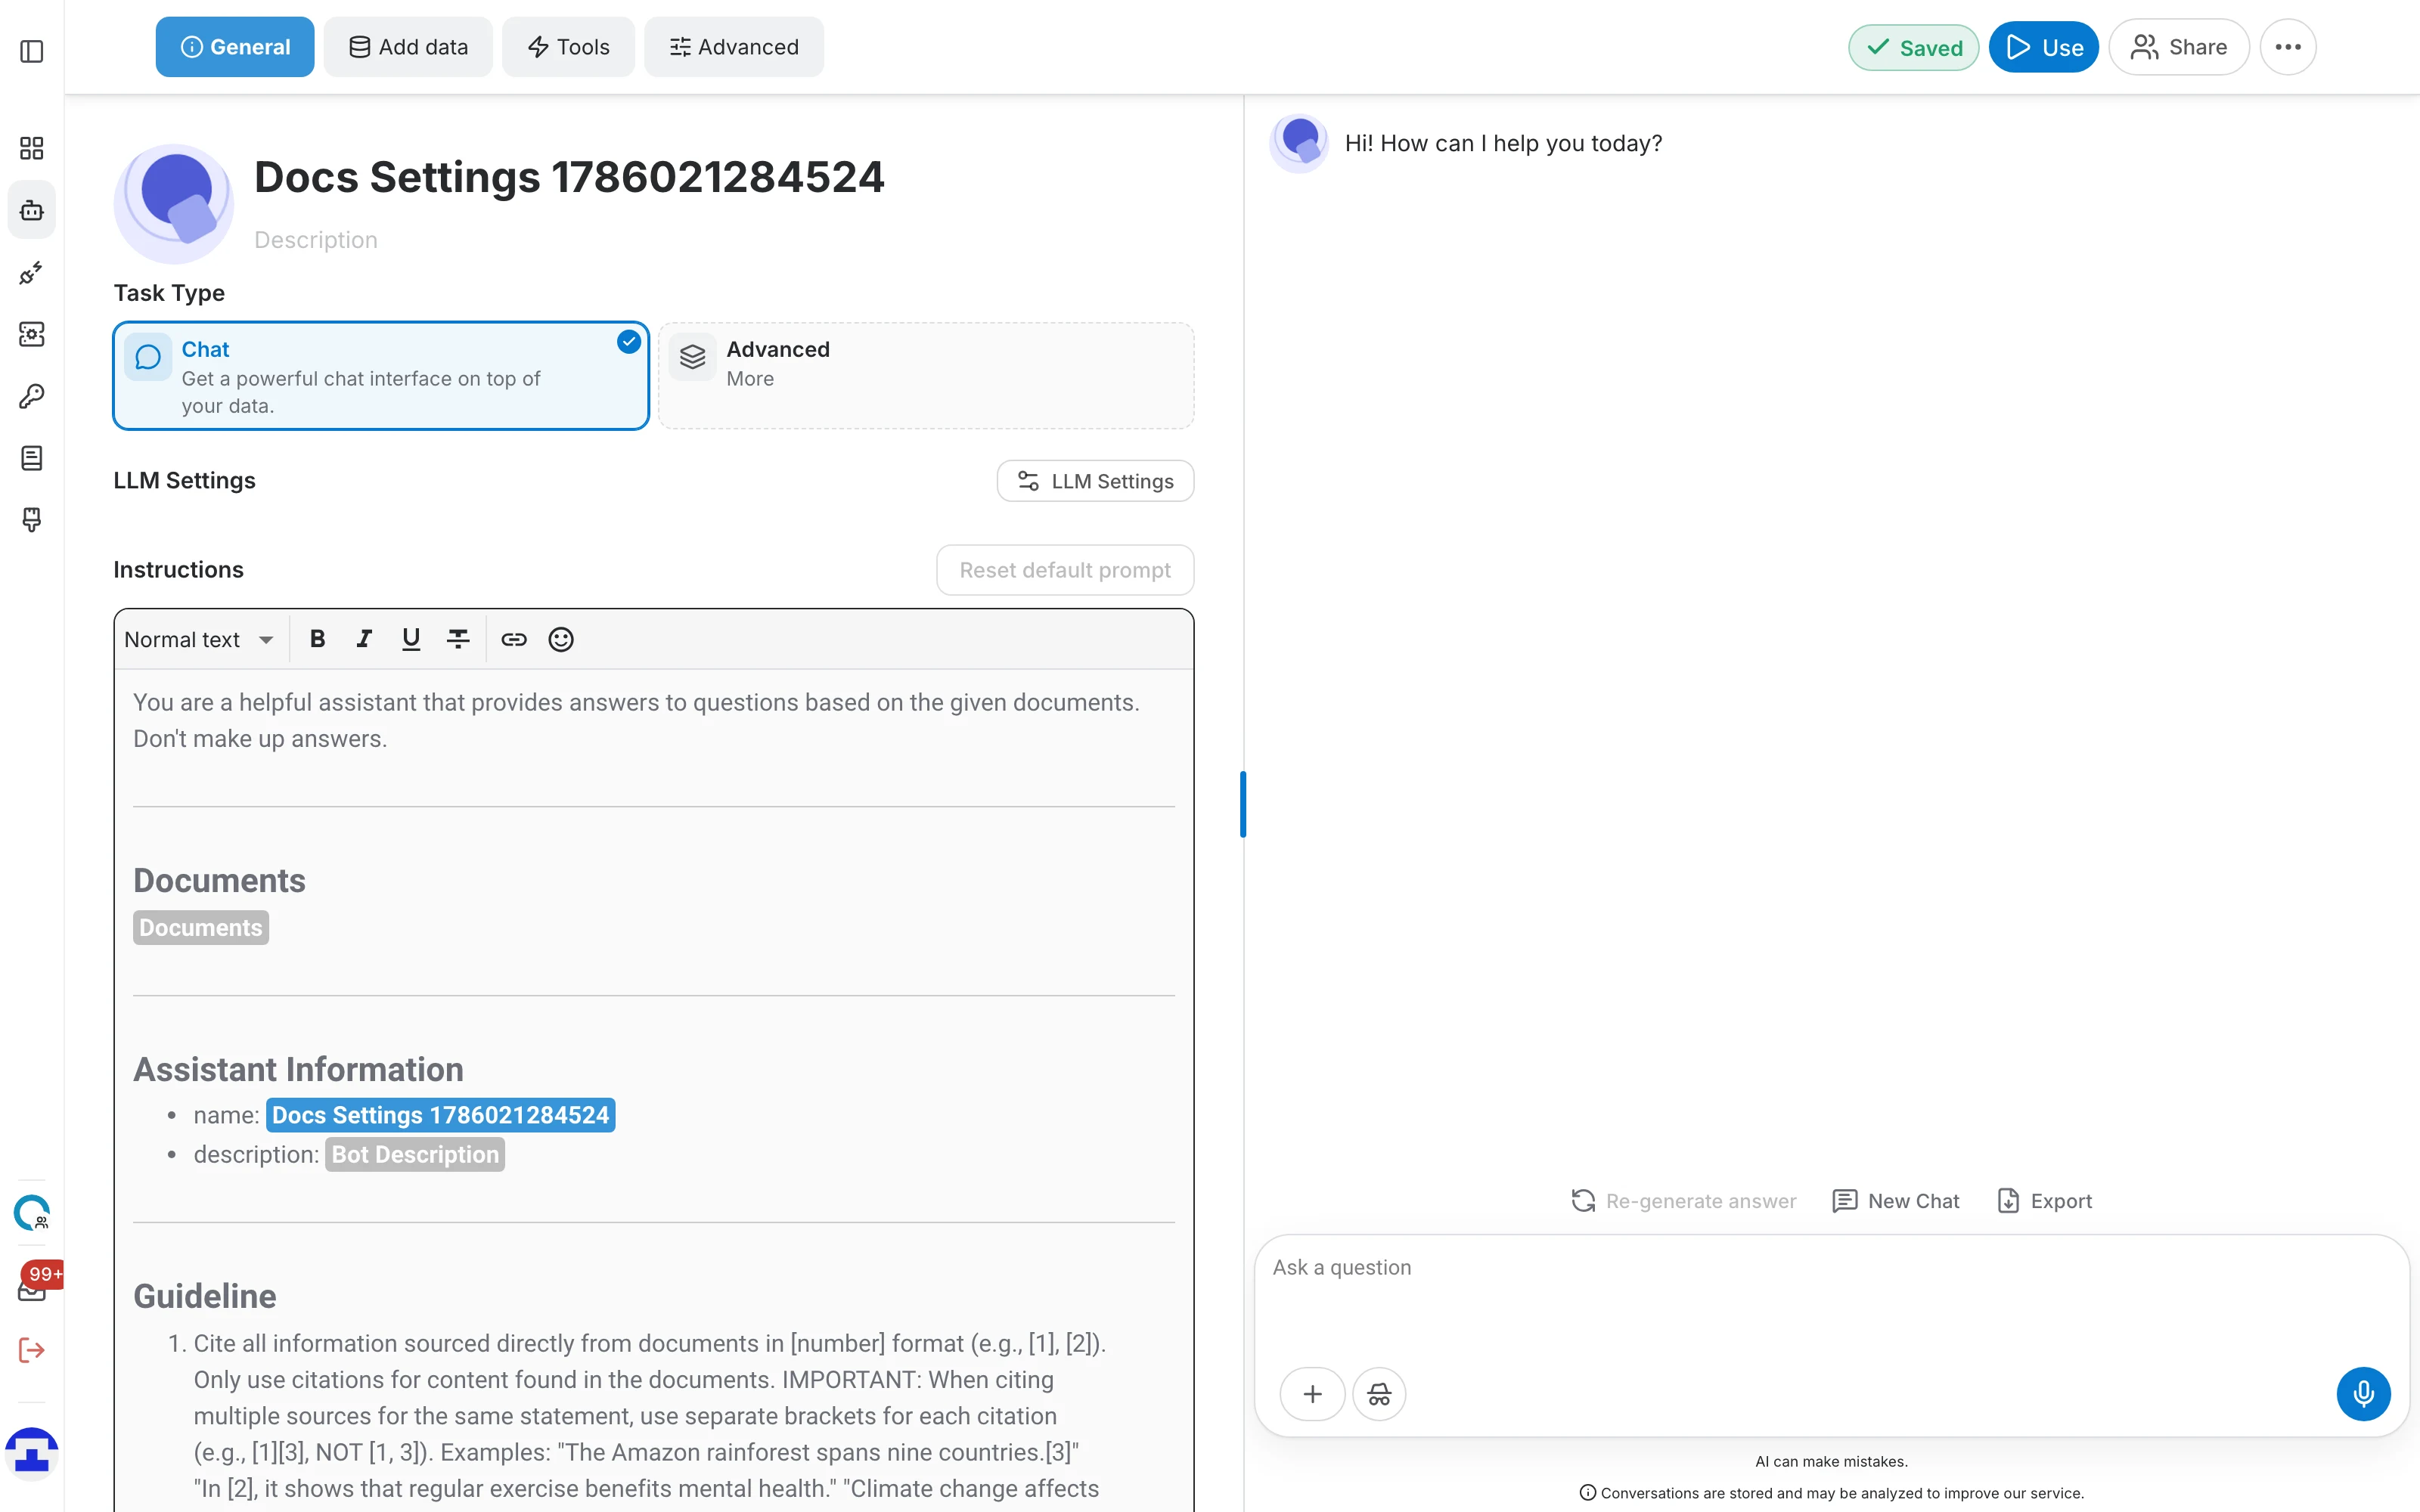
The top of the tab is the assistant's identity: an avatar on the left, and its name and description stacked beside it. These are what people see wherever the assistant appears — the assistant list, the library, the public chat page and any interface you expose.
Avatar
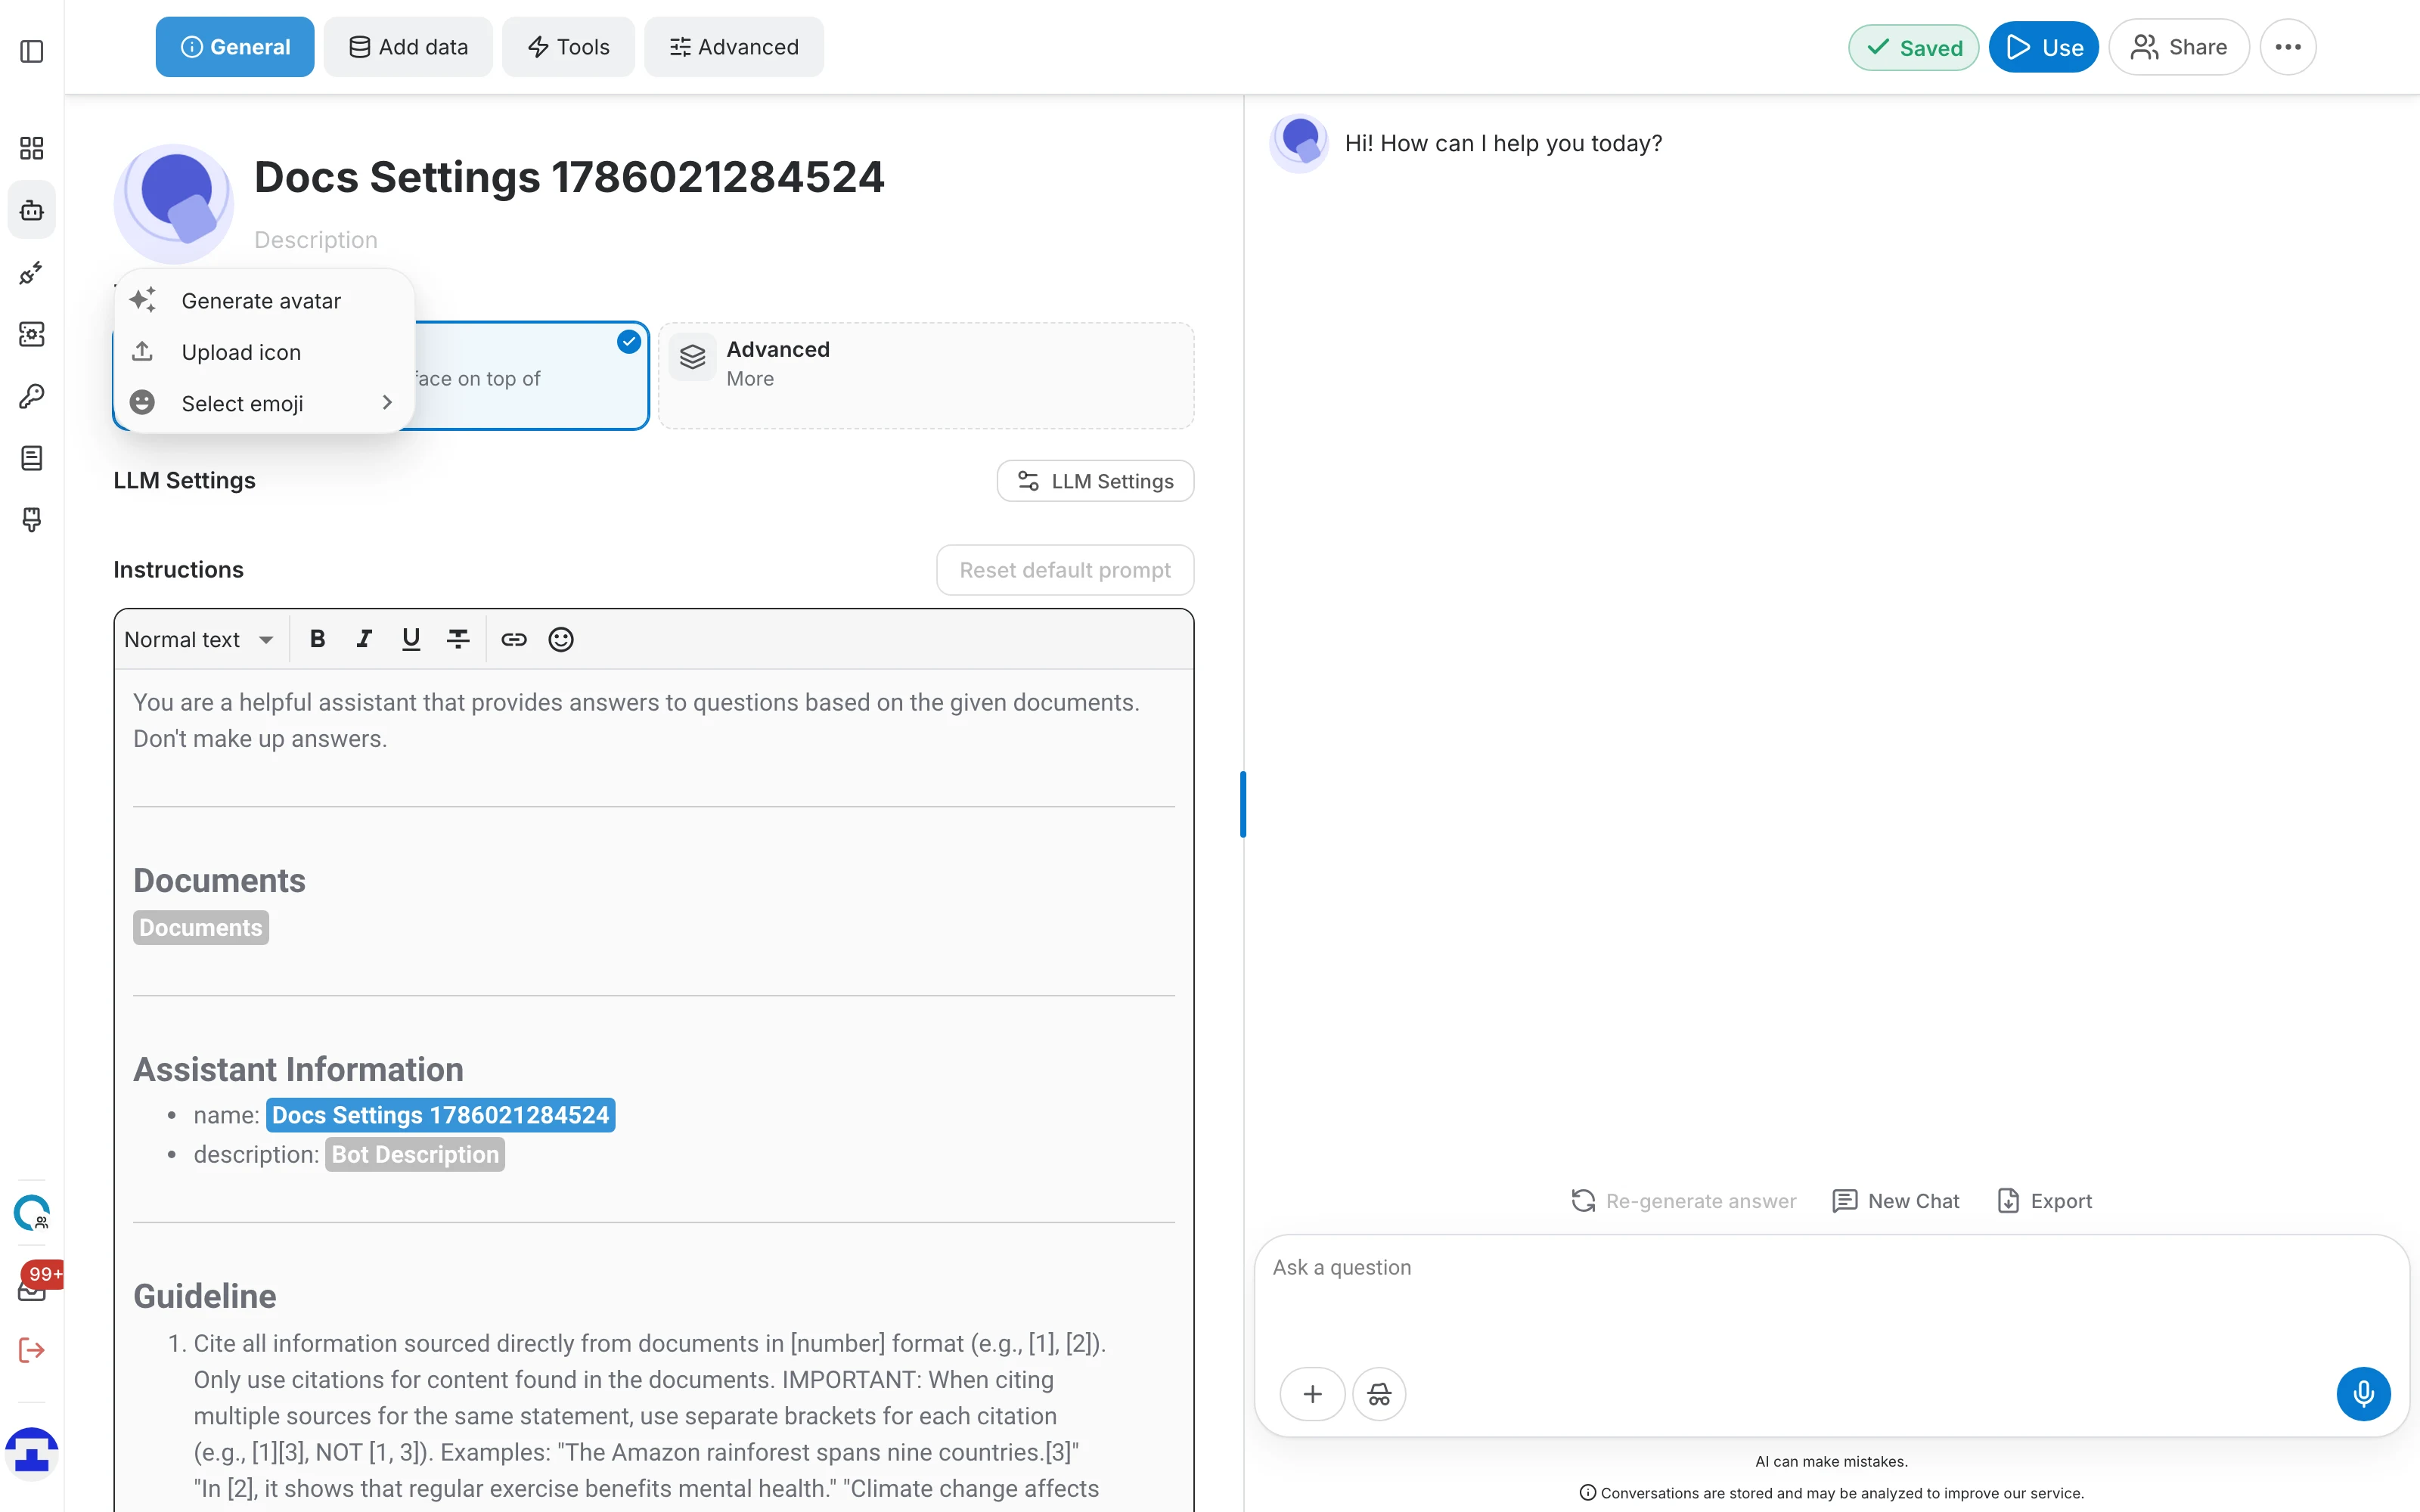
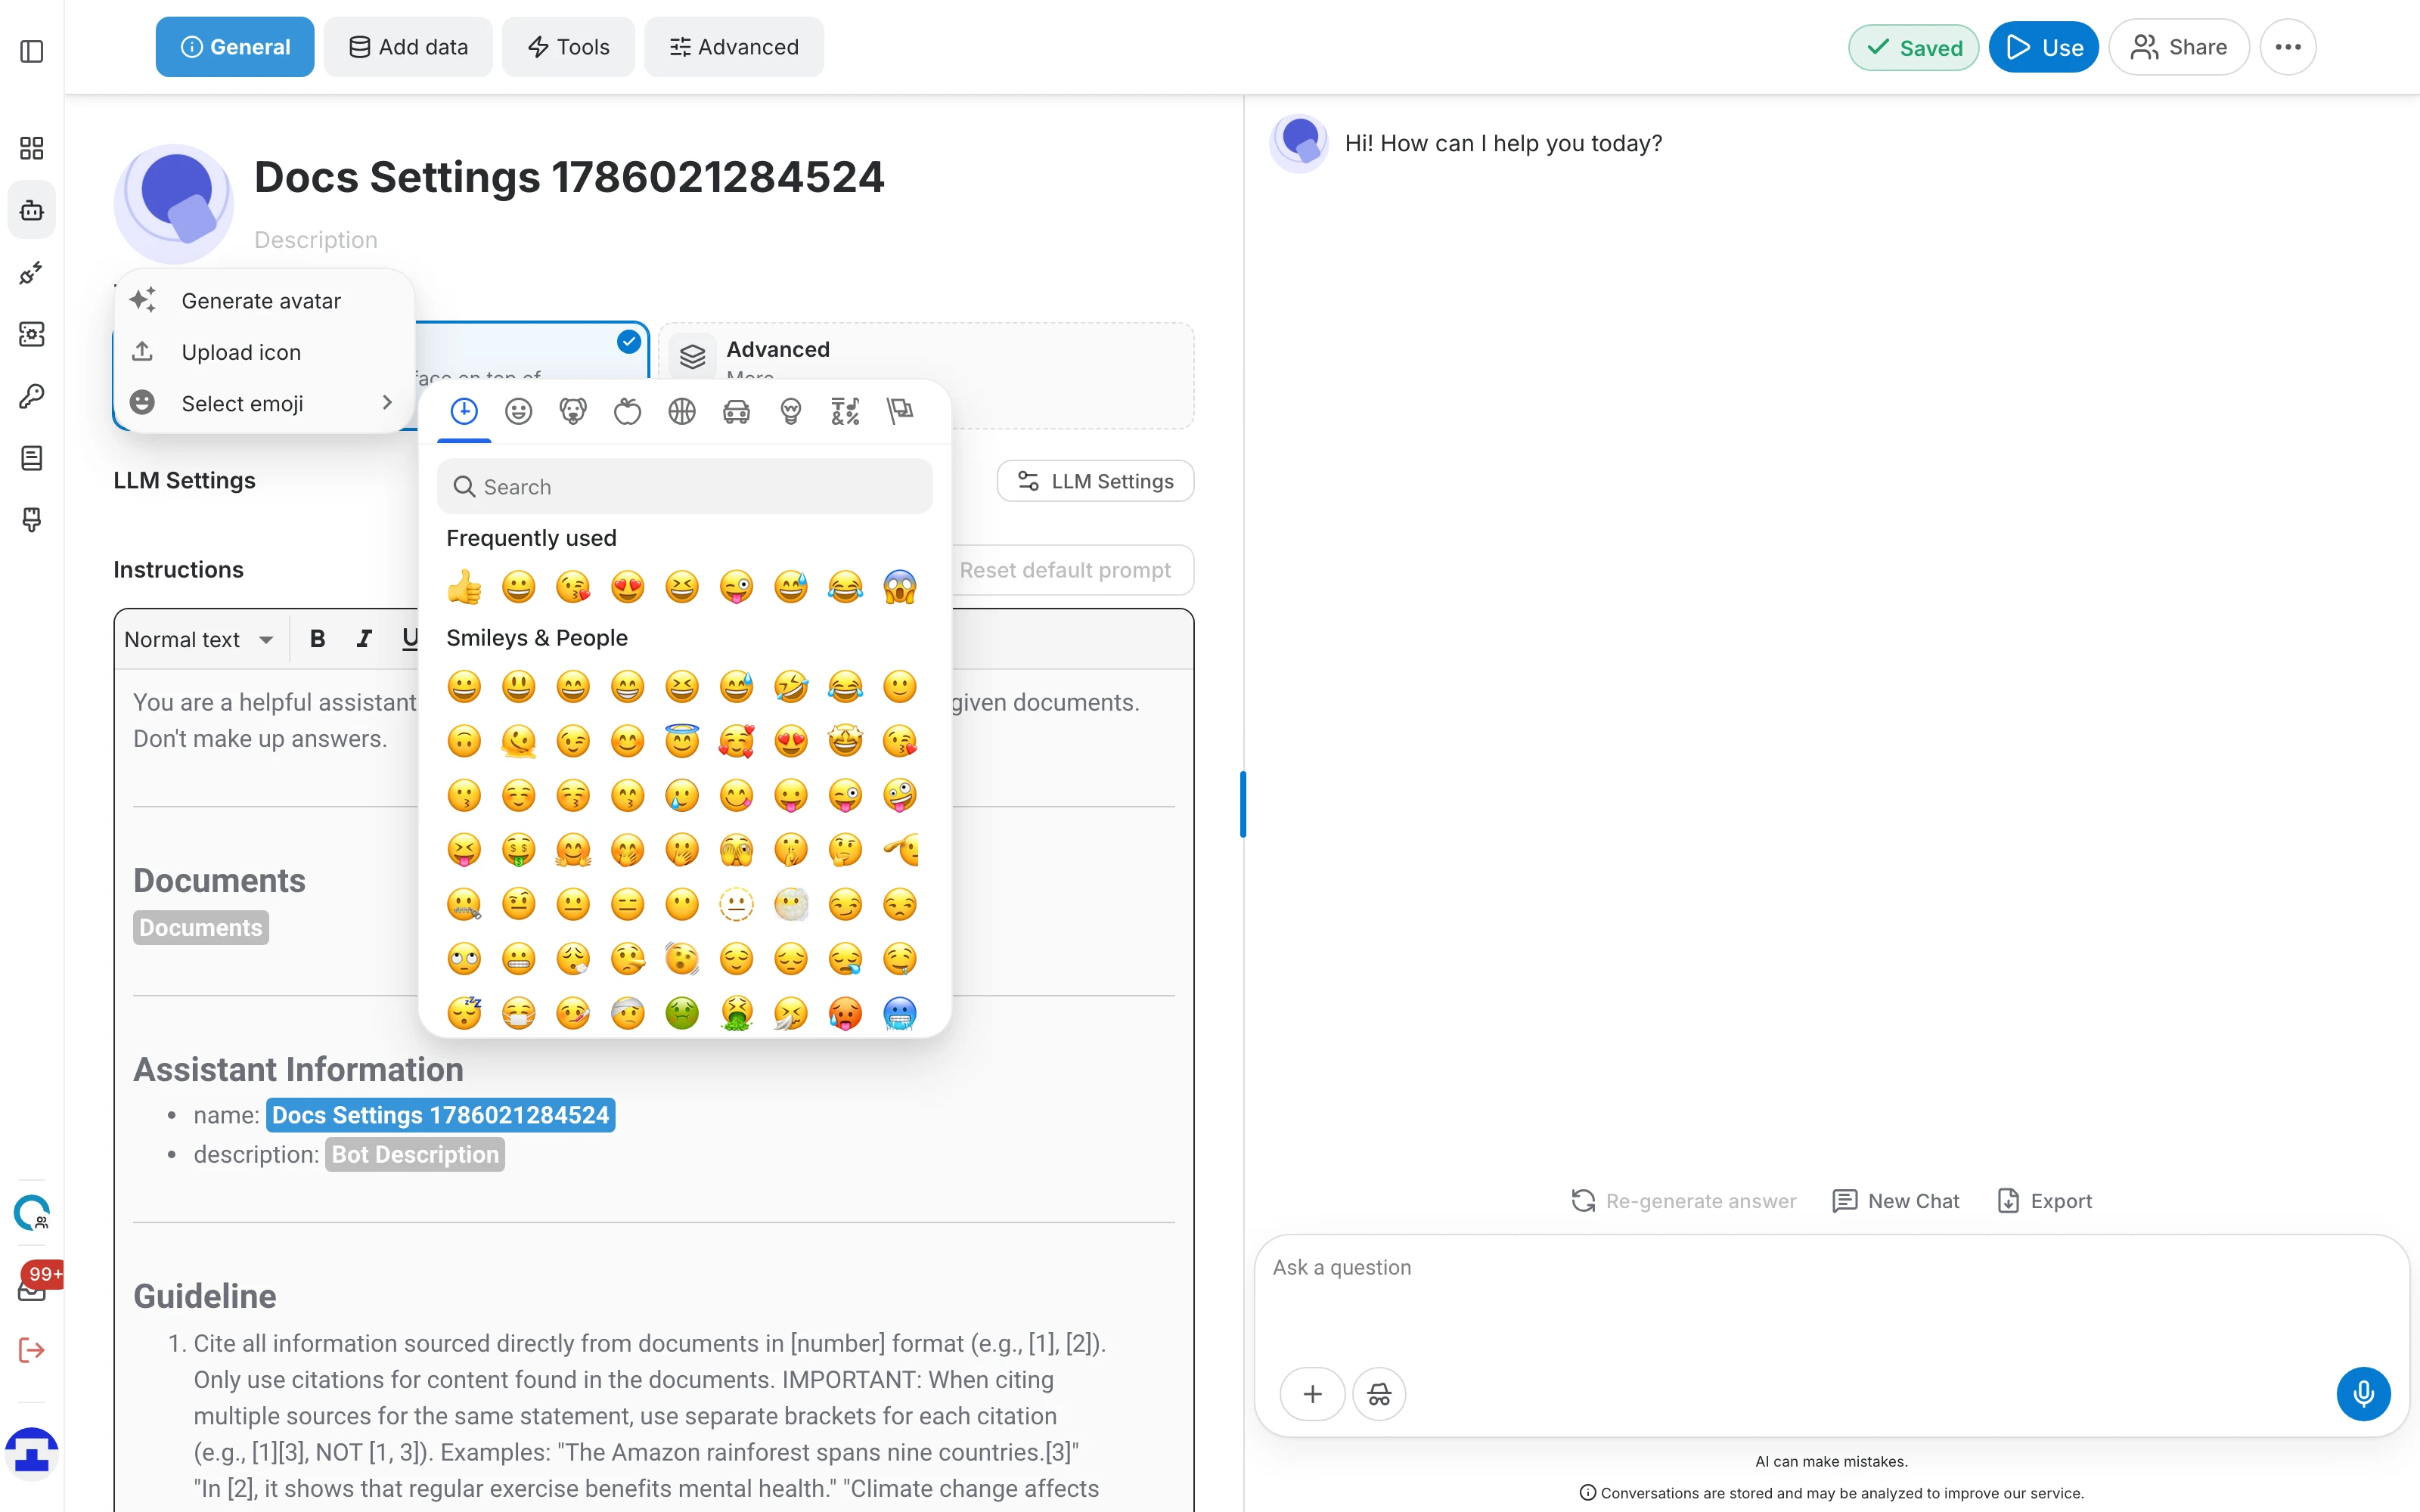
Click the avatar to open its menu. You have three ways to set one:
- Generate avatar – QAnswer draws one for you from the assistant's name and description. The quickest option, and it usually looks the part.
- Upload icon – pick an image file from your computer. It is applied immediately — there is no cropping step, so upload something already square.
- Select emoji – choose an emoji from the picker. Cheap, clear, and surprisingly effective for telling a list of assistants apart.
Name
Click the name to edit it in place. This is the display name — it is what people read, and it can contain spaces and punctuation.
Description
A short summary of what the assistant is for. It is worth writing properly: the description is shown on library cards and public pages, and it is what QAnswer uses when it generates an avatar for you.
If you would rather not write it, click the sparkle button in the field and QAnswer drafts a description from the assistant's name and data. You can edit the result. There is a length limit, and the field turns red if you exceed it.

Task type
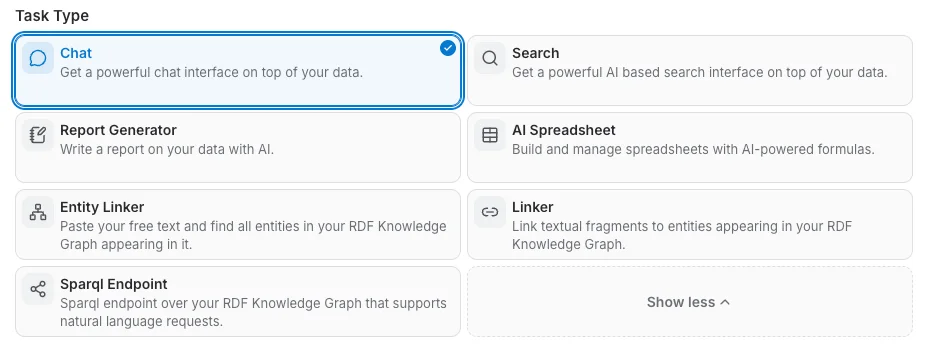
The task type decides what the assistant actually does — hold a conversation, return search results, fill a spreadsheet, write a report, query a knowledge graph, and so on. It is the single most consequential setting on this page, because it changes the rest of the editor.
Task types are shown as tiles. The common ones are visible straight away; click the Advanced tile to reveal the rest, and Show less to collapse them again. The tile with a coloured border is the current one.
Changing the task type changes the editor around it:
- The Tools tab only exists for the Chat task. Pick any other task and it disappears, along with any tools you had enabled.
- The Advanced tab only appears for tasks that have settings — Chat, Search, Text to SPARQL and AI spreadsheet.
- The Instructions editor and the initial message follow the task too, since each task has its own default prompt.
Each task type is documented in detail under AI Task.

Language model
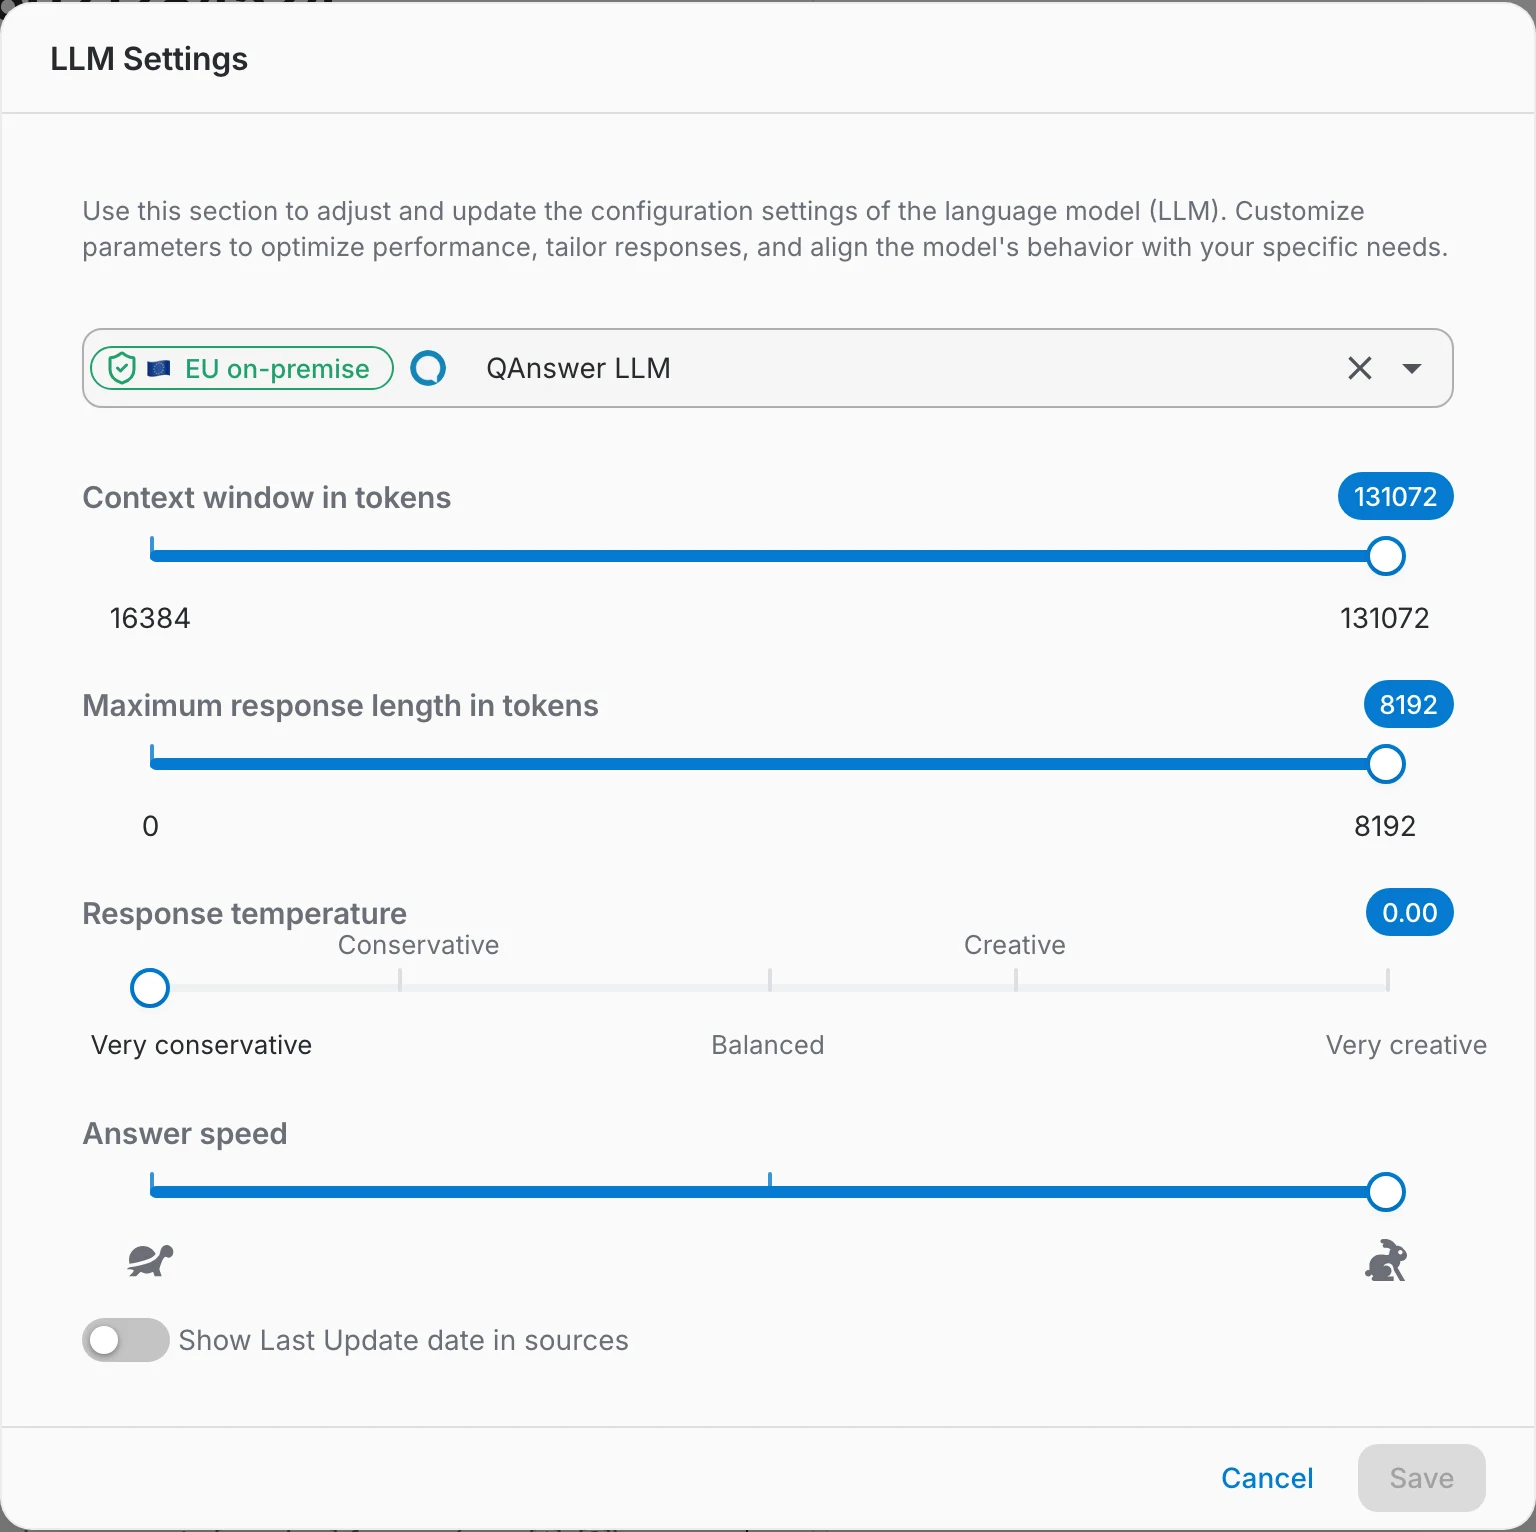
The Language model section is a single button that opens the LLM Settings dialog. That dialog is where you choose the model and tune how it answers:
- LLM Choice – which language model answers. The list depends on what your plan and your administrator have made available.
- Creativity level / Response temperature – how much the model is allowed to improvise. Low values give focused, repeatable answers; high values give more varied ones. For a support assistant answering from documents, keep it low.
- Answer length – the maximum length of a reply, in tokens. QAnswer states the valid range and clamps anything outside it to the nearest limit.
- Context window in tokens – how much material the model may consider at once. Also range-checked and clamped.
- Number of references – how many document sections are sent to the model as context. More context can mean better answers but slower ones — QAnswer suggests 5 to 10 and warns you above that.
- Synonyms – groups of equivalent terms used to widen a search (query expansion), so a question about "holiday" also finds documents that say "annual leave". Edit them in their own dialog.
- Embedding Model – the model that turns your documents into vectors for retrieval. In the redesign this lives here rather than in the creation flow.
Unlike the rest of this tab, the LLM Settings dialog has explicit Cancel and Save buttons — your changes apply when you save, not as you type.
Instructions
Instructions are the standing orders the assistant follows on every message: its tone, its role, what it may and may not say, what to do when it does not know. This is the highest-leverage field on the page — most "the assistant answers oddly" problems are solved here rather than in the model settings.
- Click into the Instructions editor to start editing.
- Write the prompt. QAnswer ships a sensible default per task type, and swaps in a retrieval-aware default once the assistant has data, so you are rarely starting from a blank box.
- Click away — the editor saves with the rest of the tab.
Prompts can contain slots — placeholders QAnswer fills in at answer time. They are covered in Slots.

Initial message
For chat assistants, the initial message is the greeting shown before the user types anything. Use it to say what the assistant knows about and to suggest a good first question — it does far more for adoption than a generic "How can I help you?".
The playground
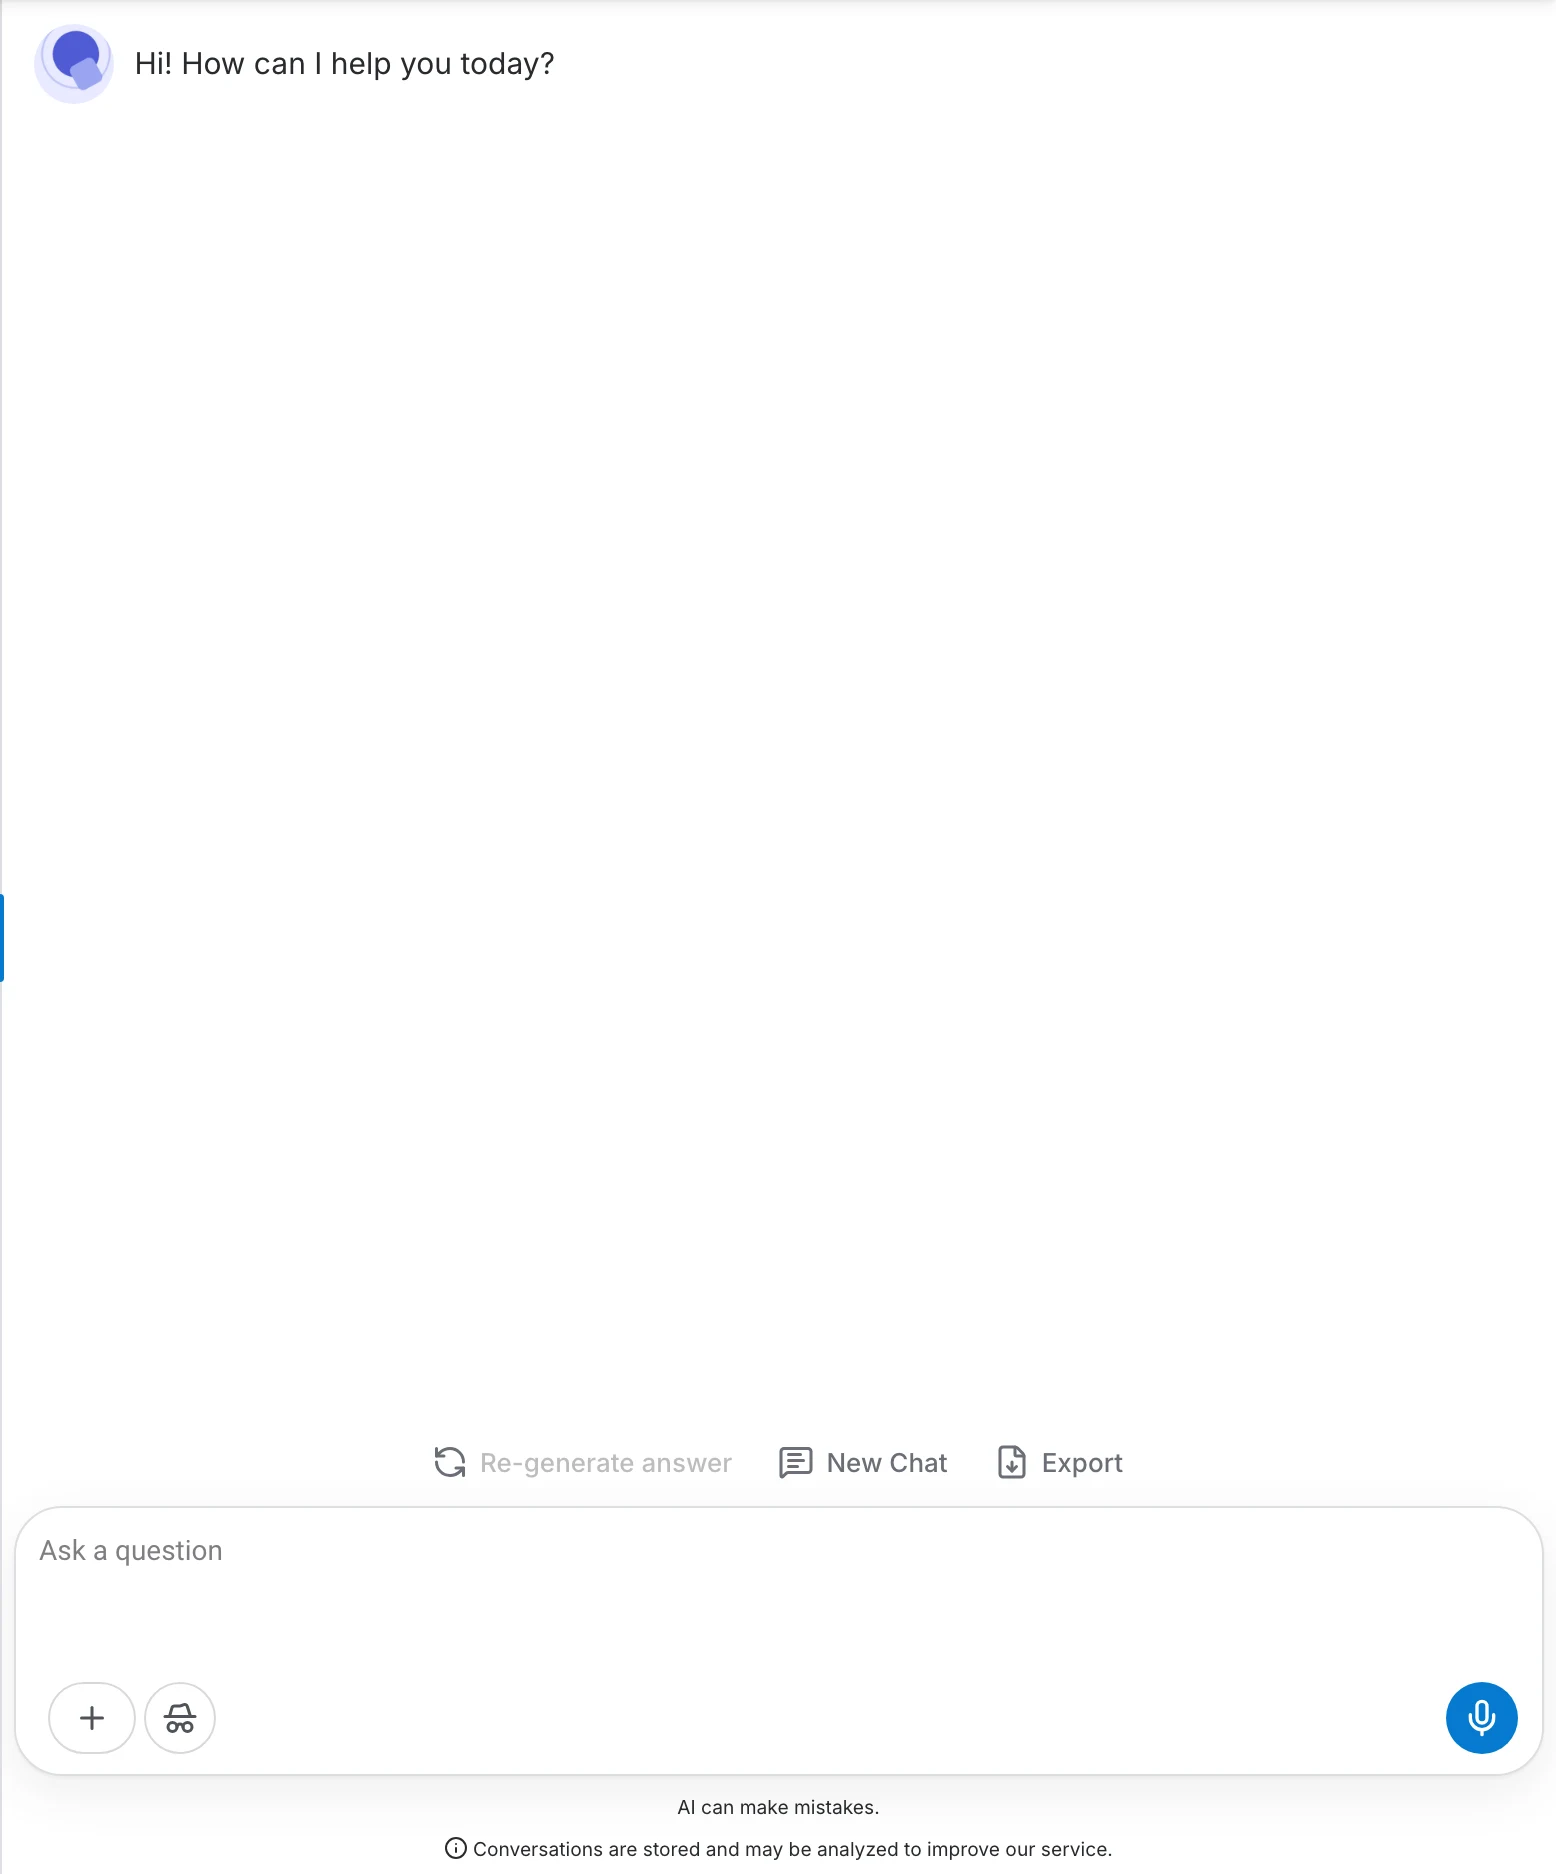
The right-hand half of the editor is a live playground running the assistant exactly as you have configured it so far. You do not have to save, leave or publish anything to try a change:
- Edit a setting on the left, then ask a question on the right and watch what it does.
- The divider between the two halves can be dragged, so you can give whichever side you are working on more room.
- The playground is a real conversation with real answers — it draws on the assistant's data and counts against your usage like any other chat.
Where to go next
Once the assistant knows who it is, give it something to work with in Add data, grant it abilities in Tools, and fine-tune its behaviour in Advanced.