Search Interface
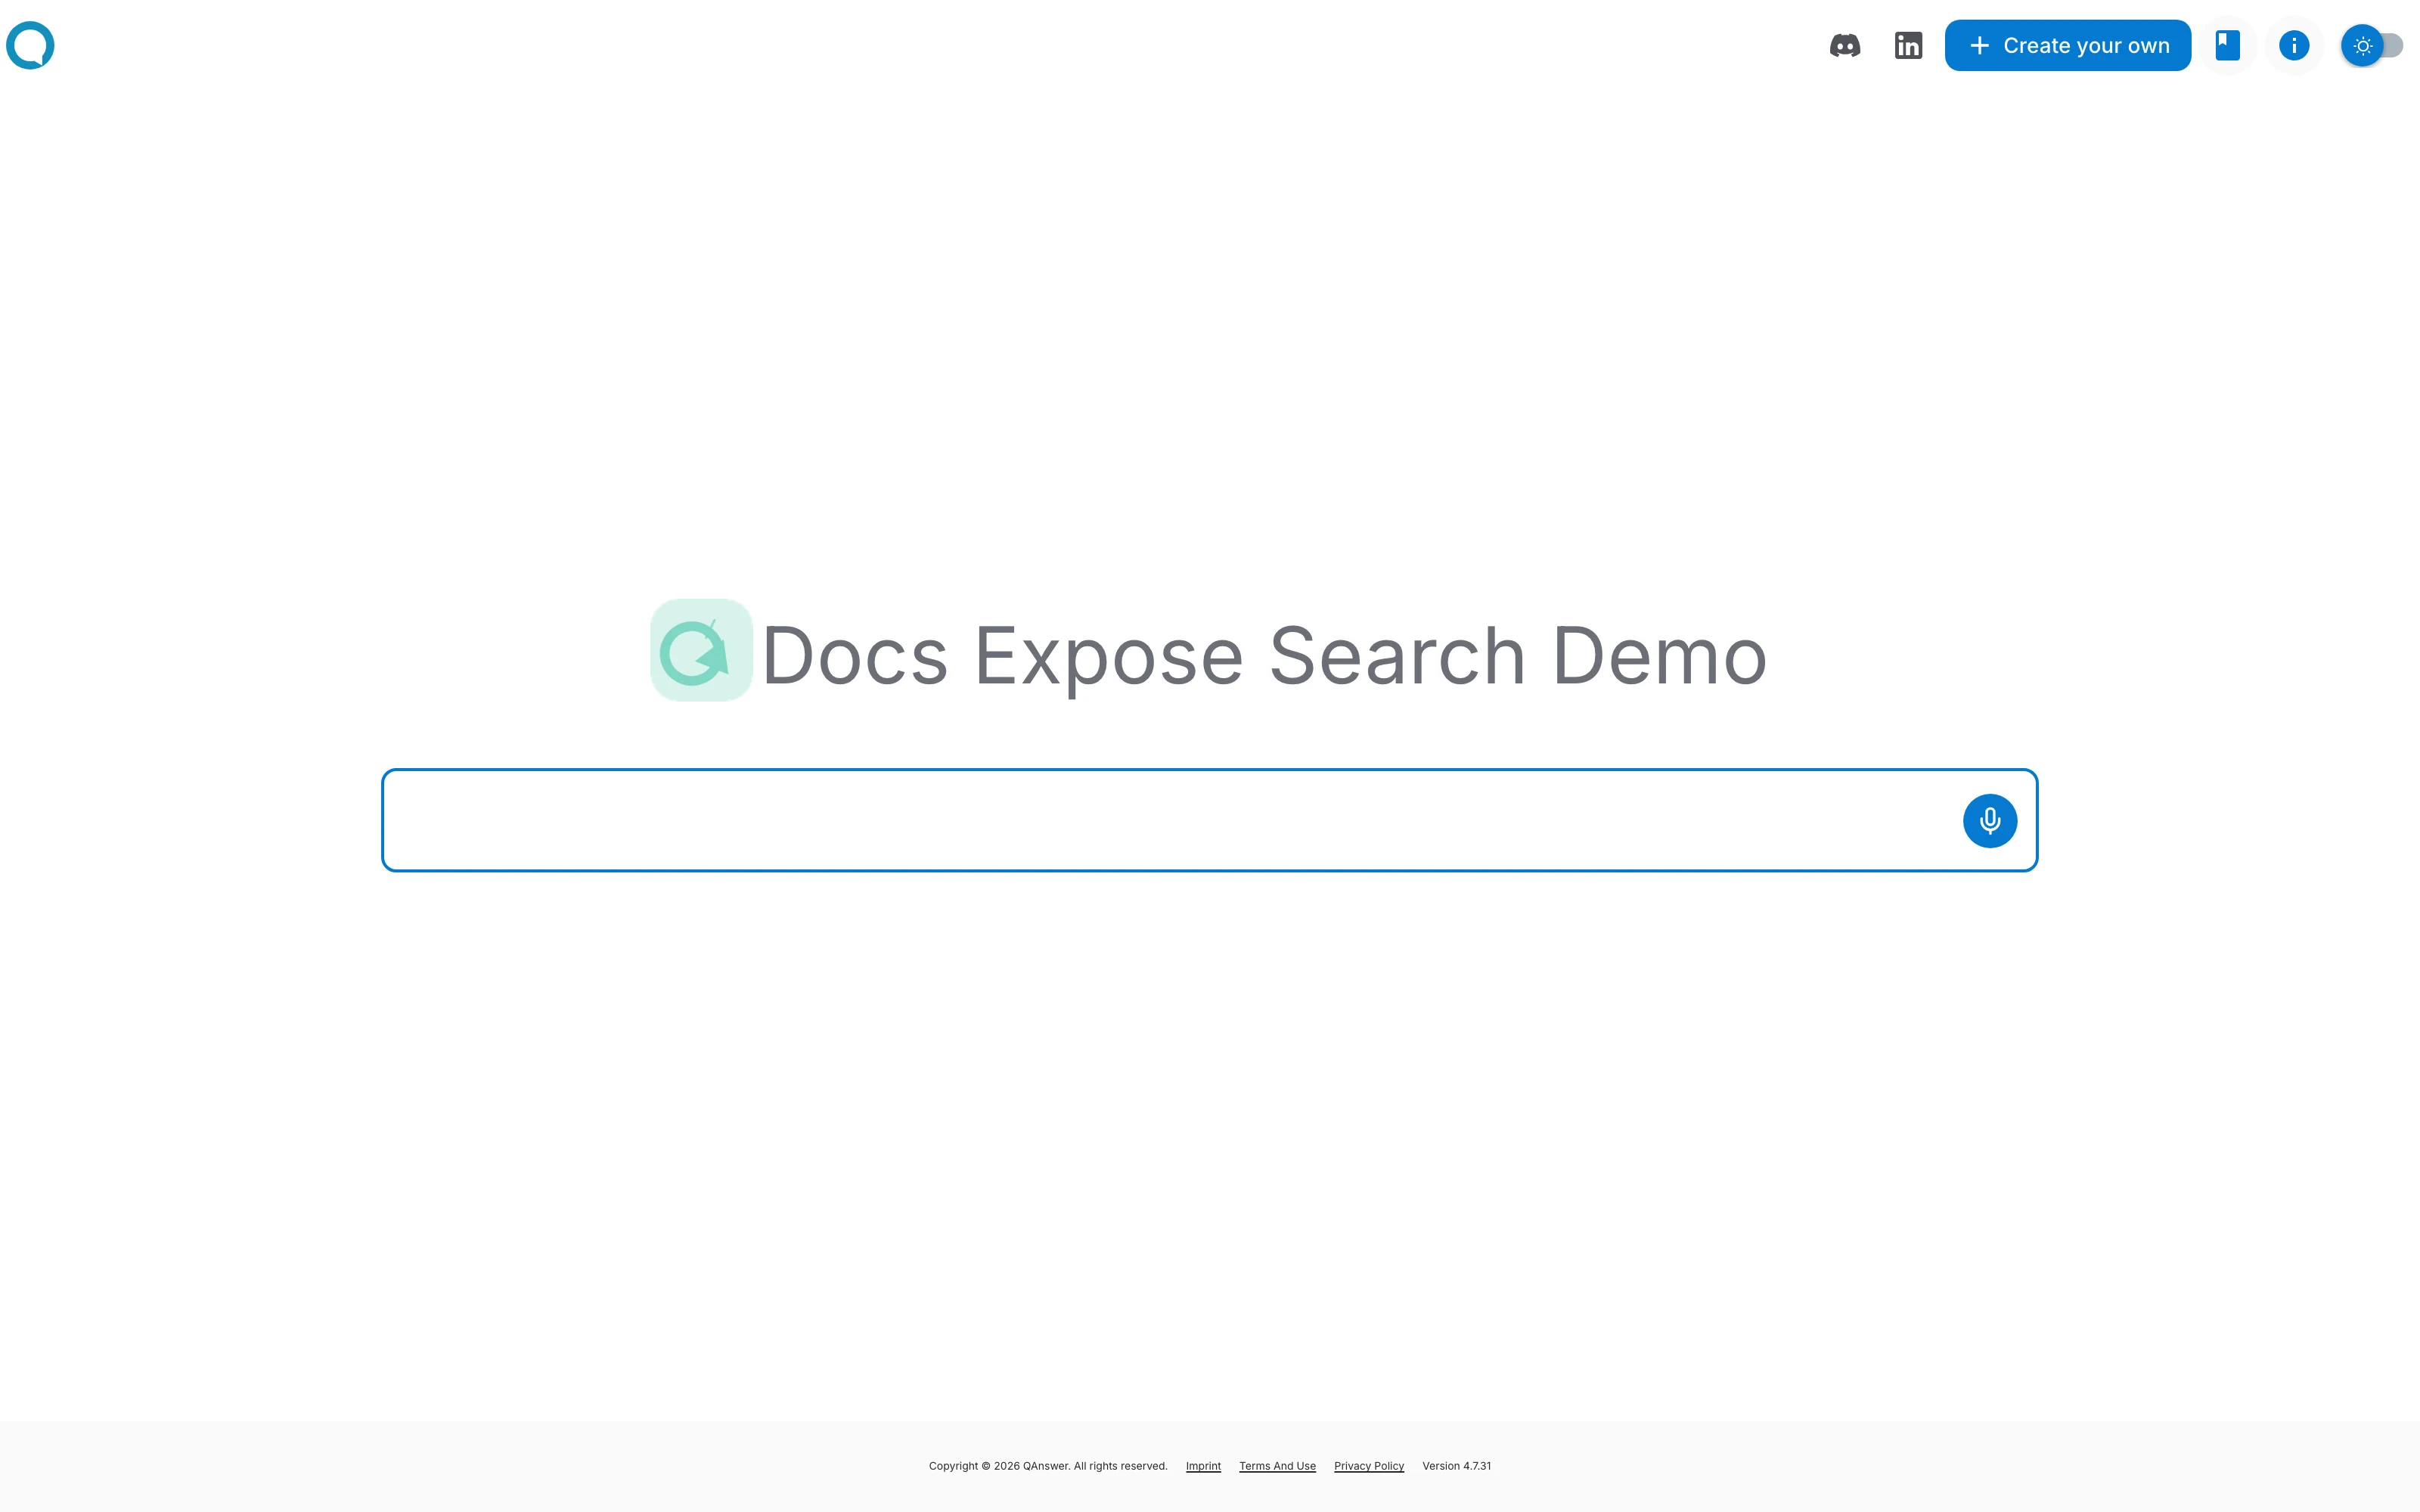
The search interface is a full page, hosted by QAnswer, where people type a question and get an answer drawn from your assistant's data. You share it as a single link — there is nothing to install and no website of your own required.
Open the assistant, go to the Expose tab and select the Search interface card. The page that opens is a five-step guide.
Step 1 — UI integration settings
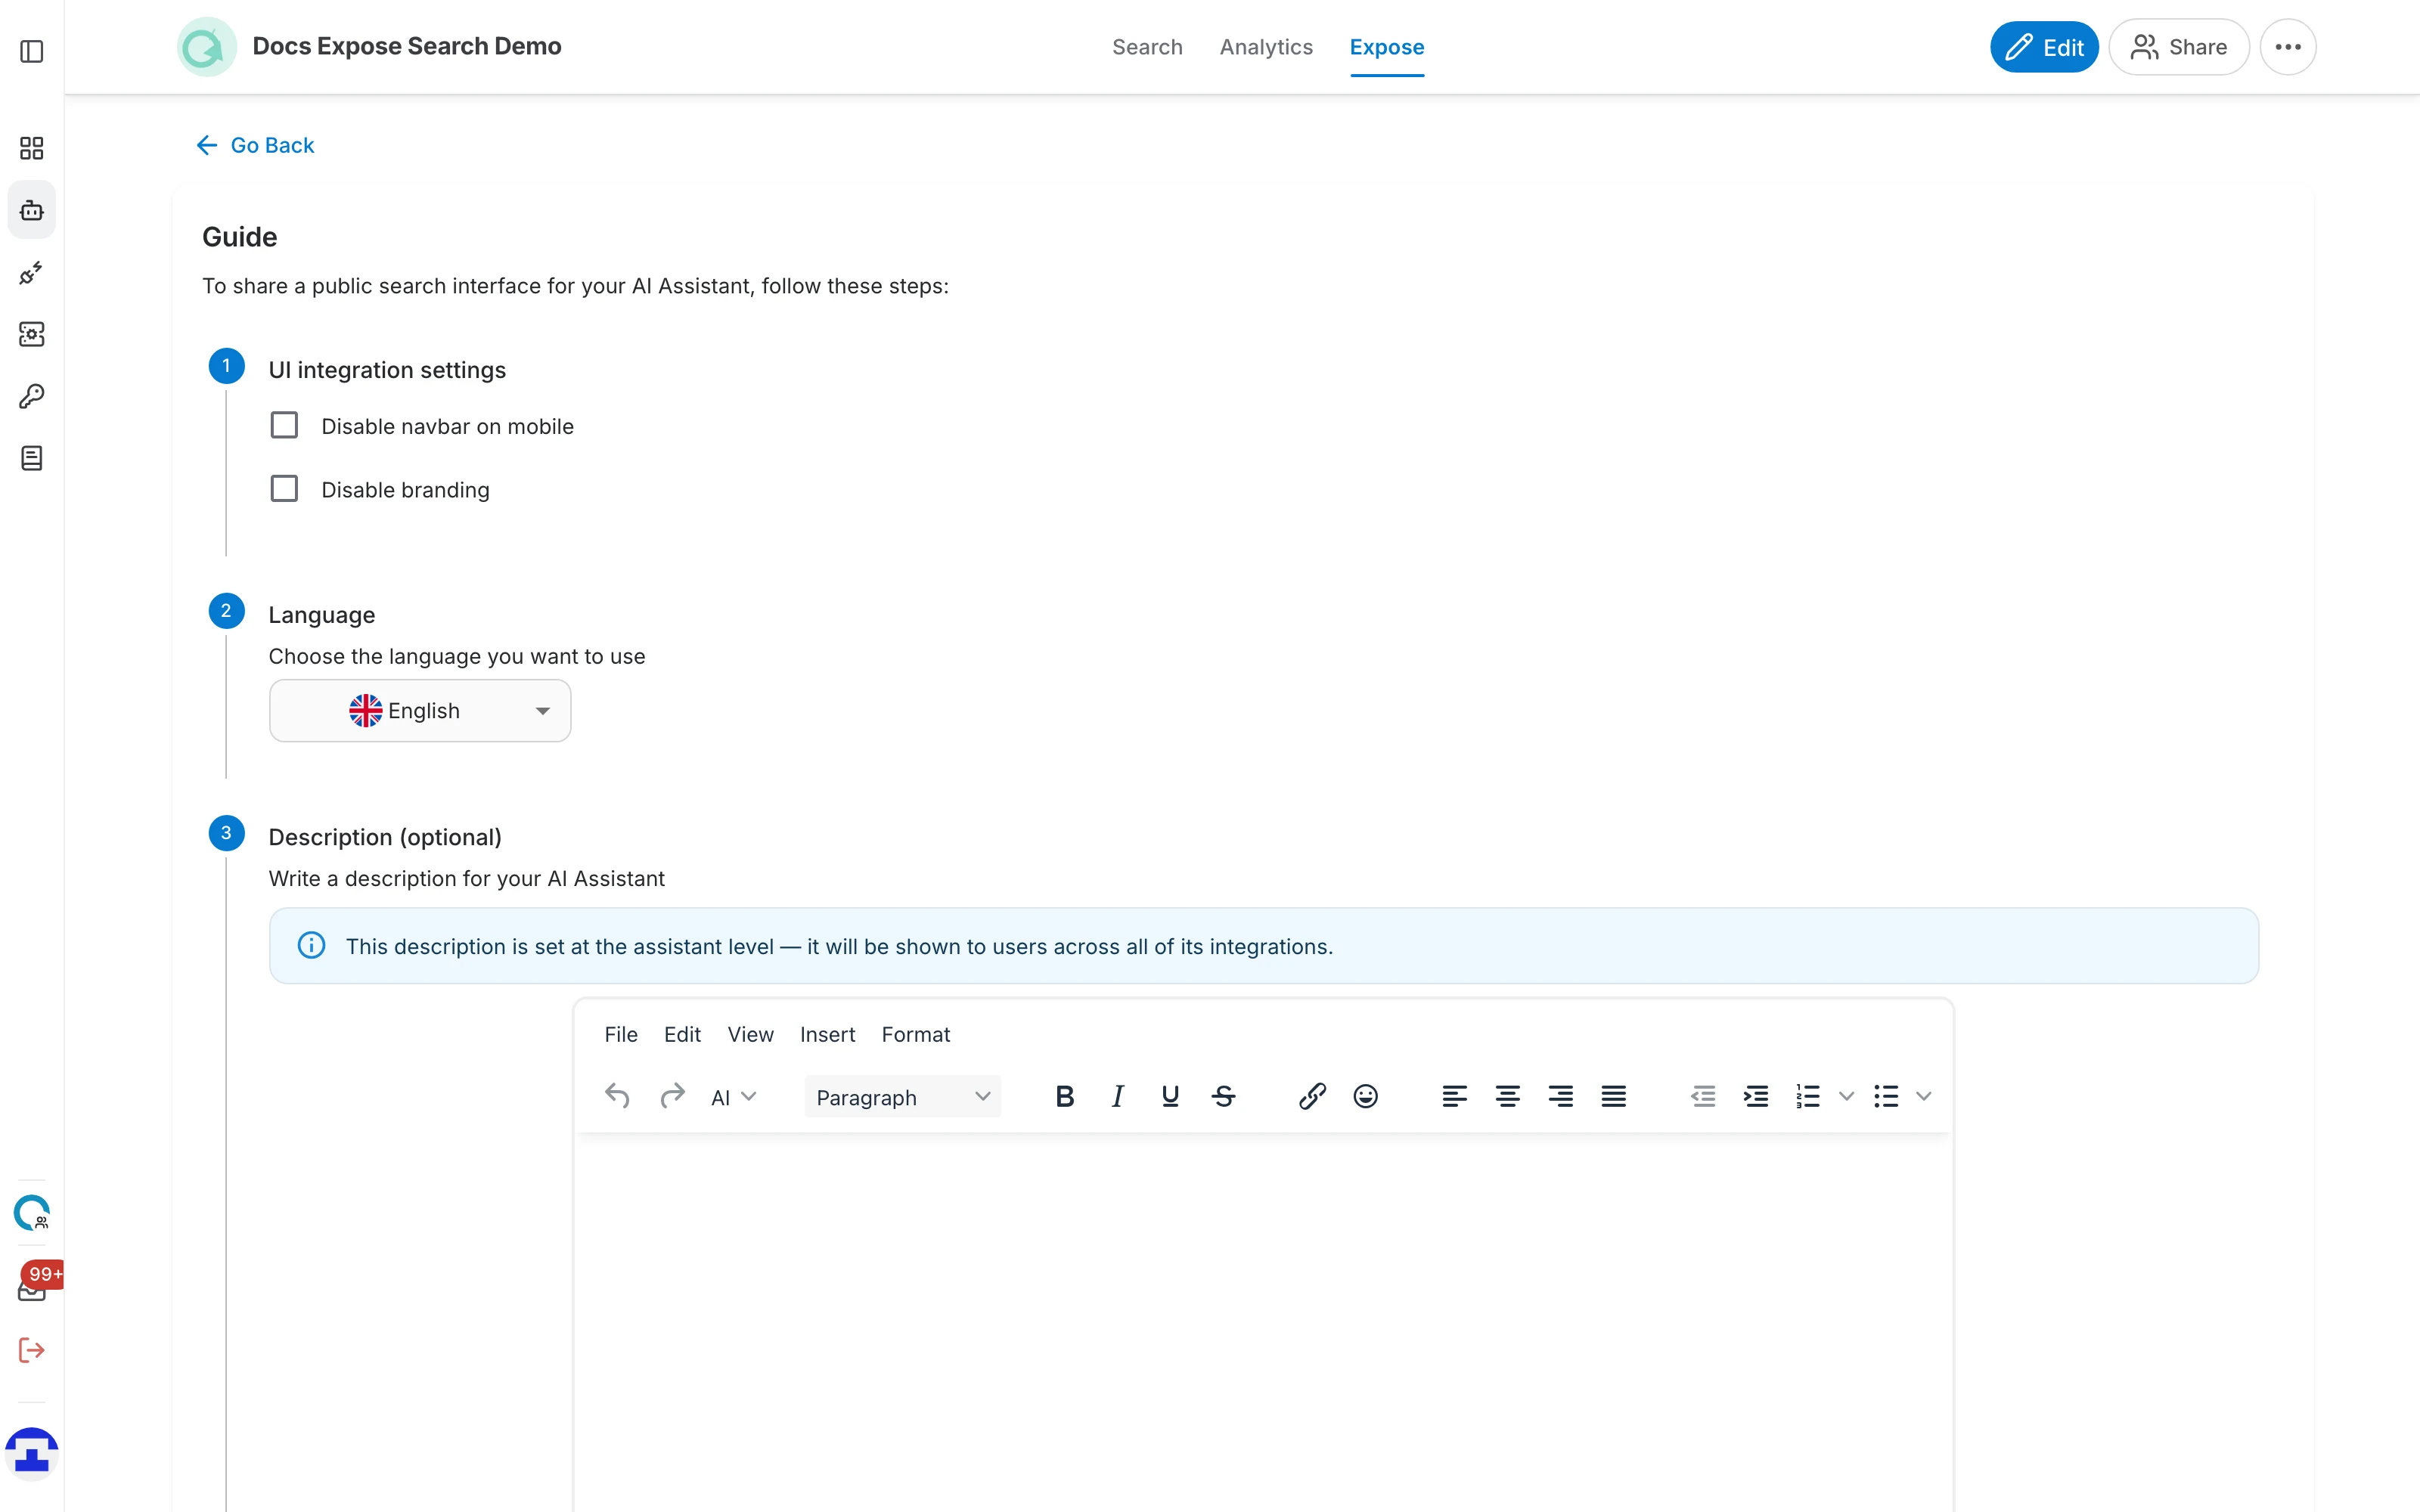
Two checkboxes control how the hosted page is framed:
- Disable navbar on mobile — hides the top navigation bar for visitors on phones, leaving more room for the search results.
- Disable branding — removes the QAnswer logo and footer, so the page carries nothing but your assistant.
Step 2 — Language
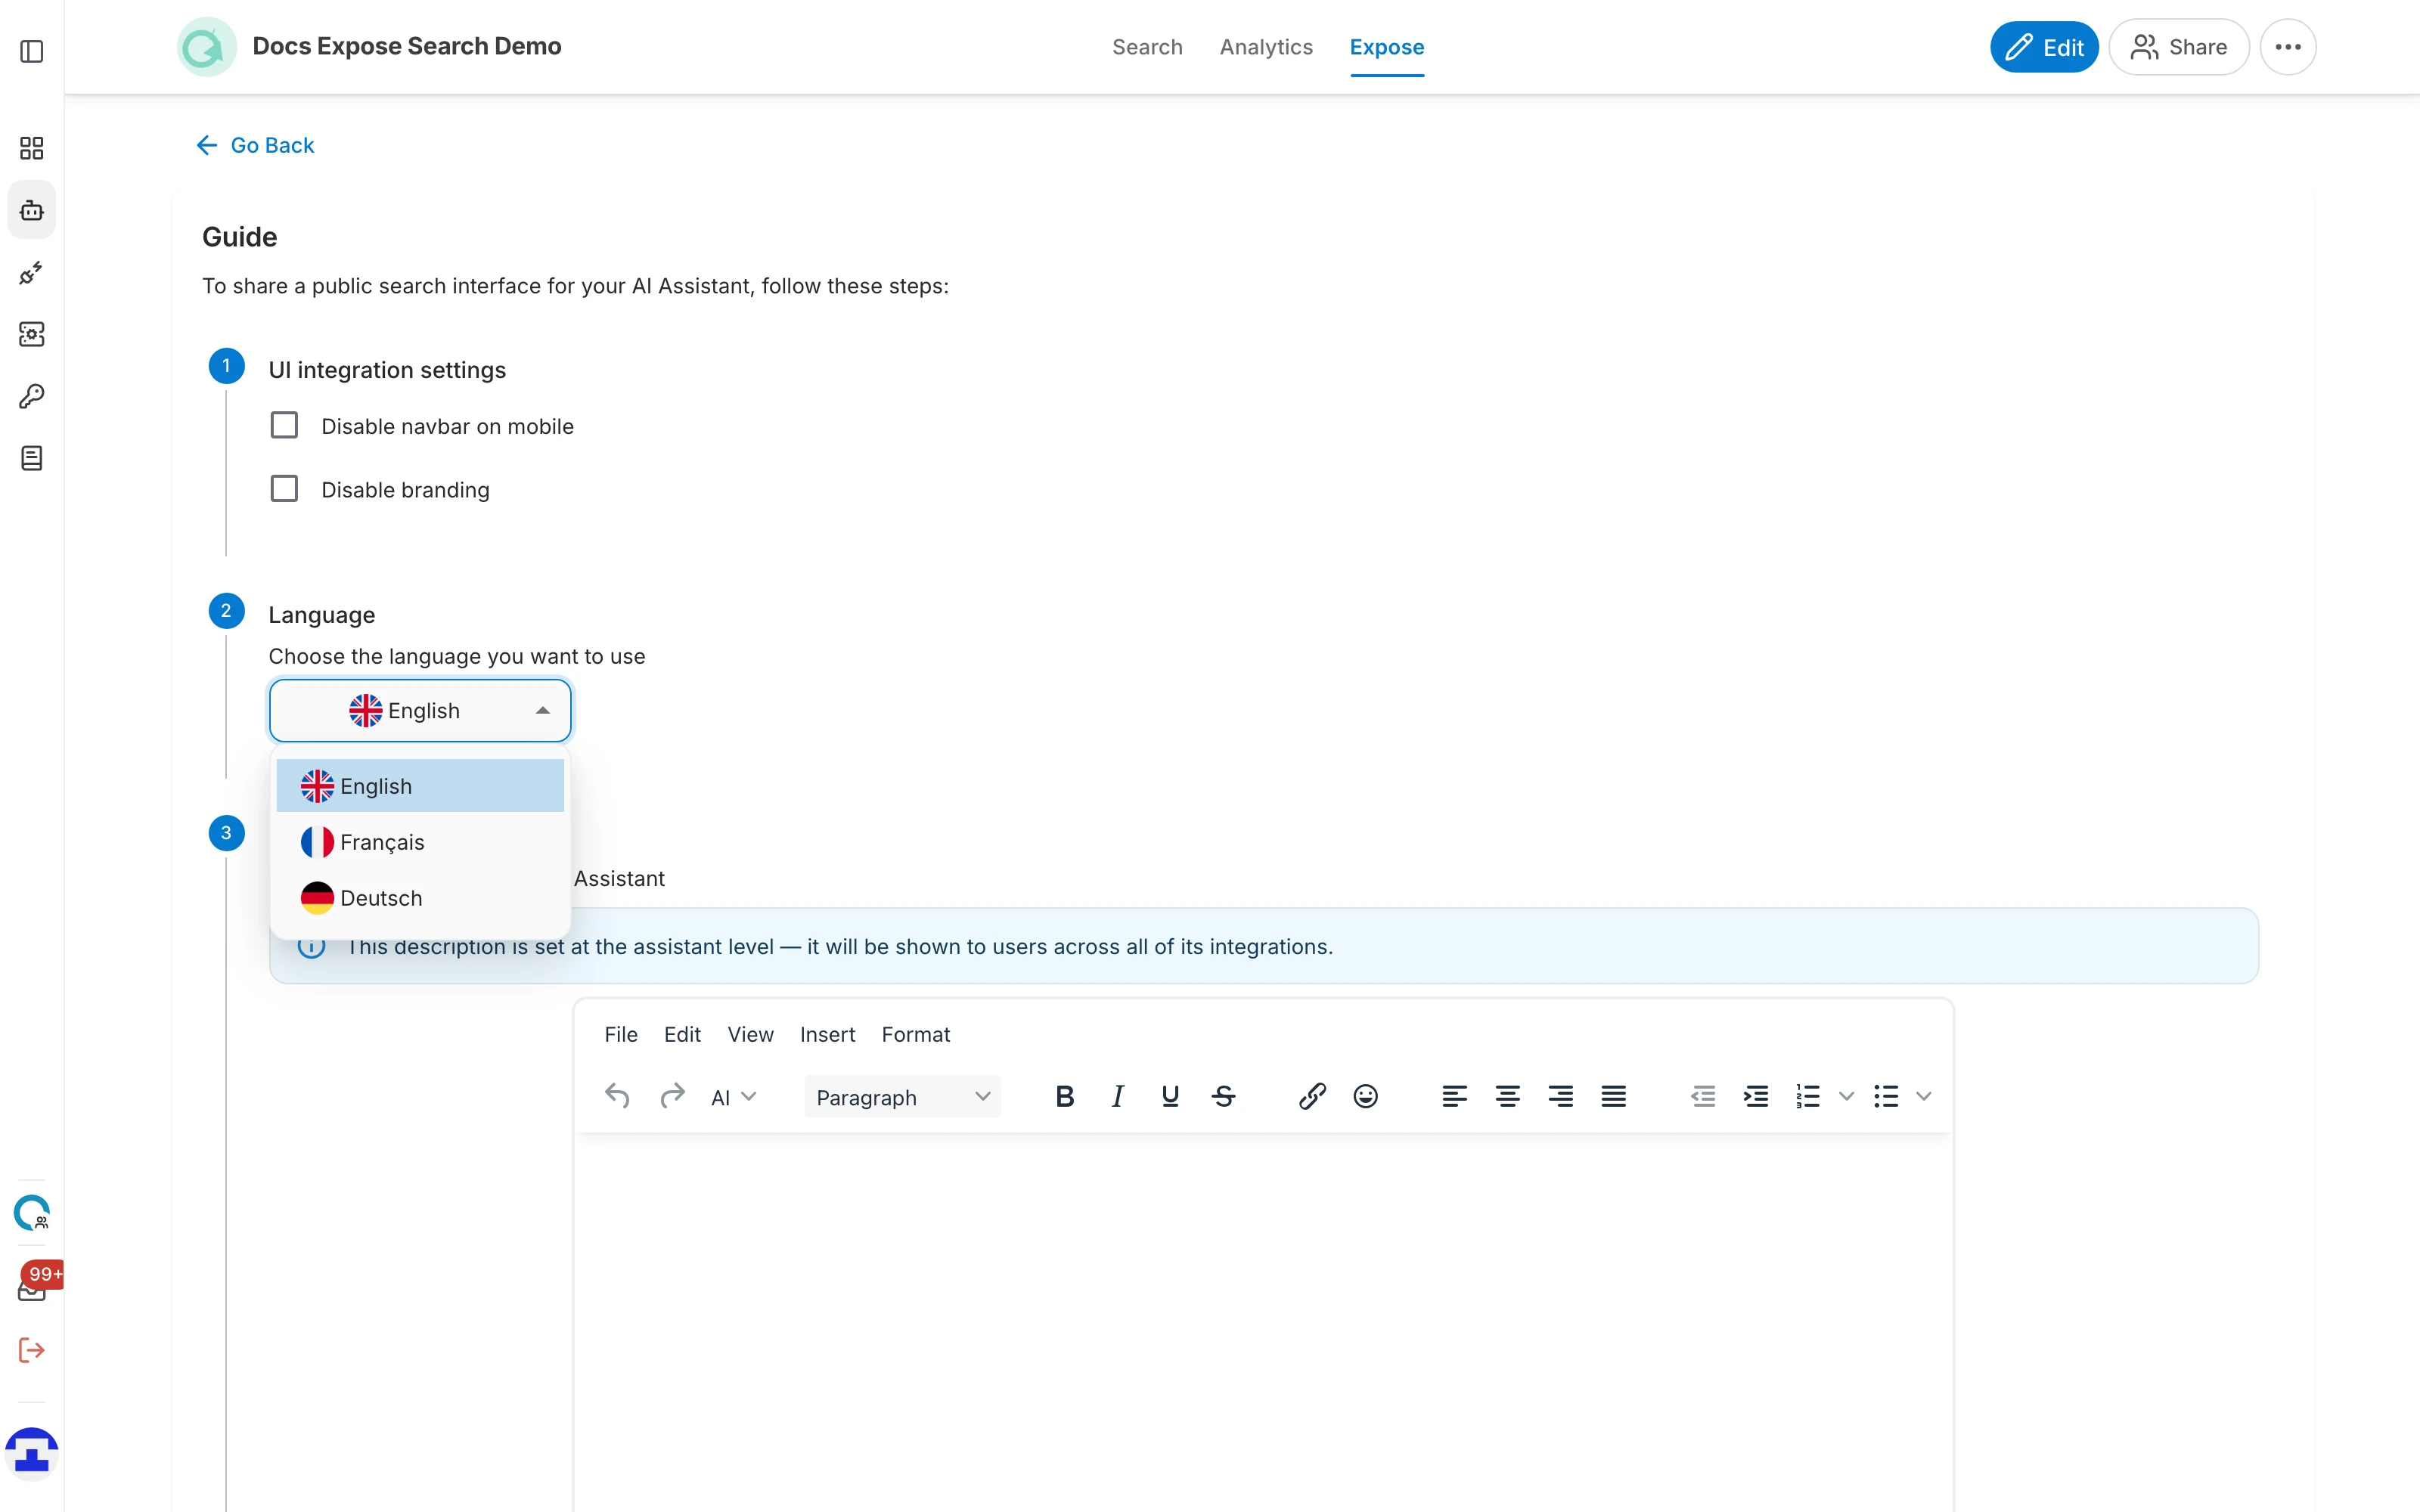
Choose the language the interface itself is displayed in — the labels, buttons and placeholder text. Visitors can still ask questions in any language your assistant understands.
Step 3 — Description (optional)
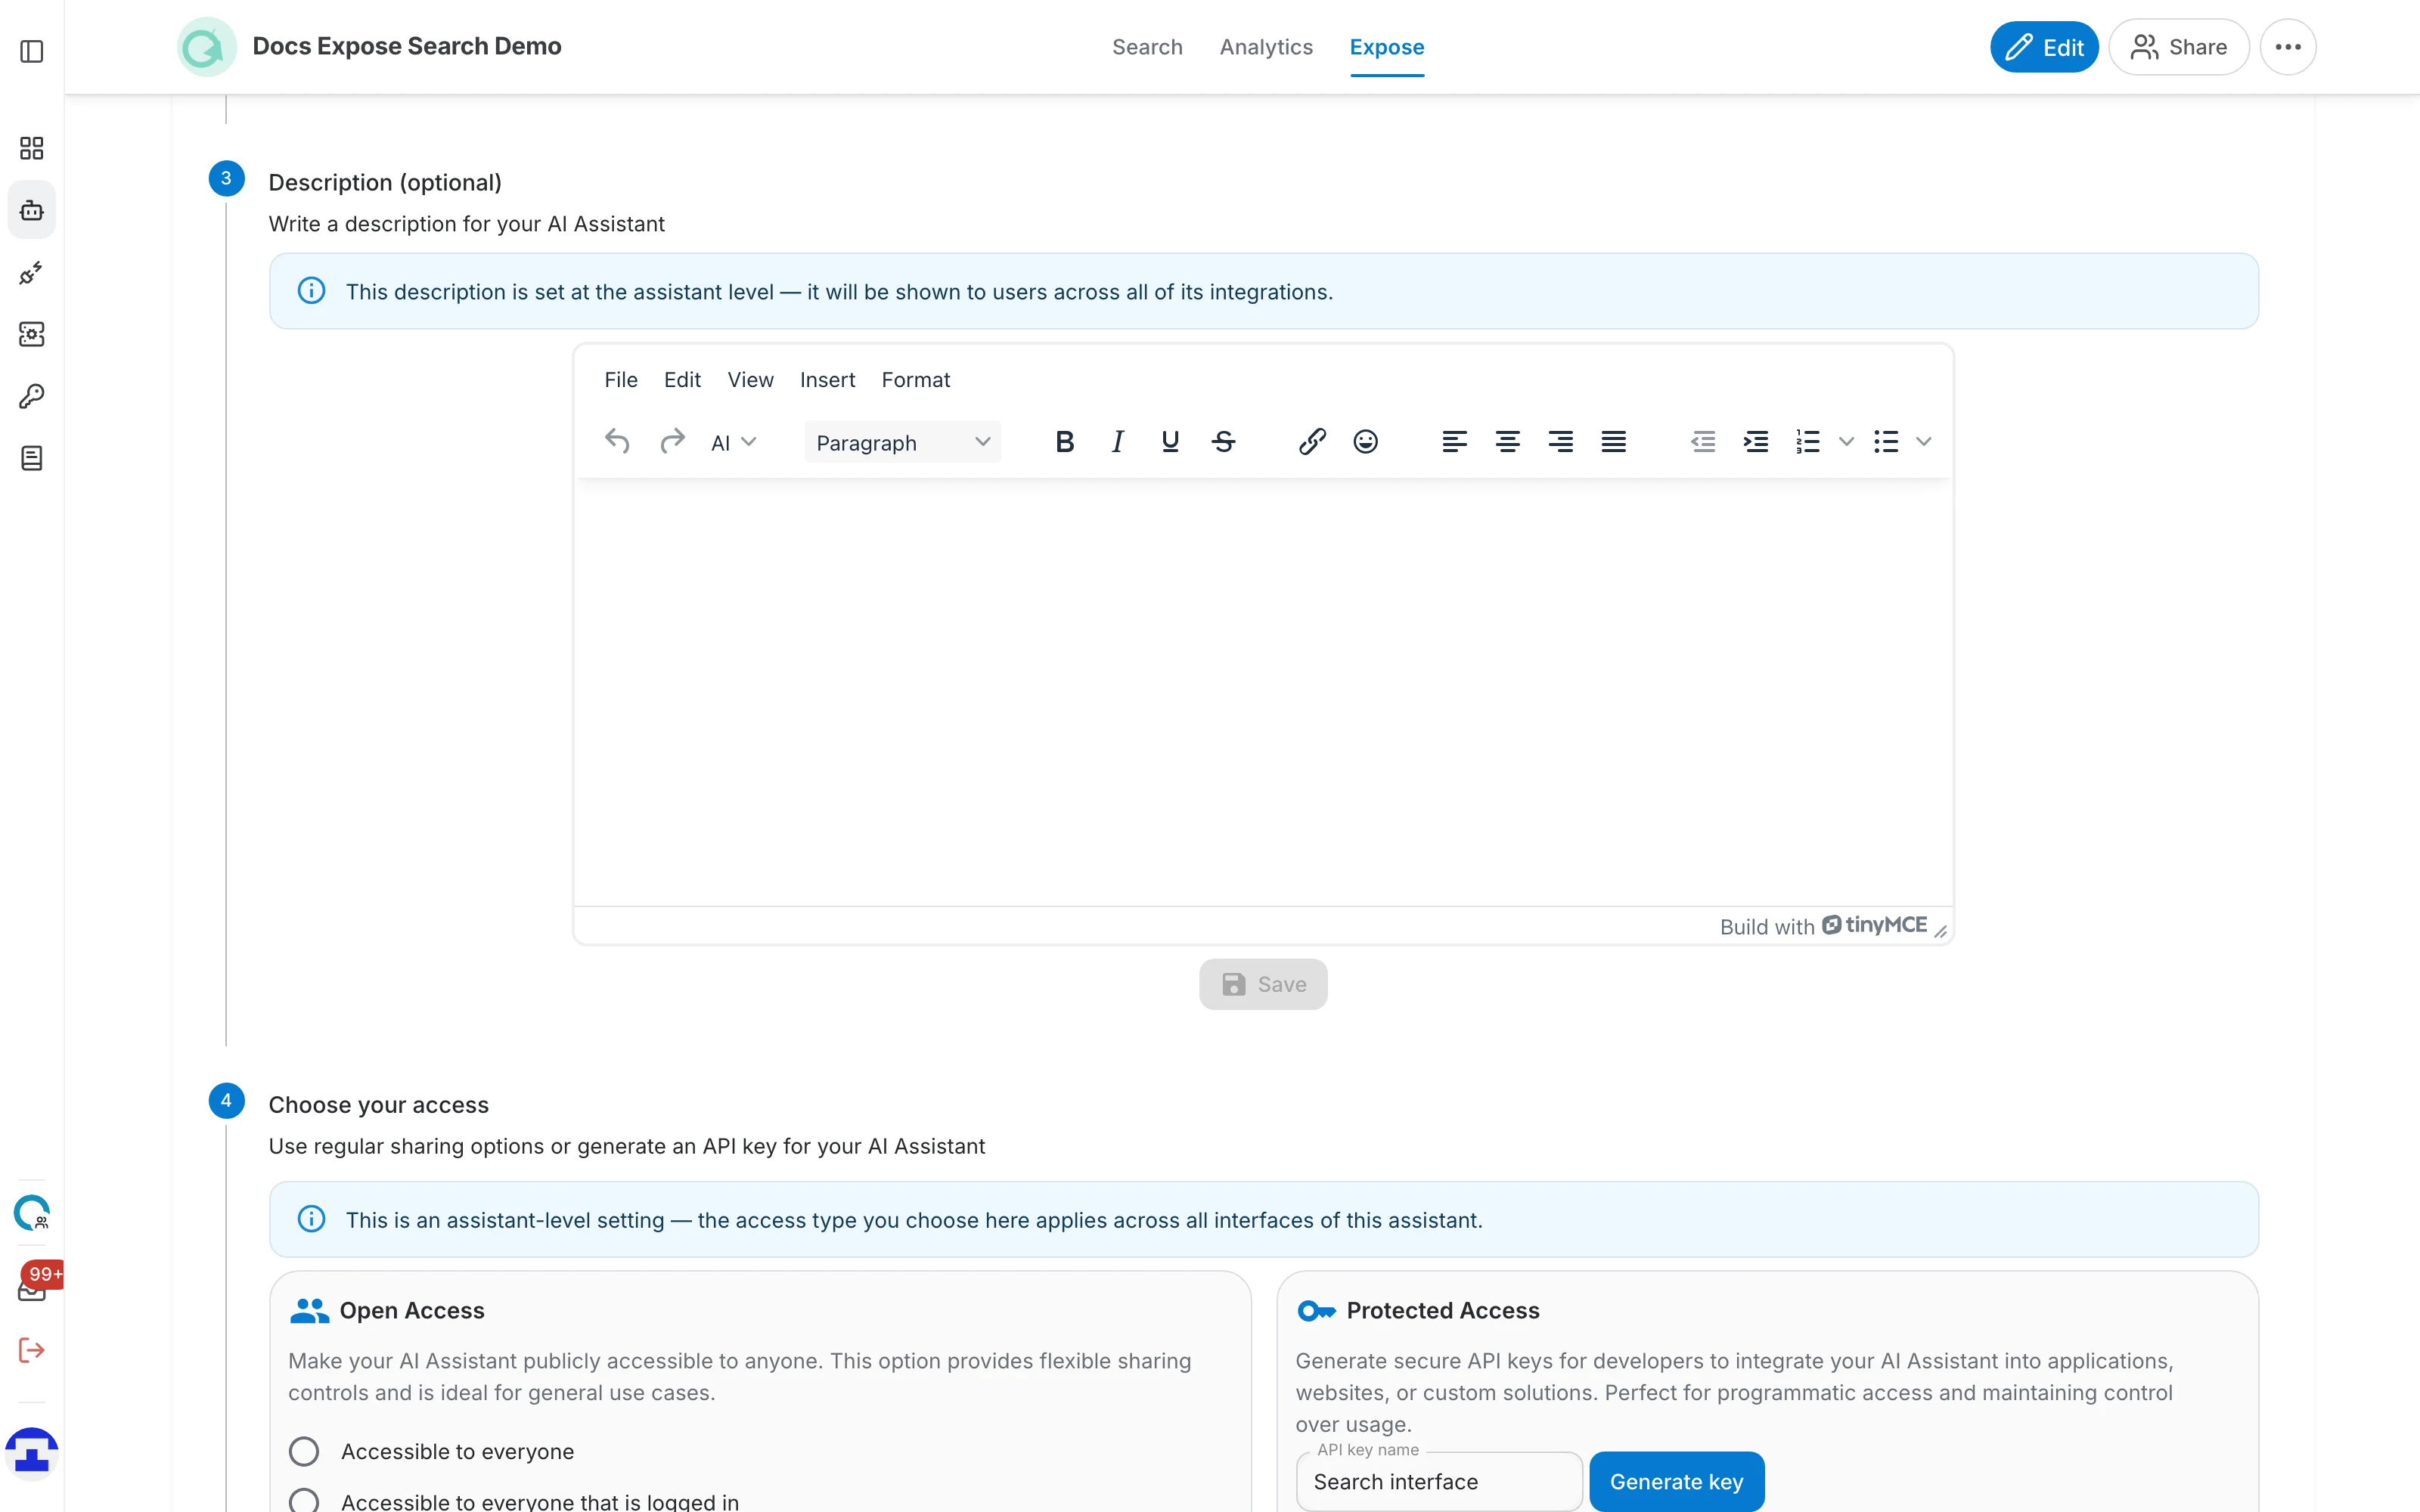
The description tells visitors what this assistant is for and what kind of questions it can answer. It is shown on the public page, and the rich-text editor lets you add links and formatting.
Step 4 — Choose your access
Nobody can open the link until you decide who is allowed in:
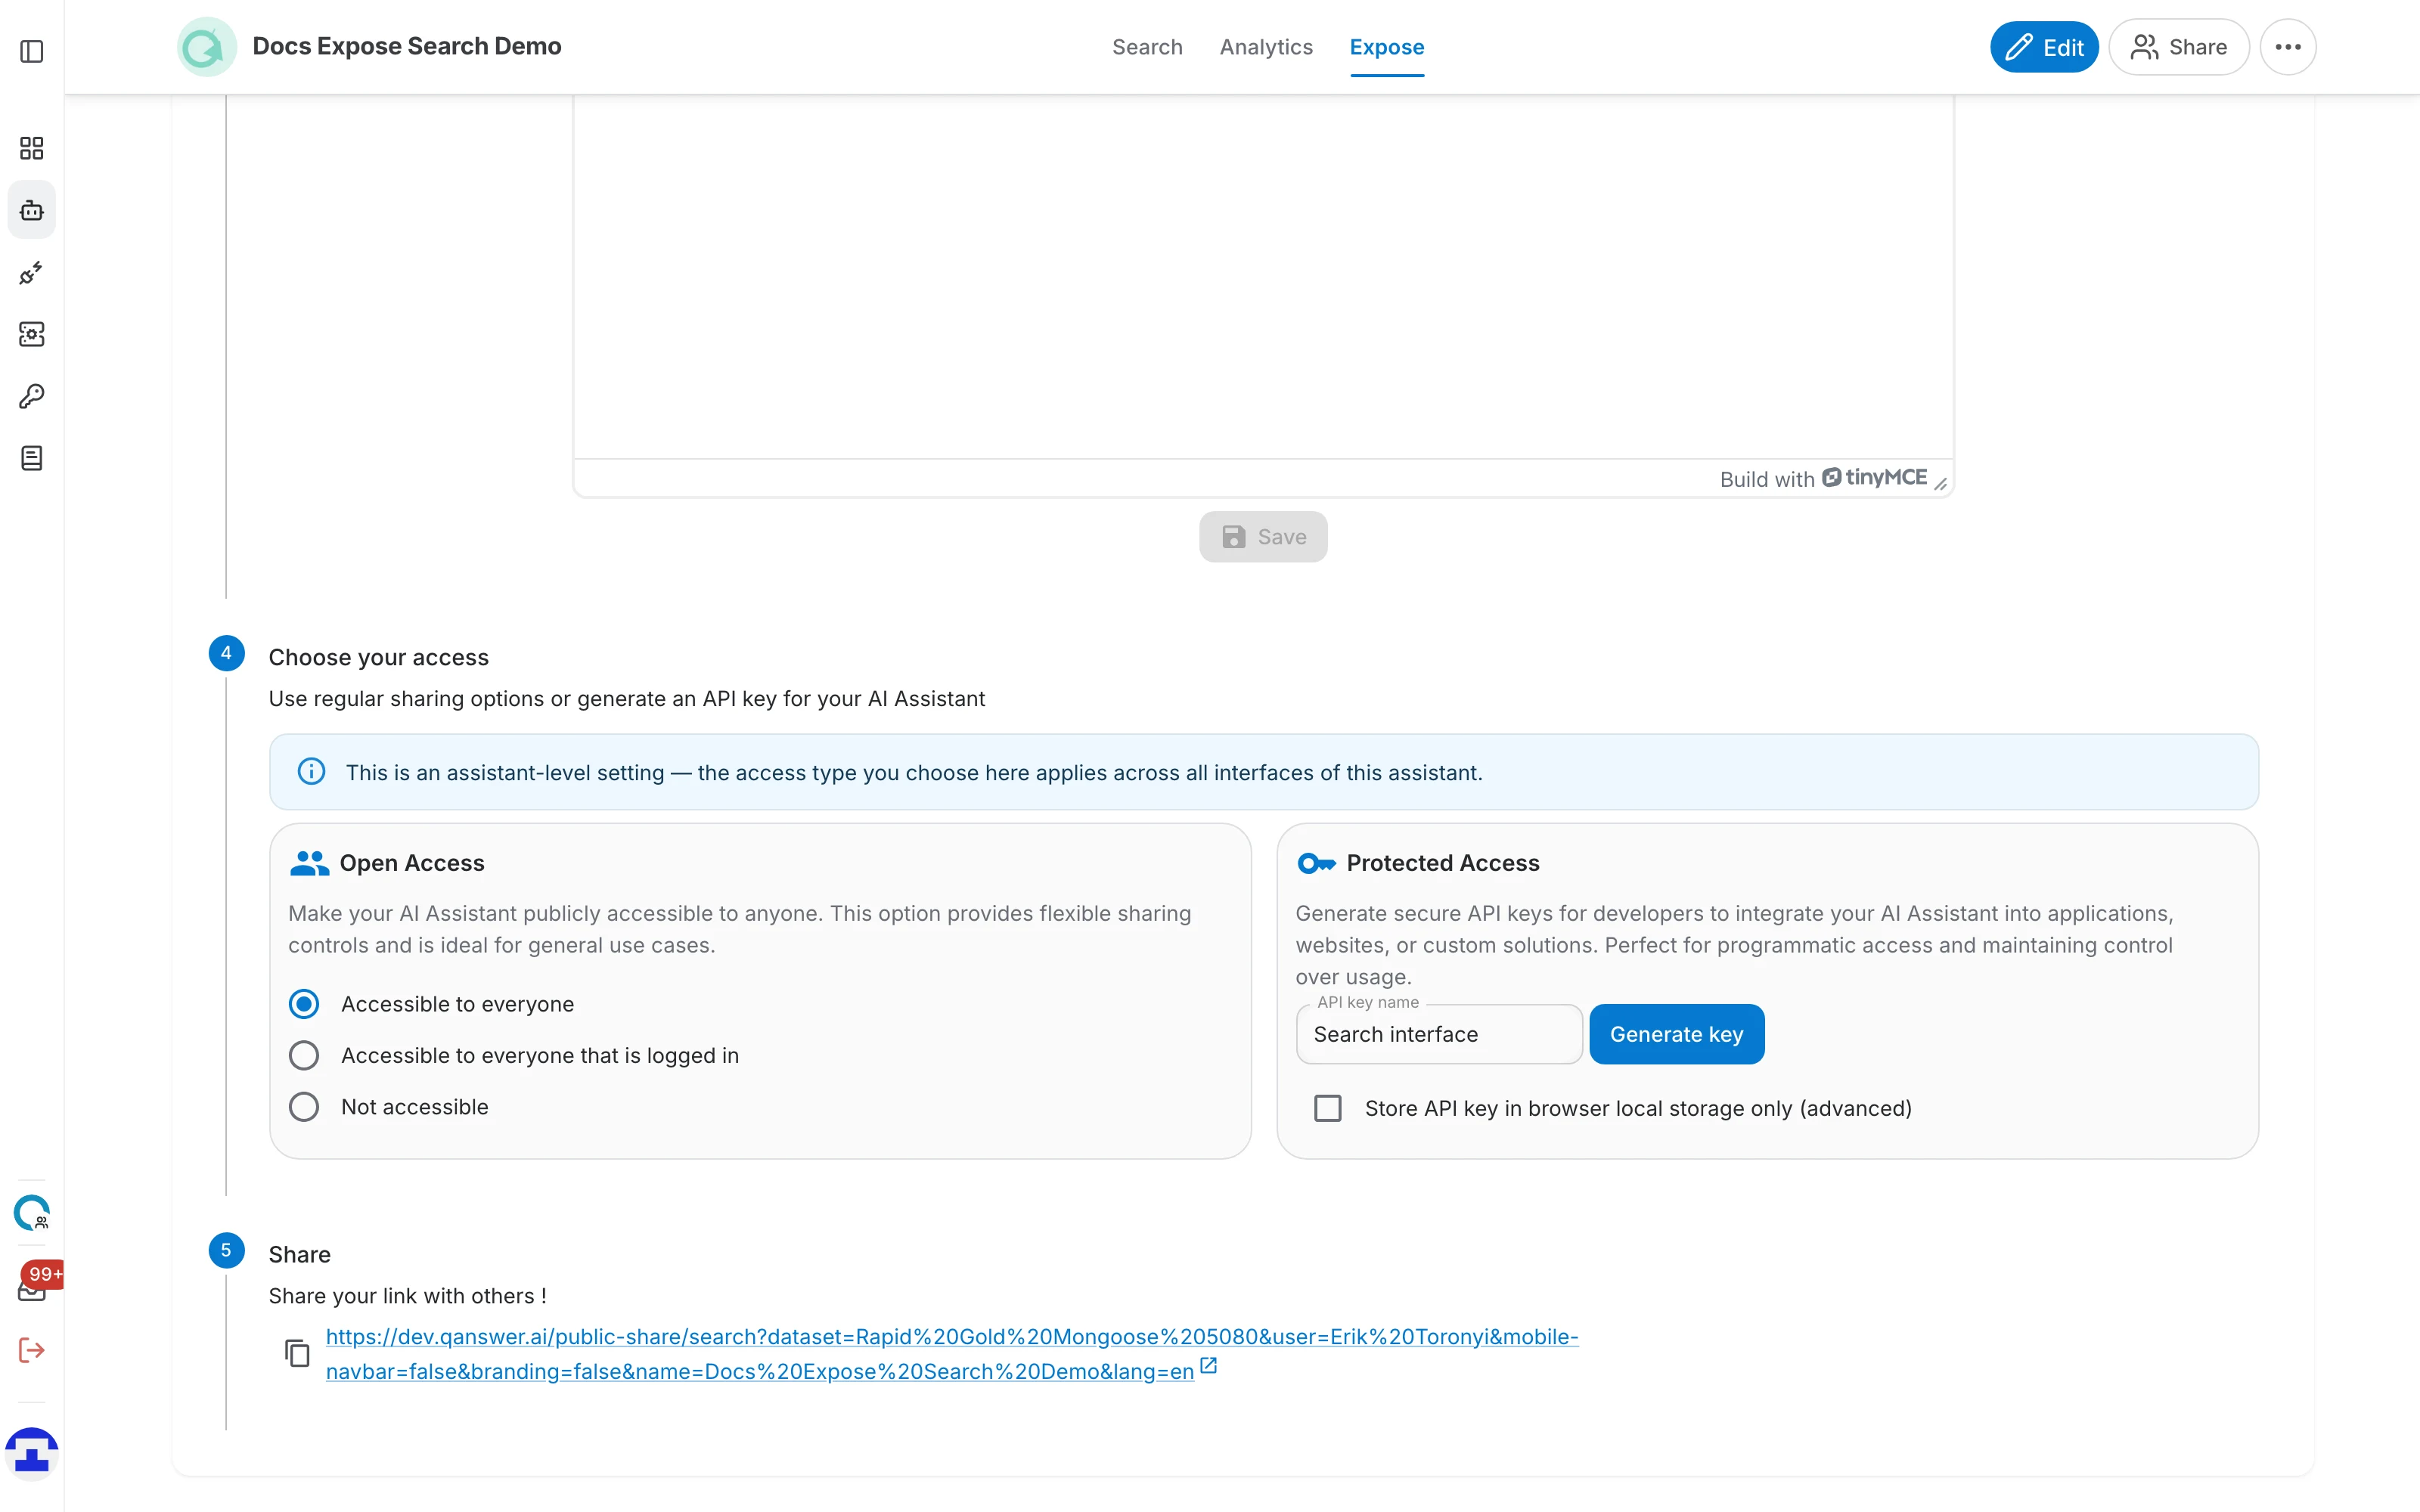
- Public — anyone with the link can search, without logging in or an API key. This is the usual choice for a public link.
- Logged-in users — the link works, but only after the visitor signs in to QAnswer. Useful for sharing inside a company.
- Only with an API key — the assistant stays private and the link carries an API key that lets visitors in. Select it to take a public link offline again: a link without a key stops working.
With Only with an API key selected, the key controls appear right under the option:
- Use an existing API key lists the assistant's keys that can be used here; expired keys and Read and write keys are left out. It only appears if you have write access to the assistant and such a key exists.
- To make a new key, type a name in API key name and press Generate key.
- The chosen key is then shown masked, with a copy button, and Use another key brings the picker back. QAnswer remembers the key in your browser and selects it again the next time you open the guide.
- Keep the API key out of the exported code (advanced) removes the key from the link. The link then only works in this browser, where the key is kept in local storage.
Switching to Public or Logged-in users sets the key aside, since none is needed then; it comes back if you return to Only with an API key.
Step 5 — Share
Once access is set, the link appears. Use the copy icon beside it, or the arrow to open it in a new tab.
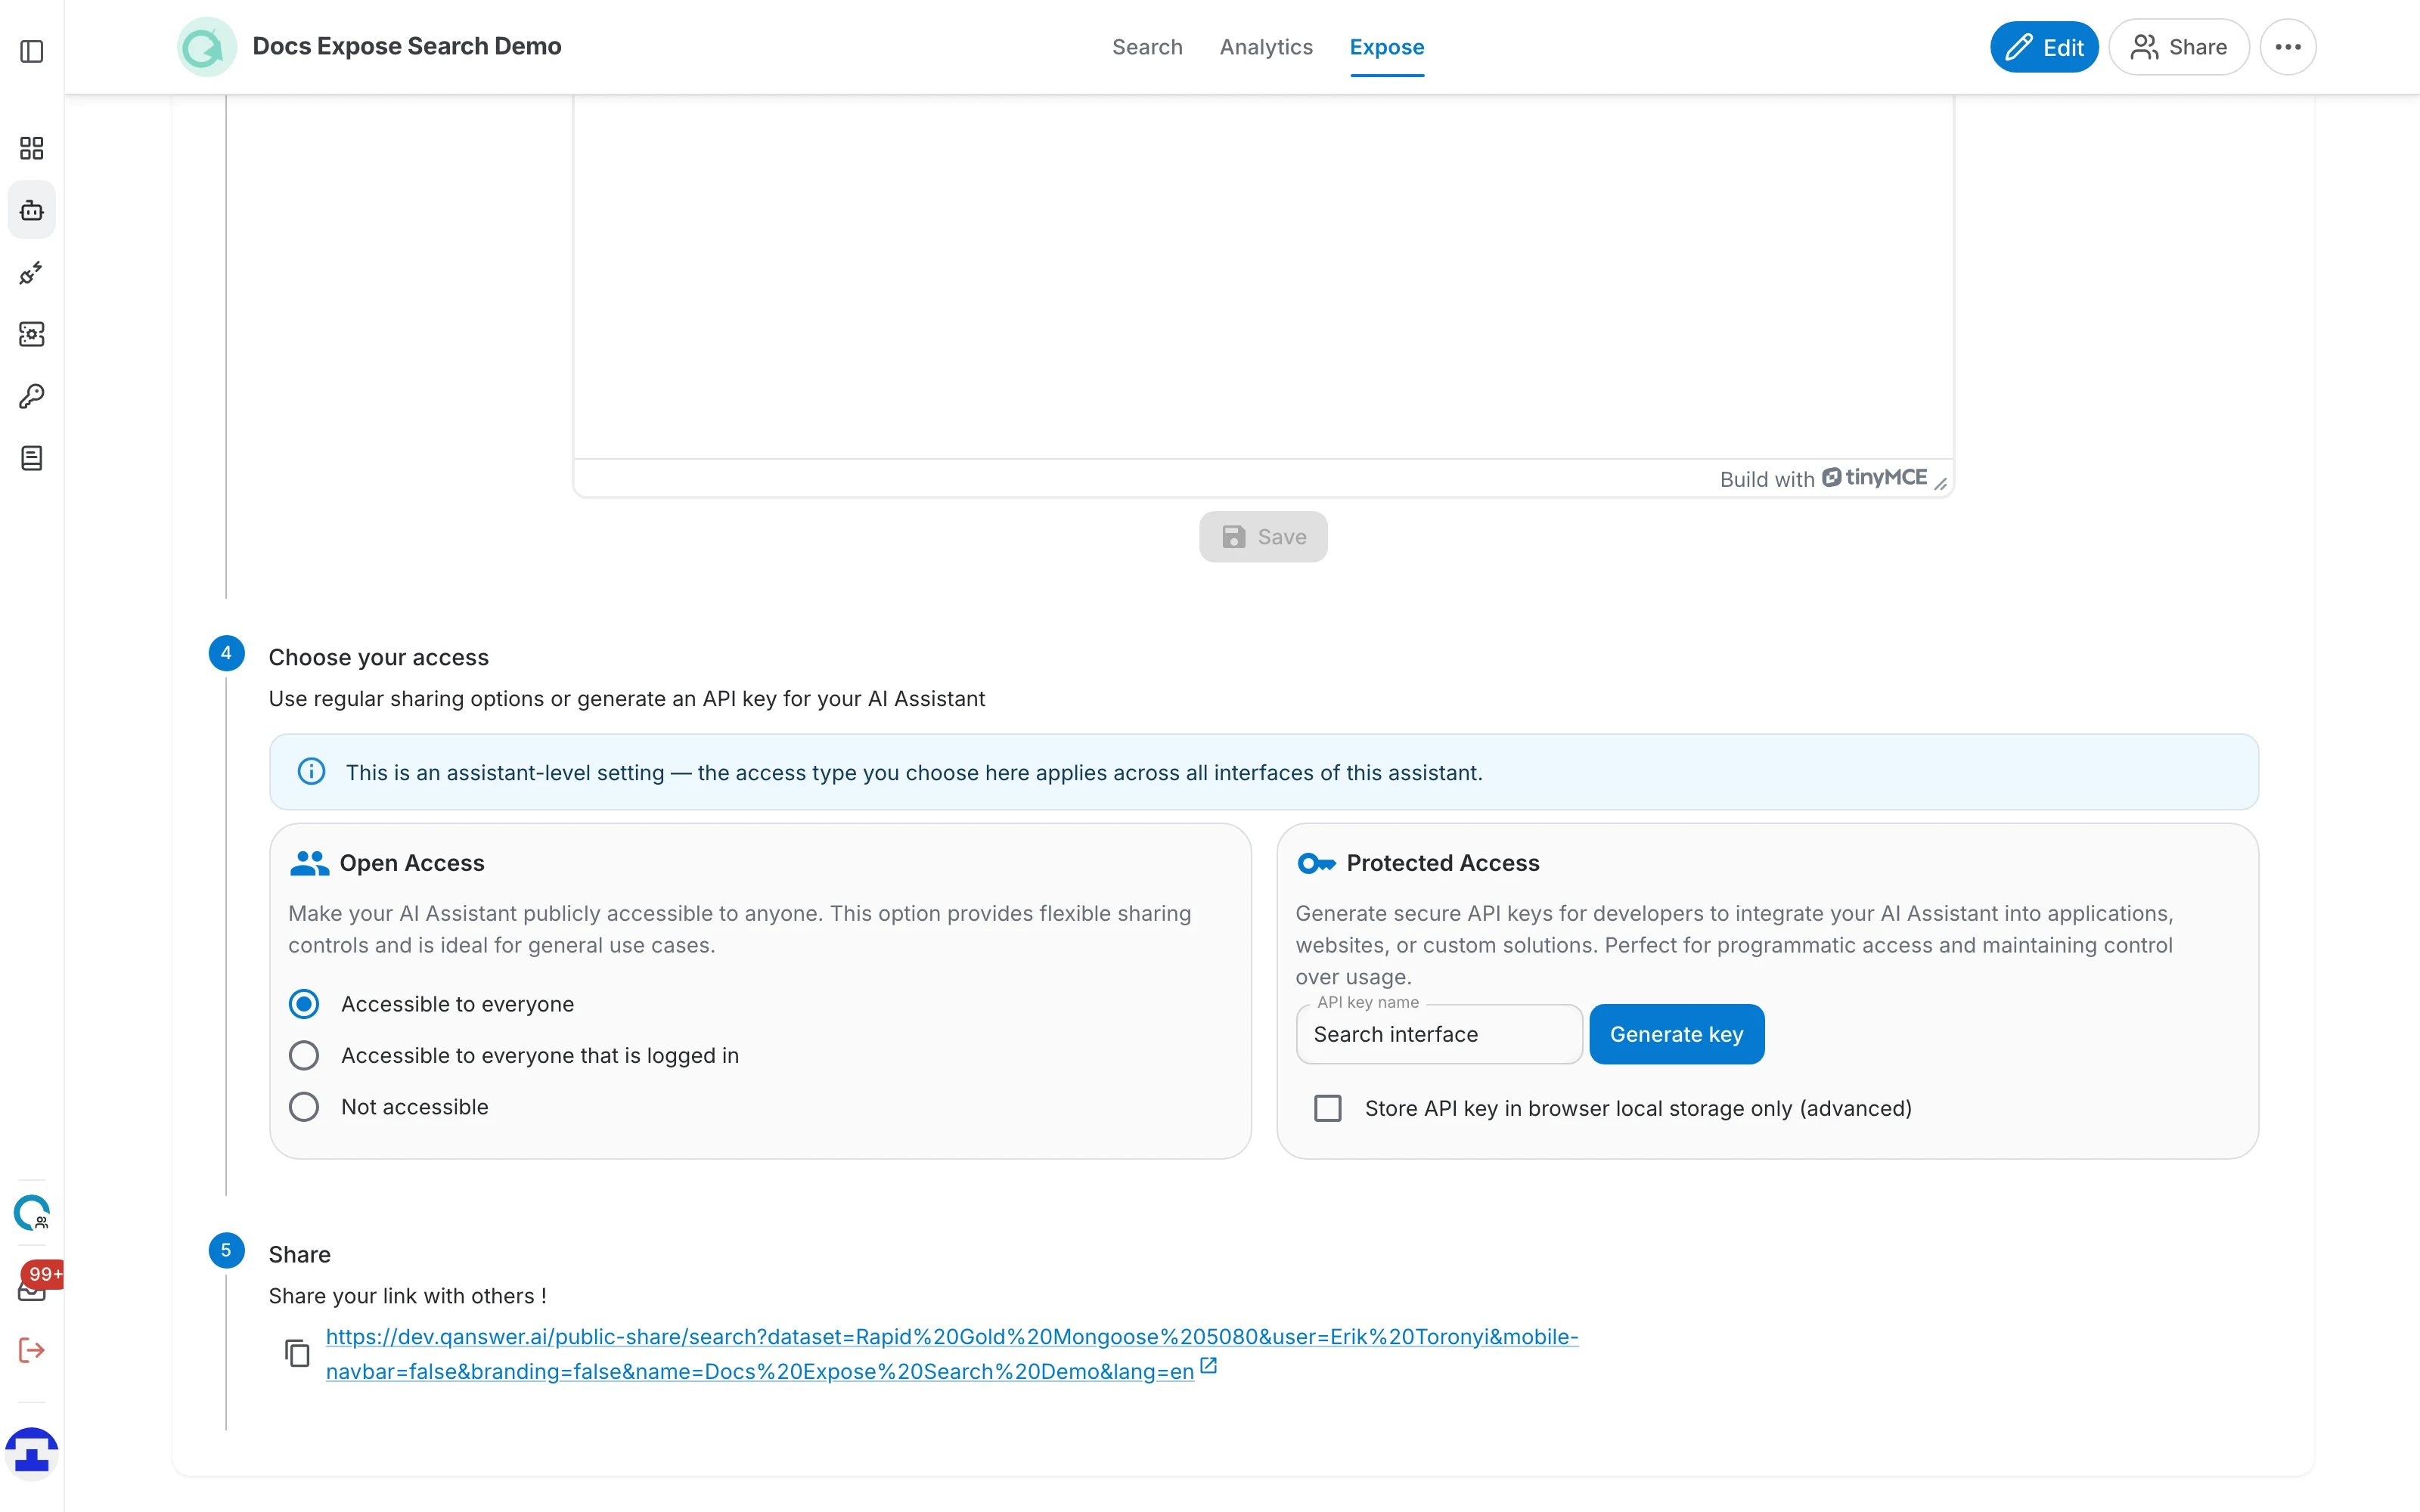
The link carries your choices from the earlier steps as parameters — the language, and whether the navbar and branding are hidden. Changing a step regenerates it, so copy the link again after you adjust anything.
What visitors see
Opening the link gives a clean search page named after your assistant, with a single question box: