
AI Assistants List
The AI Assistants page is where you find, open and manage every assistant you can use: the ones you own and the ones that other people, your team or your organization have shared with you. This page explains every button on it, from the toolbar to the controls on each assistant card.
Open the page
Click AI Assistants in the navigation drawer on the left. The page shows your assistants as a list by default; you can switch to a grid of cards at any time.
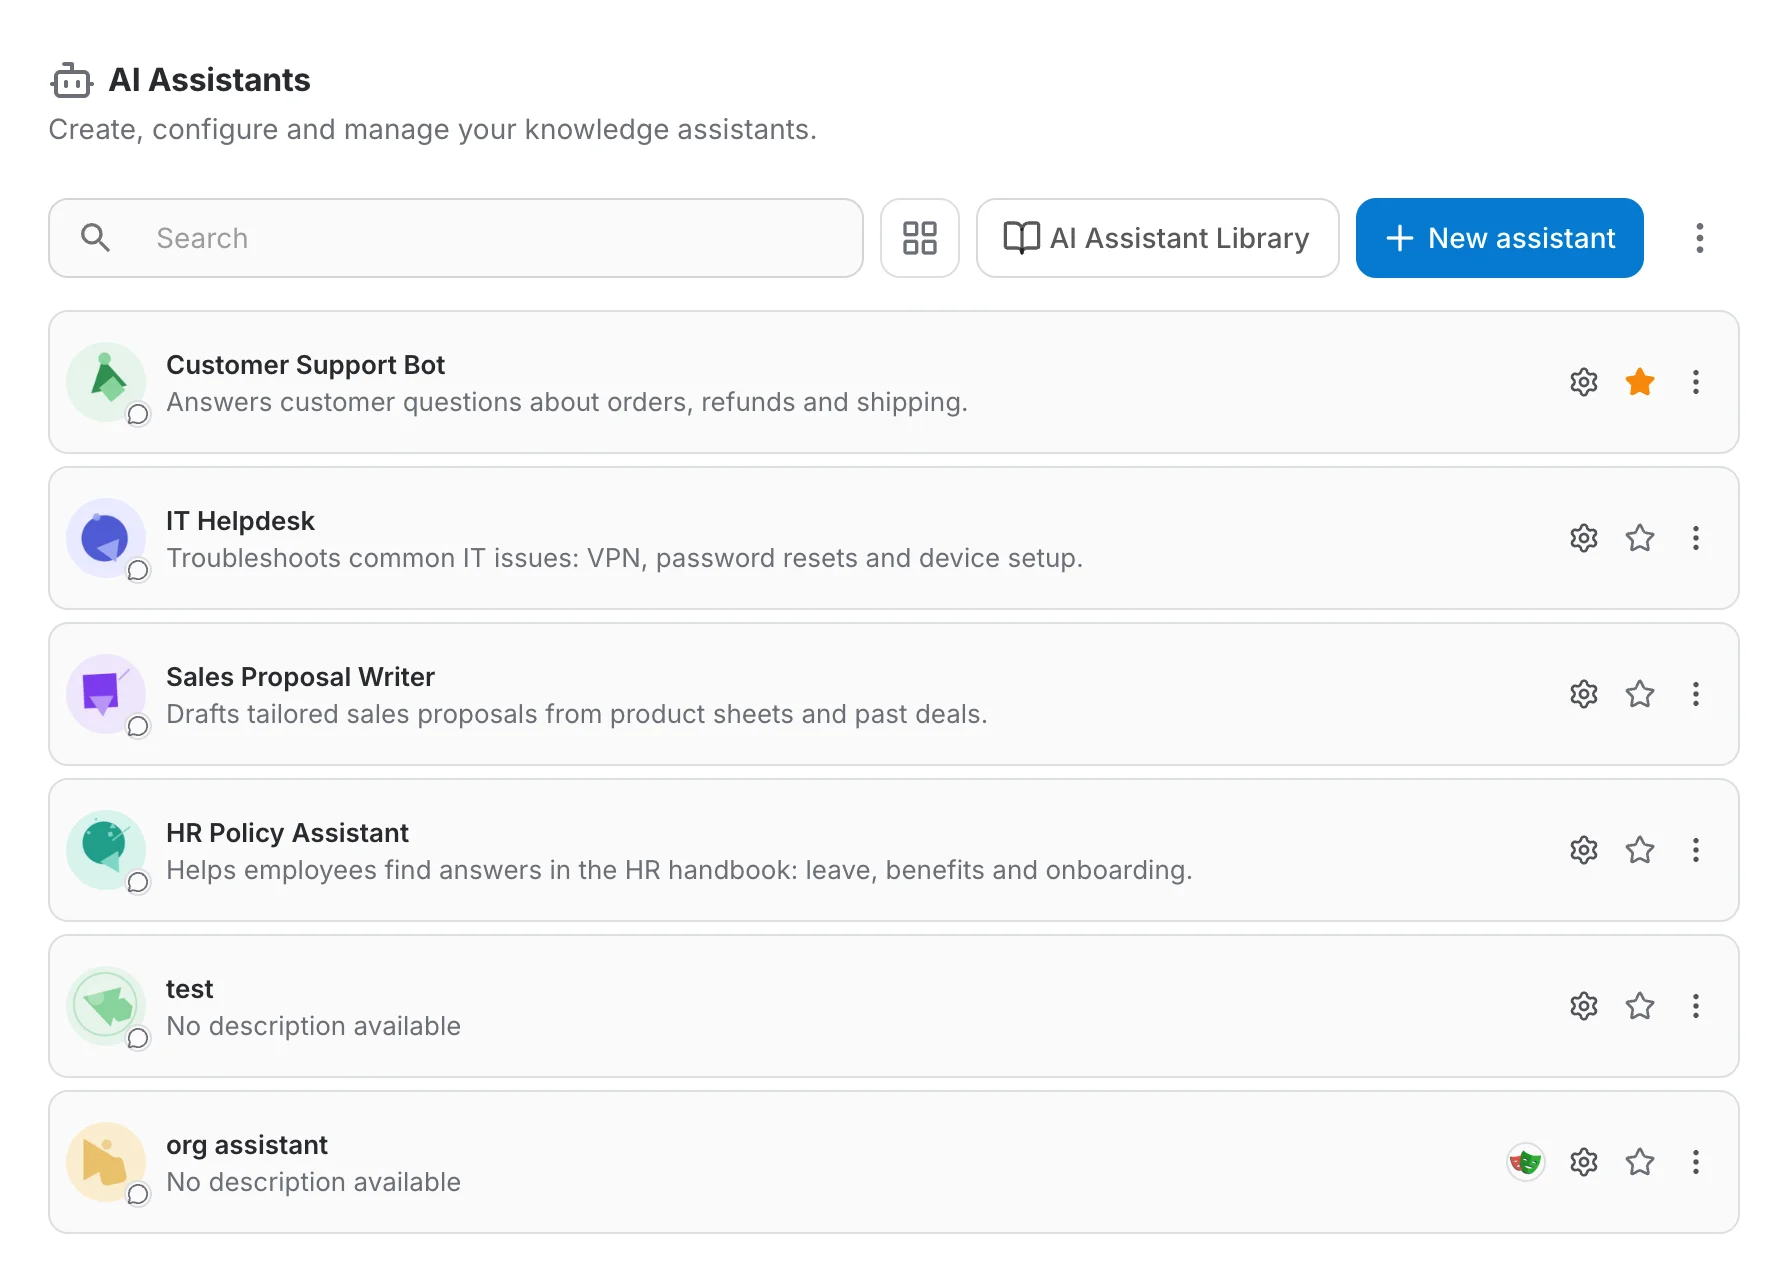
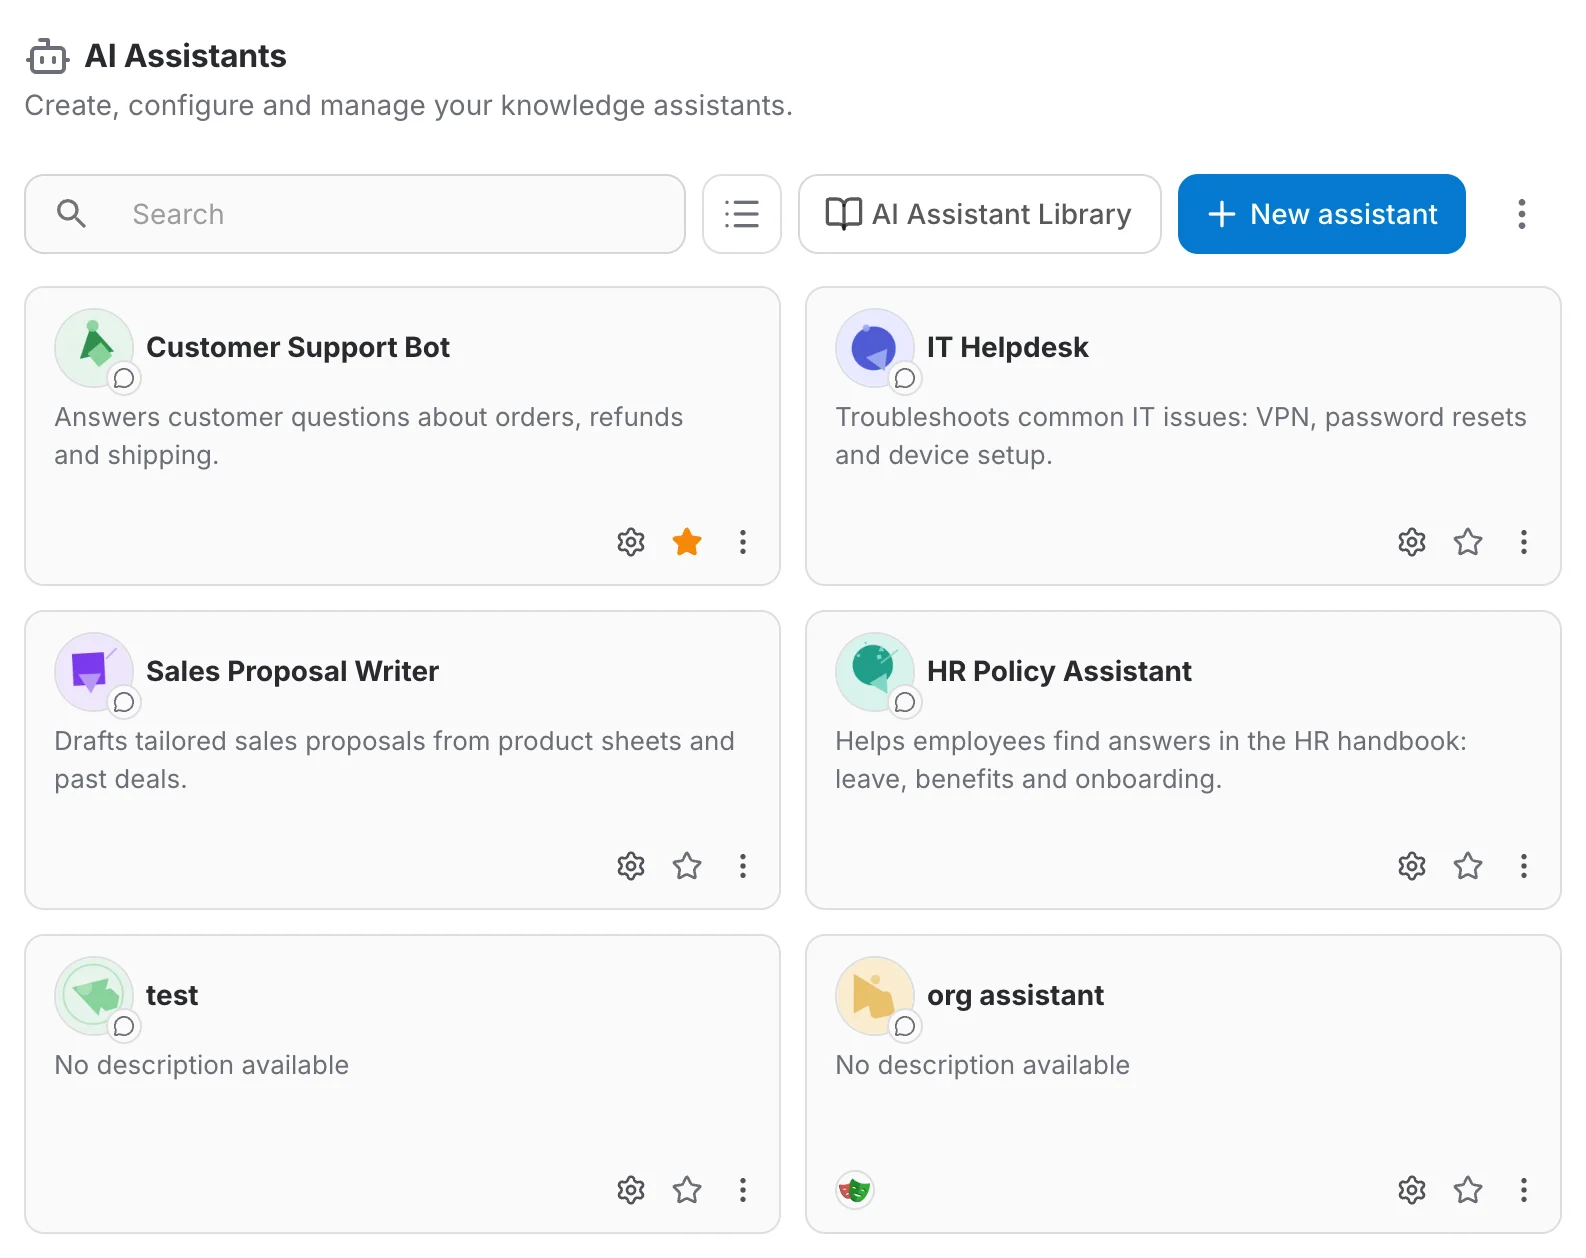
The header shows the page title and the subtitle "Create, configure and manage your knowledge assistants." It has no buttons of its own.
The toolbar
The toolbar above the list holds, from left to right:

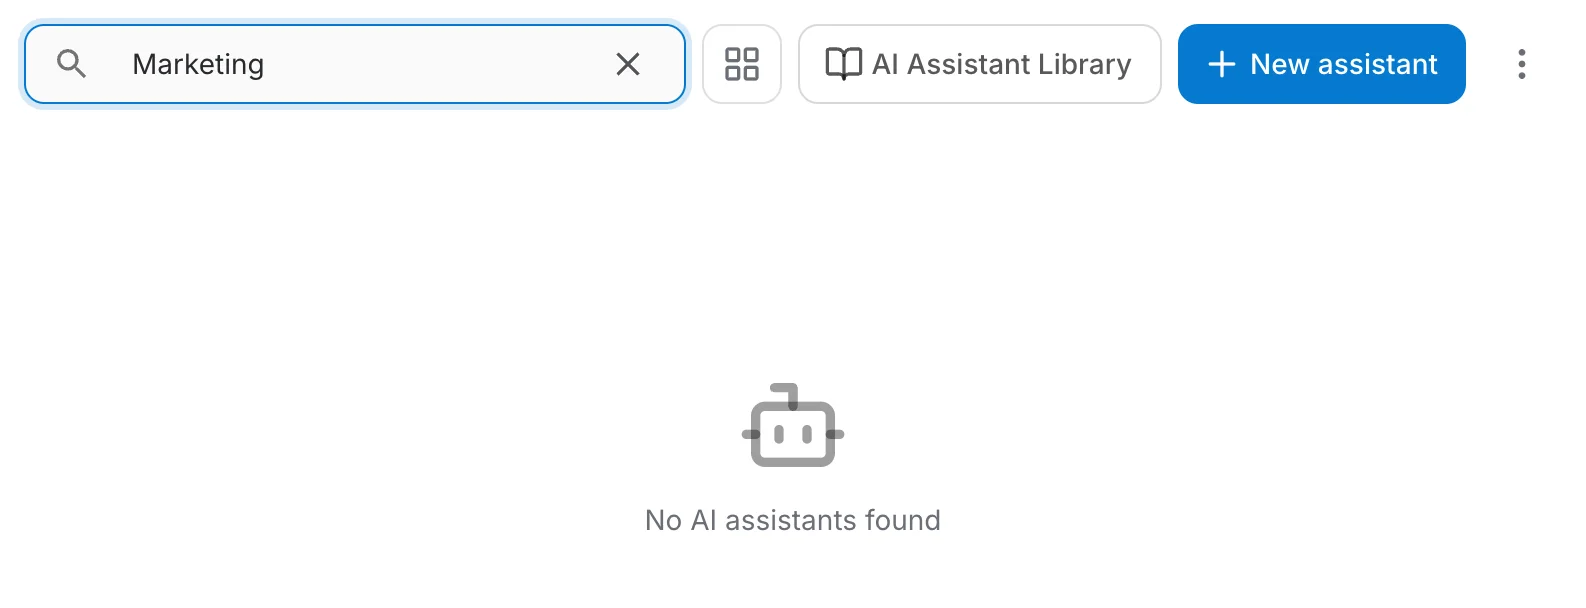
- Search filters the list as you type. While a search runs a small spinner appears in the field; the × button clears it.
- Switch to grid view / Switch to list view toggles between the compact list and the grid of cards. Your choice is remembered in this browser. On a phone the page always uses the grid.
- AI Assistant Library opens the catalogue of ready-made assistants that you can open or duplicate. See AI Assistant Library.
- New assistant creates a chat assistant straight away, with a generated avatar and the name "New Assistant", and opens its editor. There is no creation dialog. See Create an AI Assistant.
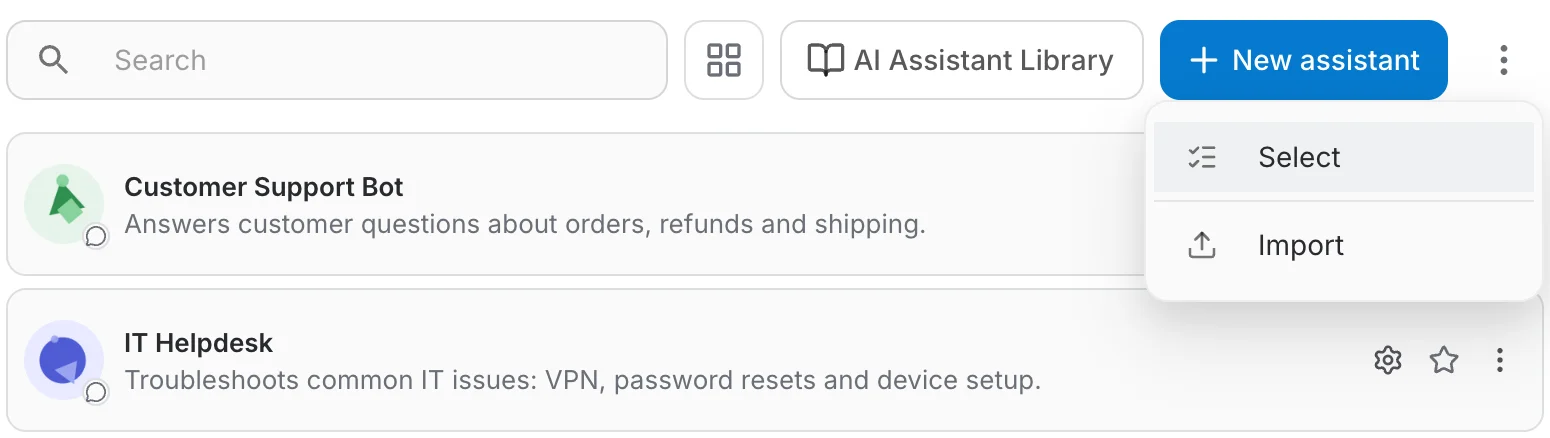
- More options (⋮) opens a small menu with Select and Import.
More options menu
The ⋮ button at the end of the toolbar opens two entries:
- Select turns on selection mode, so you can delete several assistants at once. See Select several assistants.
- Import opens the Import Assistant dialog, where you drop a .zip file exported from another assistant. It is shown only to users who are allowed to create assistants. See Import an assistant.
Search results
The search runs on the server, so it also finds assistants that have not been loaded yet. When nothing matches, the list is replaced by "No AI assistants found". Clear the field to see every assistant again.
The assistant card
Each assistant appears as a row in list view or as a card in grid view. Both show the same information and the same buttons:

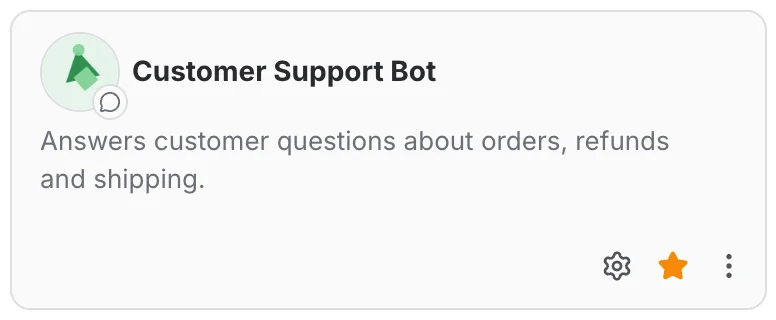
- Avatar the assistant picture. The small round badge at its bottom-right corner shows the task type (for example a speech bubble for Chat).
- Name and description the assistant name, and the description under it. An assistant without a description shows "No description available".
- Use only a small lock label above the name on assistants shared with you as Use only. Its tooltip reads "You can use this assistant but not edit it. Opening it starts the playground."
- Owner badge a small avatar of the owner, shown only on assistants you do not own. See Assistants shared with you.
Open an assistant
Clicking anywhere on a card, outside its buttons, opens the assistant:
- If you can edit the assistant, its page opens on the Chat tab, next to the Analytics and Expose tabs. These tabs are described in Analytics and Expose.
- If the assistant is shared with you as Use only, a new conversation with it starts right away.
Buttons on the card
Three buttons sit on the right of a row, or at the bottom-right of a card:
- Edit (gear) opens the assistant editor, where you change the name, task, instructions, data and tools. It is hidden on Use only assistants. See Assistant Settings.
- Add to favorites / Remove from favorites (star) marks the assistant as a favourite. The star turns orange and the assistant moves to the top of the list. Click again to remove it.
- More options (⋮) opens the menu described below.
The card menu
The ⋮ button on a card offers up to four actions. Which ones you see depends on who owns the assistant:
- Duplicate asks for a name and creates a copy of the assistant that you own. Duplicating counts towards your assistant quota, so the entry is disabled once the quota is reached.
- Change owner hands the assistant over to another user, a team or an organization. Only the owner sees this entry. See Change the owner.
- Delete removes the assistant after you confirm. Only the owner can delete; for everyone else the entry is greyed out with the tooltip "You don't have permission to delete this assistant."
- Remove from my list appears on assistants that someone shared with you personally. After you confirm, your access is removed and the assistant disappears from your list. The assistant itself is not deleted.
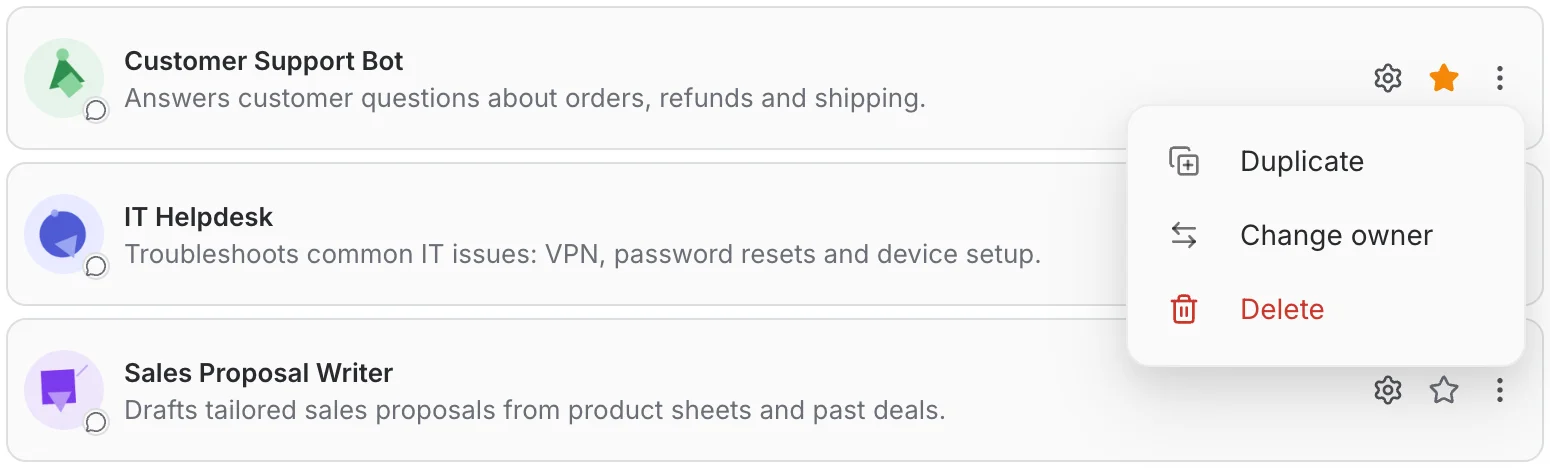
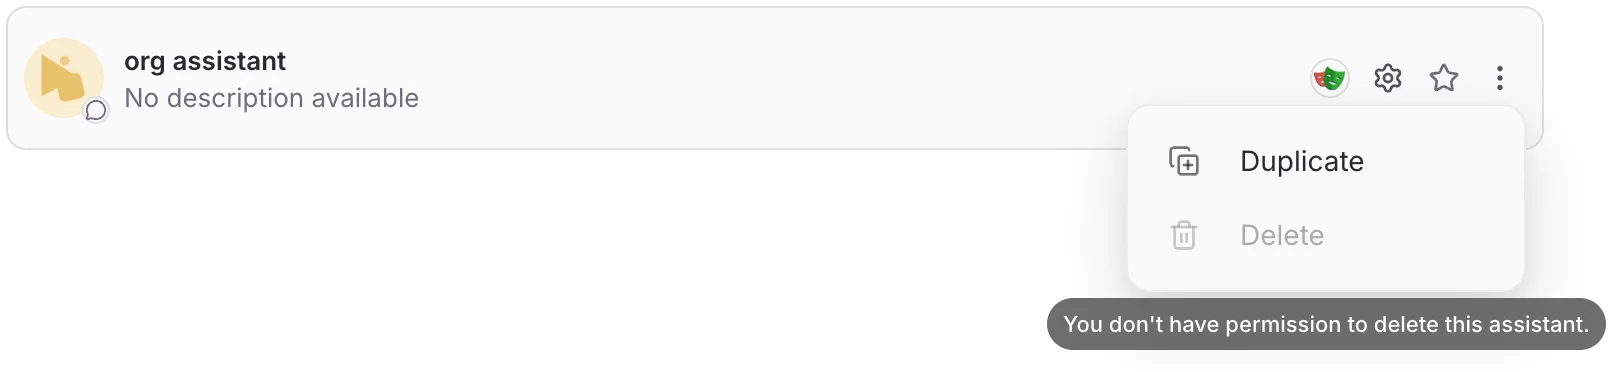
| Action | You own it | Shared with you personally | Shared with your team or organization |
|---|---|---|---|
| Duplicate | ✅ | ✅ | ✅ |
| Change owner | ✅ | Hidden | Hidden |
| Delete | ✅ | Disabled | Disabled |
| Remove from my list | Hidden | ✅ | Hidden |
Assistants shared with you
When an assistant belongs to someone else, a small round avatar of its owner appears on its card. Assistants you own never show this badge, so it tells you at a glance which assistants are shared with you. Hover the badge to see who the owner is.

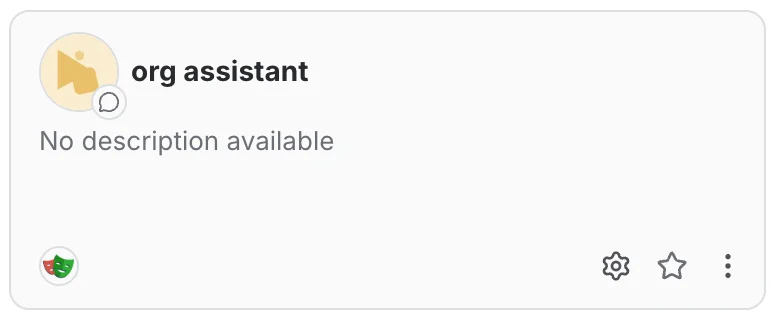
Where the badge sits
- In list view, on the right of the row, just before the Edit button.
- In grid view, at the bottom-left of the card, opposite the buttons.
The badge is separate from the assistant avatar. The small icon on the corner of the avatar is the task type, not the owner.
What the badge shows
The badge appears whenever you are not the owner. Its picture and tooltip depend on what kind of owner the assistant has:
| Owner | Badge | Tooltip |
|---|---|---|
| A user | The user's profile picture, or their initials | The user's name |
| A team | The team's logo, or its initials on grey | Sales Team (team) |
| An organization | The organization's logo, or its initials on grey | Acme Corp (organization) |
| No owner (provided by the administrator) | A grey circle with a shield icon | Admin |
What changes on a shared assistant
Because you are not the owner, a shared assistant behaves slightly differently on this page:
- The Edit button and the editor are available only if your access lets you change settings. With Use only access the button is hidden and clicking the card starts a conversation.
- In the ⋮ menu, Change owner is hidden and Delete is disabled. Duplicate still works and gives you your own copy.
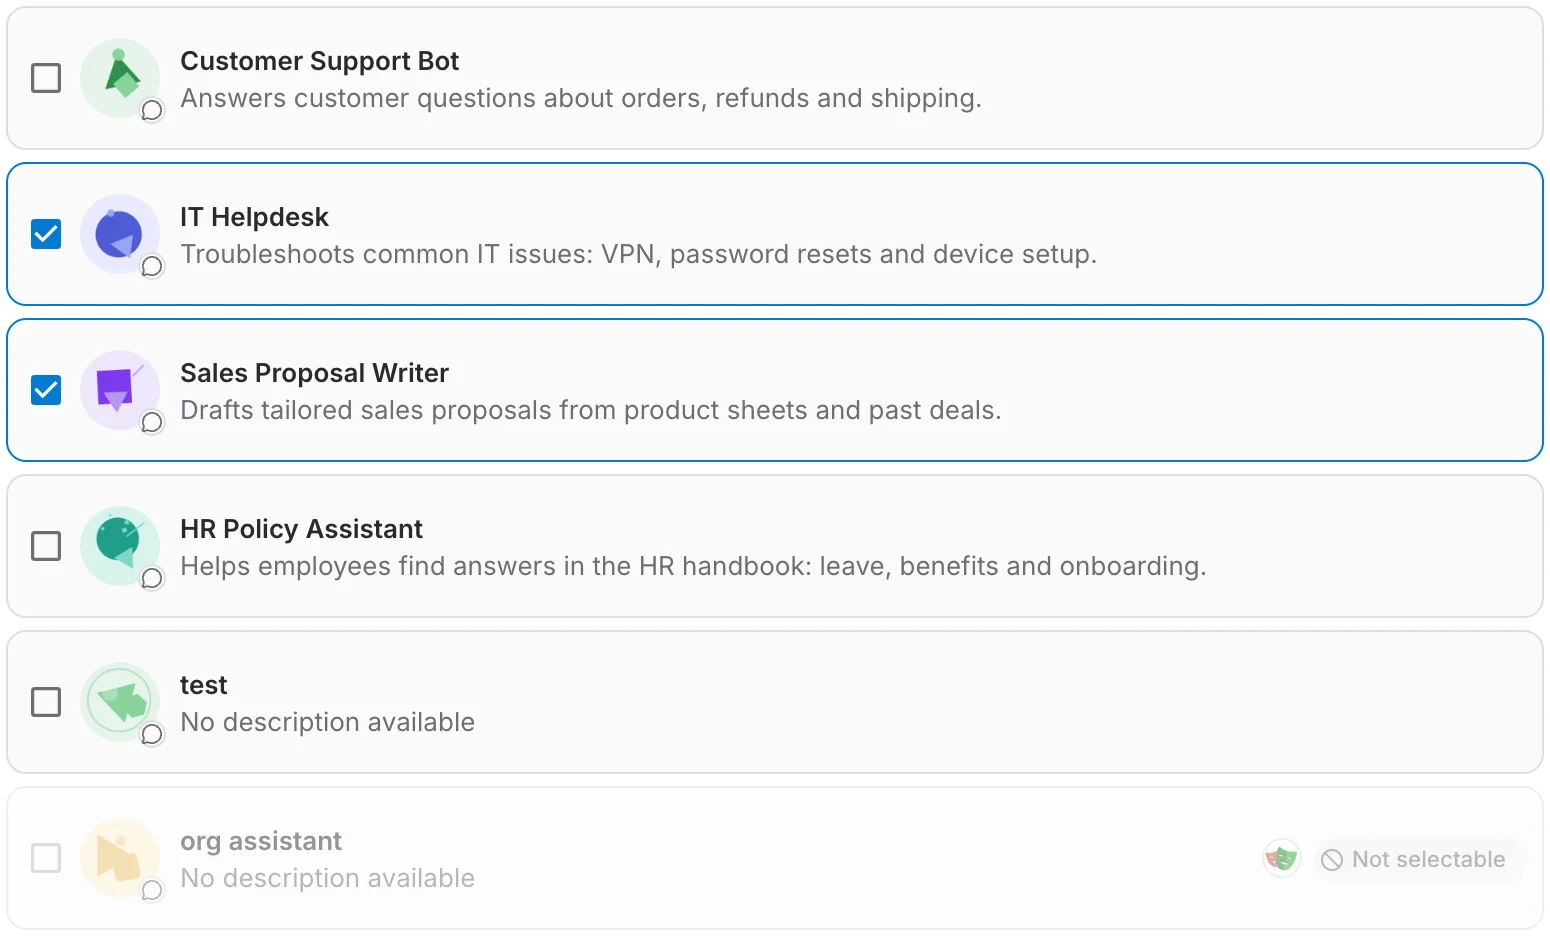
- In selection mode the assistant shows "Not selectable" and cannot be ticked.
- Remove from my list appears only when the assistant was shared with you personally. Assistants that reach you through your team or organization stay in the list.
What you can do inside a shared assistant depends on your access type. See Access types.
How the list is ordered
- Order: favourites come first, then the most recently created assistants.
- Loading: the page loads 50 assistants at a time. Scroll down and the next ones load automatically; there are no page buttons.
- Deactivated assistants: an assistant that an administrator has deactivated is hidden from this page.
Select several assistants
Selection mode lets you delete several assistants you own in one go.
- Open the toolbar ⋮ menu and choose Select.
- A checkbox appears on every assistant and the card buttons disappear. Click an assistant, or its checkbox, to select it.
- Use the bar at the bottom of the screen, then click Done (×) or press Esc to leave selection mode.
The bar at the bottom of the screen holds:

- Select all ticks every assistant loaded so far. Once something is selected the label becomes "N selected"; when more assistants are still to load it reads "Select all loaded (N)".
- Delete asks "Delete N selected items? This cannot be undone." and then deletes them, showing the progress in the bar. If some assistants could not be deleted, a "Delete results" dialog lists them.
- Done (×) leaves selection mode without changing anything.