
Report Generator
Exposing the report generator turns one of your report templates into a public page. Other people open a link, supply the documents the template asks for, and get the finished report back — without a QAnswer account and without being able to change the template itself.
Open the assistant, go to the Expose tab and select the Report Generator card. The page that opens is a six-step guide.
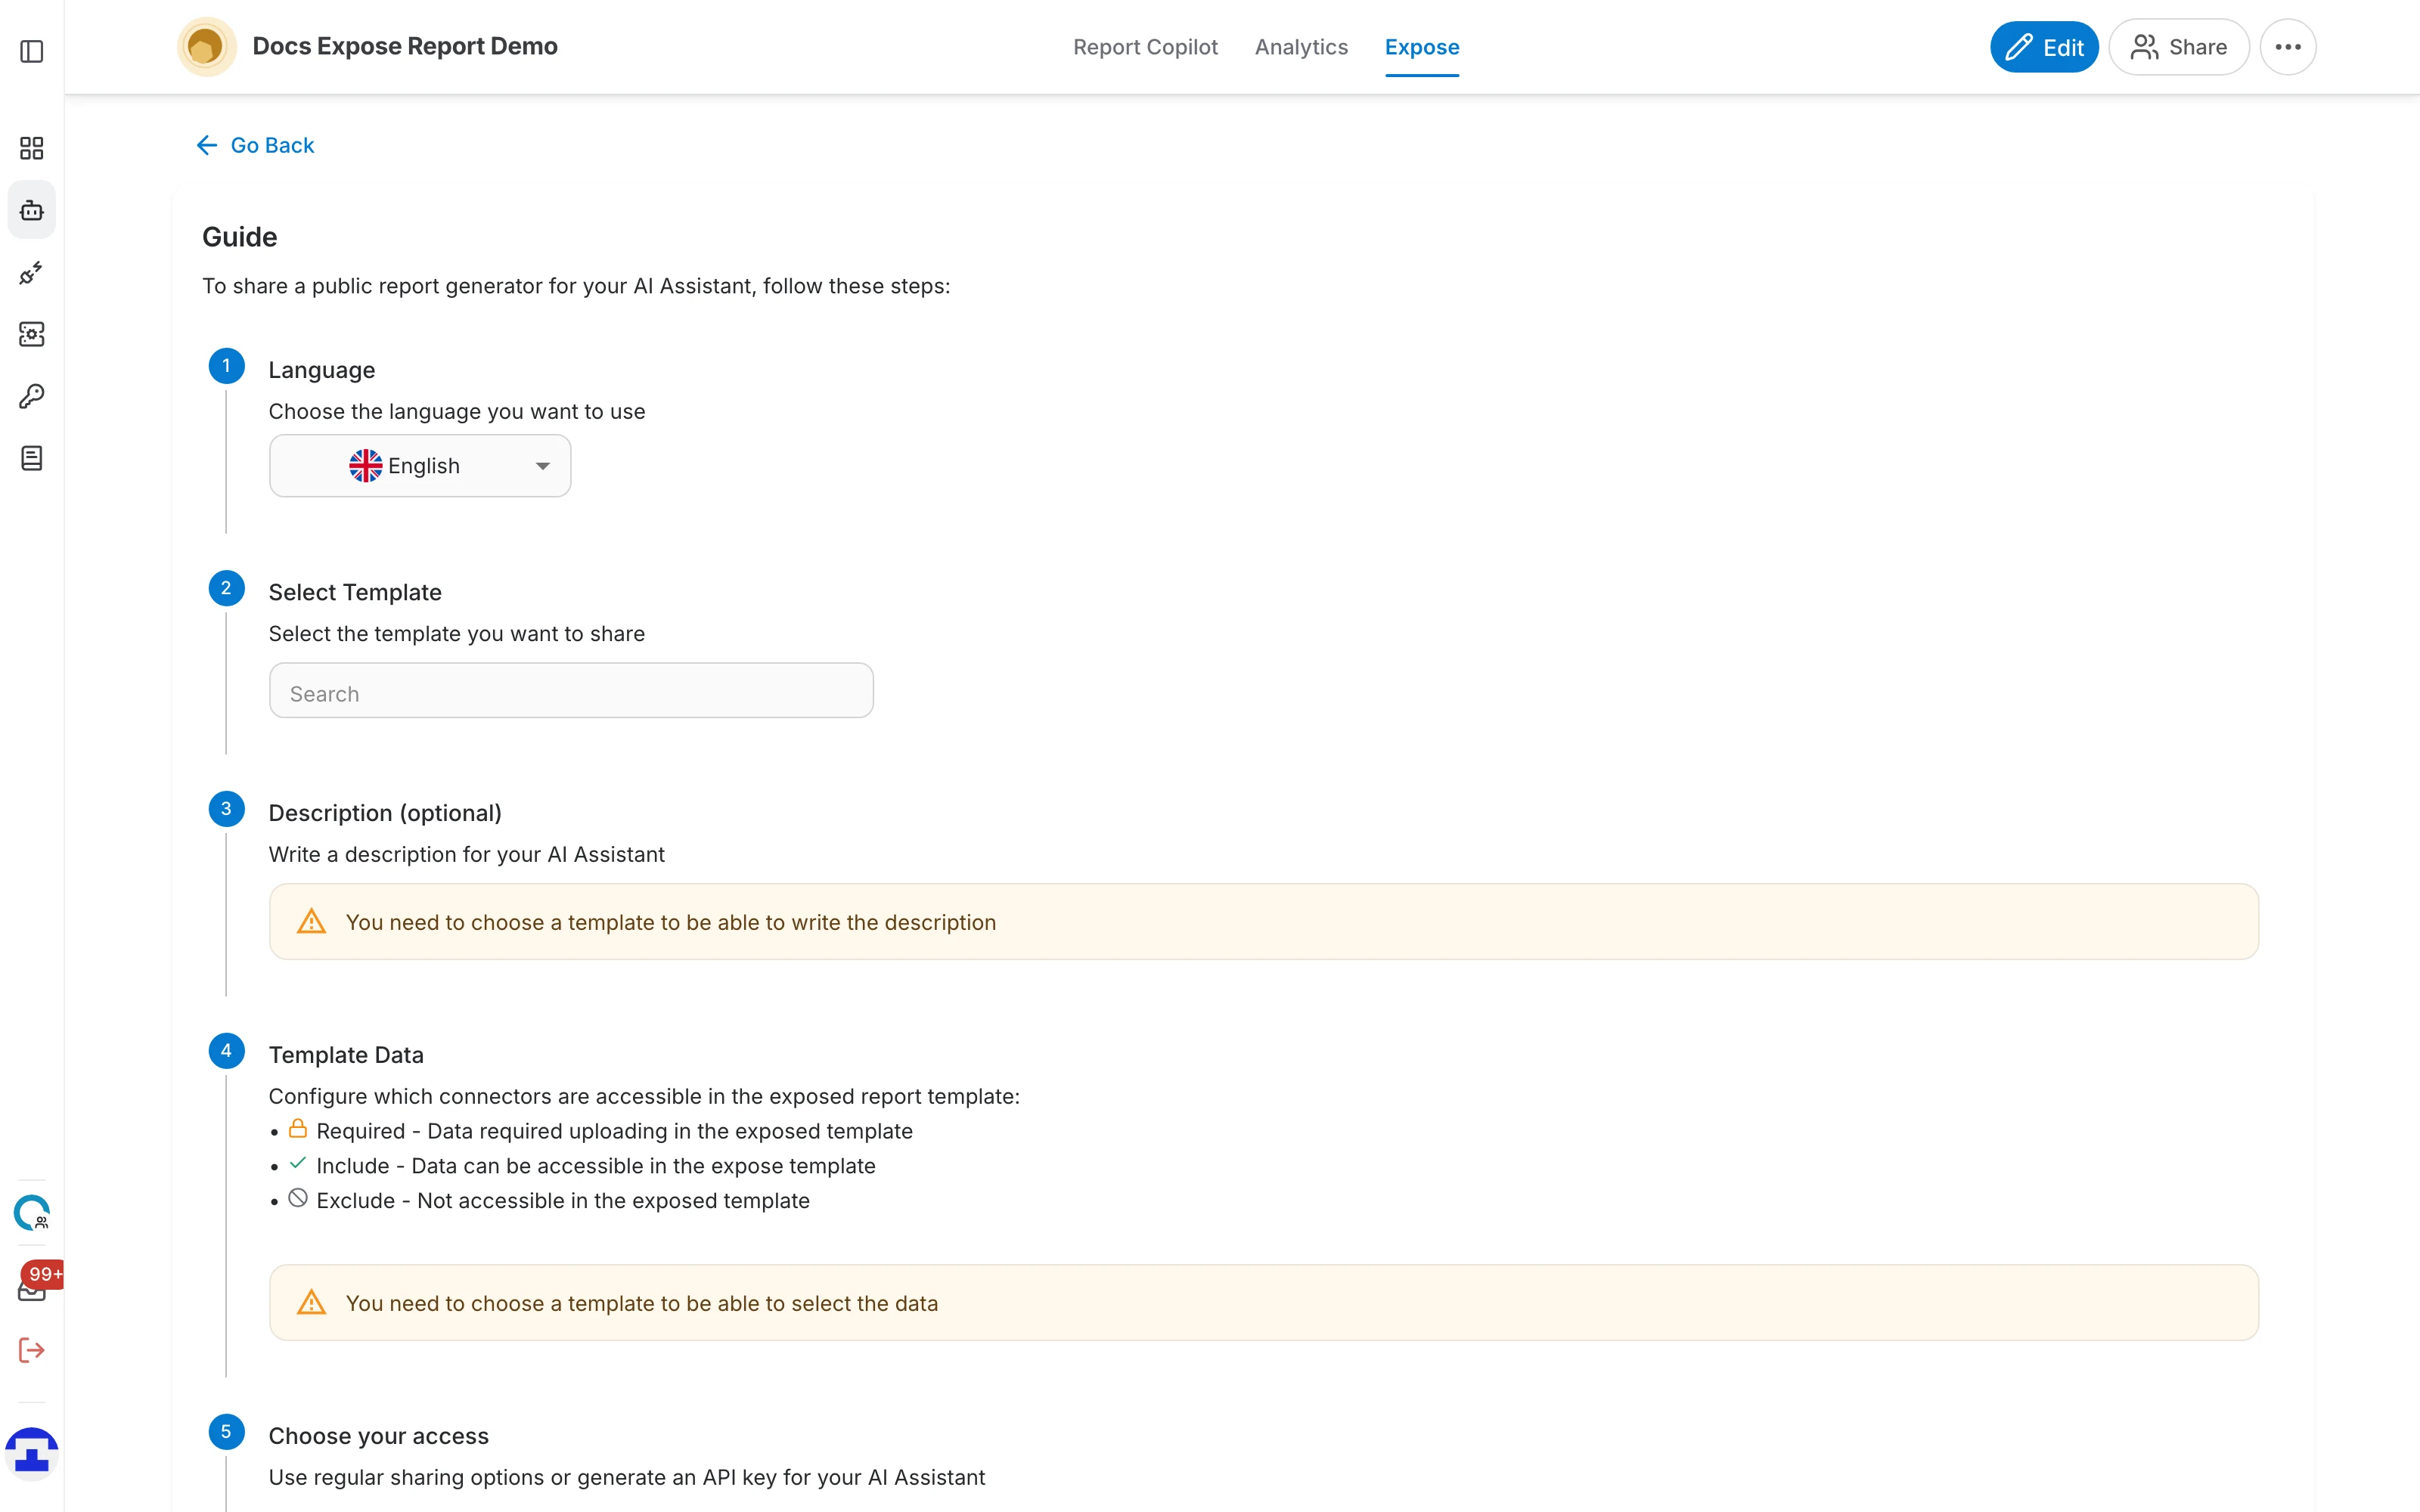
Step 1 — Language
Choose the language the public page is displayed in — its labels, buttons and placeholder text. Until a language is chosen, the share link in step 6 stays disabled with the message "choose a language in step 1".
Step 2 — Select Template
Pick which of your saved templates to publish. The field is a searchable list; type to filter it, or use the arrows to step through the templates one at a time.
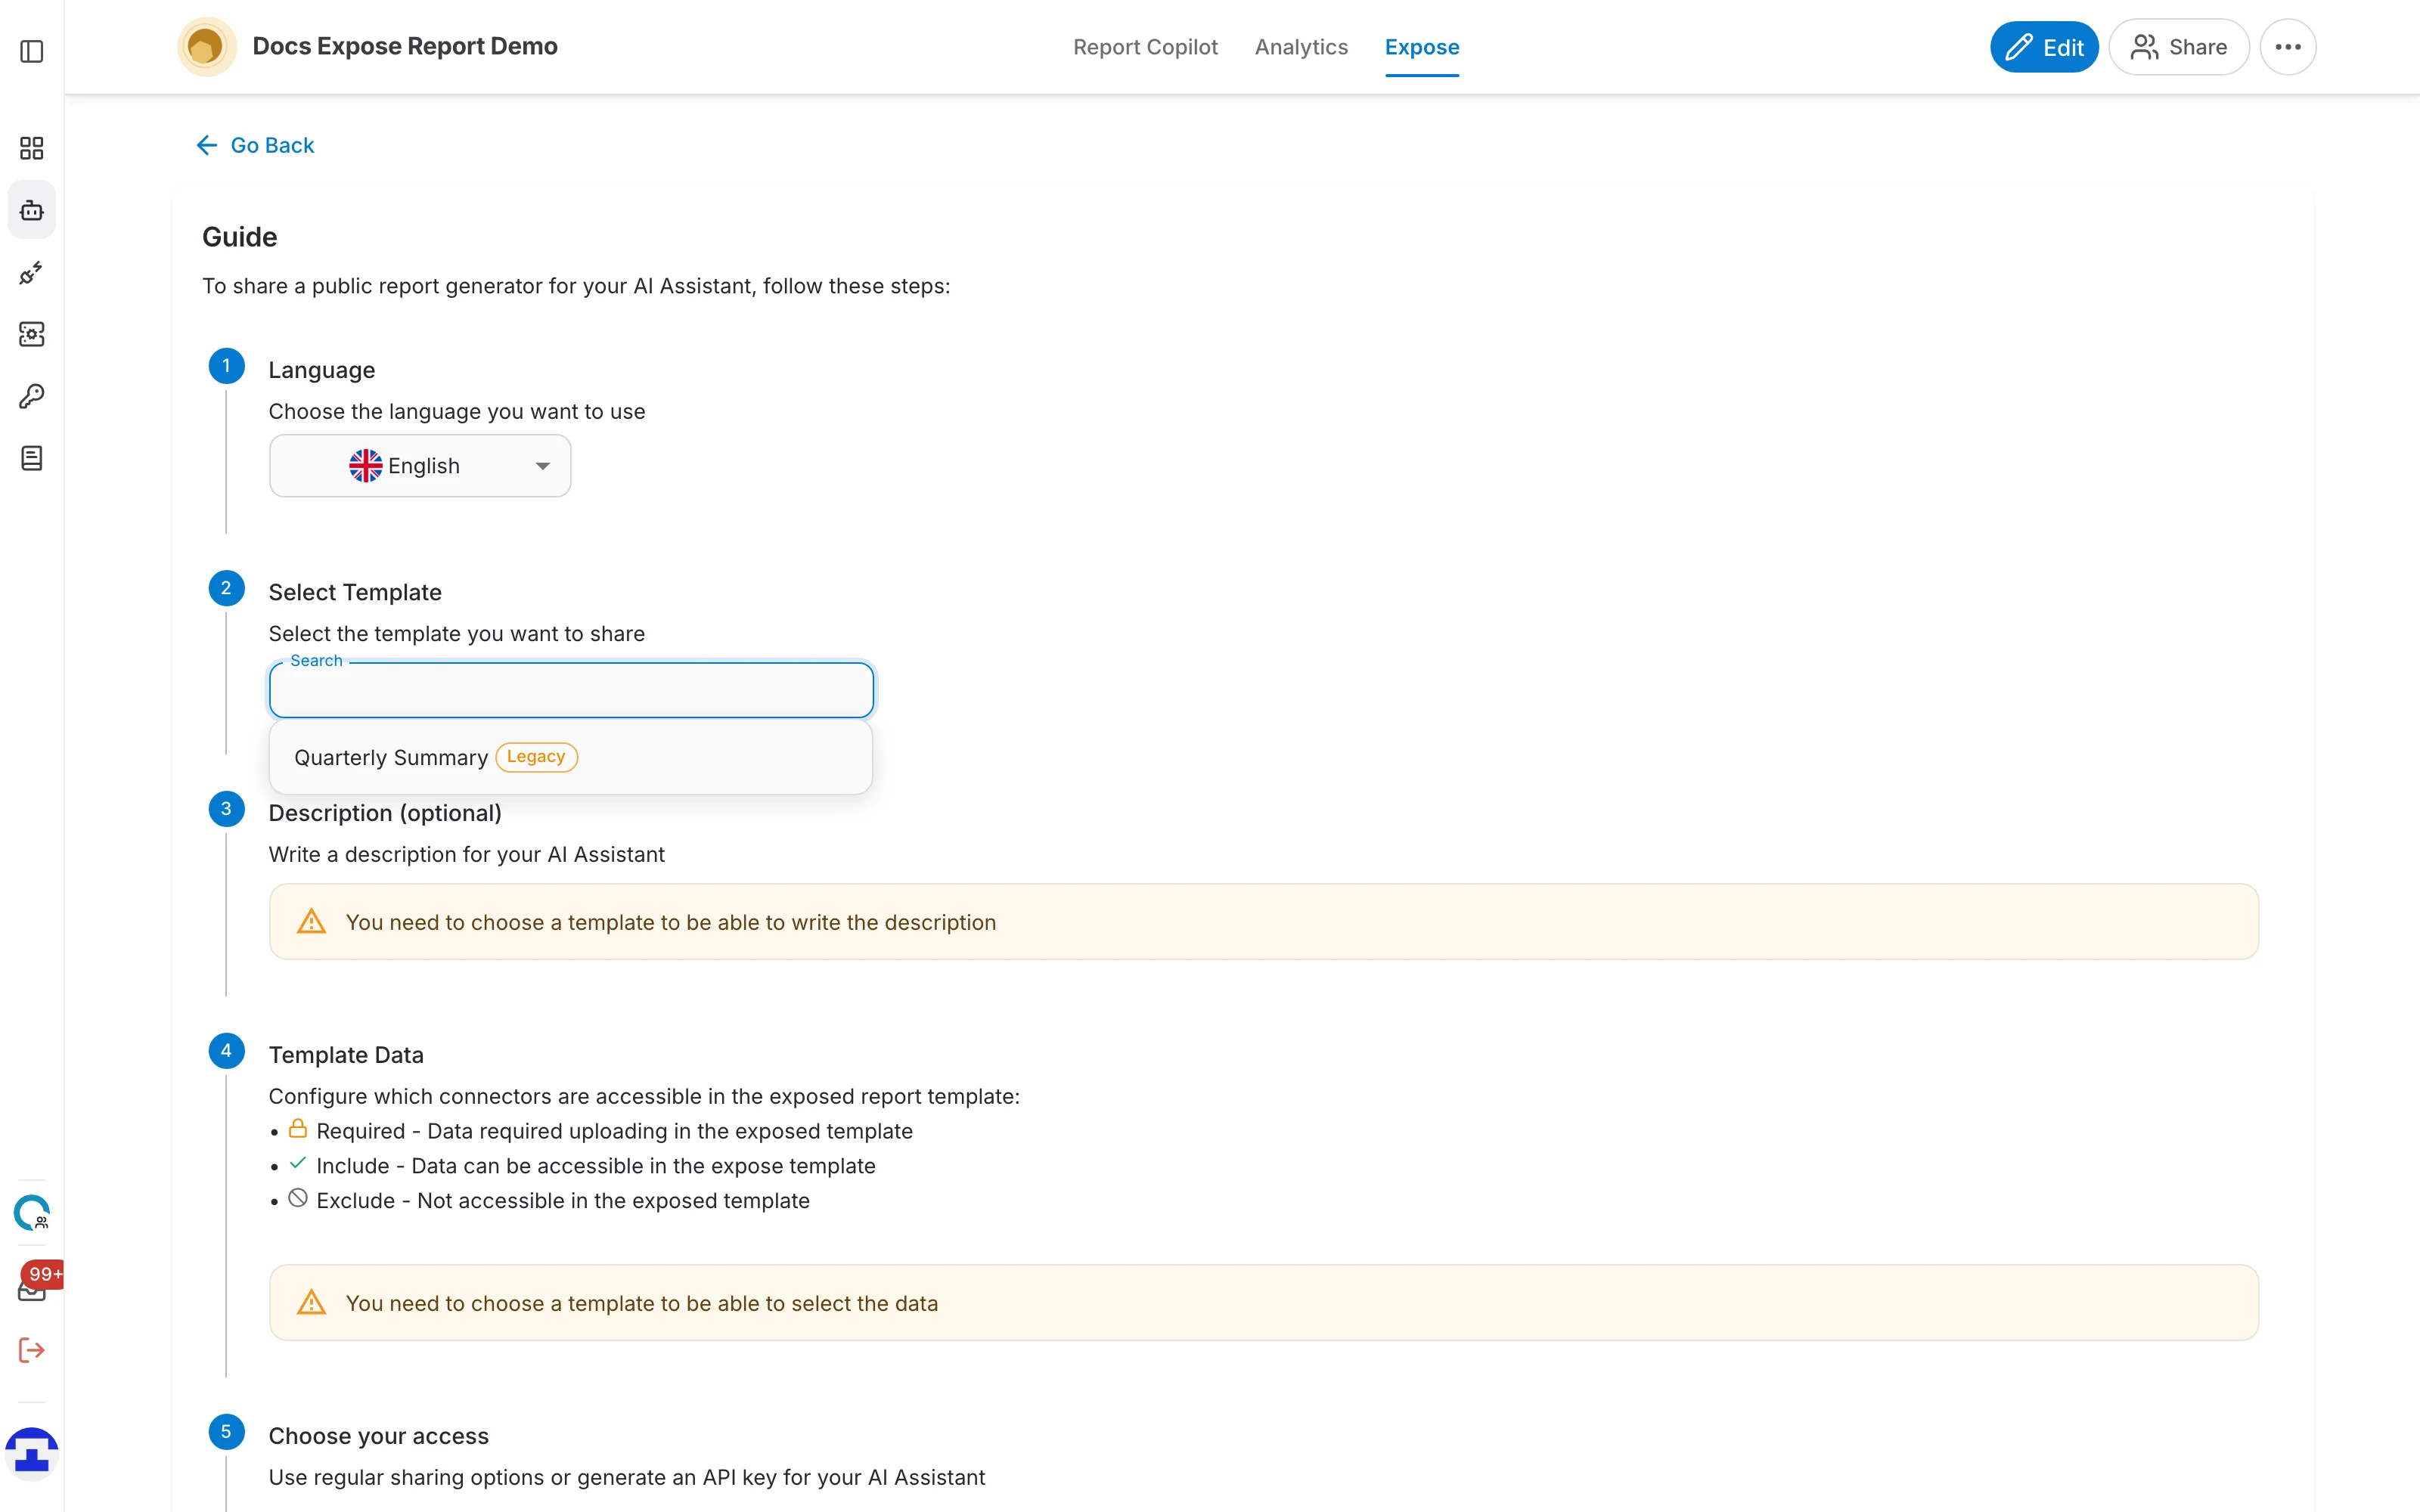
- Only one template is exposed per link. To publish a second template, come back and generate another link for it.
- Templates carry a chip showing their kind, so you can tell a legacy template from a newer one at a glance.
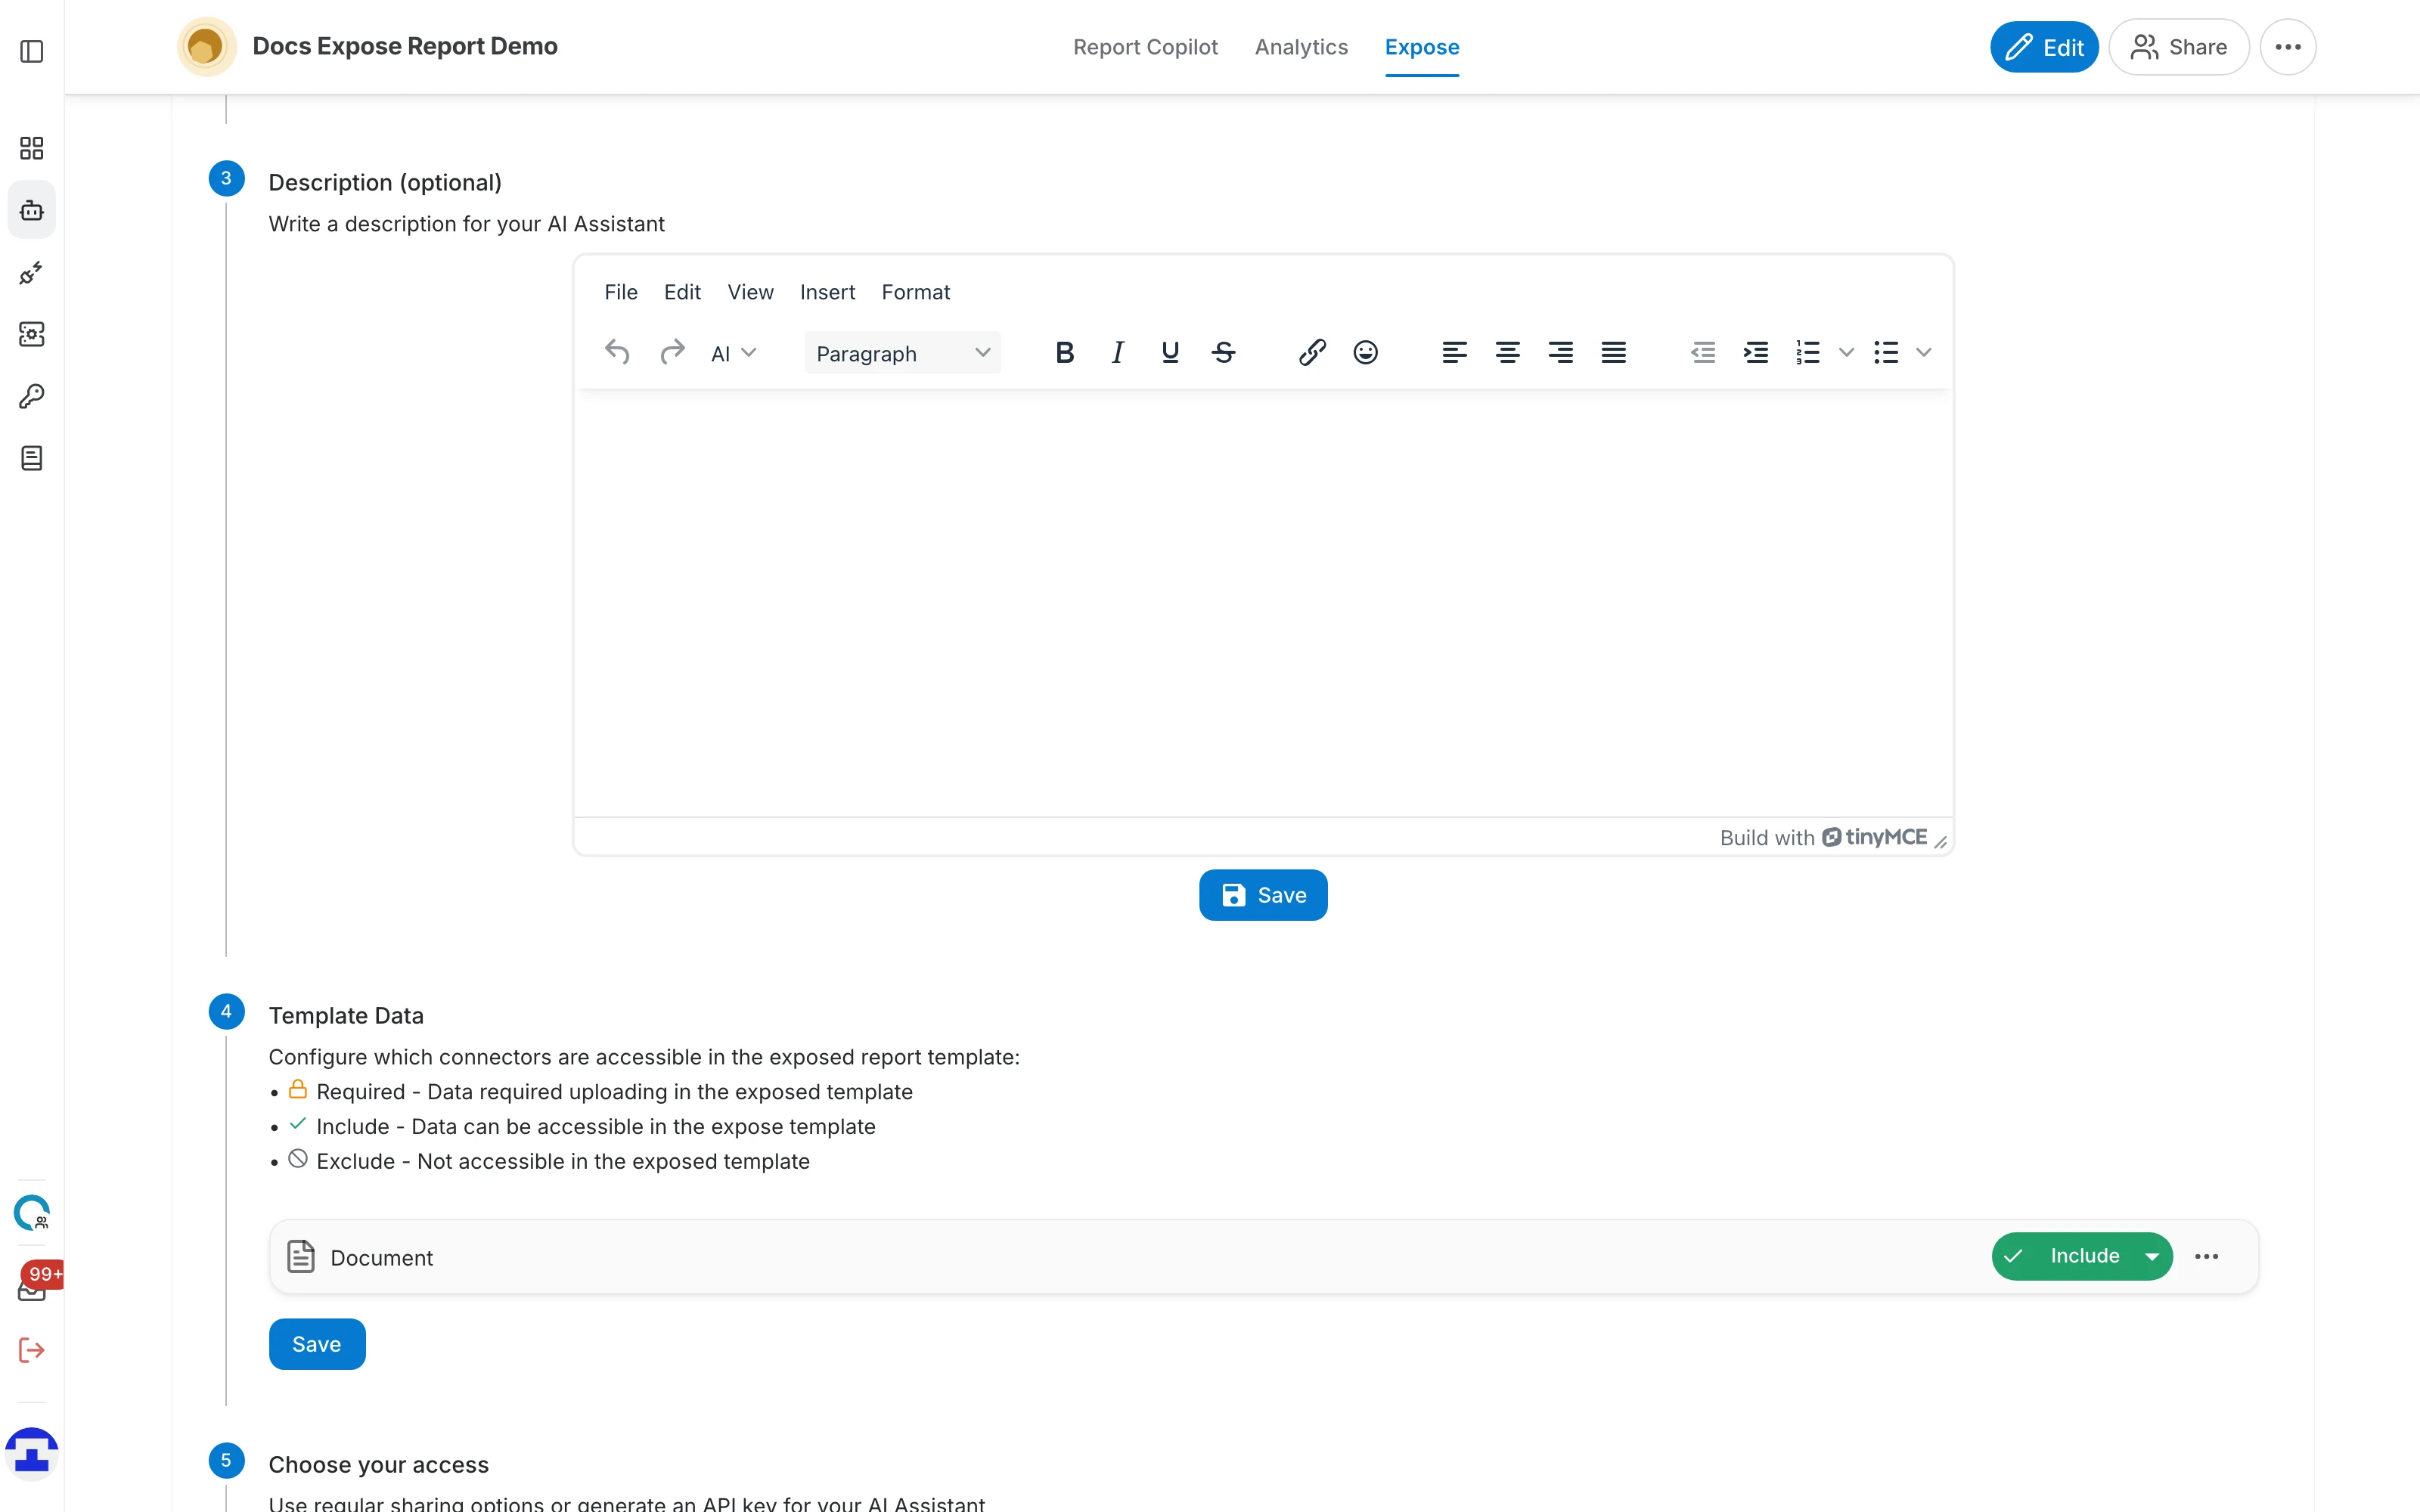
Step 3 — Description (optional)
A short explanation shown to whoever opens the link — what the report covers and what they are expected to supply.
Step 4 — Template Data
This is the step unique to the report generator. Your assistant's data connectors are listed, and for each one you decide how it behaves in the published template:
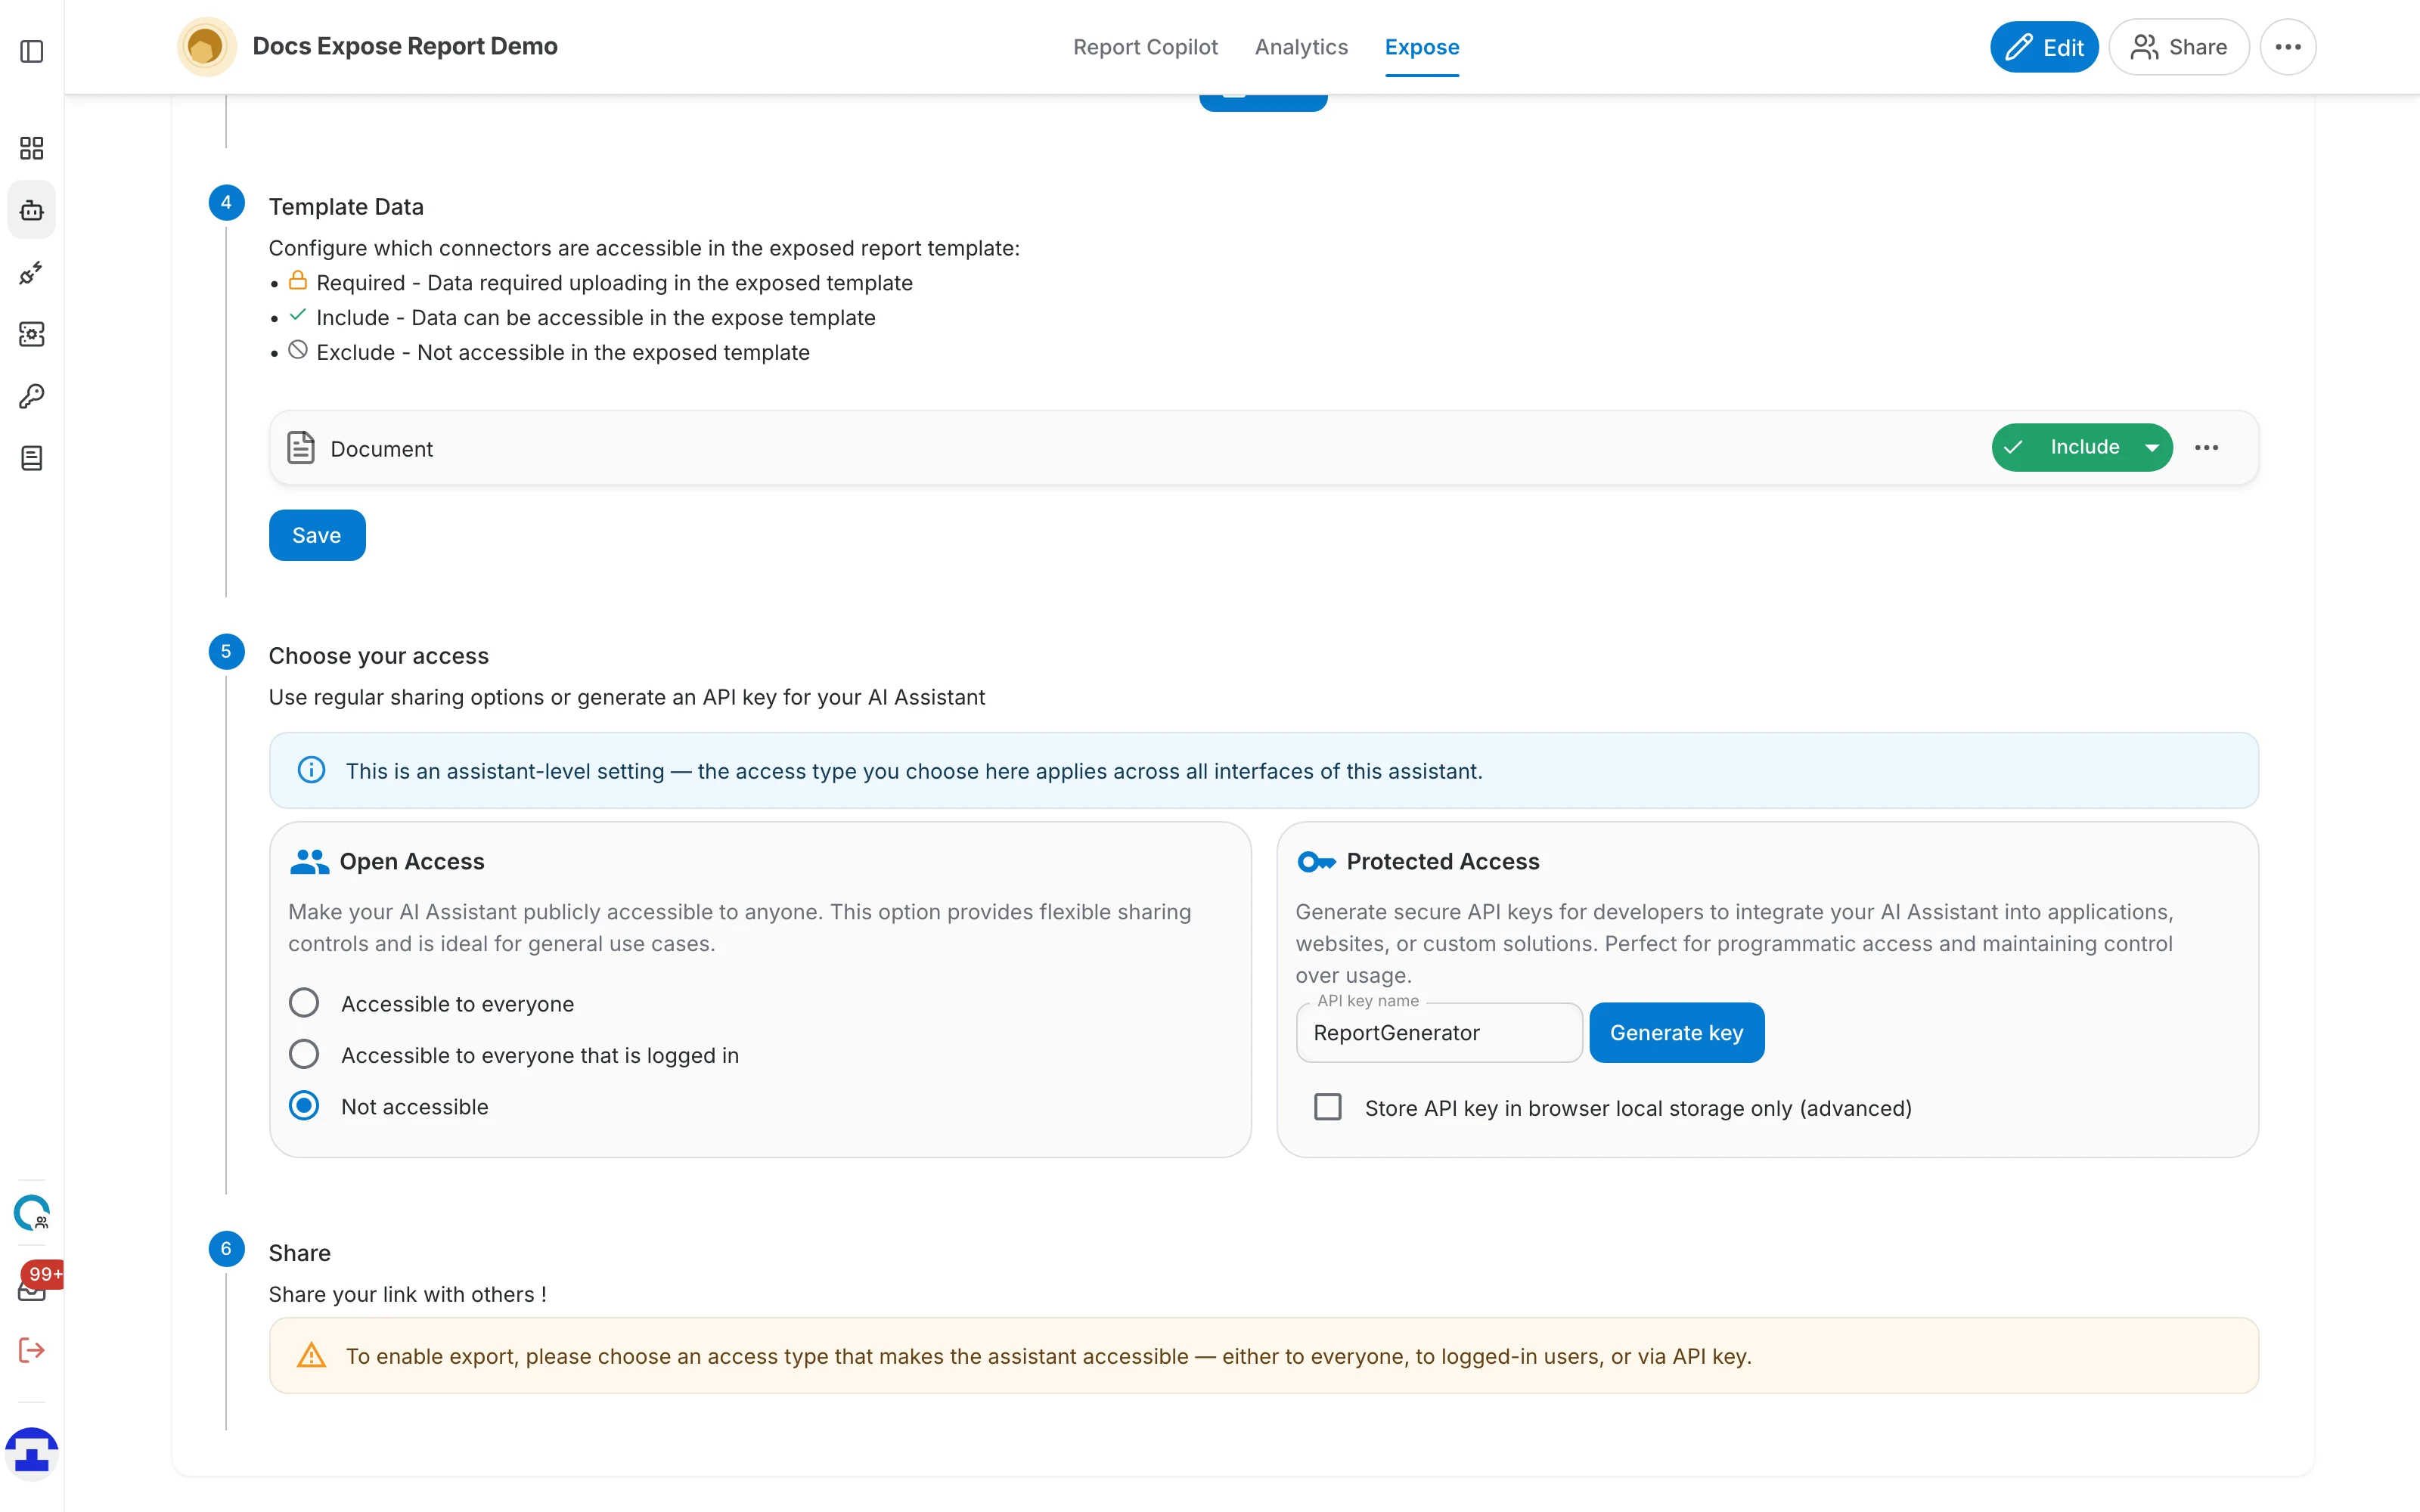
- Required — the person running the report must upload their own data for this connector before it will run. Use this for the input the report is about — a contract, a report to summarise.
- Include — your own data in this connector is available to the published report. Use this for reference material you want everyone's report to draw on.
- Exclude — the connector is not reachable from the published template at all. Use this for anything confidential.
With several connectors, the bulk actions set them all at once — Require All, Include All or Exclude All — and the ⋯ menu on each row offers the same choices per connector.
Step 5 — Choose your access
Nobody can open the link until you decide who is allowed in:
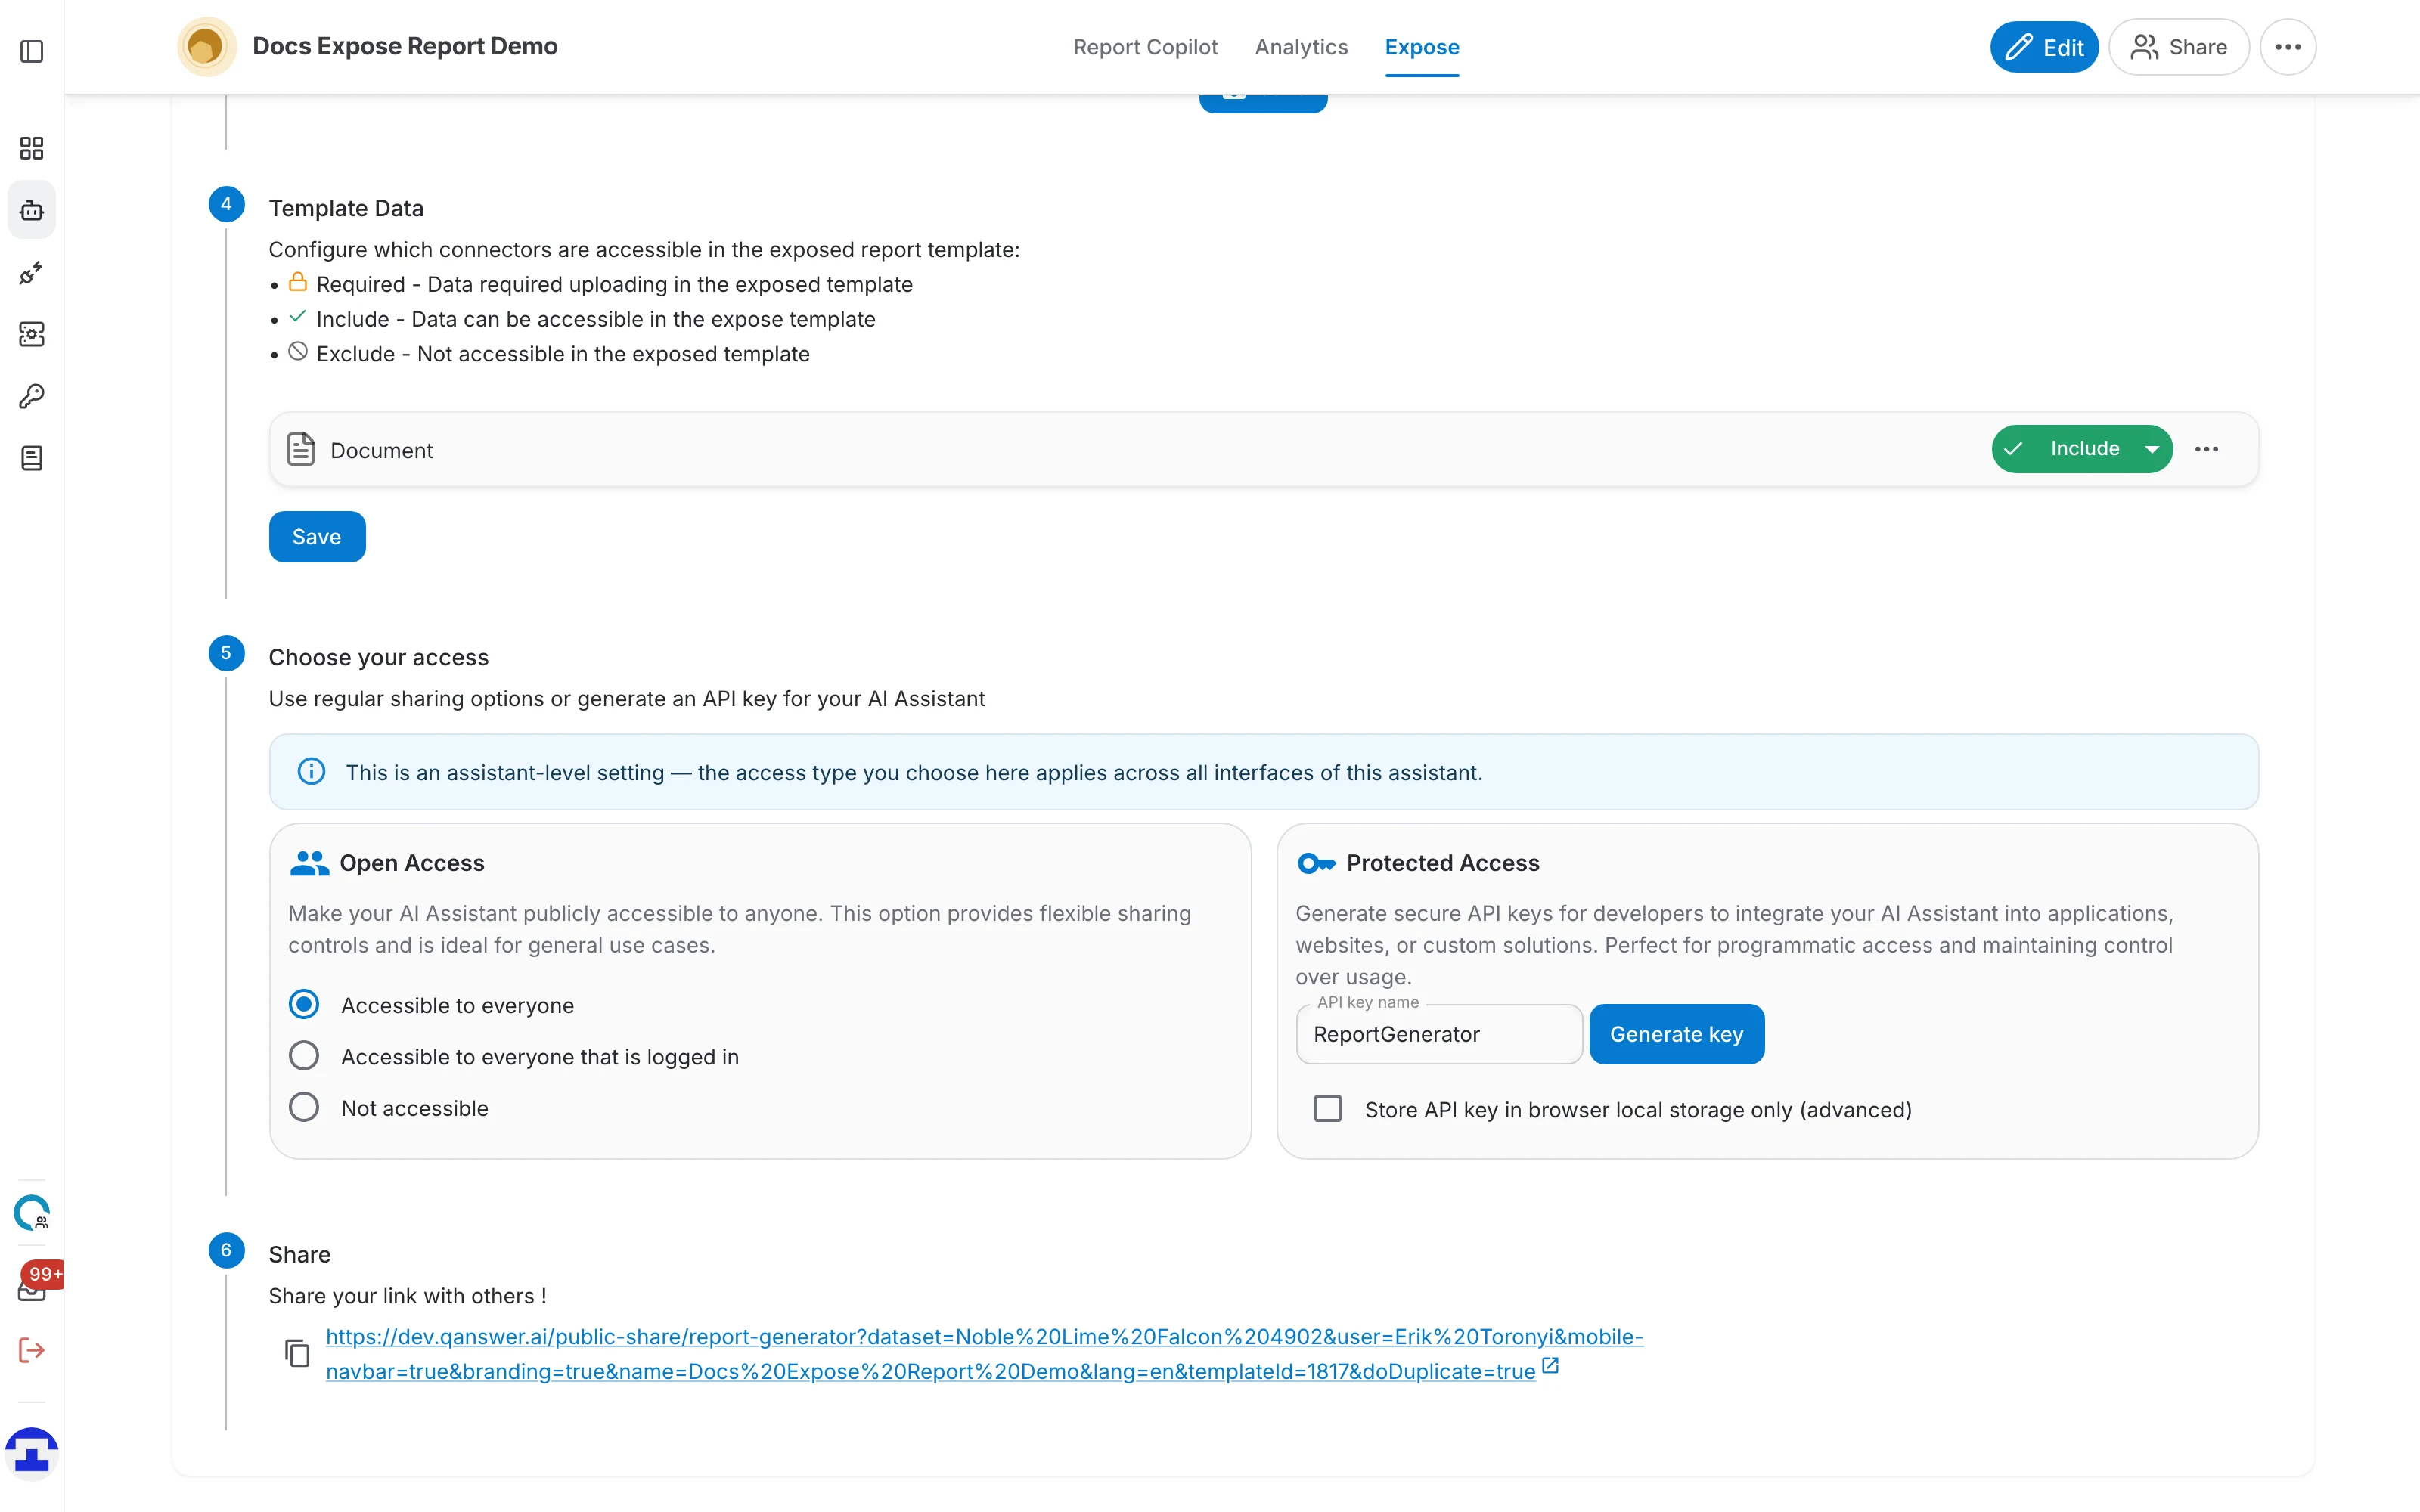
- Public — anyone with the link can run the report, without logging in or an API key.
- Logged-in users — the link works, but only after the visitor signs in to QAnswer. Useful for sharing inside a company.
- Only with an API key — the assistant stays private and the link carries an API key that lets visitors in. Select it to take a published report generator offline again: a link without a key stops working.
With Only with an API key selected, the key controls appear right under the option:
- Use an existing API key lists the assistant's keys that can be used here; expired keys and Read and write keys are left out. It only appears if you have write access to the assistant and such a key exists.
- To make a new key, type a name in API key name and press Generate key.
- The chosen key is then shown masked, with a copy button, and Use another key brings the picker back. QAnswer remembers the key in your browser and selects it again the next time you open the guide.
- Keep the API key out of the exported code (advanced) removes the key from the link. The link then only works in this browser, where the key is kept in local storage.
Switching to Public or Logged-in users sets the key aside, since none is needed then; it comes back if you return to Only with an API key.
Step 6 — Share
Once a language, a template and an access type are all set, the link appears. Use the copy icon beside it, or the arrow to open it in a new tab.
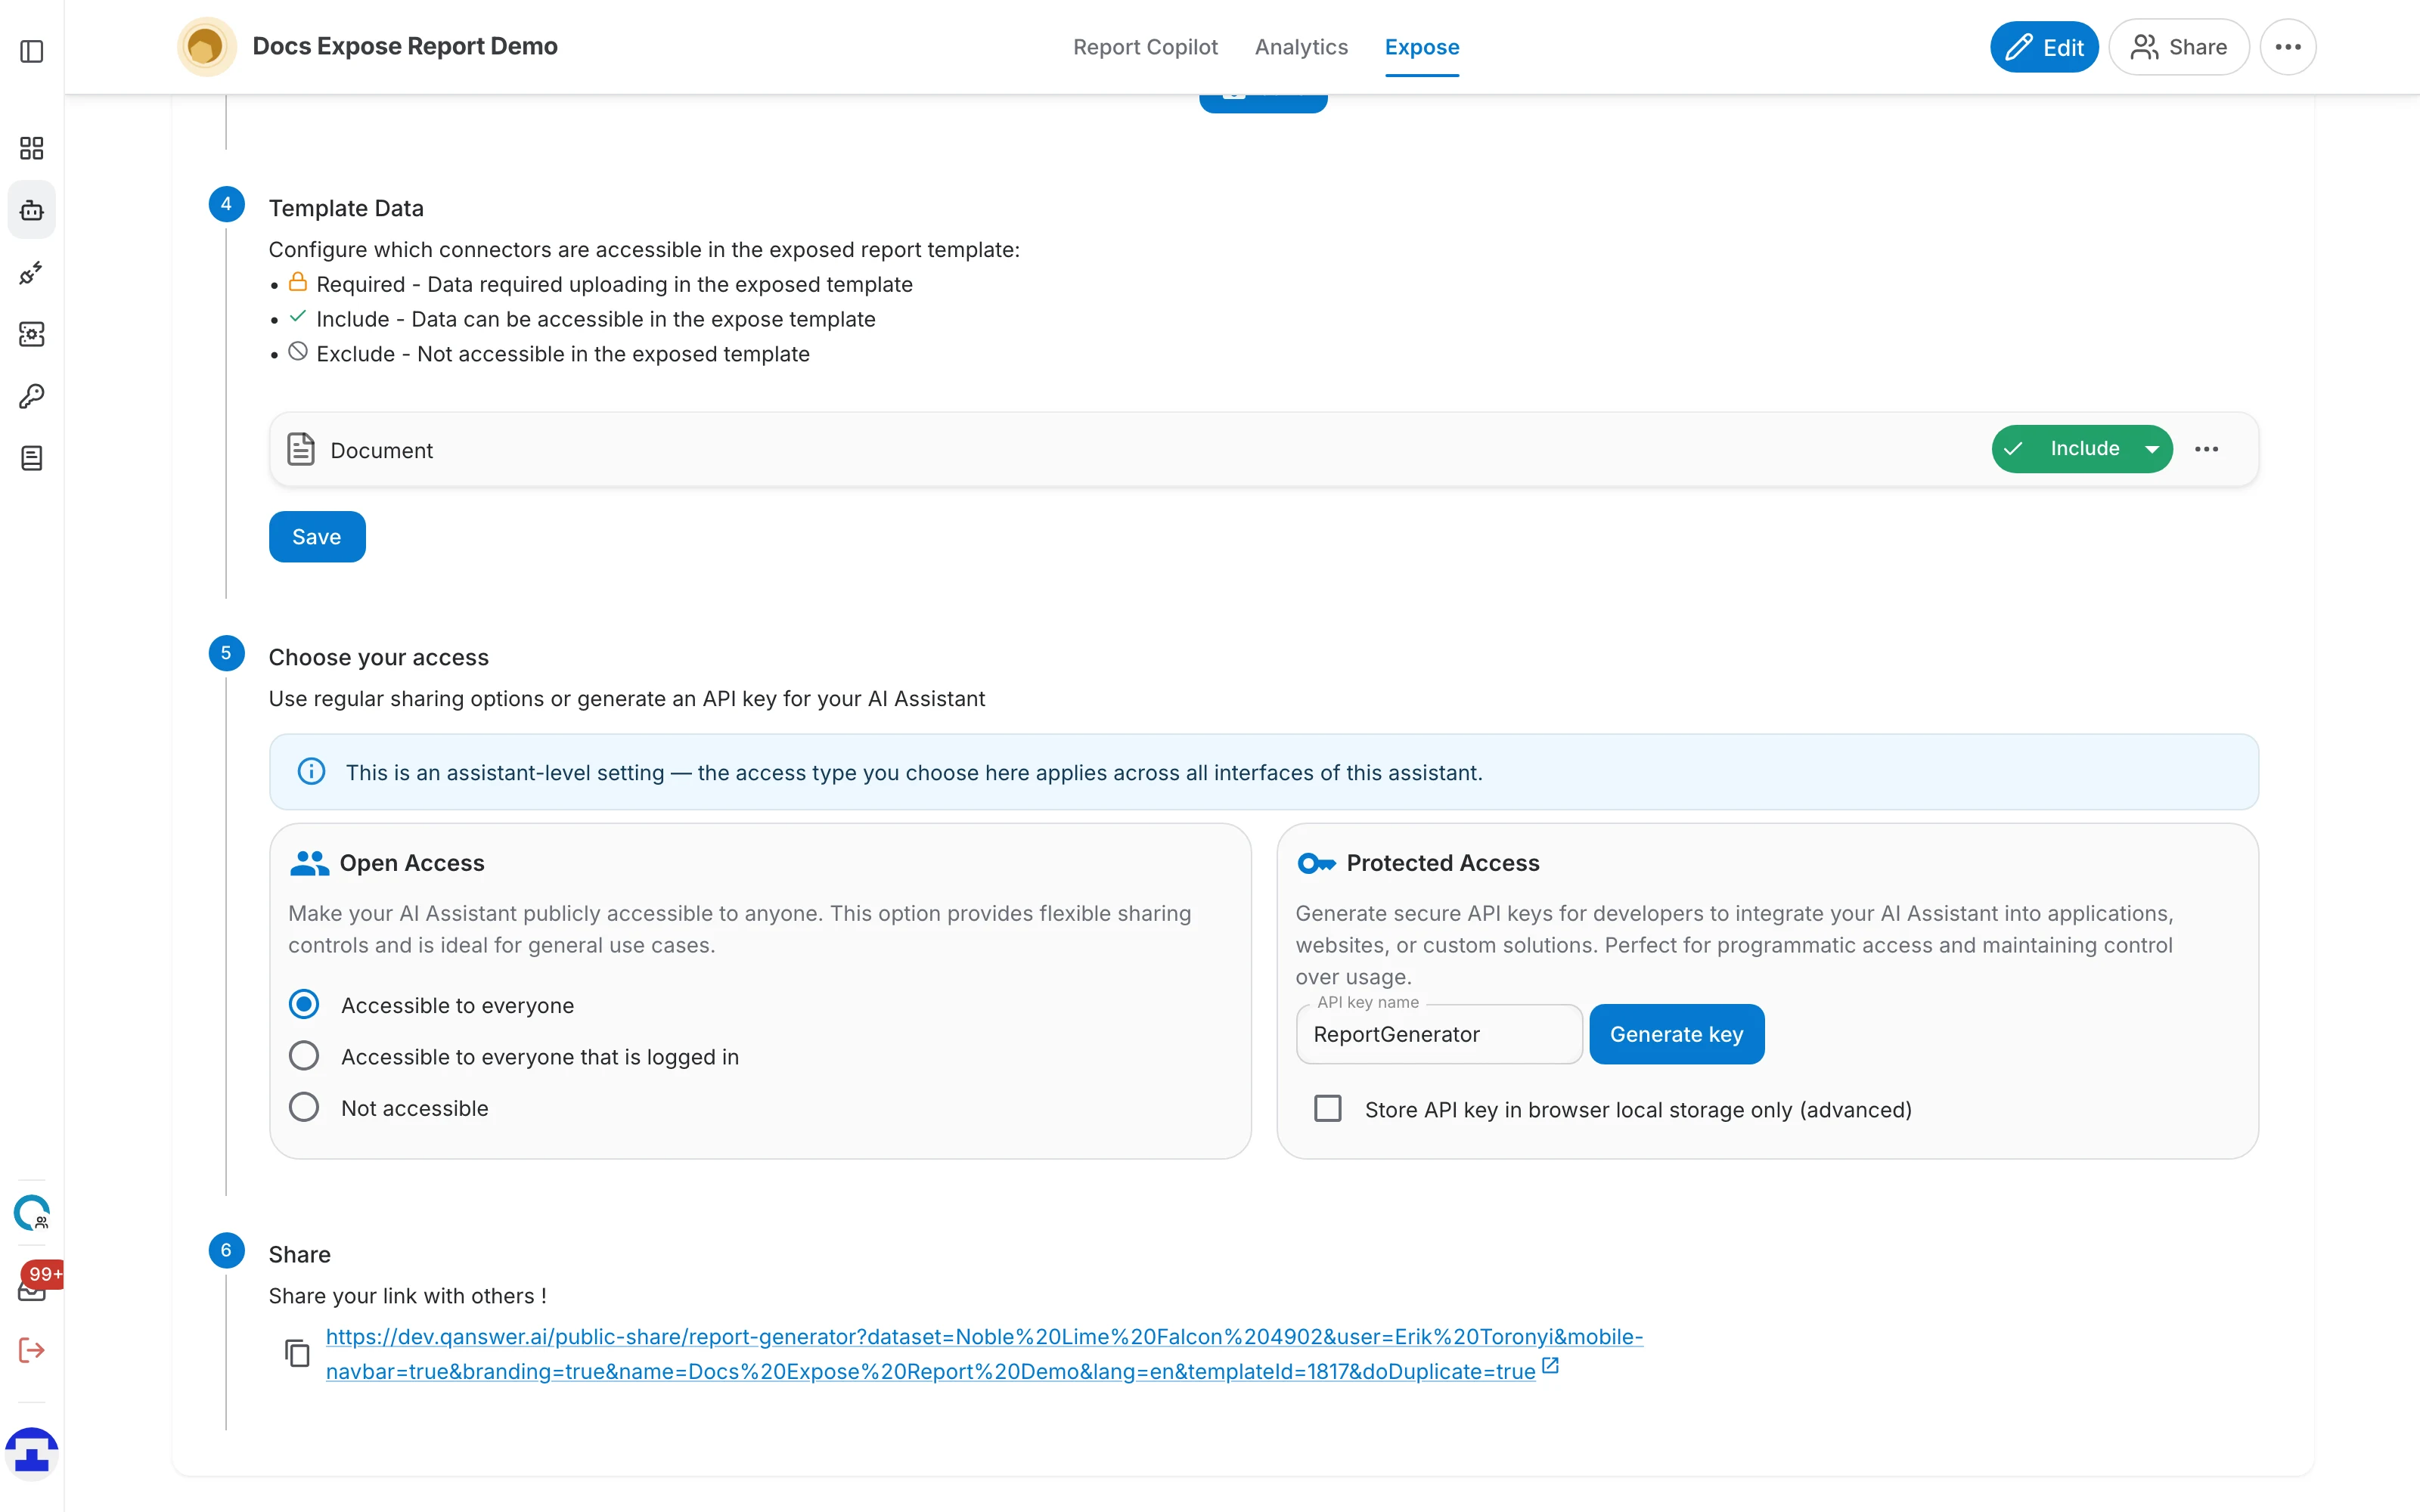
Until all three are set, this step shows a warning instead of a link, naming what is still missing — "choose a language in step 1", "choose a template in step 2", or a reminder to pick an access type.