Access
The Access page controls how users sign in to the application: force OAuth-only login, and configure the OAuth / OpenID Connect providers available for sign-in.
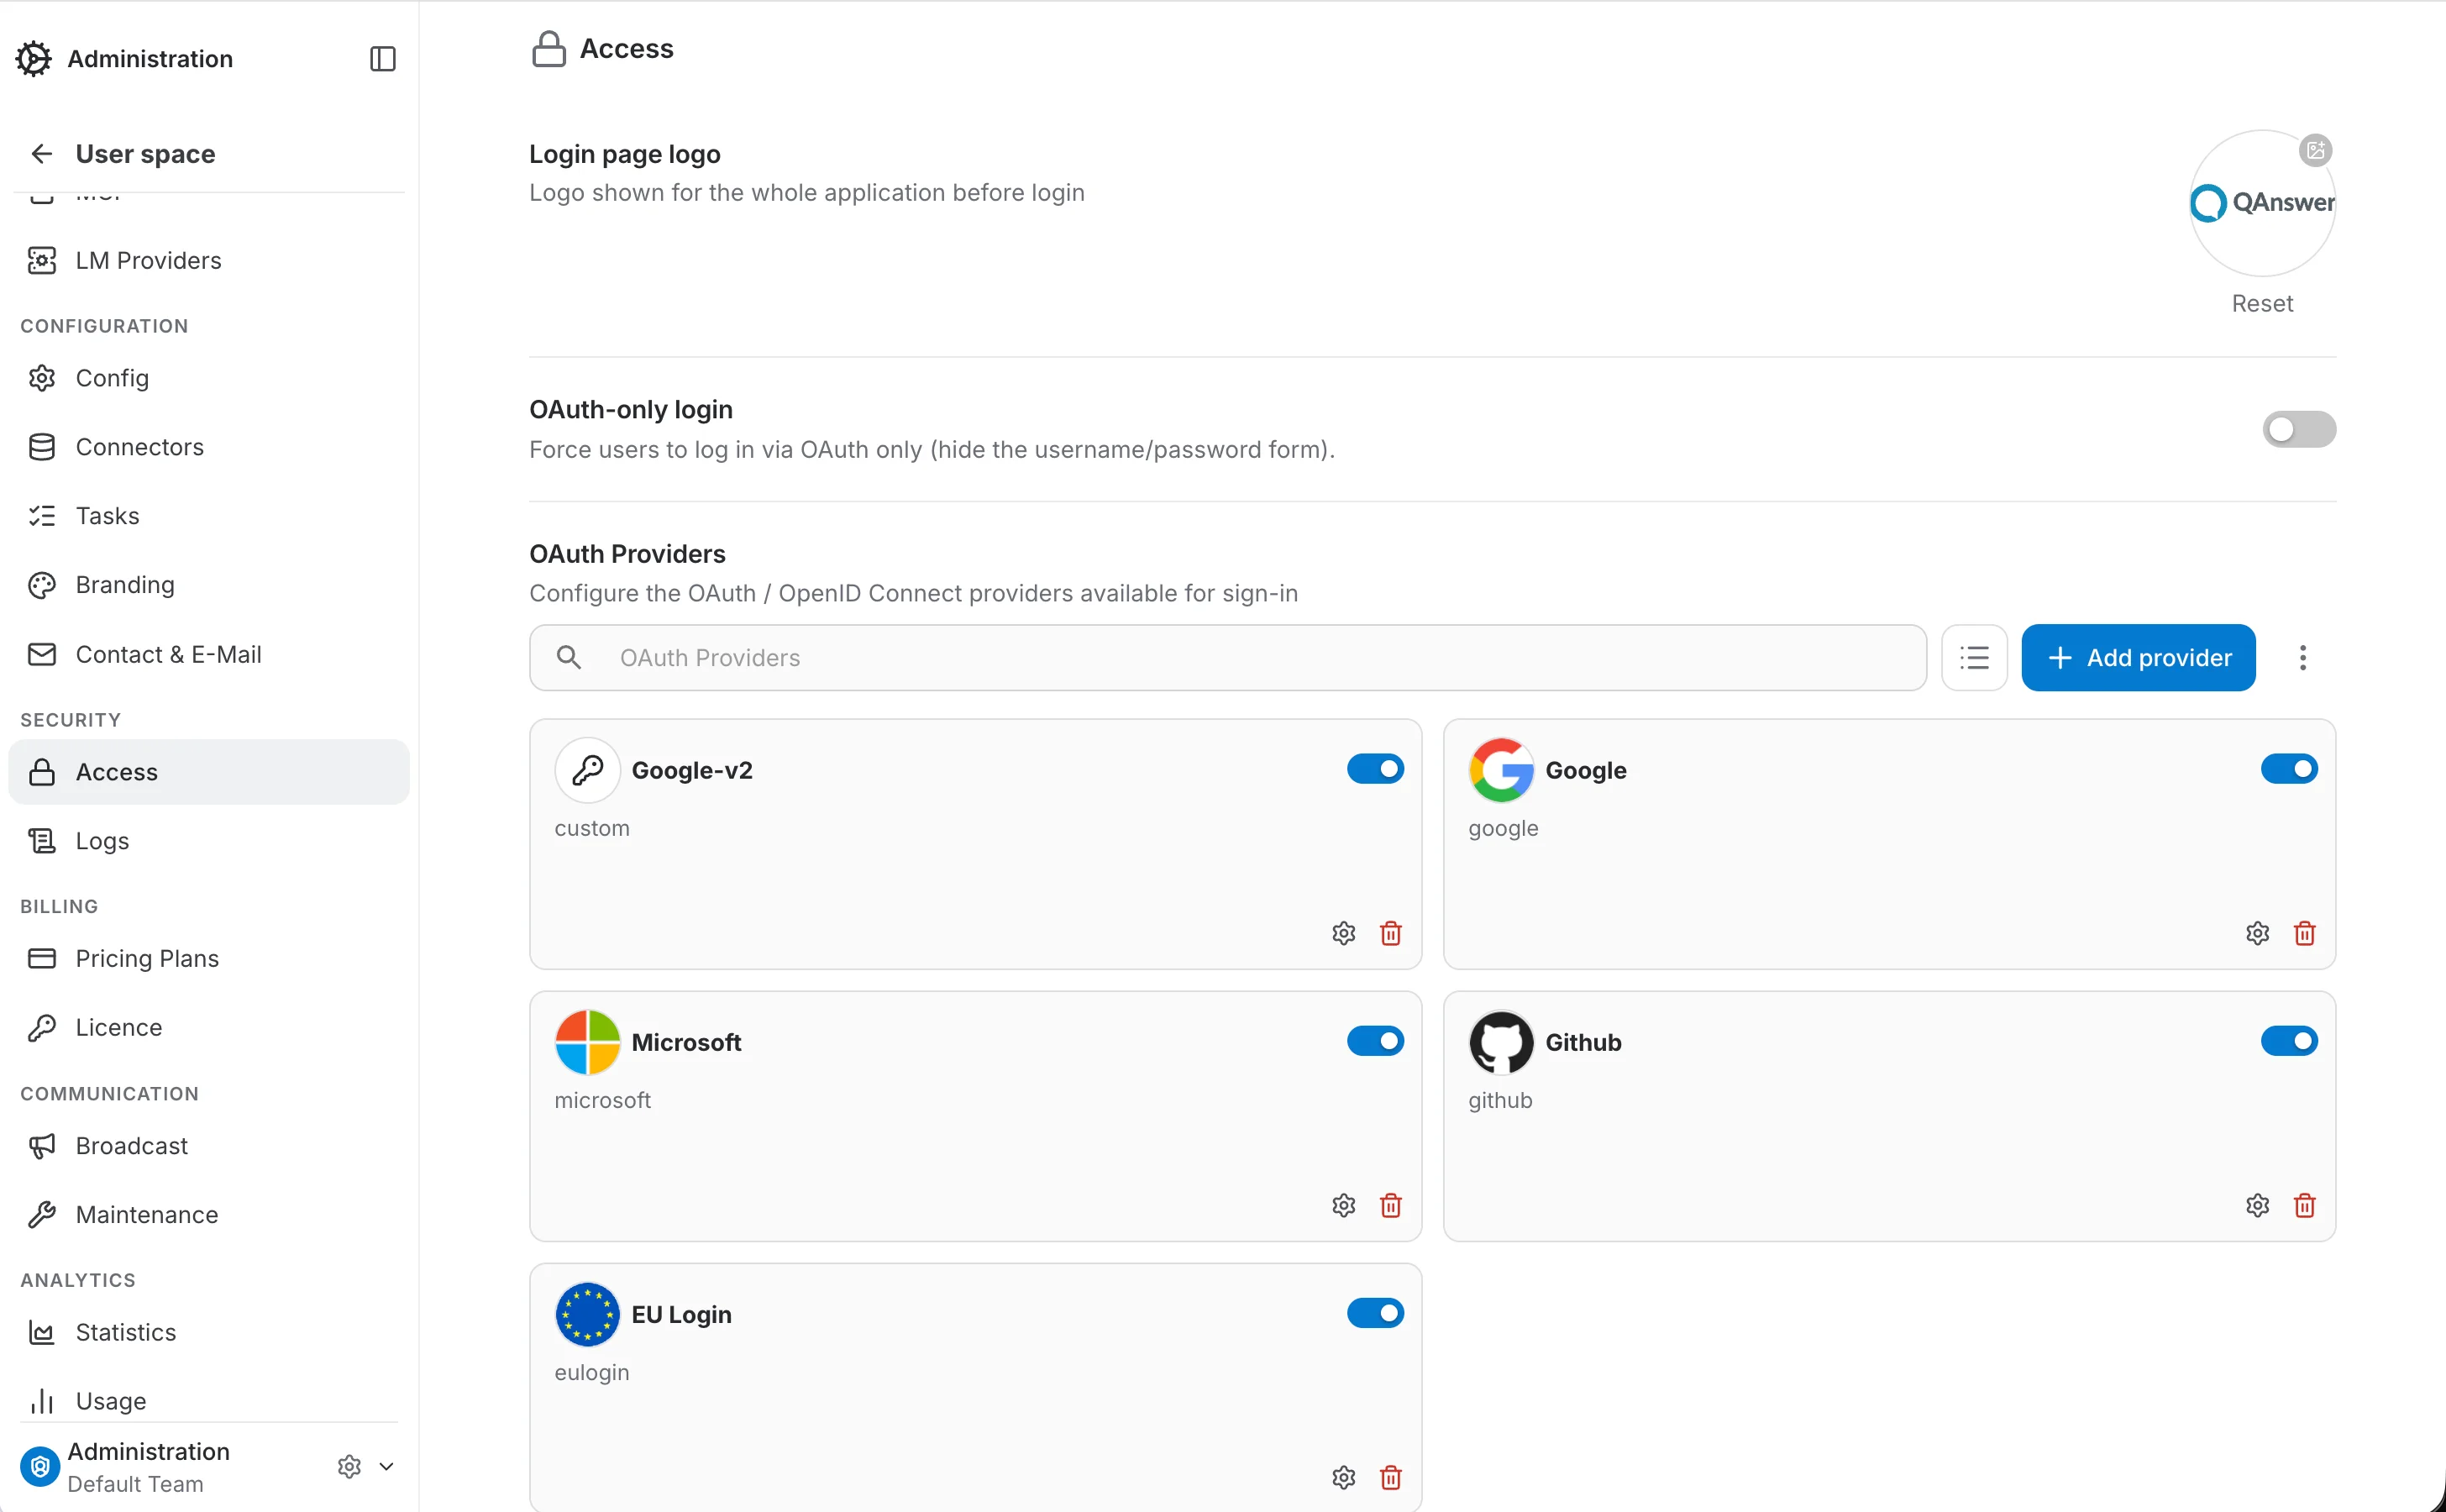
OAuth-only login
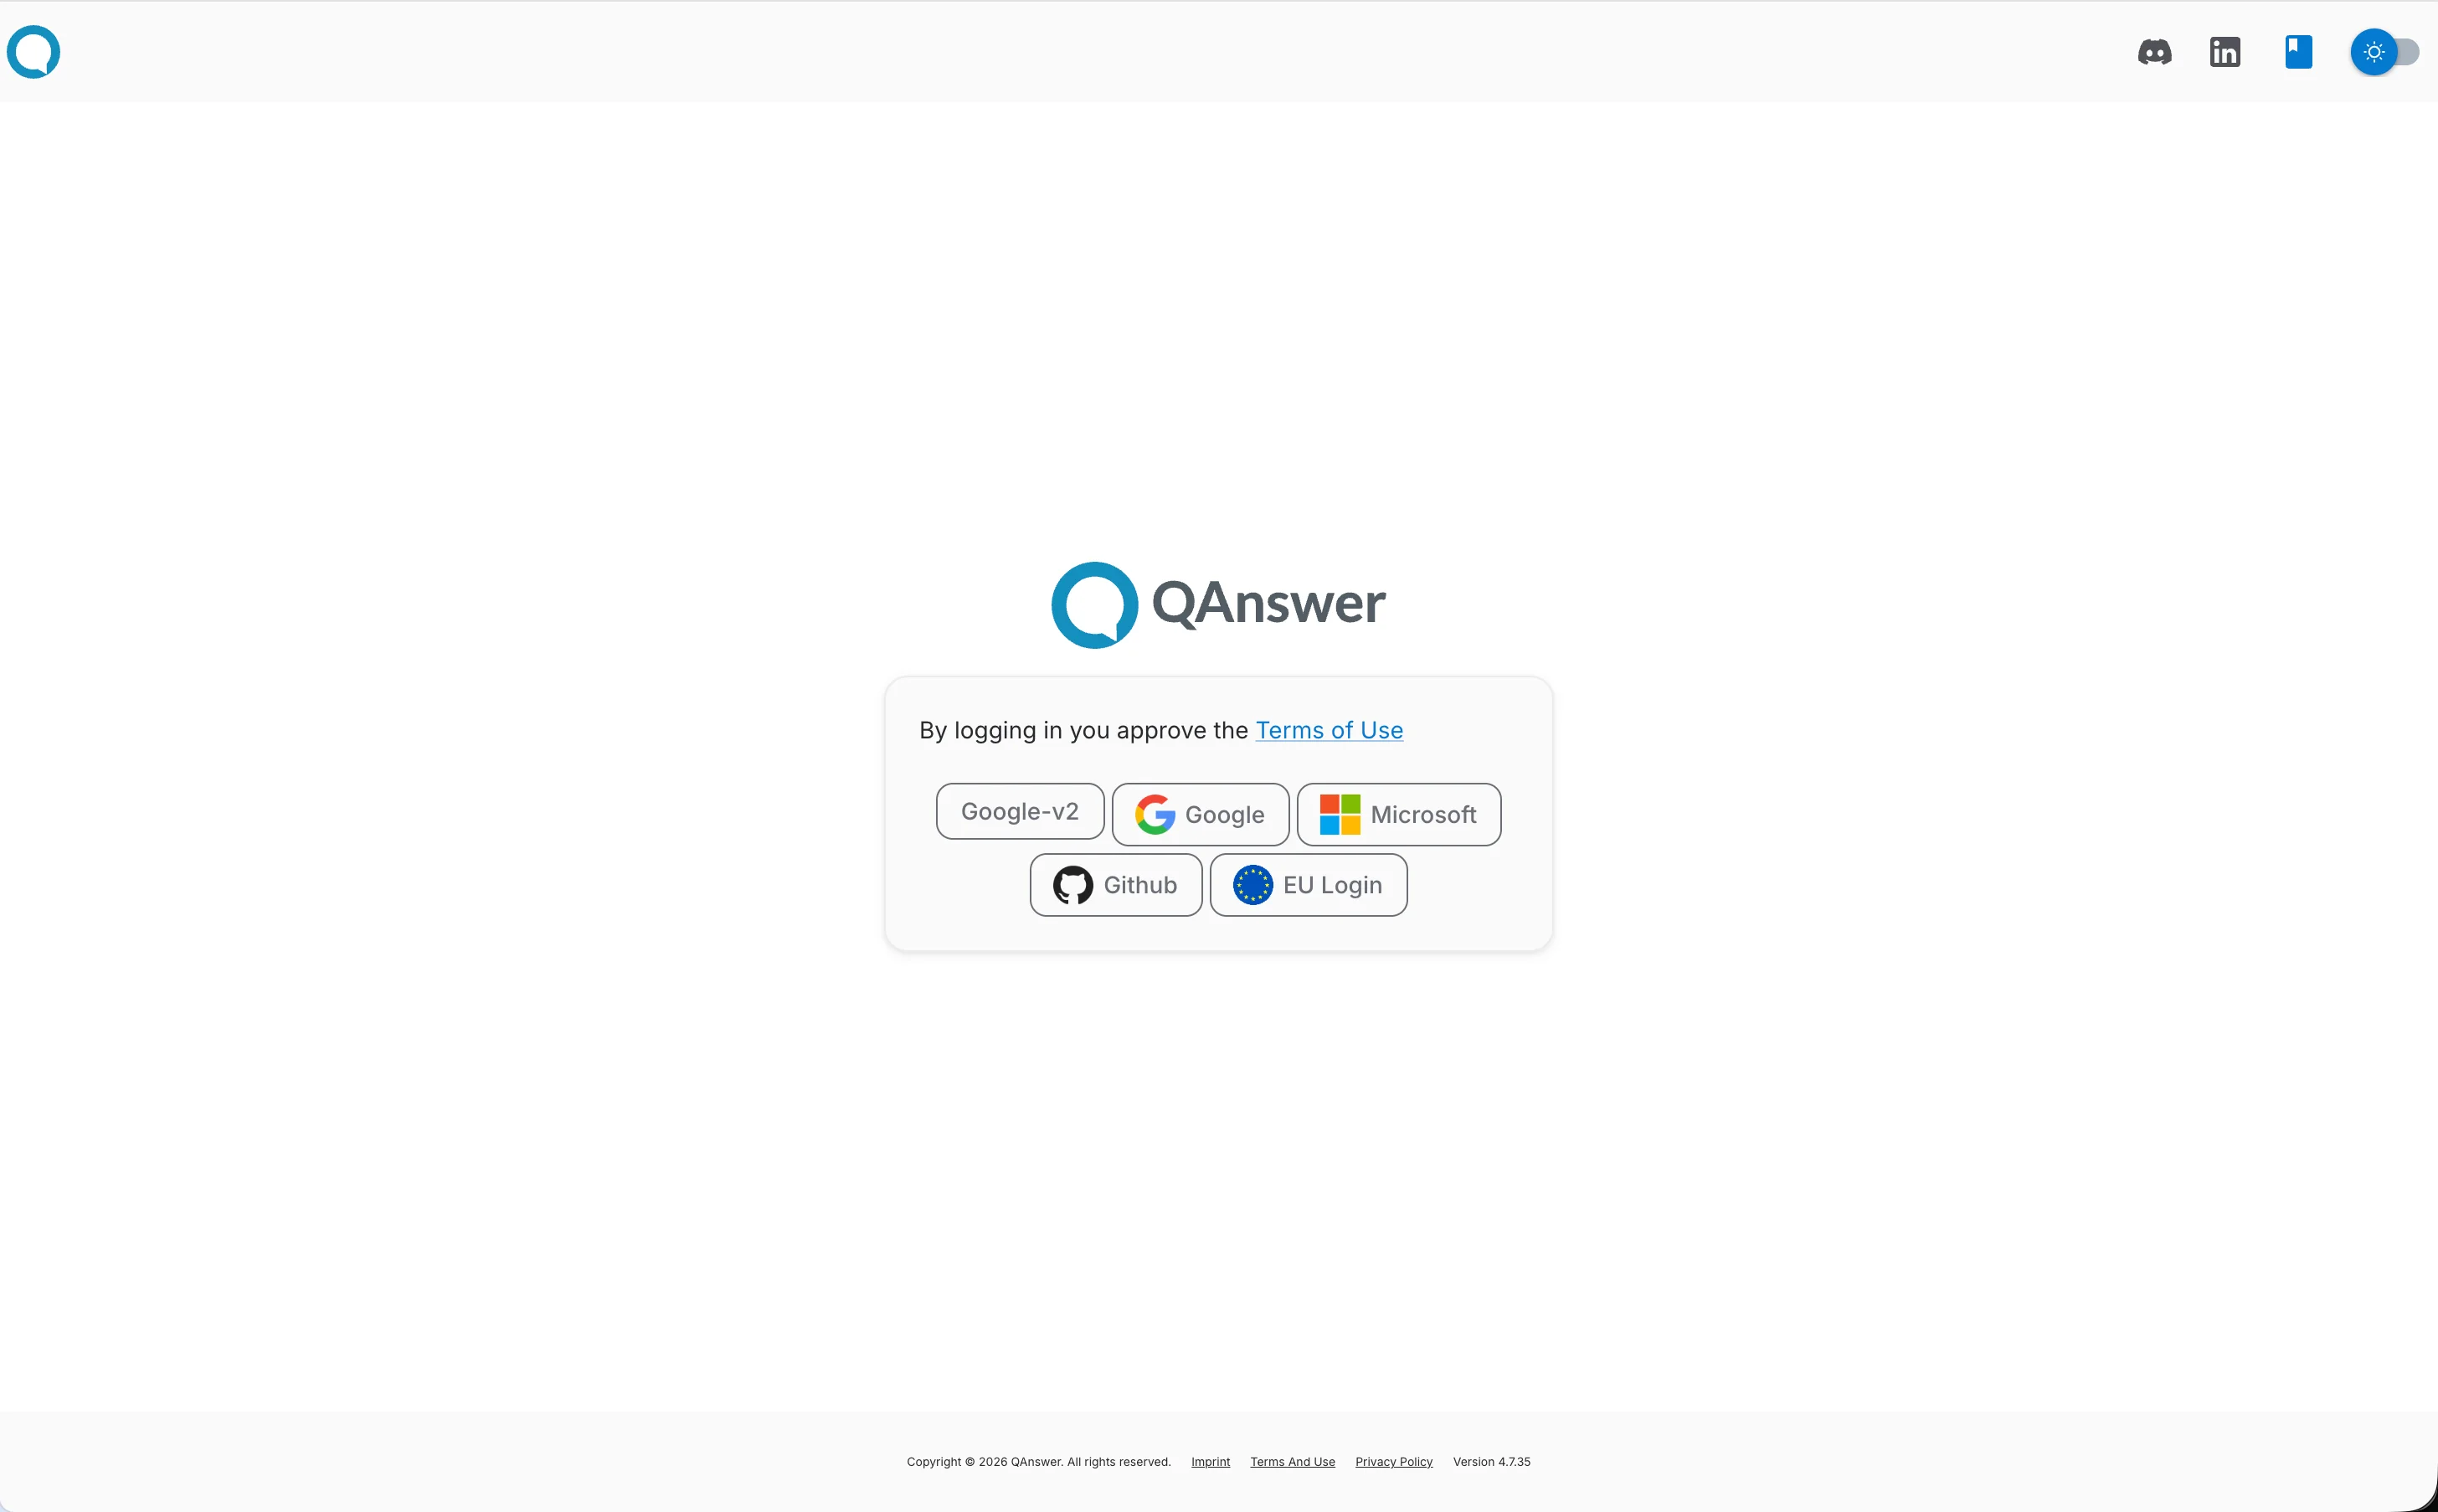
Enabling this toggle hides the username/password form on the login page, leaving only the buttons for the configured OAuth providers. Users can then sign in exclusively through OAuth. The toggle stays disabled until at least one OAuth provider is configured and enabled.
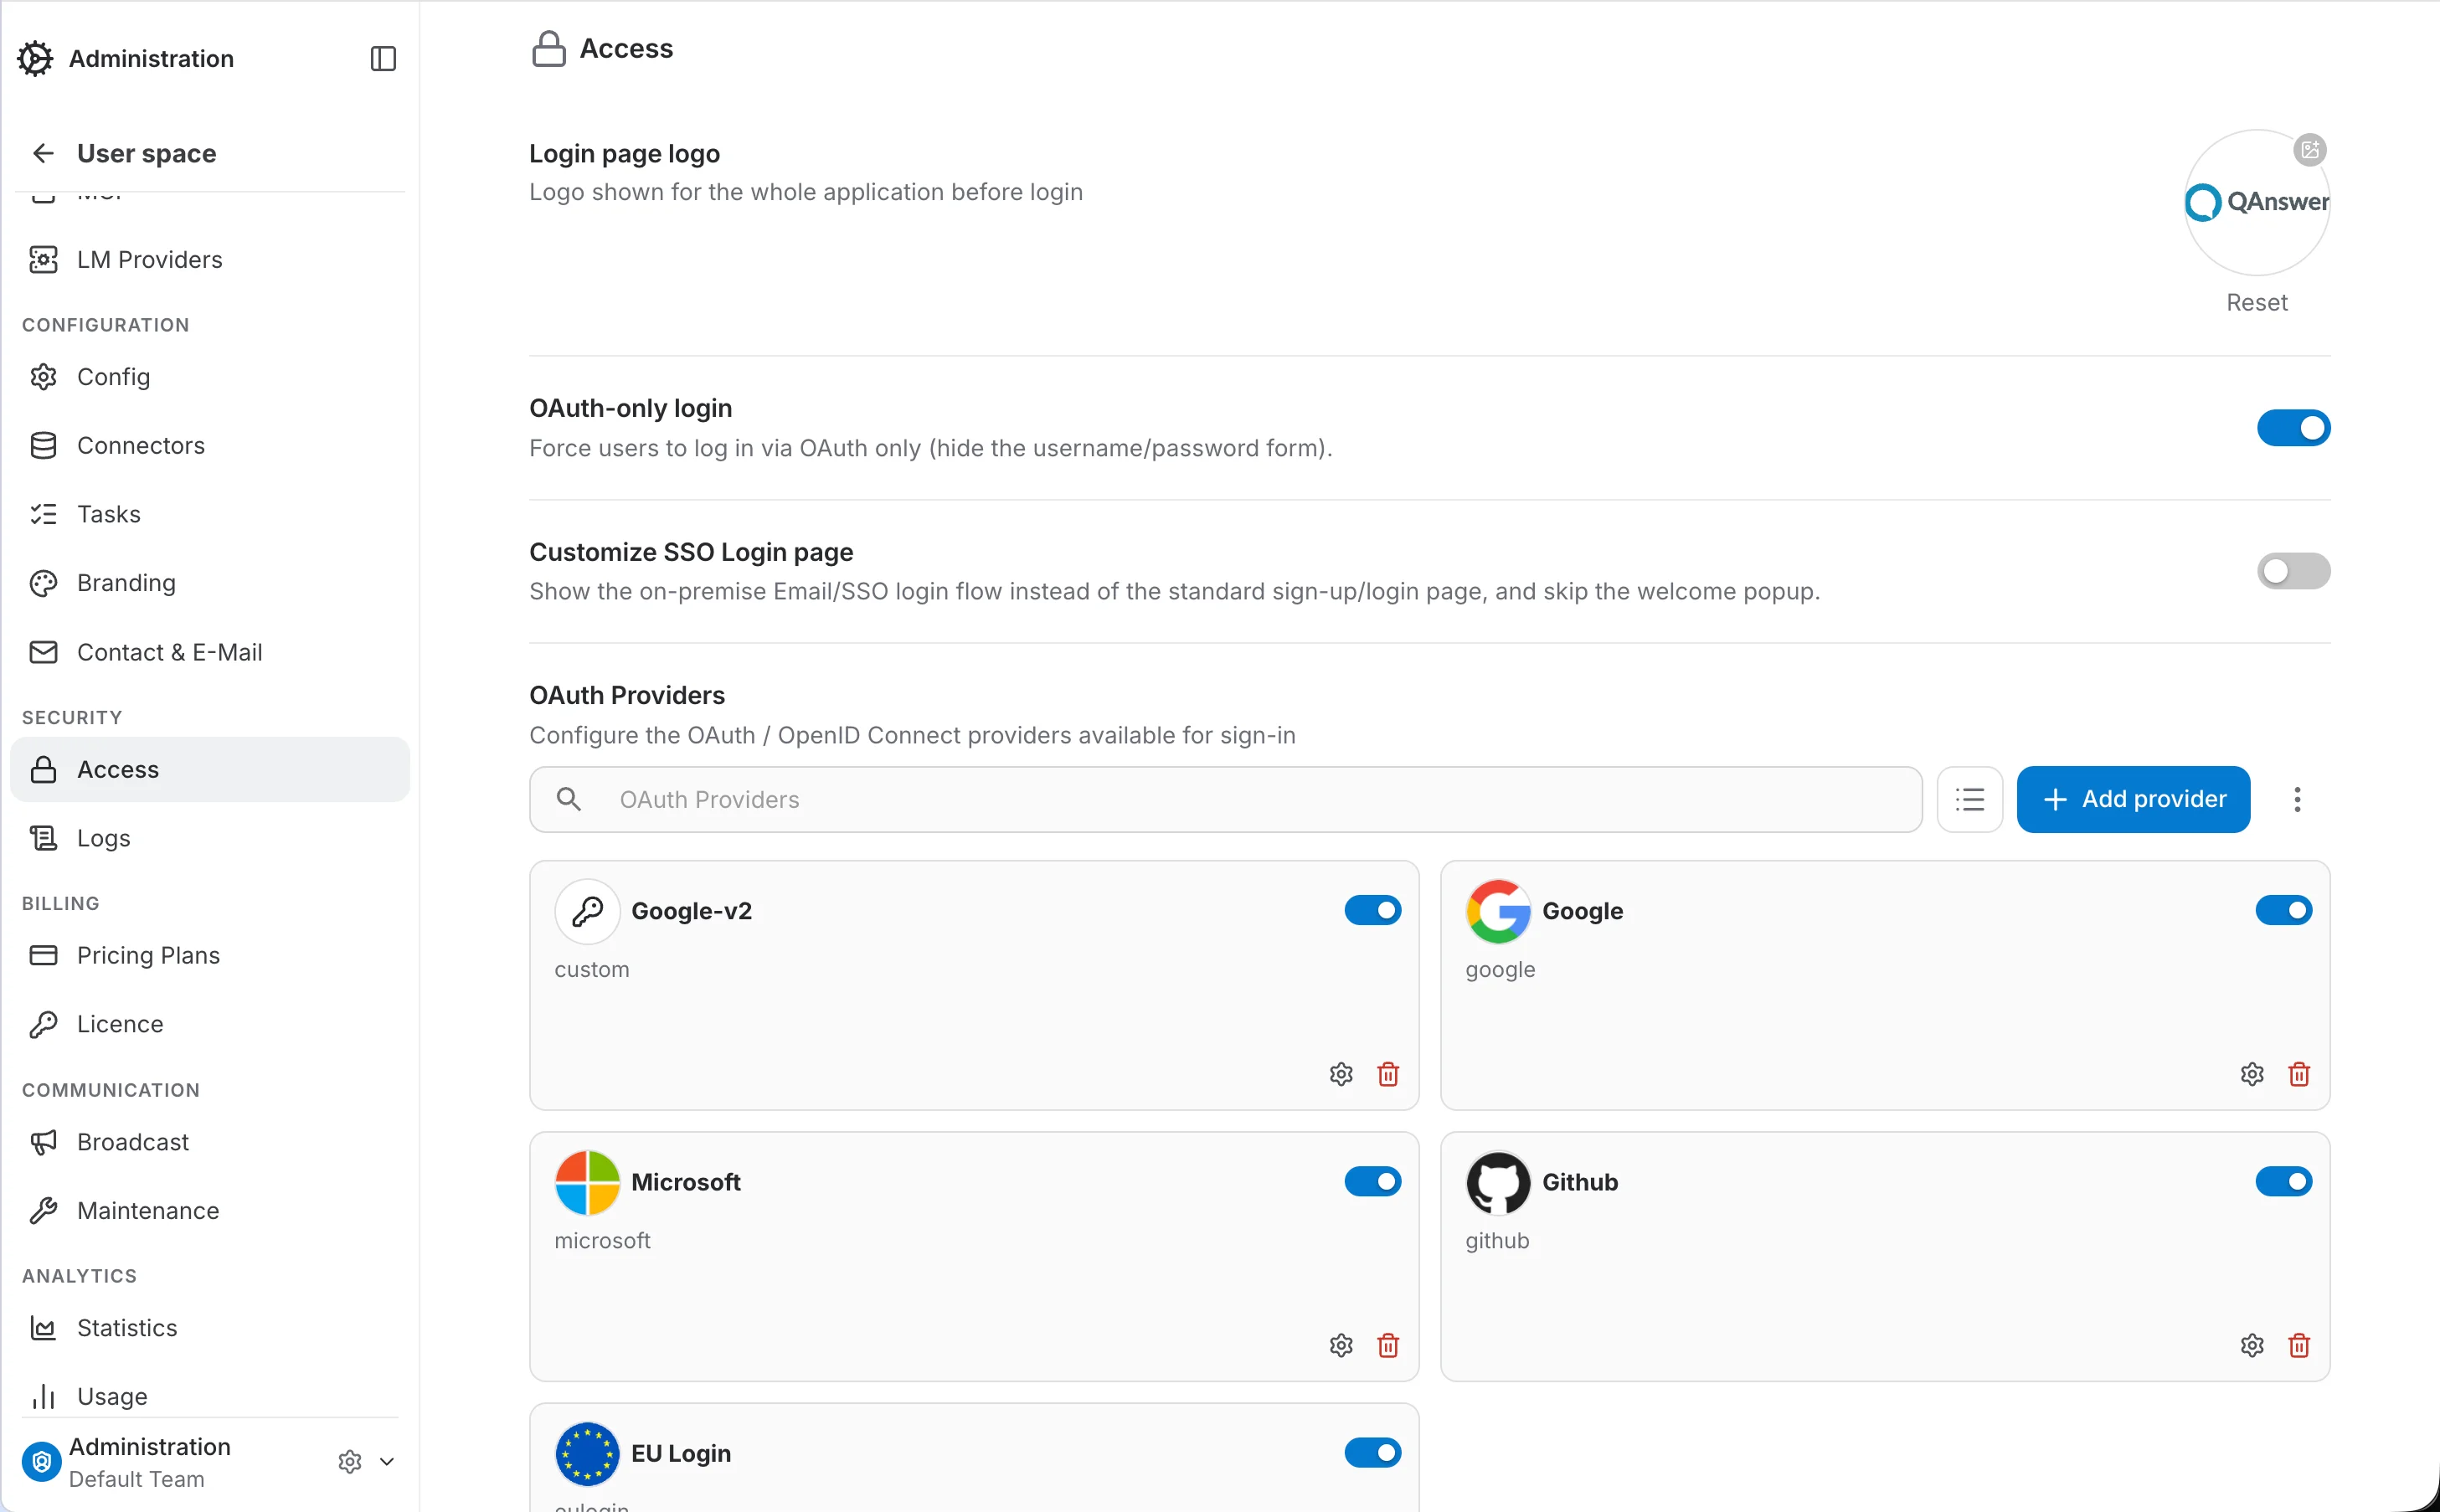
Customize SSO Login page
Once OAuth-only login is on, a "Customize SSO Login page" toggle appears below it. Enabling that toggle shows the on-premise Email/SSO login flow instead of the standard sign-up/login page and skips the welcome popup. It also reveals four text fields that control the wording of that login page:
- Heading: Bold title shown at the top of the login card.
- Subcaption: Short description displayed below the heading.
- Terms Accept Text: Text shown before the terms label in the acceptance checkbox, for example "I accept the".
- Footer Text: Custom text shown in the footer next to the platform logo.
The fields save automatically a moment after you stop typing, and a live preview of the login card sits next to the form so you can check the result without leaving the page.
Allow users to change their display name
On by default: users can edit the display name shown across the app from their account page. Turn this off to stop regular users from changing it — administrators can still edit their own display name regardless of this setting. This never affects the unique username used to sign in, which can't be changed by anyone after registration.
OAuth Providers
Each configured provider appears as a card that can be enabled or disabled, edited, or deleted.
Adding a provider
Click "Add provider" and pick a provider in the first step. Google, GitHub, and Microsoft come with their endpoints preconfigured as templates; pick "Custom provider" to configure any other OAuth / OpenID Connect provider manually.
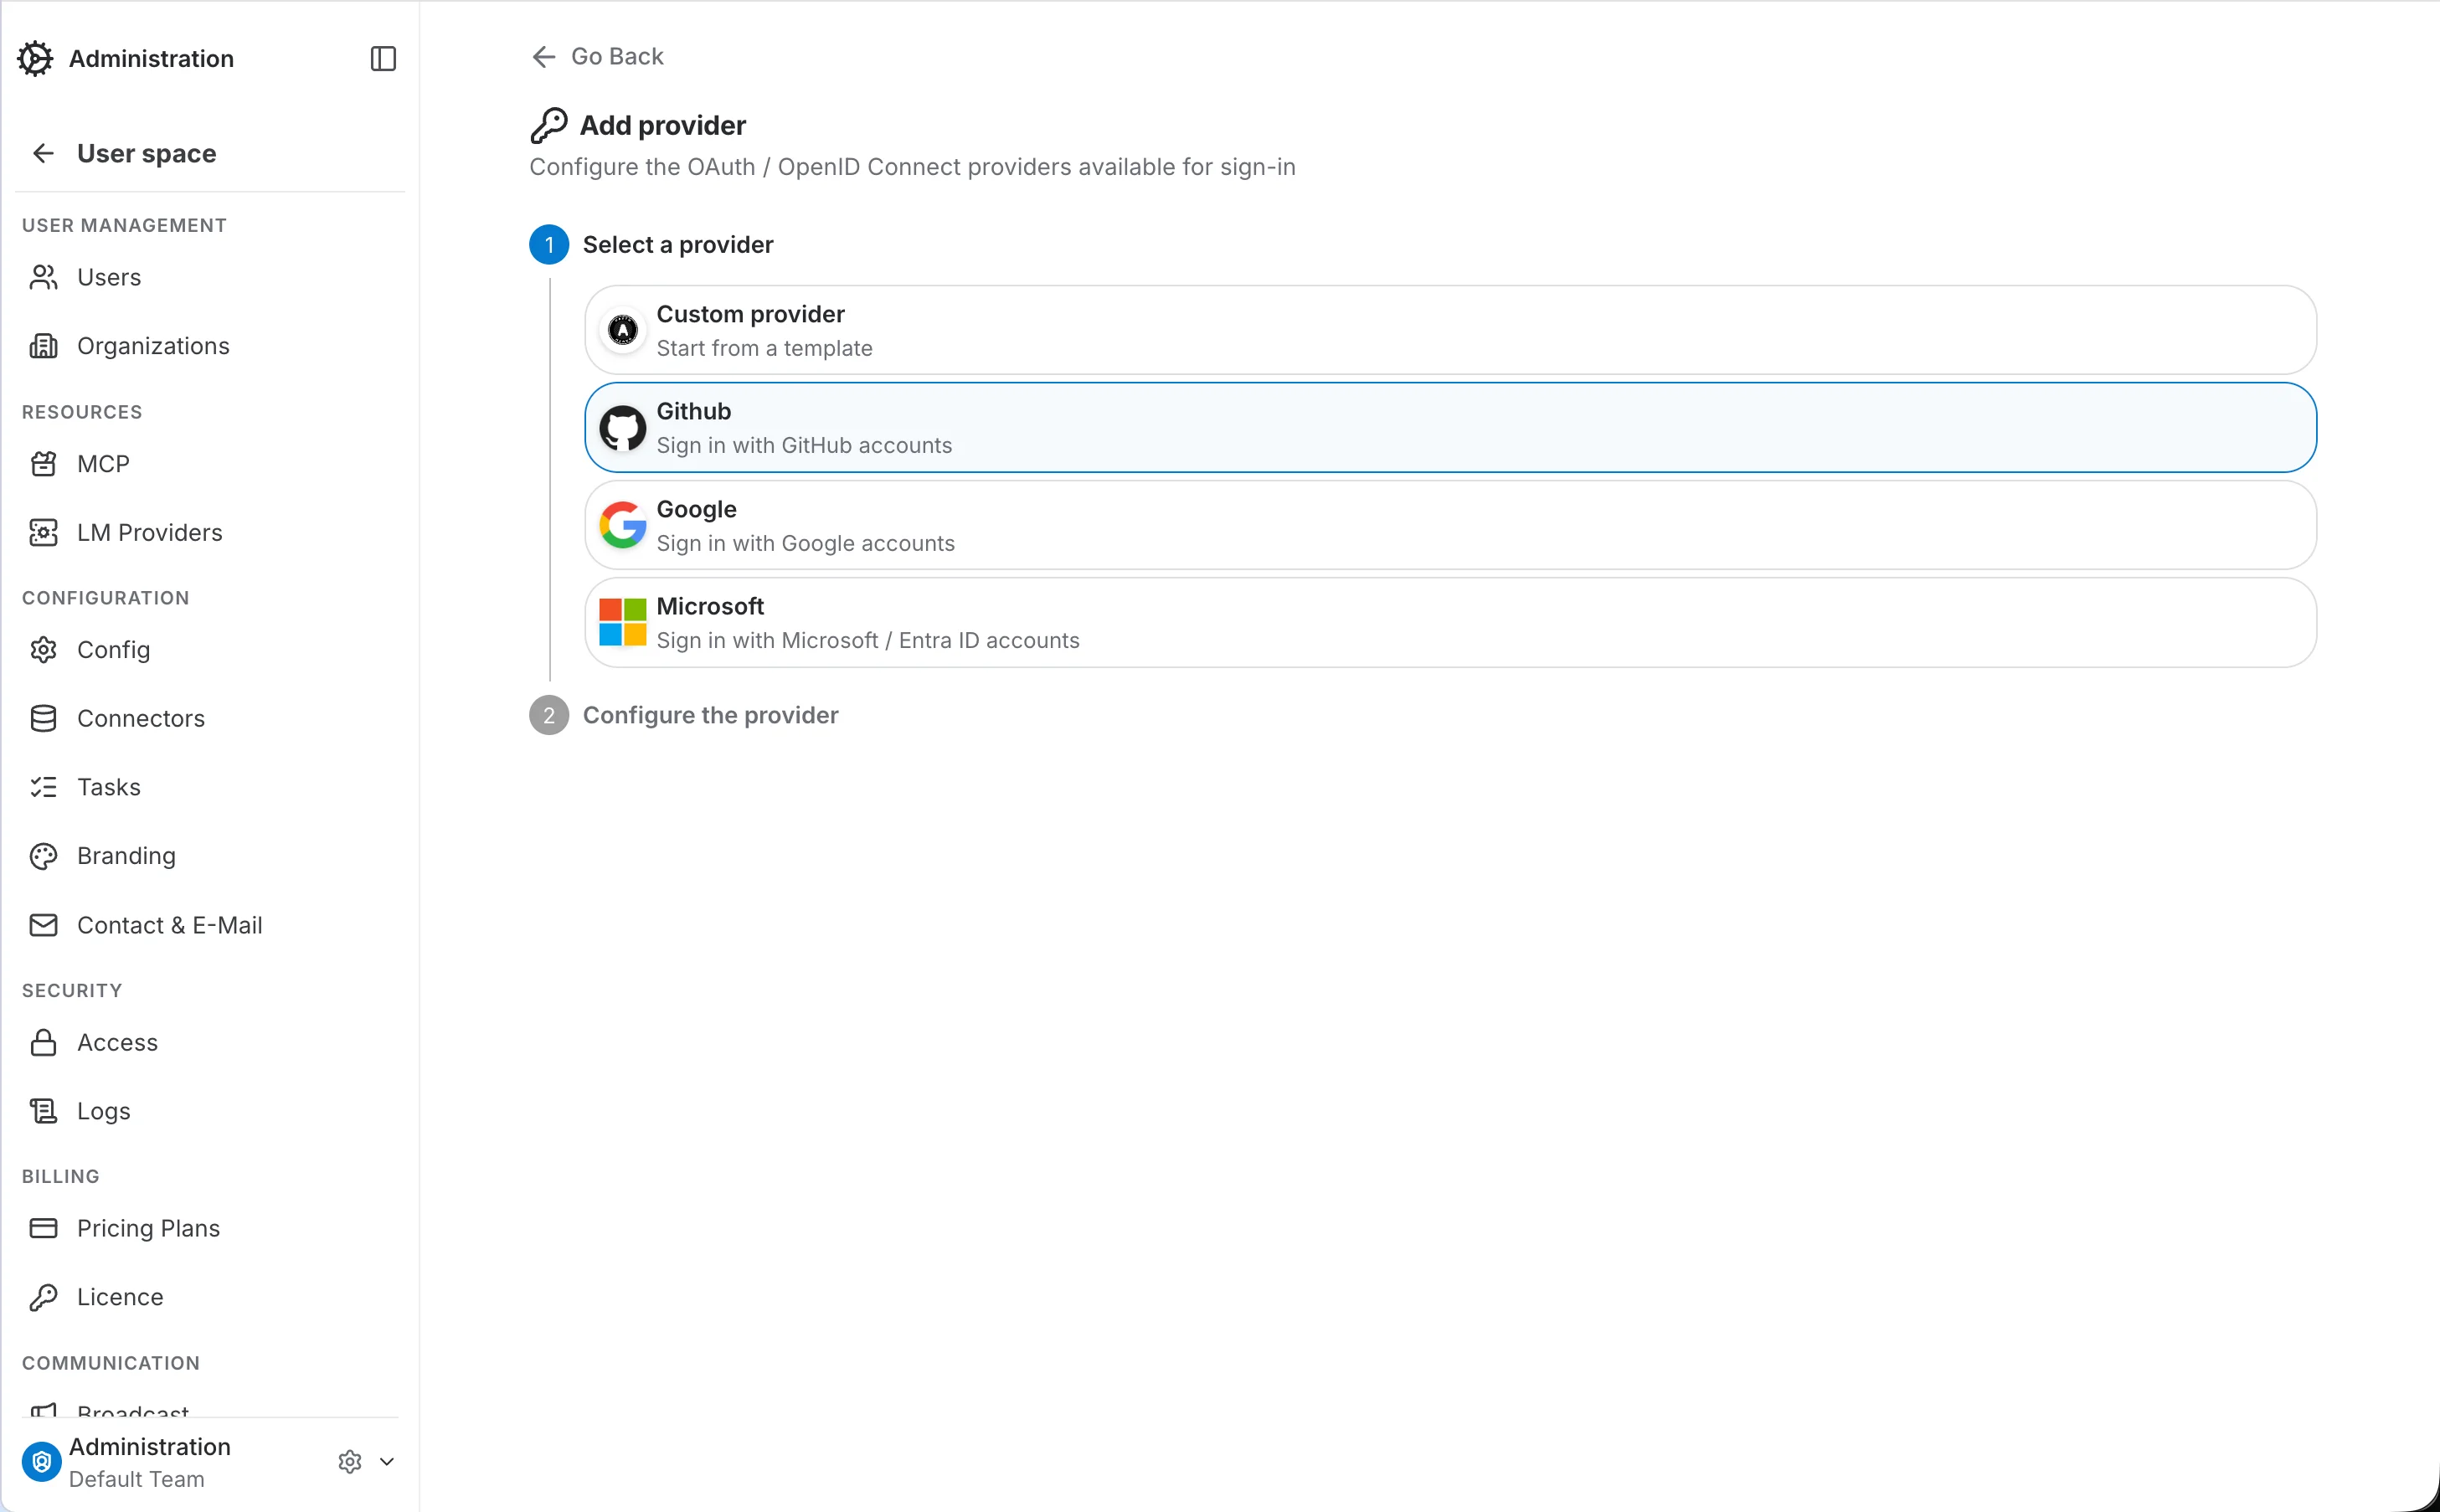
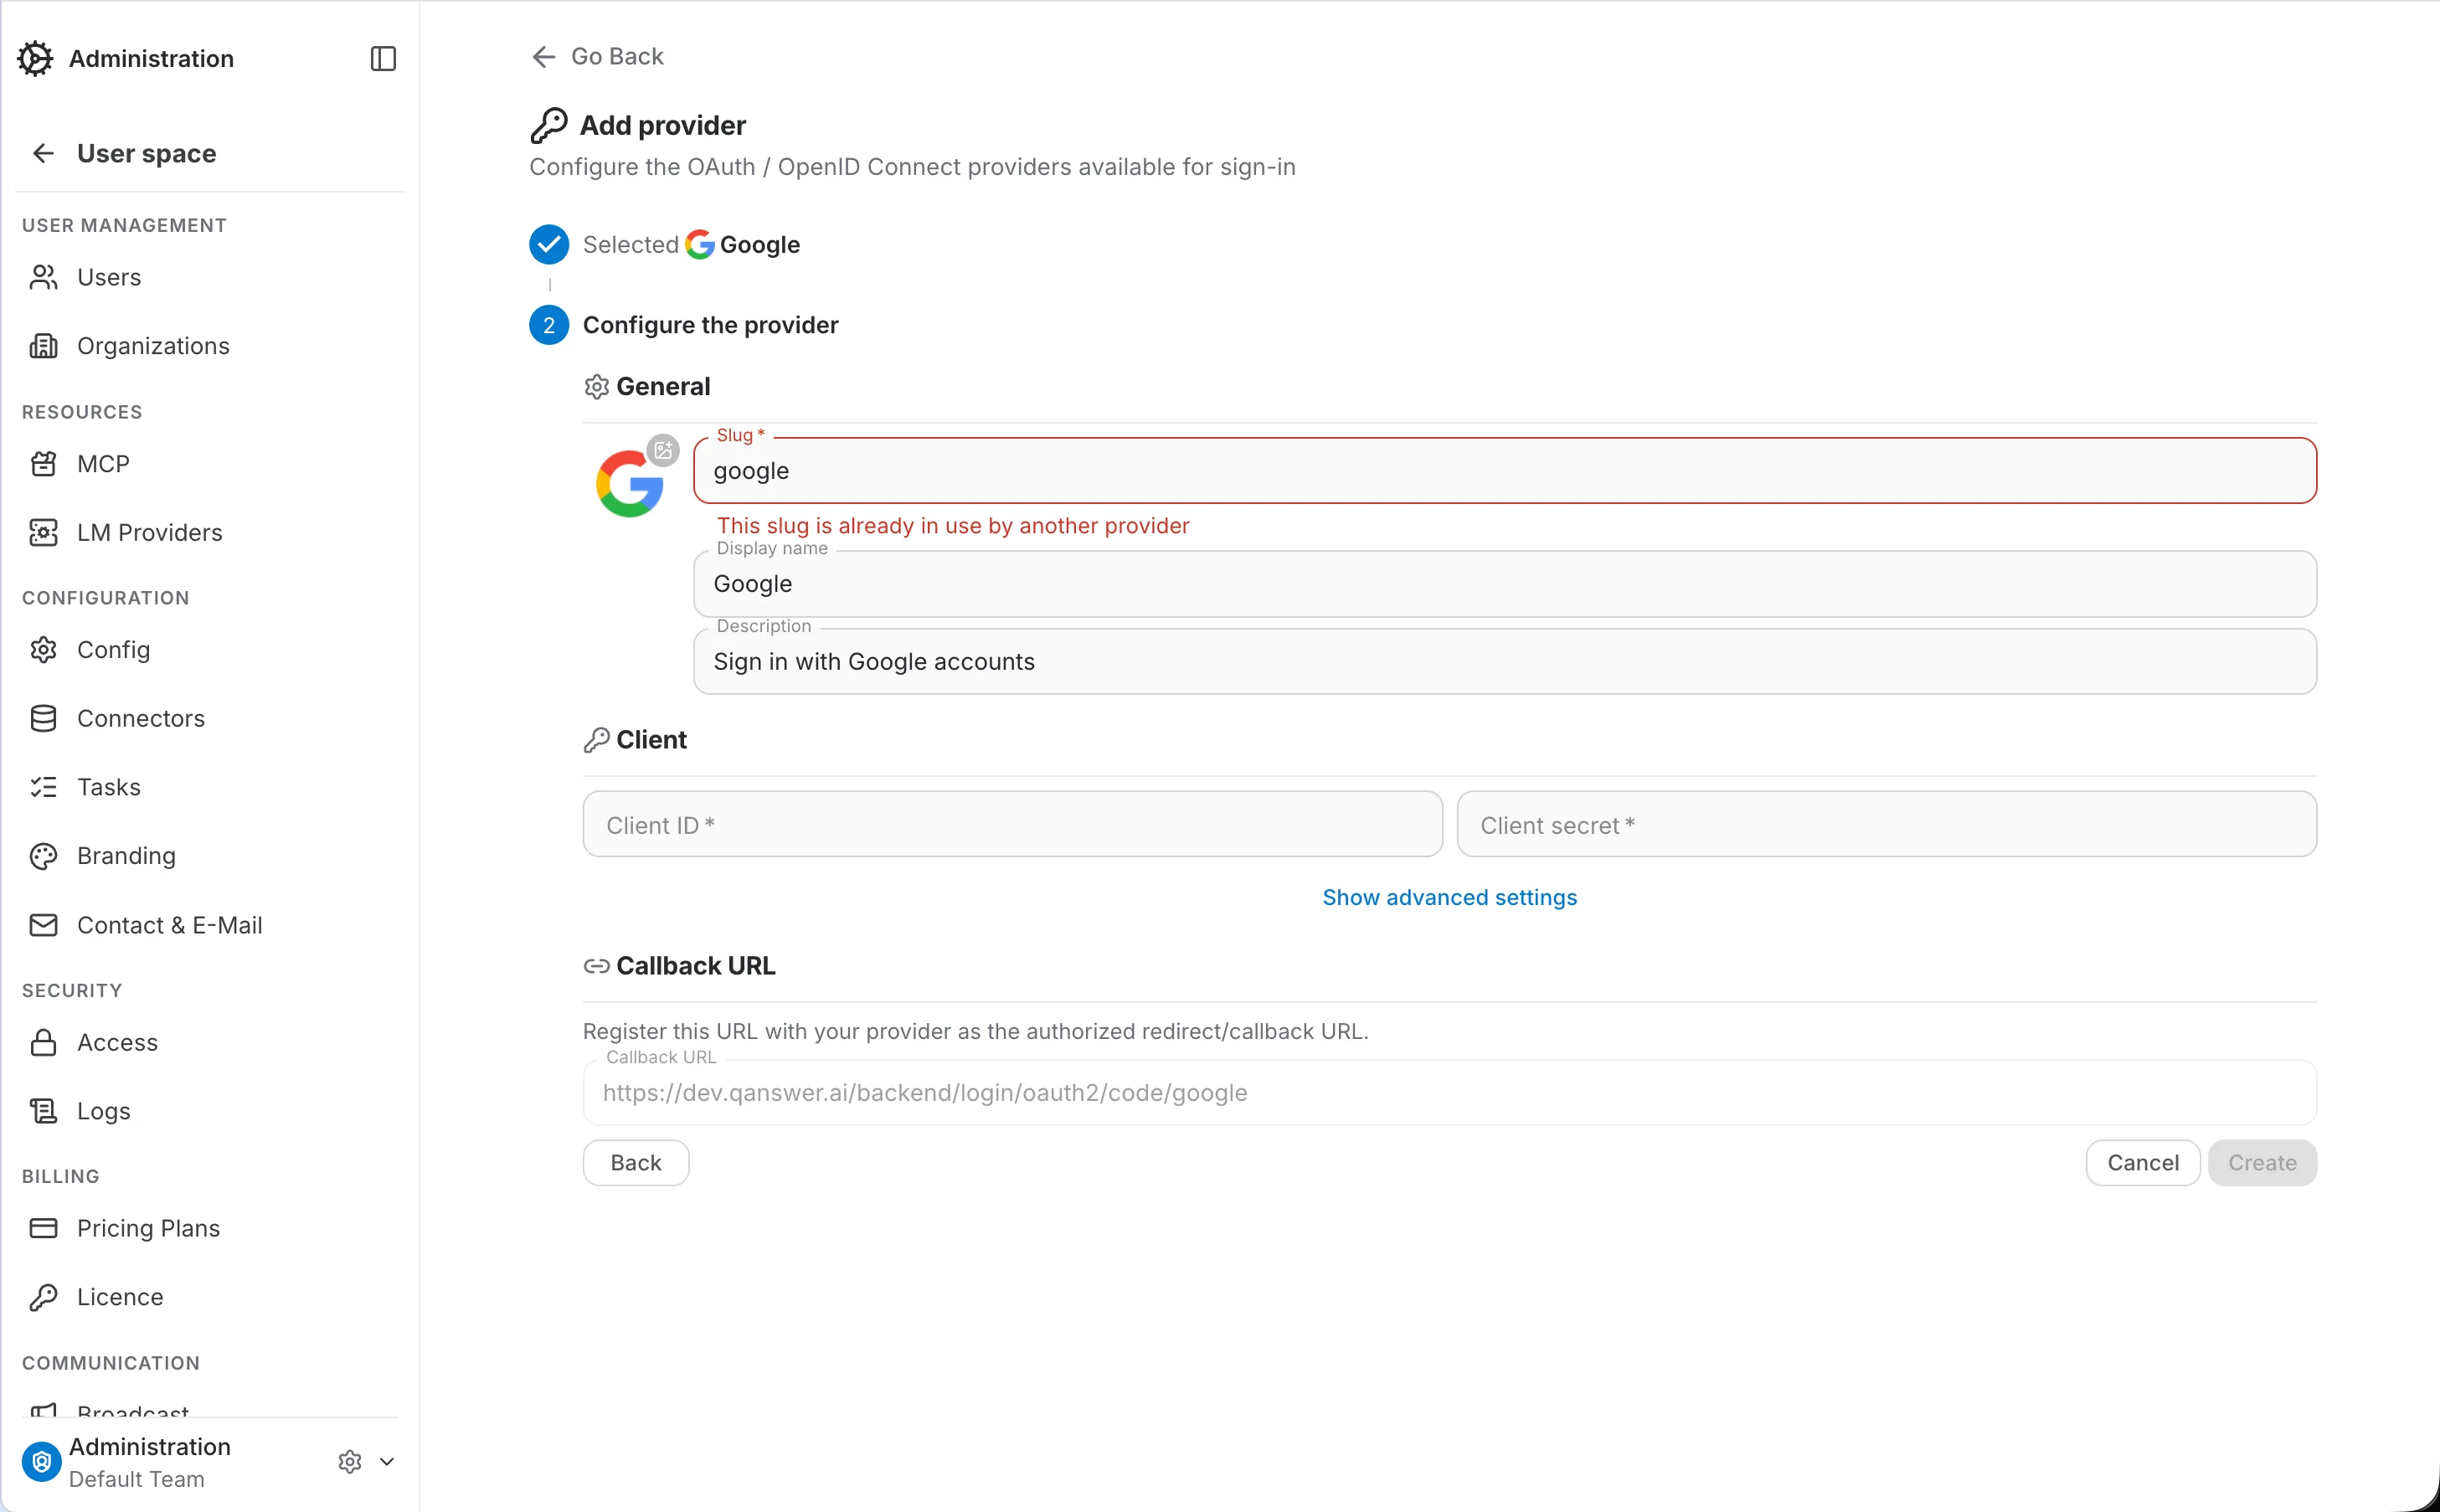
Built-in providers (Google, GitHub, Microsoft)
For a built-in provider, only the Client ID and Client secret are required — the authorization, token, and user-info endpoints are already filled in from the template. The Callback URL is computed automatically; register it with the provider as the authorized redirect URI.
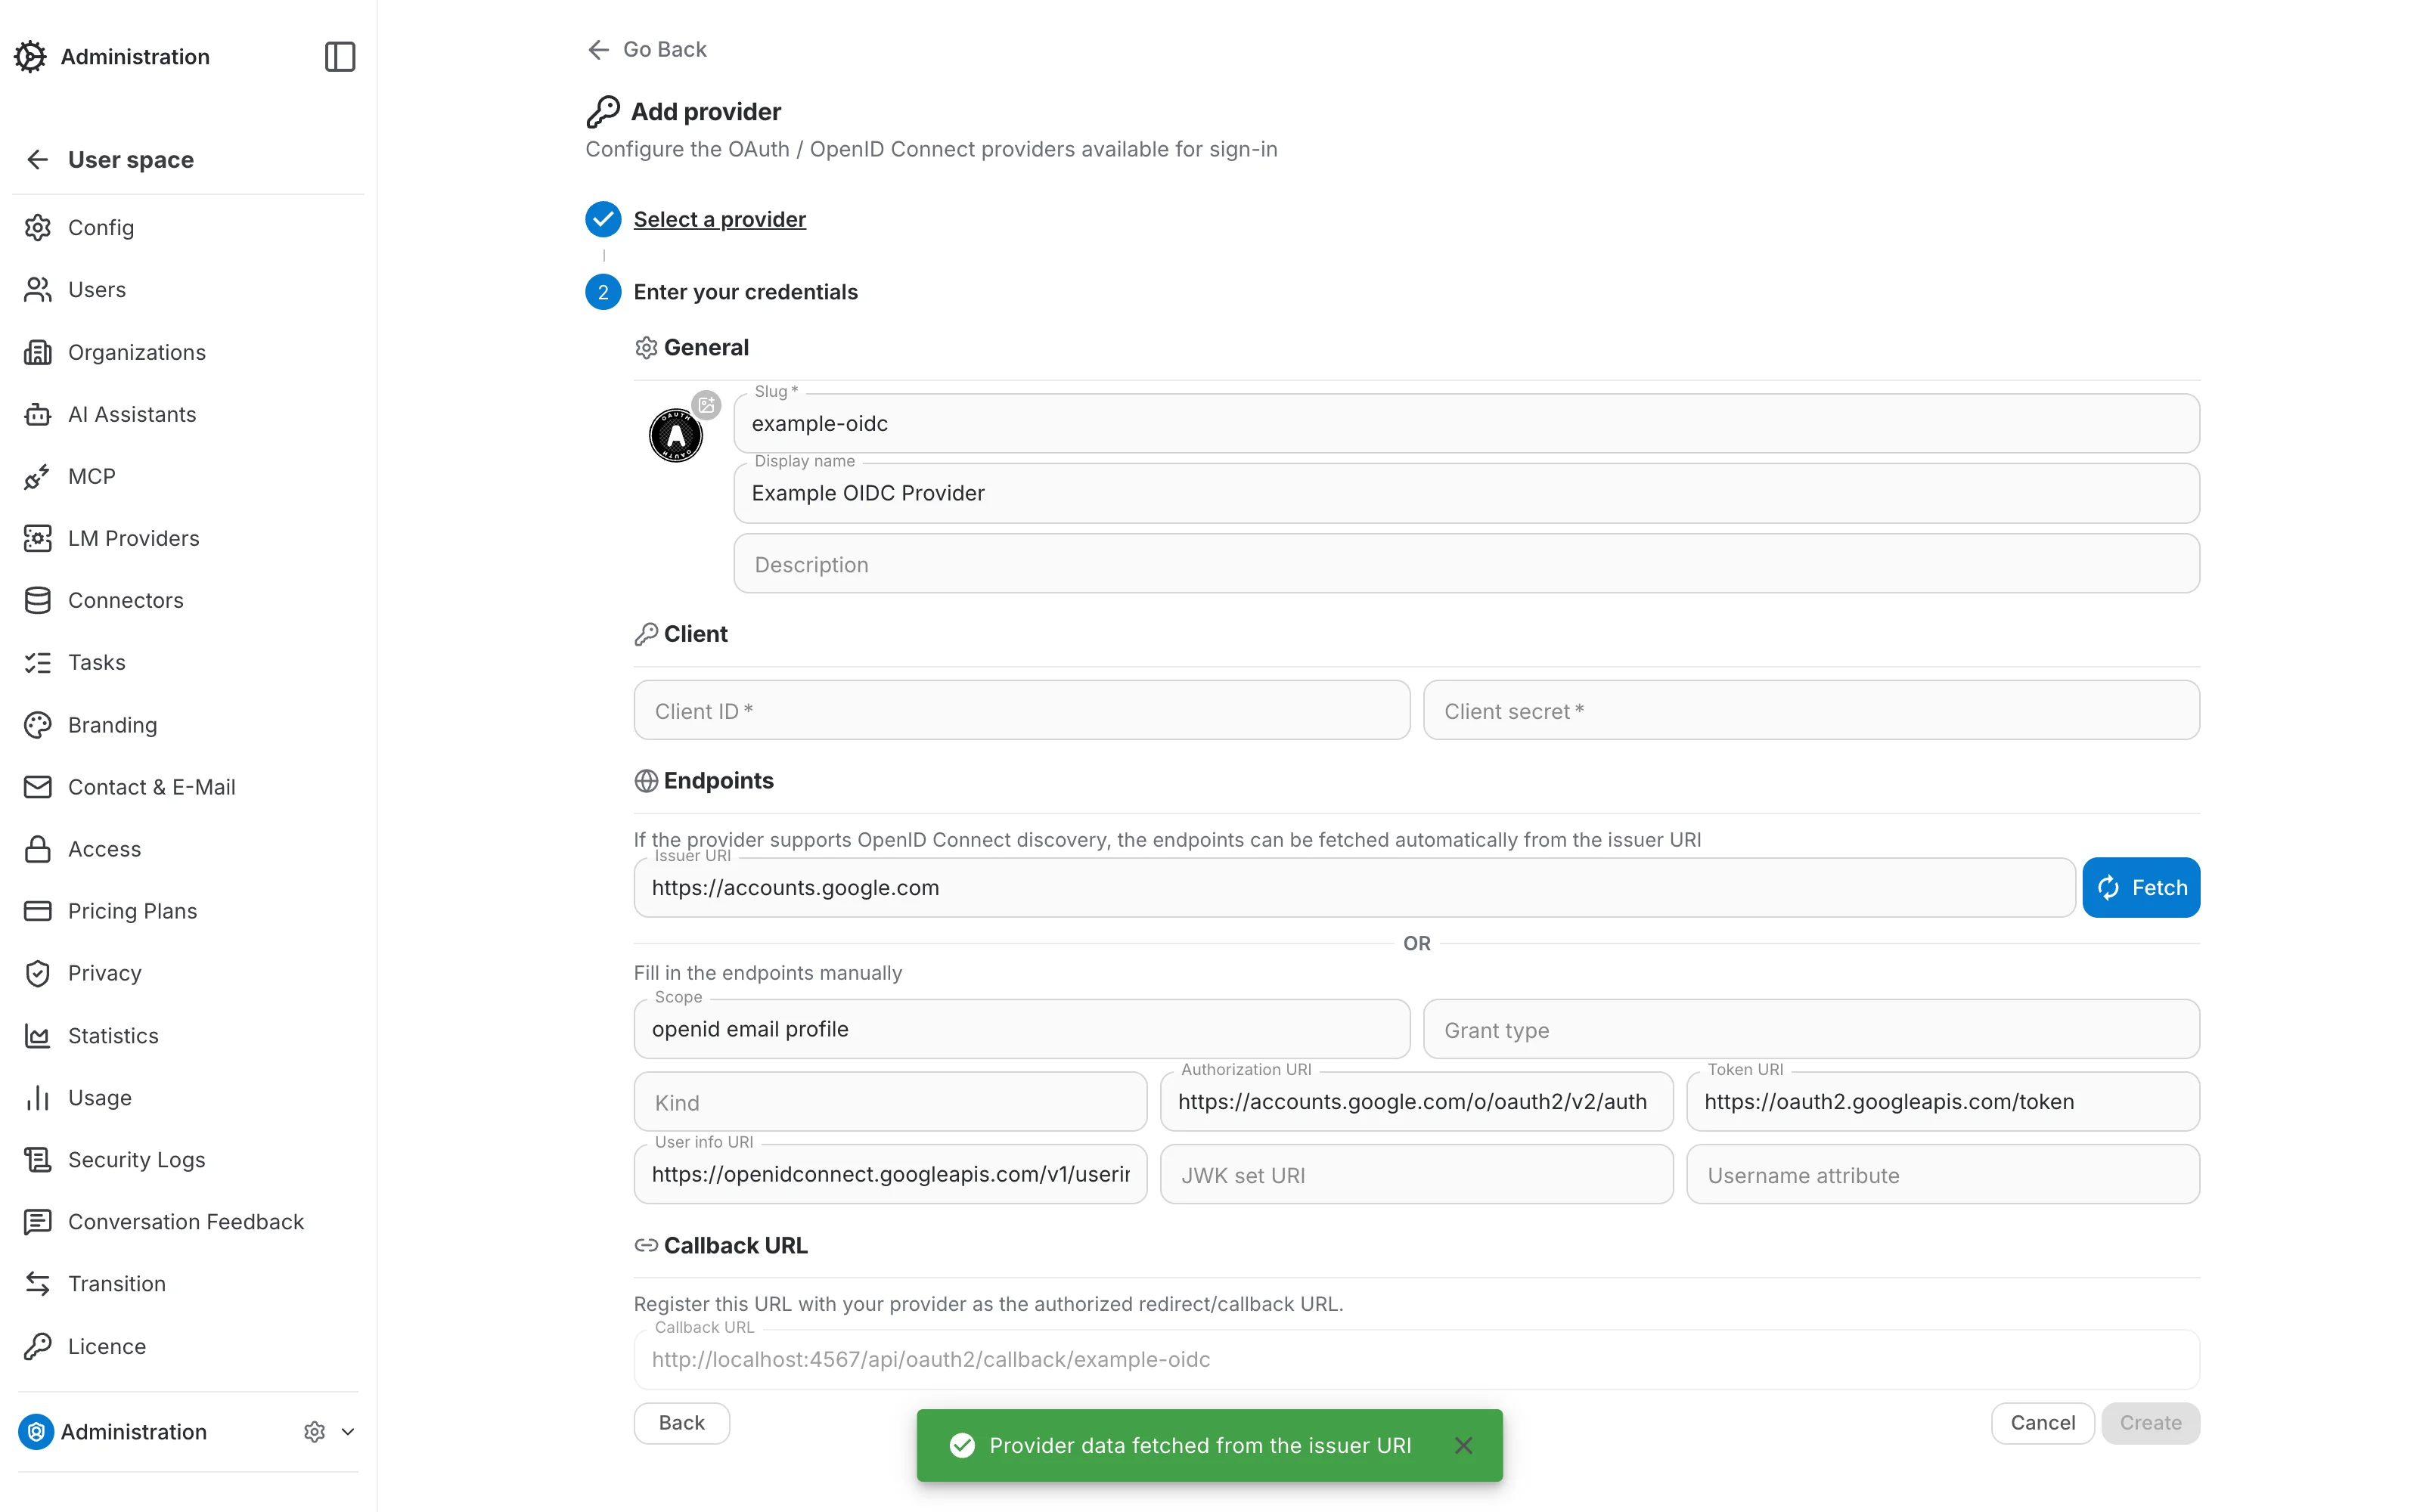
Custom providers and OpenID Connect discovery
For a Custom provider, if it supports OpenID Connect discovery, enter its Issuer URI and click "Fetch" — the authorization, token, user-info, and JWK set endpoints are retrieved automatically from the issuer's /.well-known/openid-configuration document. Otherwise, fill in the endpoints manually.
Restricting a provider to specific e-mail domains
By default a provider accepts every account it can authenticate. The Access section of the provider form narrows that down: turn "Allow any email domain" off and only addresses ending in one of the listed domains are allowed to sign in through that provider.
With the toggle off, an "Allowed email domains" field appears. Type a domain and press Enter to add it as a chip; remove one with the × on the chip. The restriction is per provider, so you can let one provider in from anywhere while pinning another to your corporate domains.

Searching providers
Use the search box above the provider list to filter providers by name.